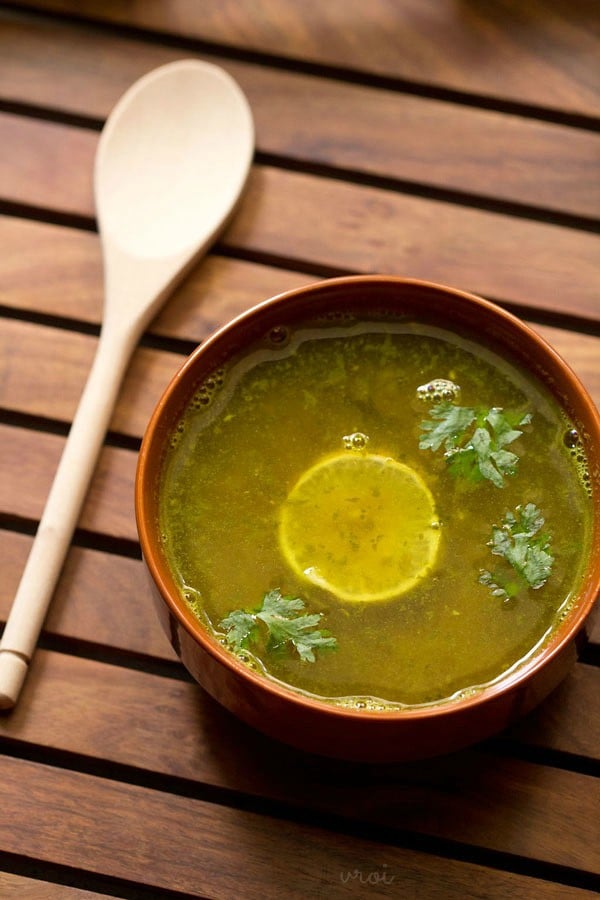
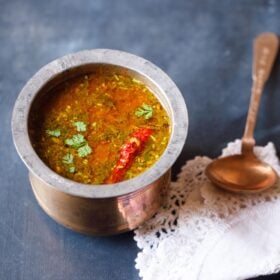
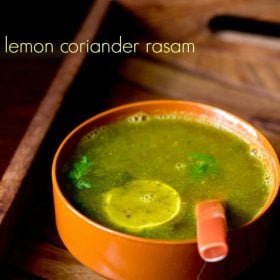
While a typical soup maybe full bodied and thick, there are other versions that are thinner, but still super nutritious. Rasam, or a South Indian style flavorful soup, can be placed under this category. One of my chosen ones in this list is this Lemon Rasam recipe. Made with lemon and coriander, this Lemon Rasam is easy to prepare, packs a punch and makes you healthy. It is vegan friendly too.
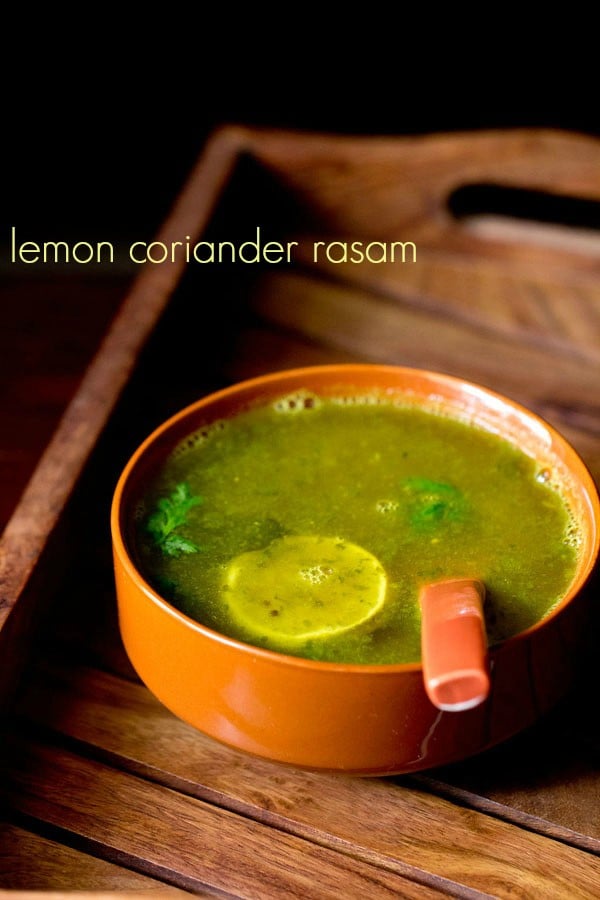
Table of Contents
About Lemon Rasam
I usually make rasam during monsoons, or whenever there’s a temperature change. This Lemon Rasam recipe particularly has amazing soothing effects in all those times when you’re troubled by stubborn cold and coughs. It is warming, comforting and nourishing, all at once.
Another hack that I use to especially combat colds is the spicy pani (water) of the pani puri. Definitely gives me an instant relief. In addition to this Lemon Rasam, other variations that are effective for cough and cold are – Pepper Rasam, Beetroot Rasam and Pepper Cumin Rasam.
The major difference between this Lemon Rasam recipe and others is that tamarind is not added in this rasam. It is lemon juice that is the souring agent. Along with it, there’s pigeon pea lentils or tuvar dal and coarsely ground spices.
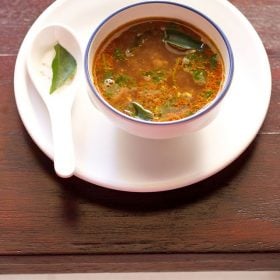
A crackling tempering of mustard seeds, curry leaves, dried red chilies and a few spices is also added to the Lemon Rasam. What you finally achieve is a tangy, spicy and aromatic rasam with citrusy, refreshing notes from the lemon, coriander and warm, earthy flavor from the spices.
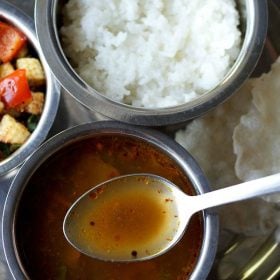
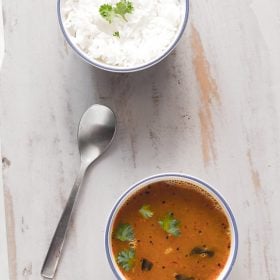
As is already popular, the Lemon Rasam is also perfect when had with piping hot rice. My way of doing it is also adding a dry vegetable dish like poriyal or a stir fry with the whole rasam-rice combination. You can even savor it plain like a soup.
How to make Lemon Rasam
Cook Lentils
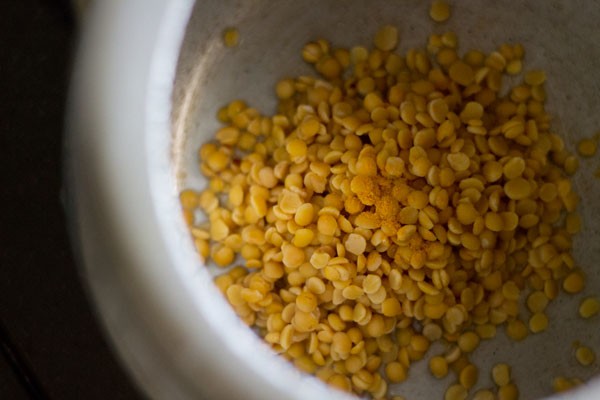
1. Rinse ¼ cup tuvar dal or pigeon pea lentils with water and then add them in a pressure cooker along with a pinch of turmeric powder.
Add ¾ to 1 cup water and pressure cook for 8 to 9 whistles or till the dal has softened and cooked really well. About 10 to 12 minutes on a medium to high heat.
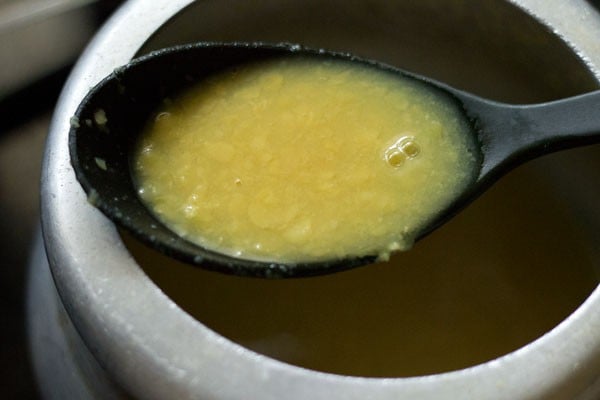
2. When the pressure settles down naturally, check the dal and mash with a spoon or wired whisk. Keep the dal aside.
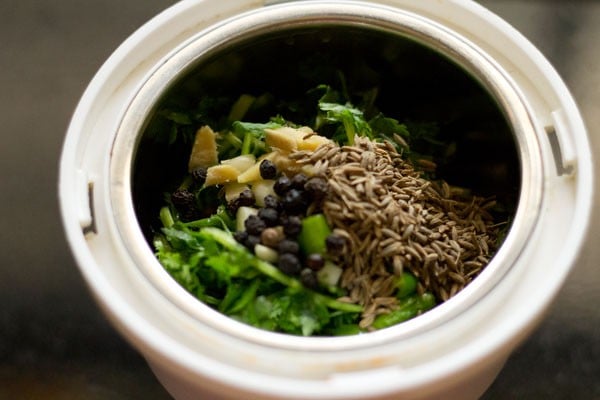
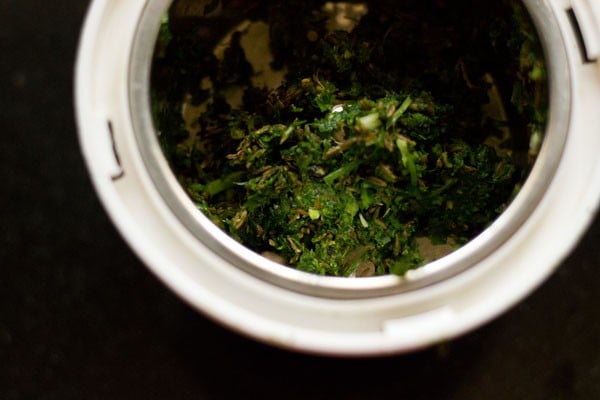
3. In a small grinder or chutney grinder, take the following spices and herbs:
- ⅓ cup chopped coriander leaves (cilantro)
- 2 teaspoons cumin seeds
- ½ teaspoon black pepper
- 1 or 2 green chilies (chopped)
- ½ inch ginger (roughly chopped)
- 4 to 5 small to medium garlic cloves (roughly chopped)
4. Without adding water, grind to a coarse paste. If you prefer, you can also grind to a semi-fine paste. Set aside.
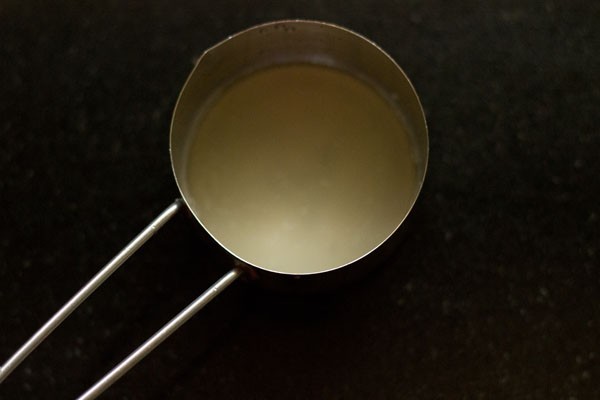
5. Squeeze the juice from lemon and keep aside. I used 1 medium size lemon. You can also use limes. You will need about 2.5 to 3 tablespoons lemon juice.
Making Lemon Rasam
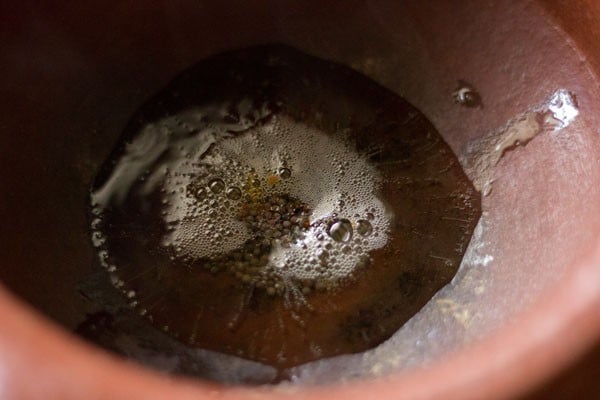
6. In a pan or pot, heat 1 tablespoon sesame oil (gingelly oil) or any neutral tasting oil. Add ½ teaspoon mustard seeds and fry till the mustard seeds start crackling.
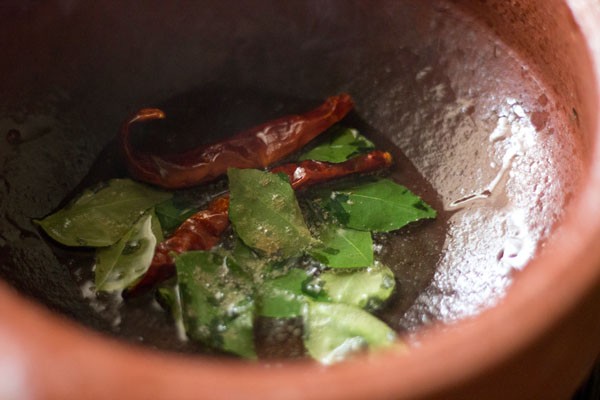
7. Then, add 12 to 15 curry leaves and 1 to 2 dried red chilies. Fry till the red chilies change color and darken a bit. Don’t burn them. Fry on low to medium-low heat.
Remove the seeds from the red chillies if you prefer before frying them.
8. Now, add the ground herbs and spices paste together with a pinch of asafoetida (hing) and ¼ teaspoon turmeric powder. Stir very well.
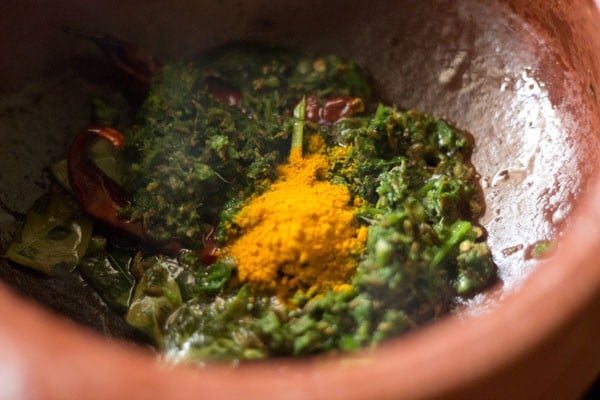
9. Add the cooked dal.
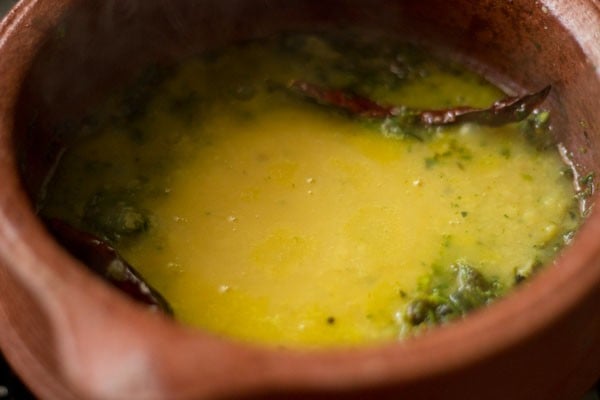
10. Add 1 to 1.5 cups water. Stir well.
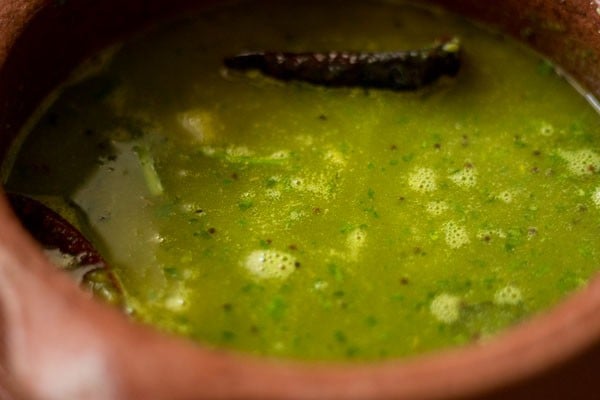
11. Season with salt according to taste.
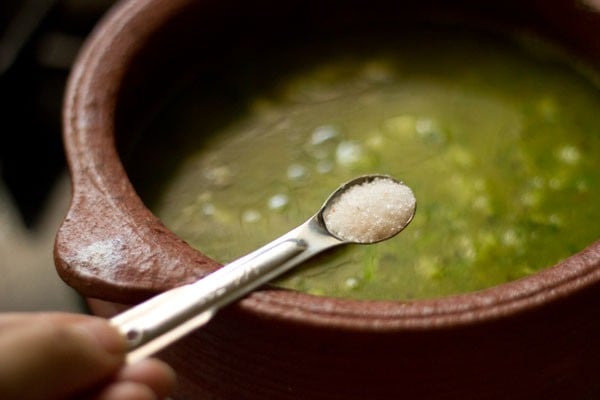
12. On a low to medium heat, simmer the rasam for 5 to 6 minutes.
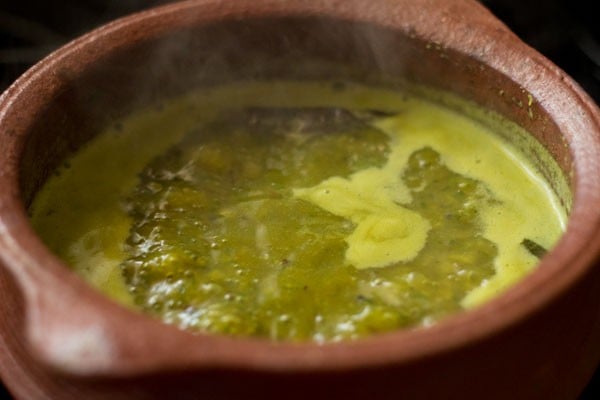
13. Switch off the heat. Wait for 1 minute and then add 2.5 to 3 tablespoons lemon juice.
You can add more or less as required and as per your taste. Instead of lemon, you can also add lime juice. Stir to combine and mix.
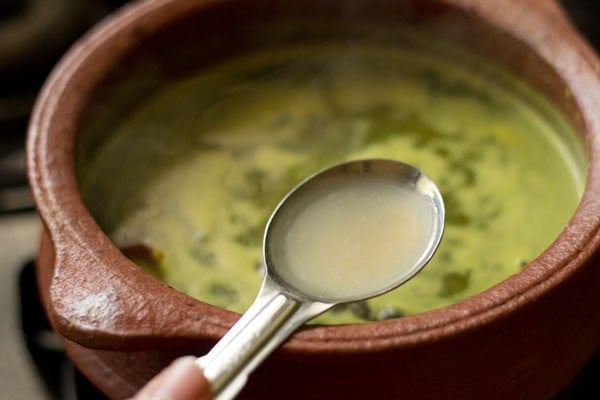
14. Garnish with 2 to 3 tablespoons chopped coriander leaves and serve Lemon Rasam hot with steamed rice and a capsicum fry, poriyal or vegetable roast.
Health Benefits
I’ve already spoken highly of the rasam being super effective in curing common colds and coughs. It is actually touted as the ‘recovery food’ or home remedy by most of the Indian grandmothers.
The antioxidant and anti-inflammatory properties in a rasam are provided by the spices, ginger and garlic in a rasam. These are essential for keeping the circulatory ailments at bay.
Other than these, rasam is quite handy for digestive problems like constipation and bowel movements in general. Because of the presence of fiber, vitamins and minerals from the various ingredients used to make a rasam, it also aids in fastening metabolism. Thus, helping in weight management.
FAQs
Surely you can.
The best way to serve any rasam is with steamed rice. Drizzling some ghee on the rice will make it tastier.
For sure. Just adjust the quantity according to your preference.
By adding more green chilies in the paste.
I’d say make this recipe with lemon or lime juice only. For the tamarind version, do check the Tamarind Rasam (Puli Rasam) post on my blog.
Yes. But I will still suggest using it as it gives a really good flavor.
Of course, it does. It is great for your immunity. Because of the herbs and spices used in it, it is known to help relieve colds as well as strengthen the digestion processes.
Since lentils are included in this recipe, I would suggest freezing this one. The flavors are best when this lemon rasam is had hot or warm as soon as it is prepared.
More Rasam Recipes To Try!
South Indian Food
South Indian Food
South Indian Food
South Indian Food
Please be sure to rate the recipe in the recipe card or leave a comment below if you have made it. For more vegetarian inspirations, Sign Up for my emails or follow me on Instagram, Youtube, Facebook, Pinterest or Twitter.
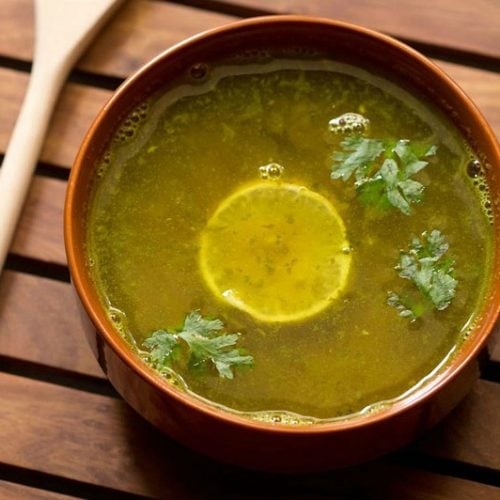
Lemon Rasam
Ingredients
For cooking lentils
- ¼ cup pigeon pea lentils (tur dal, tuvar dal or arhar dal)
- 1 pinch turmeric powder (ground turmeric)
- ¾ to 1 cup water – for pressure cooking lentils
To be ground coarsely
- ⅓ cup chopped coriander leaves (cilantro)
- 2 teaspoon cumin seeds
- ½ teaspoon black pepper
- 1 or 2 green chilies – chopped
- ½ inch ginger – roughly chopped
- 4 to 5 garlic cloves – small to medium-sized, roughly chopped
Tempering and making lemon rasam
- 1 tablespoon sesame oil (gingelly oil) or any neutral tasting oil
- ½ teaspoon mustard seeds
- 12 to 15 curry leaves
- 1 to 2 dry red chilies
- 1 pinch asafoetida (hing)
- ¼ teaspoon turmeric powder (ground turmeric)
- 1 to 1.5 cups water or add water as required
- 2.5 to 3 tablespoons lemon juice or add lemon juice as per taste
- salt as required
- 2 to 3 tablespoon chopped coriander leaves – for garnish
Instructions
Cooking lentils
- Rinse and then add the tur dal or pigeon pea lentils in a pressure cooker together with a pinch of turmeric powder.
- Add ¾ to 1 cup water and pressure cook on medium heat for 8 to 9 whistles or till the dal has softened and cooked really well.
- When the pressure settles down on its own, check the dal and mash with a spoon or wired whisk. Keep the cooked lentils aside.
Making lemon rasam
- In a small grinder or chutney grinder, take the chopped coriander, cumin seeds, black peppercorns and roughly chopped green chilies, ginger, garlic cloves.
- Without adding water grind to a coarse or semi-fine paste. Keep aside.
- In a pan or pot, heat sesame oil or any oil and add mustard seeds on low to medium-low heat. Fry till the mustard seeds start crackling.
- Then add curry leaves and red chilies. Fry till the red chilies change their color and darken a bit. Don't burn them.
- Now add the ground coarse herbs and spices paste along with a pinch of asafoetida (hing) and turmeric powder. Stir and mix very well on low heat.
- Add the cooked lentils and add 1 to 1.5 cups water. Stir again to mix well.
- Season with salt and again stir.
- On a low to medium heat simmer the rasam for 5 to 6 minutes.
- Switch off the heat. Wait for 1 minute and then add 2.5 to 3 tablespoons of the lemon juice.
- You can add more or less as required and as per your taste. Instead of lemon you can also add lime juice. Stir to combine.
- Garnish with coriander leaves and serve lemon rasam with steamed rice or drink it as a soup.
Notes
- Instead of lemon juice, you can use lime juice but add as required depending on your taste preferences.
- Use fresh coriander and other herbs to get the best flavors. Make sure the lemons or limes are also fresh.
- It is best to savor this lemon rasam as soon as it is made. The flavors and taste change when the rasam is refrigerated.
Nutrition Info (Approximate Values)
This Lemon Rasam recipe post from the archives first published in July 2015 has been republished and updated on 25 June 2022.



nice!
tried this today tasted great. thank you for sharing 🙂
welcome sara and thanks for the review on lemon rasam.
Super hit at our home!!! Thank you
Welcome Megha
Hi
Simply SUPER,
thanks jaya.
Thank you so much : I cooked it today and I’m sure I’m going to adopt it as one of my favourite rasam ! Gorgeous ! ☺️
Welcome Vincent. Glad to know this.
Thank u for the wonderful rasam it came out wel
thanks vidya for the feedback on the recipe.
I tried the above and it came well.
thanks smitha for the feedback.
Hi ,,,Dassana, very nice recipe its
thankyou hasina 🙂
Hi Dasana
Loved the recipe.. Tried them and came out amazingly well.
thankyou aarthi glad you liked the rasam 🙂
Hi Dasana…Thanks for this amazing Recipe…! Tried it just now!! n i have to tell it sooooppppeeeerrrrr tasty!!! m in luv wid it…thanks again 🙂
thankyou monica 🙂 we are glad to know this.
I remember my mom’s elder sister making such a rasam. But she doesnt grind the coriander leaves. Instead put it as a bunch so that the flavors steep through into the dal water. Yummmy it was. Happy to be reminded of her rasam .. Thanks Dassana.
welcome sangeetha. thanks for sharing your mom’s elder sister’s recipe variation.
Just love all your recipies.
thanks a lot dr preeti.
Very very Delicious
thanks priyanka.
yummmmy……………………..
I’m a rasam-fan and loved this one. Thanx again
thanks and welcome vimala.
Lemon rasam used to be a favorite when mom used to make it at home. I decided to make this today with arbi fry (used the recipe from your site for that as well). Came out wonderfully well (a little different from mom’s version owing to the coriander and garlic). Will definitely make it again. Thanks for the recipe!
thanks for the feedback sneha and welcome. coriander does give its own taste to the rasam. i also plan to add the simple lemon rasam minus the coriander.
very tasty and simple
Like ur interesting recipes luv them
Superb receipe. I was searching for some twist in soups. Will surely try
thanks pooja
Also let me know if moong daal can also b added to this along with tuvar daal??
urjita, you can add moong dal.
Hello m goin to try this rasam tonight..along with it I want to have rice bt not plain .kindly suggest some rice recipe with this rasam.
urjita, usually plain steamed rice goes well with rasam. you can add some ghee on top of the rice while serving.
Thanks for all your awesome recipes. I am sure going to make this rasam and garlic cheese bread. Punjabi bhendi also. We are non veg, enjoy eating veg recipes. Clear clicks and thanks step by step pictures.
welcome celine. nice to know this.
My favorite rasam. so comfort food. Nice pot
thanks sreedevi. favorite at our home too 🙂
dassana…i read your blog as daily ritual…always waiting for new recipes to come…your cooking not only suggest yummy food but also healthy alternative. Now i do use organic sugar as often used in your recipes. In this recipe you are using earthen pot…i wonder can it be used on stovetop…please throw light on this..
Do write a post on healthy alternatives….many of us will be benefitted.
Thanks for efforts putting in writing recipes in most elaborative way.
thanks rutba. yes this is the kerala chatti which can be used on a stove top. in kerala as well in goa we get clay pots which can be used on stove tops. the food cooked in these pots taste different. i plan to add such a post. i still have to get some eco friendly cooking pots and pans. this and one manipur clay pot are the only cooking pots i have. when i have an enough range of them, then i will add a post 🙂
Ha, yes this would be very good for colds. Usually my sick food is masoor lentil noodle soup, but this I will try next time.. (but I hope I don’t get sick :P)
thanks ani. stay healthy and fit 🙂
I made eggless cake with flax seed the taste was so delicious and super healthy. Ma’am apka bahut bahut sukriya and all credit goes to u because of you we ppl who dont eat eggs are able to take pleasure of cakes. Love ur blog and hats off to ur hard work.
thanks a lot riya for this sweet and encouraging feedback. glad to read your comment.