Classic ghee rice is a flavorful side dish that features clarified butter (ghee), onions, and lots of rich spices. Follow my easy instructions with step-by-step photos and video to make this one pot ghee rice recipe, and serve alongside all of your favorite Indian dishes! I also share making the recipe in an Instant Pot and stove-top pressure cooker.
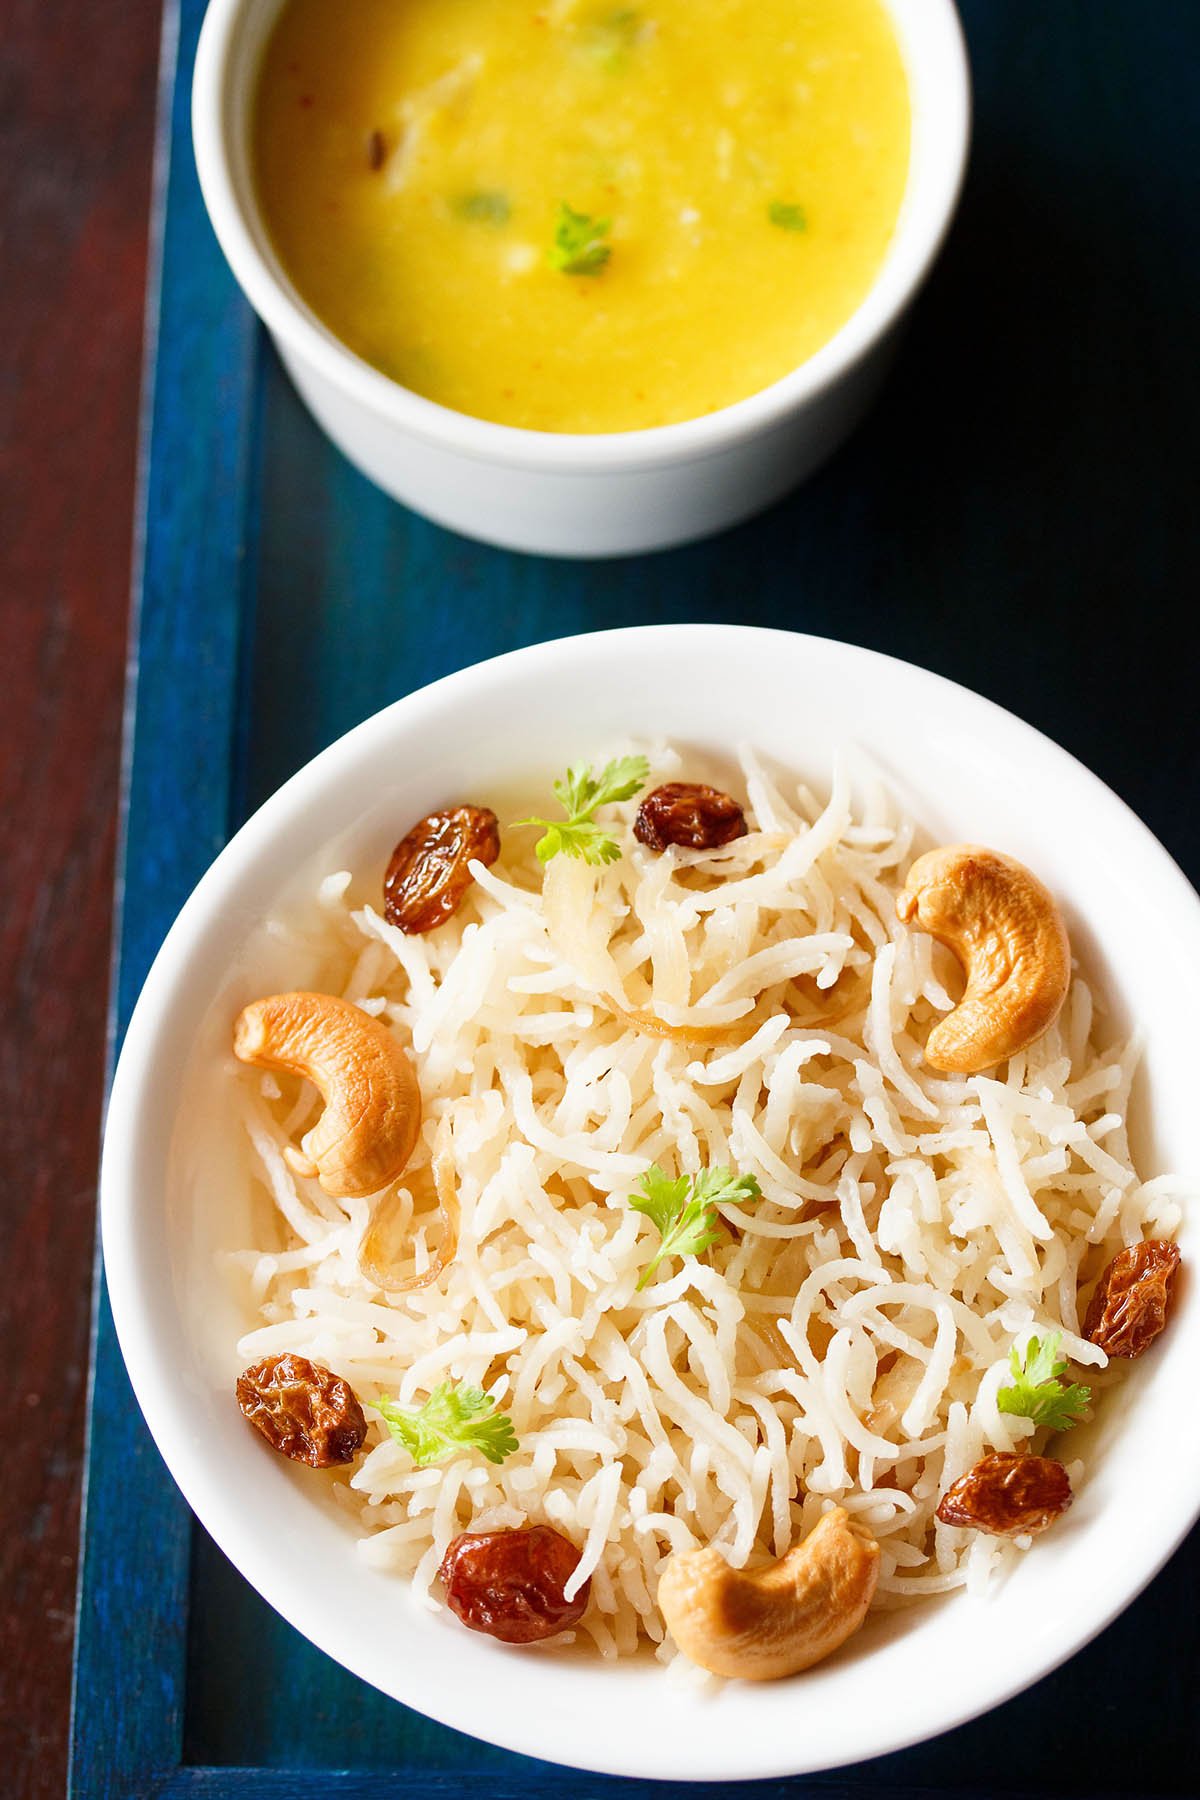
Table of Contents
What is Ghee Rice
Ghee rice is a popular South Indian pilaf like dish made without any vegetables. It is commonly paired with lentils, veggie curries, and korma.
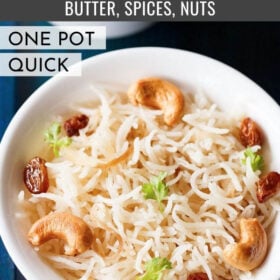
It includes aromatic spices often used in Indian cuisine, caramelized onions, plus cashews and raisins for extra flavor and great textures.
Whenever I make dal recipes at home, I almost always prepare a batch of this ghee rice as well.
The rice is perfect for soaking up the rich gravy of a main dish – but is also tasty enough to enjoy plain on its own!
Start to finish this ghee rice recipe is ready in under fifty minutes (including the soaking time for rice). It is perfect for serving as part of a hearty dinner any night of the week, and leftovers are delicious to enjoy for several days.
How to make Ghee Rice
Soaking Rice
1. First, rinse 1 cup of basmati rice under cool running water, until the water runs clear. Then place the rice in a bowl and cover it with water. Soak the rice grains for 20 to 30 minutes.
TIP: Rinse the rice grains really well so that on cooking the rice grains become fluffy and separate. If the extra starch does not get rinsed from the rice, the dish may end up becoming sticky or lumpy.
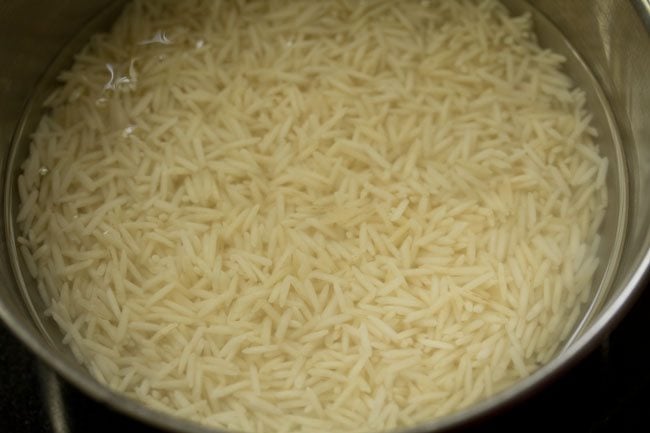
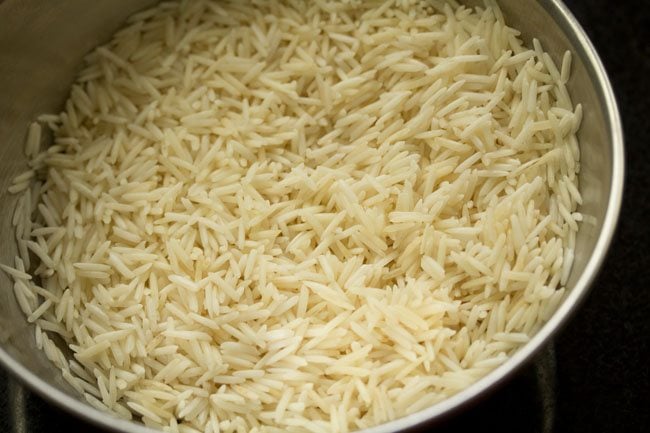
2. After 20 to 30 minutes, drain the water and set the soaked rice aside.
Preparation
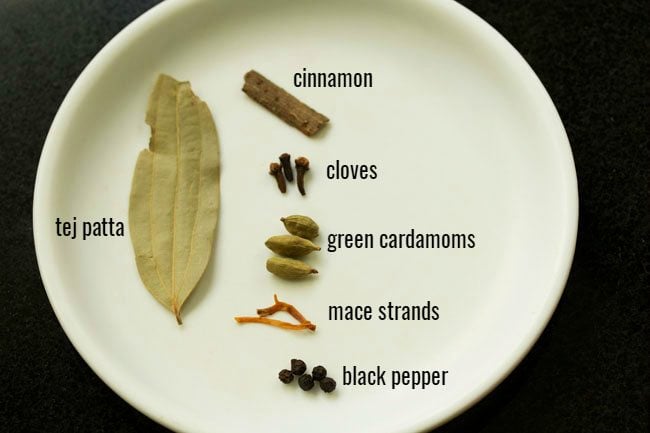
3. For the easiest recipe, I recommend that you gather all of your ingredients before making the dish. In the photo below are the whole spices that we will be adding to ghee rice.
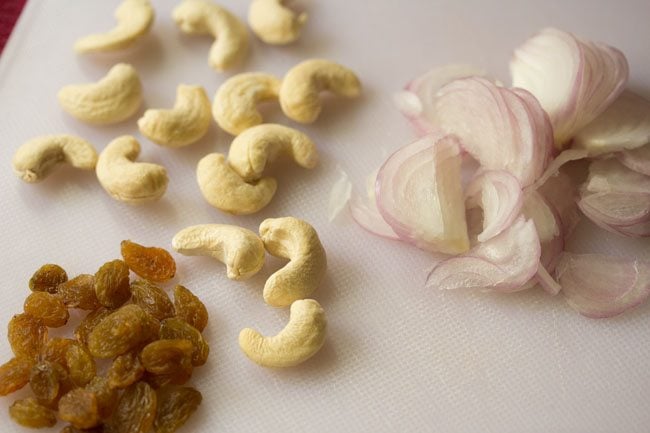
4. Next, slice 1 medium sized onion and set aside. Gather 15 to 18 raw cashews and 1 tablespoon of raisins, and set aside as well.
Frying Cashews, Raisins
5. Heat 3 tablespoons of ghee in a thick bottomed pot or a thick bottomed pan. Keep the flame to a low so that you do not burn the clarified butter.
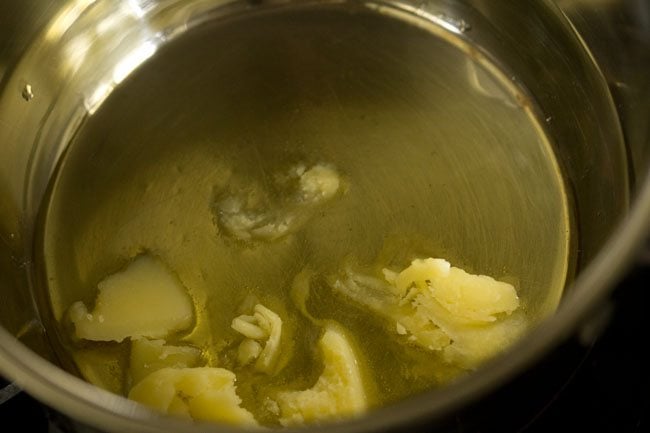
6. Once the ghee is melted and hot, add the cashews to the pot.
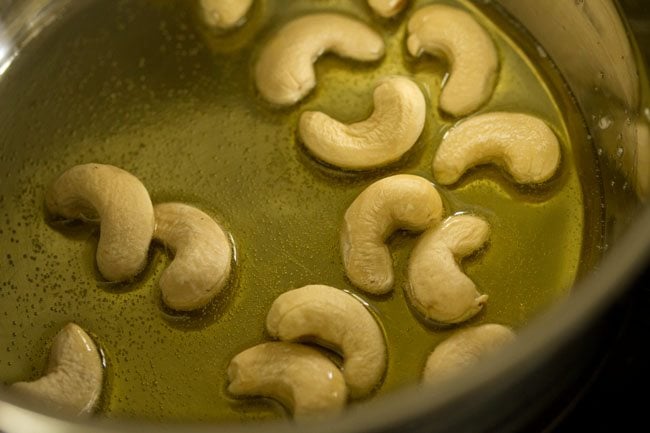
7. Fry until you see light brown specks on a few of the cashews, but do not burn.
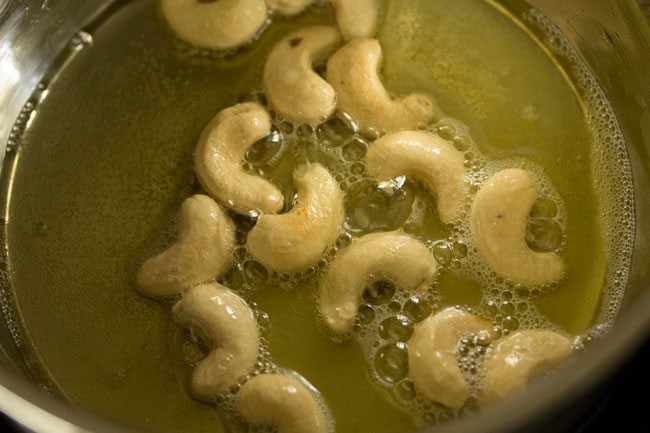
8. Then add the raisins.
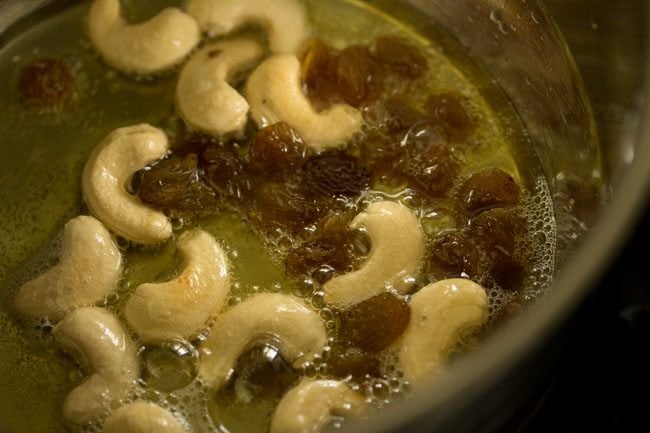
9. Fry until the raisins puff up a bit in the ghee. Be sure to continuously stir as the cashews and raisins cook so that they do not become too brown and bitter.
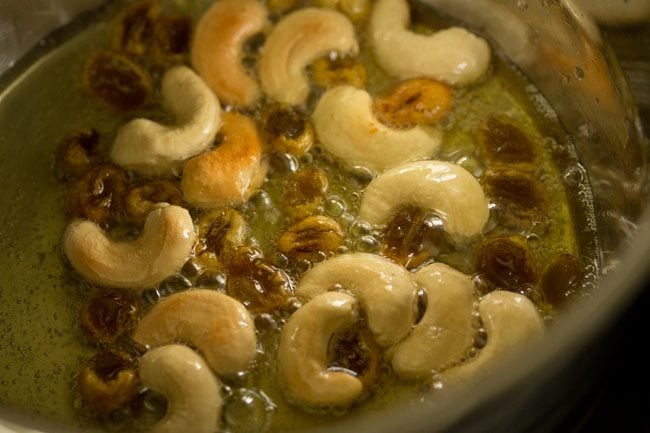
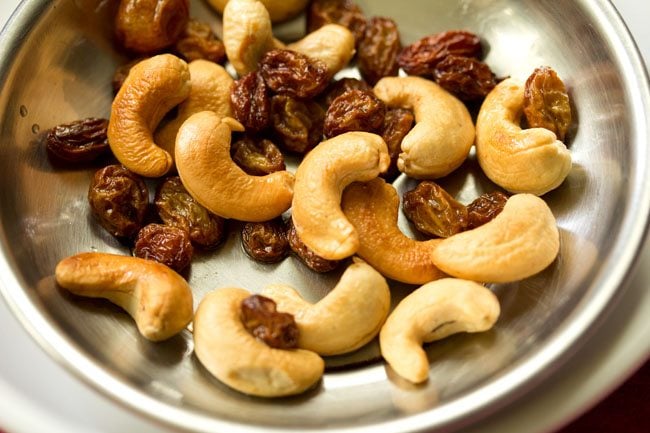
10. Remove the fried cashews and raisins with a slotted spoon, and set aside.
Sautéing Onions and Rice
11. Now to the same melted ghee in the pot, add the whole spices and stir. Let them crackle for a few seconds and become fragrant, but do not burn the spices.
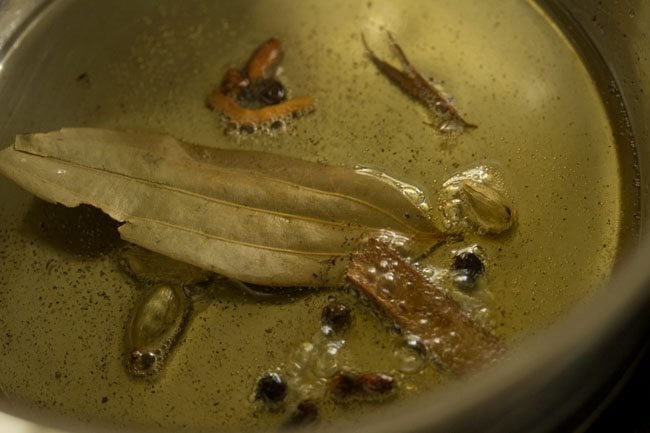
12. Immediately add the sliced onions, and stir.
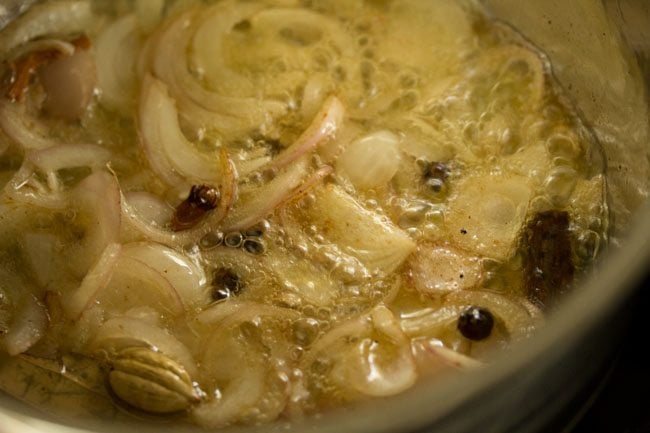
13. Continue to stir as you saute the onions until they turn golden and caramelize.
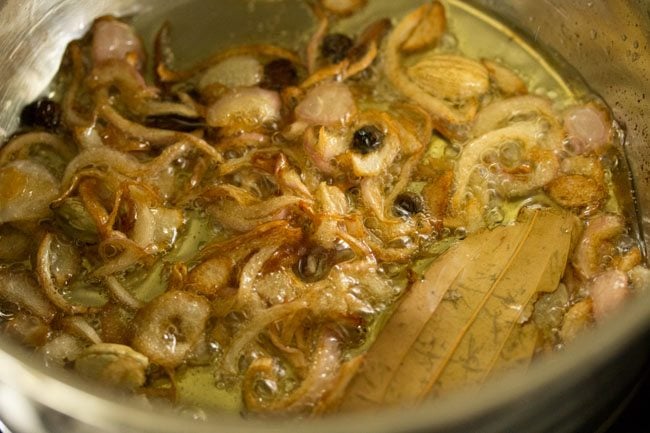
14. Next add the soaked rice to the pot.
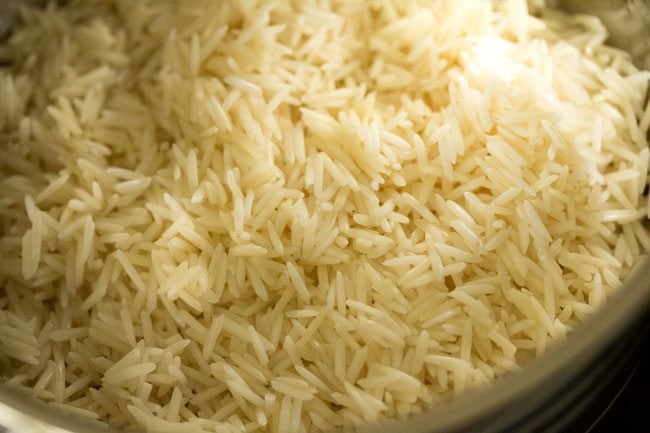
15. Gently stir the rice for a couple of minutes with the seasonings so that the ghee coats the rice well. Do not over-stir or the rice grains may break.
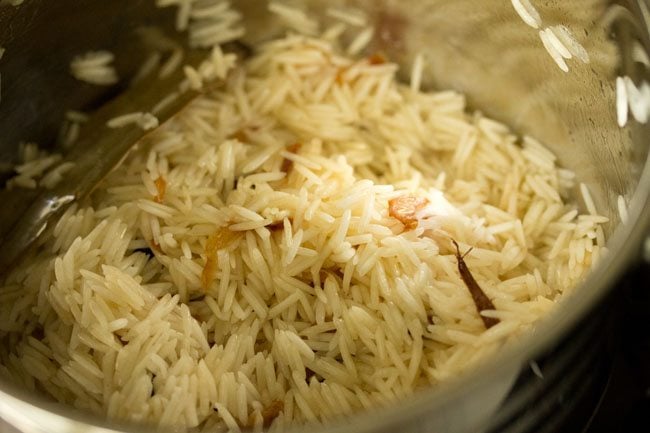
16. Now add 1.5 to 2 cups of water to the pot, depending on what brand of rice you are using. The rice should be completely covered by the water.
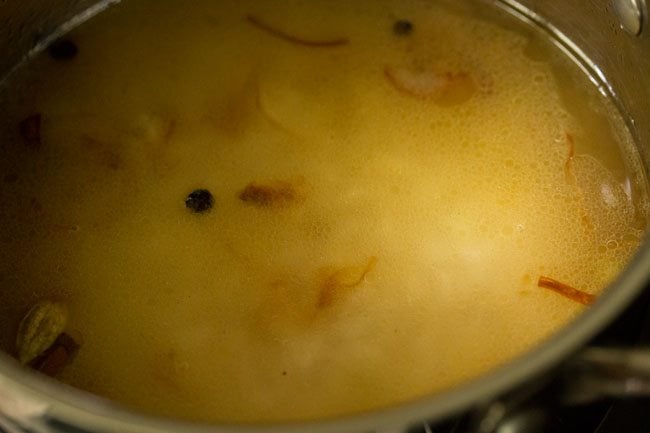
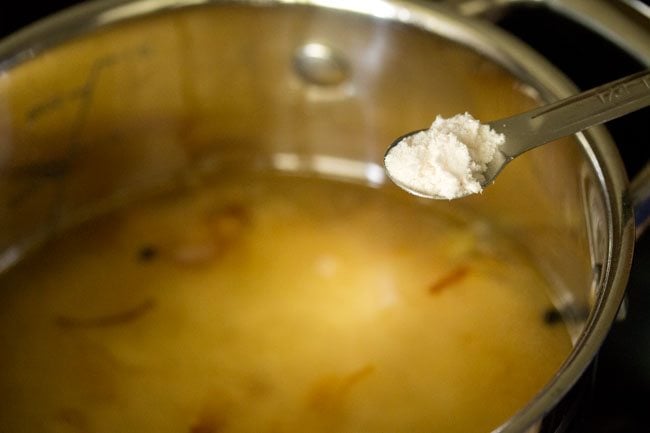
17. Season with salt to your preference: Taste the water as you add a little bit of salt at a time to get just how you like.
Generally, the water should taste a bit salty, but you can reduce the salt if you like. Sometimes, I also like to add ½ teaspoon of lemon juice, but this is optional.
Cooking Ghee Rice
18. Increase the temperature if needed to bring the water to a simmer, then reduce back to low heat. Cover the pot with a tight fitting lid.
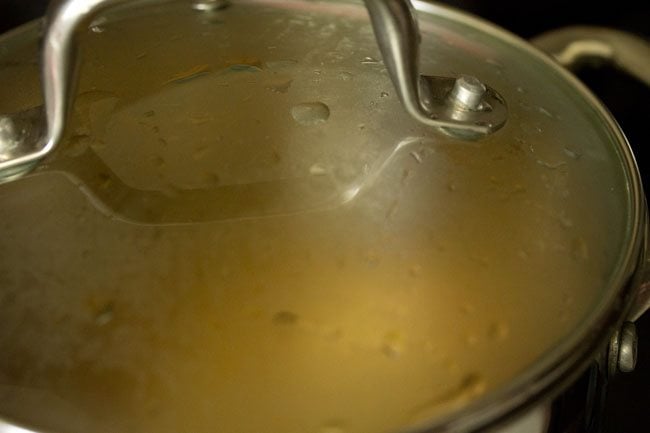
19. Simmer for about 8 to 9 minutes, until the rice is cooked and all the water is absorbed.
Check once or twice while the rice cooks: if the water has been absorbed and the rice grains are undercooked, you can add a tablespoon or so of more hot water and continue cooking.
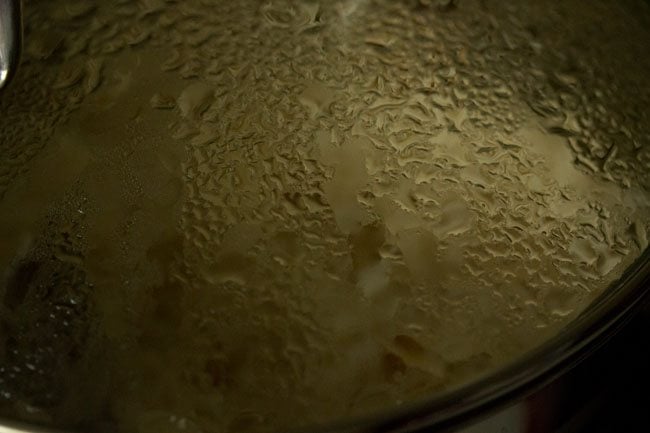
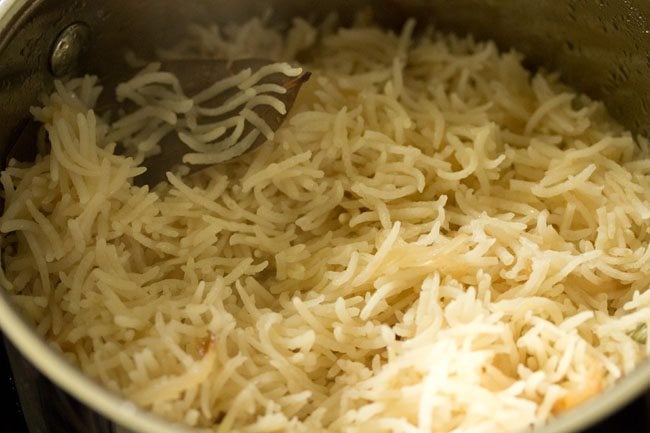
20. Once the rice is cooked, remove from the stovetop and allow to rest while covered for another 5 to 6 minutes. Then remove the lid and gently fluff the rice with a fork.
Serving Suggestions
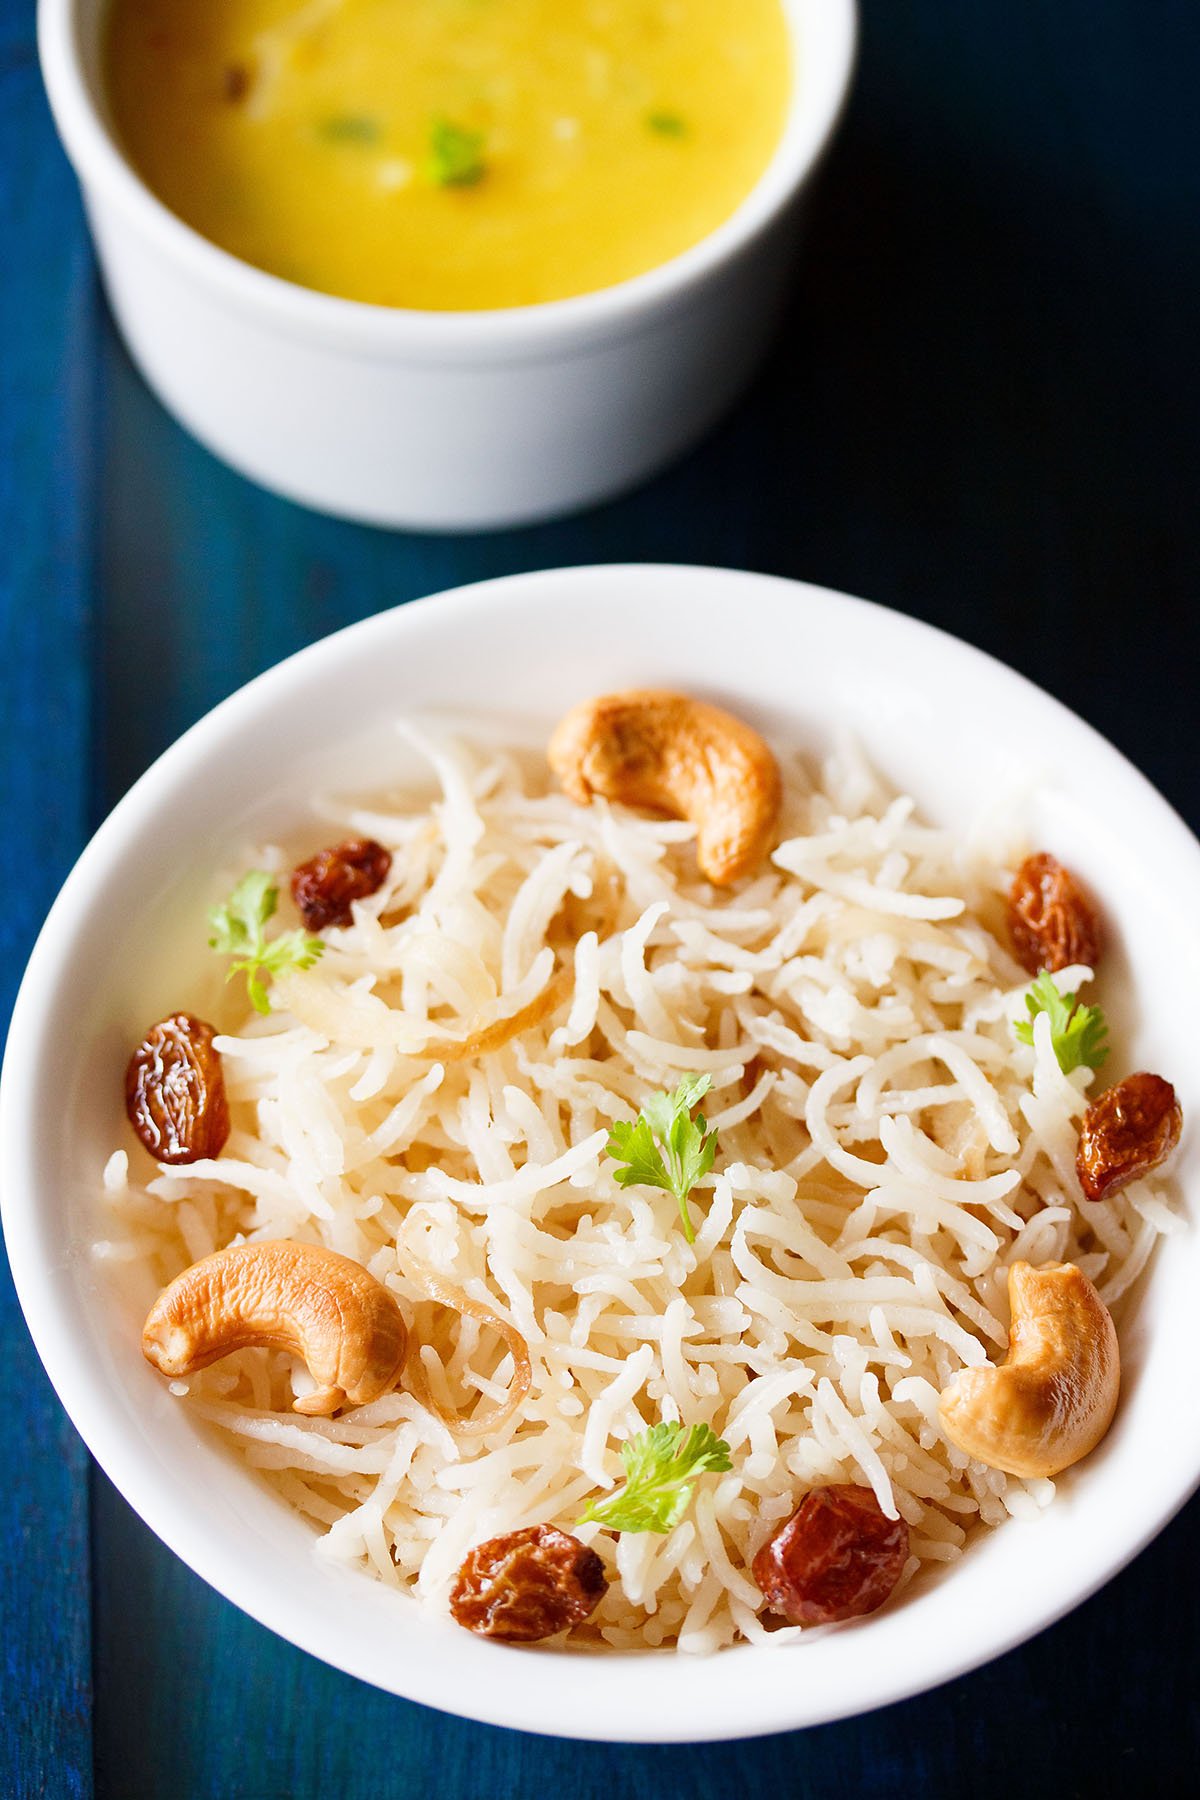
21. Garnish ghee rice with the fried cashews and raisins, and serve hot. For an extra pop of fresh flavor, you can also top it with some chopped coriander or mint leaves.
Enjoy ghee rice plain on its own or as a delicious side dish. It is perfect to pair with gravy based dishes like rich Curry Recipes, with dals, or korma varieties like Veg Kurma or Potato Kurma.
Storage
Keep any leftovers in your refrigerator for 1 to 2 days. Reheat by steaming in the Instant pot or in a pan for 5 minutes.
Instant Pot Ghee Rice
- Frying cashews and raisins – Firstly press the sauté button on your Instant Pot. Set the sauté mode to ‘less’ mode. Let the display show “hot”. Add the cashews first. When they begin to get light golden, add raisins and fry until the raisins become plump. Remove them and set aside.
- Frying spices and onions – Add the spices and let them crackle. Tip in the sliced onions. Now set the sauté mode to ‘normal’. Sauté onions until golden. Stir often so that the onions cook evenly.
- Adding rice – Next add the soaked and drained rice. Mix the rice grains very well.
- Adding water – Pour 1.25 cups water and salt as needed. Mix well and deglaze.
- Pressure cooking – Seal IP with its lid. Position the pressure valve to the sealing position. Pressure cook on high for 5 minutes.
- Waiting time – When you hear the IP beep after the pressure cooking is complete, wait for 10 minutes before doing a quick pressure release.
- Serving – Carefully lift the valve to remove the extra pressure and steam. Remove the lid. Gently fluff the rice and serve hot garnished with the fried cashews, raisins and coriander leaves.
Stove-top Pressure Cooker Method
- Frying dry fruits – For making ghee rice in a stove-top pressure cooker, follow the steps of frying the cashews, raisins in the ghee in a 2-litre pressure cooker.
- Sautéing onions, rice – Fry the whole spices, sauté onions until golden in the remaining ghee inside the cooker. Add the rice and mix well. Pour 1.5 to 1.75 cups water and season with salt.
- Cooking – Pressure cook for 7 to 8 minutes on medium to medium-high heat or for 2 whistles. Let the pressure fall naturally in the cooker. Open and fluff the rice. Serve hot or warm.
Difference between Ghee rice and Nei Choru
There is a variation to this rice dish called as Nei Choru from the Kerala cuisine that is made with Kaima rice and has a different flavor profile than this recipe.
The reason being Nei choru has a different combination of whole spices, is made with a unique variety of South Indian short grained rice known as kaima rice or seeraga samba rice. It also features fried onions as a garnish that brings some crispy sweet caramelized texture to the dish.
Helpful Tips
- Rice: I personally love to make this ghee rice recipe with basmati rice or seeraga samba rice. However, feel free to use any variety of rice you prefer. Just make sure it is a rice that has separate grains that will not stick together when cooked.
- Soaking: I do recommend to soak rice for a minimum of 20 minutes. Soaking rice makes them more fluffier while cooking. They also take less time to cook.
- Ghee: Make the dish with desi ghee or a good brand or homemade ghee for the best taste, flavor and aroma in the dish.
- Spices: Use fresh spices which are in their shelf life. Do not use spices which have become rancid or stale.
- Nuts and raisins: For more crunch and protein you can add more cashews. To make a sweeter version, add more raisins to the ghee rice recipe. You can also include almonds and pistachios for a non-traditional version.
- Added protein: Though not the norm, but some pan fried tofu or paneer can be added to the rice as a garnish or topping. Boiled chickpeas or canned chickpeas, simple and plain or which have been lightly sautéed in some ghee or oil with a bit of salt, red chilli powder or black pepper can be mixed with ghee rice. I sometimes do add some leftover cooked chickpeas and they taste delicious with the rice. Mix the chickpeas gently once the rice is cooked or you can adding them as topping on the rice.
- Veggies: Though veggies are never included in ghee rice, but for fussy eaters who do not eat vegetables, this recipe is a great way to sneak in some veggies.
- Scaling: As-is this recipe serves 2. It can easily be doubled to serve 4, or serve half for dinner now and save the other half to enjoy as leftovers. Cooled leftover ghee rice will keep well in a sealed container for up to 1 day in the refrigerator.
FAQs
Yes, you can do that.
Probably because you added too much of water or overcooked the rice.
I would not suggest to replace oil with ghee. But you can make it with unsalted butter which will give the rice a buttery taste.
Yes, absolutely. Heat ghee and fry the cashews, raisins, spices, onions and add to the rice. Combine and serve.
More Tasty South Indian Rice Recipes!
Rice Recipes
South Indian Food Recipes
Rice Recipes
Rice Recipes
Please be sure to rate the recipe in the recipe card or leave a comment below if you have made it. For more vegetarian inspirations, Sign Up for my emails or follow me on Instagram, Youtube, Facebook, Pinterest or Twitter.
Ghee Rice (Easy One Pot Recipe)
Ingredients
main ingredients
- 1 cup basmati rice – 190 grams
- 3 tablespoons Ghee (clarified butter)
- 15 to 18 cashews
- 1 tablespoon raisins (without seeds)
- ⅓ cup thinly sliced onions – 50 grams or 1 medium-sized
- 1.75 to 2 cups water for stove-top pan and 1.25 cups for instant pot
- ⅓ teaspoon rock salt (edible and food grade) or add as required
- 1 to 2 tablespoons chopped coriander leaves (cilantro) for garnish
whole spices
- 1.5 inches cinnamon
- 3 green cardamoms
- 3 cloves
- 2 single strands of mace
- 4 to 5 black peppercorns
- 1 tej patta (Indian bay leaf)
Instructions
Preparation
- Rinse basmati rice in water until the water runs clear of starch. Soak the rice grains for 20 to 30 minutes in enough water.
- Later drain the water and keep the soaked rice aside.
- Before cooking, gather all the ingredients and set aside – the whole spices, cashews and raisins.
- Slice 1 medium sized onion and set aside.
Frying cashews and raisins
- Heat 3 tablespoons ghee in a thick bottomed pot or a thick bottomed pan. Keep the heat on a low.
- Add the cashews first. Fry till you see light brown specks on a few of the cashews.
- Then add the raisins. Fry until the raisins puff up in the ghee. Do stir continuously while frying the raisins and cashews.
- Remove with a slotted spoon and set aside.
Sautéing onions and rice
- To the same ghee, add the whole spices and let them crackle and turn fragrant. Do not burn the spices.
- Then immediately add the sliced onions.
- Stir and sauté until the onions turn golden or caramelize.
- Now add the soaked rice.
- Gently stir the rice so that the ghee coats the grains evenly.
- Now add 1.75 to 2 cups of water. Add water as required depending on the quality of rice. Some brands of basmati rice need only 1.5 cups of water. So add water accordingly.
- Season with salt as per taste. I have used edible and food grade rock salt. If using any other salt, then add as per your taste. Check the taste of the water and it should taste a bit salty.
Cooking ghee rice (stove-top)
- Cover the pan with a tight fitting lid.
- Simmer until the rice is tender and all the water is absorbed. Time take will be about 8 to 9 minutes or more depending on the quality, age of rice and the kind of pan.
- You can check once or twice while the rice is cooking. If the grains are under cooked and the water has dried up, add some tablespoons of water all over. Gently stir with a fork. Cover and continue to cook.
- Once the rice grains are fluffy and tender, rest for 5 to 6 minutes. Later remove the lid. Fluff the rice gently with a fork.
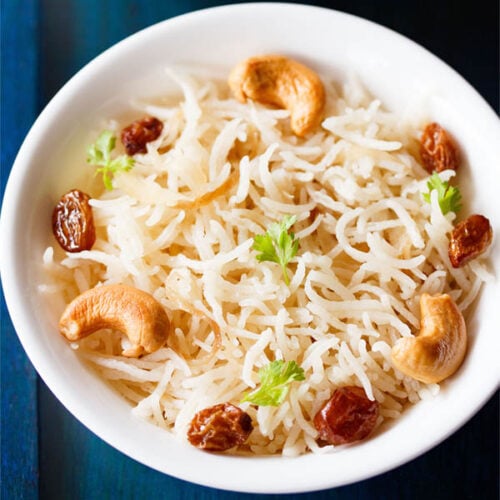
- Serve ghee rice hot or warm garnished with fried cashews & raisins and some chopped coriander leaves. It tastes so good, that you can even have it as it is without any accompanying curry or dal or kurma.
Instant pot ghee rice
- Firstly press the sauté button on your Instant Pot. Let the display show “hot”. Add the cashews first. When they begin to get light golden, then add raisins and fry until the raisins become plump. Remove them and set aside
- Add the spices and let them crackle. Tip in the sliced onions and sauté until golden.
- Now add the rice. Mix the rice grains very well.
- Add 1.25 cups water and salt as needed. Stir well deglazing and removing any stuck bits of ingredients.
- Seal IP with its lid. Position the pressure valve to the sealing position. Pressure cook on high for 5 minutes.
- When the IP beeps after the pressure cooking is complete, wait for 10 minutes before doing a quick pressure release.
- Carefully lift the valve to remove the extra pressure. Remove the lid. Gently fluff the rice and serve hot garnished with the fried cashews, raisins and coriander leaves.
Stove-top Pressure Cooker Method
- First heat the ghee and then fry the cashews, raisins in a 2 litre pressure cooker. Set the fried cashews and raisins aside with a slotted spoon.
- Then fry the whole spices and sauté onions until golden in the remaining ghee inside the cooker.
- Add the rice and mix well. Pour 1.5 to 1.75 cups water and season with salt as needed.
- Pressure cook for 7 to 8 minutes on medium to medium-high heat or for 2 whistles. Let the pressure fall naturally in the cooker. Open and fluff the ghee rice. Serve hot or warm.
Serving suggestions
- Garnish the ghee rice with the fried cashews and raisins, and serve hot or warm. For an extra pop of fresh flavor, you can top with some chopped coriander or mint leaves.
Storage
- Keep any leftovers in your refrigerator for 1 to 2 days. Reheat by steaming in the Instant pot or in a pan for 5 minutes.
Video
Notes
- Rice: I personally love to make this ghee rice recipe with basmati rice or seeraga samba rice. However, feel free to use any variety of rice you prefer. Just make sure it is a rice that has separate grains that will not stick together when cooked.
- Soaking: I do recommend to soak rice for a minimum of 20 minutes. Soaking rice makes them more fluffier while cooking. They also take less time to cook.
- Ghee: Make the dish with desi ghee or a good brand or homemade ghee for the best taste and aroma in the dish.
- Spices: Use fresh spices which are in their shelf life. Do not use spices that have become rancid or stale.
- Nuts and raisins: For more crunch and protein you can add more cashews. To make a sweeter version, add more raisins to the recipe. For a non traditional version, you can include almonds or pistachios.
- Added protein: Though not the norm, but some pan fried tofu or paneer added to the rice as a garnish or topping and will taste good. Boiled chickpeas or canned chickpeas, simple and plain or which have been lightly sautéed in a bit of ghee or oil with a few pinches of salt, red chilli powder or black pepper can be mixed with ghee rice. Mix the chickpeas gently once the rice is cooked or you can adding them as topping on the rice. On occasions I add some leftover cooked chickpeas to the rice and they taste delicious.
- Veggies: Vegetable are never added in ghee rice. However for fussy kids who do not eat vegetables, this recipe is a good way to sneak in some veggies like carrots, spinach, bell pepper, green peas etc.
- Scaling: As-is this recipe serves 2. It can easily be doubled or tripled. Cooled leftover ghee rice will keep well in a sealed container for up to 1 day in the refrigerator.
- Sticky or mushy rice: If you overcook the rice or have added more water the rice grains will become mushy or sticky.
Nutrition Info (Approximate Values)
This ghee rice recipe from the blog archives (July 2016) has been republished and updated on 26 February 2021.


Great and delicious recipe! Took time to make but worth the effort. Thank a lot for all your hard work.
Thank you and welcome.
Delicious…so tasty it works as a stand alone dish…super comforting food
Thanks for the review and rating.
Thanks Dassana for the tasty recipe. I have been a regular visitor to your website since 8 years. I have enjoyed most of your recipes- reading and making the dish. The recipes are written in a simple yet descriptive manner. My family has relished them every time. Way to go!
thank you very much neetha. felt good to read your comment. thanks again and wish you all the best. happy cooking.
Excellent!
thank you.
Cooked for the first time since my wife was unwell.The recipe was simple and my kids refuse to let my wife cook anymore.thank you.
welcome ashok. glad to see the rating and the feedback on ghee rice recipe. hope your wife recovers soon. all the best.
Very nice. I tried many recipes and really it came so yummy…Thanks a lot…
thanks veena for letting me know. welcome and happy cooking.
I’ve been following your recipes ever since I moved out for college. This is one of my favourites! To make it simpler, I don’t roast the cashews or raisins separately, but just allow them to cook with the rice. Really yummy. I served it with a simple kurma and papppadum and pickle.
thanks a lot. yes, that can be done. both cashews and raisins can be cooked with rice. cashews when cooked with rice give a really good flavor. happy cooking.
Thank you so much for posting so delicious recipes. Your website is a life saver for me. I never cook anything without looking for the recipes at ur blog first. My MIL is si impressed with my recipes.
All thanks to you
thank you farha for sharing this lovely feedback. glad to know that the recipes are helping you. happy cooking ????
Hello, when you say you can cook this rice in the pressure cooker, does it come out nice and fluffy like it does cooking the conventional way? Which way do you prefer? Also I want to cook this in an electric pressure cooker, so would I use high pressure or low? Should I release the pressure right away or let it sit first? How long before I open the lid? Love your recipes!
in a pressure cooker the rice can turn out slightly sticky. to avoid this rinse the rice very well in water till the water is clear of all the starch. i prefer both. usually i cook plain steamed rice and pulao in a pressure cooker.
i have not used an insta cooker. so i cannot tell exactly how the rice has to be cooked. but i guess you can use high pressure and let the pressure be there before opening the lid. also give a time of at least 7 to 8 minutes before you open the lid.
I’ve always loved eating ghee rice. but never knew how to make it. when I saw ur recipe I was super thrilled. made it for my sister-in-law’s in-laws. it turned out to be so good, they packed d leftover rice to carry with them!!!
thank u so much?
welcome nandini glad to know you liked the ghee rice recipe. thank you for your kind and positive words.
very nice it was
I tried
thank you shruthi 🙂 for your positive feedback.