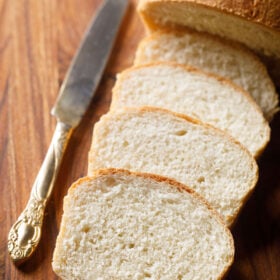
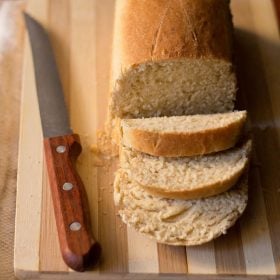
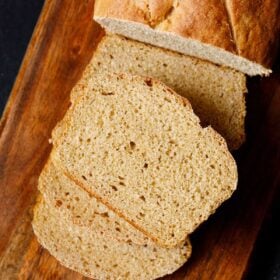
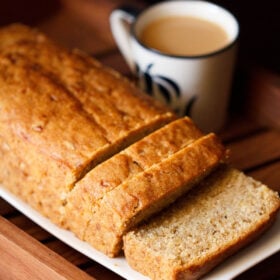
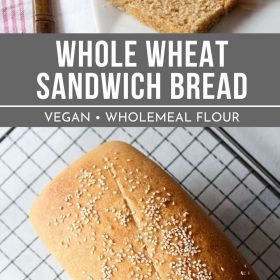
If you are a Sandwich lover, just like I am, then you should know about the different varieties of breads that can be used to make them. One of the most common choices apart from the regular white bread is actually the Sandwich Bread, which is a particular choice for the same. On this post, I have shared a recipe for the same, which if followed well, can help you bake a nice whole meal sandwich bread at home that can be used to make all your lovely sandwiches and otherwise too. The recipe has minimal ingredients and is vegan too.
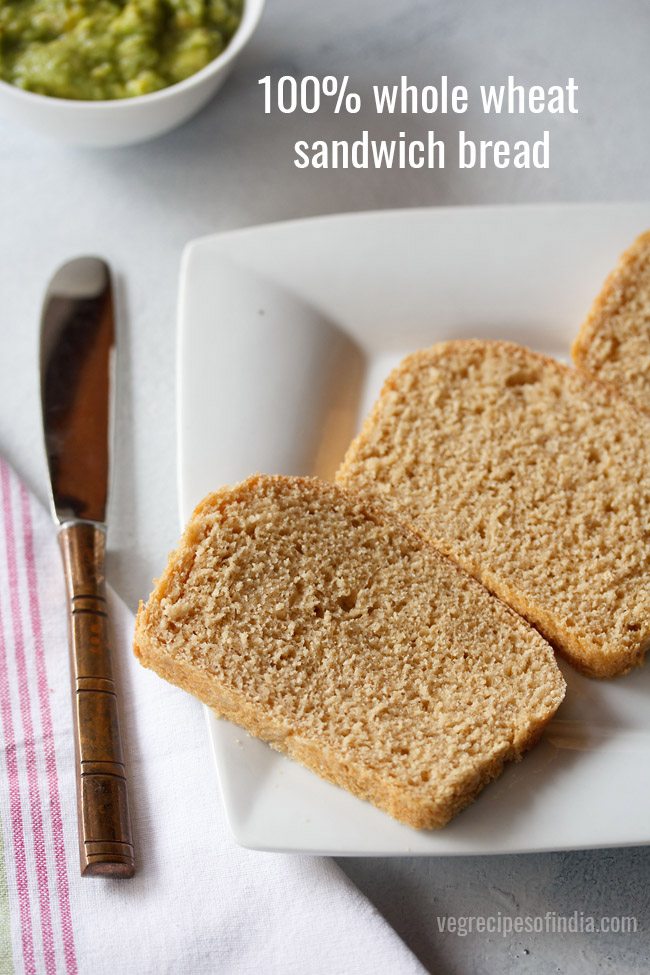
Table of Contents
About Sandwich Bread
This recipe is my tried and tested way of baking a good soft Sandwich Bread at home, that too, with whole wheat flour (or atta). I often make sandwiches at home.
The recipe does require precision and some efforts, but if followed to the T, it results in the perfect bread.
Though I may not add as much sandwich recipes here, but I do make them as a quick snack or for brunch.
And since I totally support homemade products, I also end up baking my own breads at home. When I plan to make sandwiches, I bake the loaf a day or two before.
Most of the times I bake breads at home. But yes, on rare occasions, due to time constraints, I do buy whole wheat or multi-grain loaves from the market too.
On a side note, in addition to this recipe of Sandwich Bread, I have also added some more bread recipes on my blog that you must try.
This Sandwich Bread is similar to this recipe of Whole Wheat Bread on my blog. With just using wholemeal flour and yeast, you can get a nice soft-textured and wholesome Sandwich Bread too.
I do not use vital wheat gluten as I am not comfortable adding it to breads. I might as well use some all-purpose flour instead, if required.
Sandwich Bread Essentials
This Sandwich Bread recipe does not use vital wheat gluten or any other ingredient to help make the bread soft. You just need to knead the dough well.
A tiny amount of lemon juice added in the dough helps in the gluten development and gives a soft, light crumb in the bread. Without any signs of heaviness or denseness. Thus, making it perfect for sandwiches.
When I made the Sandwich Bread dough at home, I prepared it in the evening. After the second rise, I refrigerated the dough and baked it in the morning. If you want, you can also follow this method.
Refrigerating the Sandwich Bread dough overnight helps in better leavening. This method uses the sponge method, after which the dough is kneaded. So, there is some waiting time between leavening of the sponge and then for the 2 rises.
I have also used instant yeast in this recipe of Sandwich Bread. You can even use fresh yeast or dry active yeast. Remember that with fresh yeast and dry active yeast, the rising time of the bread will increase.
You can make plain, toast or grilled sandwiches or other bread snacks with this wholesome Sandwich Bread. Since no milk product is used in the bread, the bread can be easily frozen or stored for more than a week in the refrigerator.
This Sandwich Bread recipe yields one loaf. But you can even double the recipe and make 2 loaves. If you have a stand mixer, then you can use it to knead the dough.
How to make Sandwich Bread
Make Sponge Mixture
1. Add ½ teaspoon instant yeast and 1 tablespoon sugar in 1 cup warm water. Stir and mix well. The water should be lukewarm and not even slightly hot or on the cooler side.

2. Next, add 1.5 cups whole wheat flour.
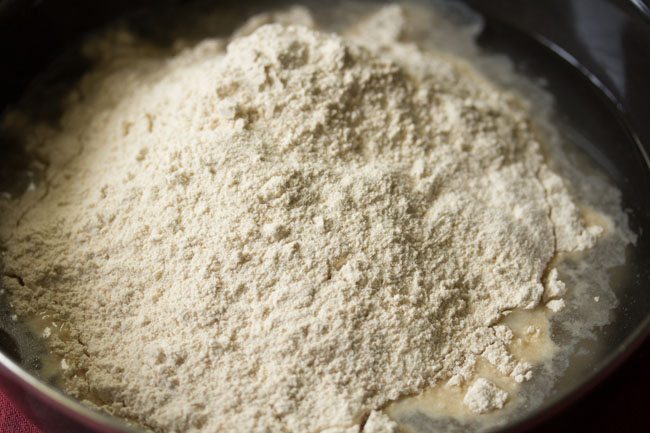
3. Mix the flour in the yeast solution very well. Cover and let this mixture sit for 45 minutes to an hour.
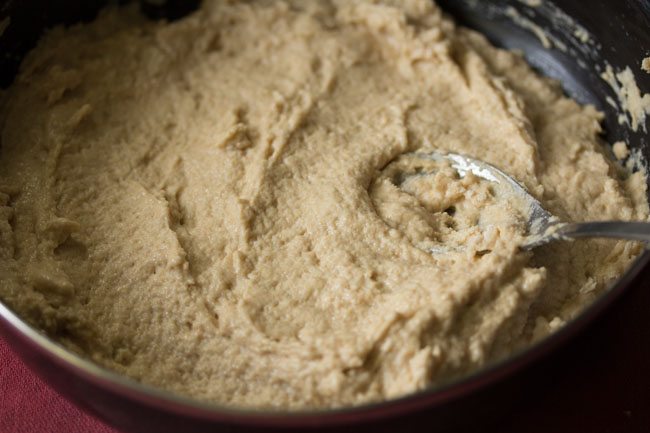
4. Here is the sponge mixture after 50 minutes.
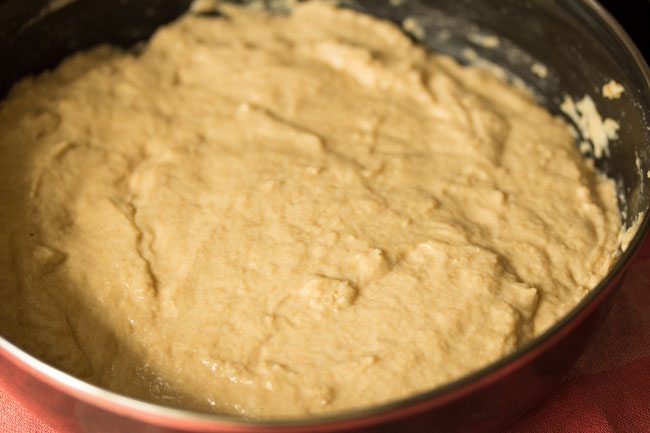
5. When you stir the mixture, you will see that it has leavened very well. With small tiny air pockets in it.
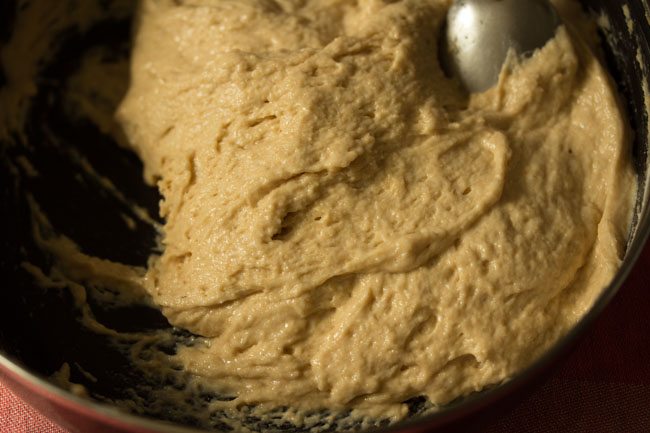
6. Now, add 2 tablespoons oil and 1 teaspoon salt. Mix again with a spoon.
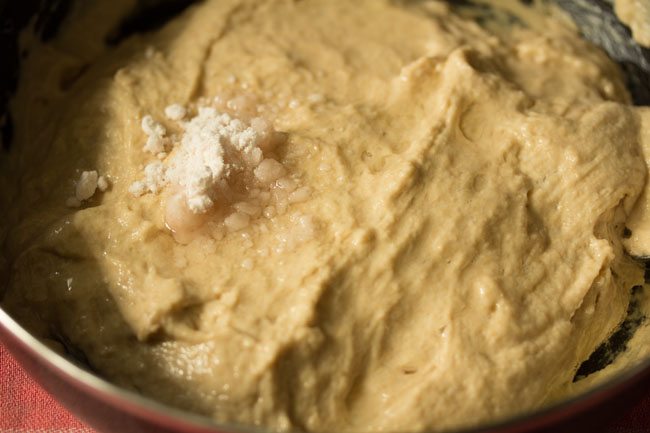
Make Dough
7. Add 1.5 cups whole wheat flour again.
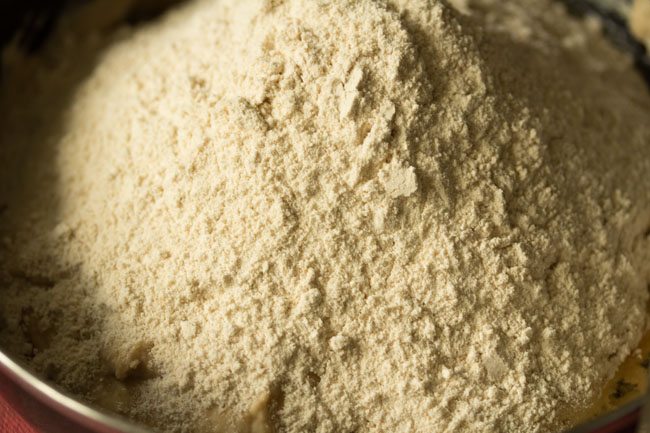
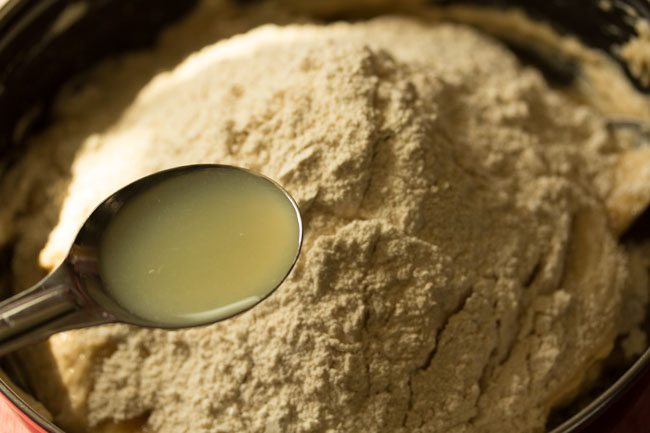
8. Add 1 tablespoon lemon juice. If you do not have lemon juice, you can use 1 tablespoon vinegar, buttermilk or yogurt or curd.
If using vinegar, then use regular white vinegar or apple cider vinegar.
9. Begin to mix and then knead the dough for 8 to 10 minutes. You can also use a stand mixer for kneading the dough.
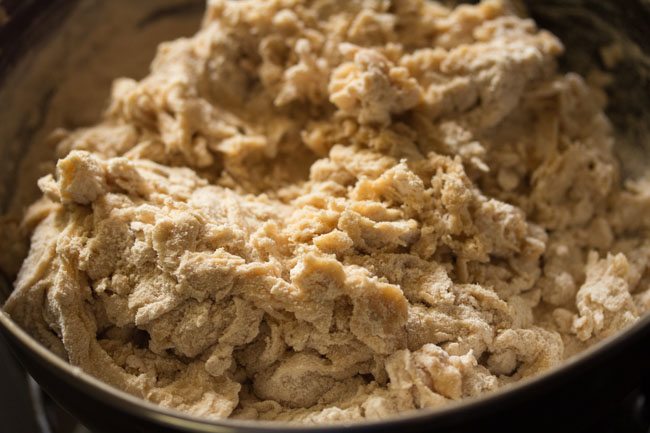
10. Knead to a smooth, soft dough. Flatten and keep the dough in the same bowl or in another bowl. Cover with a lid and keep for 45 minutes to 1 hour for the first rise.
The dough is slightly sticky. If the dough feels too sticky, you can add some more flour and knead.
I have not added any water later. In case the dough looks dry and stiff, you can add some water.
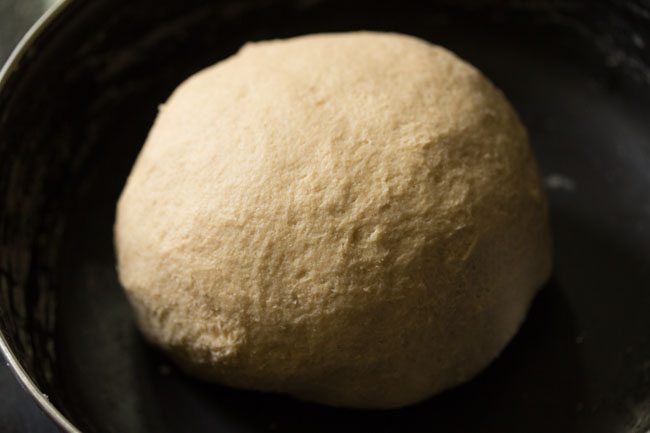
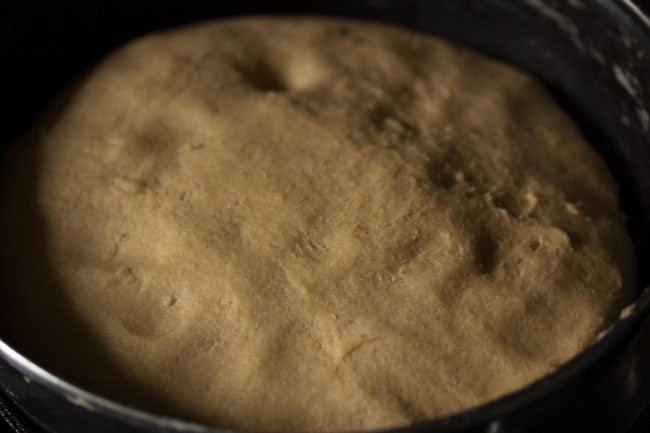
11. The picture below is of the dough after 55 minutes. The dough will leaven resulting in an increase in the volume.
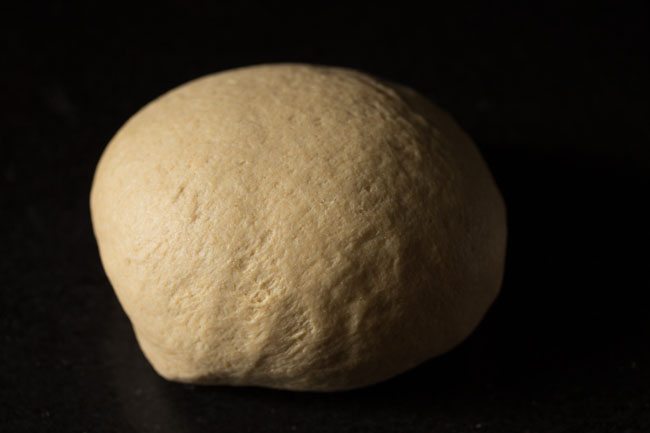
12. Lightly knead the dough again.
Shape Sandwich Bread
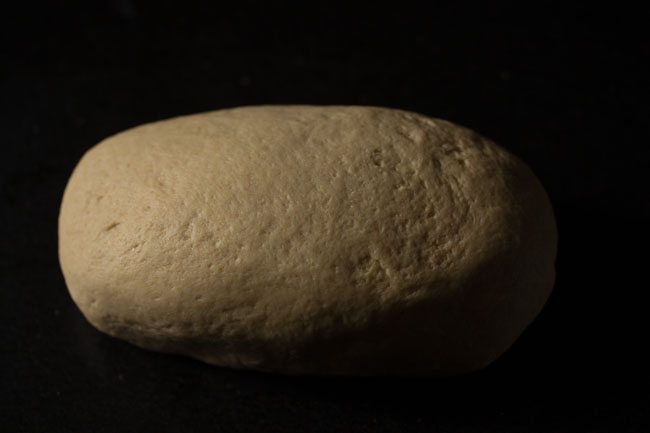
13. Make into a log shape.
14. Place the log shaped dough in a well-greased loaf pan ( 8 x 4 x 2.5 inches). Allow for the second rise for 30 to 45 minutes.
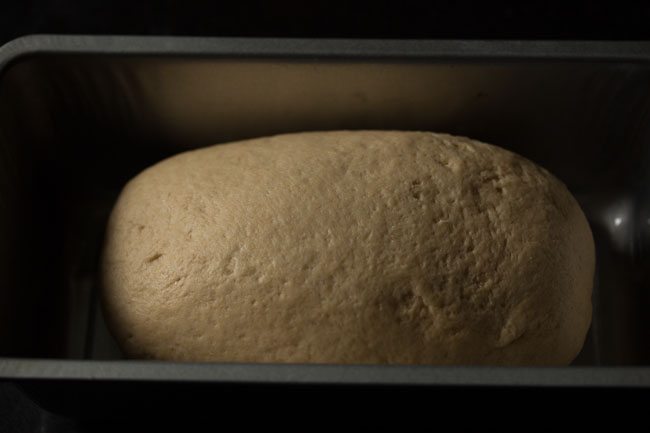
15. The picture below is that of the dough after 32 minutes. I did not bake after the second rise, and kept the dough in the refrigerator.
I sealed the pan with an aluminium foil, covered it with a kitchen cotton towel and then kept the pan in the refrigerator.
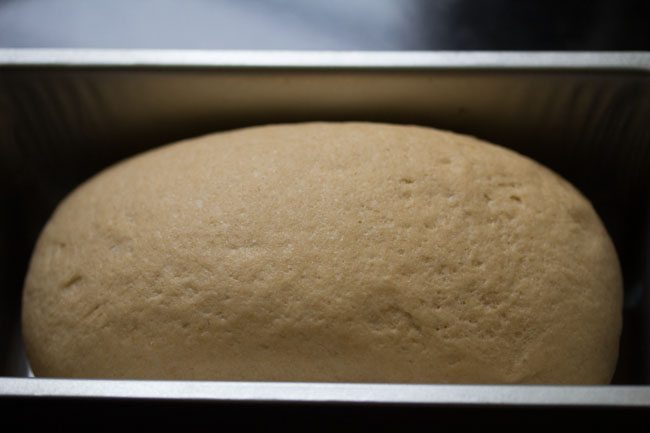
16. This the dough next day. You can see the difference in the way the loaf has risen and has covered the whole area of the pan as compared to the above picture.
So, if you have time, you can follow this method. Do cover the pan well, so that the dough does not dry out in the refrigerator.
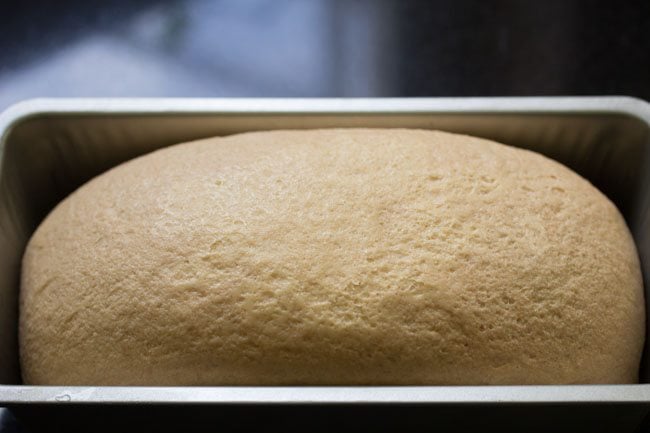
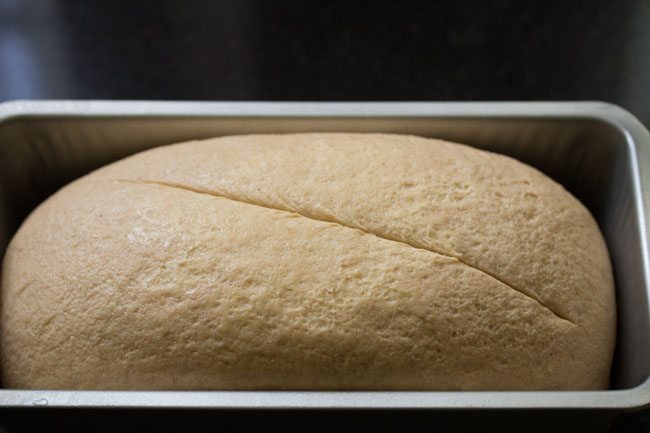
17. Now, make a diagonal slit on the dough, not more than ¼ inch deep. This will give the dough more room for expansion while baking.
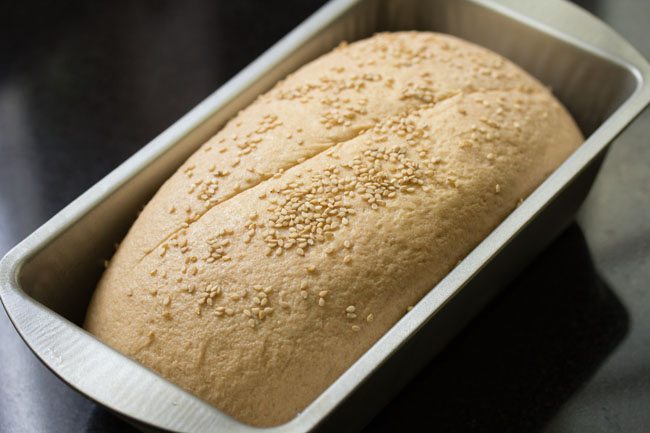
18. Sprinkle some sesame seeds and gently press so that they stick on the dough loaf.
Bake Sandwich Bread
19. Bake the loaf in a preheated oven at 200° C/390° F with the only bottom heating element on.
The preheating time is 20 minutes at the same temperature of 200° C/390° F.
Place the loaf pan in the center rack.
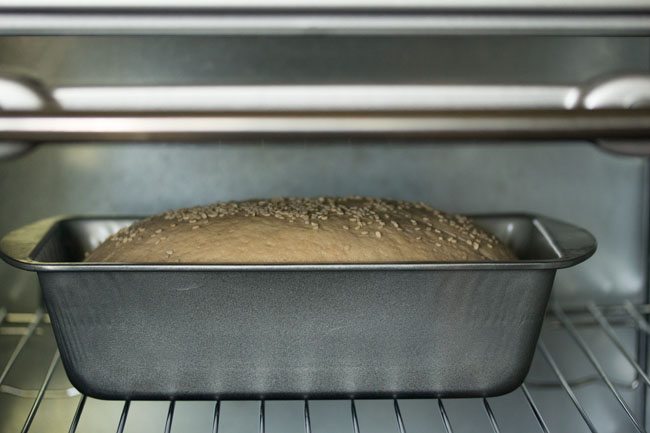
20. Bake Sandwich Bread for 30 to 40 minutes or till the tops and sides are golden.
Also, on tapping the bread, it should sound hollow. In my oven, it took 38 minutes for the bread to bake.
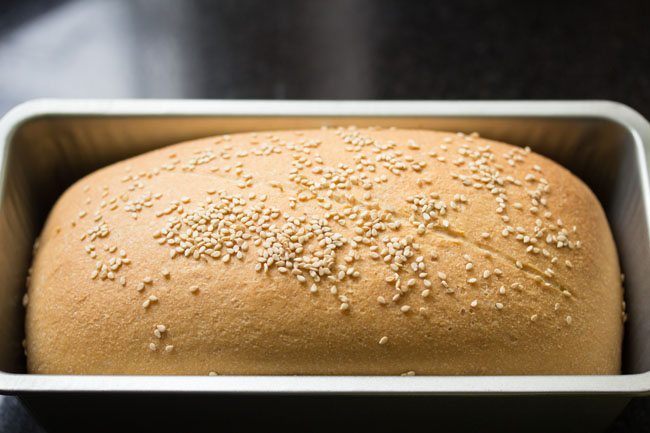
21. After 5 to 6 minutes, gently remove the bread loaf from the pan using oven mittens or oven gloves.
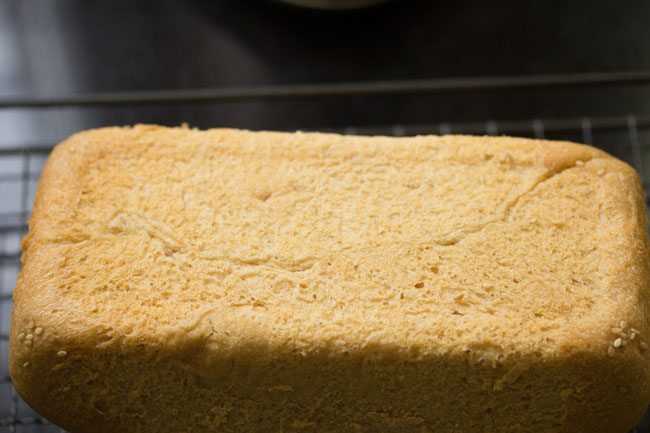
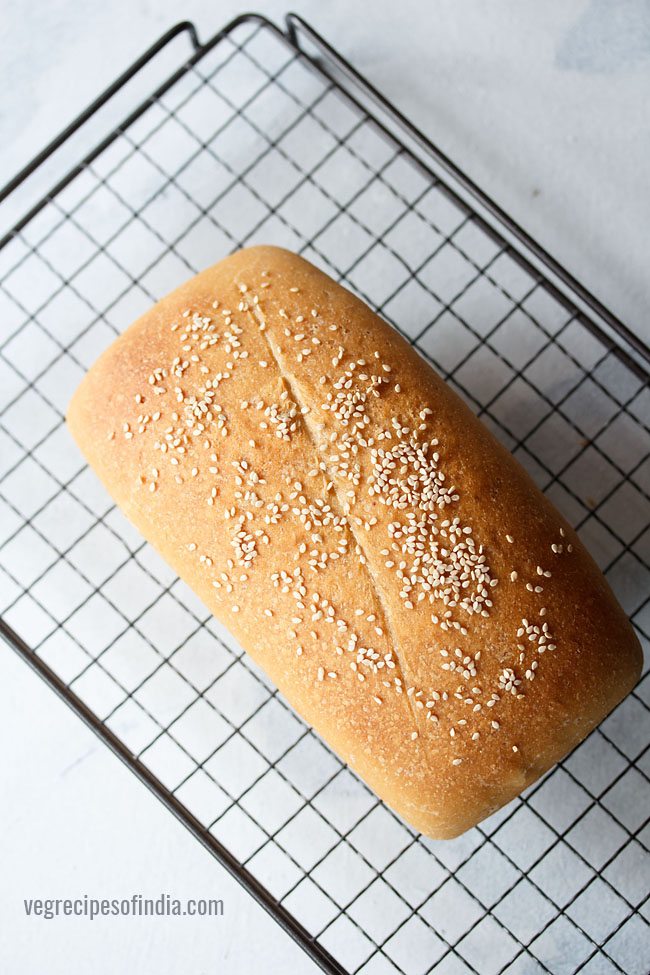
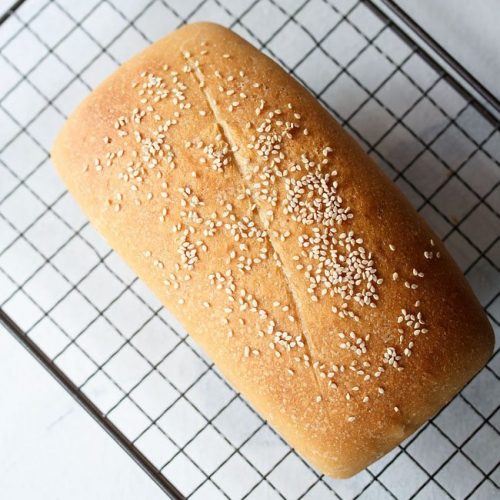
22. Keep the Sandwich Bread loaf on a wired rack to cool down to room temperature. If not using the bread immediately, then once it is cooled, you can keep it in a bread box or in an airtight container.
In case living in a warm and humid climate, then I suggest to refrigerate or freeze the loaf.
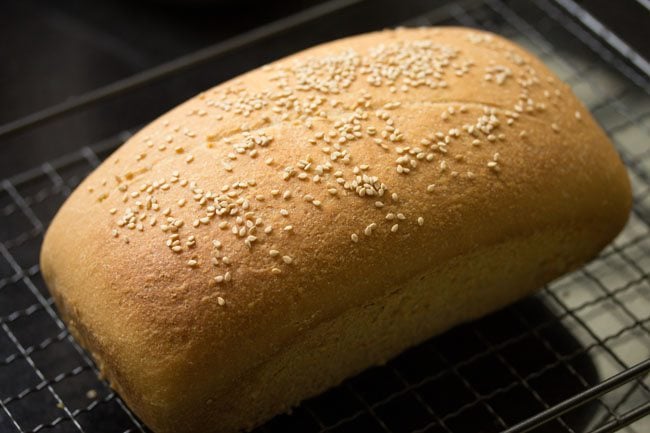
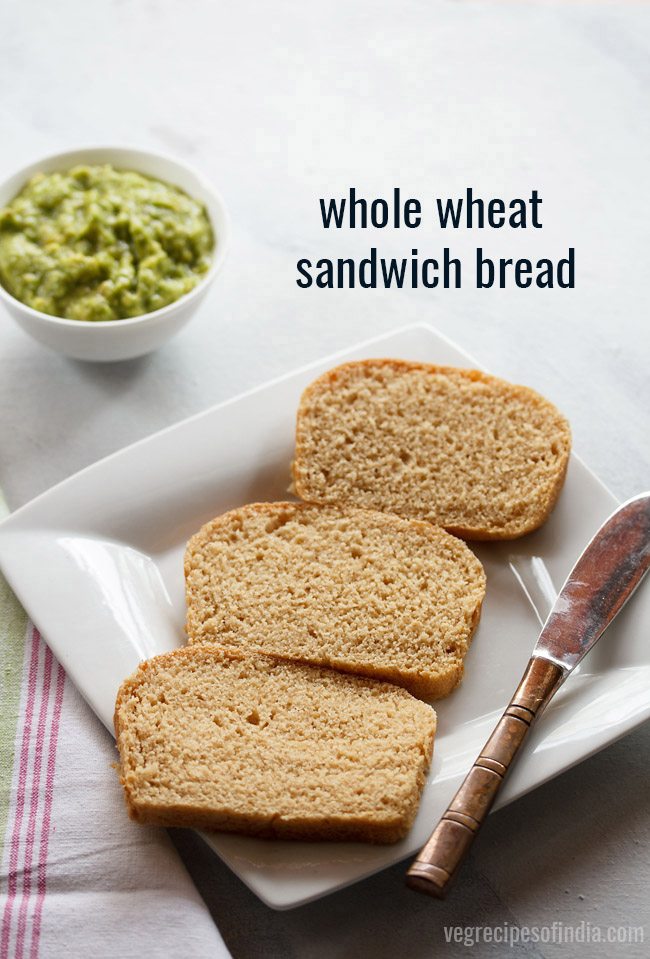
23. Slice the Sandwich Bread and use it to make sandwiches, regular toasts with butter, jam, any spread or dip. I made guacamole sandwiches with it.
Sandwich Bread vs Regular Bread
Although, if you refer to my recipes for both the Sandwich Bread and the regular White Bread, you might find similarities in the ingredient list for both.
Also, the final products may resemble each other in shape and size too. But technically, there are some differences between the two, which make each unique.
So, what exactly are the factors that make them different? To begin with, as the name goes, a Sandwich Bread is actually baked keeping in mind the ease with which it can be used to just make sandwiches. Though at home, you may use it for other purposes too.
Mostly this bread also has a even texture throughout, unlike some artisan breads which have an uneven crumb and texture with holes. There is a soft texture throughout in this bread as compared to some other breads which have a chewy texture.
A traditional Sandwich Bread should have thinner slices as compared to that of the regular bread. Thinner slices means that you can prepare your favorite sandwich that has a better proportion of bread to ingredients that get stuffed between the slices. This way, you get the best of both the things – bread slices and the filling.
Another obvious differentiator between a Sandwich Bread and regular bread is that the former usually has slices cut into a more squarish form. Whereas, a basic white bread loaf can have rounded or dome-shaped edges on the top or flat square edges, both.
The square slices of a Sandwich Bread helps in giving a uniform shape to an assembled sandwich. Thus, making it look even.
This also adds to the ease of consuming a sandwich on the whole. However, if you are making the Sandwich Bread loaf at home, you can even keep the edges otherwise, as I have done in my recipe.
Expert Tips
- Flour: Easily swap the wholemeal flour with all-purpose flour or bread flour. Depending on the quality of flour, you can add less or more water. The dough has to be supple, pliable, elastic like and slightly sticky. If the dough is too sticky, add some more flour and knead.
- Sweeteners: Instead of sugar, you can use palm sugar, raw sugar, brown sugar, coconut sugar and jaggery. If you want, you can reduce the sugar to 2 to 3 teaspoons. Avoid adding honey as a sweetener, as it becomes toxic when heated.
- Acidic Ingredients: In case you don’t have lemon juice, use 1 tablespoon vinegar, buttermilk or curd (yogurt). You can either use apple cider vinegar or white vinegar.
- Yeast: You can also use dry active yeast or fresh yeast. With both dry active yeast and fresh yeast, the leavening time will increase for the first and second rise.
- Storage: Once the bread cools, store in an airtight container or box, if not using immediately. You can refrigerate or freeze the bread loaf if living in warm, hot and humid weather conditions.
More Yeasted Breads To Try!
Bread Recipes
Bread Recipes
Bread Recipes
Indian Breads
Please be sure to rate the recipe in the recipe card or leave a comment below if you have made it. For more vegetarian inspirations, Sign Up for my emails or follow me on Instagram, Youtube, Facebook, Pinterest or Twitter.
Sandwich Bread (Classic and Homemade)
Ingredients
For sponge
- 1 cup warm water or add as required
- ½ teaspoon instant yeast or ¾ teaspoon dry active yeast or ½ tablespoon fresh yeast
- 1 tablespoon raw sugar or regular sugar, add your preferred sweetener
- 1.5 cups whole wheat flour – 180 grams
To be added later
- 1.5 cups whole wheat flour – 180 grams
- 2 tablespoons oil – any neutral flavored oil or olive oil, I added sunflower oil
- 1 teaspoon salt or add as required
- 1 tablespoon lemon juice can also add vinegar or buttermilk or yogurt (curd)
Instructions
Preparing sponge
- Add ½ teaspoon instant yeast and 1 tablespoon sugar in 1 cup warm water. Stir and mix very well.
- Next add in 1.5 cups of the whole wheat flour.
- Mix the flour in the water and yeast solution very well. Cover and let this mixture sit for 45 minutes to an hour.
- When you stir the mixture, you will see that it has leavened very well, with small tiny air pockets in it.
Preparing dough
- Now add 2 tablespoons oil and 1 teaspoon salt to this sponge mixture. Mix again with a spoon.
- Add 1.5 cups whole wheat flour.
- Add 1 tablespoon lemon juice. If you do not have lemon juice, you can use 1 tablespoon vinegar or butter milk or yogurt. If using vinegar, then use regular white vinegar or apple cider vinegar.
- Begin to mix and then knead the dough for 8 to 10 minutes. You can also use a stand mixer for kneading the dough.
- Knead to a smooth, supple, soft, elastic like dough. Now flatten and keep the dough in the same bowl or in another bowl.
- Cover with a lid and keep for the first rise for 45 minutes to 1 hour. The dough will be slightly sticky. If the dough feels too sticky, then you can add some more flour and knead. I have not added any water later. In case the dough looks dry and stiff, then you can add some water.
- After the first rise, the dough will increase in volume. Lightly knead the dough again after the first rise.
- Make into a log shape.
- Place the log shaped dough in a well greased loaf pan. Allow for the second rise for 30 to 45 minutes.
- After the second rise, make a diagonal slit on the dough.
- Sprinkle some sesame seeds and gently press them so that they stick on the dough loaf. This part is optional.
Baking sandwich bread
- Bake the loaf in a preheated oven at 200° C/390° F with only the bottom heating element on. The preheating time is 20 minutes at the same temperature. Keep the loaf in center rack.
- Bake the bread for 30 to 40 minutes or till the tops and sides are golden. Also on tapping the bread, it should sound hollow.
- After 5 to 6 minutes, gently remove the bread loaf from the pan with oven mittens or oven gloves.
- Keep the sandwich loaf on a wired rack for it to cool down at room temperature. If not using the sandwich bread immediately, then once its cooled, you can keep it in a bread box or in an air tight container. If living in warm and humid climate, then I suggest to refrigerated or freeze the loaf.
- Slice the bread and you can make sandwiches. Or use it for your regular toasts with butter or jam or any spread or dip.
Notes
- Feel free to swap in all-purpose flour or bread flour with the whole wheat flour. Add water as needed to make a soft, supple and elastic like dough.
- If you have used dry active yeast or fresh yeast, the dough will take more time each for the first rise and the second rise.
- The recipe can be scaled up to make more sandwich bread loaves. Use a stand mixer to knead the dough if doubling the quantity.
Nutrition Info (Approximate Values)
This Sandwich Bread from the archives, originally published in November 2016 has been updated and republished on February 2023.
