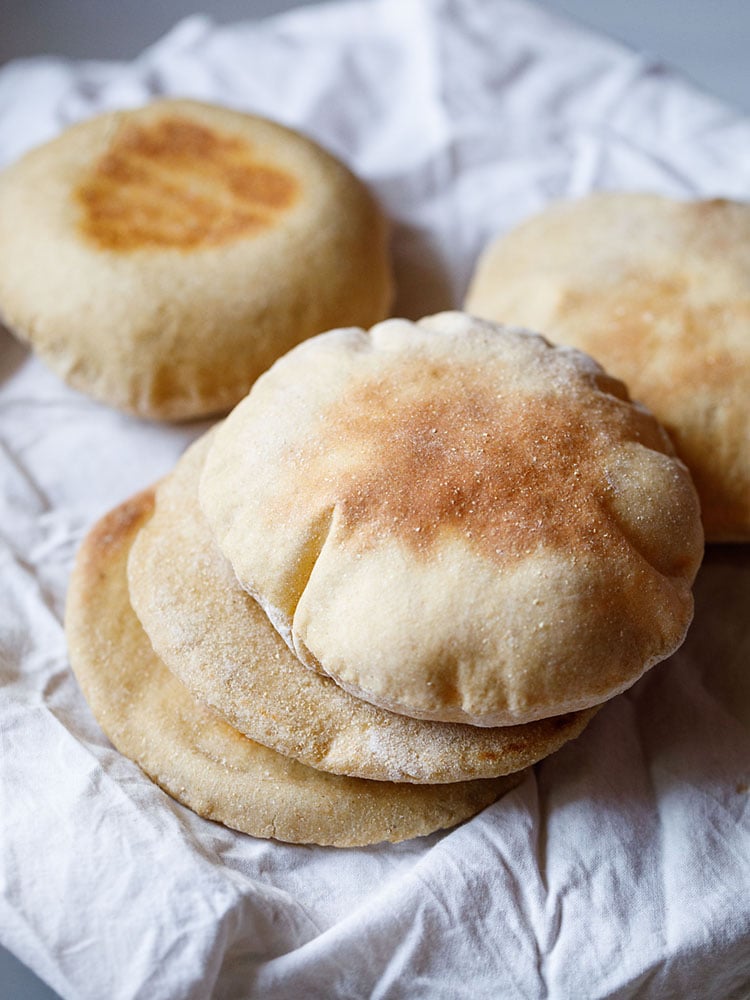
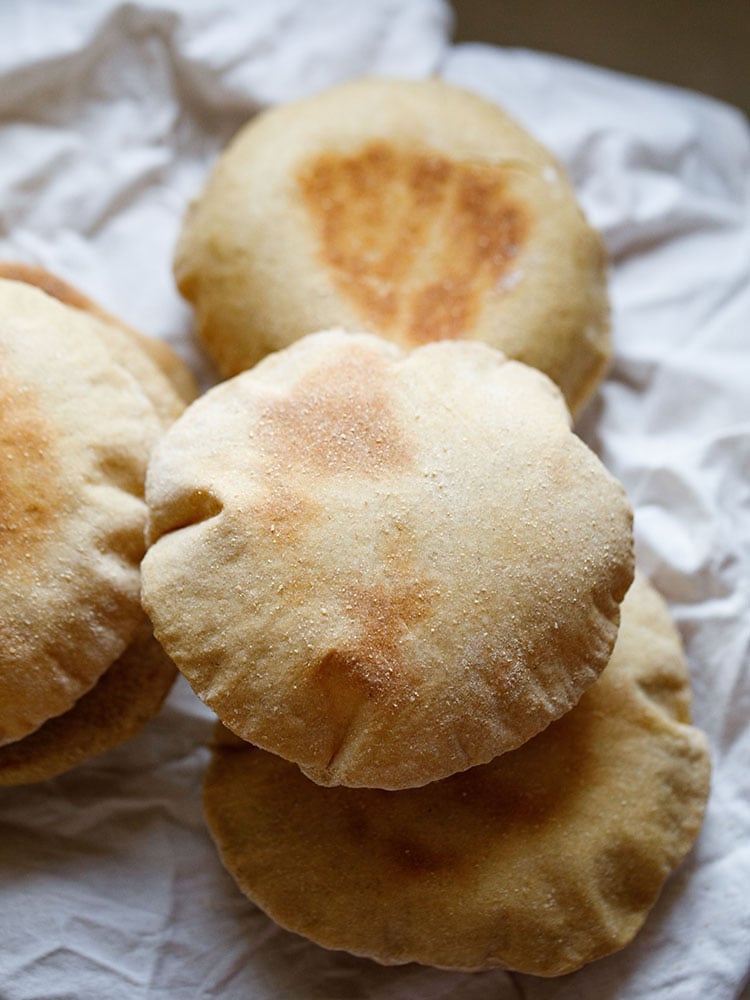
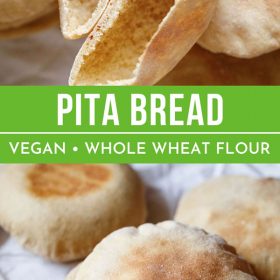
This soft and light Pita Bread is made from whole wheat flour and also has the trademark pita pocket perfect for stuffing with tahini, Hummus, Falafel or anything else you’d like! One of the easiest breads to make, it is also versatile and can be used for so much more than a pocket to put yummy things in. You can toast it to make pita chips or even use it flat to make a quick and easy pita pizza.
About This Pita Bread Recipe
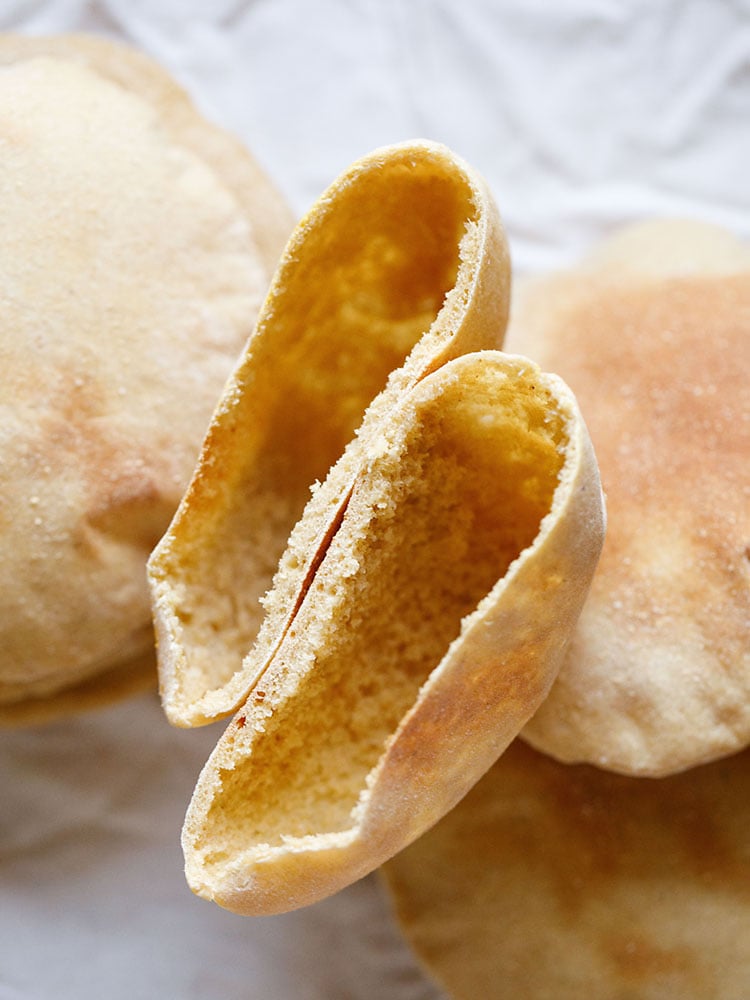
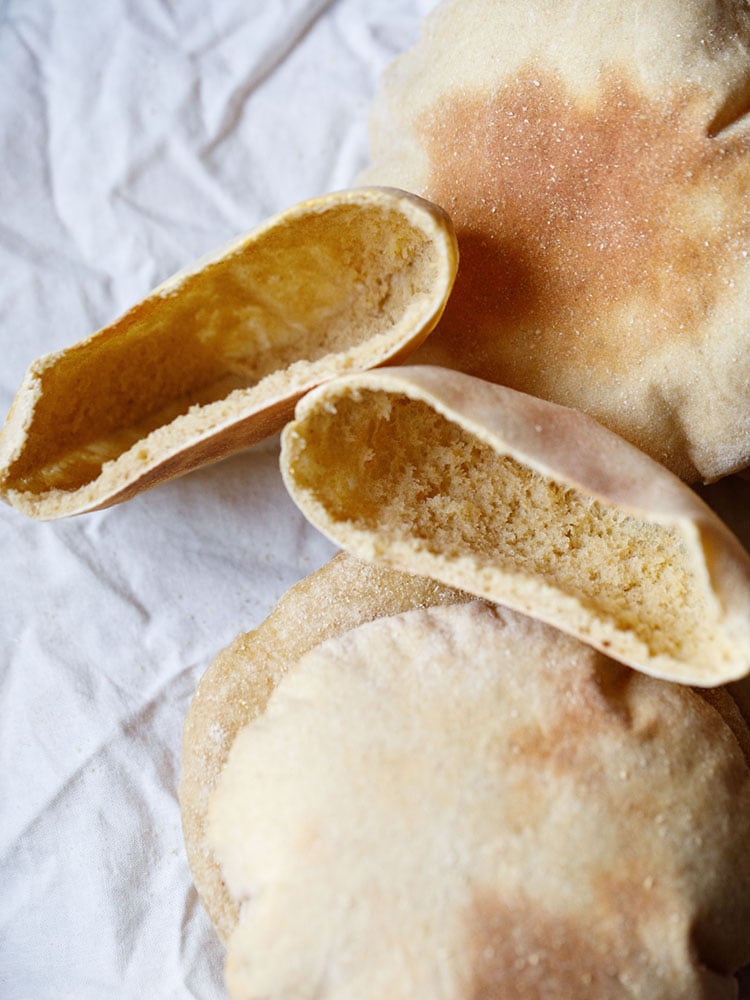
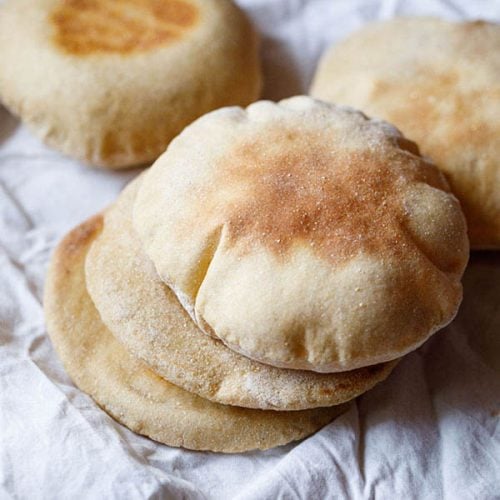
Pita bread is a middle eastern flat bread that puffs up when baked creating an air pocket in the middle. As it cools, it deflates and flattens, but the pocket remains. Then, when you cut it in half, each half has its own pocket.
The first time I made pita bread was on the stovetop and I was so thrilled seeing the bread puffing up. Then later I started making pita bread in the oven and found that this caused it to puff up even further.
The oven baking method also works better because it prevents the bread from getting too browned as it does when making it on a skillet or frying pan.
However, I do allow it to get slightly browned in the oven as well because I prefer my bread well baked.
This pita bread recipe is adapted from one of my favorite bread books “The Bread Bible: 300 Favorite Recipes”, by Beth Hensperger. I can tell you from plenty of experience that this is the best recipe for making pita bread.
Once you have baked your homemade pita you can get creative and come up with different sandwich combinations and fillings.
Falafel is always a classic filling, but you really can put anything you like into it. Any type of mixed salad and dressing works well as the pita allows the taste of the salad to come through while making the meal more filling.
For a more authentic Indian or Middle Eastern experience, stuff your pita bread with some spiced sautéed veggies or potatoes or a dry Chana Masala.
Add some onion rings, tomato slices and mint chutney plus tamarind chutney. Or make some Veg Kebab or fried Vegetable Cutlet and add some classic Indian chutneys. So many options!
I have divided the step by step pictorial of pita bread recipe into 4 parts:
- Making the pita dough
- Assembling, shaping and rolling dough
- Baking pita bread in the oven
- Making pita bread on a skillet (stovetop method)
How to make Pita Bread Recipe
1: Making Pita Dough
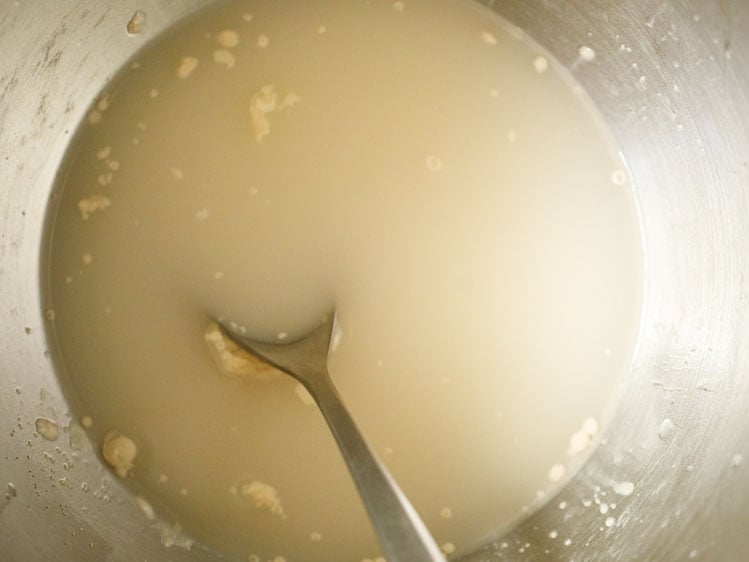
1. Firstly take 1 teaspoon instant yeast and 1 pinch sugar in a stand mixer bowl or in any bowl in which you will knead the dough.
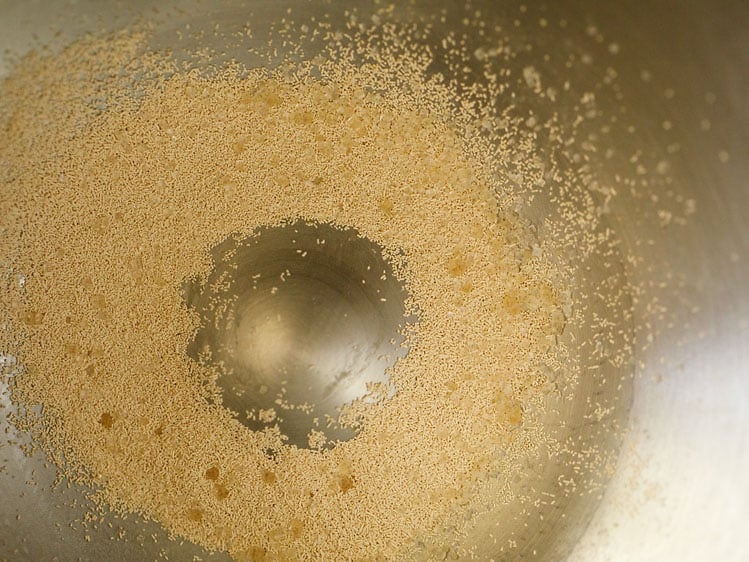
2. Pour 1 to 1.25 cups water and mix very well with a spoon. Depending on the quality of flour, you may add 1 to 1.25 cups water. Slightly coarse and grainy wheat flour will need 1.25 cups water.
3. Add 3 cups whole wheat flour, 2 tablespoons extra virgin olive oil and 1 teaspoon salt.
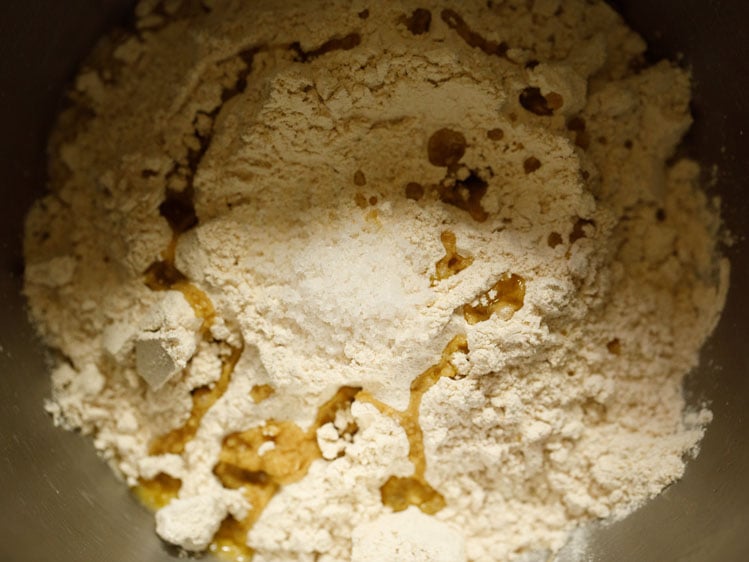
4. Mix everything with wooden spoon.
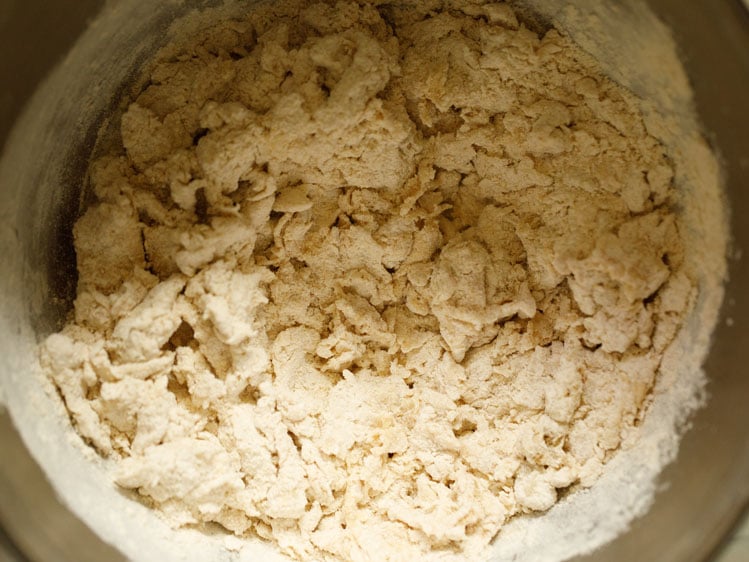
5. Then using the hook attachment begin to knead.
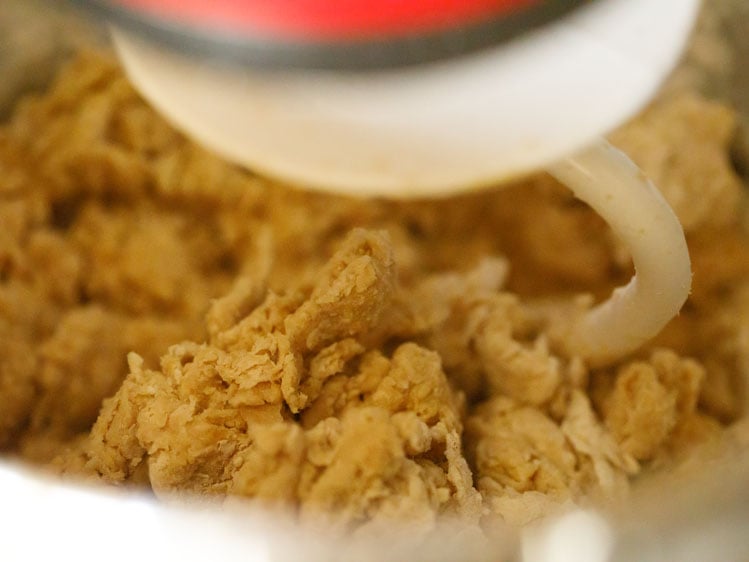
6. Initially, you will find the dough sticky, but continue to knead and you will see the extra water will be absorbed by the flour and stickiness will go away. If the dough looks very sticky even after kneading well, then add 3 to 4 tablespoons whole wheat flour. Mix and knead till smooth.
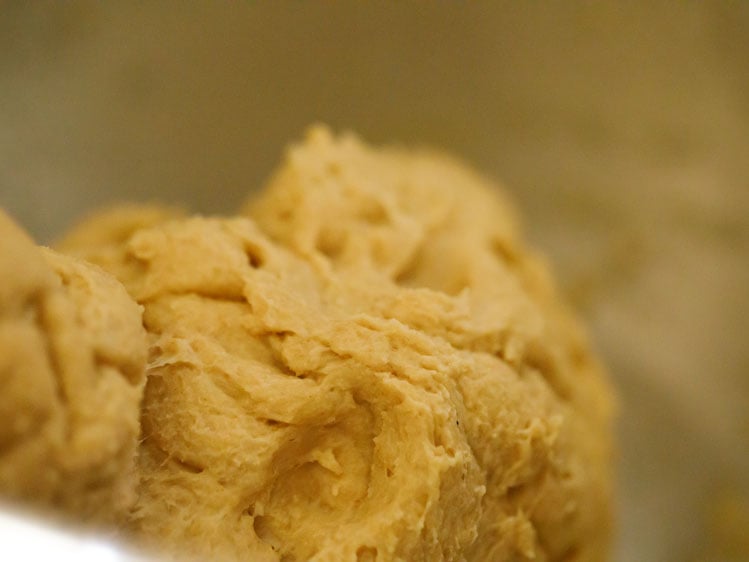
7. Knead to a smooth and soft dough.
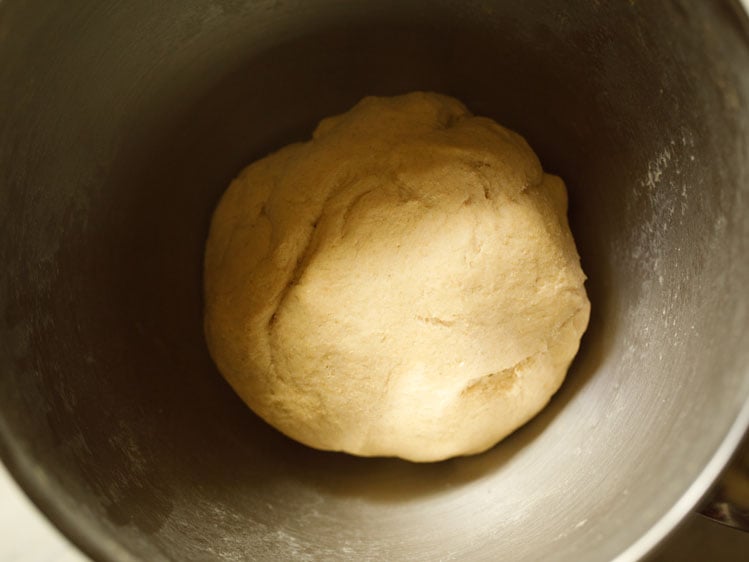
8. Rub or brush some water or olive oil all over the dough.
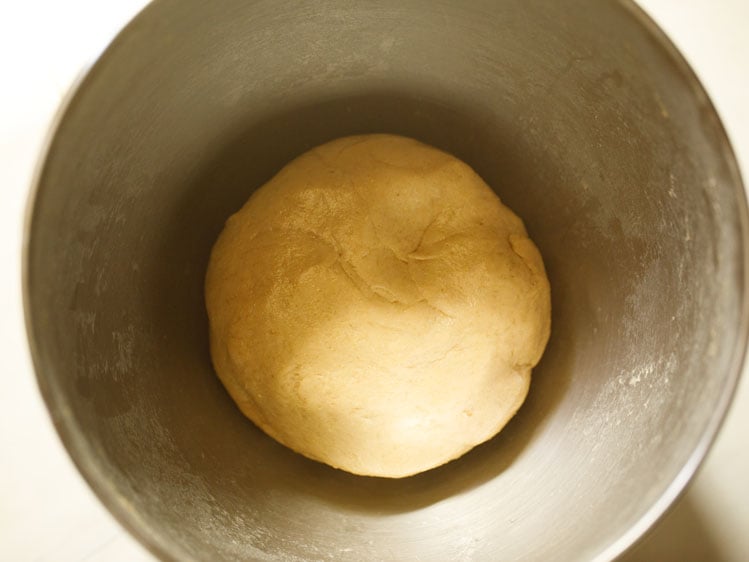
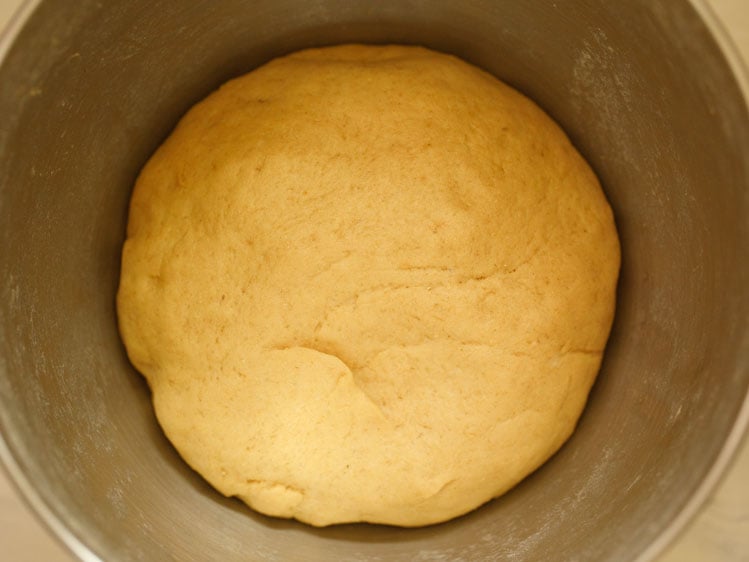
9. Keep it in the same bowl covered loosely with a kitchen towel for 45 minutes or 1 hour until the dough has doubled in volume and size.
10. This is the photo of the dough after 1 hour.
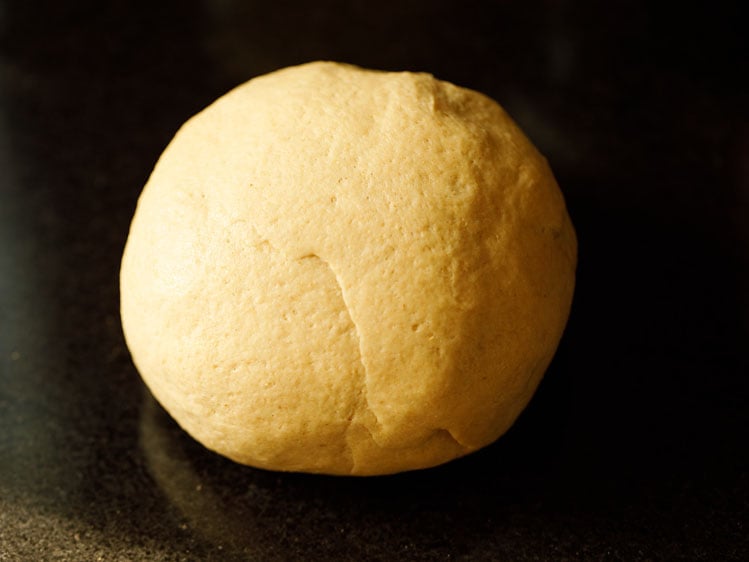
11. Deflate the dough gently and knead lightly.
2. Assembling, shaping and rolling dough
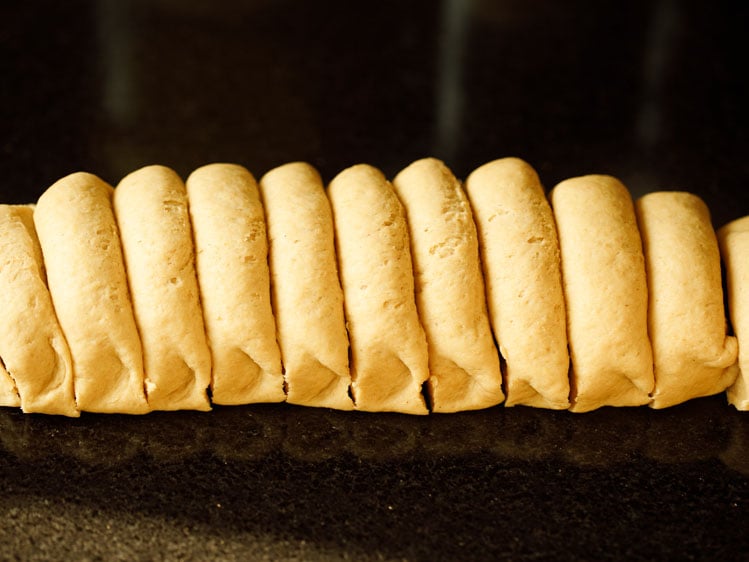
12. Make into a log shape and cut equal portions from the dough. Keep these covered again for 10 minutes. Keep the dough balls covered all the time so that they don’t dry out.
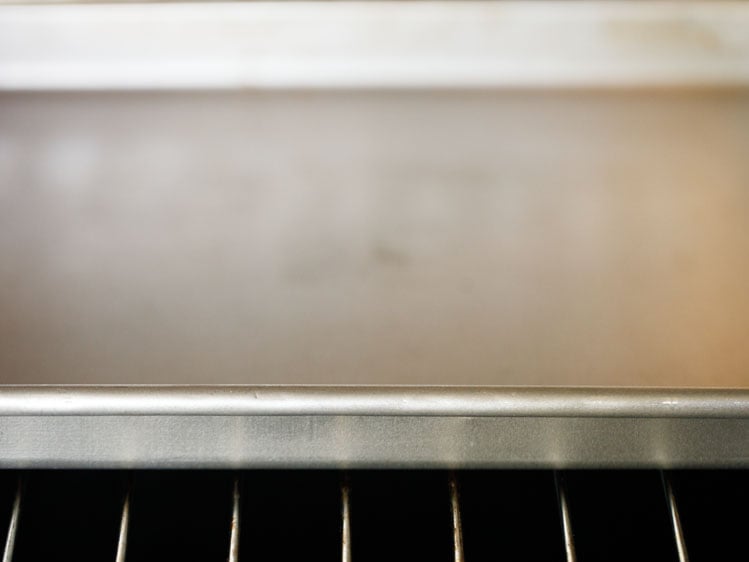
13. Meanwhile, place a baking tray in the oven. Then preheat oven at 230 degrees Celsius (446 degrees Fahrenheit) for 20 minutes.
14. Take each dough portion and shape into a ball. Keep it on the work surface and sprinkle some flour on it as well as on the dough ball.
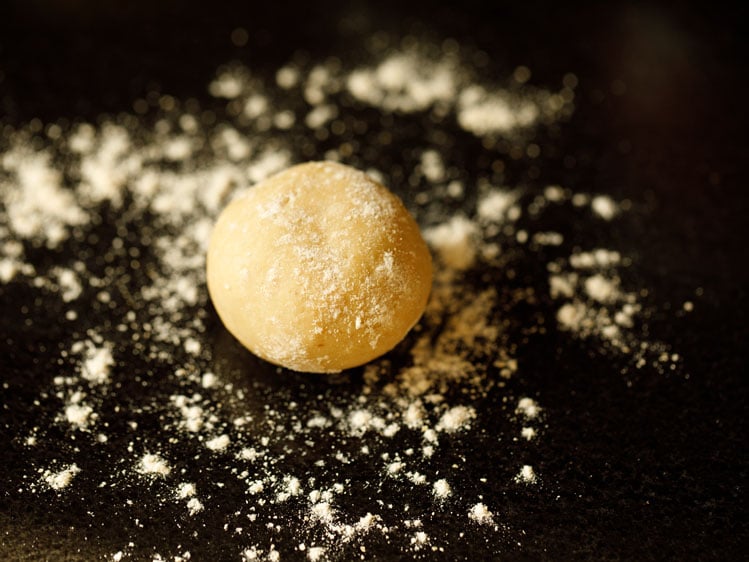
15. Roll evenly into a 5 or 6 inches round shape. You can also make them oval shaped if you want. For puffing it is very important to roll evenly. So do dust with slightly more flour. When you roll the dough with the rolling pin, the bread disc should also move clockwise while rolling.
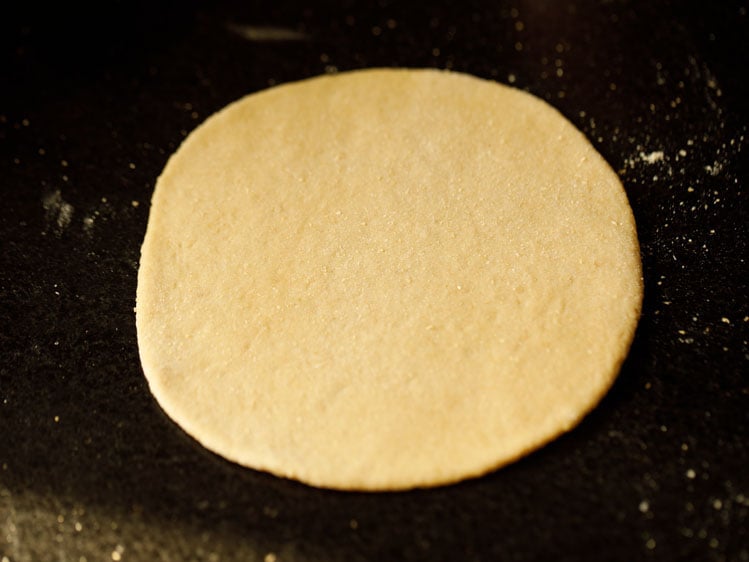
16. Keep the bread a little thick while rolling.
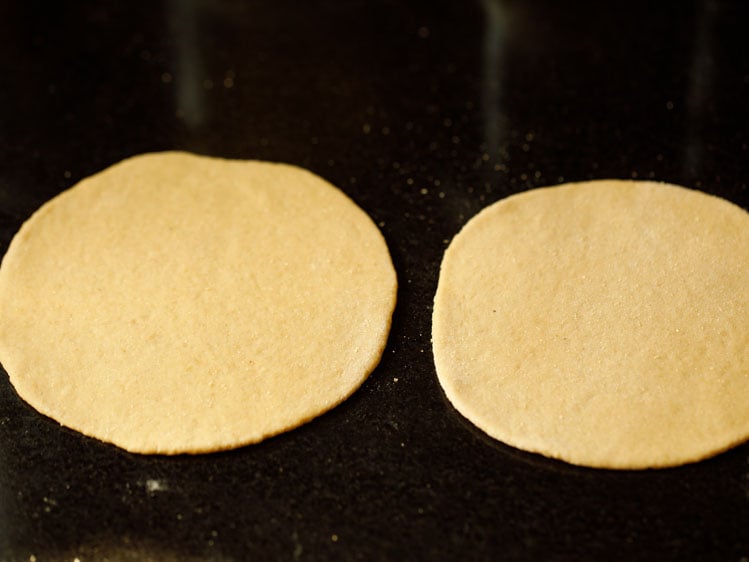
17. Keep these rolled discs covered loosely for 10 minutes.
3. Baking pita bread in the oven
18. Carefully remove the baking tray from the oven with oven mittens. Sprinkle some flour and place the rolled discs in the tray. Use oven mittens when removing and placing the baking tray from the oven.
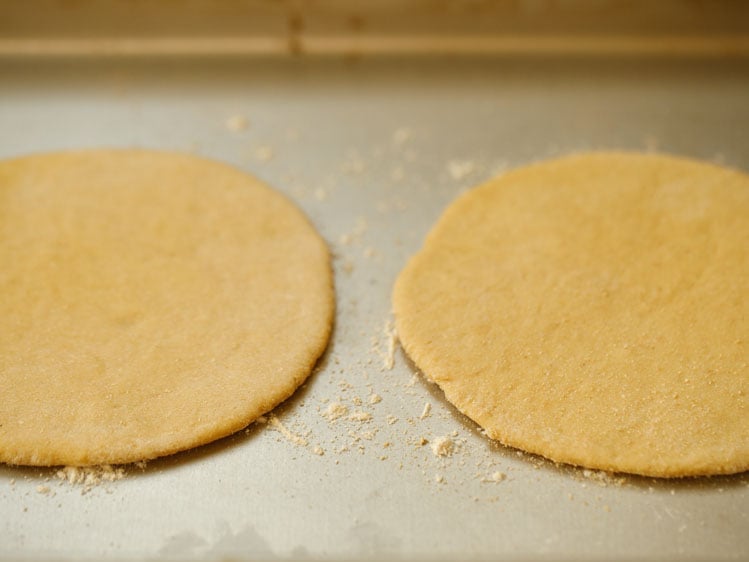
19. Place the tray back in the oven. Bake at 230 degrees C for 7 to 10 minutes. Mine took 7 minutes to cook and 1 minute to brown. Heat both the top and bottom heating rods of the oven.
If using a convection oven, then preheat as well as bake at 200 or 210 degrees Celsius (392 to 410 degrees Fahrenheit). Note that the baking time will vary from oven to oven. Look at those puffed up pita bread. Don’t they look good?
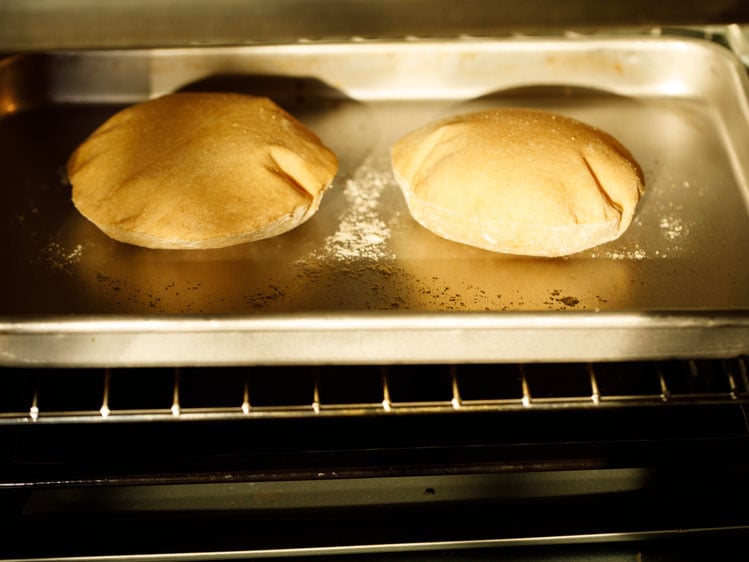
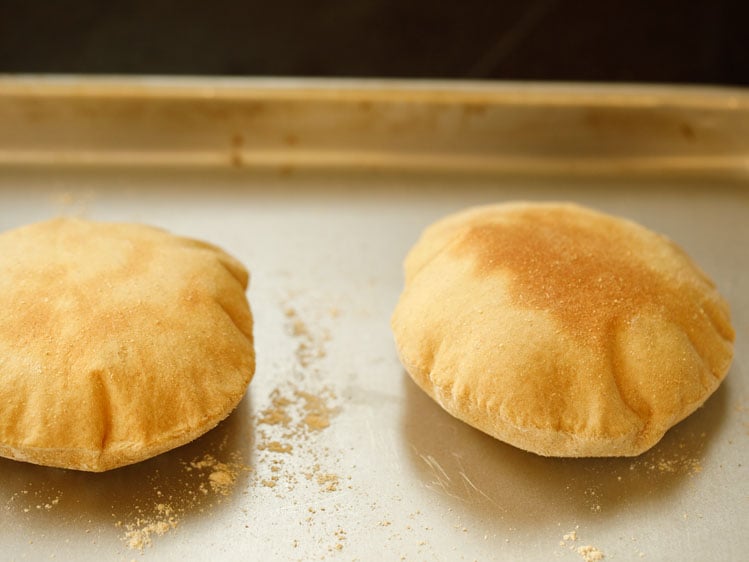
20. The pita bread will nicely puff up in the oven. Once they are puffed up and have a pale golden color, remove the tray. With a spatula remove the pita bread and place on a wired rack.
4: making pita bread on a skillet (stove-top method)
21. Heat a cast iron skillet or a frying pan on medium-high flame. Sprinkle some flour on the pan and it should get browned. This means that the pan is hot.
Use a heavy pan so that the pita bread does not get burnt from the bottom. Place the pita bread dough disc on the pan or skillet.
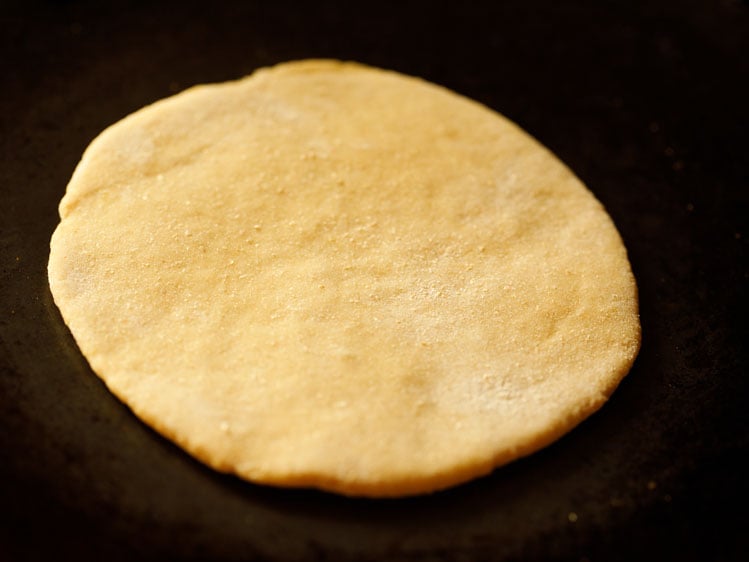
22. As soon as you keep the dough round on the pan you will see it getting puffed up.
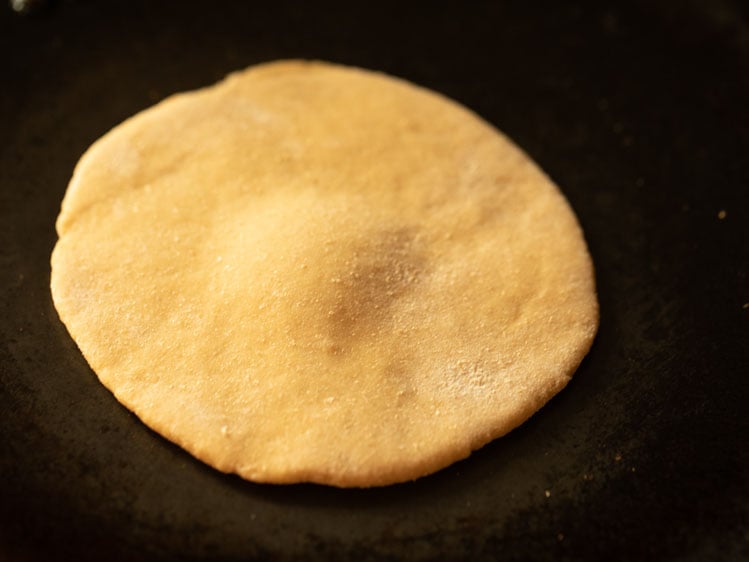
23. Cover with lid for 1 to 2 minutes.
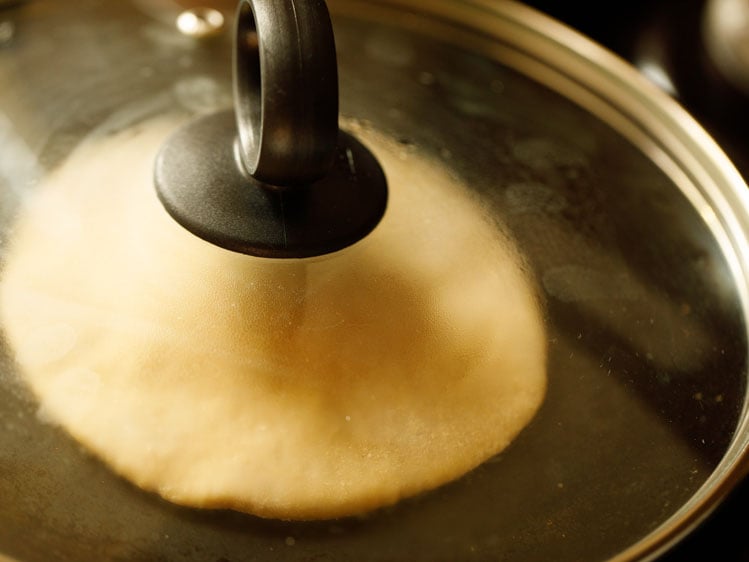
24. Here is the pita bread nicely puffed up.
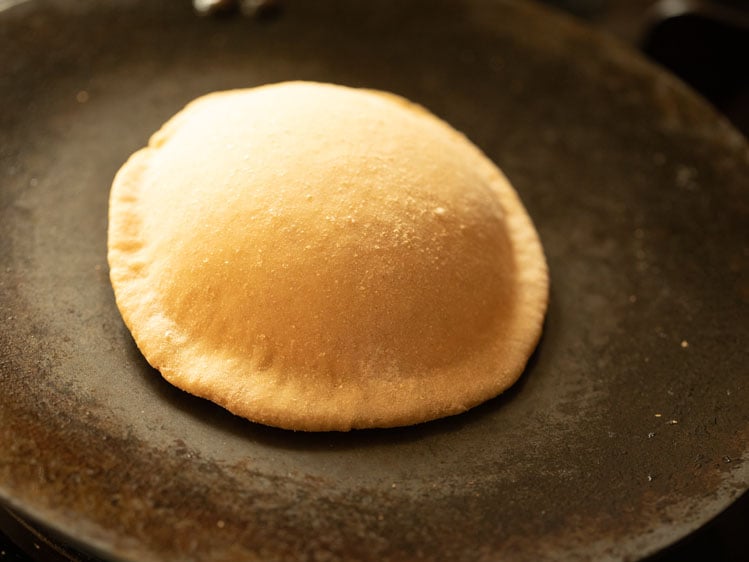
25. Turn over and cook for 1 to 2 minutes more till the pita bread is done and has brown spots appearing on both sides. Roast all pita breads this way. Alternatively, you could also make them the way we make Indian Flatbread – Roti (Phulka). After lightly cooking both sides on the skillet, place them on the fire and see them puff. Cook both sides.
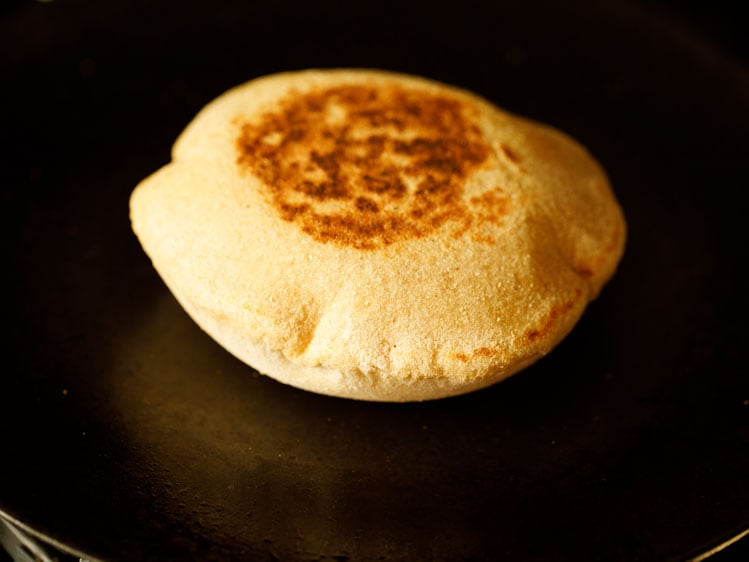
26. Stack pita bread and store them in a kitchen towel or bread box. Slice the pita bread into two and you will see the pockets.
Stuff the pockets with a filling of your choice and your pita sandwich is ready. You can make pita sandwiches with falafel, hummus, tahini and pickles or salad.
FAQs
I have listed some queries that readers have asked on this recipe post and my answers to them.
- Why my pita bread has no pockets?
There are a few things that if done correctly will puff the pita bread resulting in the pockets.- Water Content: The dough needs to have the perfect amount of water in it. Less percentage of water will make the dough hard or denser in texture and the pita bread won’t puff up.
- Texture of the Dough: The dough has to be kneaded really well. It should be soft and smooth.
- Rolling: If the dough is not rolled evenly, then the pita bread won’t puff. So there won’t be the pockets.
- Oven Temperature: The oven has to be very hot. Sometimes the oven isn’t actually reaching the temperature that it is set at. Then you will need to calibrate the oven. If the oven isn’t thoroughly preheated or hot enough then this cause the pita bread to stay flat and not puff leading to a denser bread.
- Why my pita bread is hard?
If you use dry active yeast then you need to activate it and proof it. If the activation and proofing are not done well, the dough won’t leaven resulting in hard bread. While activating, the water has to be lukewarm and not hot or cool. Note for instant yeast, you don’t need to proof or activate it and can use room temperature water - Can this recipe be halved or doubled?
Yes, you can easily scale the recipe. - Can I add all-purpose flour in the recipe?
Yes. But add about 1 cup of water while kneading. - Can we add milk instead of water?
Yes, you can add milk. You can use the same amount of milk as that of water – 1 to 1.25 cups. However, do note that depending on the quality of flour you may need to add less or more milk. - Can I add a combination of water and milk?
Yes you can do that - Can I add some yogurt (curd)?
Yes, you can add some yogurt in the dough and it will help in making the bread soft as well as give it a faint sour taste. - Why do some parts of the dough rise and some do not?
It is because the dough is not rolled evenly. Some parts will be thick and some parts will be thin resulting in an uneven thickness which makes the dough partially puff up at some spots. - Can we skip yeast and use baking soda?
You can but you will need to experiment with the recipe. - Can you freeze this homemade pita dough?
Yes, you can. - Can you freeze pita bread?
Absolutely! Freeze them in ziplock bags or in boxes. These stay good for months. - Can I use fresh yeast instead of instant yeast and in what quantity?
You can add 1 tablespoon fresh yeast. Note that you will need to activate and proof fresh yeast like dry active yeast. - Can I make the dough at night and leave it for leavening in the fridge ?
The dough has to be leavened outside at room temperature. Once the dough is doubled, then you can refrigerate it. - How to store pita bread?
Place them in a steel box or ziplock bags. Then you can either refrigerate or freeze the pita bread. - How to warm pita bread?
Heat a skillet or pan. Place the pita bread and cook it for 10 to 12 seconds on medium-heat till lightly hot on both sides.
Few More Bread Recipes
Please be sure to rate the recipe in the recipe card or leave a comment below if you have made it. For more vegetarian inspirations, Sign Up for my emails or follow me on Instagram, Youtube, Facebook, Pinterest or Twitter.
Pita Bread Recipe (Oven & Stovetop)
Ingredients
- 1 teaspoon instant yeast or 1.5 teaspoon dry active yeast (for dry active yeast check the notes below on activating and proofing it)
- 1 pinch raw sugar or white sugar
- 1 to 1.25 cups water or add as required
- 3 cups or 360 grams whole wheat flour
- 2 tablespoons extra virgin olive oil
- 1 teaspoon salt
Instructions
Preparing dough
- Firstly take the instant yeast and sugar in a stand mixer bowl or in any bowl in which you will knead the dough. Pour 1 to 1.25 cups water and mix very well with a spoon.
- Add 3 cups whole wheat flour, 2 tablespoons extra virgin olive oil and 1 teaspoon salt. Mix everything with wooden spoon.
- Then using the hook attachment of the stand mixer and begin to knead. Initially you will find the dough sticky, but continue to knead and you will see the extra water will be absorbed by the flour. Knead to a smooth and soft dough.
- Rub or brush some water or olive oil all over the dough. Keep it in the same bowl covered loosely with a kitchen towel for 45 minutes or 1 hour until the dough has doubled in volume and size.
Assembling, shaping and rolling dough
- Deflate the dough gently and knead lightly. Make into a log shape and cut equal portions from the dough. Keep these covered again for 10 minutes. Keep the dough balls covered all the time so that they don't dry out. You can even pinch portions from the dough and roll them into balls.
- Meanwhile place a baking tray in the oven. Then preheat oven at 230 degrees celsius for 20 minutes.
- Take each dough portion and shape into a ball. Keep it on the work surface and sprinkle some flour on it as well as on the dough ball. Roll evenly into a 5 or 6 inches round shape. You can also make them oval shaped if you want. Keep the bread a little thick while rolling.
- Keep these rolled discs covered loosely for 10 minutes more.
Oven method to make pita bread
- Carefully remove the tray with oven mittens. Sprinkle some flour and place the rolled discs on it. Use oven mittens when removing and placing the baking tray from the oven.
- Using oven mittens, place the tray back in the oven. Bake at 230 degrees C for 7 to 10 minutes. If using a convection oven, then preheat as well as bake at 200 or 210 degrees celsius. Note that the baking time will vary from oven to oven.
- The pita bread will nicely puff up in the oven. Once they are puffed up and have a pale golden color, remove the tray. With a spatula remove the pita bread and place on a wired rack.
Stovetop method to make pita bread
- Heat a cast iron skillet or a frying pan on medium-high flame. Sprinkle some flour on the pan and it should get browned. This means that the pan is hot. Use a heavy pan so that the pita bread does not burnt from the bottom. Place the pita bread round on the pan or skillet.
- Cover with lid for 1 to 2 minutes.
- Turn over and cook for 1 to 2 minutes more till the pita bread is done and has brown spots appearing on both sides. Roast all pita breads this way. Alternatively, you could also make them the way we make Indian Flatbread – Chapati (Phulka). After lightly cooking both sides, place them on the fire and see them puff. Cook both sides.
- Stack pita bread and store them in a kitchen towel or bread box. Just slice the pita bread into two. You will see the pockets. Stuff the pockets with a filling of your choice and your pita sandwich is ready.
Video
Notes
- Pita Bread Dough: The dough needs to have the perfect amount of water in it. Less percentage of water will make the dough hard or denser in texture and the pita bread won’t puff up. Depending on the quality and type of flour used, you can add less or more water. The dough has to be kneaded really well. It should be soft and smooth.
- Kneading with hands: The pita bread dough can be easily kneaded with hands. Knead the dough very well for about 10 to 12 minutes.
- Rolling the dough discs: If the dough is not rolled evenly, then the pita bread won’t puff. So there won’t be the pockets or you may have the pita bread puffing on some spots and remaining flat on others.
- Oven Heating: The oven has to be very hot. Sometimes the oven isn’t actually reaching the temperature that it is set at. Then you will need to calibrate the oven. If the oven isn’t thoroughly preheated or hot enough then this cause the pita bread to stay flat and not puff.
- Using dry active yeast: If you use dry active yeast then you need to activate it and proof it. If the activation and proofing is not done well, the dough won’t leaven resulting in hard bread. While activating, the water has to be lukewarm and not hot or cool. Note for instant yeast, you don’t need to proof or activate it and can use room temperature water
- Scaling: You can easily halve or double the recipe.
- Storing Pita Bread: Place them in a steel box or ziplock bags. Then you can either refrigerate or freeze the pita bread.
- Reheating: To warm or reheat pita bread, heat a skillet or pan. Place the pita bread and cook it for 10 to 12 seconds on medium-heat till lightly hot on both sides.
- Substitutes:
- Whole wheat flour: Replace with all purpose flour.
- Water: Can be replaced with milk (dairy or vegan).
- Instant yeast: You can use 2 teaspoons of dry active yeast and 1 tablespoon fresh yeast instead. Both these yeast will need to be activated in lukewarm water with sugar before adding to the flour.
Nutrition Info (Approximate Values)
This Pita Bread recipe from the archives was first published on July 2012. It has been updated on November 2024.



Please share your pita bread recipe mixed with other whole grains and can we add milk to wheat pita breads if yes what should b the propertion please reply thanks
yes you can add milk. you can use the same amount of milk as that of water – 1 to 1.25. but depending on the quality of flour you may need to add more or less milk. when i get time i will add the recipe or include the proportions of other grain flours in this recipe itself.
Namaste Dassana Ji,
Thank you for all the efforts you put into making these easy step by step practical recipes with perfect ingredients. I have tried alot of your recipes and they have ALL come out perfect and delicious.. only thanx to you I have got the confidence to try out new dishes without any doubt.
Next I wish to try this pita bread rcp. but have a couple of questions..
1. i don’t have dry active yeast, i generally use instant yeast and add it directly to the flour so is it possible to use Instant yeast instead. does the quantity of yeast change?
2. to knead the dough you have suggested 1.25 cups of warm water. I was wondering can it be a combination of warm water and milk? will addition of milk make the dough soft and moist? and will make any difference in the taste?
Lastly, my sister has celiac and she is on a 100% gluten free diet so i was wondering, can this recipe be used with different vrat flours/ gluten free flour.
Thank you once again.
May God always bless you.
Regards,
thank you natasha for these lovely words. glad to read them.
1. for the pita bread you can use instant yeast. add 1 teaspoon intant yeast.
2. yes, of course, you can use a combo of warm water and milk. addition will milk will make the pita bread slightly rich and soft. yes there will be a difference in the taste.
3. with vrat flours or gluten free flours you can make. but then you don’t need to add yeast. some experimentation will be required. the gluten free flours have to be kneaded with hot water. this will make the texture soft and the dough is easy to roll.
thanks again natasha and wish you all the best.
Thanks for the suggestion, Dassana!
welcome lalita.
Hello Dassana,
Your site is my go-to site for everything cooking! Cannot think of another site which can easily put things together with the help of a detailed description and images of various stages of the process. Kudos to the great work!
I would like to check if you have experimented with Quinoa Pita bread, ever? The idea crossed my mind this morning and i am lost with the measurements. I am going to experiment with your wheat flour measurements and see how it folds out.
I’d be ever so grateful to get your expertise on this.
Thanks and waiting in anticipation,
Lalita
thank you much lalita for this lovely comment. i have not experimented much with quinoa. you can easily make a pita bread with it. i have worked with other flours like buckhweat, amaranth, finger millet, rice etc in making indian flat breads. so definitely quinoa flour can also be used to make breads. you can add 1:2 ratio of quinoa flour to whole wheat flour. its safe for experimentation as the amount of whole wheat flour is more. the quantity of water may be less or more. so just dissolve yeast in one-fourth cup warm lukewater first. then you can add lukewarm water or water at room temperature as needed to make a soft dough. hope this helps.
Hi Dassana
Thank you for a good bread recipe which I have precisely followed and been using for about two weeks. It is the only recipe which worked for me so far especially the first time when all the 6 loaves I made puffed. However, subsequent bakings have not been successful as far as puffing is concerned. In the same baking session some loaves puff while others don’t. And sometimes, some areas of the same loave puff while the rest don’t. What could be the reason? I still have problems with the flattening process which I am unable to get right. I don’t see “wholewheat” flour here in Sydney. The available one is called Wholemeal. Are they one and the same thing? The taste is ok but what can be added to get a better taste? I have seen recipes using yogurt. Will that improved the taste? Will it affect other the puffing and softness? The bread comes out generally soft but the crust is a bit stiff, a biscuit like feeling. I am not sure why but I am guessing that the reason could be due to the fan in our wall mounted oven. This oven does not have the capability to run without the fan. By the way, how much is a pinch of sugar? I have been using 1/2 tsp. One more thing about olive oil. Can it be dispensed with? What is the effect of not using it? Could it Be the cause of that stiffness or the biscuit like feeling I mentioned earlier?
thank you Mahmoud. wholemeal flour and whole wheat flour are one and the same. the pita breads not puffing up can be due to less water content in the bread or they are not rolled evenly. if these two things are taken care of, then the pita bread will puff up. you can add some yogurt in the dough and it will help in making the bread soft as well as give it a faint sour taste.
your guess about the crust is right. its due to the top getting a bit overdone and the fan is responsible for it. in convection ovens which have a fan, the baking is faster as the fan accelerates the baking process. so you can cut down the time by 10 to 15 minutes or reduce the temperature by 15 to 20 degrees celsius for any recipe. you can skip olive oil. it just gives a nice flavour but can be skipped. olive oil is not the cause of the biscuit like crust.
hope I have answered all your queries.
Hi there! You have got such lovely baked pita breads there. It just looks like the one that I find in the Middle East. I tried to make pita bread twice. Tried both stove top and baked version. I love the baked ones. But my bread didnt have that brown spot like what your pictures have shown. I baked at max temperature of 250 C for nearly 3 min each bread. The bread was soft but didnt have the browning at all.
thanks rima. brown spots are not required and essential. the pita bread one gets in cafes and restaurants, do not have brown spots. to get them you can keep the bread near the top heating element and just bake for some seconds. this method is called as broiling and will give visible brown spots or charring. but care has to be taken or else the bread can get burnt from top. alternatively you can keep the pan on the center rack and use both the top and bottom heating elements while baking.
Hi, good recipe but can I avoid the yeast step coz of yeast allergies? What would be the end result if I skip the yeast. Thanks.
harry, for the leavening of the pita bread dough yeast is required. if yeast is not added, obviously the bread dough will not leaven and won’t give a light and soft texture. that said, a leaving agent like baking soda or baking powder can be added. but i have never tried preparing pita bread using baking soda or baking powder.
My husband & I live in Brampton, Ontario, Canada – Brampton is a suburb of Toronto, Canada. Brampton has A HUGE EAST INDIAN POPULATION with LOTS of East Indian grocery stores. We eat mostly 100% organic food at home, & recently I found ORGANIC 100% WHOLE WHEAT ATTA flour to make chapatis. But I still have not made any chapatis because we don’t like those burnt dark spots on the surface of the chapatis when they are made on top of the stove in a TAVA. We prefer chapatis to look like your beautiful whole wheat pita bread made with 100% whole wheat ATTA flour and baked in an oven. Could you please give me a recipe for 100% whole wheat chapatis baked in an oven so they won’t have those ugly dark burnt spots on the surface>
sheila, those dark spots are the plus point in chapatis and they taste good too. usually i prefer to have nice dark spots on chapatis. the same applies to naan and tandoori roti. i am not sure if chapatis can be baked in oven. but since i have baked naans and tandoori roti in ovens, i can say that at times the naans or rotis become like papads in the oven. they just don’t bake well. so at the most, you can cook chapatis on tawa till done and not proceed to the stage where you get dark spots. some spots will be there as that is an indication that the flour is cooked.
I tried this but my bread didn’t puff ????
not sure why. you can tell me in more detail.
Hi Dassana! Love your website 🙂
I tried these pita breads and they puffed well. However, there was this slight yeast-y flavour which was bothering me. When I get pita breads from outside they don’t have that yeast taste. What did I do wrong?
Sania, it depends upon the quality of yeast. next time you can add little less yeast. bakeries use fresh yeast.
Thanks, will try again 🙂
welcome sania.
I’m from a Muslim family , really wanna make it , please reply , is there alternative for yeast , it’s very difficult to find good quality yeast here ????
there is no alternative for yeast as such. usually baking soda can be used, but it does not work in all recipes. you can buy good quality yeast online from amazon.com or amazon.in etc.
I kept the yeast for proofing , but it dint bubble like urs, so was scared to even try , I have once made dhokla with eno the thing bubbled up so well , so could we use baking soda , any idea how ? ?
good you did not try. the pita bread would have become heard. in this recipe i am not sure if baking soda will work. as i do not know if the pita breads will puff if used baking soda.
Thank a lot for the recipe….just what I was looking for ..:) ..I was wondering if I could store the extra dough in the freezer for future use?..if yes, for how many days can I freeze it?
yes you can store the dough for a couple of months in the freezer.
Can I leave the dough for like 3-4 hours.
in a cold climate, you can leave for 3 to 4 hours. but if the dough has leavened well and increased in volume, after 1 to 1.5 hours, then you can refrigerate the dough.
Sounds great. one question though, can I leave the dough for a longer time to leaven instead of using yeast, like dosa batter? Or is it a bad idea?
sindhu, for the method that your are suggesting, the steps are different. first a small part of the dough or mixture is made and then kept overnight for some hours. then this dough or mixture is mixed with the rest of the flour and kneaded, which again is kept to rise for some hours. the steps, method, amount of ingredients to be added, everything will change and you will need to experiment.
Thanks for this wonderful recipe. Tried it today, and the pitas turned out beautifully. I’d never baked with yeast before, so I was a bit scared. It was easy enough though. Bake away, people!
thankyou marlies for your positive feedback 🙂