Homemade bread is fluffy, tender, and way better than store-bought loaves. It’s remarkably easy – and fun! – to make with only a few simple ingredients. Try this foolproof white bread recipe with step-by-step instructions and video and you’ll likely never want to buy package bread again.
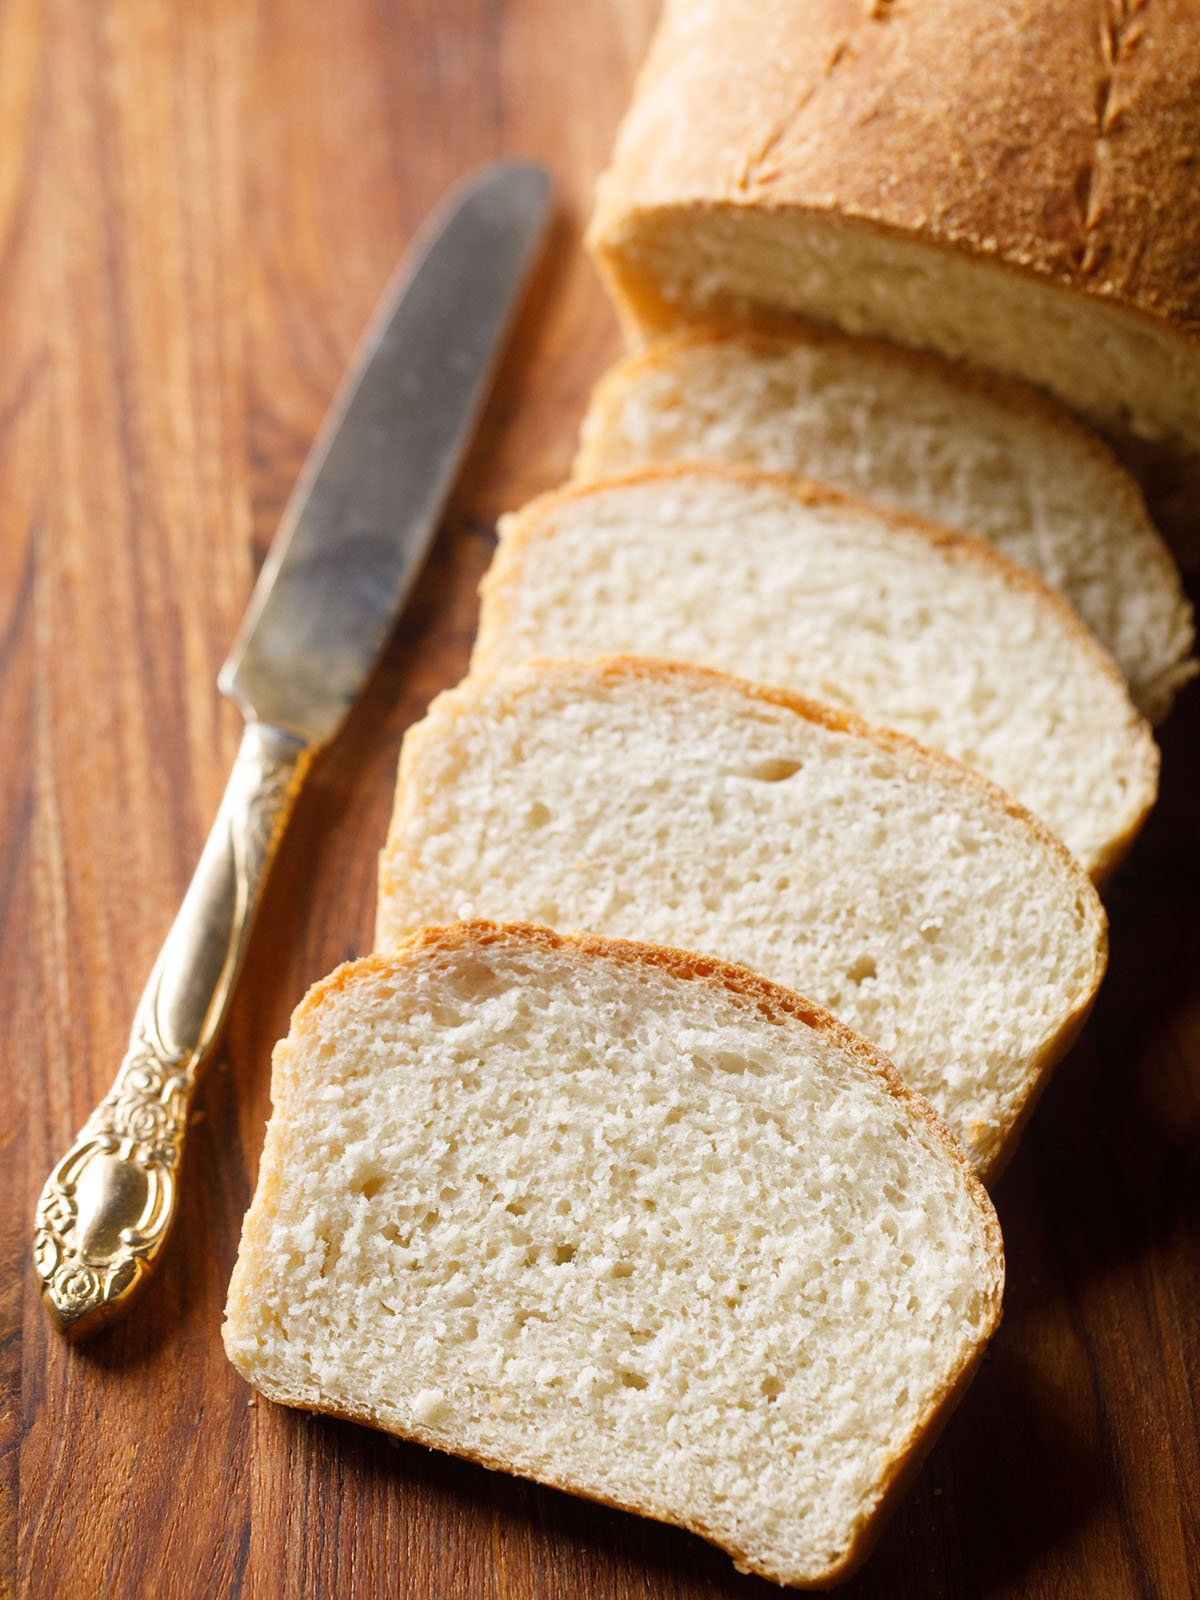
Table of Contents
Why this Bread Recipe Works
I love baking breads at home. The whole process – from making the dough from scratch, kneading with your hands, patiently letting it rise and baking – is terrifically relaxing yet exciting at the same time.
Each loaf is slightly different but brings such joy, both to bake and to eat. And there’s just nothing better than sharing warm, soft slices of homemade bread with your family and friends…Like handing them a piece of your love!
This easy lean bread recipe is great for customizing with additional ingredients. If you want you can add some milk for a softer bread (details in the recipe).
You can also make it into sweet bread by adding extra sugar; or bakes a savory white bread by adding herbs and spices.
Below are steps and photos for making a perfectly fluffy and tender basic loaf of white bread. Give this simple homemade bread recipe a try and you’ll likely fall in love, too.
Essential Tips For Any Bread Recipe
While it is a very simple process to make bread from scratch, there are a few key points to keep in mind when you make any bread recipe. You need to follow these pro tips to ensure your loaf is perfect in every way, every time:
- Buy quality ingredients. The best, most delicious bread is made with the best ingredients available. Opt for high-quality flour and yeast, and make sure all ingredients are within the expiration dates. For white breads like these, I recommend unbleached all-purpose flour or bread flour, preferably organic.
- Use warm water. The dry active yeast needs to be treated just rise for the perfect rise. That means it needs to be dissolved in water that is neither hot nor cold but is somewhere in the warm 110-115 degree Fahrenheit (43-46 degrees Celsius). If the water is too cold it won’t activate the yeast, and if it is too hot it will cook the yeast and leave it inactive.
- Kneading: Remember to knead your dough well. If kneading by hand, then spend at-least 10 minutes doing so. The dough has to pass the windowpane test. Take a small portion of the dough and flatten, stretch, spread it into a thin layer. It should not tear or break. You should be able to see through it much like you see through a windowpane.
- Be patient. There will be some periods of resting and waiting while the dough rises and the loaf bakes. Avoid the urge to rush and you will be rewarded with the fluffiest and most tender homemade bread.
- Have fun. Baking bread is all about bringing some warmth and happiness to the house. Bread made with love – or any dishes made with love – simply tastes the best.
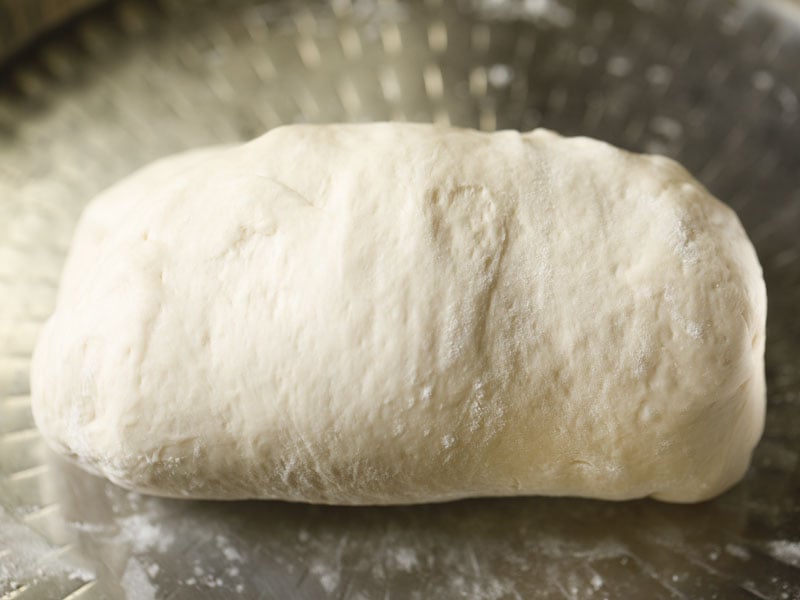
See? Simple. Once you perfect the easy, joyful art of baking fresh white bread at home I promise you won’t want store bought loaves again!
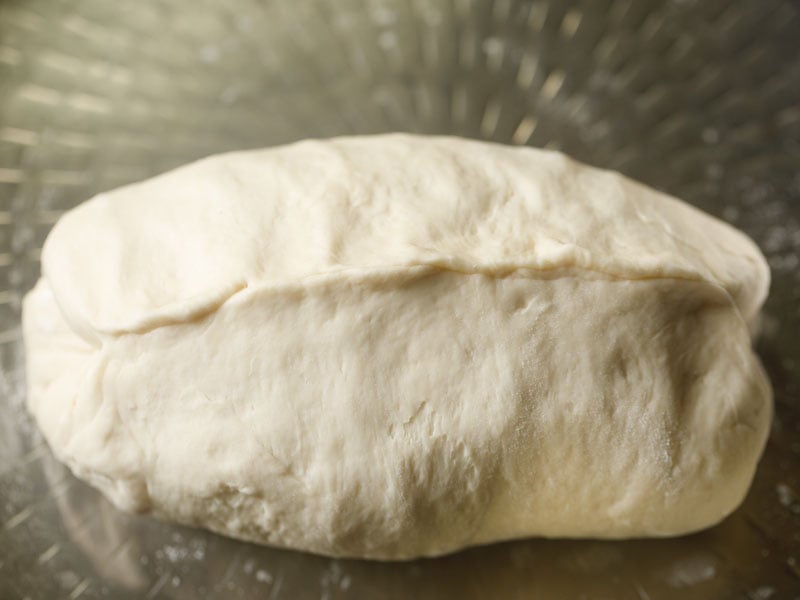
How to make Homemade Bread
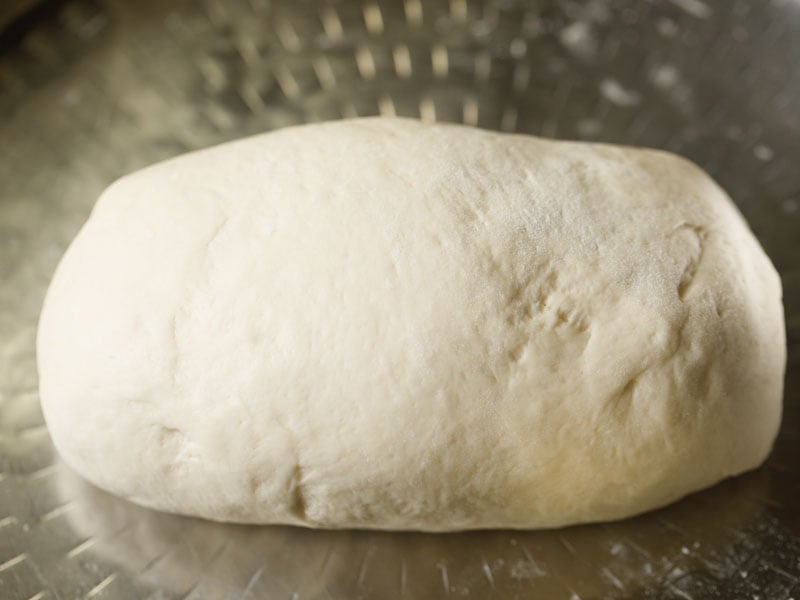
Proofing the yeast
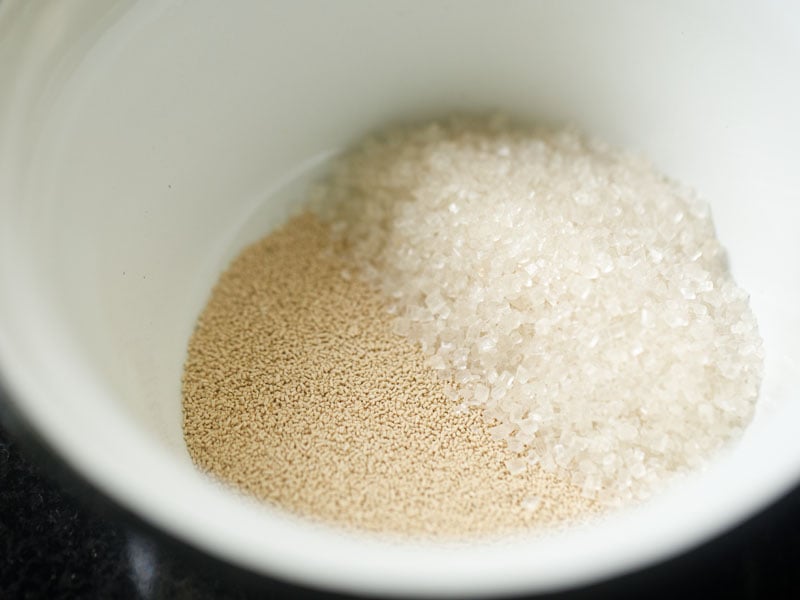
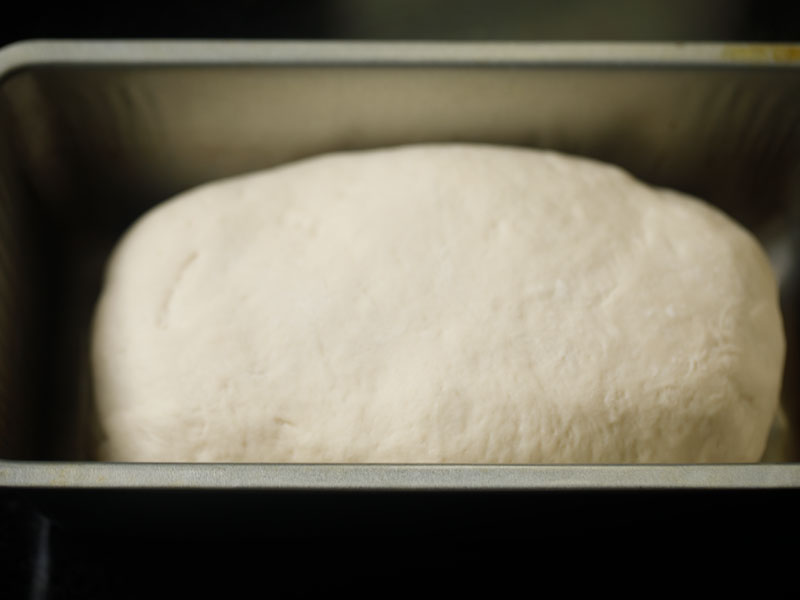
1. Take 1 teaspoon instant yeast (rapid rise yeast) or 1.5 teaspoons dry active yeast or 1 tablespoon fresh yeast and 1 tablespoon sugar in a small bowl.
Note: I have used instant yeast which can be directly added to the flour. But I am activating it in warm water just to illustrate to you the method of using dry active yeast or fresh yeast – which always needs to be activated.
2. Add 1 cup of lukewarm water. Make sure that the water is not hot or cold. The temperature of water should be 41 degrees Celsius (105 to 106 degrees Fahrenheit). Mix it well.
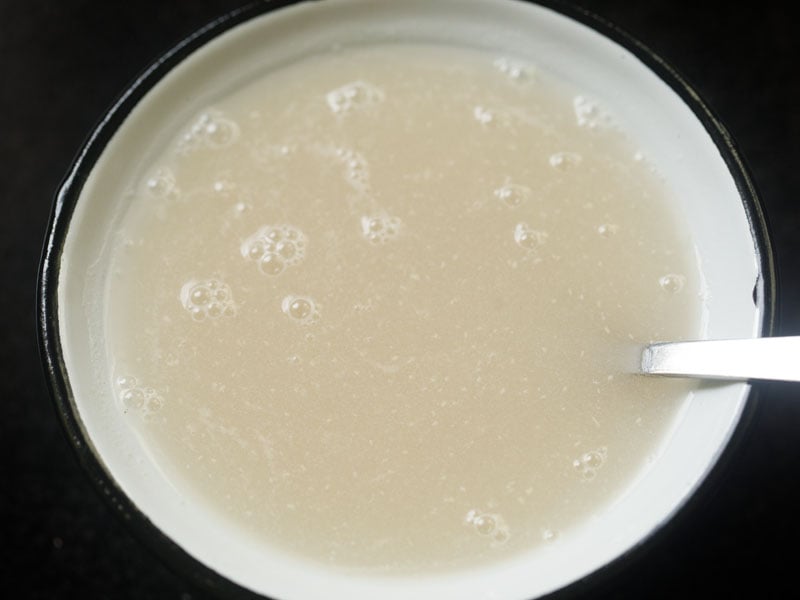
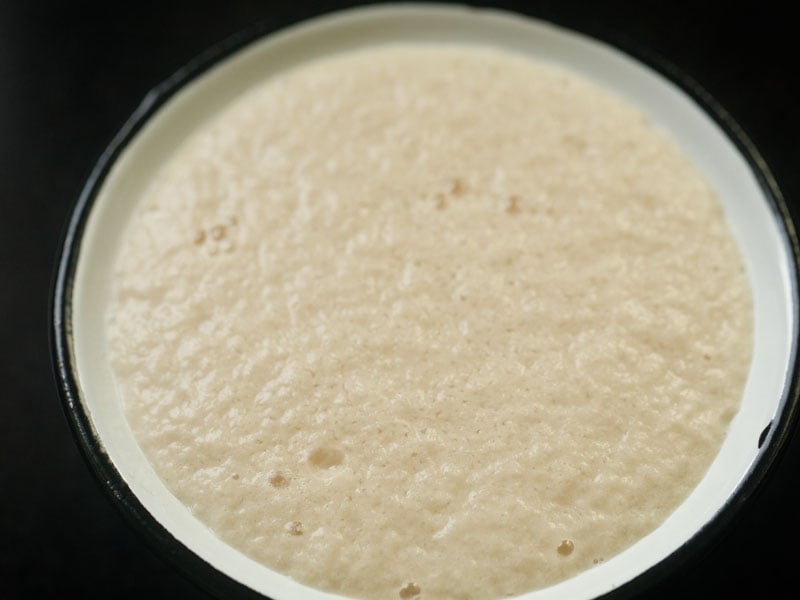
3. Keep in a warm place until the yeast becomes frothy. For instant yeast keep for 5 minutes and for dry active yeast keep for 10 to 15 minutes.
Forming Dough
4. In the meantime take 3 cups of all-purpose flour or bread flour – unbleached or organic (360 grams) and 1 teaspoon salt in a large tray or board or a large bowl. You can also use a stand mixer for kneading dough.
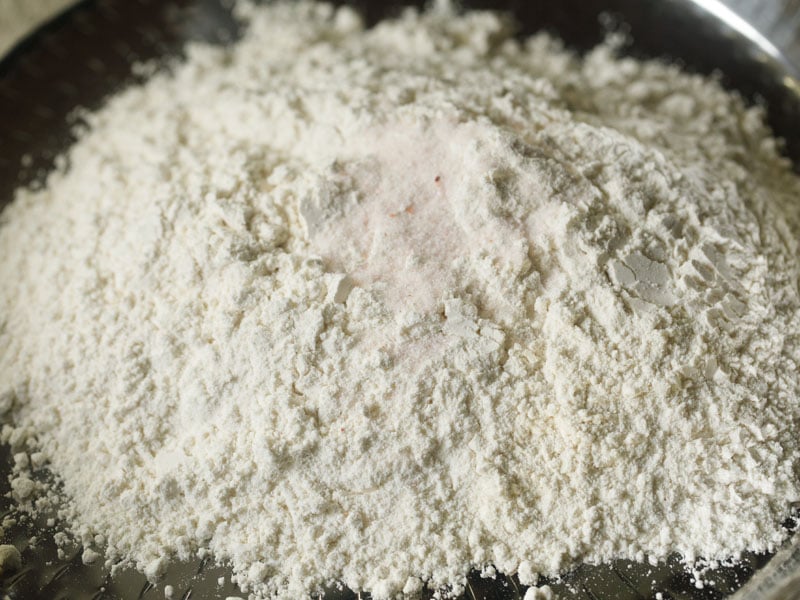
5. Mix well. You can sift the flour with salt if you prefer.
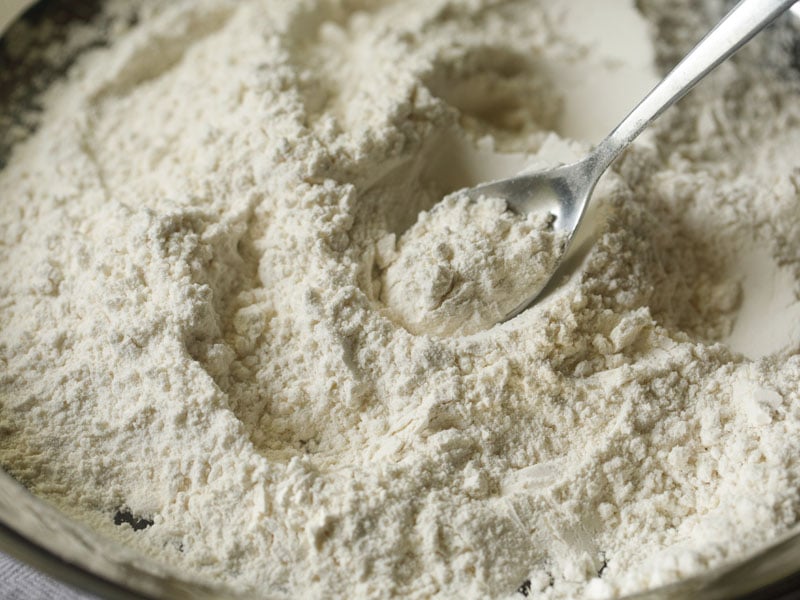
6. Add 1 tablespoon oil – any neutral oil or olive oil. Oil can be swapped for 1 tablespoon butter (dairy or vegan).
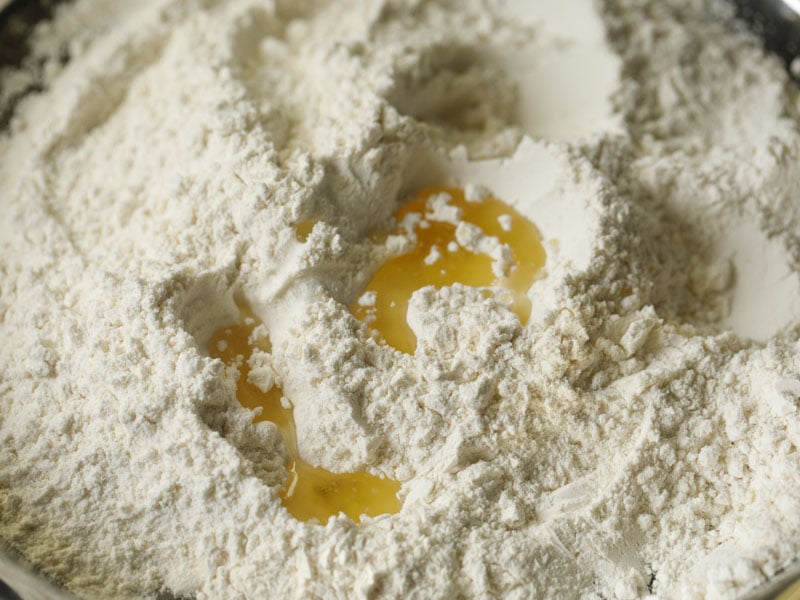
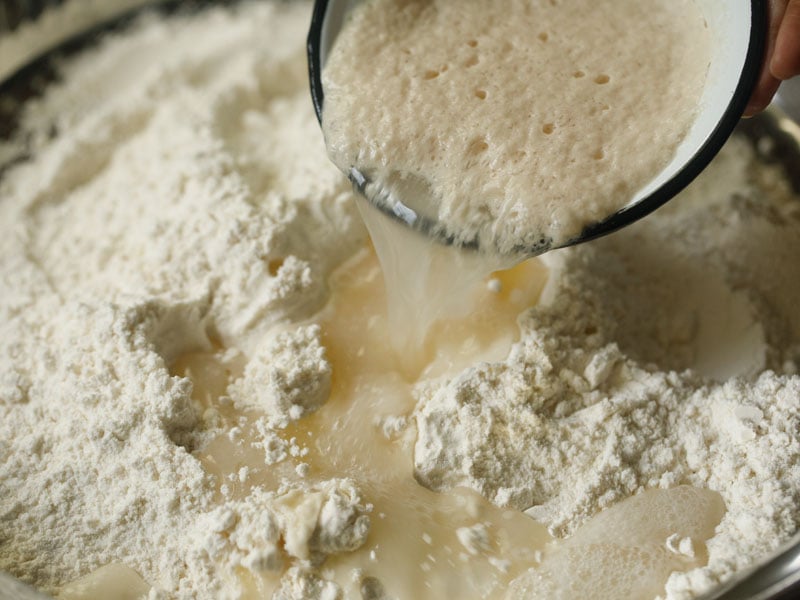
7. Add the frothy bubbly yeast mixture to the flour.
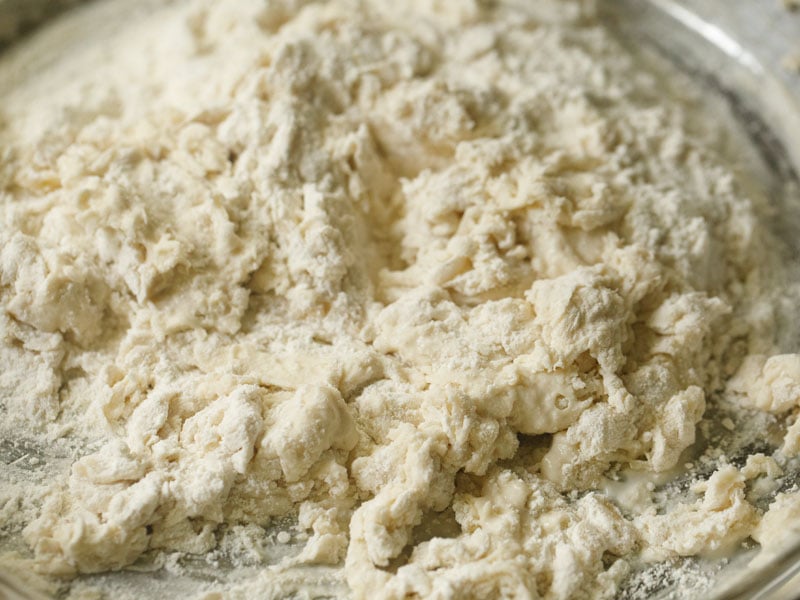
8. Mix with a wooden spoon and you will see that the dough becoming sticky.
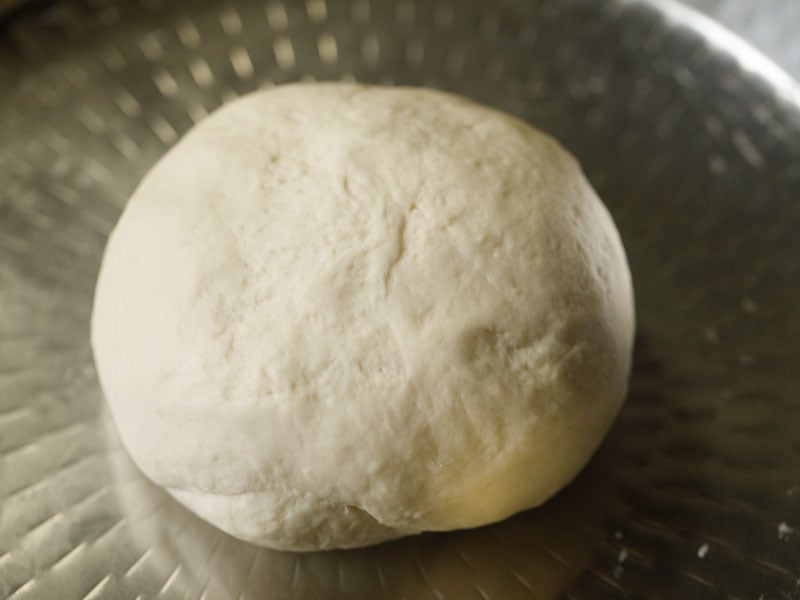
9. Now start kneading the dough for atleast 8 to 10 minutes or until you get a soft smooth, pliable and light consistency.
Tip: If the dough becomes sticky add some flour – mix and knead. If the dough looks floury or dry add a few tablespoons of lukewarm water and knead. Bread flour will need a bit more water than all-purpose flour.
Leavening Dough (First Rise)
10. Cover your bread dough loosely with a large bowl or a kitchen napkin and keep at room temperature to leaven. I used the same plate in which I kneaded the dough. You can brush some oil on the dough prior to leavening it.
- For instant yeast – leaven dough for 45 mins to 1 hour.
- For dry active yeast or fresh yeast– keep for 1.5 to 2 hours.
Tip: A great idea which I follow very often is to leaven the dough using the yogurt settings of your Instant Pot. It works like a charm and so helpful on colder days.
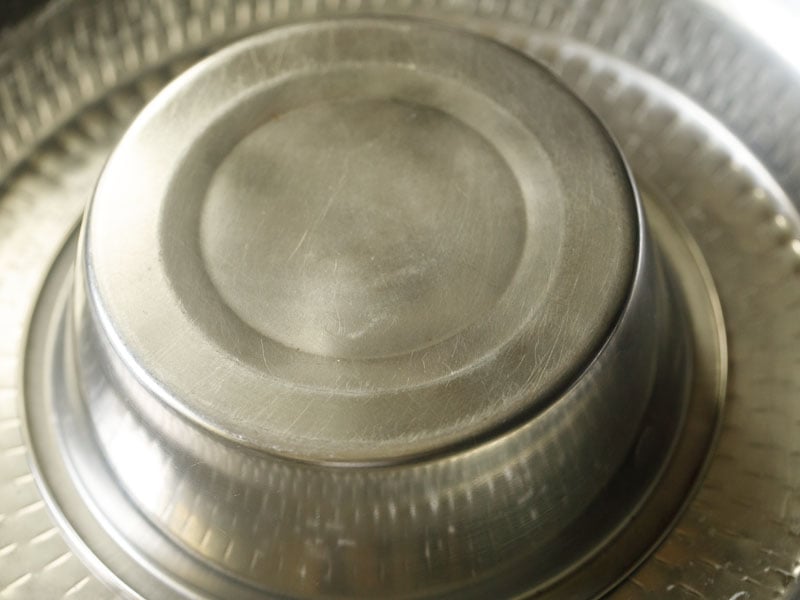
11. After 45 minutes my dough has doubled beautifully.
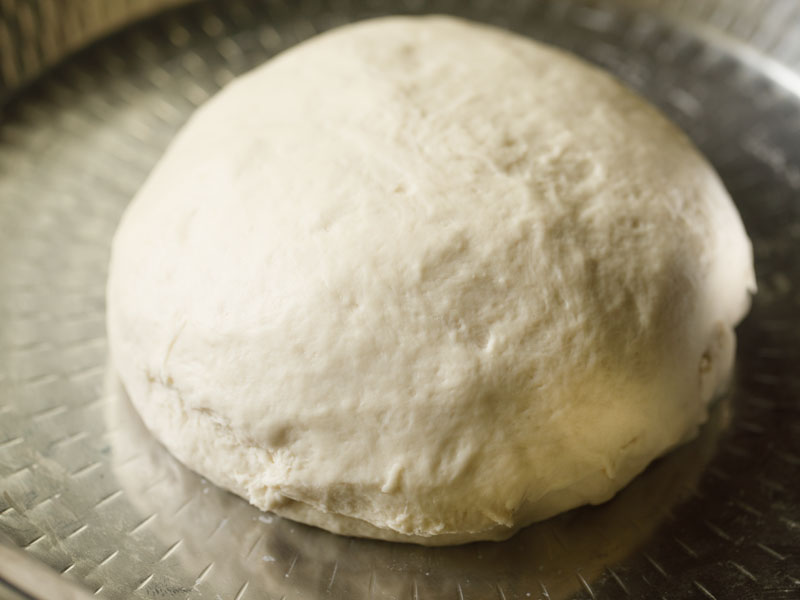
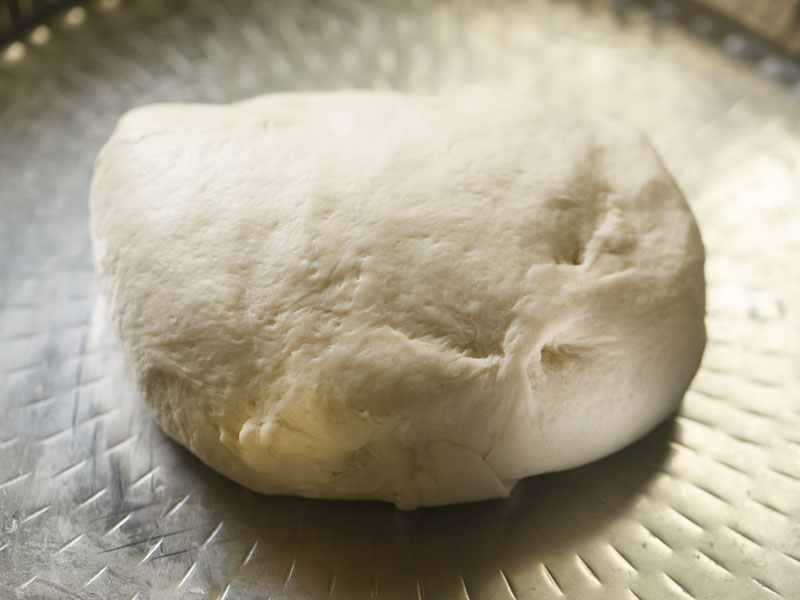
12. Now grease or brush a 9 x 5 inches loaf pan with oil. On a lightly floured surface, lightly knead the dough. This will deflate the dough.
Shaping into a Loaf
13. Flatten the dough with your fingers to a round or square shape. Then begin to roll it.
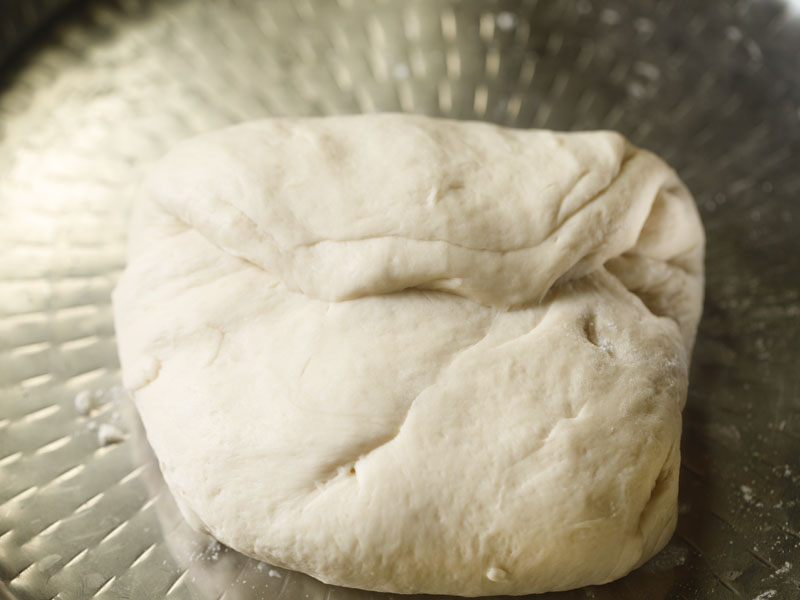
14. Make a neat rolled dough.
15. The place where the edges meet, join them first. Then press, flatten and smoothen them with your fingers. Smoothen the sides of the loaf as well.
16. Your loaf is ready for the second rise.
Second Rise
17. Place it in the greased 9 x 5 inches loaf pan with the seamed joined edges touching the bottom of the pan.
18. Cover the loaf pan with a kitchen towel. Keep it in a warm place.
- If you have used instant yeast – leaven for 20 to 30 minutes.
- For dry active yeast or fresh yeast – set aside for 45 minutes to 1 hour.

19. The loaf will rise in volume. Remember to preheat your oven 20 minutes prior to baking. Preheat at 190 degrees Celsius (375 degrees Fahrenheit).
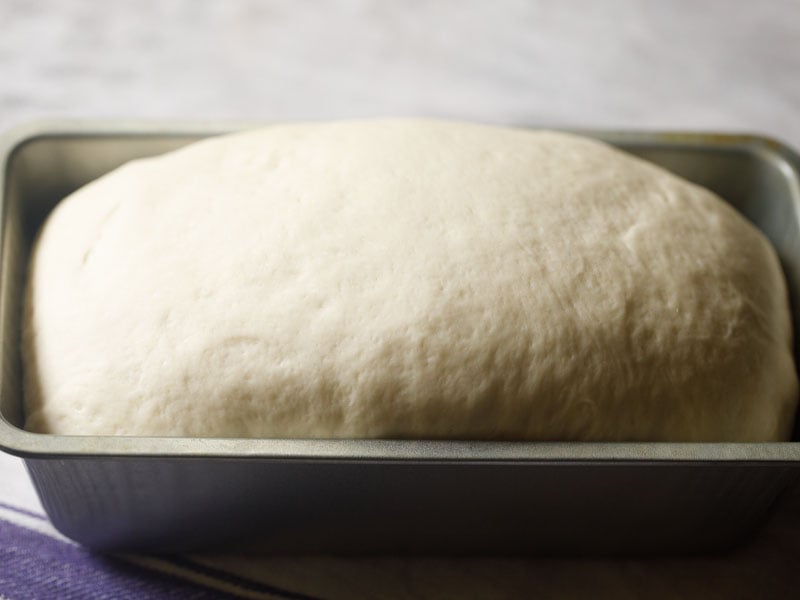
Scoring
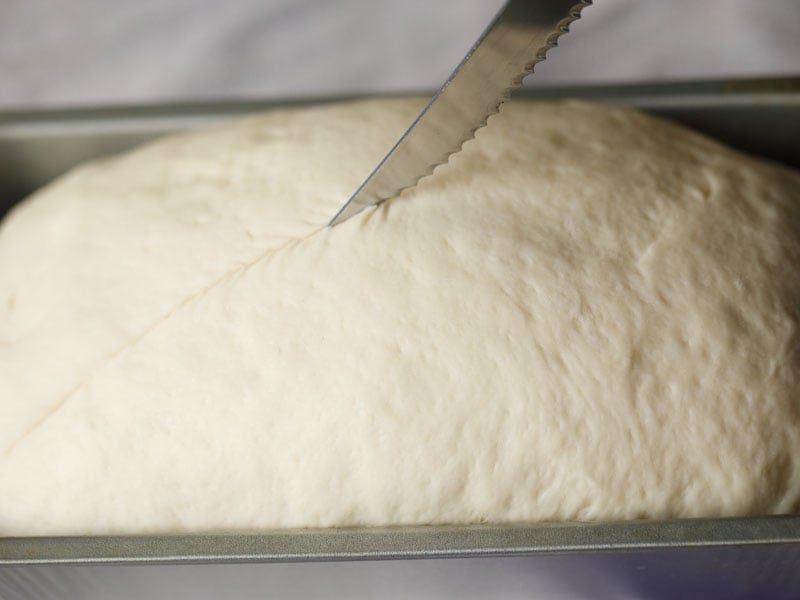
20. With a small serrated knife or any sharp knife or a lame, make one long slash or two slashes lengthwise on the center of the dough about ¼ inch deep.
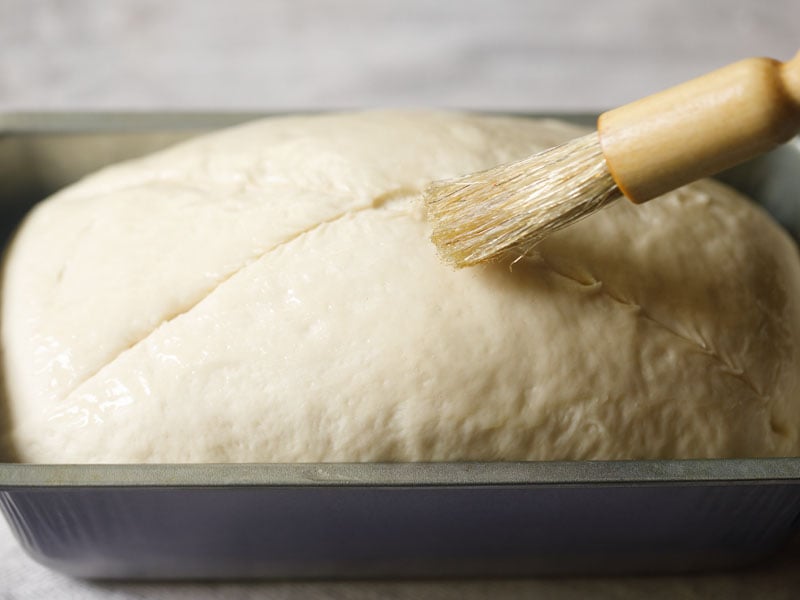
21. Brush the surface with some milk (dairy or vegan). This is an optional step.
Baking
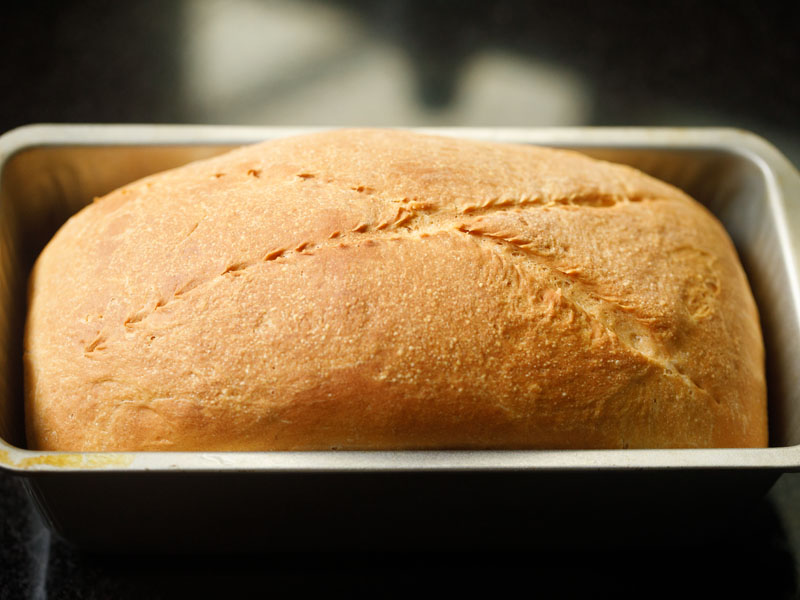
22. Place the loaf pan in the preheated oven. Bake for 30 to 40 minutes at 190 degrees Celsius (375 degrees Fahrenheit) until the loaf is golden brown. You will also see the sides slightly separated from the pan.
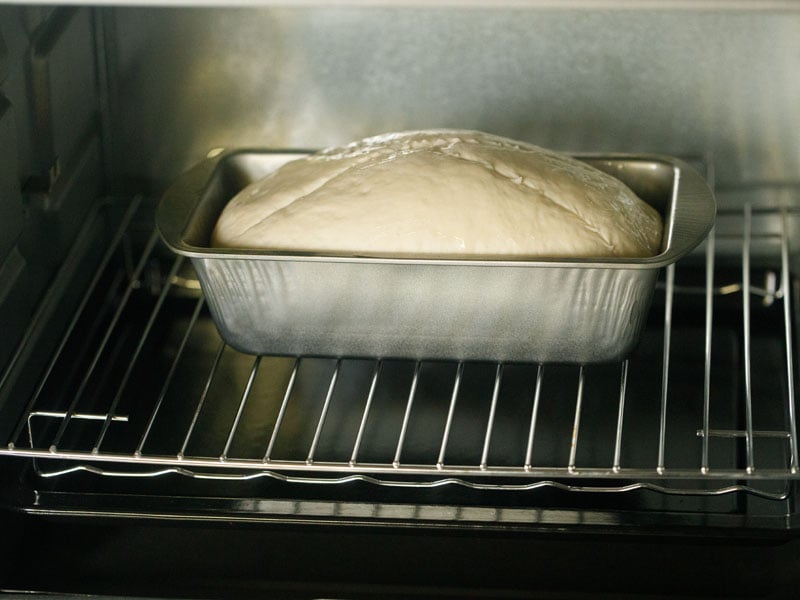
23. In the photo below, you see a lovely loaf of a well baked homemade bread. If your oven browns the surface very quickly, place a parchment paper or aluminium foil on the top of the loaf halfway through the baking – so as to avoid more browning.
24. Wait for 3 to 4 minutes after the bread is out of the oven. Firstly tap the bread and it should sound hollow – which means that the bread is baked well.
If the bread does not sound hollow, keep it back in the oven to bake for some more minutes.
This is an optional step and you can give it a miss. Remember the bread is hot and so is the pan. Use oven gloves or thick kitchen towels to remove the bread from the pan.
Lift one end of the white bread to check for an even browning at the bottom. If the bottom of the loaf is pale, then keep it directly in the oven (without the pan) for 5 more minutes and bake.
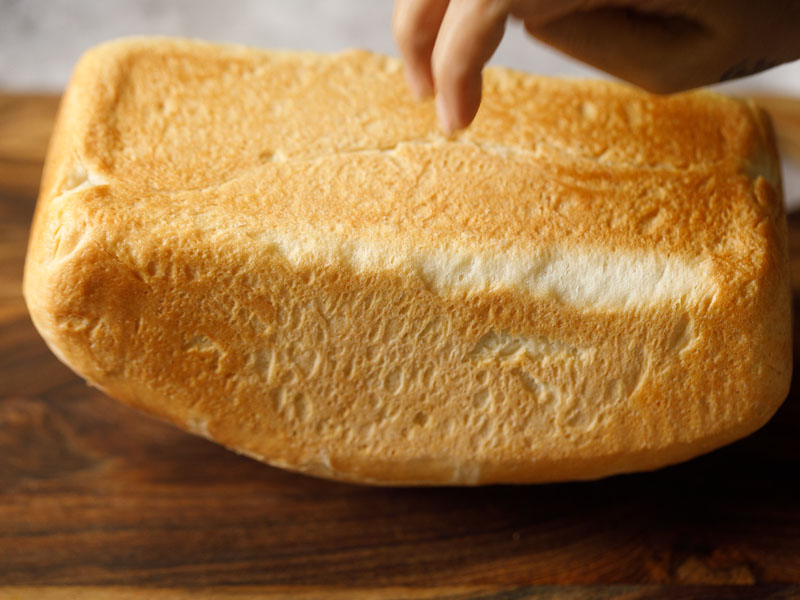
25. Transfer the loaf from the pan immediately and keep it on a wired rack. If you keep it inside the pan, the bottom will get soggy. Let the loaf cool at room temperature on the wired rack or tray.
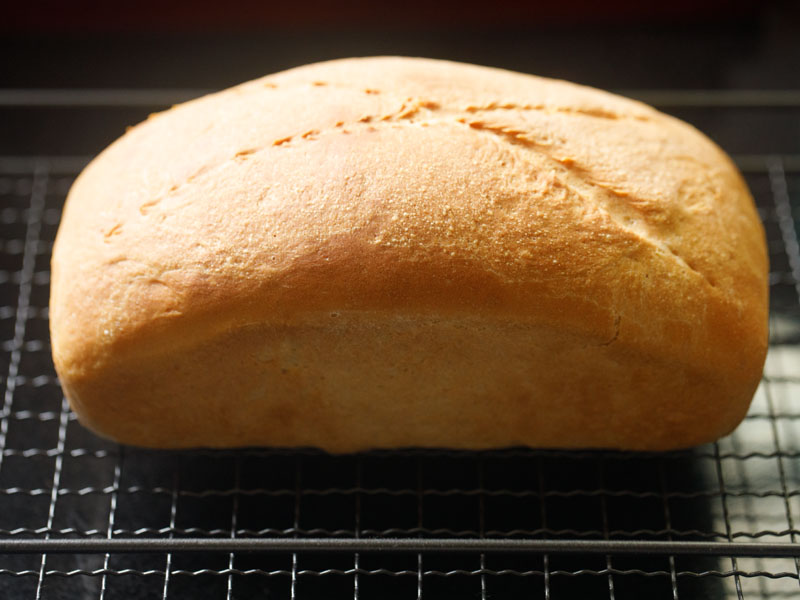
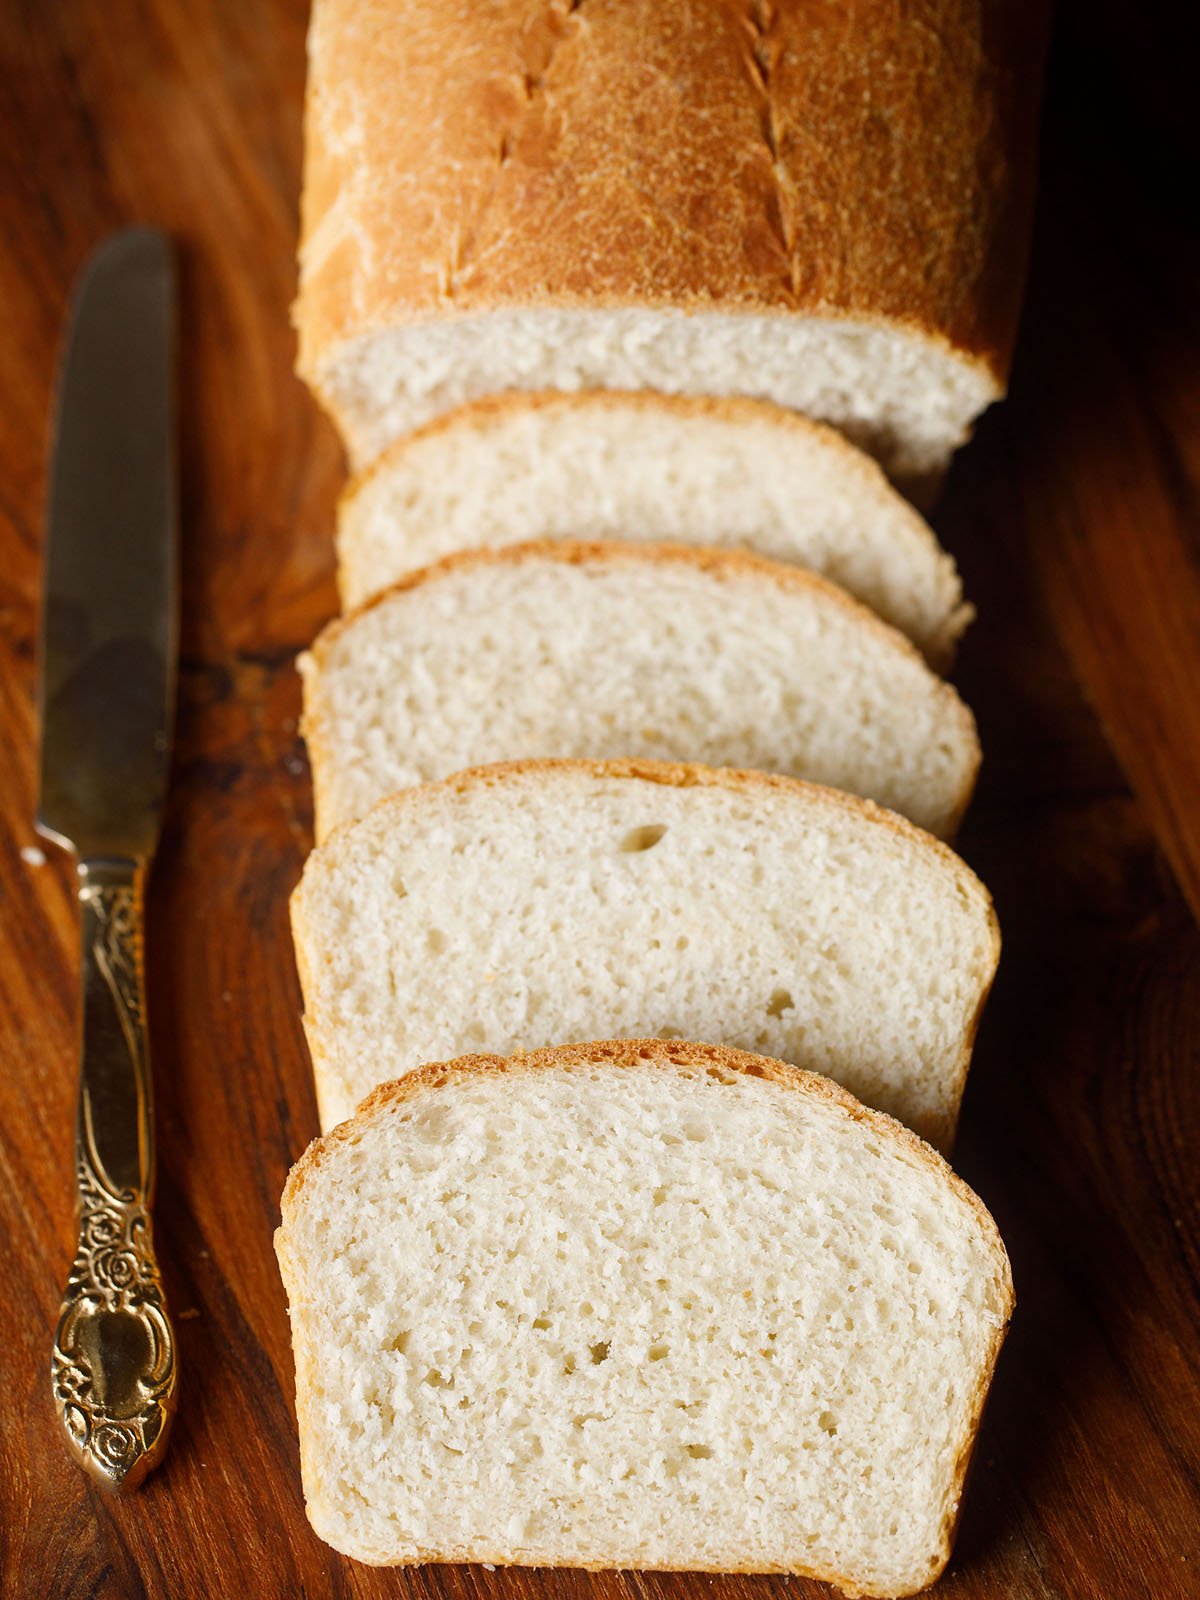
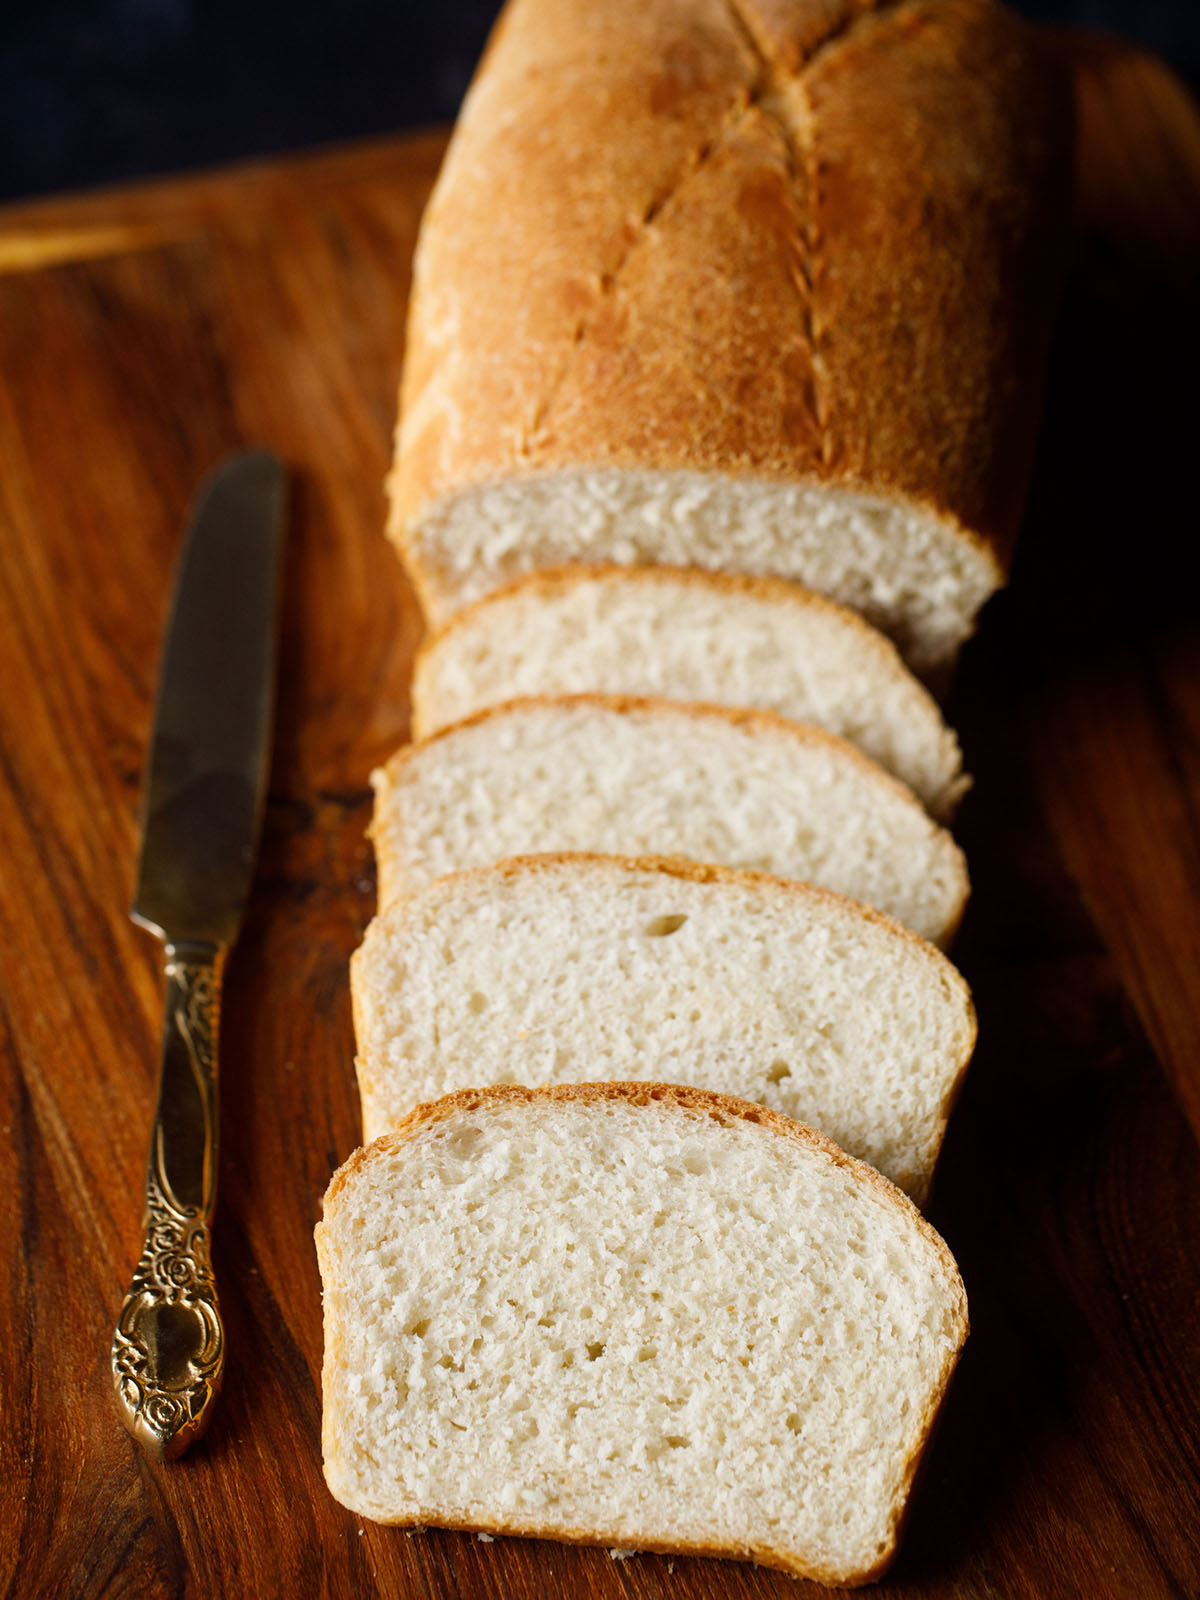
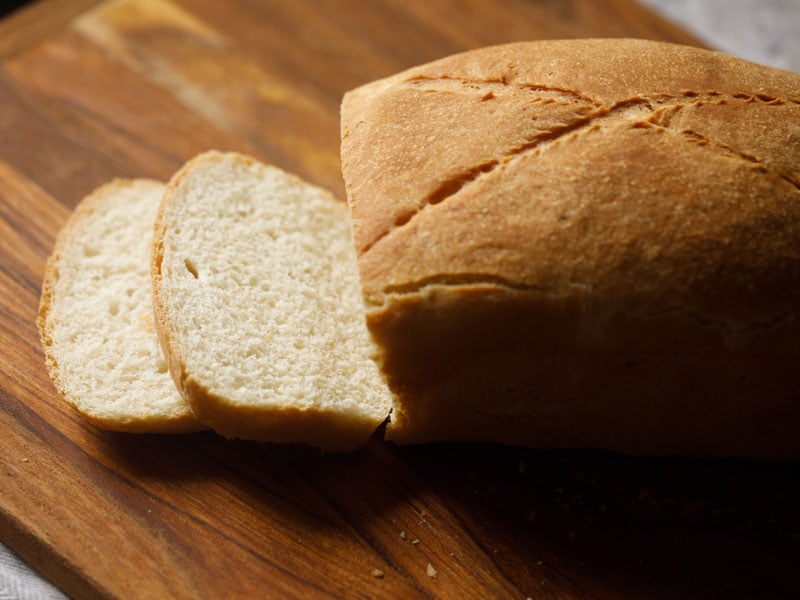
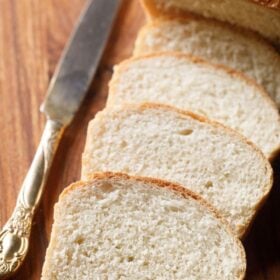
26. Enjoy homemade bread with your favorite curry or soup or just making one of your favorite sandwiches or toast.
Serving Suggestions
Enjoy slices of warm, freshly baked white bread plain or with a smear of soft butter or lightly toasted in ghee.
Serve toasted bread with jams or topped with slices of avocado, or a tablespoon of peanut butter or preferred nut butter for a yummy snack.
Homemade bread is great for making sandwiches – the only limit is your imagination! Check out my collection of 40 Best Sandwich Recipes for some ideas to get started.
Storage
Place the bread in a bread box or a covered box and refrigerate for a week. At room temperature, it keeps well for 2 to 3 days. You can also freeze it for a couple of months. Thaw before using or defrost it in the refrigerator overnight.
Expert Tips
- Variations: You can divide the dough into parts and make dinner rolls. Add some herbs (fresh or dried) to make a fragrant herb bread. Replace water with milk (dairy or vegan) for a milk bread. Include some more sugar or nuts, berries, dry fruits for a sweet bread.
- Kneading: You can knead the dough with hands as I have done. If you have a food processor or a stand mixer, then knead the dough in these.
- Baking: Since no two ovens are the same, it can take less or more time for the bread to bake in your oven. If the top surface of the bread browns quickly in your oven then place an aluminum foil or parchment paper on the top. This stops the bread from getting browned more.
- Yeast conversion: Make this bread recipe easily with any kind of baking yeast that you have. Follow this yeast conversion: 1 teaspoon instant yeast = 1.5 teaspoon active dry yeast = 1 tablespoon fresh yeast.
- Scalable recipe: Make a large batch of 2 to 3 loaves by easily scaling this recipe.
FAQs
To keep the bread soft I recommend that you store in an airtight bag or a bread box and keep at room temperature for up to 2 to 3 days.
Yes, white bread is great for freezing. Place in an airtight bag or a covered container and store in the freezer for up to 2 to 3 months. Allow the bread to defrost in the refrigerator overnight before enjoying.
Divide the dough into equal parts and bake for individual dinner rolls or Pav.
Substitute all-purpose flour with your favorite gluten free substitute for an easy GF-friendly white bread recipe.
More Bread Recipes You Can Try!
Bread Recipes
Bread Recipes
Bread Recipes
Bread Recipes
Please be sure to rate the recipe in the recipe card or leave a comment below if you have made it. For more vegetarian inspirations, Sign Up for my emails or follow me on Instagram, Youtube, Facebook, Pinterest or Twitter.
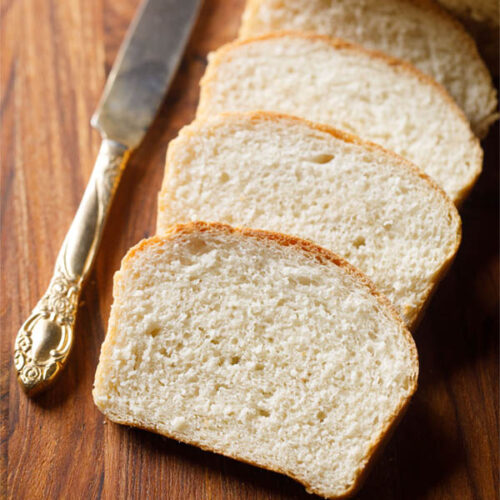
Bread Recipe | White Bread
Ingredients
- 3 cups all-purpose flour or bread flour (preferably unbleached), 360 grams
- 1 cup water (lukewarm)
- 1 teaspoon instant yeast or 1.5 teaspoon dry active yeast or 1 tablespoon fresh yeast
- 1 tablespoon sugar
- 1 tablespoon oil neutral flavored oil or olive oil
- 1 teaspoon salt or add as required
- 1 to 2 tablespoons milk (dairy or vegan) – for brushing, optional
Instructions
Proofing yeast
- In a small bowl take the instant yeast or dry active yeast and sugar. Add lukewarm water.
- Mix well and set aside until the yeast activates. For instant yeast keep for 5 minutes and for dry active yeast keep for 10 to 15 minutes.
Preparing dough
- While the proofing is happening, sieve or mix the flour with salt.
- Add the oil and the frothy yeast mixture to the flour.
- With a wooden spoon mix everything.
- Now use your hands and knead the dough for about 8 to 10 minutes. The dough has to be smooth, soft and light.
- If the dough looks sticky, then add a few tablespoons of flour and knead. If the dough looks dry or floury, add a few tablespoons of lukewarm water and continue to knead.
- Keep in a large bowl and cover loosely with kitchen napkin.
First Rise
- Set aside until the dough doubles up.
- For instant yeast – leaven dough for 45 mins to 1 hour. For dry active yeast or fresh yeast – keep for 1.5 to 2 hours.
- If needed set aside for some more minutes until the dough has doubled up nicely.
Shaping into a loaf
- Grease or brush a 9 x 5 inches loaf pan with oil.
- Take the dough on a lightly floured surface and gently knead. This will deflate the dough.
- Flatten the dough with your fingers to a round or square shape. Then begin to roll it neatly.
- The place where the edges meet, join them first. Then press, flatten and smoothen them with your fingers. Smoothen the sides of the loaf as well.
- Place in the loaf pan with the seamed joined edges touching the bottom of the pan.
Second rise
- Cover again loosely with the kitchen napkin and let it rise again for until fully doubled.
- If you have used instant yeast – leaven for 20 to 30 minutes. For dry active yeast or fresh yeast – set aside for 45 minutes to 1 hour.
- Preheat the oven to 190 degrees Celsius (375 degrees Fahrenheit) for 20 minutes prior to baking.
- With a small serrated knife or any sharp knife or a lame, make one or two long slashes lengthwise on the center of the dough about ¼ inch deep.
- Brush the surface with some milk – dairy or vegan. This is an optional step.
Baking
- Place the loaf pan in the oven. Bake for 30 to 40 minutes at 190 degrees Celsius (375 degrees Fahrenheit) until you see a golden crust.
- If your oven browns the surface very quickly, place a parchment paper or aluminium foil on the top of the loaf halfway through the baking – so as to avoid more browning.
- Wait for 3 to 4 minutes after the bread is out of the oven. Tap the bread and it should sound hollow – which means that the bread is baked well. If the bread does not sound hollow, keep it back in the oven to bake for some more minutes.
- Transfer the loaf from the pan immediately and keep it on a wired rack. If you keep it inside the pan, the bottom gets soggy. Let the loaf cool at room temperature on the wired rack or tray.
- Now enjoy your homemade bread with your favorite curry or soup or just making one of your favorite sandwiches or toast.
Storage
- Place the bread in a bread box or a covered box and refrigerate for a week. Or you can freeze it for a couple of months. Allow the bread to defrost in the refrigerator overnight before serving.
Video
Notes
- Variations: You can divide the dough into parts and make dinner rolls. Add some herbs (fresh or dried) to make a fragrant herb bread. Replace water with milk (dairy or vegan) for a milk bread. Include some more sugar or nuts, berries, dry fruits for a sweet bread.
- Kneading: You can knead the dough with hands as I have done. If you have a food processor or a stand mixer, then knead the dough in these.
- Baking: Since on two ovens are the same, it can take less or more time for the bread to bake in your oven. If the top surface of the bread browns quickly then place an aluminum foil or parchment paper on the top. This will avoid further browning while baking.
- Yeast conversion: Make this bread recipe easily with any kind of baking yeast that you have. Follow this yeast conversion: 1 teaspoon instant yeast = 1.5 teaspoon active dry yeast = 1 tablespoon fresh yeast.
- Scaling: You can halve or double the recipe and make a small or large batch of homemade bread.
Nutrition Info (Approximate Values)
This Bread recipe from the blog archives first published in April 2012 has been updated and republished on April 2023.



Dassana yesterdays dinner rolls turned out good as left for frothing in milk and water, they befores dinner rolls were slight hard not vry, except for the stuffed chicken rolls which turned out soft may be due to filling. If i happen to go to town will check on the packing again. Dassana a request for doughnuts and jalebis pls. Thks!
chalo, good to know. do check the pack. yes doughnuts and jalebi recipe, i will be adding in some weeks.
Dassana it took 2hrs for dough to risen, had kneaded dough with warm milk and water (qty as u mentioned). Pack mentioned dry instant yeast, so i had directly added to dough not left aside to froth. Is 2hrs ok after using dry instant yeast… Thk!
hi mohini, i think, its dry active yeast and not instant yeast. instant yeast packs are just labelled as instant yeast. ideally it should not take so much time. when i use it just take about 45 minutes. miracle… if the bread has doubled up, then you can bake. i hope the bread turned out good.
Gd Mrng Dassana i did check the table u sent regarding qty of instant and dry active yeast, thks. In above recipe u hv mentioned dry yeast half tbsp so if using instant yeast it will b 1tsp right and sugar will b same 2tbsp…
good morning mohini. sugar quantity will be same. you are right, use 1 tsp of instant yeast. the time for rising of the dough will be less, while using instant yeast. that you have to check.
Ok Thks!
Gd Mrng Dassana, made the white bread turned out excellent, thks a million. My hubby was vry happy that i culd bake bread at home. Next time i wuld like to give it a shape of dinner roll, culd u pls tell me hw that is dn. Thku!
thanks mohini for sharing positive review on white bread. i cannot explain how to shape the dinner rolls without photos. there are many shapes. you can check some youtube videos on how the rolls are shaped.
hi..
can i make bread in aluminum mold??
and how to know… the dough is perfect for bread??
what is mold is small in size?? can i divide in to two part??
is it easy to make in otg?
you can make in aluminium pan, but it should be oven proof. meaning it should stand the high heat of the oven. when the dough has risen and doubled up, it means the bread can be rolled into a log and placed in the oven. you can divide into two parts. yes easy to make in OTG.
Hi. I have a Pullman loaf pan with lid to bake breads. How do I use it for this recipe?
I mean when shud I put d dough in d loaf pan n when shud I lid it?
there is no need to place the lid while baking. its for some bread recipes that lid is used. when the bread dough is getting risen in the loaf pan, that time you can place the lid.
Had a dream of baking a bread. Looks like it’ll fulfill soon. But I don’t have a rectangular bread mould. Only cake moulds and I do have a rectangular aluminum/hindalium (not sure 🙁 ) ice cream maker mould. Can I use that to bake bread?
i am not sure about the ice cream mould. you can bake the bread in a cake pan. just the timing may vary due to the size of the pan. so do keep a check while baking.
Hi dasanna…
Nice to meet you. ..again☆☆☆;-)
Since a few days I found the bread recipes but I can actually understand.
But after reading ur article. .its so nice and u wrote it step by step. ..and briefly. .that I like it. ..now I can make it at home easily. .u know ur article became s very helpful to me. ..Thanks a lot. ..
thanks a lot saba. welcome and happy baking 🙂
Hello Dassana,
I am a big fan of ur recipes and have tried many recipes of urs and have never been disappointed by the results… Have recently started baking and have tried ur whole wheat pav and bread recipes and they turned out just too perfect.
Need ur help in this recipe. I have instant yeast so can I follow the same steps as mentioned for whole wheat bread? also can I Use curd for white bread also,as m sure it helps make bread soft as u had mentioned in the whole wheat bread recipe. If not plz let me know the time I should leave the dough to rest after using instant yeast. Will await ur response. Thanks
thanks a lot rashmi. the amount of instant yeast required is much less as compared to dry active yeast. in this recipe you need to add 1 tsp of instant yeast. you can also use this online yeast conversion tool from google search.
you can add curd in white bread. they will become soft. but just little curd. about 1/2 tbsp. as white bread is already soft when made without curd. after kneading the dough, keep it to leaven for about 35 mins. if the temperature is cool or cold outside, you can keep for some more minutes. after the second rise, make a loaf and then again keep for the second rice for 20 to 25 minutes or more if the temperature is low. then bake in a preheated oven.
Hi my yeast didnt get frothyI tried trice.please tell where i went wrong.
shalini, the water has to be warm. if the water is hot or not enough warm the yeast will not get activated. the quality of yeast also matters.
If your bread became hard find a bread bag or a closed container to store it in once it’s cooled down….. I have the same problem but once i do this it cuts nicely. How ever i do not use canola oil…. i use organic sunflower oil but all in all an amazing and great recipe…… few ingredients and great directions/pictures to follow.
thanks christie for your suggestions. i also do the same. i keep the bread in a box or container.
Hi,
Could you please let me know how to bake bread in microwave as I have LG GRILL MICROWAVE.
prashant, i have never made bread using the microwave mode. so unable to help you.
Hi dassana
Easy recipe to try. I just baked it today. Texture was alright … It raised well too. Because my pan was round and small, I baked them as smaller buns . Their outer crust was hard and could nt cut them at all due to this. Wonder what went wrong. I baked at 170 c for 40 minutes on convection mode . Do u think I should have reduced the temp further as their size was smaller ?
Suparna
hi suparna. the buns have got over baked and thats why the outer crust was hard. small buns take less time to bake than a whole loaf. the temperature is fine. but the time should have been less. next time you can just bake for 25 to 30 mins. when the top gets browned, just tap the buns. they should sound hollow.
Hi Dassana,
Happy to spot ur bread making site which I was searching from a very very long time,!!!
! I have had many attempts with 100 percent whole wheat n which all wer all very dense
l
later 2cup maida n 1 cup wheat turned out to b somewhat k.
When I use 2teaspn yeast for 3 cup flour it s smelling yeasty,but the commrcial. Breads never smells so. Any idea? Also wen u say I 1 cup , how it’s n ltrs or mg
Cd u tell me
Ur locatn as wen we keep the dough for 3-4 hrs for rising in India ,it can make. It too sour as the climate is hot
If u don’t mind my last question is, I use a convection microwave 200 degrees for 45 mts doesn’t cook well near sides ,can u suggest me an ideal temp n time for baking n preheating, my
Crest is always correct but below dat I seed some thing powdery n looks like. Uncooked
Thanks in advance!love to hear from u!!!!
Cheers !!!!!
Jisha
hi jisha
whole wheat bread will be dense. you can try the whole wheat bread recipe from the blog and this one is not dense. apart from yeast, a lot of additives and preservatives, gluten enhancers are used in commercial bread. thats why they don’t have a yeasty aroma. 1 cup is 250 ml. but when you weight a dry substance, the weight differs as per the density of the substance.
if the climate is hot or very hot, then you have to keep for a less time than mentioned in the recipe. the dough should be doubled. once its doubled, you can make the loaf and keep again for some minutes.
i suggest you to keep the bread covered with butter paper or aluminium foil and bake for a longer time. it seems your breads are not getting baked thoroughly. you can bake from 180 to 200 degrees C in your microwave oven in the convection mode. preheating should be atleast for 15 to 20 mins.