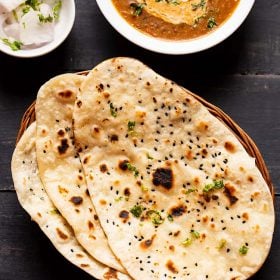
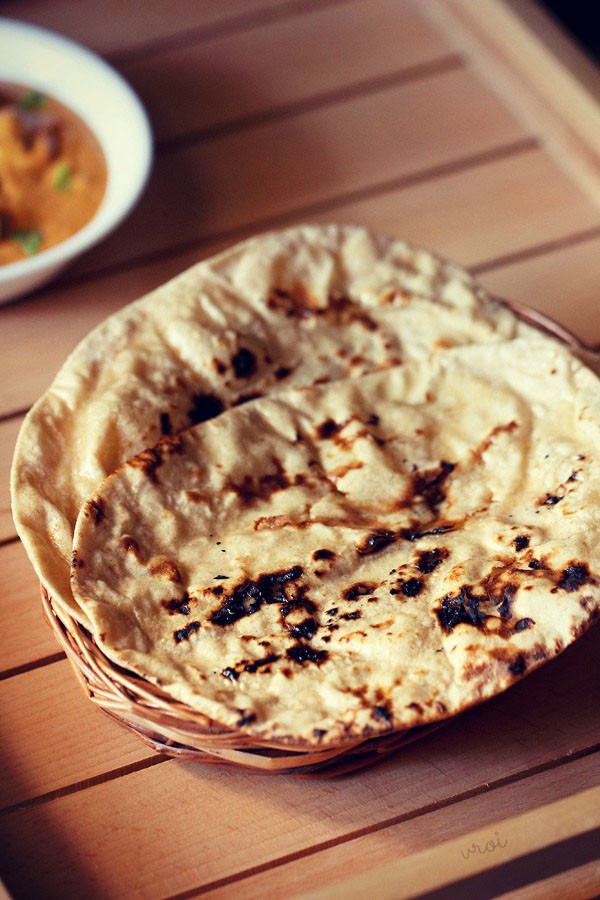
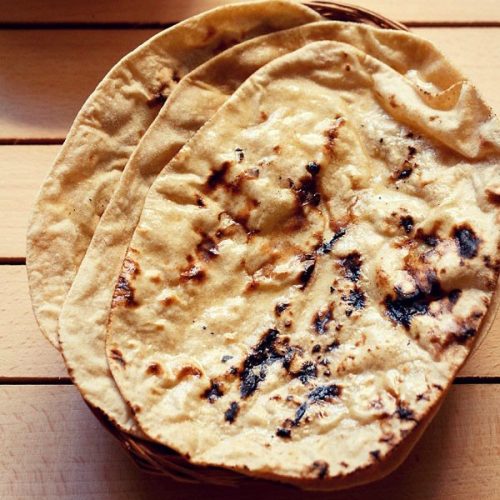
This simply delicious North Indian Tandoori Roti is one of my favorite Indian flatbreads of all time. With crisp edges, a soft interior, and a chewy texture, this whole wheat roti recipe is perfect for serving with any kind of Punjabi food, especially rich curry dishes. And don’t worry if you don’t have a tandoor oven – in this educational post I’ll show you 2 different methods to make this yummy Butter Roti without one!
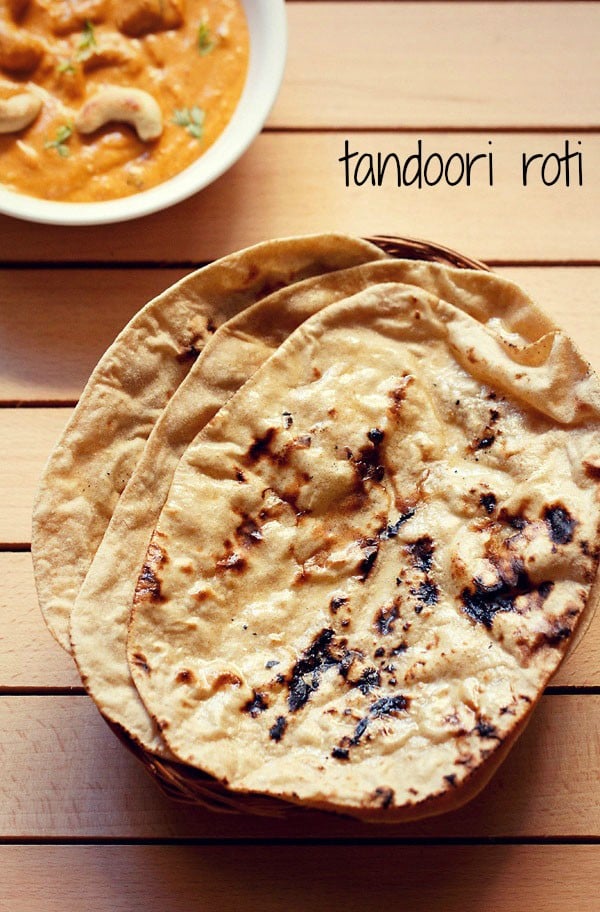
About Tandoor Roti Recipe
Tandoori roti are unleavened whole wheat flat breads. Traditionally these are made in a tandoor, which is a pot-shaped clay oven and not on a skillet or flat pan.
Hence the name tandoori roti which means that these are cooked in a tandoor unlike the regular Roti which is cooked on a tawa (a flat or concave shaped skillet).
Any North Indian restaurant will have a tandoor in their kitchens and the tandoori roti they serve will be inevitably made in the tandoor.
Table of Contents
At home, not all of us have tandoors. Yet even without a tandoor, we can make a really tasty tandoori roti on the stovetop following a simple technique of water brushing the rolled dough.
The rolled dough is brushed with water on one side. When this watered side is cooked on a hot skillet or pan, you get to see the same textural effect like the tandoori roti made in restaurants.
We also cook the roti directly on the stovetop flame to get those trademark chars and some smoky flavor.
Which Whole Wheat Flour To Use?
Keep in mind that the flour you will use to make these flatbreads is what we call “atta” in India. Atta is made by finely grinding wheat grains using stone grinders which we call “chakki” in India.
Atta is different than the whole wheat flour available in US and Europe. This difference is due to the type or variety of wheat grains that are used and the milling process.
The whole wheat flour which you get in US is roller milled and not stone ground. When stone grinding, the entire wheat grain is ground including the bran, germ and endosperm.
The method of making the dough is same as making regular roti dough – no secrets there! In fact, I sometimes make tandoori roti with roti dough too. You do not need any yogurt (curd) or baking soda to make these flatbreads.
The most important takeaway from this post are the two methods or techniques of preparing the roti.
Method 1 – Roast on a cast iron skillet (tawa)
- Given the option, we prefer roti made on an cast iron tawa or a flat skillet – provided they are served hot. In this method, you get a soft and chewy texture. The taste is like that of tandoori roti you get in restaurants, with some charring and a crisp exterior.
- Please make sure you use an iron or steel tawa (skillet); don’t use a non stick tawa.
- Give yourself some practice – You need a little experimentation to get the knack of making these roti. For example, you’ll eventually know exactly how hot the flame should be (which depends on the thickness of the skillet or tawa), and learn how to rotate the tawa evenly so that the corners of rotis are cooked well.
- Make small rotis and keep the heat on medium-low to medium or medium-high. For my tawa and my burner, medium strength flames worked well.
- Eat the rotis while they are fresh and hot! As they cool, they will become more chewy and dense.
Method 2 – Roast on a rack over stovetop flame
- This is an easy and simple method, but doesn’t quite taste like the tandoori roti you would get from a vendor.
- These rotis stay soft after cooking and can be eaten later – this makes them a good option if you are working ahead.
- Be sure to make the size of your rotis depending on the size of the rack you are using. You should not have any overhang.
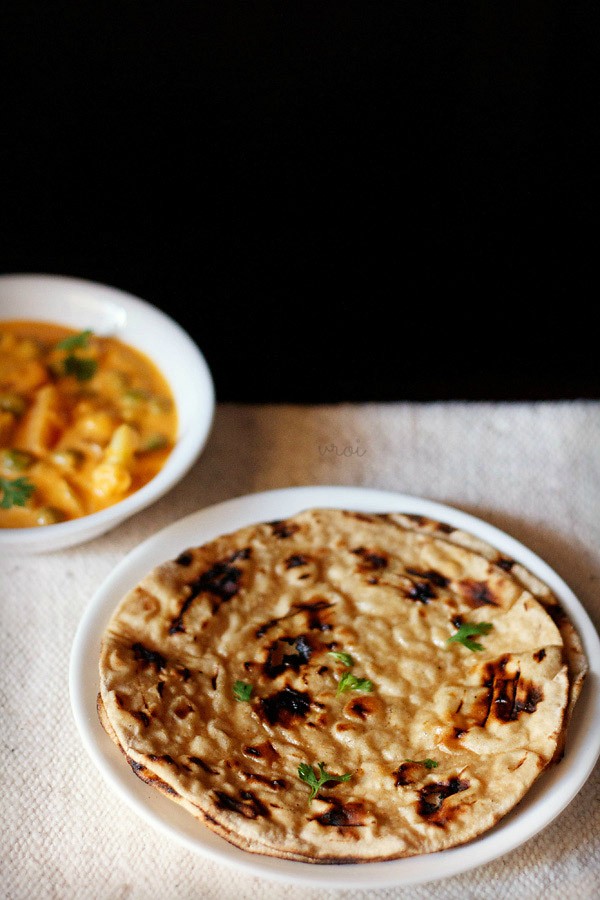
Tandoori roti goes well with any gravy or sauce-based Indian dishes. These butter roti also go well with rich paneer or vegetable gravy dishes and lentil based curries.
How to Make Tandoori Roti
Make Dough
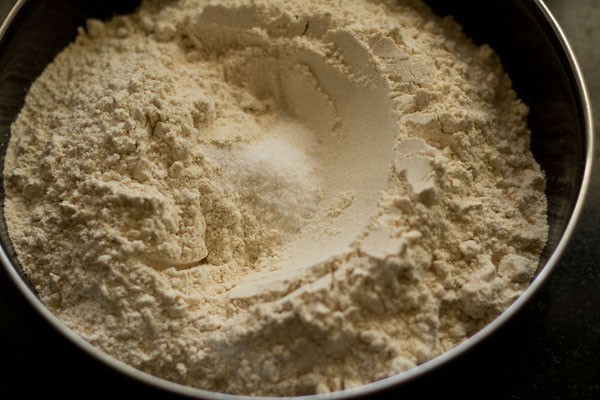
1. Sieve 2.5 cups atta (whole wheat flour) along with 1 teaspoon of salt. You can also whisk the flour and salt together if you prefer.
Note: Use the Indian variety of flour called atta to make tandoori roti. Atta has a super-fine or fine floury texture and is stoneground.
2. Add ½ tablespoon neutral flavored oil (optional).
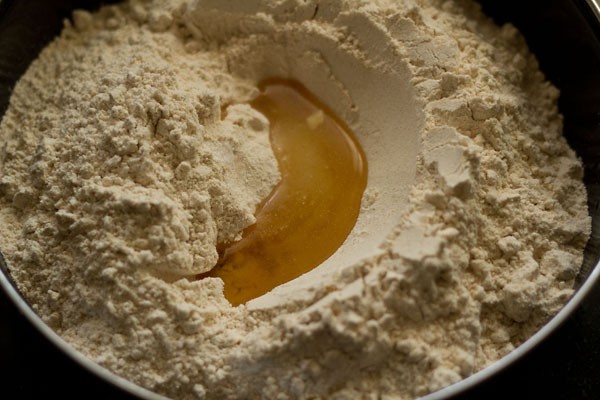
3. Then add ¾ – 1 cup water as needed, working a little at a time.
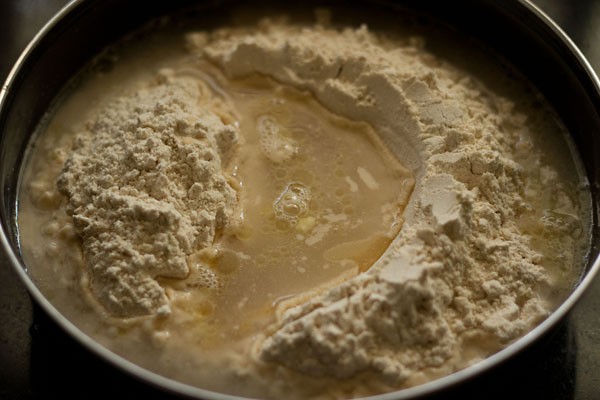
4. Mix everything together. Gather the mixture to begin kneading.
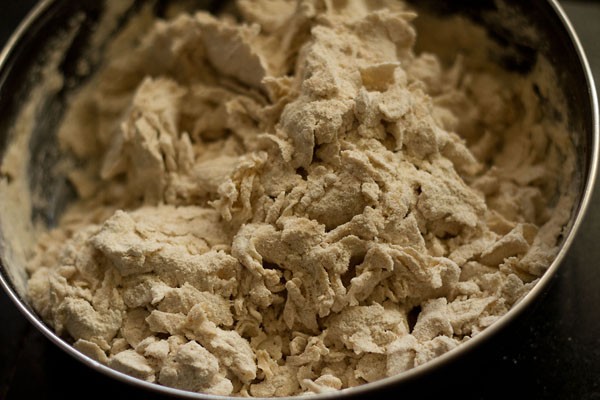
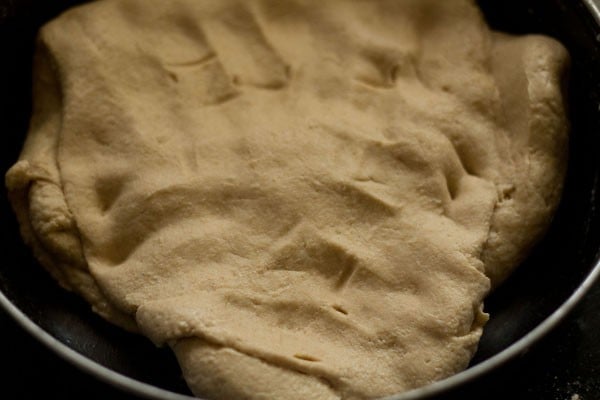
5. Knead to a smooth, soft and supple dough. Add water if required while kneading. Cover bowl and allow the dough to rest for 30 minutes.
Tip 1: If the dough has become sticky, add some flour and knead until the stickiness goes away.
Tip 2: If the dough looks dry or floury or is not soft, add water bit by bit. Mix and continue to knead until you get a soft and pliable dough.
Assemble & Roll Dough
6. Make small-medium sized balls from the dough, depending on the size you want your tandoori roti to be.
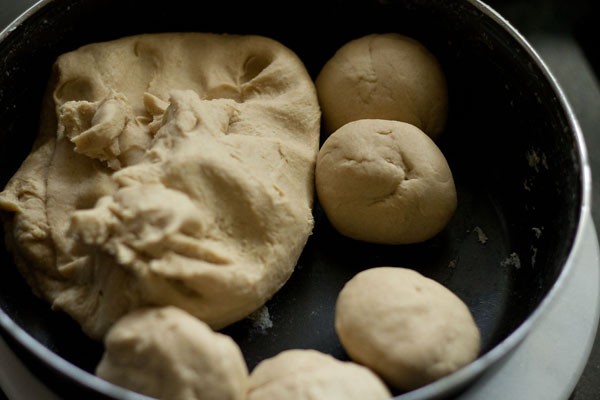
7. Place a piece of dough on a rolling board, flatten it with the palm of your hand, and sprinkle or dust some flour on it. Also dust some flour on the rolling board.
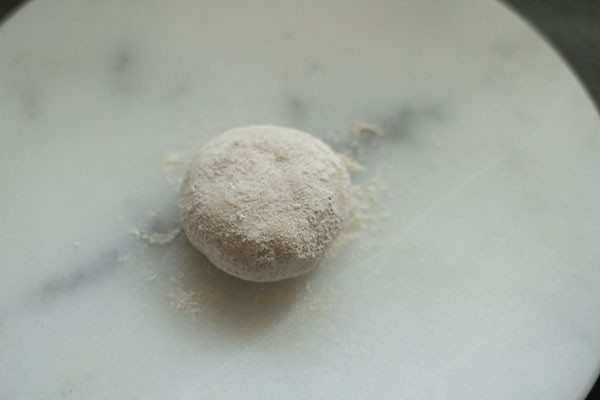
8. Using a rolling pin, evenly roll it into a small to medium sized round like that or a regular roti or chapati.
Don’t roll very thin, like we do for phulkas; these should be medium or medium-thick.
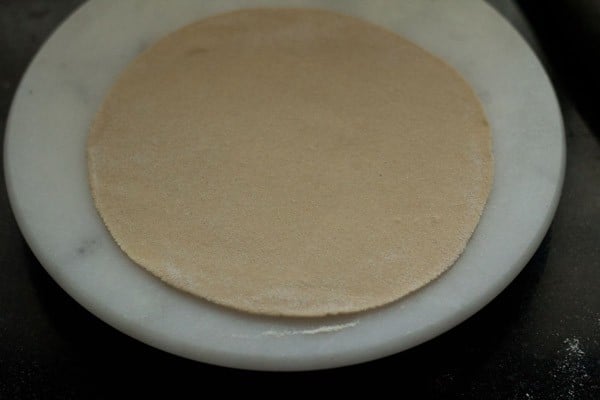
Make Tandoori Roti – Skillet (Tawa) Method
1. After you are done rolling the roti, spread water evenly all over the roti. You can use your fingers or use a pastry brush to spread the water.
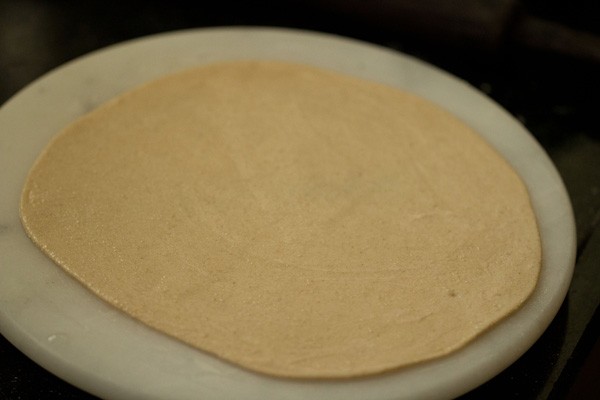
2. Place the roti – watered side down – on a hot cast iron tawa. Don’t use nonstick as the roti will fall off in the next step.
As soon the roti gets heated up, you will see huge air-pockets start to form.
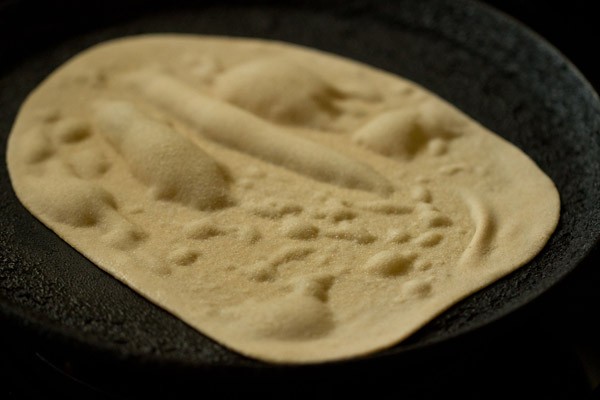
3. Allow to cook for about minute on a medium-low to medium heat.
Be patient and allow the roti to cook well or it will get stuck. The water has to dry up completely, so that the roti comes out easily.
I keep mine on the flame for at least for a minute, but the cooking time will vary depending on the thickness of the tawa/skillet and the intensity of the flame source.
Note: You can also use this technique to cook naan on stovetop.
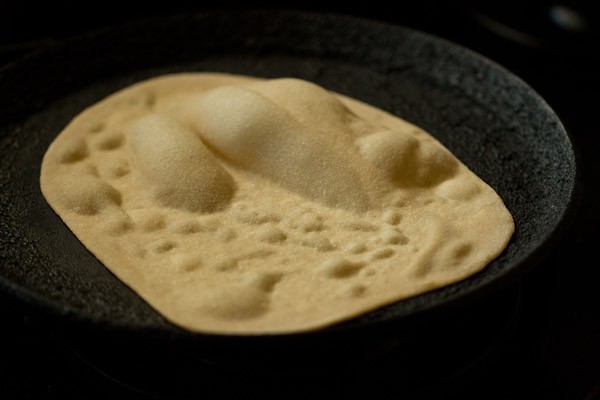
4. Now carefully hold the tawa upside down on the flame. The flame has to be on low to medium or else the roti might get burnt.
Rotate the tawa over the flame for even roasting. Keep tongs nearby; if the roti falls off from the tawa, then you can quickly lift it up with the tongs.
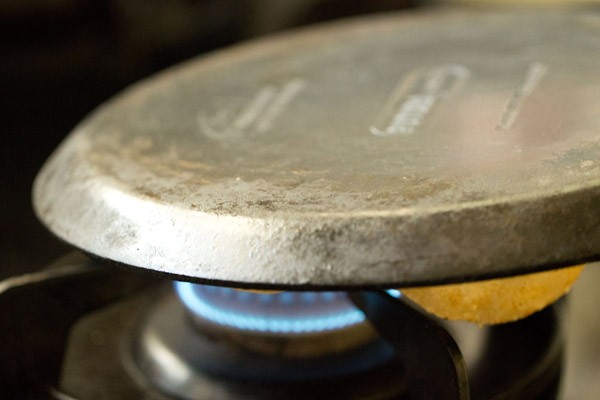
5. Bring back the tawa to it original position on the stove top. This is our tandoori roti after proper roasting.
Remove the roti with a spatula or tongs. If the roti sticks to the pan, then cook it with the tawa side to the flame for a bit more time.
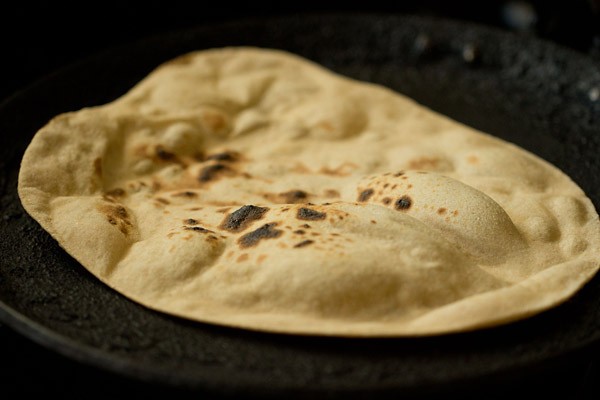
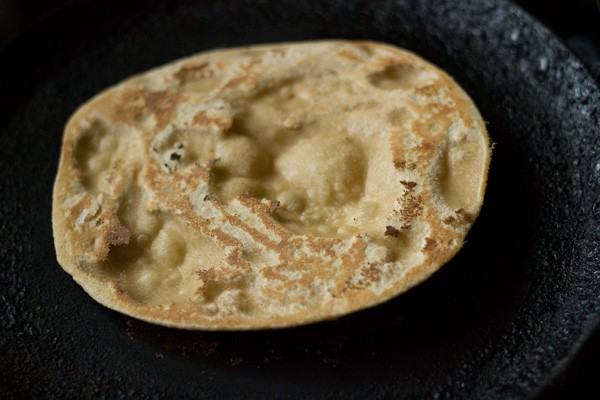
6. This is the watered side of the roti, which has been cooked.
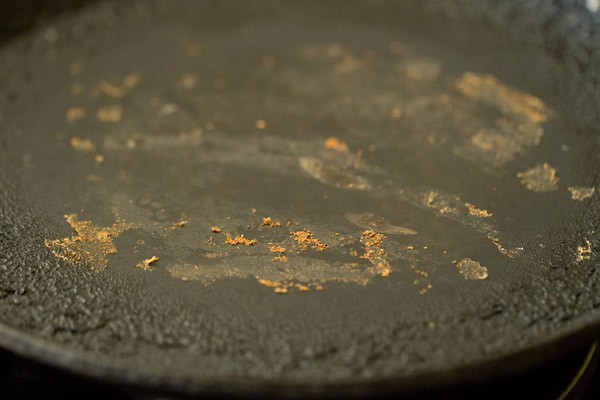
7. The tawa will have a few particles of cooked dough, which you can scrape or wipe off.
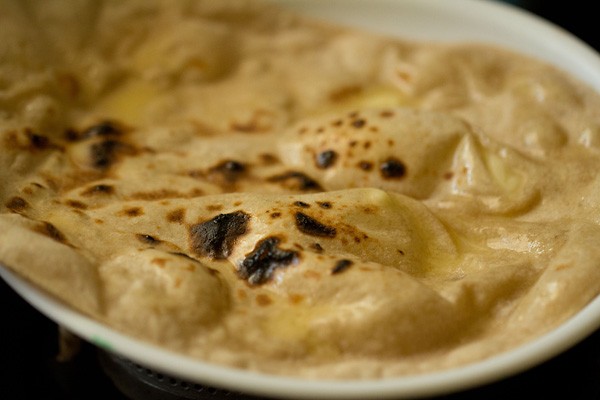
8. Spread some butter or ghee on the tandoori roti. You can also serve the tandoori roti plain, without adding any butter or ghee.
Cook Butter Roti – Rack Method Option
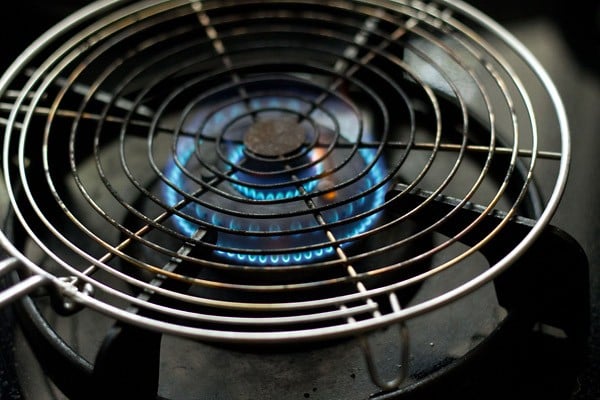
1. Take a fire proof and heat proof wired rack with a handle (as seen in the photo below) and place it on a low to medium flame.
2. Carefully, place the rolled roti on the rack.
You can hold the rack with its handle and turn it gently and evenly all over the flame, so that all the sides of the roti gets cooked.
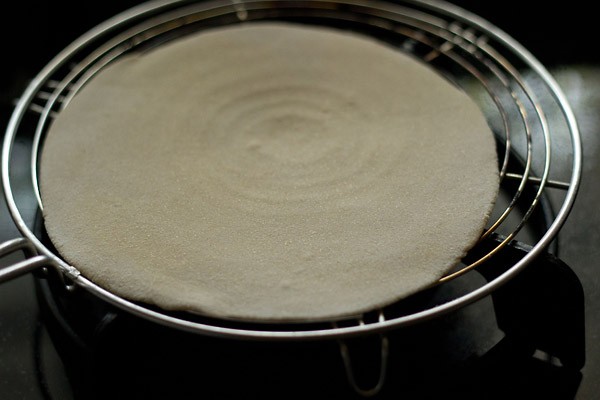
3. When you see air pockets appearing, flip the roti with a spatula or tongs.
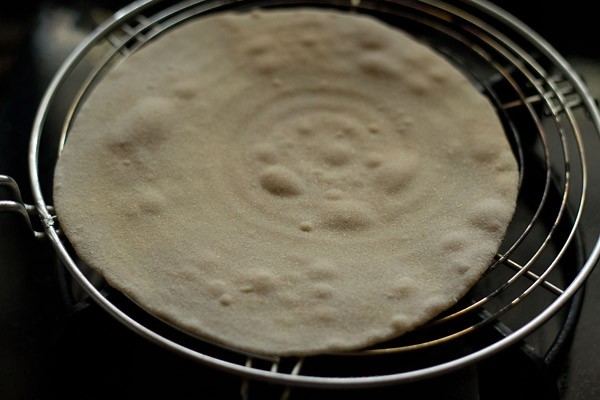
4. You will see a few brown black spots on the roti. Cook the other side now.
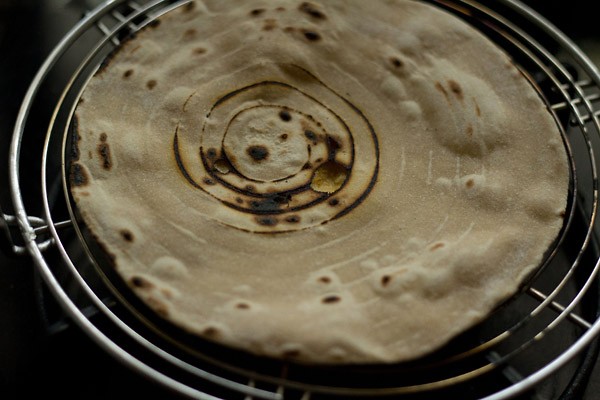
5. Flip again and you will see the second side is looking well cooked.
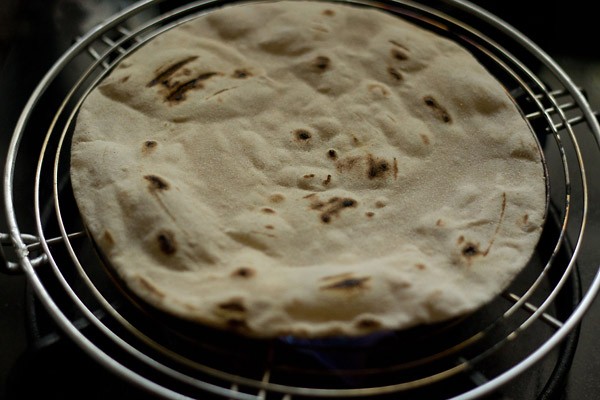
6. Flip once more for an even cooking.
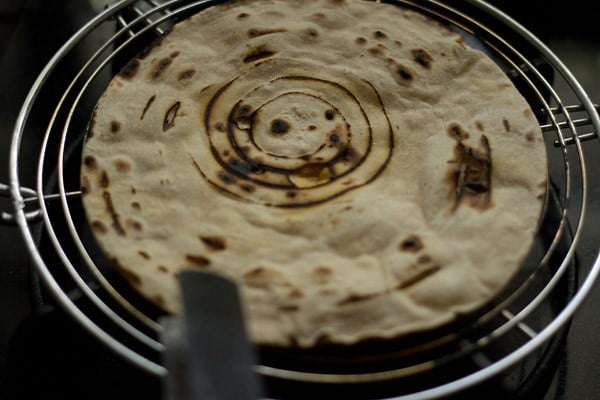
7. Lastly flip again. Make sure the whole roti has cooked well. You should not see any rawness in the tandoori roti.
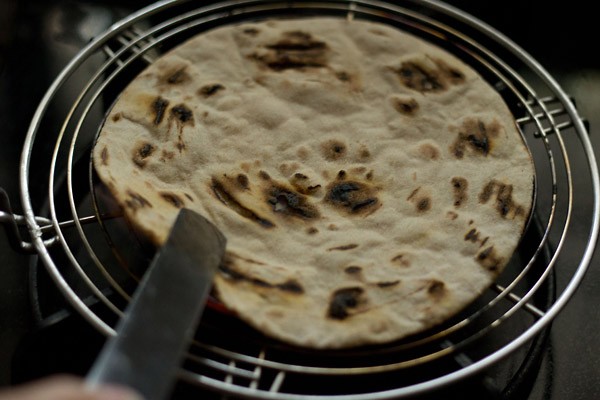
8. Keep the tandoori roti warm by placing it in a roti basket or casserole. Take some butter or ghee to spread on the roti.
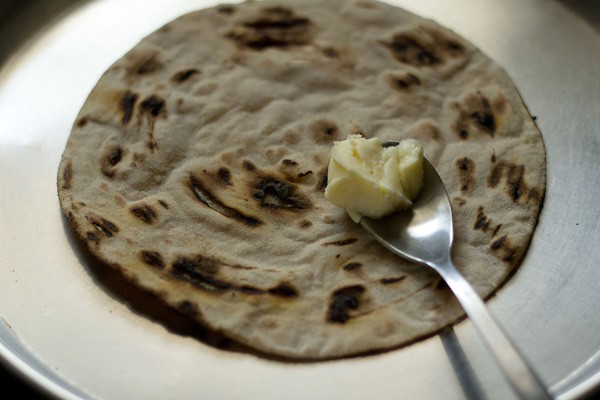
9. Spread the butter or ghee evenly. If you want you can skip the butter or ghee, but butter roti is better than plain roti in my book.
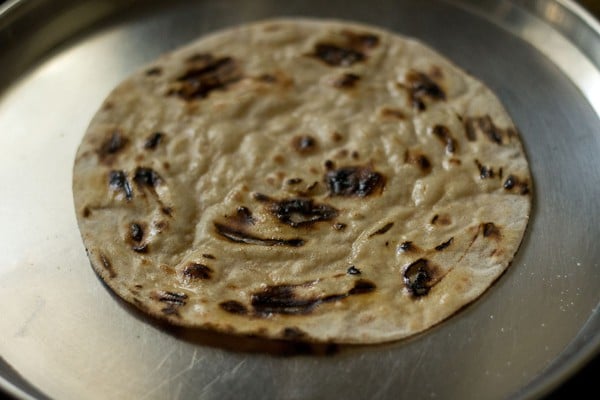
Choose to make tandoori roti with any of the method you prefer.
If you cannot serve them piping hot from the the pan to plate, stack them in a roti basket (roti box) so that they remain hot or warm.
Serving Suggestions
Tandoori roti pairs greatly with a rich saucy curry or a creamy lentil dish. There are plenty of options to choose from the Indian cuisine. Below are some of our favorites.
- Best to pair with Popular Indian legume and lentil dishes like Chana Masala, Dal Makhani , Dal Tadka and Rajma Masala.
- They also taste nice with vegetable curries like Bhindi Masala, Dum Aloo, Aloo Gobi, Palak Paneer.
- For a richer meal, serve with paneer curry recipes like Paneer Butter Masala, Matar Paneer, Paneer Tikka Masala or Kadai Paneer.
FAQs
Generally speaking, the primary difference is that Naan is leavened (with yeast or baking soda) while roti is a plain, unleavened dough. I also use a mix of whole wheat flour and all-purpose flour for my naan recipe, while I use only atta (whole wheat flour) for these tandoori roti.
Absolutely, though you’ll need to experiment more with your heat source to see what temperature will work. You will need to keep a heat-proof rack on your induction stove-top’s heat source while roasting the roti directly over the heat. You can also use an outdoor grill if you prefer.
For this recipe, I think a cast iron skillet or tawa will make better rotis.
This happens when the bottom is not roasted well. If you roast the bottom well, then the water evaporates and allows the roti to release. Once you char the roti on the burner, then place the tawa back on the flame and allow the watered side to cook more. Also be sure your rotis aren’t too thin, but are medium to medium-thick rotis.
More Roti Variants To Try!
Indian Breads
Indian Breads
Indian Breads
Indian Breads
Please be sure to rate the recipe in the recipe card or leave a comment below if you have made it. For more vegetarian inspirations, Sign Up for my emails or follow me on Instagram, Youtube, Facebook, Pinterest or Twitter.
Tandoori Butter Roti Recipe
Ingredients
- 2.5 cups whole wheat flour
- ½ tablespoon oil – any neutral oil or ½ tablespoon softened butter
- 1 teaspoon salt or add as required
- ¾ to 1 cup water for kneading or as required
- 2 to 3 tablespoons Butter (softened) or ghee or neutral flavored oil for brushing on rotis, optional
Instructions
Kneading dough
- Sieve the atta or whole wheat flour along with the salt in a bowl or a large plate. You can also mix the flour and salt together.
- Add oil and water in parts.
- Mix everything and gather the mixture to begin kneading.
- Knead to a smooth, soft and supple dough adding water as needed. Cover the bowl and let dough rest for 30 minutes.
- After dough resting time is over make small to medium-sized balls from the dough.
- On a rolling board, flatten a dough ball and sprinkle some flour on it. Also dust some flour on the rolling board.
- Using a rollin pin, evenly roll the dough into a small to medium-sized round circle.
Rack method to make tandoori roti
- Take a fire-proof and heat-proof wired rack with a handle and place it on a low to medium heat.
- Carefully, place the roti on the rack.
- When you see air-pockets appearing, flip the roti. You will see a few brown black spots on the roti. Cook the second side now.
- Flip again and you will the second side cooked well enough.
- Flip once more for an even cooking.
- Lastly flip again. The whole tandoori roti has to be cooked well.
- Keep them in a roti basket or casserole. Take some softened butter or ghee to spread on the roti.
- Spread the butter or ghee evenly. If you want you can skip the butter or ghee.
Tawa or skillet method
- After you are done rolling the dough ball to an even round circle, spread water evenly all over the roti. You can use your fingers to spread water or use a pastry brush.
- Place the roti, watered side down on a hot tava. Use a cast iron tava. Don't use nonstick tawa/skillet as the roti will fall off in the next cooking steps.
- As soon the roti, gets heated up, you will see huge and sometimes even large air-pockets on the roti.
- Allow to cook for a minute on a medium-low to medium heat.
- Now carefully hold the tawa or skillet upside down on the flame. The flame has to be on low to medium or else the roti might bet burnt.
- Rotate the tava over the flame for even roasting.
- Place the cooked tandoori roti on a plate or in a roti box or roti basket, spread or brush some butter or ghee on the roti.
- The tava or skillet will have a few bits of cooked dough, which you can scrape off with a spatula.
- Serve tandoori roti hot with any lentil dish (dal), vegetable gravy or paneer curry. It is best to serve the tandoori roti hot.
- Make tandoori roti in batches using any method that suits you. If not serving them hot, stack them in roti box or roti basket so that they remain hot or warm.
Notes
- Make the Tandoori Roti with the Indian variety of wheat flour (called atta) that is stone-ground (chakki ground) with a fine or superfine texture.
- Knead to a smooth, soft and pliable dough, adding water as needed. Do not make a tight or semi-soft dough as then on roasting, the roti will have a denser texture.
- A very soft and thin dough will be difficult to roll and make for an uneven roti when rolled.
- Any leftover dough can be stored for a day in the refrigerator. Spread some oil lightly on the dough and keep it in an air-tight container.
- Keep in mind not to overcook the roti as they can become hard.
- For a vegan option, use any neutral flavored oil or vegan butter to brush on the roti.
- This recipe can easily be reduced or scaled to make a small or large batch.
Nutrition Info (Approximate Values)
Tandoori Roti recipe from the archives was first published on April 2015.
