Sev puri recipe is a canape like snack – where crispy fried flour discs are topped with flavorful condiments, veggies, herbs, ground spices and more. Spicy, sweet, tangy, savory, salty, crunchy flavors – all bursting in your mouth in each bite. Learn to make this evergreen popular chaat snack with my authentic Mumbai style recipe.

Table of Contents
What is Sev Puri
The words ‘sev’ is for fried gram flour (besan) vermicelli. ‘Puri’ here is for crispy fried flat rounds/discs (also called papdi) made from wheat flour.
While on the face of it, looks like the words “sev puri” implies only two ingredients and so the recipe will have two ingredients. But that is not the case here.
You will be surprised to know the number of elements this awesome snack has. Sev puri is a part of the wonderful assortment of chaat snacks from the Indian cuisine.
Chaat literally means to “to lick”. These chaat snacks are finger licking good and that could be the reason for the name.
Sev puri is one of my favorite chaat recipe. In fact, coming to think of it, all the mouthwatering chaat recipes are my all time favorites 🙂
Made of spicy, sweet, savory, salty and tangy tastes with so many different textures and flavors mingling in your mouth, why would not anyone love sev puri. If you are a fan of sev puri, let me tell you it is easy to make it.
Simply make all the chutneys, boil the potatoes, gather all the other ingredients and you are ready to assemble the dish.
For the various chutneys, I have given listed recipes in the step-by-step guide and in the recipe card with links mentioned below. Make ahead the chutneys a day before and refrigerate them.
As soon as you assemble and make sev puri, you have to serve them immediately or else the pooris turns soggy.
Ingredients You Need
- Poori or Papdi: These form the base of this snack which holds all the toppings. Puri can be made at home or brought from shops. Essentially, these puris are crisp flat fried discs made from whole wheat flour or all purpose flour.
- Green Chutney – The condiment that adds some freshness, spiciness in the sev puri recipe is this green chutney made from fresh coriander leaves (cilantro) or both coriander and mint leaves, ginger or garlic, green chillies and salt.
- Sweet Chutney – The sweet tangy taste in a sev puri, comes from this thick sweet chutney or sauce that is made with tamarind, dates and sugar/jaggery.
- Red Chutney – Dried red chillies and garlic make up for this pungent and hot chutney which gives a lot of smoky spiciness to the dish.
- Sev – These are crispy and super fine or fine vermicelli made from gram flour. These are also known as nylon vermicelli. While the name ‘nylon vermicelli’ looks weird, I assure that there is no nylon is this one. You can make crunchy sev by yourself or buy from a grocery store.
- Veggies – Boiled soft potatoes, crunchy onions and tangy tomatoes are the veggies you add in a sev puri recipe.
- Spices & Herbs: Lightly sprinkled chaat masala, roasted cumin powder, black salt and generous topping with coriander leaves and a drizzle of lemon juice add the finishing touches to the dish.
I recommend to make the chutneys a day earlier and refrigerate them. As I have mentioned above, the puri and sev can be store brought.
Sev Puri vs Papdi Chaat
One more snack which is similar to sev puri is Papdi Chaat. They both looks similar but are not the same concerning the taste and flavor.
While sev puri is very popular in Mumbai and Western Indian states, papdi chaat is popular in Delhi and some North Indian states.
The difference comes from the richness and creaminess in a papdi chaat. Curd (yogurt) added to a papdi chaat makes it slightly creamy and rich. But yogurt is never added in a sev puri.
Some more additional ingredients like boiled white chickpeas and sometimes urad dal pakoris (fritters) are also a part of papdi chaat. Usually sev, onion and tomatoes are also not added in a papdi chaat.
How to make Sev Puri
Before you start making sev puri, you need to make the three condiment chutneys. Prep them a day ahead to make your work easier.
Make Green Chutney
1. Rinse 2 cups of coriander leaves well in water. Drain the water and roughly chop them. Take all the ingredients listed below in a blender.
- chopped coriander leaves
- 1 teaspoon chopped chillies – add more for a spicy taste
- 1 inch ginger
- ½ teaspoon cumin powder
- ½ teaspoon chaat masala
- ¼ to ½ teaspoon lemon juice
- ½ teaspoon black salt or regular salt
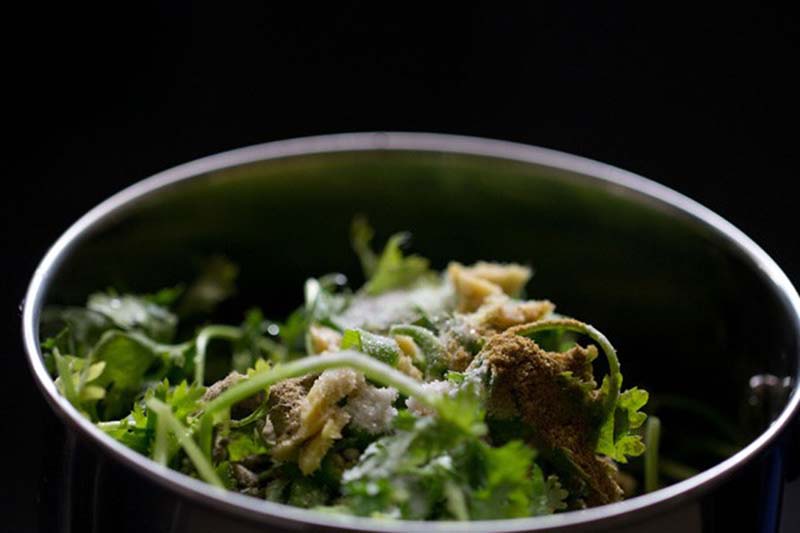
2. Add 1 or 2 teaspoons water and grind to a smooth chutney. Add a few teaspoons more of the water if required. But don’t make the chutney too thin or runny.
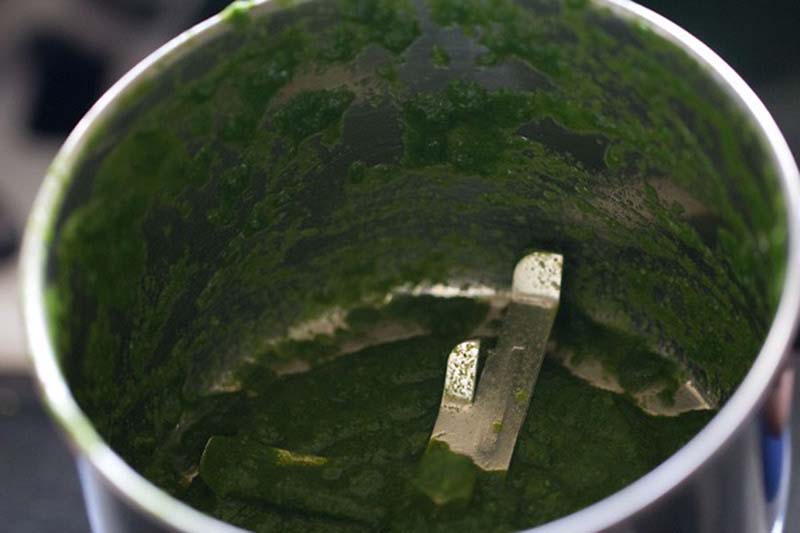
3. Remove the chutney in a bowl and set aside. Cover and refrigerate if making sev puri after some hours or next day.
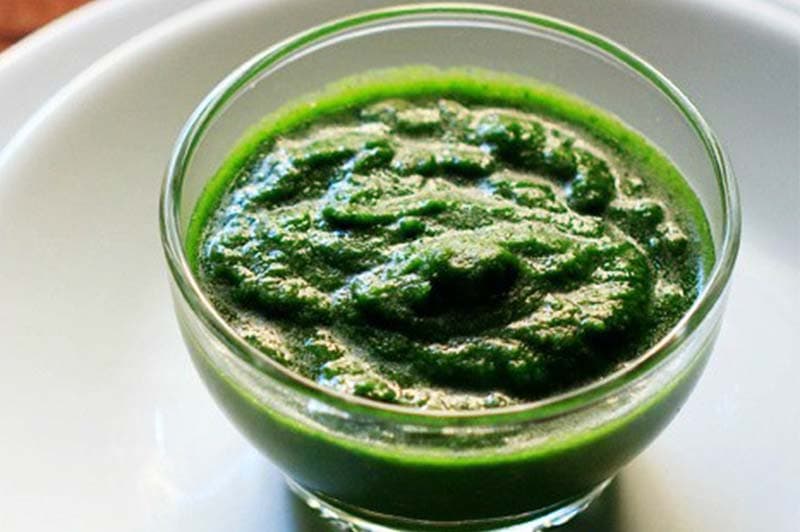
Make Red Chilli Chutney
4. Break and deseed 15 to 16 dry Kashmiri red chilies. Soak the red chilies in hot water for about 20 to 30 minutes. The water just needs to cover them. Peel and roughly chop 8 to 9 medium garlic cloves.
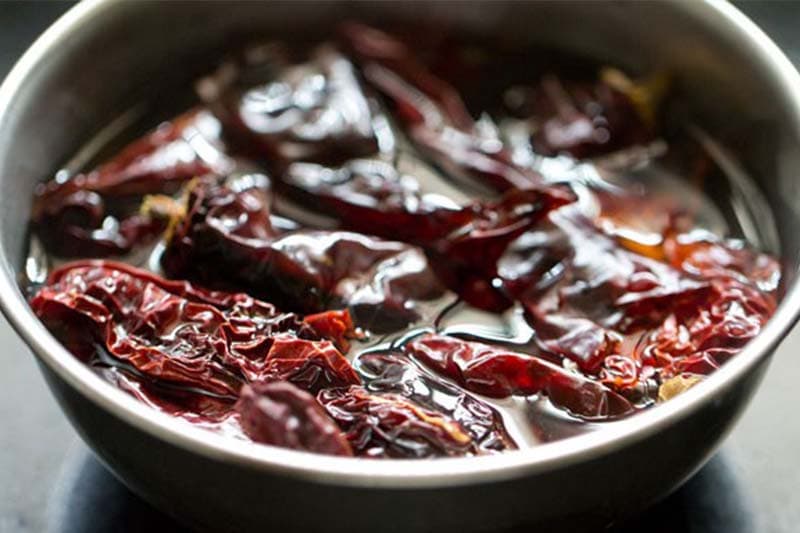
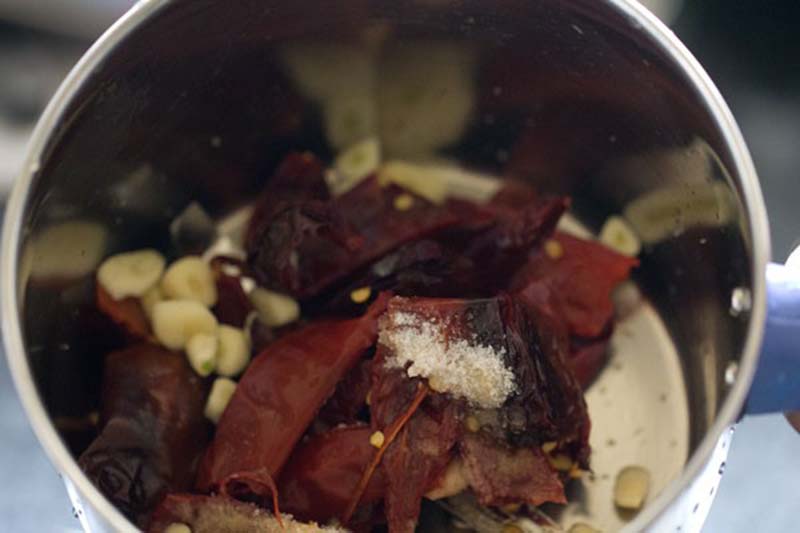
5. Drain all the water from the red chilies after 20 to 30 minutes. Add the red chillies, garlic and salt according to taste in a blender or grinder.
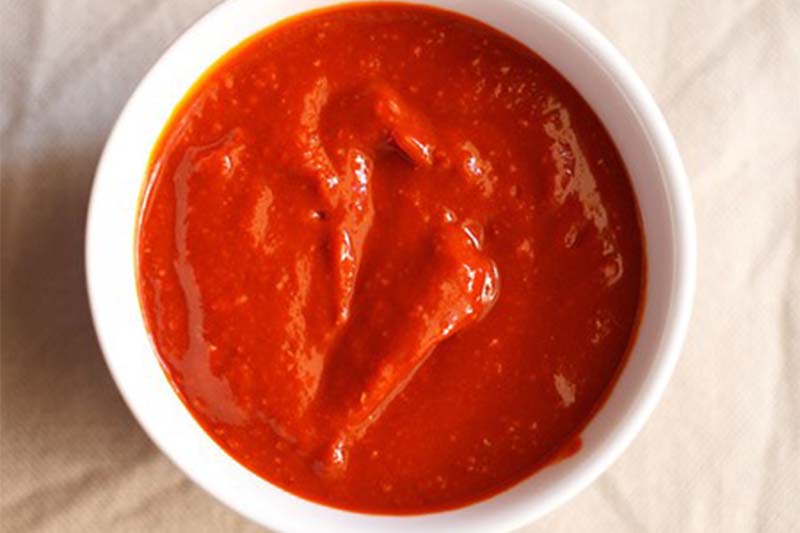
Adding very little water grind or blend both the red chilies and garlic until smooth. The consistency of the chutney should be more towards thicker side or of medium consistency.
6. Pour the red chilli garlic chutney in a small jar or bowl. Cover and refrigerate.
Make Tamarind Chutney
7. Rinse ½ cup tamarind (remove seeds if any) in a strainer. In a pan, take the tamarind, ½ cup dates (seedless or pitted) and 2 cups water.
Cook the tamarind and dates for about 8 to 9 minutes on a low heat or until they soften.
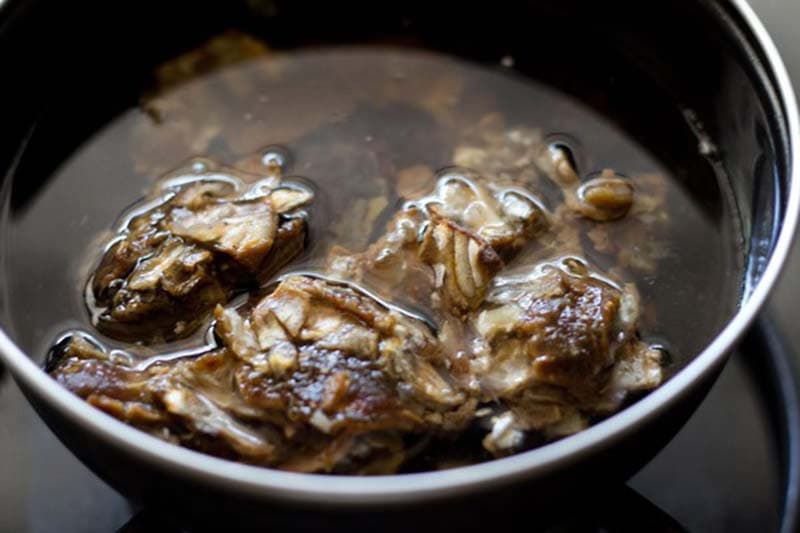
8. When the tamarind and dates have softened, add ½ cup of powdered or chopped jaggery and continue to cook. Let the jaggery dissolve completely and the mixture thicken a bit.
Swap ½ cup of sugar with jaggery if you do not have jaggery.
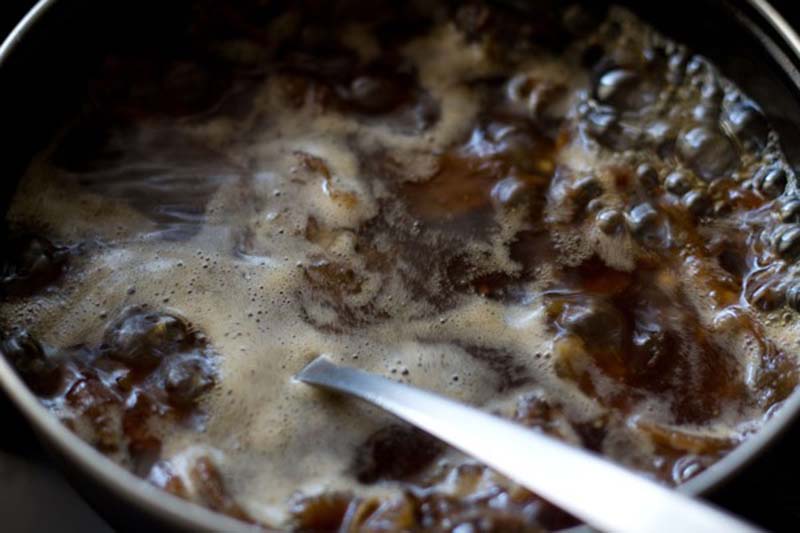
9. Add all the spice powders – ¼ to ½ teaspoon red chili powder or cayenne, ½ teaspoon coriander powder, ½ teaspoon dry ginger powder (ground ginger) and ½ teaspoon roasted cumin powder.
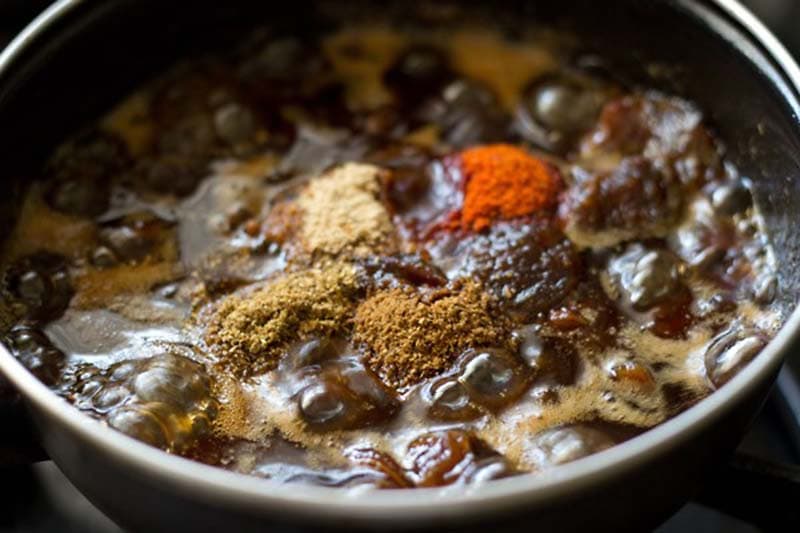
10. Mix well and simmer for a further 1 to 2 minutes more. Season with salt according to taste. Let the chutney mixture cool at room temperature.
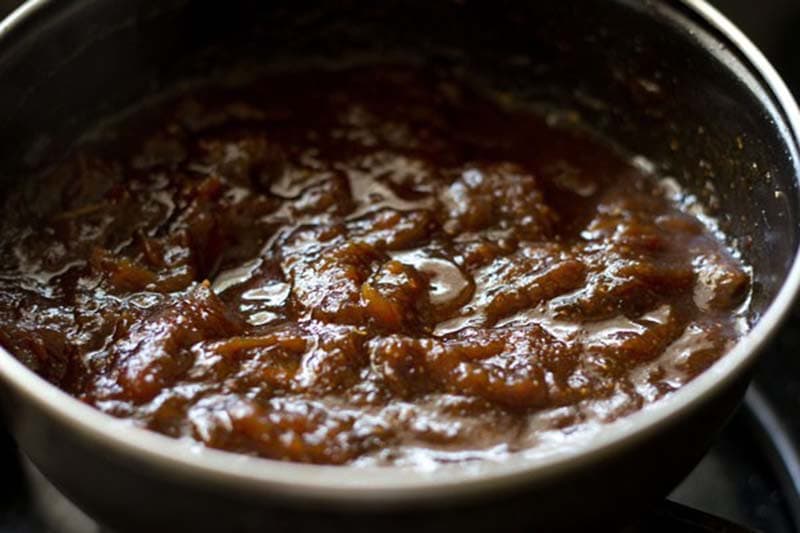
11. In a chutney grinder or small blender, grind this whole mixture until smooth. Add some water if needed while blending or grinding. Strain the chutney through a strainer if desired.
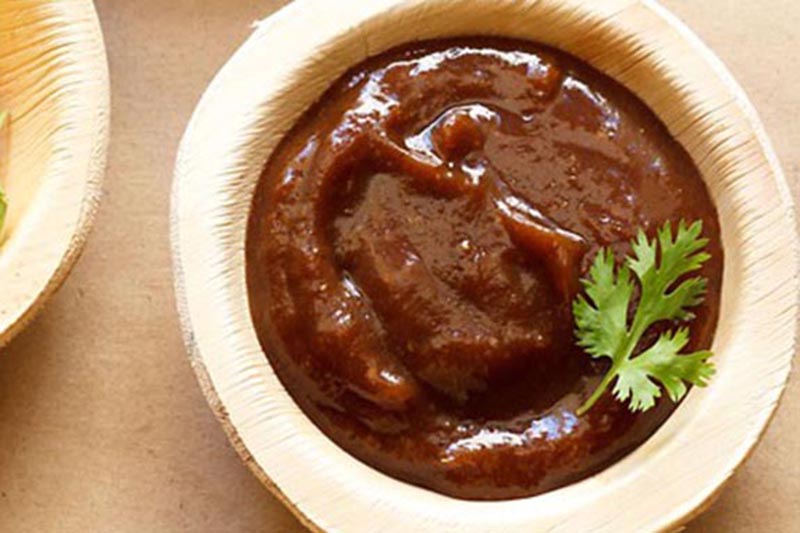
Store the tamarind date chutney in an airtight bowl or container in the refrigerator and use it when you make chaat at home.
This recipe will give you a bowl of thick tamarind chutney, which you can easily refrigerate for a month or freeze for 2 to 3 months.
Assembling Sev Puri
1. First keep all the elements (chutneys, potatoes, onions, tomatoes, ground spices, salt, sev etc) that you need in your workplace before you begin to assemble sev puri.
Prep 2 to 3 medium to large potatoes by boiling them until tender and softened. Cook potatoes in a pressure cooker, pan or Instant Pot. When warm or cool, peel and chop them in small cubes.
Finely chop the onions, tomatoes and coriander leaves. Set aside.
2. Arrange the flat puri or papdi on a plate.

3. Top up with chopped boiled potatoes cubes.

4. Then add finely chopped onions. Top with some chopped finely tomatoes. Sprinkle some chaat masala, if you want at this point.

5. Top with just a touch of spicy red chilli garlic chutney – about ¼ to ½ teaspoon. Add in fewer amounts as this chutney is very spicy.
Using this chutney is optional and you can substitute it with red chili powder. Though you won’t get the same taste with red chili powder. But something is better than nothing.

6. Top up with the 1 to 2 teaspoons of green chutney or as much as you want.

7. Now top with 1 to 2 teaspoons of sweet chutney or more if you like. Vary the amount of green chutney or sweet chutney according to your taste.
If preparing for someone else, keep in mind that person’s taste choices. Example, if someone likes a sweet-tangy taste, add more of the sweet tamarind chutney.

8. Sprinkle 2 to 3 pinches of chaat masala, roasted cumin powder and black salt or rock salt or regular salt.

9. Sprinkle sev evenly all over on the sev puri. Ensure to use the finer variety of sev as the thicker ones simply do not give the best authentic taste.

10. Lastly garnish with some chopped coriander leaves (cilantro).

11. Sprinkle a few drops of lemon juice to add some brightness and tang to the dish.

Serving Suggestions
Serve sev puri straightway. Assemble and make all sev puris in this manner and serve them immediately. And don’t be surprised if your family, friends or guests ask for a second or third helping.
This snack is eaten as is without any sides or accompaniments. Eat them as soon as they are made, so that the puris do not become soggy from the moisture of the chutneys.

Expert Tips
- Homemade Chutneys: I suggest to make all the chutneys at home rather than buying bottled or packaged ones for your sev puri recipe. Homemade condiments are more fresher, flavorful and tastier without any added preservatives. While the green chutney needs to be used up within 2 to 3 days, tamarind chutney stays good for about a month and red chilli chutney for about a week. You can also freeze these chutneys.
- Papdi: These fried crispy edible rounds can be easily made at home. If you want to make these, check out this homemade Papdi Recipe, where I show both fried and baked versions. Sometimes the store brought papdi are hard to bite into. These do not give a good taste while eating. The papdi has to be crispy, thin and slightly flaky.
- Sev: You can choose to make the sev at home or buy it from outside. Try to include the finer thin sev and not the thick and coarser sev for best texture.
- Serving: Sev puri has to eaten as soon as it is made. You cannot keep it resting for minutes or hours as they become soggy and do not taste good. You can keep all your ingredients ready and assemble sev puri when you want to serve it.
More Indian Street Foods!
Indian Street Food Recipes
Indian Street Food Recipes
Indian Street Food Recipes
Indian Street Food Recipes
Please be sure to rate the recipe in the recipe card or leave a comment below if you have made it. For more vegetarian inspirations, Sign Up for my emails or follow me on Instagram, Youtube, Facebook, Pinterest or Twitter.

Sev Puri
Ingredients
For the sev puri
- 36 Papdi or flat crispy puri
- ½ to ¾ cup sev or add as required
- 2 to 3 medium to large potatoes, boiled, peeled and chopped
- 1 medium onion – finely chopped
- 1 medium tomato – finely chopped (optional)
- 2 to 3 tablespoons chopped coriander leaves (cilantro)
- 1 green chili – chopped, optional
- ⅓ to ½ cup Mint-Coriander Chutney
- ⅓ to ½ cup sweet tamarind dates chutney
- ¼ to ⅓ cup red chili chutney
- 1 teaspoon red chili powder – optional
- 1 to 2 teaspoon roasted cumin powder – optional
- 1 to 2 teaspoon chaat masala
- ½ teaspoon black salt or rock salt or common salt
- 1 to 2 teaspoons lemon juice or add as required
For the green coriander chutney
- 2 cups chopped coriander leaves (cilantro) – tightly packed
- 1 teaspoon chopped green chillies or 2 green chillies, add more for a spicy chutney
- 1 inch ginger chopped (optional)
- ¼ to ½ teaspoon lime juice or add as per taste
- ½ teaspoon cumin powder
- ½ teaspoon chaat masala
- ½ teaspoon salt or add as required
- 1 to 2 teaspoons water for grinding or add as required
For the sweet tamarind chutney
- ½ cup seedless tamarind – tightly packed
- ½ cup seedless dates
- ½ cup powdered or grated jaggery or add as required – adjust as per your taste
- 2 cups water
- ½ teaspoon roasted cumin powder
- ½ teaspoon Coriander Powder (ground coriander)
- ½ teaspoon dry mango powder (amchur powder)
- ¼ or ½ teaspoon red chili powder or 1 dry red chili * see notes
- black salt or rock salt or regular salt as required
For red chili chutney
- 15 to 16 dry kashmiri red chilies
- 8 to 9 medium garlic cloves roughly chopped
- salt as required
Instructions
Making green coriander chutney
- Rinse the coriander leaves well in water. Drain all the water and roughly chop them.
- Take the chopped coriander leaves, chopped green chillies & ginger, cumin powder, chaat masala, lemon juice and salt in a grinder jar or a small blender jar.
- Add 1 or 2 teaspoons water and grind to a smooth chutney. Add a few teaspoons more of the water if required. But don't make the chutney too thin or watery.
- Remove the chutney in a bowl and set aside. Use this green chutney as required for chaat recipes like this sev puri.
Making sweet tamarind dates chutney
- In a pan, take the tamarind, dates and water.
- Cook the tamarind and date for about 8 to 9 minutes on a low heat until they soften.
- Now add the powdered jaggery and continue to cook. Let the jaggery dissolve and the mixture thicken a bit. If you do not have jaggery, use sugar in the same proportion as that of jaggery.
- Add all the ground spice powders – red chili powder, coriander powder, dry ginger powder and roasted cumin powder.
- Stir and simmer for a further 1 to 2 minutes more. Season with salt.
- Let the chutney mixture cool down.
- In a chutney grinder or small blender, grind the this whole mixture till smooth.
- Add some water if required while grinding. Optionally you can strain the chutney through a strainer.
- Store the tamarind date chutney in an airtight bowl or container in the refrigerator and use it when you make chaat at home.
Making red chutney
- Break the chilies and remove their seeds with a spoon.
- Soak the red chilies in hot water for about 20 to 30 minutes. The water just needs to cover them.
- Peel and roughly chop the garlic. Drain the red chilies after 20 to 30 minutes
- Adding very little water grind both the red chilies and garlic in a chutney grinder or blender till smooth. The consistency of the chutney should be more towards thicker side or of medium consistency.
- Pour the chutney in a small jar or bowl. Cover and refrigerate.
- When preparing chaat snacks, just add a small amount, while topping the chaat with other chutneys.
Assembling or making sev puri
- Keep all the ingredients like the chutneys, chopped boiled potatoes, chopped onions and tomatoes, sev, lime juice read on your work surface.
- Arrange the puris on a plate. Top it up with chopped boiled potatoes.
- Add chopped onions and tomatoes to it.
- Sprinkle some chaat masala and cumin powder on it, if you want at this stage.
- Top up with the green chutney as much as you want. Then top up with a bit of red chili chutney.
- Then with the sweet chutney as much as you want.
- Sprinkle sev on top all over. Again sprinkle a few pinches of chaat masala, roasted cumin powder. Sprinkle also a few pinches black salt of regular salt.
- Add a dash of lemon juice to the sev puri. Garnish with chopped coriander leaves.
- Serve sev puri immediately so that the puris does not become soggy. Assemble and make sev puri this way with the rest of the ingredients.
Video
Notes
- Homemade Chutneys: I recommend to make the chutneys yourself than buying bottled or packaged ones. As homemade chutneys have more freshness, flavor and taste. Moreover they are made without any preservatives or additives. These chutneys refrigerate well. While the green chutney needs to be used up within 2 to 3 days, tamarind chutney stays good for about a month and red chilli chutney for about a week. You can also freeze them.
- Papdi: If you have time, you could easily make these fried crispy puri a few days ahead and store them in an air-tight container. Check this homemade Papdi Recipe. At times the store brought or packaged papdi are hard to bite. Remember that the papdi has to be crisp, thin and slightly flaky.
- Sev: You can opt to make the sev at home or buy it from outside. Try to add the finer thin sev and not the thick or coarser sev for the best texture.
- Serving: Sev puri has to eaten as soon as it is made. You cannot keep it resting for minutes or hours as they become soggy and do not taste good. You can keep all your ingredients ready and assemble sev puri when you want to serve it.
- Scaling: Easily make a small or a large batch of this recipe by scaling all the ingredients proportionately.
This sev puri recipe from the blog archives (November 2011) has been republished and updated on 28 May 2021.








Thank you very much; explained in a very good way.
Welcome and thanks.