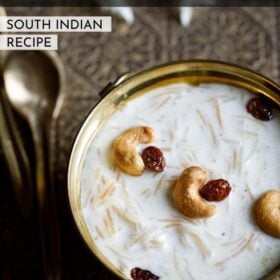
Semiya payasam is a creamy, sweet vermicelli pudding from the South Indian cuisine. This cardamom scented vermicelli payasam comes together in 20 minutes and can be made by beginners too. Being so easy, you can make it any day when you fancy something sweet or for any festive or religious occasion. I share both stove-top and Instant pot method for making this delicious semiya payasam recipe.
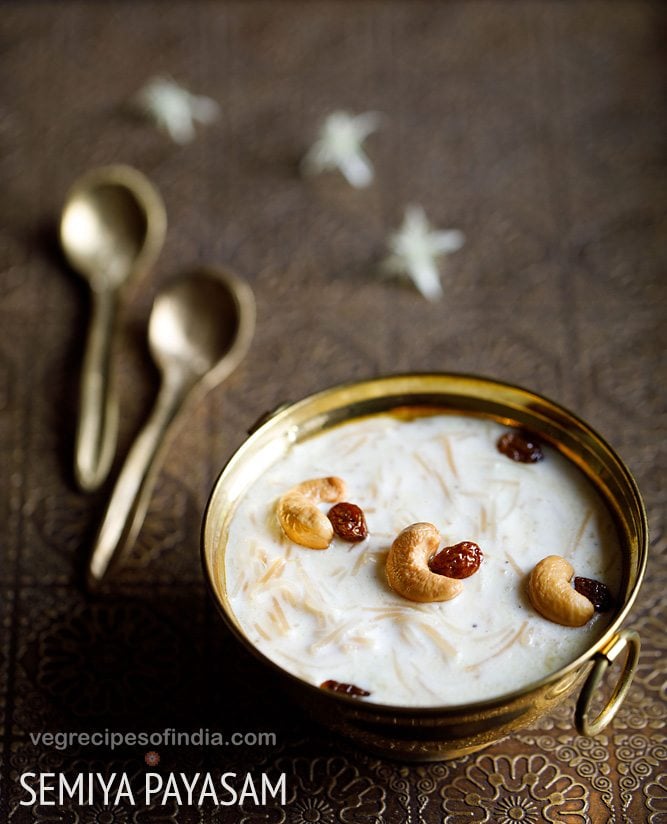
About Semiya Payasam
In South Indian languages, semiya means vermicelli and payasam is a sweetened pudding made with either milk or coconut milk.
In English this translates to vermicelli pudding – that is made by simmering roasted/fried vermicelli in milk and finished off with sugar and ghee-fried nuts, dry fruits.
Making semiya payasam recipe does not take much time and the entire dish comes together in about 20 to 25 minutes.
Table of Contents
Type of Vermicelli
In the Indian markets one finds different kinds of vermicelli made with various cereal flours. Generally semiya payasam recipe is made with wheat flour or rice flour vermicelli.
However, you can make vermicelli payasam with all purpose flour (maida) or ragi (finger millet) or rava (sooji or cream wheat) vermicelli.
For health reasons, I prefer to use semiya made from whole wheat flour, rice flour or ragi flour in my semiya payasam recipe.
Is Kheer and Payasam same?
Kheer and Payasam are the same as both are sweet puddings made from milk. In North India, it is known as Kheer and in South India, called as Payasam.
The North Indian kheer recipes are made with milk. The South Indian payasam recipes are made with milk or coconut milk.
There is a some difference in the preparation of both kheer and payasam. In South India, nuts are fried in ghee or coconut oil and added to payasam. In North India, the nuts are added directly to milk and not fried in ghee.
The North Indian variation of Semiya Payasam is Vermicelli Kheer. The method of making vermicelli kheer is different though. However, both these recipes taste good and are popularly made during Indian festivals.
How to make Semiya Payasam
Frying dry fruits
1. In a heavy pan or kadai, add 2 tablespoons ghee first. Let it melt. Once it melts, then add 12 to 15 cashews.
Tip: Do use a heavy pan or kadai (Indian wok) so that the nuts, vermicelli get cooked evenly and do not burn or turn black.
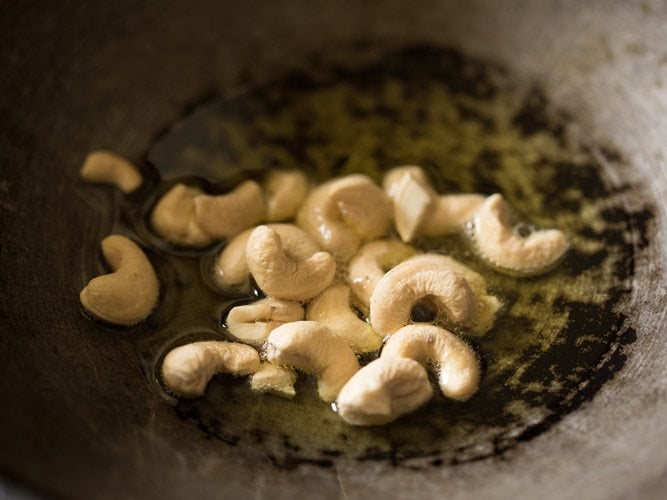
2. On a low heat fry the cashews in ghee until they become golden.
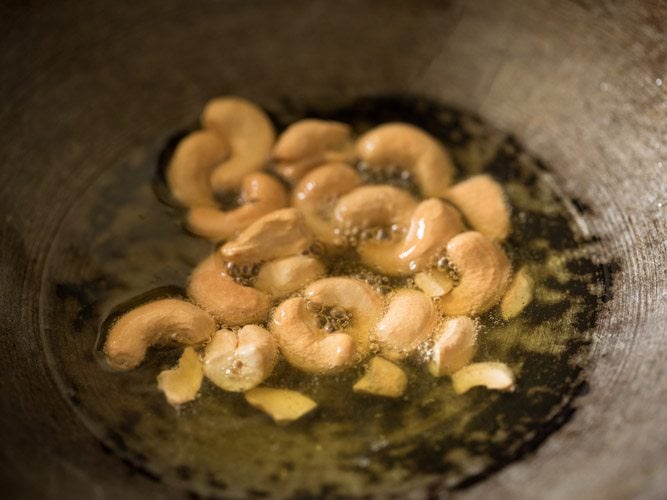
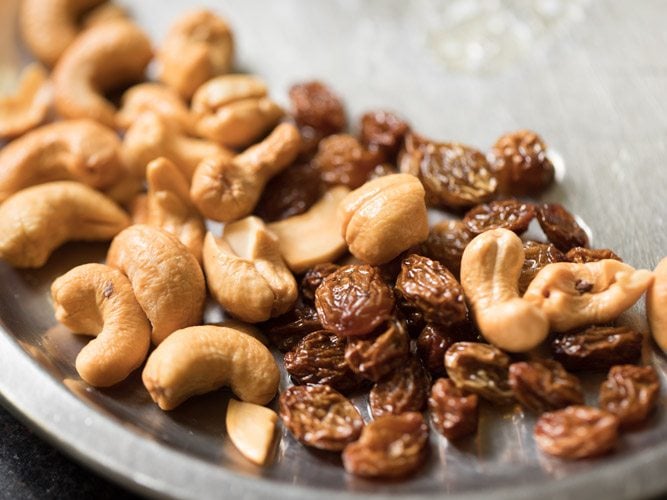
3. Remove the golden fried cashews with a slotted spoon and then add 1 tablespoon raisins to the hot ghee.
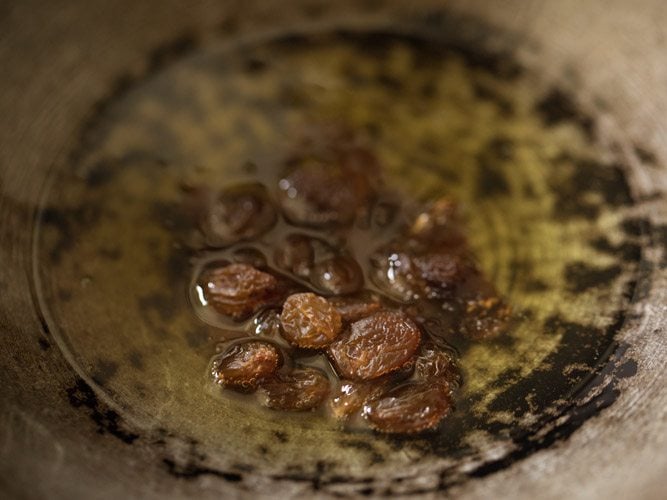
4. Fry the raisins on a low heat. The raisins will soon start to swell up. Stir often while frying.
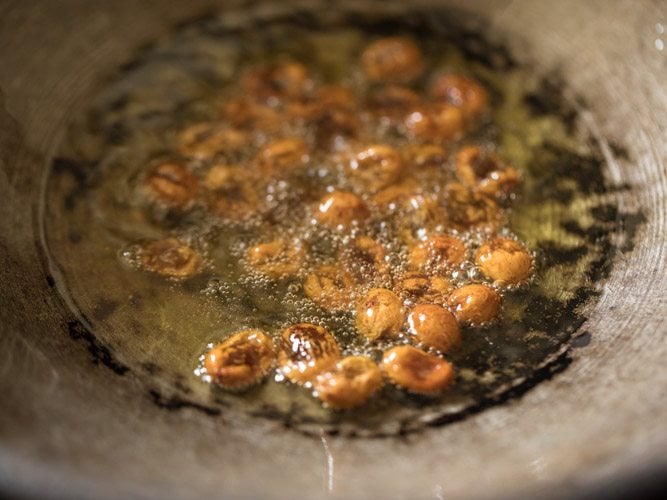
5. Once the raisins swell, then remove them with a slotted spoon.
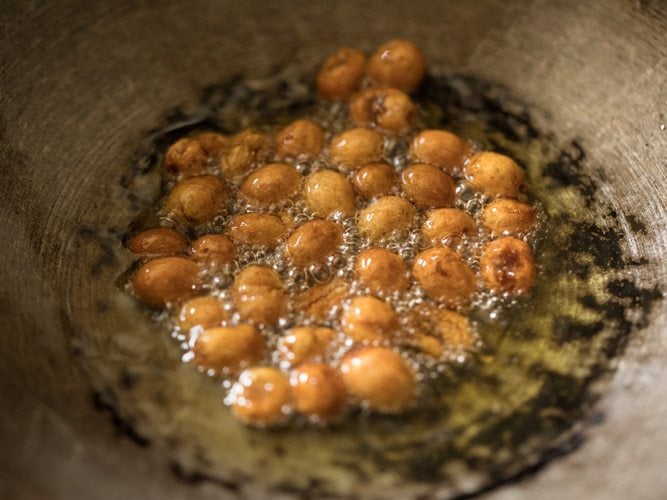
6. Set the raisins aside with the fried cashews.
Roasting Semiya
7. Before you begin roasting semiya, you may have to break them with your hands if you are using longer semiya. This makes it easier for you to stir them when roasting.
In the same kadai add 1 cup broken semiya (seviyan or vermicelli).
Tip: The semiya can be made from whole wheat flour (atta) or rice flour or all purpose flour (maida) or rava (sooji or cream wheat). In this recipe I have used semiya which is made from whole wheat flour. If you have pre-roasted semiya, then too I would suggest to roast it lightly.
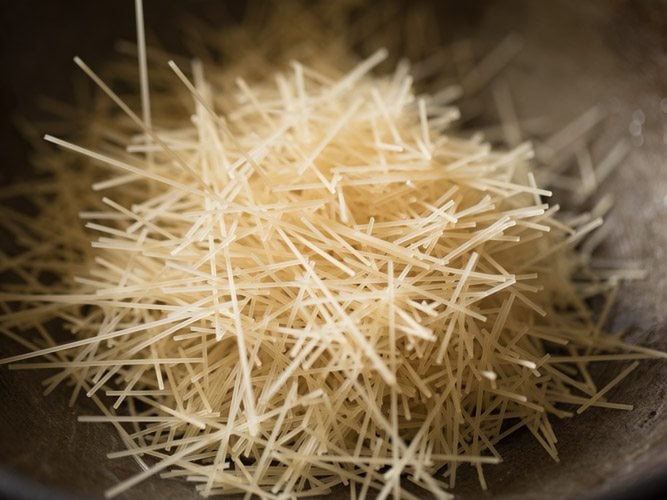
8. Mix well. Keep the heat to a low and begin to roast the semiya stirring often.
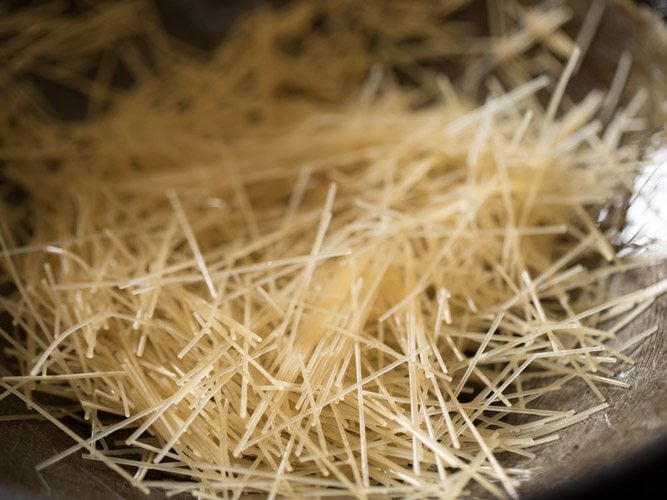
9. Roast until the semiya becomes golden. Stir often while roasting semiya for even browning and so that they do not burn. These get cooked fast, so do not leave them unattended.
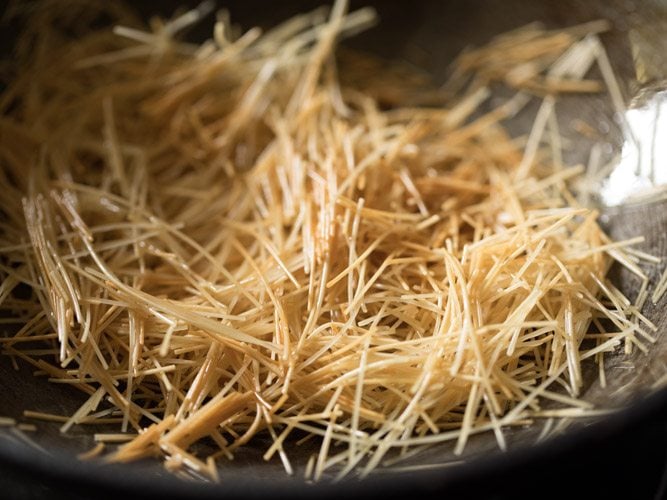
Making Semiya Payasam
10. Once the strands becomes golden add 3.5 cups whole milk. Milk can be chilled, hot or at room temperature. For a thin payasam you can add 4 cups milk.
Do note that on cooling vermicelli payasam thickens. So add milk according to the consistency you prefer.
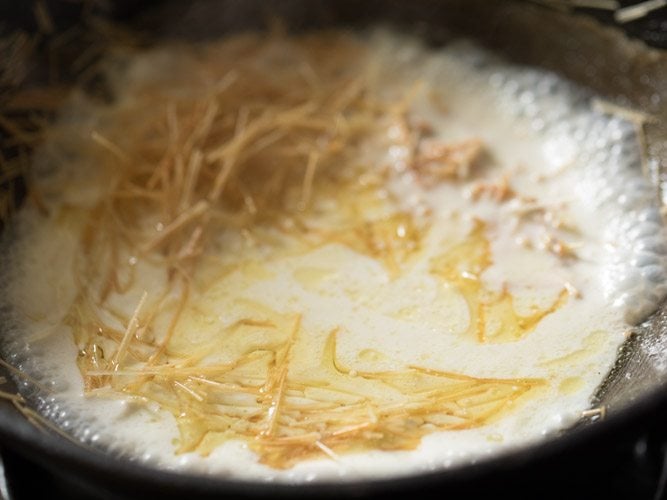
11. Mix very well.
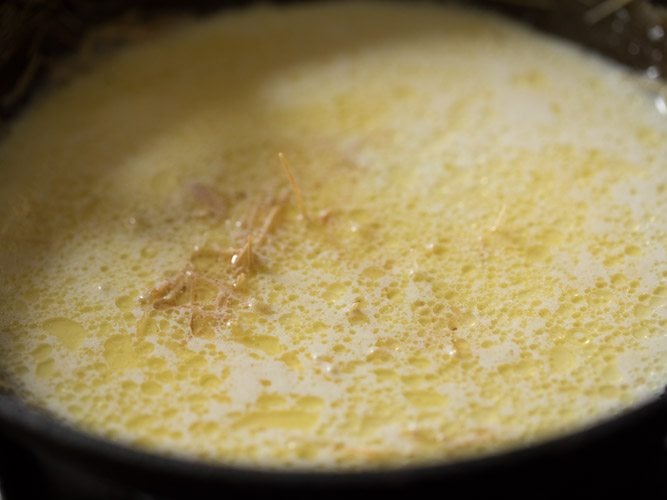
12. Keep the heat to a low or medium-low and simmer until the vermicelli strands softens. Do stir at intervals so that the milk or semiya does not stick or get burnt at the bottom of the kadai or pan.
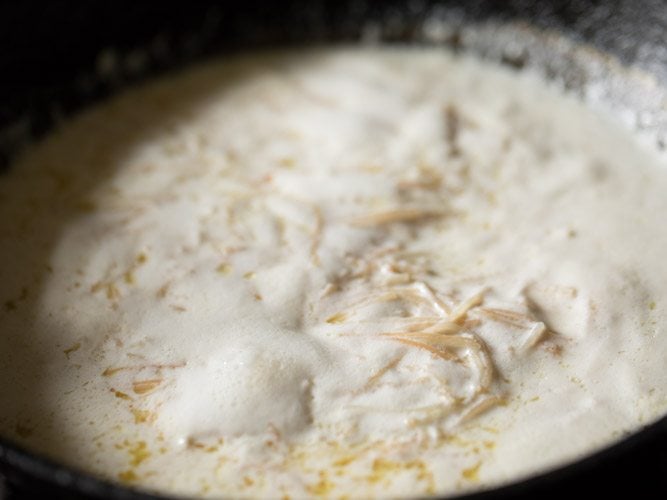
13. Simmer until the semiya is softened. Do scrape the sides of the kadai where milk solids will be collected and add them into the vermicelli payasam.
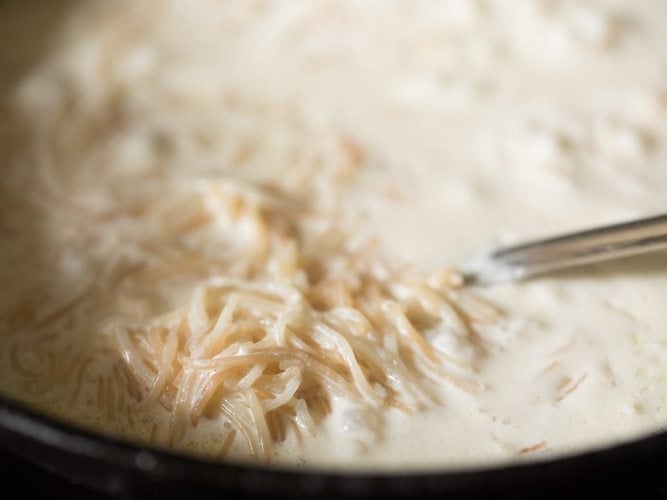
14. When the semiya has softened add 4 tablespoons sugar or add according to the sweetness desired. 4 tablespoons of sugar works perfectly for us. If you want a more sweeter payasam, add more sugar.
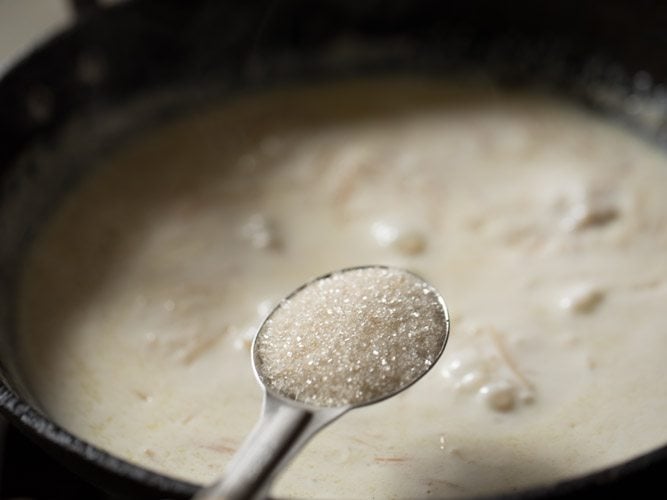
15. Sprinkle ½ teaspoon cardamom powder.
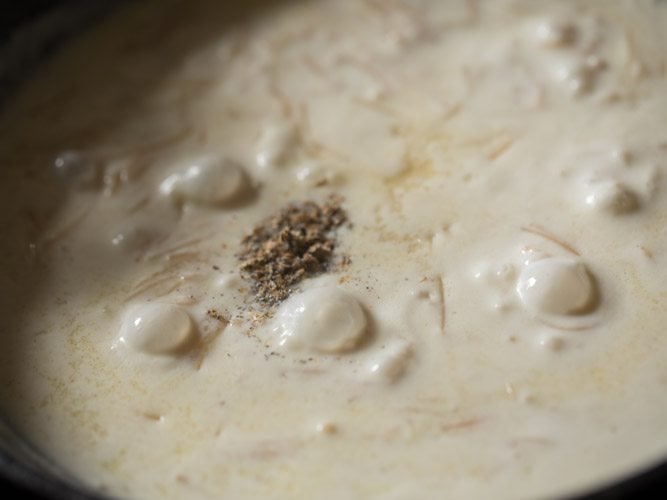
16. Mix very well and simmer semiya payasam on a low to medium-low heat for further 2 to 3 minutes. The sugar should dissolve.
Taste test and add more sugar if you like. Take a note of the consistency you prefer as the semiya payasam will thicken as it cools.
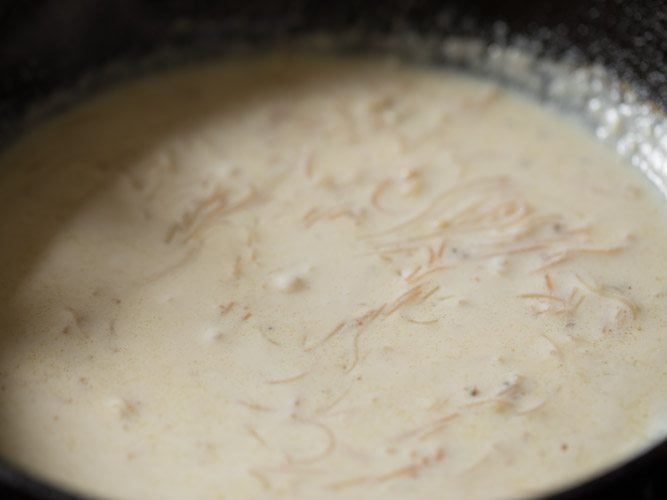
17. Switch off the heat and then add the fried cashews and raisins. You can even keep a few raisins and cashews for garnishing your payasam.
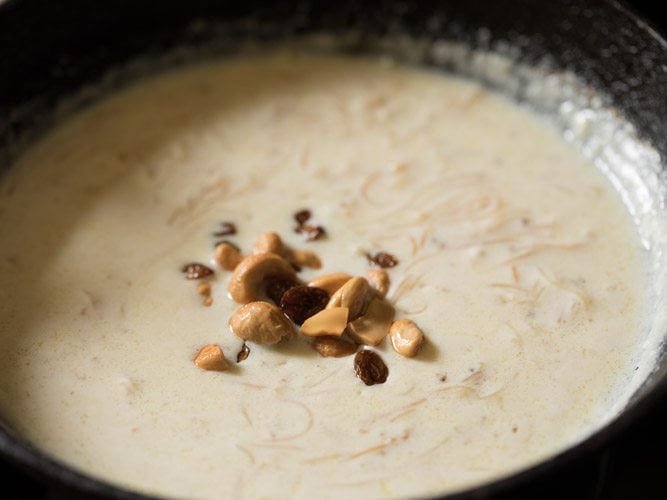
18. Serve semiya payasam hot or warm.
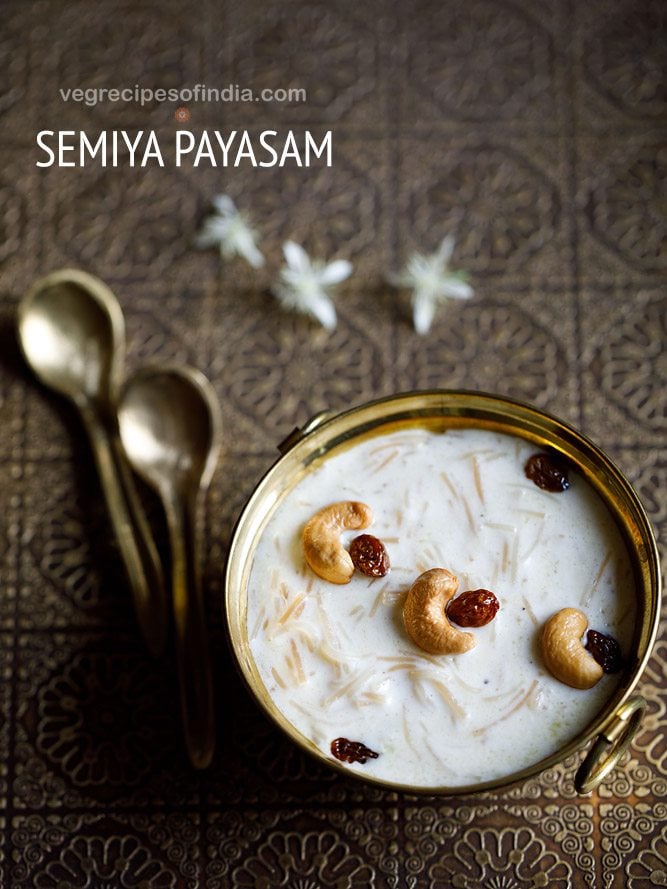
Serving Suggestions
Semiya payasam can be served hot, warm or chilled. When it comes to room temperature, then you can refrigerate and serve later as a chilled sweet pudding if you prefer that.
On cooling and refrigerating vermicelli payasam will thicken. So keep it to a slight flowing consistency if you want to serve it cold, so that it does not thicken too much. If at all it thickens too much, then simply add a bit of milk to thin the consistency while serving.
Storage
If there any leftovers, then refrigerate for 3 to 4 days in a covered container. I would not recommend freezing as the taste and texture changes and becomes way off.
After refrigeration, you can reheat the payasam on low heat if you want to eat it hot or warm. Add some milk or water if the consistency has thickened too much.
Ingredient Notes & Variations
- Milk: For a rich creamy payasam, I suggest to make it with whole milk. If you are looking for low fat options, then consider making it with low-fat milk or toned milk.
- Nuts: Traditionally semiya payasam recipe has cashews and raisins. Of course, you can add your choice of nuts and dry fruits.
- Vermicelli: As I have mentioned above, make this payasam with any type of vermicelli – whole wheat, rice, all-purpose flour, semolina, various millets or ragi (finger millet).
- Flavorings: Cardamom powder is the preferred choice of spice in a semiya payasam recipe. You can also add a few saffron strands.
- Sweeteners: Payasam is made both with sugar and jaggery. Sugar can be added less or more as per your requirements.
- Jaggery: For making with jaggery, first cook the vermicelli payasam. Set it aside for 4 to 5 minutes and then only add the jaggery. Use 4 to 5 tablespoons of chopped jaggery or jaggery powder. Adding jaggery to hot boiling milk will curdle it. If you are using coconut sugar or palm jaggery (palm sugar), then follow the same method as that of adding jaggery. If jaggery has impurities, then simmer it on low heat for 3 to 4 minutes in 2 tablespoons water. Filter and add this jaggery solution to payasam.
- Vegan variation: Almond milk and coconut milk work perfectly. But the cooking method is different. Fry the cashews, raisins in coconut oil or neutral oil. Roast the vermicelli in the same oil. Add water just enough to cook the vermicelli. When the vermicelli softens, add 2.5 to 3 cups of coconut milk or almond milk and raw sugar. Lightly warm or heat vermicelli payasam. Do not boil. Finish with cardamom powder and the fried cashews and raisins.
Cooking Notes
- Cooking payasam: Slow simmering is the key to make a good payasam. Remember to slow cook payasam so that you do not end up with burnt patches of milk or thick gloppy payasam.
- Scaling: Easily make a big batch of this semiya payasam recipe for special religious or festival ocassions to feed a crowd.
- Serving to the deities: If serving to the deities, then add a pinch of edible camphor when the semiya payasam is cooked.
- Consistency: For a thicker semiya payasam add less milk and for a thin payasam add more milk. If the payasam becomes too thick after cooling, simply add some milk to lighten it.
Instant Pot Method
Any payasam can be made in the Instant pot. Follow the steps listed below to make this vermicelli payasam in your IP. Use the same proportions of ingredients as mentioned in the stove-top recipe.
- Frying nuts: Press the sauté button of your IP. When you see the “hot” display on the screen, add ghee. Let it melt. Add the cashews and stirring often fry them until golden. Remove and set aside. Tip in the raisins and fry them until they swell. Remove and set aside.
- Roasting vermicelli: Add the vermicelli. Stirring non-stop roast them until golden. If the heat becomes too much, then press the sauté button to get the “less” option.
- Pressure cooking: Add milk and sugar. Close the lid and position the pressure valve to sealing position. Press the porridge button and set the time to 7 minutes on high pressure. When the cooking is done (after you hear the Instant pot beep), give a quick pressure release after 10 minutes.
- Finishing touches: Open the lid carefully. Add the cardamom powder and the fried cashews and raisins. Mix and stir. If the consistency is thin for your liking, then using the sauté function, simmer for a couple of minutes.
More Indian Festive Sweets!
South Indian Food Recipes
Sweets Recipes
Sweets Recipes
Gluten Free Recipes
Please be sure to rate the recipe in the recipe card or leave a comment below if you have made it. For more vegetarian inspirations, Sign Up for my emails or follow me on Instagram, Youtube, Facebook, Pinterest or Twitter.
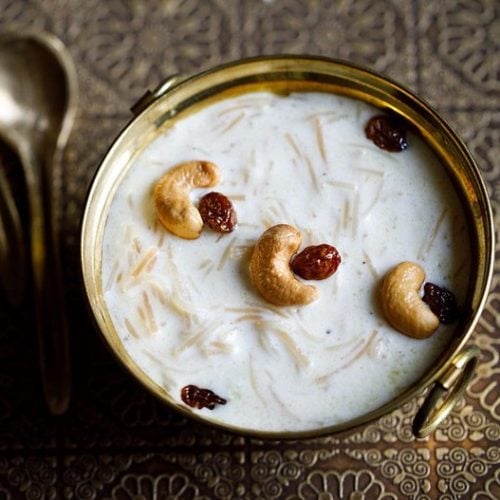
Semiya Payasam (South Indian Vermicelli Payasam)
Ingredients
- 2 tablespoons Ghee (clarified butter)
- 12 to 15 cashews
- 2 tablespoon raisins
- 1 cup semiya (seviyan or vermicelli)
- 3.5 cups whole milk
- 4 tablespoons sugar or add as required
- ½ teaspoon cardamom powder or 5 to 6 green cardamoms, crushed in mortar-pestle
Instructions
Frying dry fruits (stove-top method)
- In a heavy kadai, add the ghee. Let it melt.
- When the ghee melts, add cashews. On a low heat fry the cashews until they become golden.
- Remove the golden fried cashews with a slotted spoon and then the raisins.
- Fry the raisins on a low heat. The raisins will soon start to swell up. Stir often while frying.
- Once the raisins swell, then remove them with a slotted spoon.
- Set the raisins aside with the fried cashews.
Roasting semiya (stove-top method)
- In the same kadai add the broken semiya (seviyan or vermicelli).
- Mix well. Keep the flame to a low and begin to roast the semiya stirring often.
- Roast until the semiya becomes golden. Stir often while roasting semiya for even browning.
Making semiya payasam (stove-top method)
- When the semiya has turned golden, add 3.5 cups milk. Milk can be chilled, warm, hot or at room temperature. For a thin payasam, add 4 cups milk. Do note that on cooling the payasam thickens. So add milk accordingly.
- Mix very well.
- Keep the heat to a low or medium-low and simmer until the semiya softens. Do stir at intervals so that the milk or semiya does not stick or get burnt at the bottom of the pan or kadai.
- Simmer until the vermicelli strands are softened.
- Then add sugar. You can add less or more sugar according to your desired sweetness.
- Sprinkle the cardamom powder.
- Mix very well and simmer on a low flame to medium-low flame for 2 to 3 minutes more. The sugar should dissolve.
- Switch off the heat and then add the fried cashews and raisins. You can even keep a few of the fried raisins and cashews as a garnish.
- Serve semiya payasam hot or warm.
Instant pot method
- Press the sauté button of your IP. When you see the "hot" display on the screen, add ghee. Let it melt.
- Add the cashews and stirring often fry them until golden. Remove and set aside.
- Tip in the raisins and fry them until they swell. Remove and set aside.
- Add the vermicelli. Stirring non-stop roast them until golden. If the heat becomes too much, then press the sauté button to get the "less" option.
- Add milk and sugar. Give a good stir.
- Close the lid and position the pressure valve to sealing position. Press the porridge button and set the time to 7 minutes on high pressure.
- When the cooking is done (after you hear the Instant pot beep), give a quick pressure release after 10 minutes.
- Open the lid carefully. Add the cardamom powder and the fried cashews and raisins. Mix and stir.
- If the consistency is thin for your liking, then using the sauté function, simmer for a couple of minutes until the consistency thickens a bit.
Serving suggestions
- Semiya payasam can be served hot, warm or chilled. When it comes to a room temperature, then you can refrigerate and serve later if you prefer that.
- On cooling and refrigerating payasam will thicken. So keep it to a slight flowing consistency when you want to serve it cold, so that it does not thicken too much. If at all the payasam has thickened too much, then simply add a bit of milk to thin the consistency.
Storage
- If there any leftovers, then refrigerate for 3 to 4 days in a covered container. I would not recommend freezing as the taste and texture changes and becomes way off.
- After refrigeration, you can reheat the payasam on low heat if you want to eat it hot or warm. Add some milk or water if the consistency has thickened too much.
Nutrition Info (Approximate Values)
This semiya payasam recipe post from the archives was first published on August 2017. It has been republished and updated on January 2021.


You are a talented chef. Your website has became my go to for Indian veg recipes. Excellent recipe.
Thanks a lot. Glad!
Hi Dassana,
I am big fan of your recipe blog. I tried the Semiya Payasam recipe today and it came out delicious! Thank you for sharing!
Thanks a lot Chella. Thanks for the feedback and the rating on the recipe too. Most welcome.
one word~ awesome
Thanks Abhishek