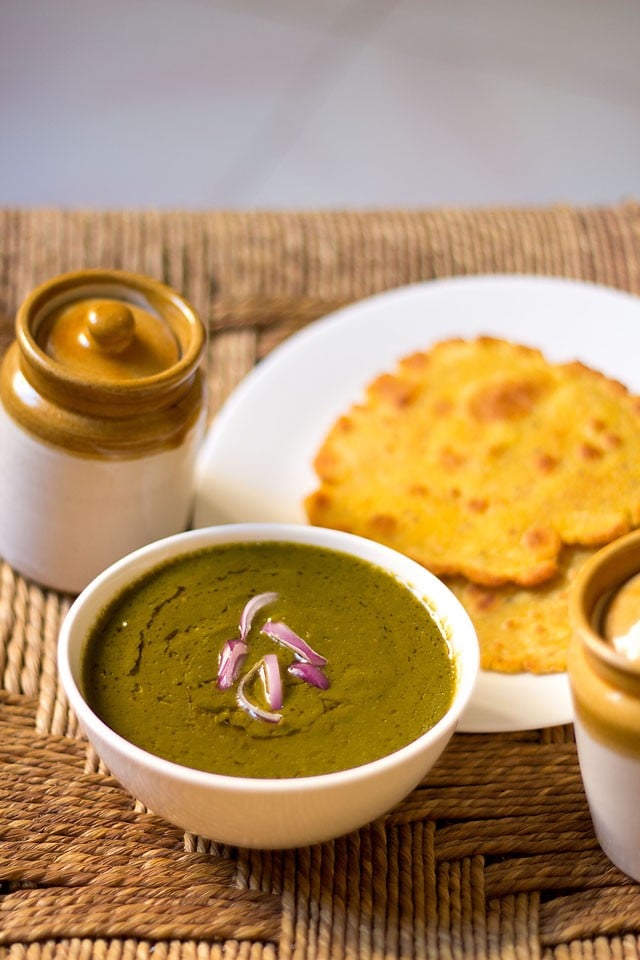
Peppery, pungent and deeply nutritious, Punjabi Sarson ka Saag (or Sarson da Saag) is a favorite during the cold North Indian winters, especially when paired with Makki Ki Roti. Making this authentic dish is not hard, but it does take some time. Once you taste how vibrantly creamy and delicious it is, you won’t mind the work!
About Sarson Ka Saag
Sarson is the Hindi/Punjabi word for mustard and saag means greens; thus, this recipe is for the traditional Indian preparation of mustard greens.
Other versions of saag include: Palak Saag (spinach greens), bathua saag, or Chane ka Saag (chickpea greens).
Sarson ka saag is a type of curry, so it is creamy, saucy and simply addictive. Traditionally, it is served with an unleavened corn-based flatbread known as Makki di Roti, though it can also be served with Paratha and steamed basmati rice.
This sarson ka saag recipe is a labor of love, requiring both time and patience. Unfortunately, there is no shortcut method for making this dish.
You’ll need to sort the greens, then wash, chop, and cook them before blending them, after which you’ll need to cook them again. It is a labor-intensive process, but none of the steps are difficult.
While I’m aware that everyone wants their curry in a hurry nowadays, if you really want to savor the taste of an authentic sarson da saag then you’ll have to invest some time in preparing it.
The sarson ka saag recipe is very easy, but does take a lot of time to make; as such I like to break up the steps over the course of a few days.
Usually, I clean the greens one day before and keep them in the fridge in airtight containers so half of the work is over. Making the saag the following day makes it feel much easier.
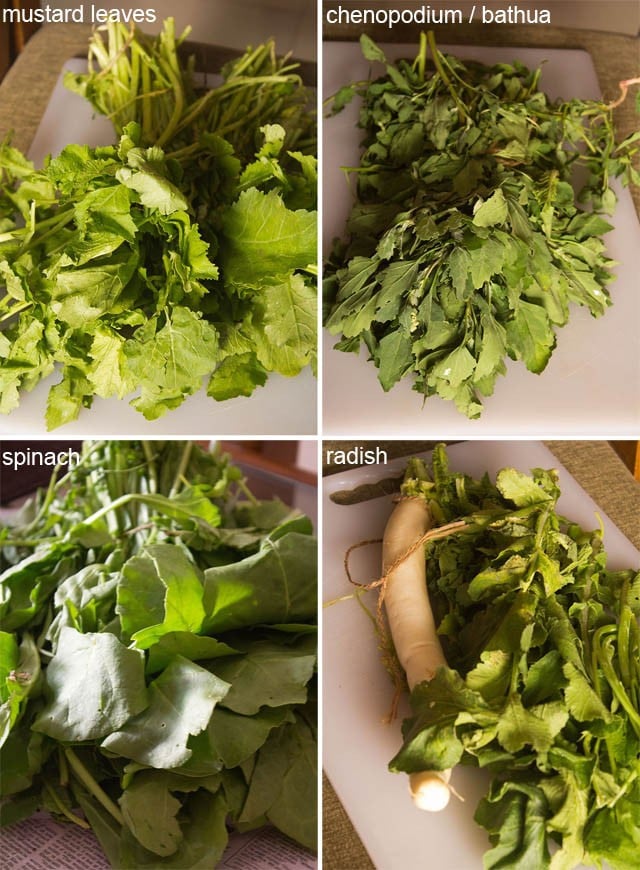
At home, we generally use 5 different leafy green vegetables to make the saag. They are:
- Mustard Greens (sarson)
- Chenopodium/ Goosefoot leaves (called bathua in Hindi)
- Spinach (palak)
- White Radish Root and Greens (mooli)
- Fenugreek (methi)
You can see all the greens (with the exception of methi) in the photo below.
The predominant flavor in this saag recipe comes from the spicy, bitter mustard greens. The presence of spinach, bathua, and radish helps to lessen the bitterness of the mustard and methi so you end up with a creamy, mellow saag that is simply bursting with flavor.
Winter is the season for both mustard and bathua here in India. Sarson ka saag is therefore considered a cold-weather dish in North India, especially in Punjab from where this traditional recipe comes from.
The sarson da saag is usually topped with Homemade Butter and served with makki ki roti (flat breads from maize flour); this meal is not only comforting but also serves to warm up the palate and body.
With all of the dark, leafy greens, sarson ka saag is a bowlful of antioxidants and phytonutrients, so that extra topping of butter is alright.
The saag is also usually served with an accompaniment of sliced or chopped onions and some green chilies for some extra piquancy.
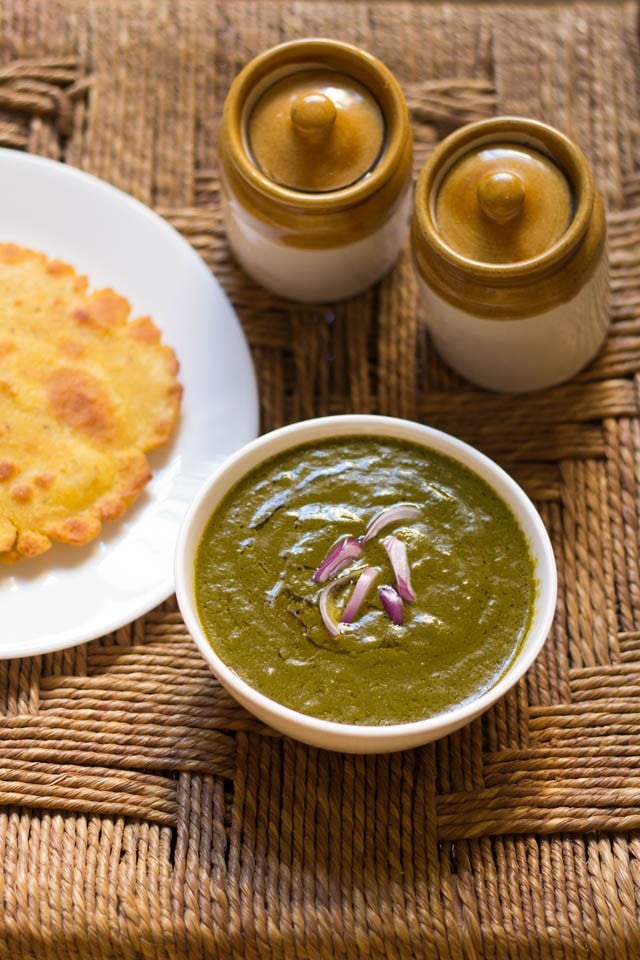
Because this is a time-intensive recipe, I always make sarson ka saag in bulk and keep it in the fridge. Then, when I need to serve it, all I have to do is temper the saag and then enjoy!
From what I have observed, the taste of the saag improves after about a day; all of the flavors meld as it ages. Mine usually does not last for more than 4 to 5 days, after which you can freeze any leftovers.
Saag Proportions
The recipe I present here is the traditional way we make saag at home. The proportion of bathua to spinach and mustard is 1:1:2. So for example, if you are using 1 whole bunch of mustard leaves then use a ½ bunch of bathua and a ½ bunch of spinach.
You can also consider using this ratio in cup measurement. Example for 2 cups of mustard greens use one cup each of spinach and bathua. Note that you can easily increase or decrease this ratio proportionately.
The other two greens – radish and fenugreek – are added using the Indian method of andaaz, which means we just eyeball it. Fenugreek is optional, though I love the flavor and health benefits it brings to this cozy winter meal.
This sarson ka saag recipe makes roughly 8 to 9 servings, but it can be easily halved or doubled.
How to make Sarson ka Saag
Prep, chop, clean and rinse all the greens
1: Remove the lower end of the mustard seems just a few centimeters from the base. The mustard stems can be tough, so it is up to you whether you want to discard the stems or keep them. If you keep them, then they have to be cooked really well so that they become soft.
Sort and prep the remaining greens as well – spinach, bathua, fenugreek leaves. For the radish, sort the leaves and peel, chop the root.
If prepping ahead a day earlier, refrigerate the greens and the radish root in ziplock bags or air-tight containers for a day.
You will need the following leafy greens:
- 1 bunch of mustard greens – cleaned & sorted
- ½ bunch of bathua or a small bunch
- ½ bunch of spinach or a small to medium-sized bunch
- 1 cup chopped tender radish greens
- 1 cup fenugreek leaves – optional
- 3 to 4 inches white radish root
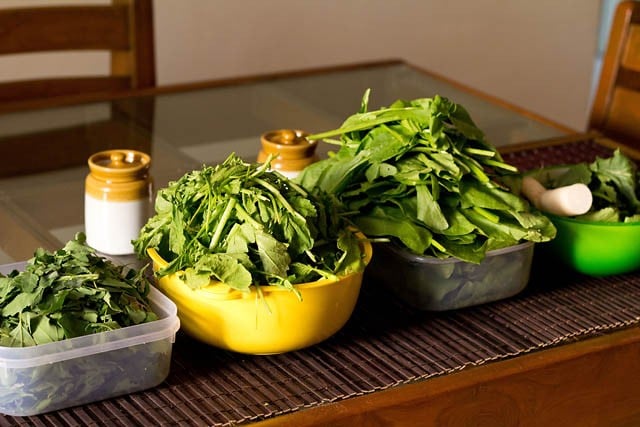
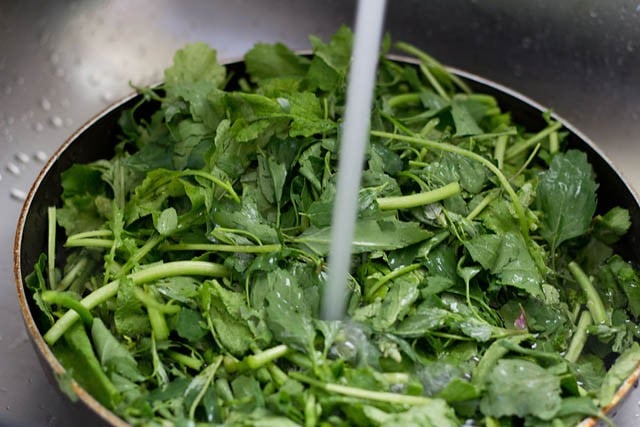
2: This is perhaps the most time-intensive part of the process. You have to really wash the greens – especially the mustard greens – to get rid of the mud clinging to the stems. Depending on the size of your sink, you may need to do this task in batches.
Note that the prep up to this point can be done up to 1 to 2 days in advance; keep the prepped greens in the fridge until you are ready to rinse the greens and then make the saag. Do not rinse the greens and store them in the fridge – they will rot.
Pressure Cook
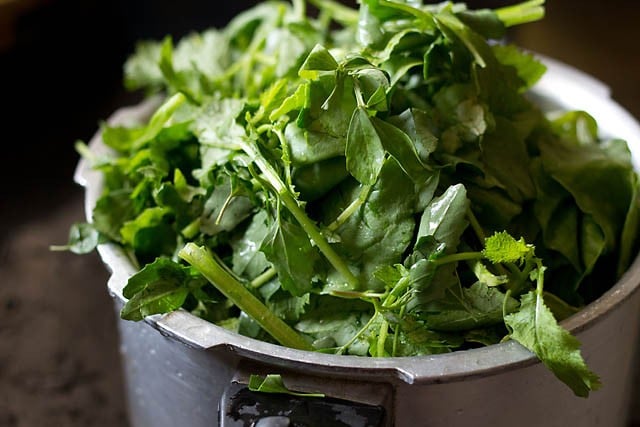
3: Add the greens to a 5 or 6 litre stove-top pressure cooker.
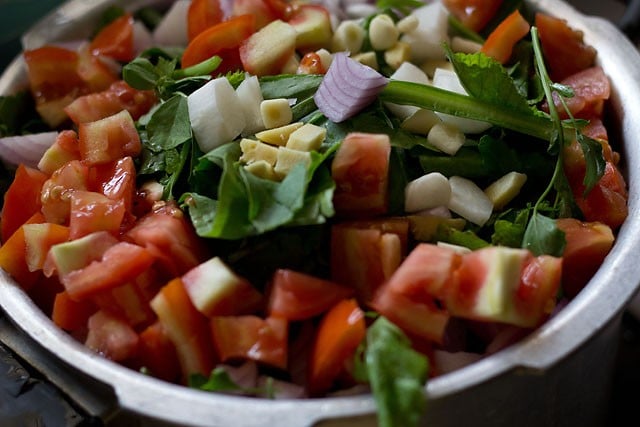
4: Add the other veggies – peeled and chopped radish root (2 to 3 inches), 1 cup chopped onions, 1.5 cups chopped tomatoes, 2 inches ginger (chopped) and 7 to 8 medium-sized garlic (chopped).
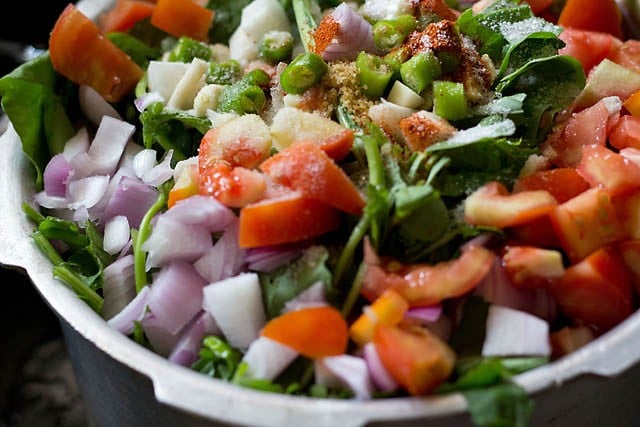
5: Season the greens using 2 green chilies (chopped), ½ teaspoon red chili powder, 2 to 3 pinches asafoetida (hing) & salt as needed.
6: Add 2 to 3 cups water.
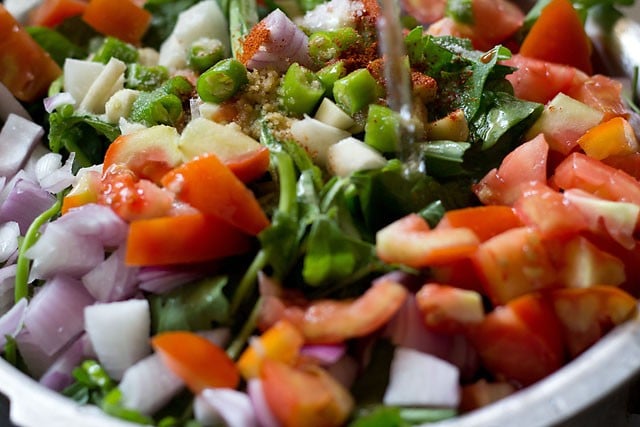
7: Cover and pressure cook for 6 to 7 minutes on medium-high heat, or until the greens become soft. Wait for the pressure to fall naturally in the cooker and then only open the lid.
You can also cook in a pan, though it will take longer. Cover and let the greens cook till they become soft.

8: Let the pressure settle naturally in the cooker. When you open the lid, you will see the greens, onions, tomatoes etc all have cooked well. Let the greens mixture cool to room temperature.
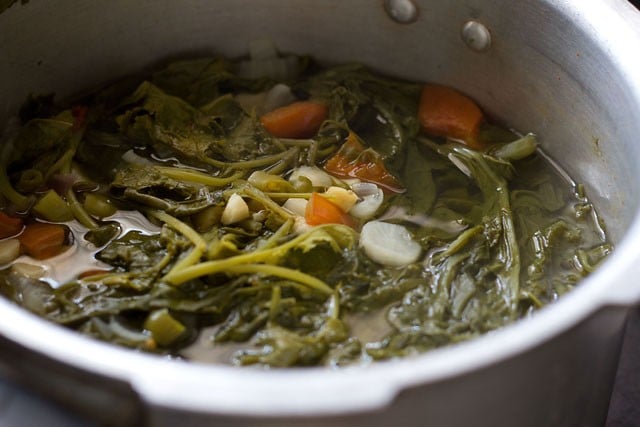
Blend The Greens
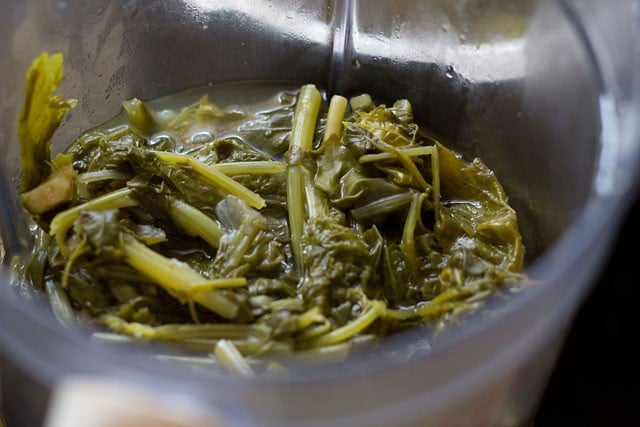
9: Add some of the greens and their cooking liquid to the base of a blender.
10: Add 2 tablespoons of maize flour (fine cornmeal).
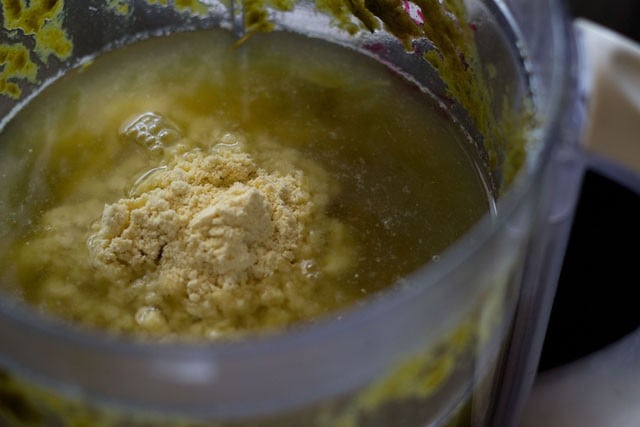
11: Working in batches, blend to your preferred consistency. I usually make a smooth puree, but some folks like a coarser texture.
You can also use a hand blender to minimize the number of dishes. If doing so, then chop the greens before you pressure cook them to make them easier to blend. The traditional way is to use a Madani (Indian hand blender) to blend the greens.
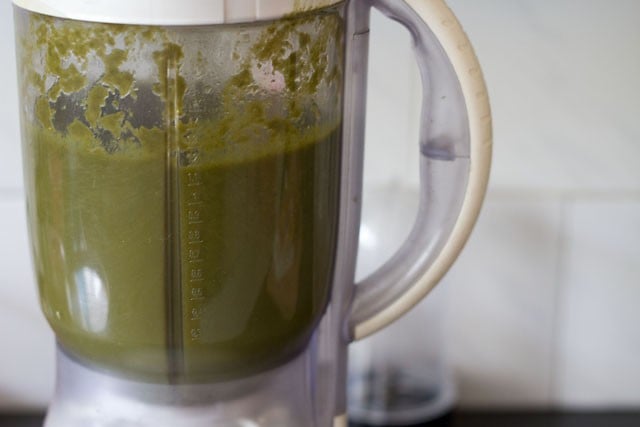
Make Sarson ka Saag
12: Pour the greens purée in a deep-sided pot, as it will bubble and splutter. You can also add it to the same cooker.
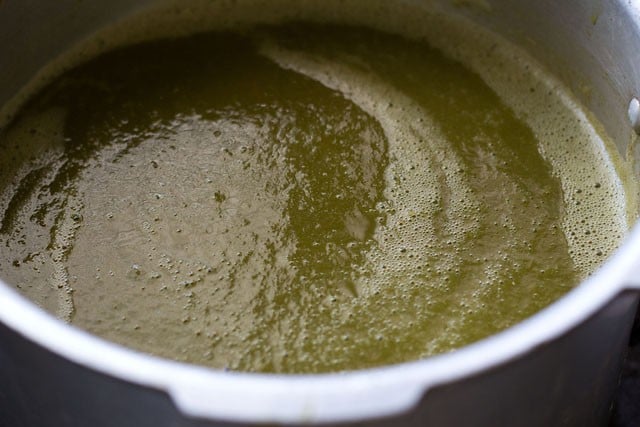
13: Simmer for a good 25 to 30 minutes. Stir occasionally so that the sarson da saag does not stick to the bottom of the pan. Check the seasonings and add more salt if required.
Once cooled, the saag can be kept in an airtight container in the fridge for 4 to 5 days.
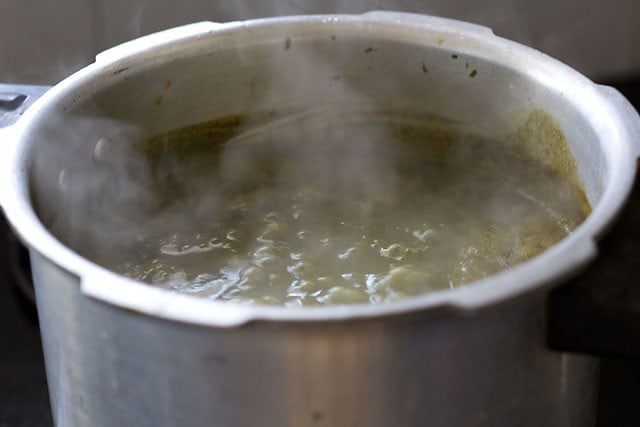
Make Tempering
14: The saag is not ready to be served yet – we still have to temper it. We always temper the saag with onions, but you can also add some ginger, green chilies and tomatoes along with the onions. Heat oil or ghee and add aromatics.
The amount of oil/ghee and onions to be added depends on the portions of saag you will be serving. For 3 servings, 1 to 2 tablespoons of oil with 1 medium-sized onion (about one-third cup finely chopped onions) is about right.
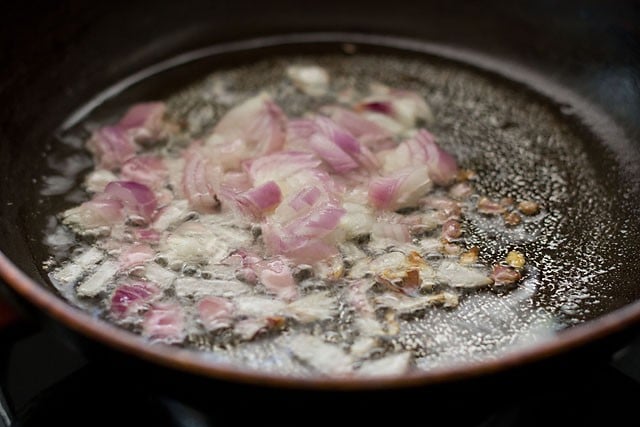
15: Lightly brown the onions.
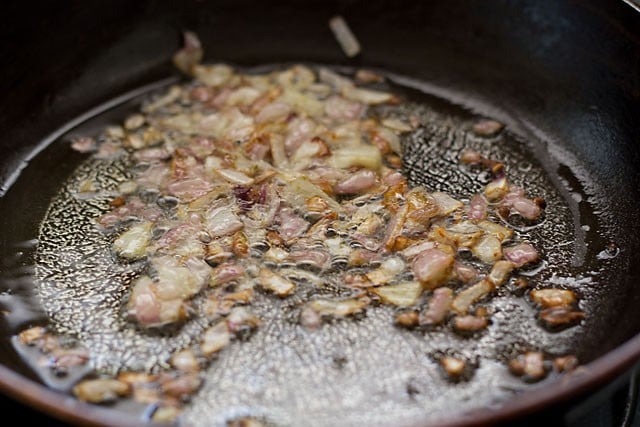
16: Add about 2 cups of the cooked sarson ka saag to the tempering. Simmer for a few minutes until the saag becomes hot.
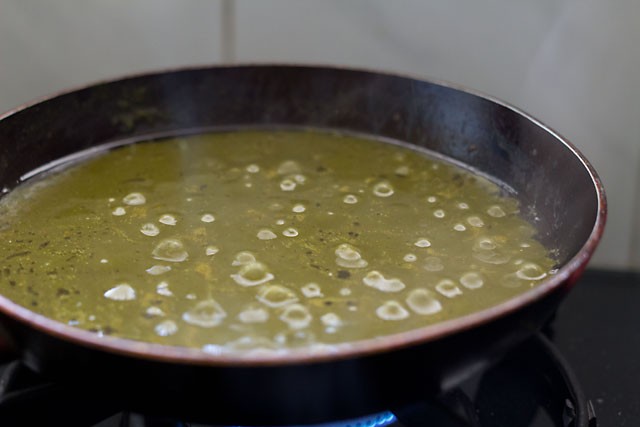
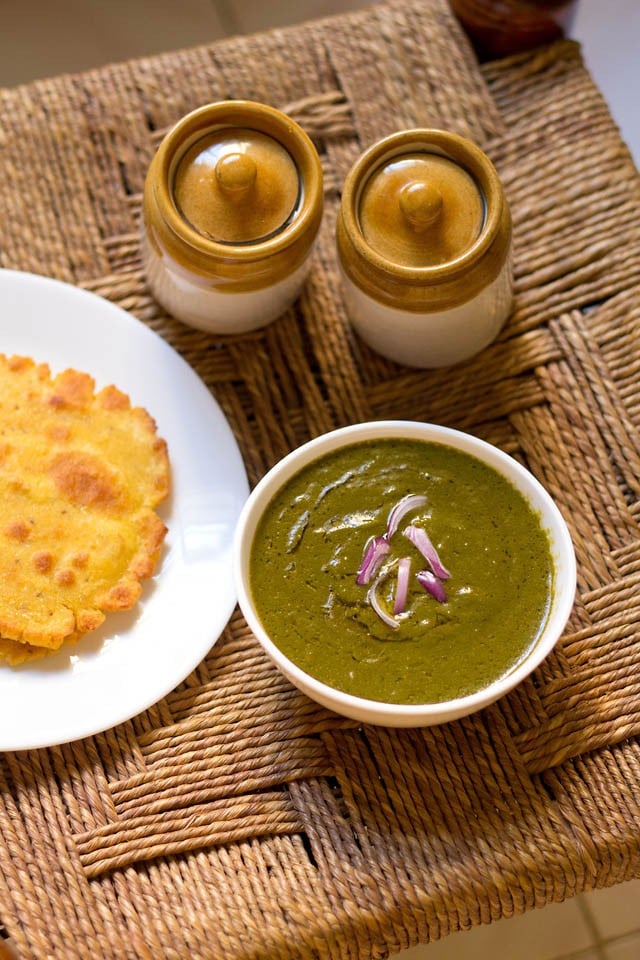
17: Serve the hot sarson ka saag straight away, preferably with makki di roti and a few jaggery cubes by the side – nothing beats this combination. You can also serve sarson da saag with paratha and steamed rice.
Pair this meal combination of the saag and makki ki roti with a side of freshly chopped onions and green chilies if you like.
FAQs
You can just skip it, or feel free to add in more spinach. Please note that bathua is also known as chenopodium album, melde, lamb’s quarters, goosefoot or fat-hen.
White radish root – also known as daikon – is a delicious vegetable. If you are unable to procure it, I suggest substituting white turnips or regular red radishes instead.
Maize flour – which is known as fine cornmeal in the US – can be substituted with besan (gram flour), chickpea flour, or rice flour if you prefer. The purpose of this ingredient is to act as a thickener, as well as to tone down the bitterness of the mustard greens.
If your sarson greens are bitter, I suggest that you reduce the amount that you use and increase the amount of spinach proportionally.
Alternatively, you can do as my mother-in-law used to and get rid of the cooking water from the greens; I don’t prefer to do this because you lose out on some of the nutrients, but it should decrease the amount of bitterness you taste.
I suggest you use it within 4 to 5 days. You can also freeze any leftovers for up to 1 month. To serve from frozen, defrost, reheat and then add the tempering.
Yes! So long as you keep the proportions the same, you can either halve the recipe or double/triple it as needed.
More Punjabi Delicacies!
Paneer Recipes
Palak Recipes (Spinach Recipes)
Okra Recipes
Vegetable Recipes
Please be sure to rate the recipe in the recipe card or leave a comment below if you have made it. For more vegetarian inspirations, Sign Up for my emails or follow me on Instagram, Youtube, Facebook, Pinterest or Twitter.
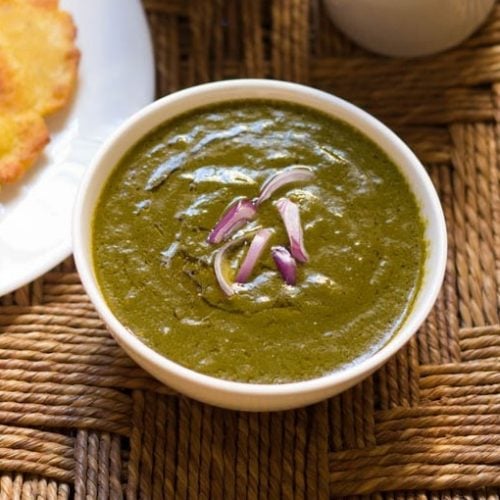
Sarson ka Saag Recipe (Authentic Punjabi Style)
Ingredients
For sarson ka saag
- 1 bunch mustard greens (sarson)
- ½ bunch bathua leaves (chenopodium/goosefoot/melde)
- ½ bunch spinach leaves (palak)
- 1 cup chopped radish leaves – use tender leaves, (mooli ke patte)
- 3 to 4 inches white radish root
- 1 cup fenugreek leaves – chopped
- 1 cup chopped onions or 2 medium sized onions
- 1.5 cups chopped tomatoes or 3 medium-sized tomatoes
- 2 inches ginger – chopped
- 2 green chilies – chopped
- 7 to 8 garlic – medium sized, chopped
- ½ teaspoon red chili powder
- 2 to 3 pinches asafoetida or ⅛ teaspoon asafoetida powder (hing)
- 2 to 3 cups water or add as required
- 2 tablespoon maize flour or fine cornmeal
- salt as required
Tempering saag for 3 servings
- ⅓ cup finely chopped onions or 1 small to medium-sized onion
- 1 to 2 tablespoons oil or ghee
- 2 cups cooked saag or as required
Instructions
Making sarson ka saag
- Firstly clean and chop all the greens. Then wash or rinse the greens very well in running water.
- In a 5 litre stovetop pressure cooker or pan add all the ingredients listed under "for sarson ka saag" except for maize flour.
- Cover the pressure cook and cook for 6 to 7 minutes or more on medium-high heat.
- If cooking in a pan, then cover and let the greens cook till tender and softened. Do check occasionally.
- Pour the greens along with the stock and maize flour in a blender. Blend till smooth.
- In another deep pan or in the same cooker, pour the pureed greens.
- Simmer for a good 25 to 30 minutes on a low heat stirring at intervals.
Tempering for sarson da saag
- In another small pan, heat oil. Use any neutral oil. You can also make the tempering with ghee if you prefer.
- Add the chopped onions and saute them till light brown on medium-low heat.
- Add the prepared saag. Stir and simmer for a couple of minutes.
- Stir ocaasionally when the saag is simmering.
Serving Suggestions
- Serve sarson ka saag hot with a side of some chopped onions, whole green chilies or mango pickle. Top the saag with a dollop of white butter and serve with Makki di Roti. Also serve a few jaggery cubes by the side.
- For a vegan saag, omit adding white butter or use vegan butter.
Storage
- Store the pureed and simmered saag in an airtight container for 4 to 5 days in the refrigerarot. You can also freeze it for a month.
- When ready to serve, remove the quantity you need from the refrigerator and temper it with the required amout of oil and onions.
Notes
Nutrition Info (Approximate Values)
This Sarson ka Saag recipe from the archives was first published on December 2012.







Too Good
Thanks Madhu
Dear Dassana, thanks for sharing the amazing recipes!!

Welcome Purva
Awesome…
Thankyou
Welcome Indu
Hi Dasanna,
I love all your recipes. Do you have any ideas for cooking veggies like broccoli, kale, Swiss chard using Indian spices?
Thanks
thanks deepa. i have only cooked kale and broccoli. never used swiss chard as we do not get it here. kale can be used similar to spinach or drumstick leaves in recipes. so any recipe that you make with spinach or drumstick leaves, you can make the same with kale. for broccoli use it like cauliflower. i always blanch broccoli and use. you can make patties, stir fry, parathas, sabzis easily with broccoli.
Dear Dassana, Made this recipe today and it turned out delicious. I had been wanting to make it since such a long time. I don’t know how I forgot to check your site. It turned out so yum I will be making this again and again.
Thanks Lopamudra. Glad to know that you liked the sarson ka saag. its taste awesome with makki di roti and specially when you eat it in winters.
Hi
I have been following your blog for some time now and have used a few recipes. They are all so appropriately written and explained! Love the details 🙂
Quick question – can I make this saag without spinach and bathua?
thanks shalu. you can make the saag without spinach and bathua.
Can you find Chenopodium in America (I live in Tennessee). if so what should I look for in the supermarket or Farmer’s market. If it is not available what is a good substitute?
Surjit, no idea about USA. however bathua leaves are also known as chenopodium album, melde, lamb’s quarters, goosefoot or fat-hen.
Thank u so much dear for sharing this finger licking recipe….. I could not believe that I have made this n that’s also in my first attempt…. My family loved it….Always follow ur site… The way u explain the cooking method is just great…. Thnx again
Welcome Archie. Glad to know that you all liked saag recipe.
great step b step detailed guide. thanks a ton for this.
thanks vivek.
Love the detailed instructions. I just moved to the US and have just started cooking for the first time in 30 years. Your blog is a big help and thank you for that. I have a couple of quick questions regarding this recipe:
1. Can I just use spinach instead of the other greens you have mentioned? It’s hard to find most of the mentioned greens here.
2. Is there a substitute for maize flour I can use? Like besan or maida or wheat flour? I don’t use maize flour for anything else so I don’t know I should buy entire bag (only 1 kg bags available) of maize flour.
thanks chan.
1. if you use spinach only, then it will be palak saag. you can use spinach only, but then scale down the recipe to half or one fourth.
2. you can use besan or rice flour. i have used besan and rice flour in thickening gravies. never tried whole wheat flour. if you want, you can even lightly roast the besan and then add.
Just ate saag today and we are walking around in the house like morons because everyone over ate and can’t go to bed with a tummy that’s ready to burst??and it’s almost midnight.Thanks a ton dear,god bless u.
i can relate to you simone. thanks for your kind wishes. you can have a generous pinch of asafoetida (hing) dissolved in some warm water or some fennel seeds or cumin seeds, to be chewed directly.
Hi dear,
Thank u for all the amazing recipes.I always follow your recipes whenever I want to cook an Indian dish that I have not tried ever before and everyone simply loves them.??I really appreciate all the hard work u put in and make sure that u cover even the minutest details.Thank u for making me into a master chef?.
thanks again simone. felt good reading your comment. happy cooking master chef 🙂
Hi dear…
This saag was awesome… I follow this site always. These recipes are superb… Great going good luck and thanks a lot for sharing.
thank surbhi for the positive review on saag. welcome and happy cooking.
Hello there! Thank you so much for this recipe. 🙂
I made sarson ka saag using your recipe, yesterday, and it turned out delicious!
thanks for the feedback. good to know.
Awesome recipe. First time tried it and turned out to be great. Avid follower of your blog. Love the detailing, accompanying pictures and simple recipes. Keep it up pls!
glad you liked the sarson ka saag 🙂 thankyou for your kind and positive words.