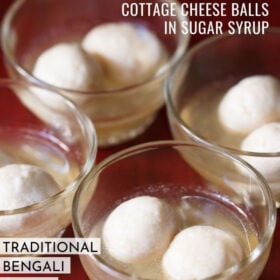
I am so excited to share my delightfully spongy rasgulla recipe (also known as rosogolla, roshogollah or rasbari ) with you today. This popular Bengali dessert is beloved across the South Asian diaspora! Soft round dumplings made from chenna (an Indian cottage cheese) and semolina flour are simmered in a cardamom and rosewater scented sugar syrup for a tasty sweet that is simply lovely.
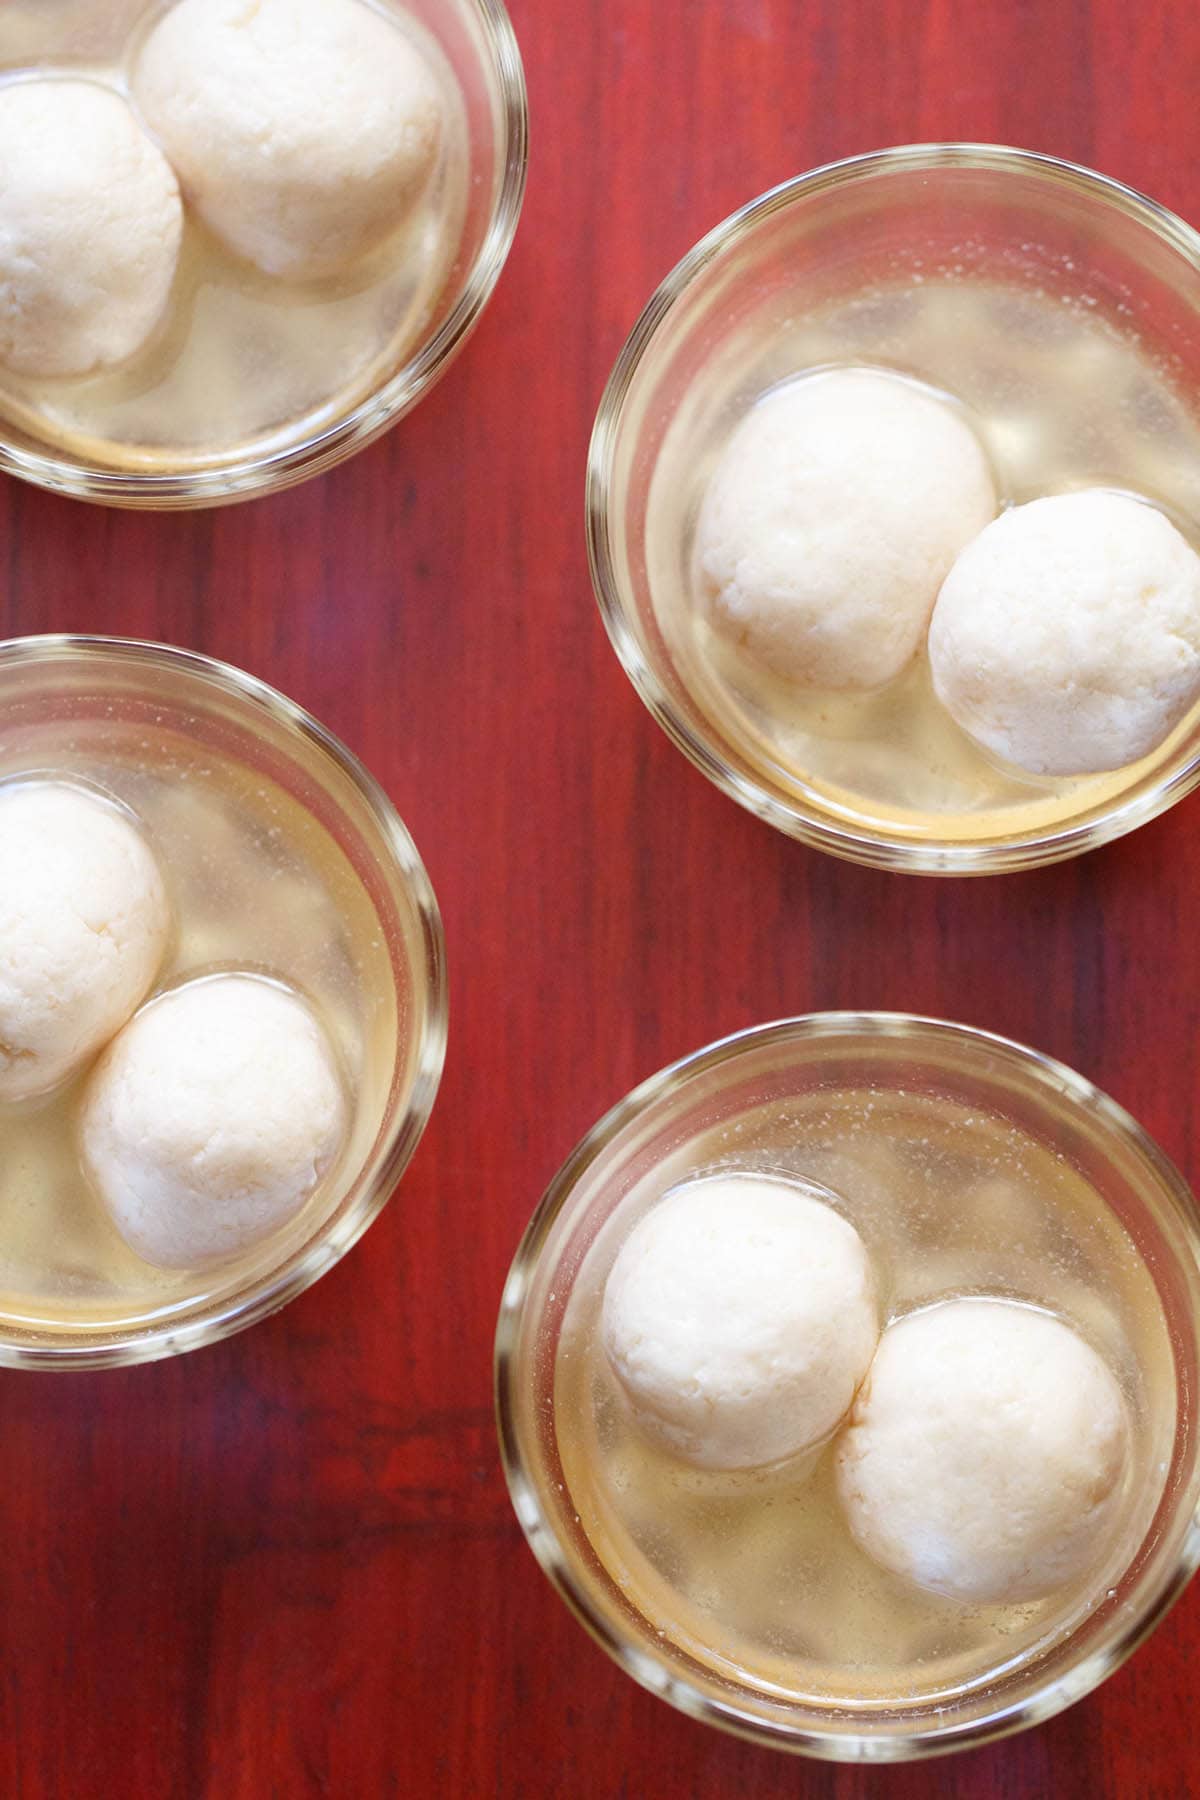
About Rasgulla
While the origin story of this treat is hotly contested in some circles, I know rasgulla to be a famous Bengali sweet made from milk.
To make rasgulla recipe, milk is curdled and drained of whey to make chenna, which is essentially a fresh cottage cheese.
The chenna is then kneaded with some semolina(rava or suji) or all purpose flour (maida). Round balls are made from the kneaded chenna, which are then cooked in sugar syrup.
The final touch is to scent the syrup with either aromatic cardamom or rosewater. The end result of this process is a pot full of sweet, syrupy cheese dumplings that are downright addictive.
About This Recipe
Rasgulla is our favorite Bengali sweet. It is also one of those few recipes for which I have received a shocking amount of requests. Although making rasgulla can be tricky, this post will help you to get it right.
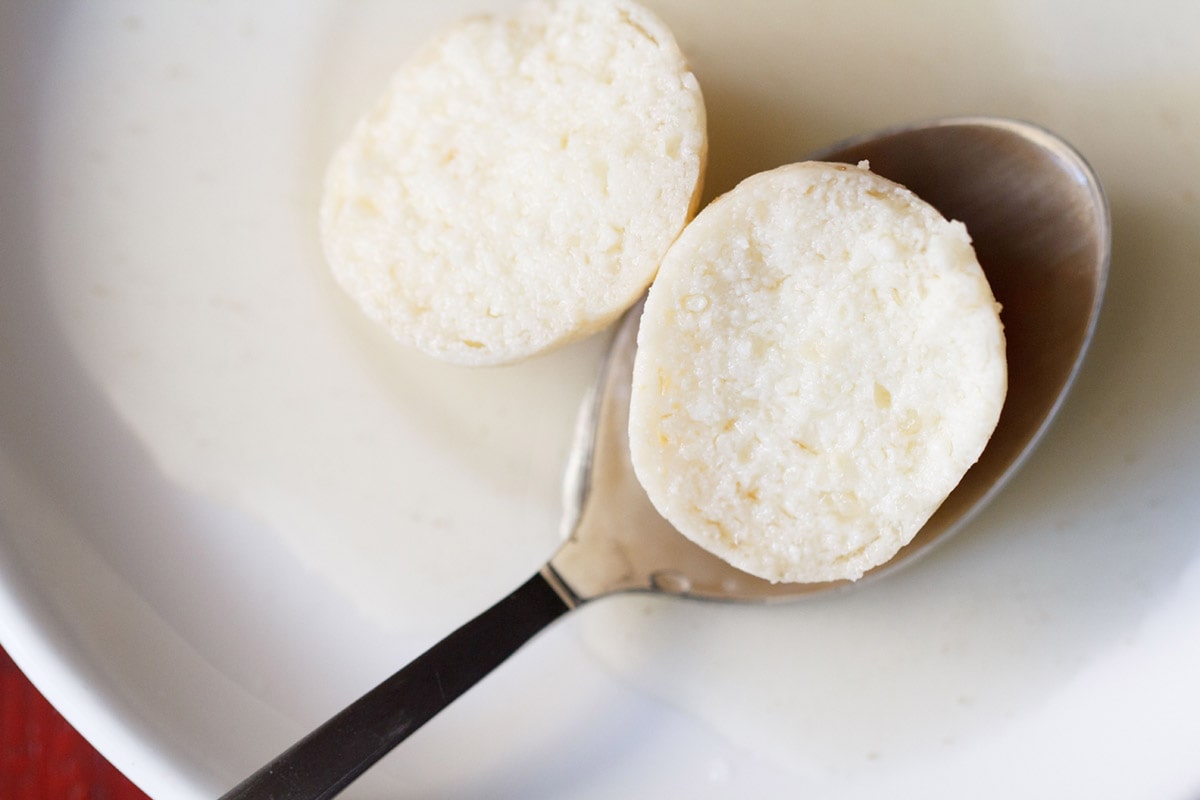
After much trial and error, I have found that this method will result in the juiciest, spongiest dumplings! They’re so soft that they spring right back when you touch them. YUM!
In this rasgulla recipe post, I offer many tips and suggestions wherever possible so that you can easily make this tasty milk dessert at home.
These round white beauties stay good for a week in the refrigerator, so they are an excellent recipe for those of you who like to plan ahead.
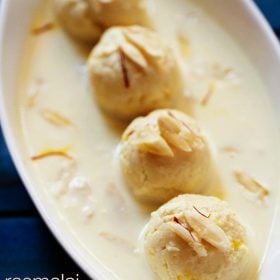
Serve them plain as a simple sweet, or make Rasmalai with them. This recipe yields 18 to 20 rasgulla.
How to Make Rasgulla
While this recipe isn’t particularly difficult, there are quite a few steps involved. I have divided the rasgulla recipe into four parts for ease of reading:
- Making chenna
- Making rasgulla balls
- Preparing sugar syrup
- Cooking rasgulla
On a side note, I kneaded the chenna and cooked the sugar syrup simultaneously to save time. You can opt to prepare the chenna balls first and then make the sugar syrup if you are feeling overwhelmed.
Make Chenna
1. Take 1 litre of whole milk in a pan and bring it to a low boil on a low to medium heat.
Note: I used organic cow’s milk, which does not have much fat. If you use buffalo milk, it has too much of fat and makes for a thick layer of malai/cream floating on top. You have to remove the thick layer of malai before you proceed with the making of chenna.
2. While the milk is heating up, line a mesh strainer or colander with a piece of cheese cloth or muslin.
3. Keep stirring the milk at intervals. This will help to prevent froth from forming on top and the base from scorching.
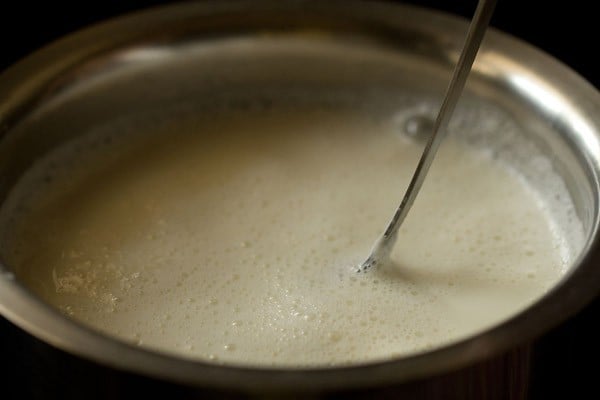
4. When the milk comes to a boil, then reduce the heat to its lowest. Add 1 to 3 tablespoons of lemon juice.
Start with just 1 tablespoon of lemon juice and stir very well. If the milk has not curdled completely, then add more. Keep the lemon juice handy so you can add it as needed.
Note: Depending on the quality of milk, you may need extra acid to get the milk to curdle. Vinegar also can be added instead of lemon juice. Another option is curd/yogurt. Add 4 to 5 tbsp of yogurt (or more if required).
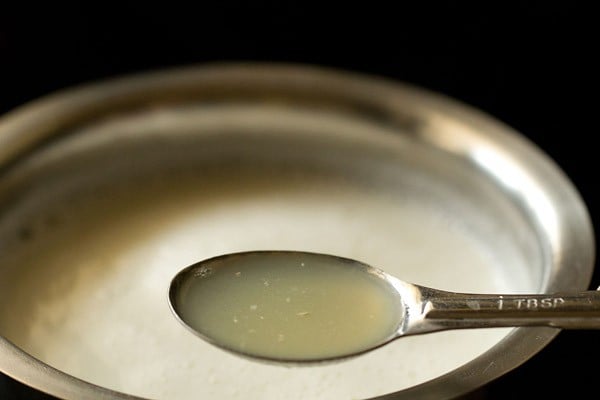
5. As soon as the milk curdles, switch off the heat. The milk should curdle completely and you should see a green watery whey.
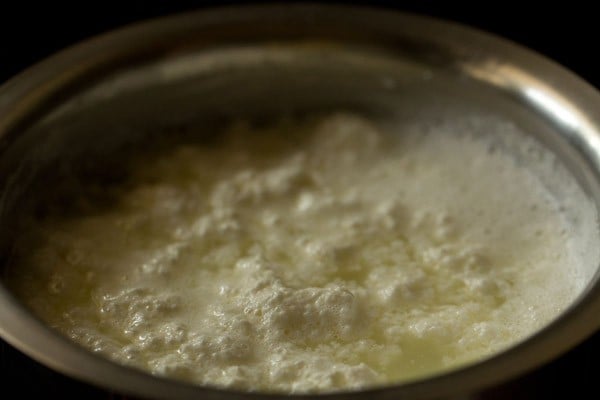
6. Now pour the curdled milk in the cheese cloth/muslin lined strainer or bowl.
Tip: The whey is very nutritious, so don’t discard it! Add it to your chapati dough or in dals or curries.
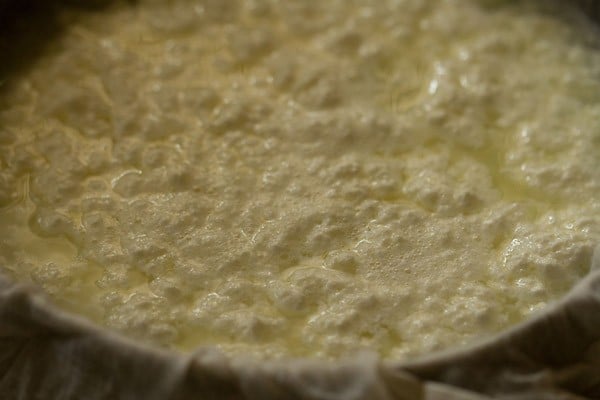
7. Gather the muslin from the sides and rinse the chenna or coagulated milk solids very well in running water.
This brings down the temperature of chenna as well as removes the lemony flavor and tangy taste from the chenna.
Note: If you used yogurt/curd in place of the lemon, you don’t need to rinse the chenna in water.
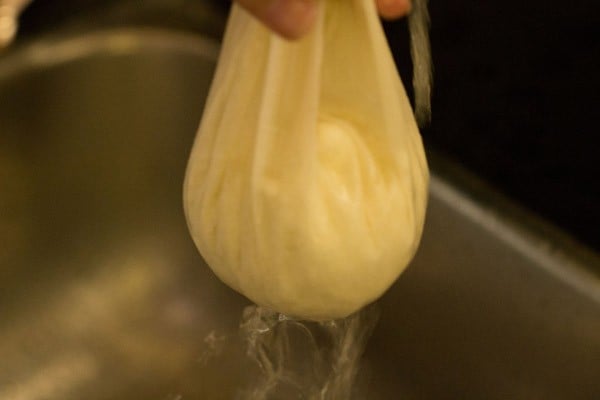
8. Now squeeze the muslin with your hands very well so that excess water is drained from the chenna.
Any excess moisture in the chenna will cause the rasgulla to break when cooking.
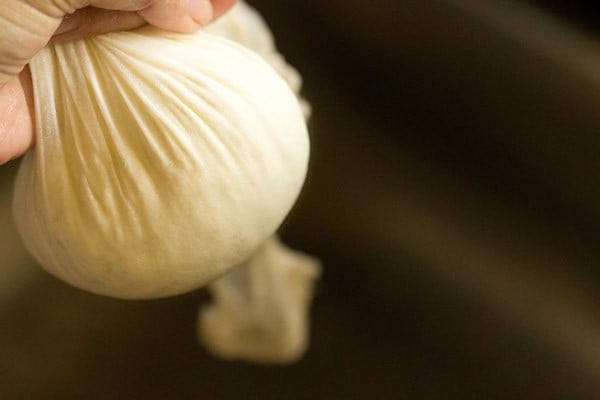
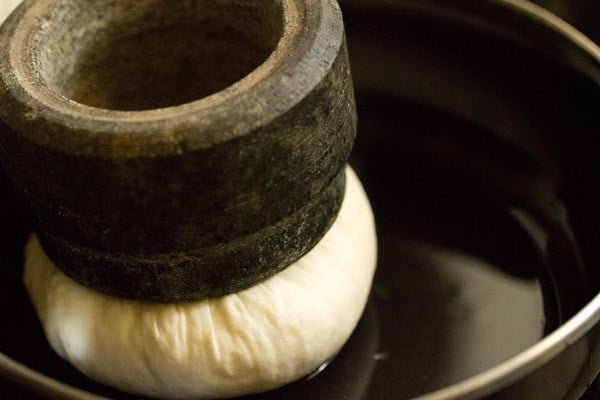
9. Place a heavy weight on the chenna for 7 to 8 minutes, or hang it for about 30 minutes.
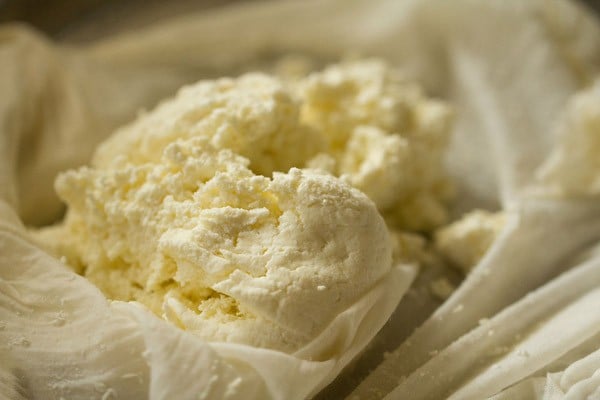
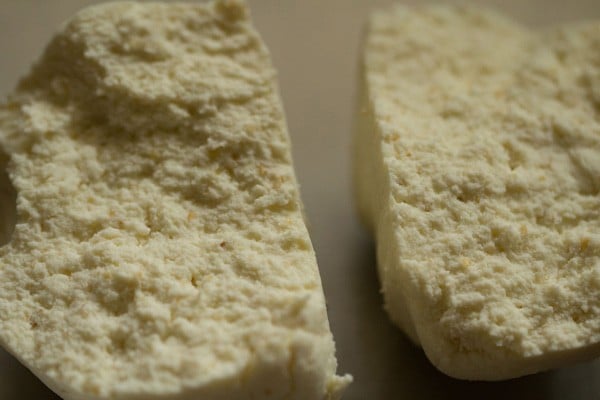
10. After the chenna is thoroughly drained, remove the cheesecloth. It should not have too much moisture nor be too dry. The texture below is just right!
Make Rasgulla Balls
11. Add 1 teaspoon unroasted sooji, rava or semolina. The rava I had was coarse, but a finer one will also work well.
Note: You can substitute all purpose flour/maida to bind the dough. For a gluten-free option, add 1 teaspoon cornstarch instead of semolina or all purpose flour.
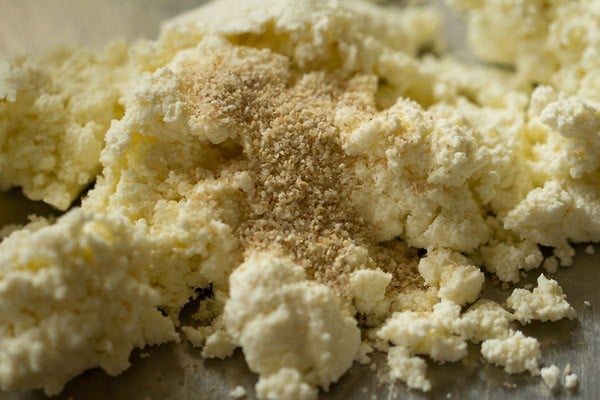
12. First mix the sooji with chenna and then begin to knead.
If you see that the chenna is watery, then you have a bit too much water. You can add some maida (all purpose flour) so that extra moisture is absorbed.
Alternatively, keep a heavy weight on the chenna again so that the extra water or whey gets drained.
If the chenna looks crumbly and dry, then this means that you need some more moisture. To correct this, sprinkle 1 to 2 teaspoons of water while kneading.
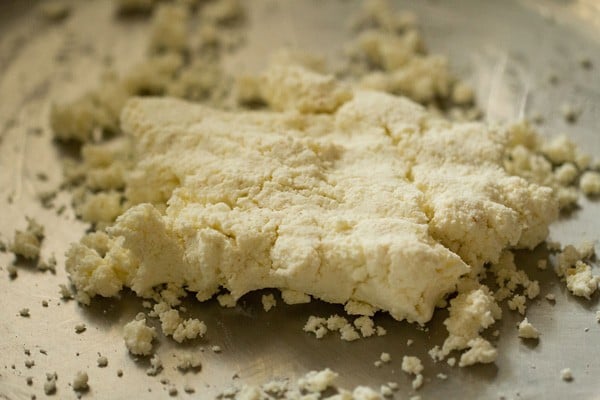
13. With the heels of your palms, mash the chenna and knead. Keep on collecting the chenna from the sides and continue to mash and knead.
This kneading process is very important and also decides the texture of chenna. When you feel your palms becoming a bit greasy, it is time to stop.
Just a bit of greasiness is required. Avoid kneading to an extent where the whole chenna becomes greasy.
I kneaded for about 10 minutes as I have very light hands. Depending on the quality of chenna and the pressure you apply while kneading, you can take more or less time.
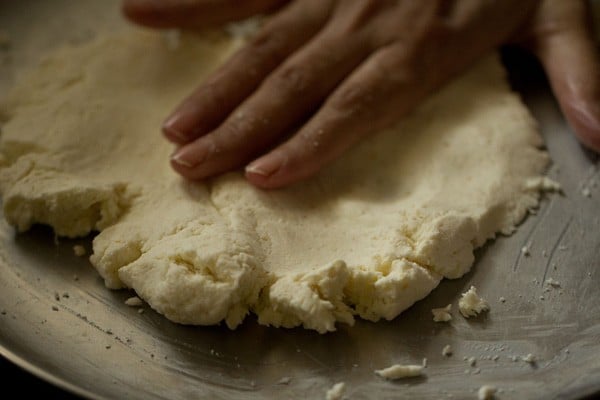
14. Knead to a smooth ball of chenna which should be able to come together without breaking or falling apart.
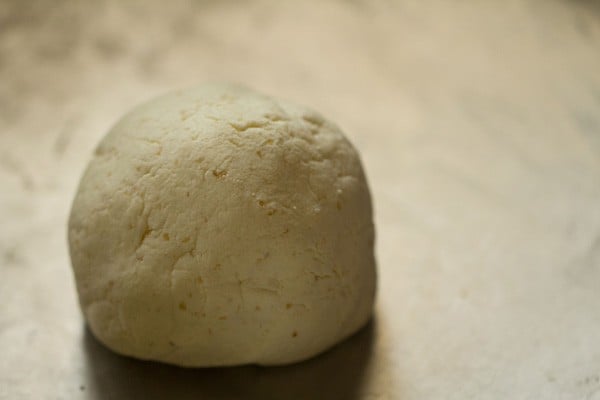
15. A close up photo showing you the texture of the chenna dough.
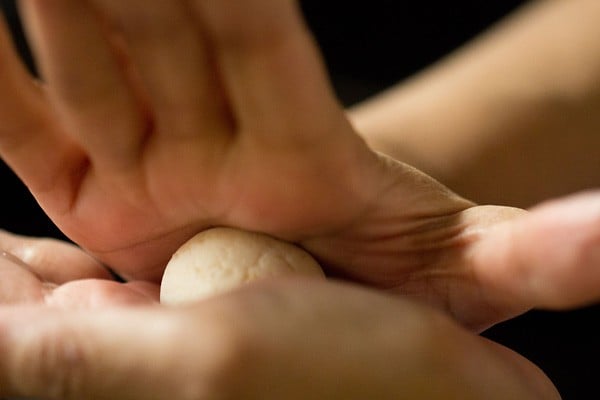
16. Now pinch small portions from the chenna and roll them between your palms to a smooth round ball.
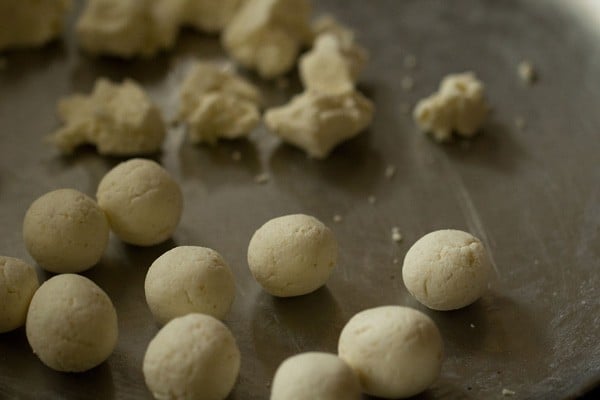
17. Prepare all small balls this way. There will be some fine cracks on the chenna balls. Don’t worry! This is normal.
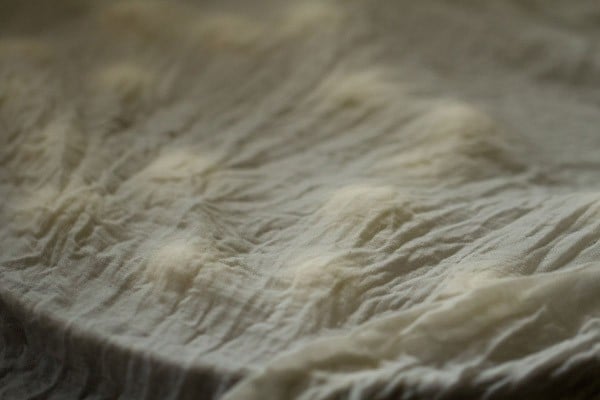
18. Cover all the chenna balls with a moist muslin or kitchen towel and keep aside.
Make Sugar Syrup
19. In a large pot, take 2 cups sugar.
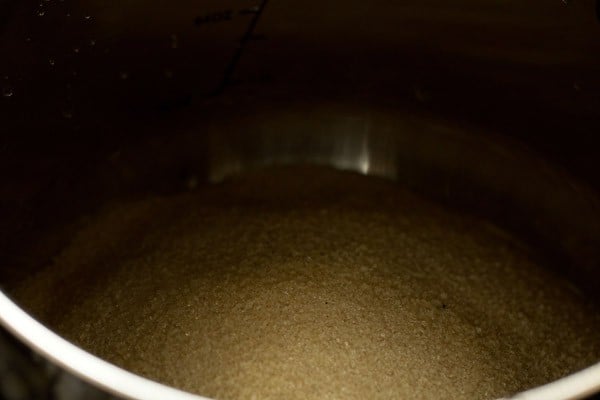
20. Add 4 cups water (1 litre). Be sure to use a large pot or pan so that there is enough space for the rasgulla to cook and increase in size. You can also use a stovetop pressure cooker.
I used a pot measuring 8.5 inches in diameter and 4.5 inches in height, roughly 3.5 litres.
Note: I used organic raw sugar, hence the golden tones to it. White sugar will also work just fine.
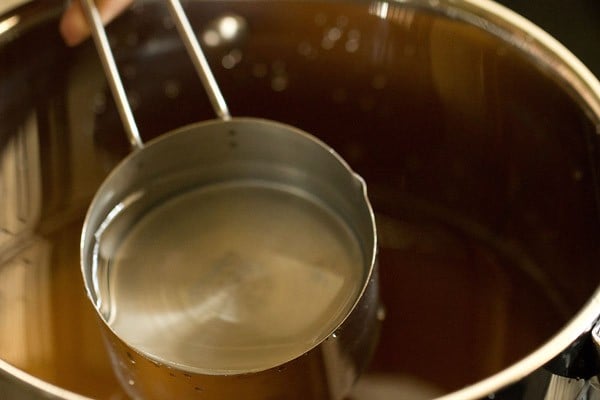
21. Heat the sugar solution on the stovetop over medium heat, stirring so the sugar dissolves. You don’t need to boil the solution.
If there are impurities in the sugar solution, then move to the next step. If no impurities, then move to Step 25.
Note: To save time, I kneaded the chenna and cooked the sugar syrup simultaneously.
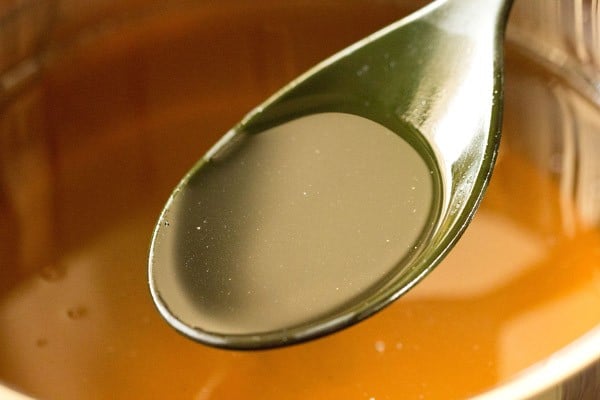
22. Add 1 tablespoon of milk and stir. Adding milk helps in removing impurities.
If there are no impurities, then you don’t need to add milk and may directly proceed to step 25.
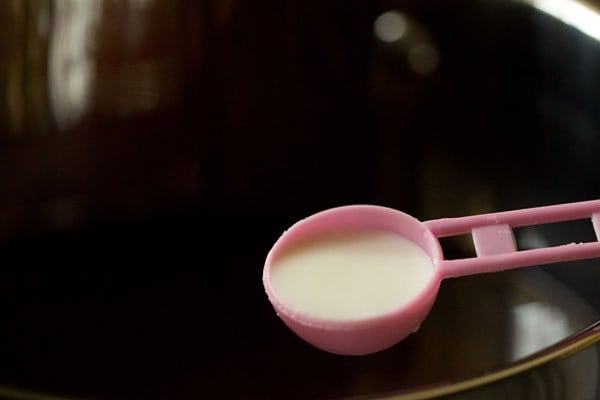
23. Once the sugar solution becomes hot, the impurities begin to float on the top.
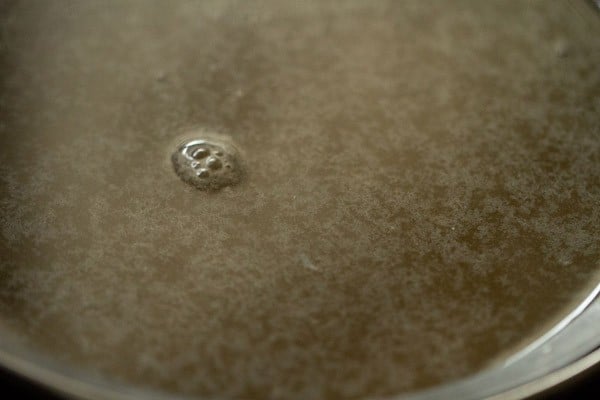
24. You can either remove them with a spoon…
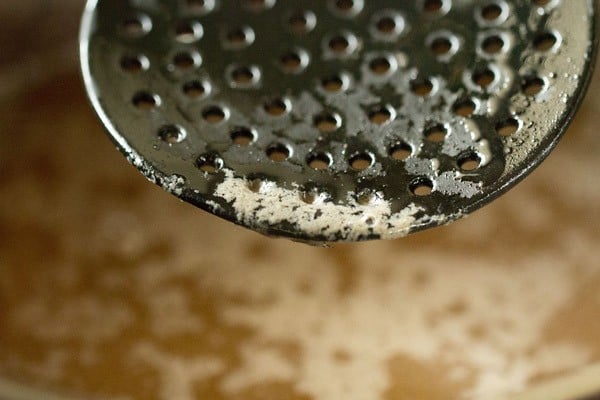
24. Or choose to strain the impurities in a cheese cloth/muslin lined strainer. I prefer this method.
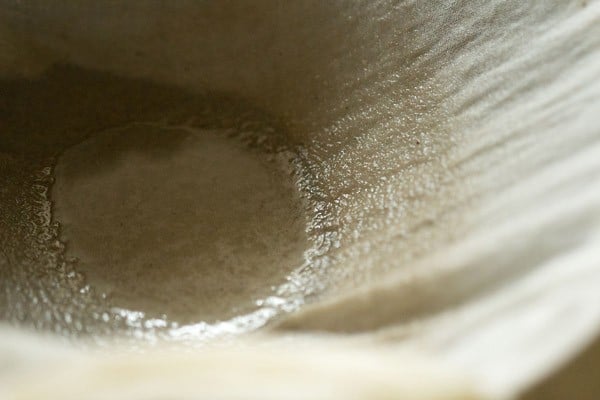
25. Reserve ½ cup of sugar solution to add later while cooking the rasgulla.
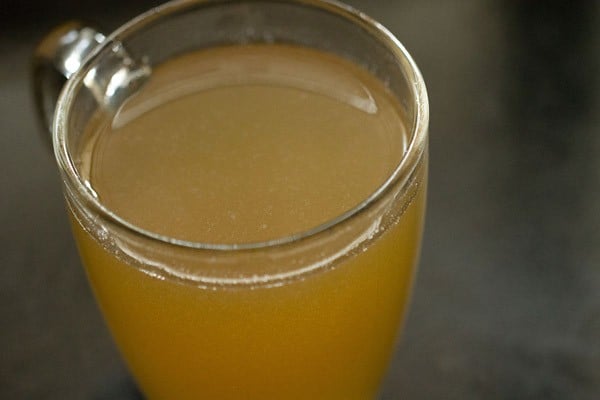
26. Reserve another 1 cup of the filtered sugar solution in a serving bowl.
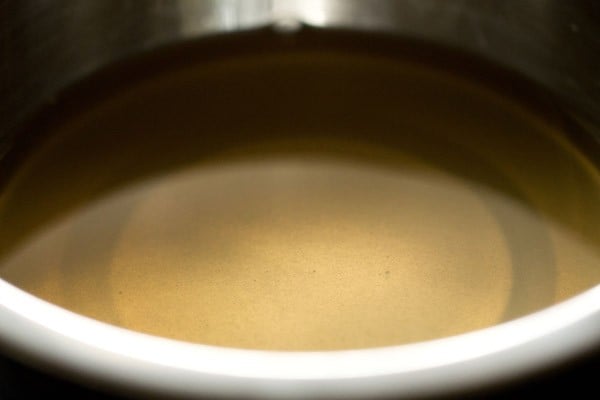
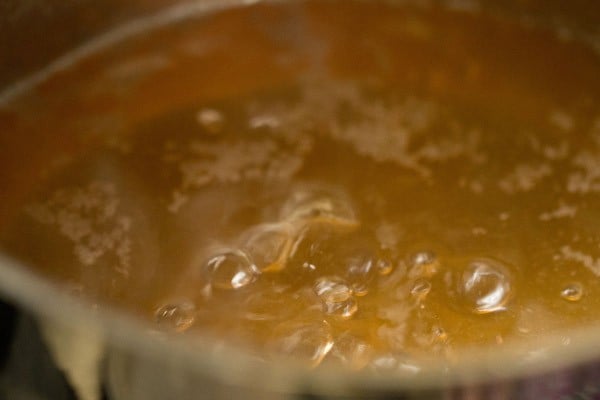
27. Add the rest of the sugar solution (approximately 2.5 cups) back to the same large pot and bring it to a boil on a medium high heat.
Cook Rasgulla
28. Gently slide the rasgulla balls into the sugar solution.
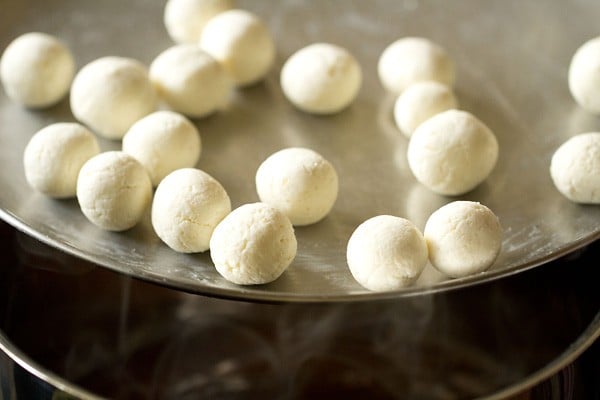
29. Once all the rasgulla have been added to the sugar solution, gently shake the pot. Don’t stir the rasgulla with a spoon.
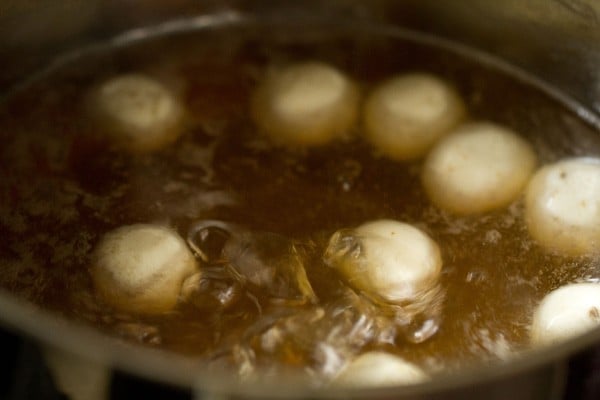
30. Cover immediately with a lid and let them cook. Keep the heat to a medium or medium high.
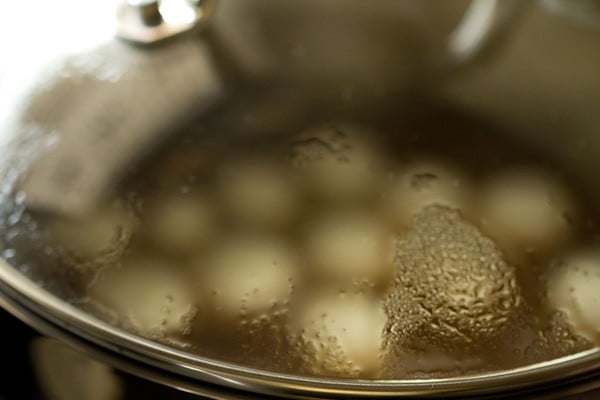
31. After 4 minutes, open the lid and add ¼ cup of the reserved sugar solution. Shake the pot.
Adding the reserved sugar solution ensures that the temperature and consistency of the sugar solution is maintained and the sugar does not cook to thread stage.
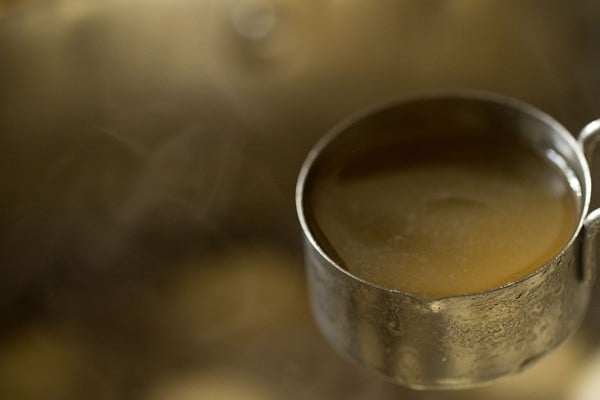
32. Cover again and continue to cook.
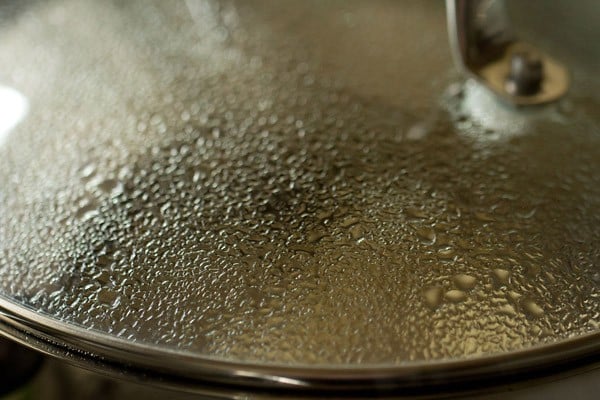
33. After 4 minutes, again add ¼ cup of the reserved sugar solution. Cover and again cook for 2 minutes.
In total, the rasgulla balls cooked for about 10 minutes. After 10 minutes, they had increased in size and were done.
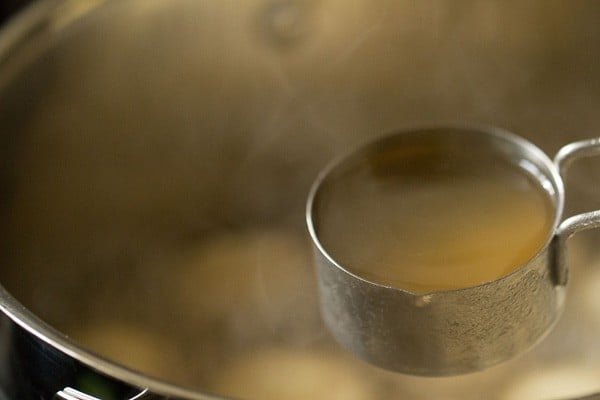
How to Know When Rasgulla Are Done
34. You have to check the doneness while the rasgulla are simmering. Once the rasgulla are cooked through, switch off the heat and keep the pot down.
The time to cook rasgulla will vary depending on the thickness and quality of pot; the size of pot; and the intensity of the heat.
The time range can be somewhere between 7 to 11 minutes. So you can add the ¼ cup sugar syrup after 2 to 3 minutes also instead of 4 minutes.
I used a thick bottomed wide and deep pot, so the cooking time was slightly more for me.
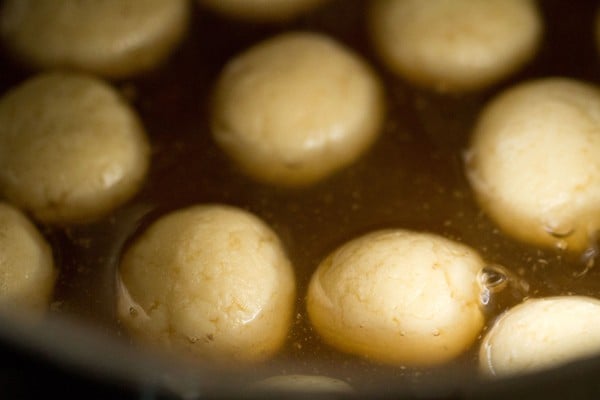
35. There are two ways to check the doneness of rasgulla.
- First method is to place the rasgulla in a bowl or cup of water. If the rasgulla sinks to the bottom and stays there, its cooked.
- Second method is to press a small portion of the rasgulla with your finger. If the pressed portion bounces back to its original shape, its done.
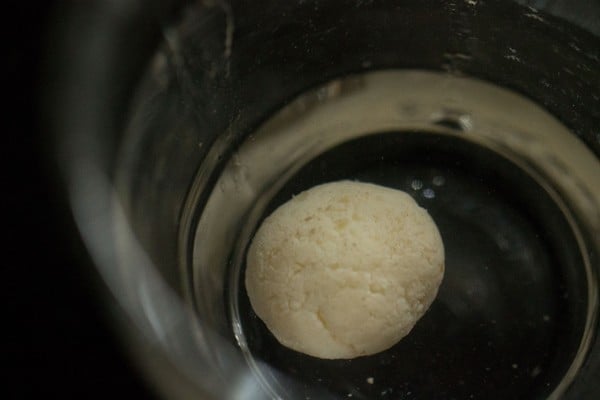
Soaking Rasgulla in Sugar Syrup
36. Once they are cooked, take each rasgulla with a spoon.
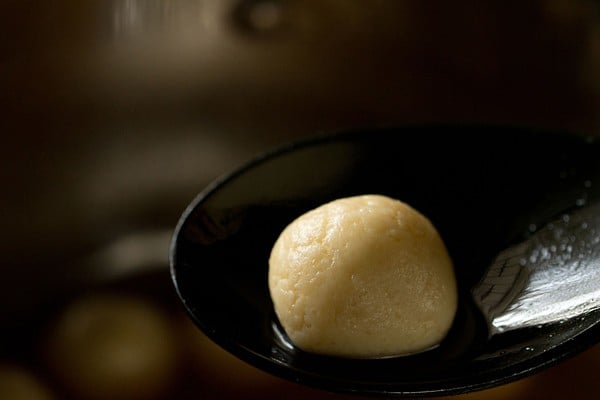
37. Place it in the serving bowl containing the reserved 1 cup of sugar solution. Cover and keep aside.
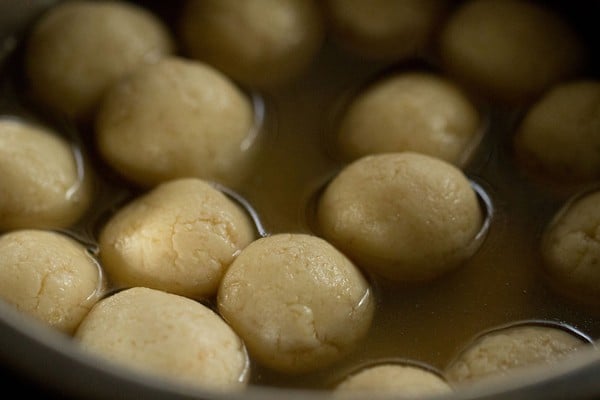
38. Let the sugar solution in which the rasgulla were cooked cool to a warm temperature. Then add this sugar solution to the serving bowl containing the rasgulla.
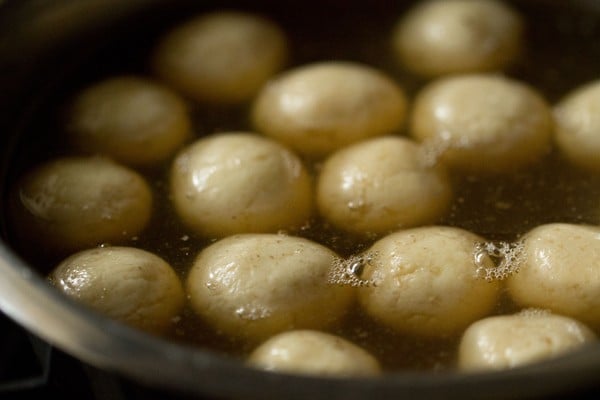
39. Once the whole mixture has cooled down, add 1 to 2 tablespoons of rosewater. Stir gently. Allow them to soak in the syrup for about 30 minutes, so that the flavors infuse the rasgulla.
TIP: Some flavoring has to be added, otherwise you will get a milky taste in the rasgulla. In case the milky taste is there, then you can increase the amount of rosewater or add 1 teaspoon cardamom powder.
NOTE: If you don’t have rose water you can substitute kewra water (pandanus water) or ½ teaspoon cardamom powder. You can even use both rosewater and cardamom powder.
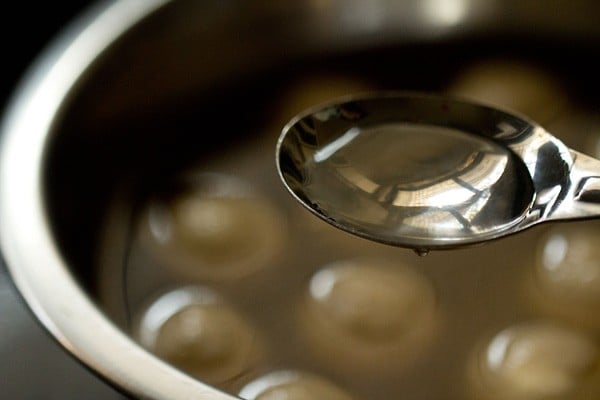
Storage & Serving Suggestions
40. You can serve the rasgulla now or refrigerate them and serve later cold. Keep them covered in an air-tight container.
Rasgulla keeps well for about a week in the refrigerator. Do not keep them at room temperature.
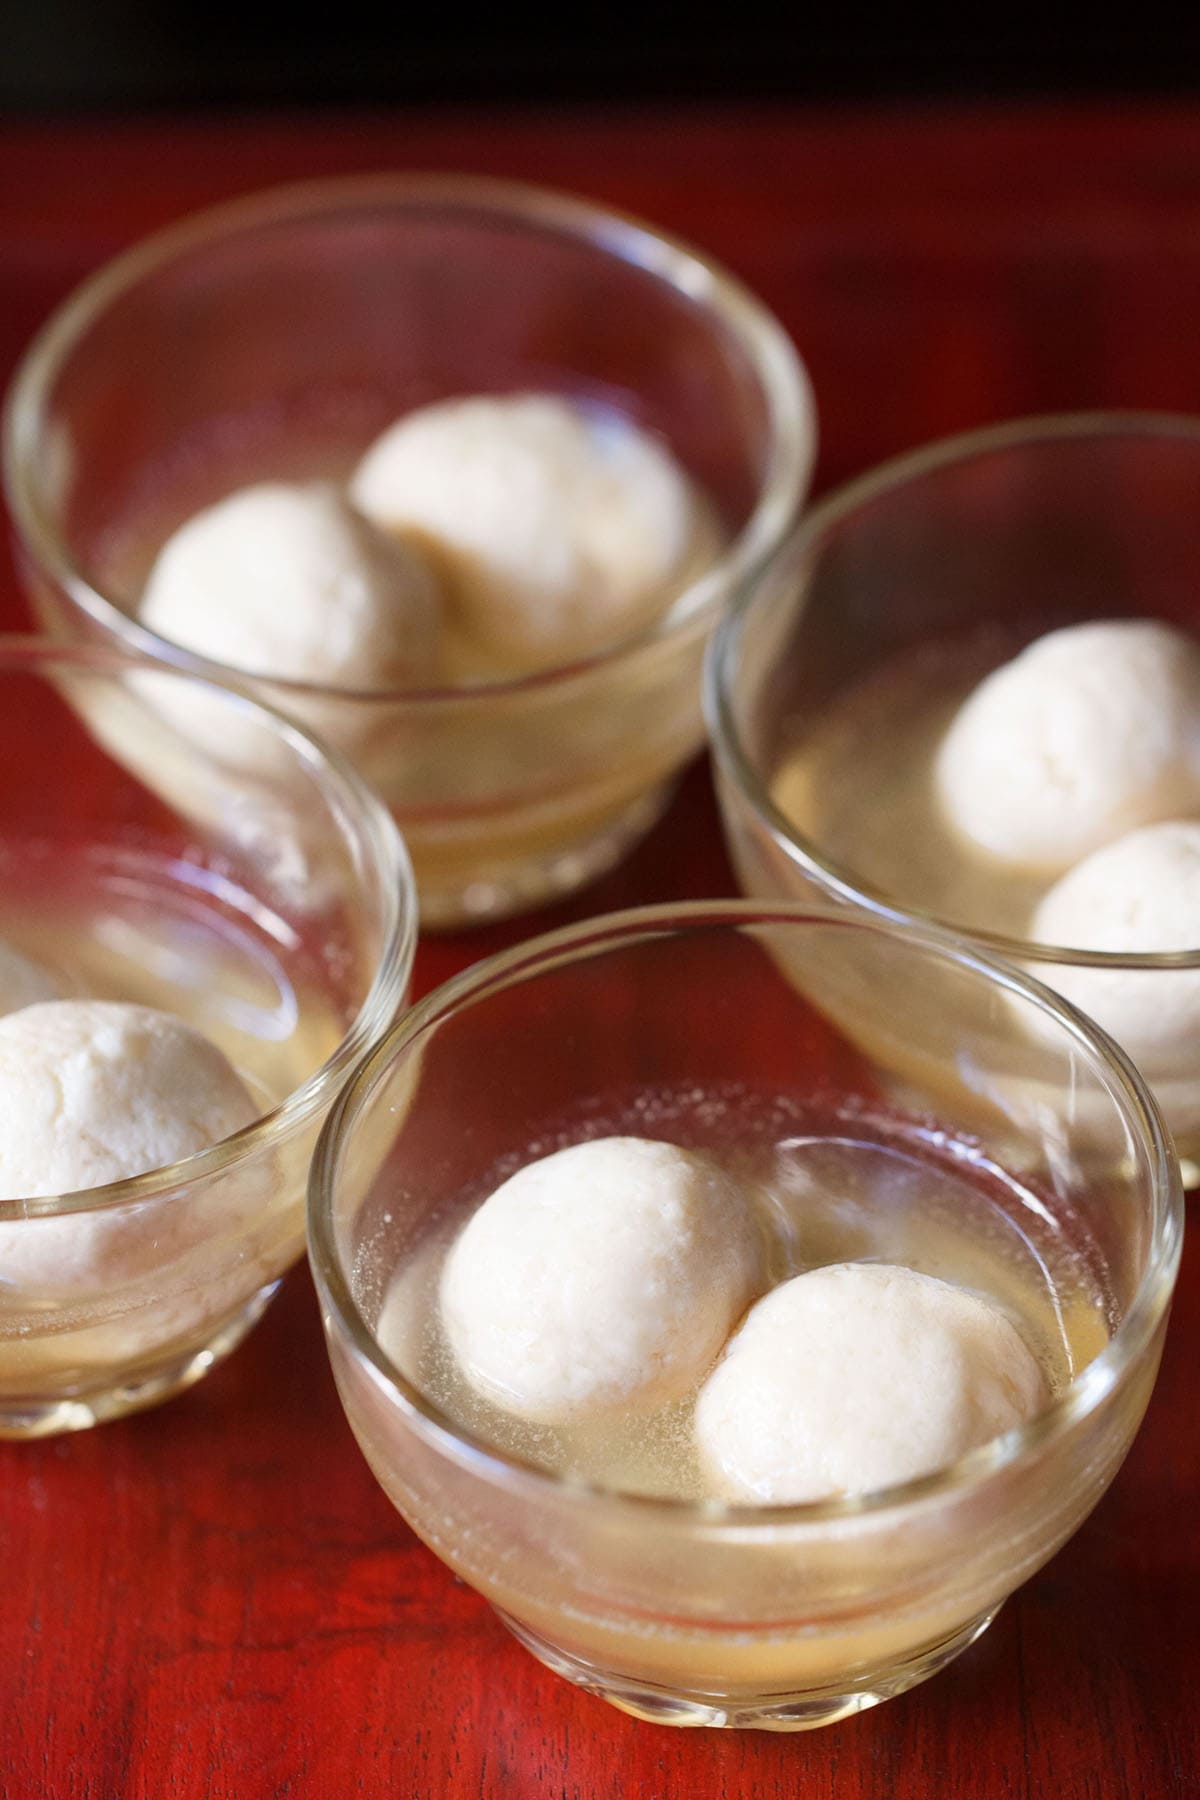
While serving place the required amount of rasgulla in each serving bowl. Pour a few tablespoons of the sugar syrup in the serving bowl.
If you like garnish with some slivered nuts like almonds or pistachios.
Troubleshooting Tips
1. What should be the quality of milk to make rasgulla recipe?
To make chenna based sweets like rasgulla, always use full cream milk or full fat whole milk. You can use homogenized milk or pasteurized milk.
Do keep in mind that milk should be fresh and must be in its shelf period. Do not make rasgulla with toned milk, skimmed milk or low fat milk.
2. How to check the correct moisture in the chenna?
Rasgulla recipe is made from chenna. Chenna is made from curdling milk and draining the whey. For those of you who are familiar with it, chenna is similar in consistency to ricotta cheese.
The moisture balance is very important in getting the correct texture in your rasgulla. If the chenna has too much water or moisture, then the rasgulla disintegrates or breaks while cooking.
If there is too little moisture in the chenna, then the rasgulla becomes rubbery and dense, and shrinks or flattens after cooking and cooling.
While kneading chenna for the rasgulla recipe, you can easily check the moisture content in it. If you see that the chenna is moist or watery, then this implies that there is too much water.
To rectify, you can add some maida (all purpose flour) so that extra moisture is absorbed. The second method is to keep a heavy weight on the chenna again so that the extra water or whey gets drained.
If the chenna looks crumbly and dry, then this means that there is not enough moisture in it. So to correct this, sprinkle 1 to 2 teaspoons of water while kneading. This will add some moisture in the chenna.
Some moisture in chenna helps in binding and results in soft rasgulla, but note that too much moisture or water in chenna will ruin it.
3. How much time is taken to knead chenna?
Depending on the force and pressure applied by your palms, the timing will vary. Yet there is a test which you can use – when your palms become slightly greasy, the chenna is well kneaded.
Some fat from the chenna is released while kneading it, thus the palms should become slightly greasy when kneading.
When you reach this step, stop kneading chenna and make round balls from it. The chenna should be kneaded to a smooth large ball which should be able to come together without breaking or falling apart.
4. How to check if the rasgulla is cooked?
Depending on the force and pressure applied by your palms, the timing will vary. Yet there is a test which you can use – when your palms become slightly greasy, the chenna is well kneaded.
Some fat from the chenna is released while kneading it, thus the palms should become slightly greasy when kneading.
When you reach this step, stop kneading chenna and make round balls from it. The chenna should be kneaded to a smooth large ball which should be able to come together without breaking or falling apart.
5. What is the consistency of sugar syrup for rasgulla recipe?
Rasgulla is dunked in sugar syrup which is watery like a simple syrup, without any strings of caramel. This thin consistency helps the rasgulla to absorb the sugar syrup and makes it sweet.
FAQs
If the rasgulla balls are overcooked, then they will end up becoming rubbery and dense. You may have also used dry chenna that was crumbly. Next time, try adding 1 to 2 teaspoons of water if the dough looks dry.
Always use a large pan or pot when cooking rasgulla so that all the rasgulla balls can expand during cooking. Also, never stir with a spoon as the rasgulla can break. Another point to be noted is that the rasgulla can get shrunk or flattened if the chenna is dry.
Once the cooked rasgulla cool to room temperature, refrigerate them. Do not keep them at room temperature as they will spoil.
The leftover syrup can be used to make nimbu pani (lemonade). You can also add it to shikanjvi or fruit juices or add to batters while making cakes.
More Bengali Sweets To Try!
Sweets Recipes
Bengali Recipes
Sweets Recipes
Bengali Recipes
Please be sure to rate the recipe in the recipe card or leave a comment below if you have made it. For more vegetarian inspirations, Sign Up for my emails or follow me on Instagram, Youtube, Facebook, Pinterest or Twitter.
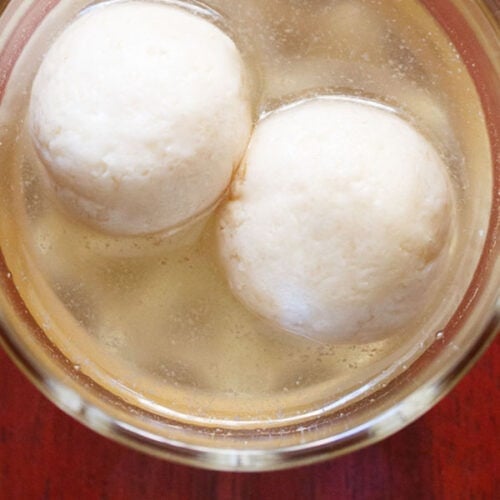
Rasgulla Recipe (Soft & Spongy)
Ingredients
- 1 litre whole milk
- 2 to 3 tablespoons lemon juice or add as required
- 2 cups sugar or raw sugar
- 1 litre water
- 1 tablespoon milk – optional
- 1 teaspoon sooji (rava or cream of wheat) or all purpose flour or cornstarch
- 1 to 2 tablespoon rose water or kewra water or ½ teaspoon cardamom powder
Instructions
Making chenna
- Take whole milk in a pan and keep it to boil on a low to medium heat.
- So when the milk is heating up, line a strainer or bowl with a cheese cloth or muslin.
- Keep on stirring the milk at intervals so that the froth is not formed on top and the base does not get browned or the milk solids get stuck to the bottom.
- When the milk comes to a boil, then reduce the heat to its lowest. Add 1 to 3 tablespoons lemon juice. First add 1 tablespoon lemon juice and stir. If the milk has not curdled completely, then add 1 tablespoon more. Keep the lemon juice handy with you.
- Depending on the quality of milk, you may need to add 1 to 3 tablespoons of lemon juice. Stir after adding the lemon juice. Sometimes I have added 1 tablespoon lemon juice and the milk has curdled and sometimes I needed to add 3 tablespoons too. Vinegar also can be added instead of lemon juice.
- Another option is curd/yogurt. Add 4 to 5 tablespoons of yogurt or more if required. With yogurt you don't need to rinse the chenna in water later.
- As soon as the milk curdles, switch off the heat. The milk should curdle completely with the green watery whey. If the milk does not curdle, then add ½ to 1 tablespoon of lemon juice more.
- Now pour the curdled milk in the cheese cloth/muslin lined strainer or bowl.
- Gather the muslin from the sides and rinse the chenna or coagulated milk very well in running water. This brings down the temperature of chenna as well as removes the lemony flavor and tangy taste from the chenna.
- Now squeeze the muslin with your hands very well, so that excess water is drained from the chenna. Remember there should not be excess water or moisture in the chenna as then the rasgulla will break when cooking.
- Place a heavy weight on the chenna for 7 to 8 minutes. You can also hang the chenna for about 30 minutes.
Making chenna balls
- After 7 to 8 minutes, remove the cheesecloth from the chenna. Note that the chenna should not have too much moisture nor be too dry.
- Add 1 teaspoon sooji or rava or semolina. You can also add all purpose flour (maida). Adding either of them helps to bind the mixture.
- First mix the sooji with chenna and then begin to knead.
- With the heels of your palms mash the chenna and knead. Keep on collecting the chenna from the sides and continue to mash and knead.
- This kneading process is very important and also decides the texture of chenna. When you feel your palms becoming a bit greasy, its time to stop. Just a bit of greasiness is required.
- Avoid kneading to an extent where the whole chenna becomes greasy. I kneaded for about 10 minutes as I have very light hands. So depending on the quality of chenna and the pressure you apply while kneading, you can take more or less time. Note that the chenna should just begin to get greasy.
- Knead to a smooth ball of chenna.
- Now pinch small portions from the chenna and roll them between your palms to a smooth round ball.
- Prepare all small balls this way. Cover all the chenna balls with a moist muslin or kitchen towel and keep aside.
Making sugar syrup
- In a large pan, take 2 cups sugar and 4 cups water.
- You have to use a large pot or pan so that there is enough space for the rasgulla to cook and increase in size. You can also use a stovetop pressure cooker. I used a pot measuring 8.5 inches in diameter and 4.5 in height – a 3.4 litre stainless steel pot.
- Keep this pan on stovetop and heat the sugar solution. Stir so that the sugar dissolves. I kneaded the chenna and cooked the sugar syrup simultaneously. You can also do this way.
- Add 1 tablespoon milk and stir. Adding milk helps in removing impurities. If there are no impurities then you don't need to add milk and directly proceed to step 6.
- Once the sugar solution becomes hot, the impurities begin to float on the top.You can either remove it with a spoon. Or strain the impurities in a cheese cloth/muslin lined strainer.
- Now from the purified sugar solution, reserve ½ cup in a cup or mug. This ½ cup of sugar solution we will be adding to the cooking rasgulla.
- Reserve another 1 cup of the sugar solution in a serving bowl.
Making rasgulla
- The rest of the 2.5 cups of sugar solution you add it back to the same large pot and bring it to a boil on a medium high heat.
- Slid the rasgulla gently into the sugar solution.
- Once all the rasgulla have been added to the sugar solution, shake the pot. Don't stir the rasgulla with a spoon. Just gently shake the pot.
- Cover immediately with a lid and let them cook. Keep the heat to a medium or medium high.
- After 4 minutes, open the lid and add ¼ cup of the reserved sugar solution. Shake the pan. Adding this reserved sugar solution ensures that the temperature and consistency of the sugar solution is maintained and the sugar does not cook to its thread consistencies.
- Cover again and continue to cook.
- After 4 minutes, again add ¼ cup of the reserved sugar solution. Cover and again cook for 2 minutes. I cooked for 10 minutes. The timing will vary depending on the thickness & quality of pan, the depth of the pan and heat intensity.
To check the doneness
- There are two ways. First place the rasgulla in a bowl or cup of water. If the rasgulla sinks to the bottom its cooked.
- Second method is to press a small portion of the rasgulla with your finger. If the pressed portion bounces back to its original shape, its cooked
- Once they are cooked, switch off the heat and keep the pan down on the countertop.
Soaking in sugar syrup
- Now take each rasgulla with a spoon and place it in the bowl containing the 1 cup of sugar solution. Cover and keep aside.
- Let the sugar solution in which the rasgulla were cooked, become warm. Then add this to the serving bowl containing the rasgulla.
- Once the whole mixture has cooled down, add 1 to 2 tablelsoons rose water.
- If you don't have rose water you can also kewra water (pandanus extract) or ½ tsp cardamom powder. Stir gently and allow them to be soaked in the sugar syrup for 30 minutes.
Serving & Storage Suggestions
- You can serve the rasgulla now or refrigerate them and serve later cold or chilled.
- When serving place the required amount of rasgulla in each serving bowl. Pour a few tablespoons of the sugar syrup in each serving bowl. If you prefer garnish rasgulla with some slivered almonds or pistachios.
- Keep them covered with the sugar syrup in an air-tight container. They keeps well for about a week in the refrigerator. Do not store them at room temperature.
Notes
- For a gluten-free option, add cornstarch instead of semolina or all-purpose flour.
- I used organic cow milk which does not have much fat. If you use buffalo milk, it has too much of fat and makes a thick layer of malai/cream floating on top. You have to remove the thick layer of malai, before you proceed with the making of chenna.
- Ensure to use full fat milk or whole milk. You can opt to use homogenized milk or pasteurized milk. Toned milk, skimmed milk or low fat milk won’t work to make this recipe.
- Do keep in mind that milk should be fresh and must be in its shelf period.
- The approximate nutrition info is for 1 Rasgulla.
Nutrition Info (Approximate Values)
Rasgulla recipe from the archives was first published on Jan 2015.


Thank you so much.
welcome adakhan
Very nice recipe.. I tried it for the first time and it came soooo weel.
Thank you so much.
welcome kayal. glad to know this.
Hi dassana
I made soft regullas with ur recipe today.it just melted in mouth.
I have tried this recipe before 4 times with nandini full cream milk but every time it was a failure.So today I tried with heritage milk and it came out too soft.which is good but if I want little dense regulla like haldirsms what should I do?
try cooking for a few more minutes. meaning over cook them a bit. not much. after the water test is done. just cook them more for a minute or two.
Hiiiiii Dassan,
I’m really glad to have this easy rasgulla recipe,
Thanks from all my family members to share your recipe. Thank you once again.
welcome umme. glad to receive such a positive feedback. thanks.
hi dassana
once again thanks for such n easy recipe….. n know what it came out perfect 1st tym wen i made it 🙂
welcome mehjabeen. glad to know this.
Thanks for the recipe, I succeeded in 4 attempts 🙂 Can’t believe I can make perfect Rasgullas now!
Sharing my failures and tips. All 4 attempts were made with most commonly available Nandini toned milk, in Bangalore, which has 3% fat and 8.5% SNF. The first time I made it, followed the recipe completely, I got 11 pieces, figure I squeezed it too hard. Rasgullas did not puff as much and were hard with raw paneer taste even after cooking for 20 minutes.
Second time boiled milk refrigerated and removed Malai (cream from top) made chenna, squeezed less got a couple of rasgullas extra lighter but chewy. Spongy texture.
Third time no skimming of milk before making chenna, but gently squeezed the chenna, hung it for 10 minutes. I weighed the chenna: 150 gms, mashed for 5 minutes, got 16 Rasgullas , came out well.
4th time I did not squeeze the chenna , just washed and hung it for 10 minutes, weighed it was 170 gms, made 16 bigger pieces, boiled in WATER for 12 minutes, soked in refrigerated syrup from previous lot with a cup of boiled, cooled water added. These were the best, a delight, softer than I have eaten anywhere. I am sticking to this recipe.
I guess if you need Spongy, chewy- KC Das type rasgullas, use leaner milk or remove the cream after boiling and freezing.
super and wow. it takes a lot of effort, patience and practice to keep on bettering or perfecting any recipe. thanks for sharing your helpful tips and suggestions to the readers. as you say, the cream or malai has to be removed. otherwise the too much fat does not allow the rasgullas to become spongy. thanks once again for this detailed comment.
I made the rasgullas the same way.. Did not squeeze chenna too much.. Used milk after removing the cream .. The chenna was quite grainy.. The balls turned out OK.. Although a little course.. But the rasgullas had raw paneer taste. Don’t know where I went wrong.
the chenna needed to be mashed more to remove the grainy texture. the texture of the chenna balls should be smooth. could be due to this you must have got the paneer taste.
The website and all the recipes along with procedures captured in video and photos looking excellent. I am really wowed!!! to see all the recipes!! Good work !! Very happy on seeing this site and I tried many new dishes which have been mentioned with procedures here. Awesome!!!
thanks sindhu for sharing this positive and encouraging feedback on recipes.
can u please say me wat measurements hav to take for 500ml mlk.. for sugar syrup..
just halve everything proportionally. for sugar syrup, take 1 cup sugar + 2 cups water.
Hello…. i also tried ur rasgulla recepie bt aftr keeping it in refrigerator it become hard. Can u suggest me whats d problem???
neha, probably the rasgullas got cooked too much thats why they became hard on refrigeration. when you refrigerate the rasgullas, then bit of softness goes away but not too much. they still remain spongy.
I followed your recipe and made super soft pieces of heaven! Everyone at home loved them 🙂 Thank you for putting it down in words with supporting pictures. The pictures make it especially easy to gauge the texture of the chena while kneading.
welcome sneha. glad to know this. thanks for sharing your encouraging feedback on rasgulla recipe.
Hi, I tried this today… Everything was good but the rasgulas turned out to be dense n creamy in texture and did not soak the syrup very well. What could be the reason? PS the chenna was made in the morning, was resting all day and I made the rasgula in the evening.
as soon as the chenna is made, the the rasgullas need to be made asap. chenna should not be allowed to rest. could be due to this reason that the texture was dense.
Very nice recipe.tried today for the first time using regular milk and came out very nicely.soft n juicy just like once we have from sweet shop.great job.thanks a lot dear.
welcome amita. glad to know this. thanks for sharing positive feedback.
Hey Dassana,
This recipe is awesome! I tried it yesterday and it worked out just perfect. I’m from Bulgaria and I’ve never tried anything like it. It was a bit odd and unusual first when I tried it, I’m sure you know how it is when you taste things that have nothing to do with what you’ve eaten so far :))) The bottom line is – I love it! And I love your blog, it’s my newest inspiration! I can’t wait to cook a million things from it. :))))) <3
thanks russalia for sharing positive feedback. yes i can understand. do try some more recipes.
Hello Dassana,
Tried the recipe today, guess I added a bit too much of dough while kneeding. Its tasting a bit raw. I checked if its cooked as suggested.
Married a year ago, dint know most of the ingredients needed while cooking. This website has come to my rescue several times. Even learned how to make chai from here. Although just mastered chapathi dough still a long way to go.
Thank you for the help.
welcome kripali. glad to know this. i didn’t understood your question about rasgulla.
No question. Being the first trial on this receipe I made the rasgullas with a very small quantity of milk. Dint get the right measurements after that. Will try it again someday. Thank u.
welcome kripali
This process is very good.