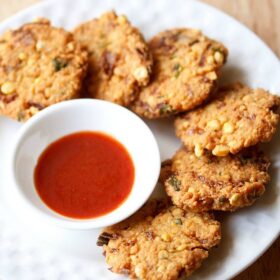
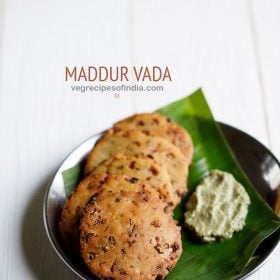
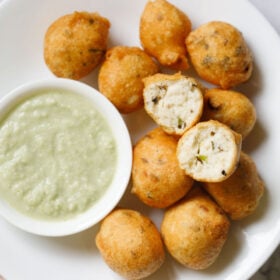
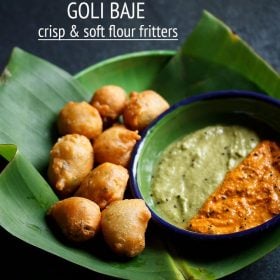
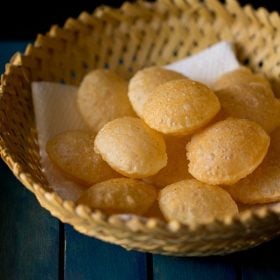
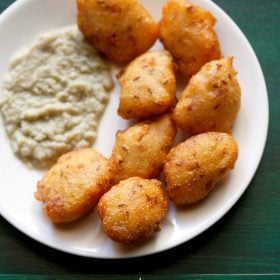
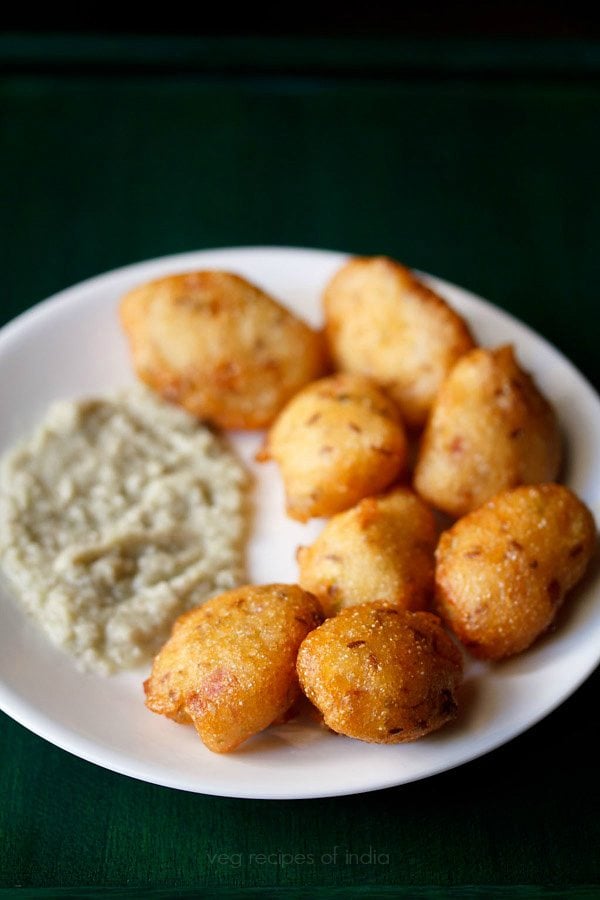
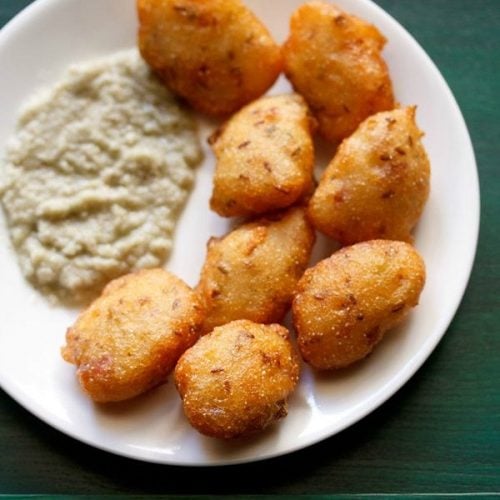
Light, crispy, and deliciously spiced, this Punugulu recipe is a favorite way to use up any leftover or extra idli batter. Make a big batch of these popular deep fried fritters from Andhra Pradesh for your next get-together and witness magic happen — these Punukulu will disappear before your very eyes!
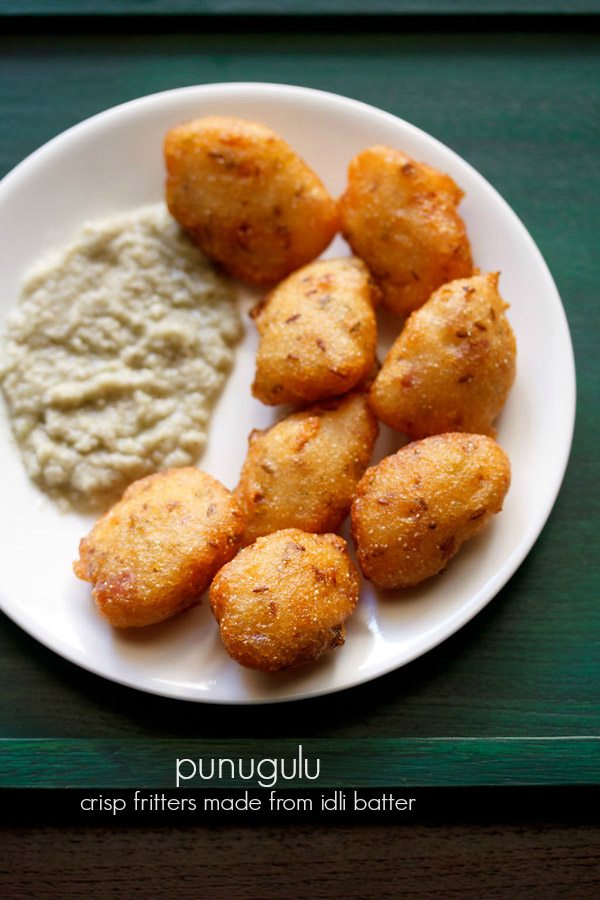
Table of Contents
What are Punugulu
Punugulu (or punukulu) are a variation of Paniyaram and Appe, that are deep-fried instead of cooking them in the appe pan. Of course, you can make punugulu in the appe pan too, but then they’ll be like Paniyarams.
If you have leftover Idli Batter or Dosa Batter, making punugulu is the perfect way to use it. It’s also a flexible recipe insofar as you can also make it with freshly ground idli batter, too.
If you like your fritters to have an almost sourdough tang, then keep for the batter to for 2 to 3 days in the fridge before using it. Usually, I make these fritters on the second day. The first day after the batter has fermented, I make idli or dosa.
Punugulu makes for a quick and easy snack if you have the idli dosa batter ready. You can serve it with any chutney. Usually, we prefer eating ours with Coconut Chutney or Peanut Chutney.
Ingredients & Substitutions
- Idli Batter – Or use dosa batter or uttapam batter.
- Rava (Semolina) – This is an optional addition that gives the fritters a lovely bit of texture. If you don’t have any, it is fine to omit it. Or add rice flour instead.
- Onion – For sweet allium complexity. Feel free to use red, white, yellow, or sweet onions, or swap in shallots instead.
- Curry Leaves & Ginger – For warmth. In a pinch, feel free to use dried curry leaves and dried, powdered ginger.
- Green Chillies – For a bit of heat. Feel free to dial up the spice by adding extra, or make it milder by adding less or omitting it altogether.
- Coriander Leaves (Cilantro) – For a bit of herbaceous brightness. Feel free to substitute your favorite tender herb like parsley instead.
- Cumin Seeds – For warmth. In a pinch, you can swap in ground cumin instead.
- Oil – This is for deep frying the punugulu, so be sure to choose a neutral-flavored oil with a high smoke point (e.g. vegetable oil, peanut oil, refined coconut oil, or ghee).
Optional Variations
There are many variations you can make in the punugulu recipe, so customization is key. Consider:
- Adding greens to the batter (e.g. finely chopped fenugreek or spinach or spring onion greens)
- Changing the spices and herbs as per your taste.
- You can skip onions in the recipe if you follow a Satvik diet.
- Make a simple version with only cumin and green chilies.
- For crispier punugulu, I add fine rava (semolina) to the batter, but you can even add rice flour.
How to make Punugulu
Prep
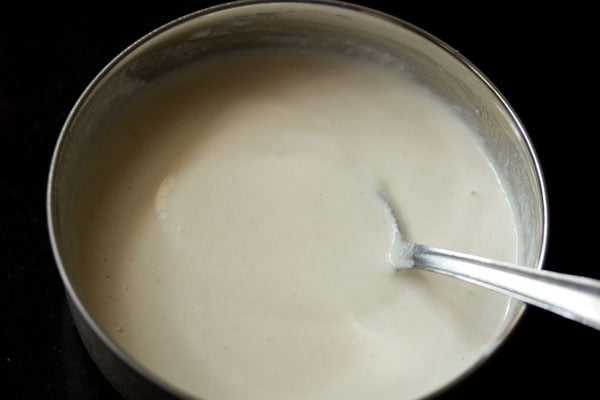
1. Take 1 cup idli batter or dosa batter in a bowl. Let the batter come to room temperature if you have refrigerated it. Below I have used idli batter.
Do check the consistency of the idli dosa batter. If its medium-thick, you do not need to add rava (semolina).
But if it is on the thinner side, consider adding some rava or rice flour to thicken the batter. I have added 1 tablespoon of rava to the batter.
However keep in mind not to add too much as these can make the texture denser and tougher.
On the contrary if the batter is too thick, you will need to add a few tablespoons of water or else the texture can be hard and chewy.
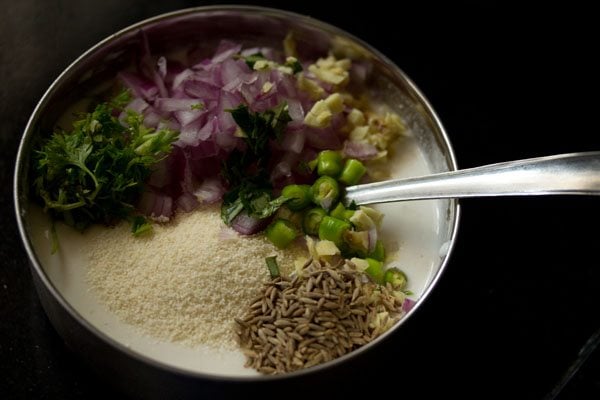
2. Add the below listed ingredients and mix very well:
- 1 tablespoon of rava or suji (optional)
- ¼ cup finely chopped onions
- 1 teaspoon of chopped curry leaves
- 1 inch ginger (finely chopped)
- 1 or 2 green chilies (or ½ to 1 teaspoon, chopped)
- 2 to 3 teaspoons of chopped coriander leaves
- 1 teaspoon of cumin seeds
Fry Punugulu
3. Heat oil for deep frying in a kadai or pan.
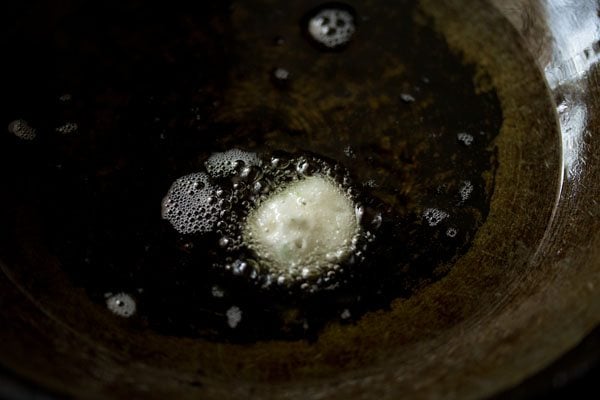
4. Test a small portion of the batter in medium hot oil. The outside should be crisp and the inside should be soft and fluffy.
If the outside is too crisp and absorbs a lot of oil and becomes flat, then add some more rava or rice flour to the batter and mix very well.
If the texture is hard or dense, then some more water needs to be added to the batter.
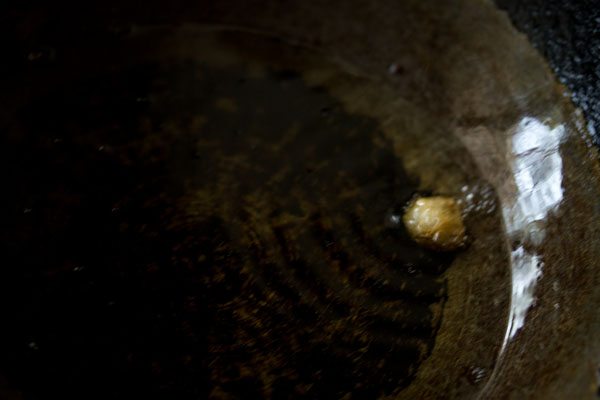
5. Once you get the right texture after frying your tester, then add spoonfuls of the batter in medium hot oil.
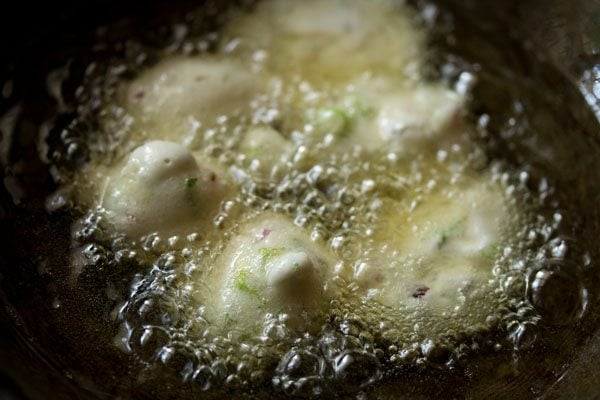
6. When the sides become pale golden and crisp, turn them over with a slotted spoon.
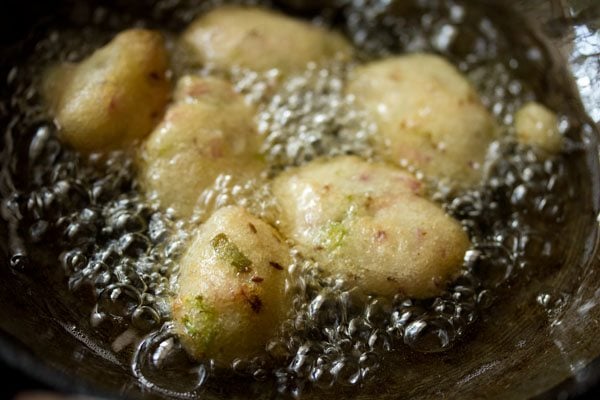
7. Continue to fry them in medium hot oil turning them a few times for even browning.
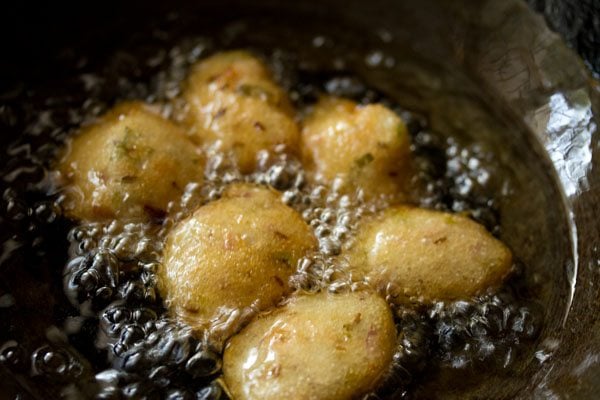
8. Fry the punukulu till they become crisp and golden.
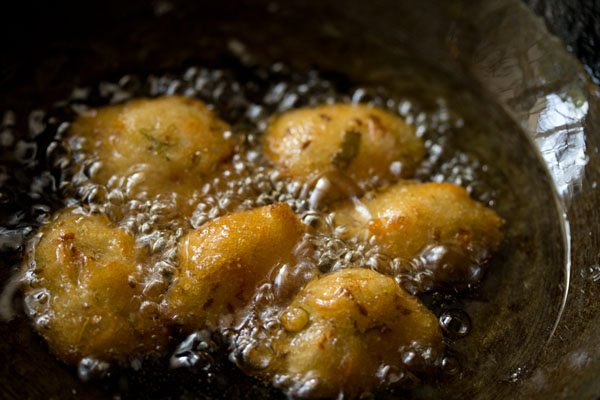
9. Once done, then remove the punugulu with a slotted spoon and drain the excess oil.
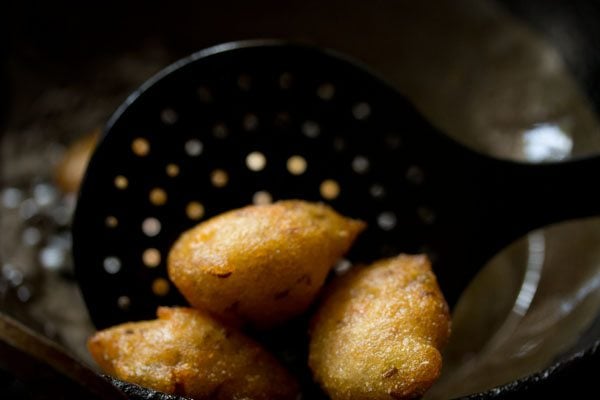
10. Keep fried punugulu on kitchen towels to drain the excess oil.
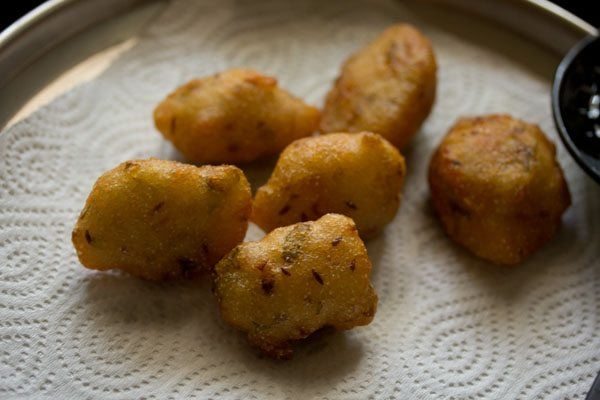
11. Serve Punugulu hot or warm as a tea-time snack or an after-school snack for kids. You can pair them with coconut chutney or peanut chutney or any chutney of your choice.
Expert Tips
- Make sure to heat your oil appropriately for deep frying. We’re aiming for a temperature of between 180 to 190 Celsius. If the oil is too cold, the batter will sink, the exterior won’t crisp up, and the fritters will get oil-logged. If the oil is too hot, the punugulu will burn on the outside before the interior has a chance to cook through.
- The punugulu batter should not be thick or thin but have a medium (slightly thick) consistency. If the batter is of the right consistency, then you don’t need to add either water or rava/rice flour.
- If the batter is very thick, you can add a few tablespoons of water.
- If it is thin, then add a few tablespoons of rice flour or rava.
- Spice and Herb variations: Add your favorite herbs and spices to the batter. You can choose from crushed black pepper, cumin seeds, green chillies, asafoetida (hing), curry leaves, ginger and coriander leaves. Feel free to skip onions if you do not prefer them. For small kids omit the green chillies.
FAQs
Unfortunately, punugulu are a snack that really needs to be eaten fresh from the fryer. After some time, the exterior will become soft and there’s no good way I know of to crisp them back up. That said, feel free to make the batter up to 2 to 3 days ahead of time!
Though the spices added are more or less the same for both types of fritters, in Vada, the batter is made from only urad dal, so the final taste and texture is different. In punugulu, there is more rice and less urad dal, so the flavor, taste of punugulu is very different from the taste of medu vada.
More Similar South Indian Fried Snacks!
Snacks Recipes
Karnataka Recipes
Snacks Recipes
Pakora Recipes
Please be sure to rate the recipe in the recipe card or leave a comment below if you have made it. For more vegetarian inspirations, Sign Up for my emails or follow me on Instagram, Youtube, Facebook, Pinterest or Twitter.
Punugulu Recipe (Punukulu)
Ingredients
- 1 cup Idli Batter or dosa batter or uttapam batter
- 1 tablespoon rava – finer textured (semolina or cream of wheat) – optional
- ¼ cup onions – finely chopped or 1 small onion
- 5 to 6 curry leaves chopped or 1 teaspoon chopped curry leaves
- 1 inch ginger – finely chopped
- 1 or 2 green chilies – chopped or ½ to 1 teaspoon, chopped
- 2 to 3 teaspoon coriander leaves – chopped (cilantro)
- 1 teaspoon cumin seeds
- salt as required – only to be added it you have not added salt to the batter before
- oil for deep frying, as required
Instructions
Preparation
- Take 1 cup idli batter or dosa batter in a bowl. Let the batter come to room temperature, if you have refrigerated it.
- Add the rava (optional), chopped onions, curry leaves, green chillies, ginger, coriander leaves and cumin seeds.
- Add salt if required. Mix very well.
Frying Punugulu
- Heat oil for deep frying in a kadai or pan. Test a small portion of batter in medium hot oil and begin frying it.
- Once done, check the texture after cooling it a bit. The outside should be crisp and the inside should be soft and fluffy. If the outside is too crisp and absorbing a lot of oil, then add some more rava or rice flour to the batter. If the texture is dense, then some more water needs to be added to the batter.
- The punugulu batter should not be very thick or thin, but have a slightly thick consistency or be medium-thick. If the batter is of the right consistency, then you don't need to add either water or rava or rice flour.
- If the batter is very thick, you can add a few tablespoons of water.
- If its thin, then add a few tablespoons of rice flour or rava.
- Once you get the right texture after frying the small portion of batter, then add spoonfuls of the batter in medium hot oil.
- When the sides become pale golden and crisp, turn over each fritter.
- Continue to fry them in medium hot oil turning them a few times for even browning.
- Fry them till they become crisp and golden.
- Remove fried punugulu with a slotted spoon and drain excess oil.
- Keep on kitchen towels to soak excess oil.
- Serve Punugulu hot or warm with coconut chutney or peanut chutney or any preferred chutney.
Notes
- You can change the spices and herbs as per your taste.
- Onions can be skipped if you do not prefer them.
- For small kids skip adding green chillies.
- Use a high smoke point oil for deep frying.
- If the idli dosa batter is very thick, add a few tablespoons of water. If it has medium or thin consistency, add some rice flour or rava (suji). But take care not to add too much as this can make the punukulu have a denser texture.
- Recipe can be easily scaled to double the servings.
Nutrition Info (Approximate Values)
This Punugulu recipe from the archives first published in April 2016 has been updated and republished on March 2023.
