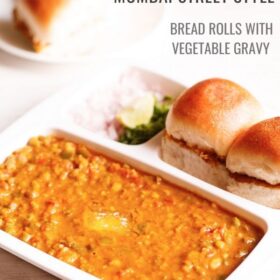
Want a meal that’s hearty, satisfying and delightful too? Here’s it – mashed spiced vegetables; served with a side of cotton-like soft, buttery dinner rolls, crunchy onions, herby fresh coriander and tangy lemon. To sum up, the Pav Bhaji – a famous street food from the ‘city of dreams,’ Mumbai. This Pav Bhaji Recipe is going to be create fireworks on your palate! Check out my step-by-step picture guide and video of making this delicious street style dish in 2 ways – one, traditionally and two, as a quick Instant Pot recipe.
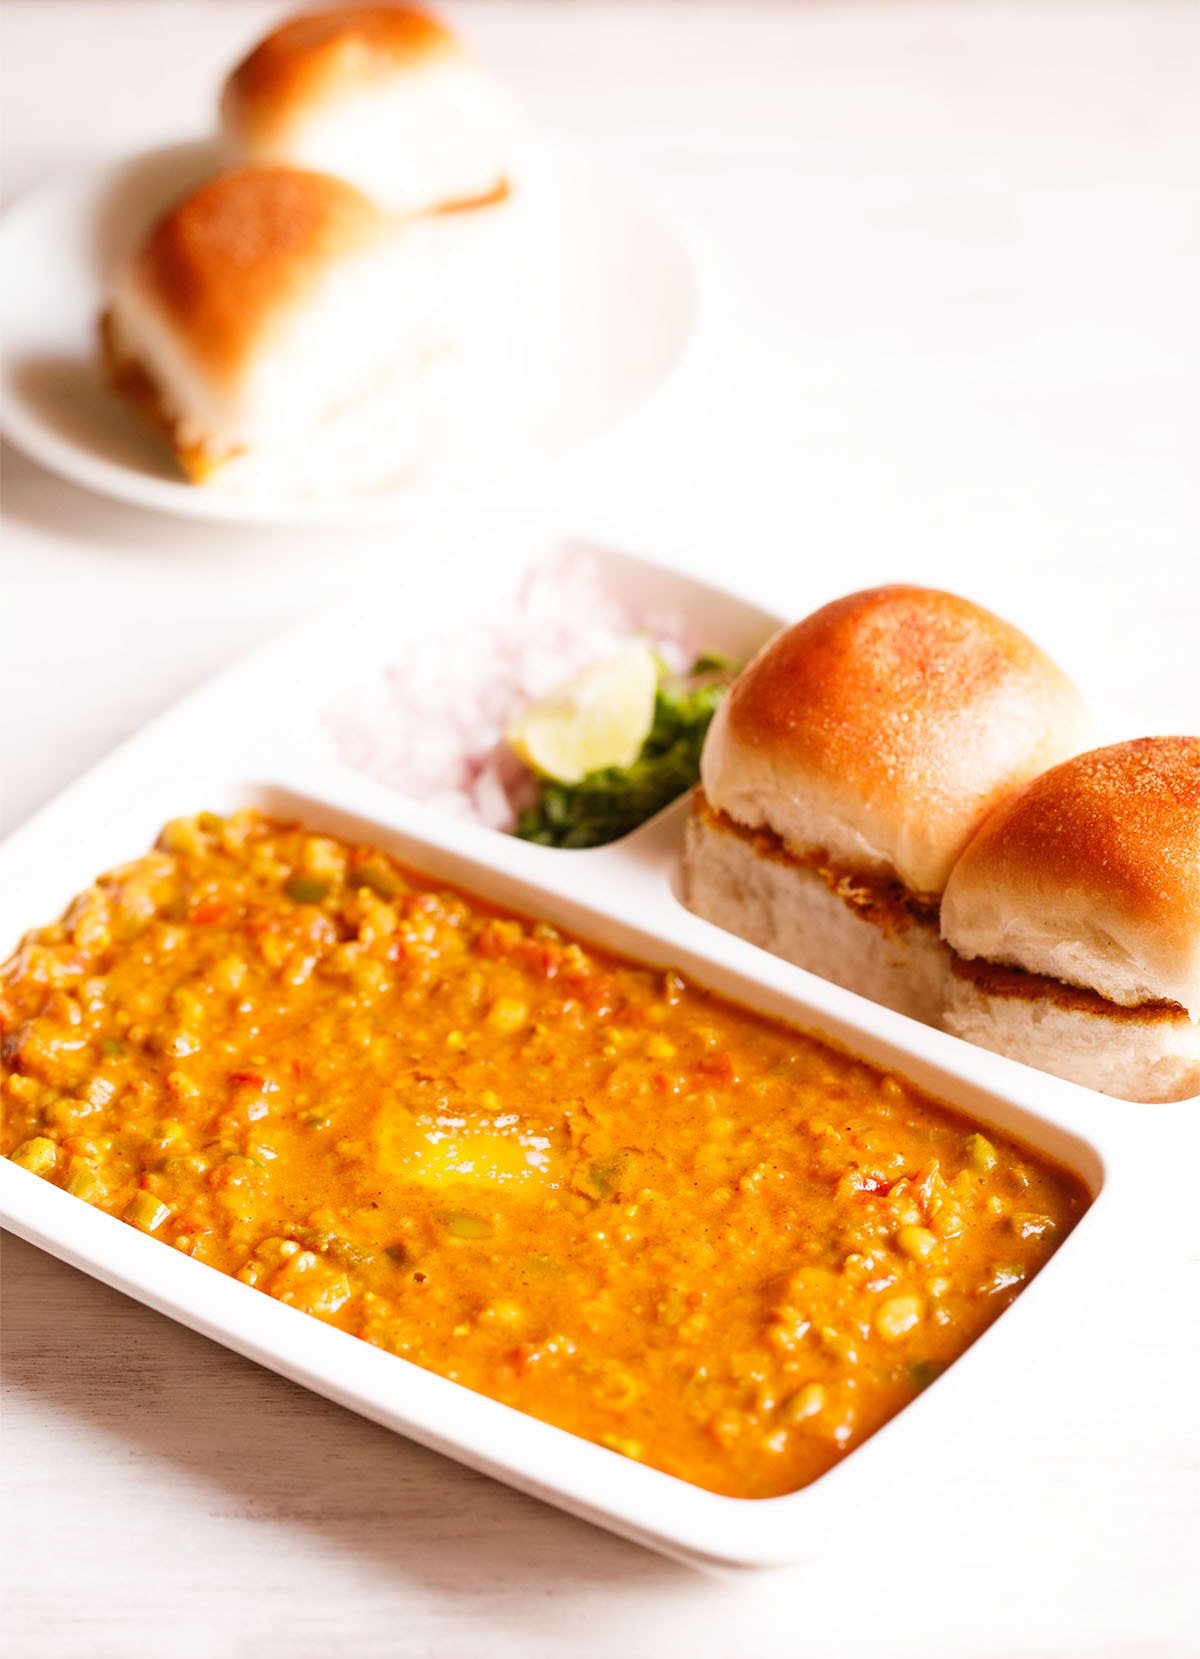
About Pav Bhaji
Pav bhaji is an iconic dish from Mumbai, which is also hugely popular as street food all over India. It first came into picture in Mumbai as a quick lunch option for textile mill workers.
Gradually, over the years, the dish became widespread. Today, you can find it as a common street food and a special in restaurants in Mumbai and the rest of India.
Just to give you the literal meaning: in Marathi, ‘pav’ means bread rolls and ‘bhaji’ refers to vegetables or a dry/gravy style mixed veggie dish. Since this particular combination has both these being served together, the dish is well-known under the sobriquet Pav Bhaji.
Table of Contents
So, you must be thinking as to what really brings in the uniqueness in the bhaji or the mix of tangy, spiced vegetables in the Pav Bhaji Recipe? It is the special spice blend called the Pav Bhaji Masala that makes the difference.
It is a typical Maharashtrian spice powder which is easily available in Indian stores and online. But, with the above linked recipe, it can be easily made at home.
This masala powder is an absolutely essential ingredient in the Pav Bhaji Recipe as you can only achieve the most authentic and perfect flavor by using the pav bhaji masala in it.
I highly recommend to include your favorite brand while making this dish. Even better, if you have a batch of homemade pav bhaji masala with you.
Not to forget, just like me, if you too are a total fan of the Pav Bhaji, then you must try this savory, spiced combination called the Masala Pav – another popular street food preparation in Mumbai.
About My Recipe
Memories of my Pav Bhaji Recipe go back to the times when I was a teenager. At home, I would often make this lovely dish for my family, especially my sister who absolutely loved to have this meal.
It was also a ritual for us to gorge on this delicious snack whenever we planned an outing to Juhu Beach in Mumbai.
The most typical way to have it was to order plates of it, with a generous quantity of bhaji and 2 pavs at a time. And then to finish the bhaji, we would keep on ordering for more pavs until there was no more bhaji left!
While I was growing up, it was almost a celebratory occasion to savor Pav Bhaji and other Mumbai style street dishes especially at the Juhu Beach. That time with the most delectable food, wind in our hair and the sound of the gushing waves – I can never forget these!
More so, because it was the place from where I have picked up the fine tips, tricks and nuances of making this yummy recipe with a lineage of its own!
To make my version of the Pav Bhaji Recipe, specifically the bhaji, I sauté the onion, tomatoes and ginger-garlic paste in butter first. Later, I add the boiled and mashed vegetables to it, which is followed by the pav bhaji masala. Then, I simmer this gravy for some minutes and serve it steaming hot with pav, lightly toasted in butter.
The street vendors and restaurant cooks use a large, flat tawa (skillet) to make the Pav Bhaji Recipe. But when making at home, you can use a kadai (wok), skillet or a frying pan to make it.
Ingredient List
- Mixed Vegetables: I use vegetables like potatoes, capsicum, carrot, cauliflower, green peas. The street side versions do not have carrots and may also add less/no cauliflower. However, I add to make the bhaji more nutritious and homely.
- Green Peas: I mostly use fresh or frozen green peas, whereas dried green or white peas are used in the street side bhajis. These are cooked and mashed. This also results in a different taste and consistency of the bhaji. You can also make it with dried green peas.
- Pav Bhaji Masala: This dish will lose its essence if there is no pav bhaji masala in it. So, you can use a good branded readymade pav bhaji masala or use your homemade one.
- Butter: For the bhaji, my preference has always been the Indian brand of Amul butter. But you can even use any other trusted brand or homemade butter.
- Pav: You can either buy fluffy pav or dinner rolls from a noted bakery or make a batch at home. Whenever I decide to make Pav Bhaji or Misal Pav, I usually make the Pav a day before. To make it healthier, you can choose to make whole wheat dinner rolls.
How to make Pav Bhaji
Cook Vegetables
1. Rinse, peel and chop the veggies. You will need 1 cup chopped cauliflower, 1 cup chopped carrot, 3 medium sized potatoes (chopped) and ⅓ cup chopped french beans.
Note: You can also add veggies that you like, but do not add okra, eggplants, pumpkin, radish, corn, yam or green leafy vegetables.
Cabbage, broccoli, zucchini, pumpkin are some unique options that you can consider to add, but the traditional version does not include these veggies.
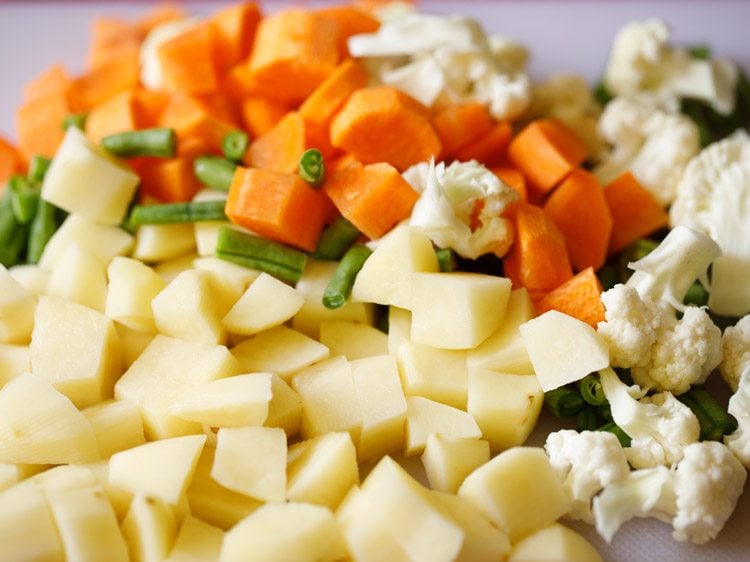
2. Add all the above chopped veggies in a 3 litre stovetop pressure cooker. Also add 1 cup green peas (fresh or frozen).
I have cooked the veggies in a pressure cooker. You can boil or steam them using a pan or in the Instant pot adding water as needed.
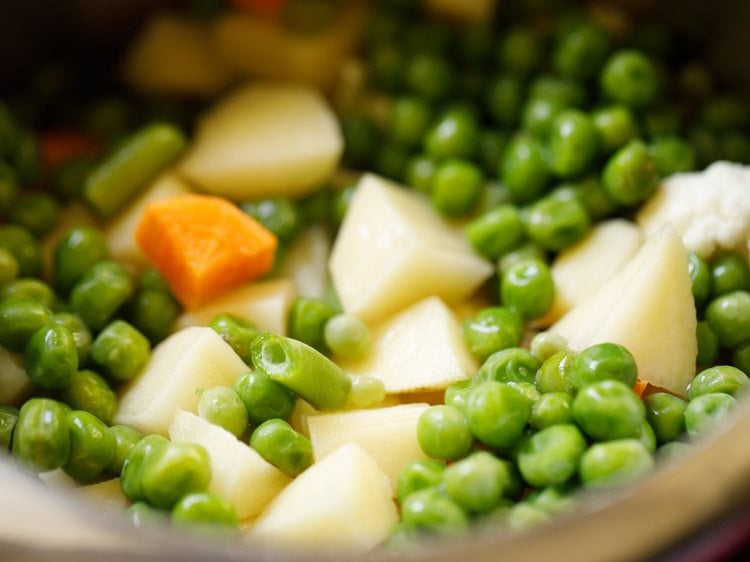
3. Add 2.25 to 2.5 cups water.
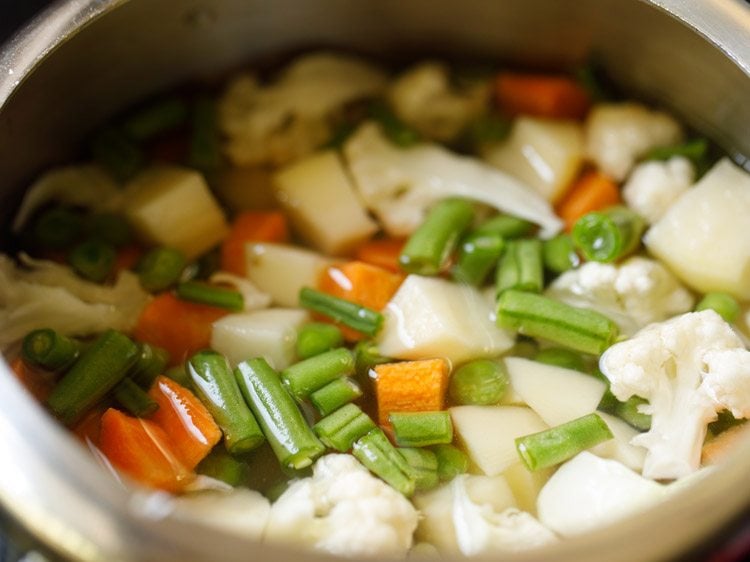
4. Pressure cook the veggies for 5 to 6 whistles or for about 12 minutes on medium heat.
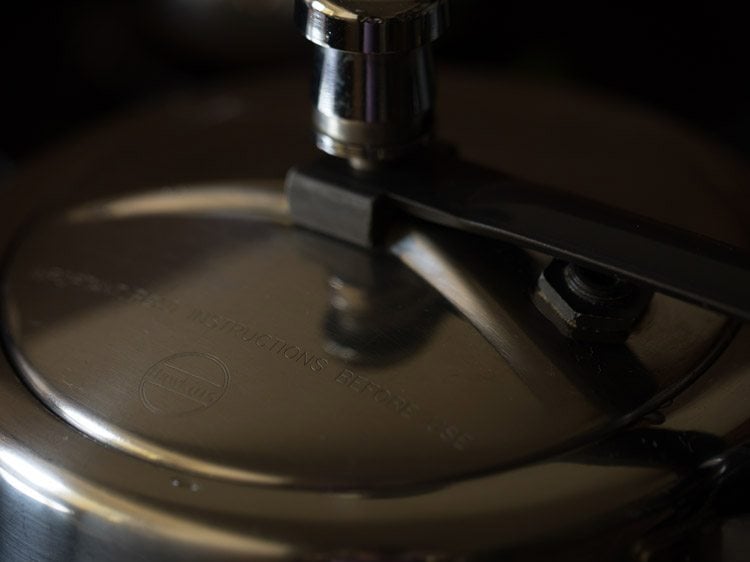
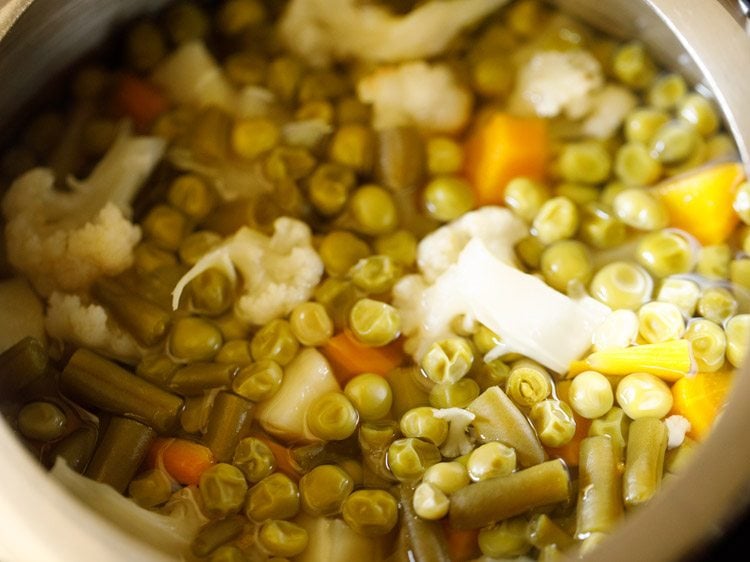
5. When the pressure settles down on its own, open the cooker and check if the veggies are fork tender, softened and cooked well.
You can even steam or cook the veggies in a pan or pot. The vegetables have be to cooked completely and should not be al dente or just about cooked.
Set aside the vegetables with the cooked water (broth/stock) in the cooker itself.
Make Onion Tomato Masala
6. Heat a frying pan or kadai (wok). You can also use a large tawa or a skillet. Add 2 to 3 tablespoons butter. You can use amul butter or any brand of butter. The butter can be salted or unsalted.
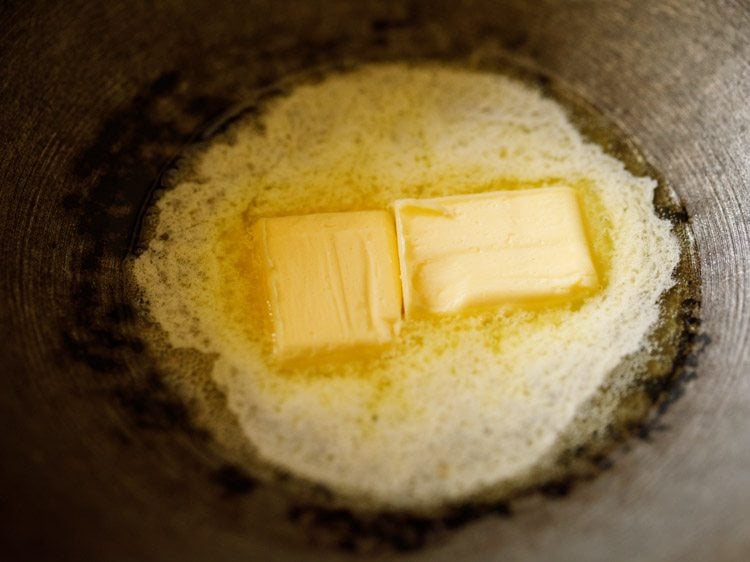
7. Let the butter melt.
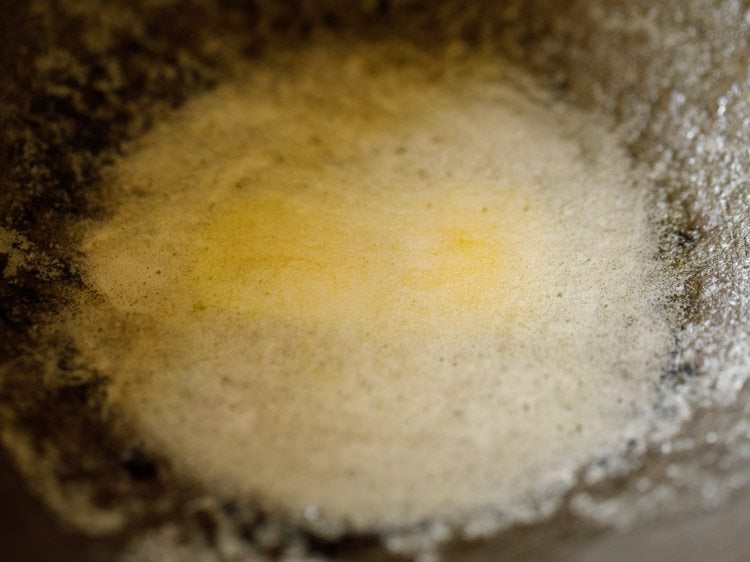
8. As soon as the butter melts, add 1 teaspoon cumin seeds.
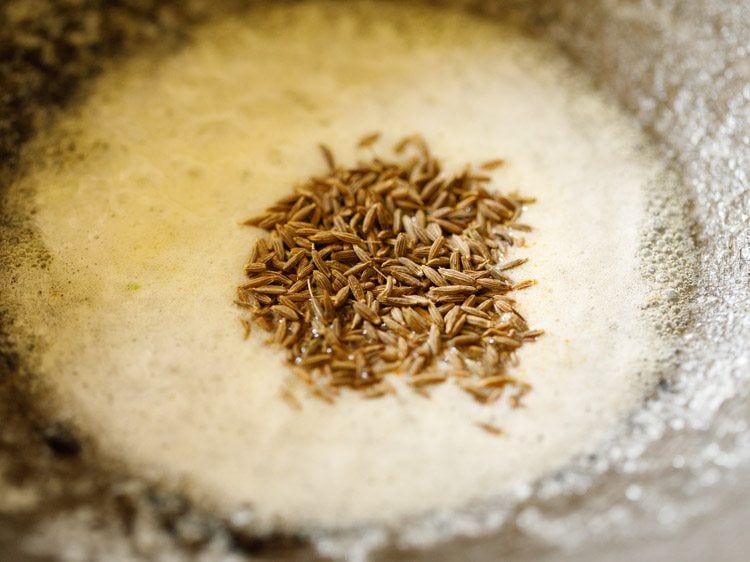
9. Let the cumin seeds crackle and change their color.
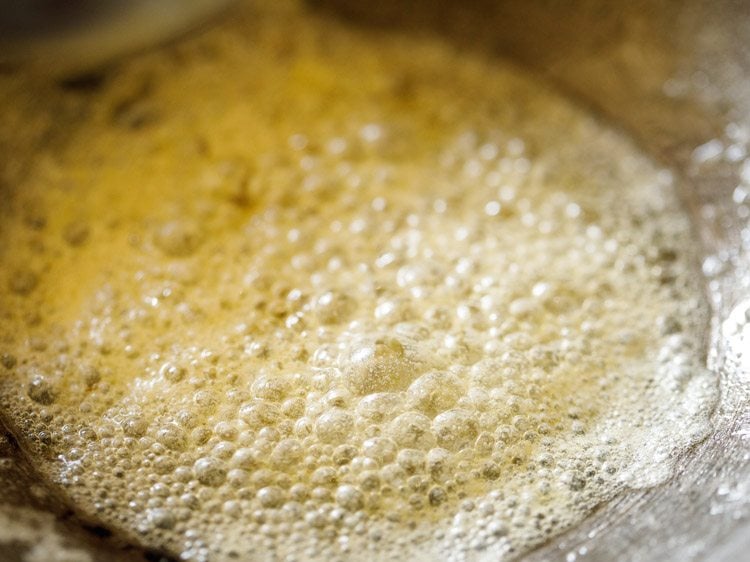
10. Then add ½ cup chopped onions.
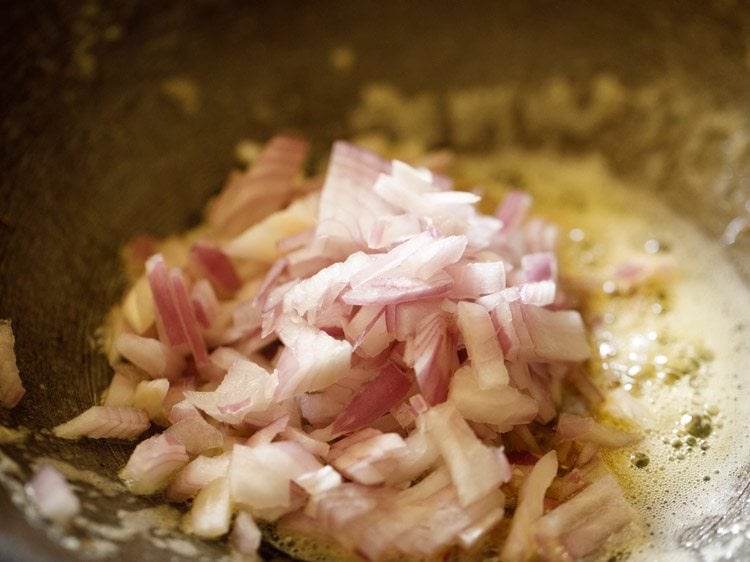
11. Mix onions with the butter and sauté on a low to medium heat.
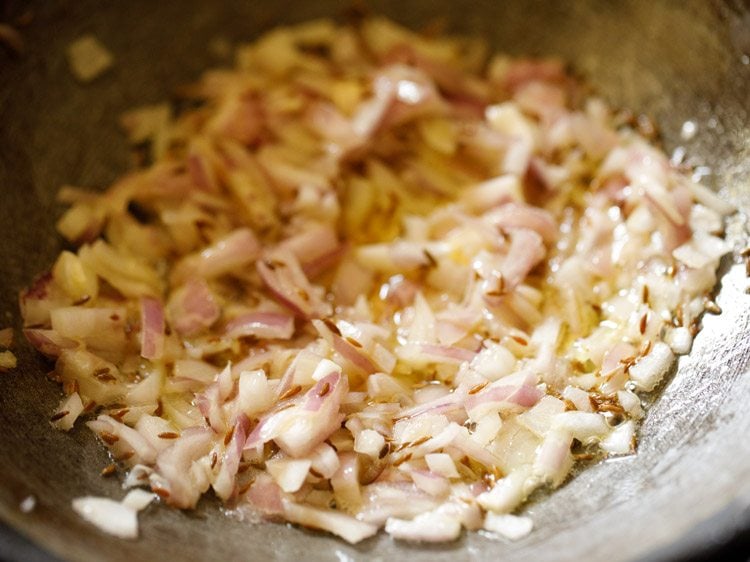
12. Sauté until the onions turn translucent.
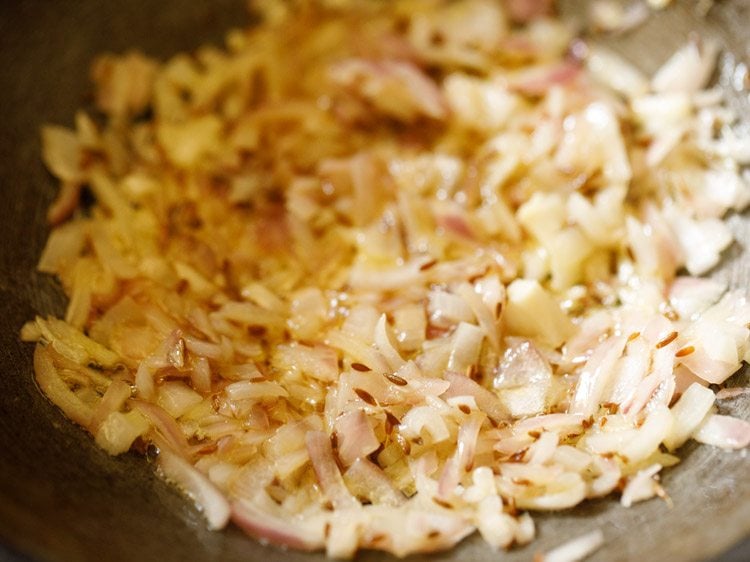
13. Add 2 teaspoons ginger-garlic paste. You can crush 1.5 inch ginger and 5 to 6 medium garlic cloves, in a mortar-pestle.
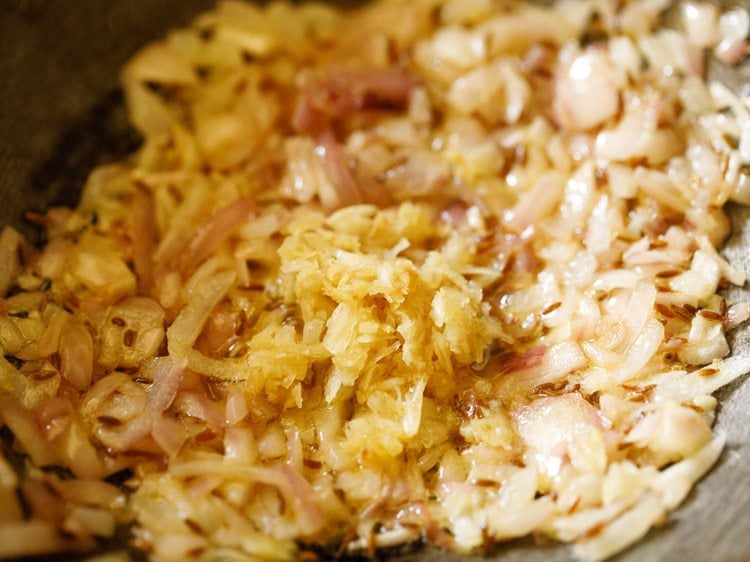
14. Mix and sauté for some seconds until the raw aroma of both ginger and garlic goes away.
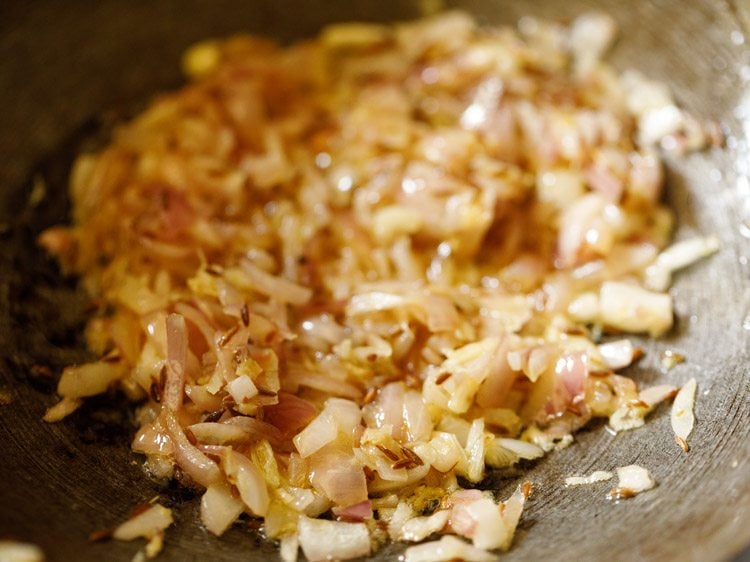
15. Then add 1 to 2 green chilies (chopped), about 1 teaspoon chopped green chillies.
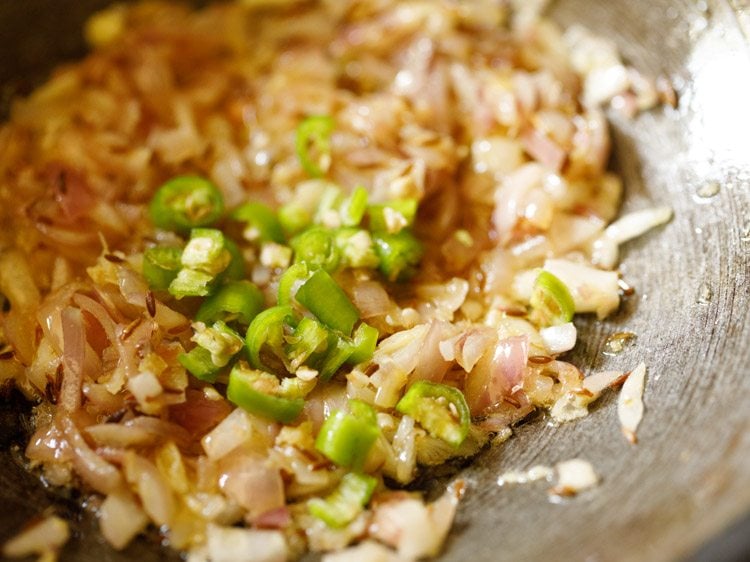
16. Mix well.
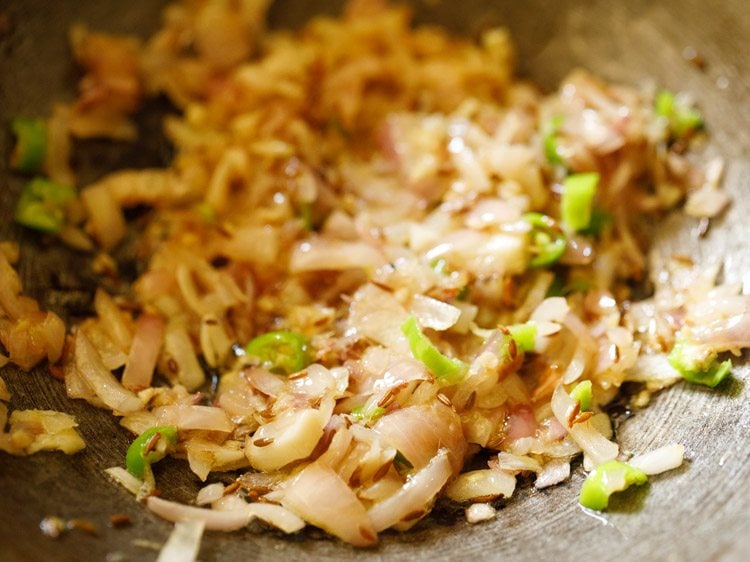
17. Add 2 cups finely chopped tomatoes. Swap canned tomatoes if you do not have fresh tomatoes.
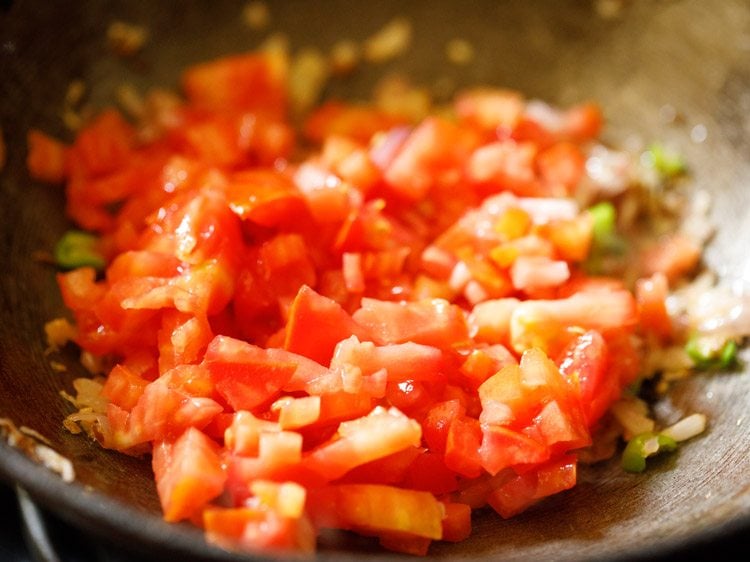
18. Mix very well.
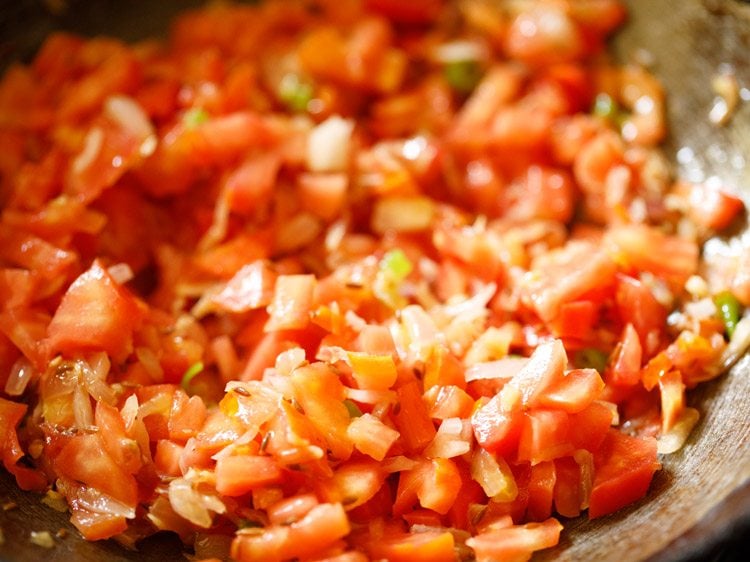
19. Then begin to sauté tomatoes on a low to medium heat.
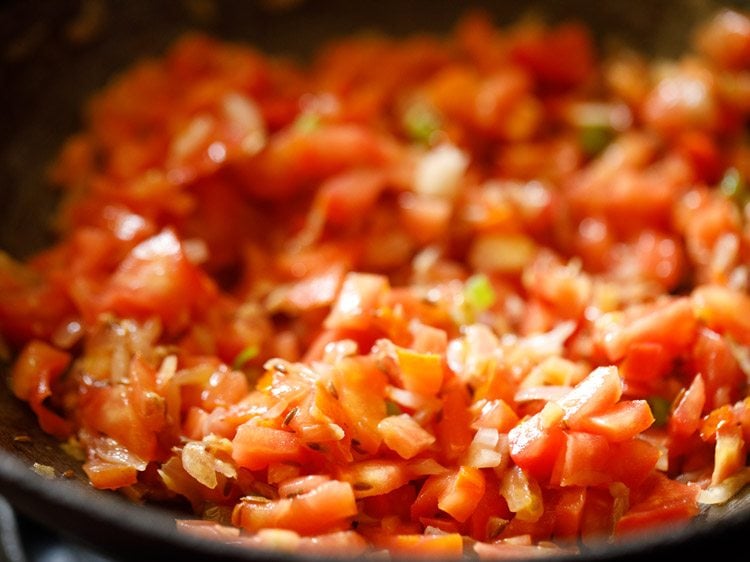
20. Sauté until the tomatoes become soft, mushy and you see butter releasing from the sides. This takes about 6 to 7 minutes on a low to medium heat.
Tip: If the tomatoes start sticking to the pan, then sprinkle some water. Mix well and deglaze the pan.
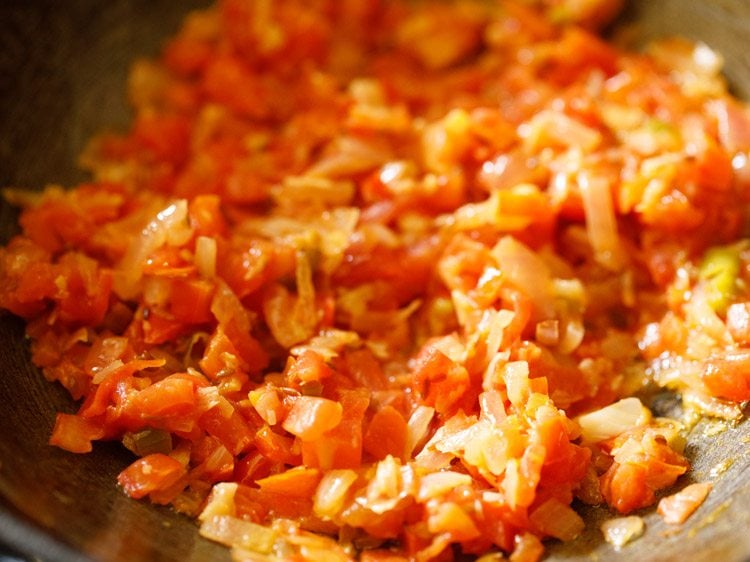
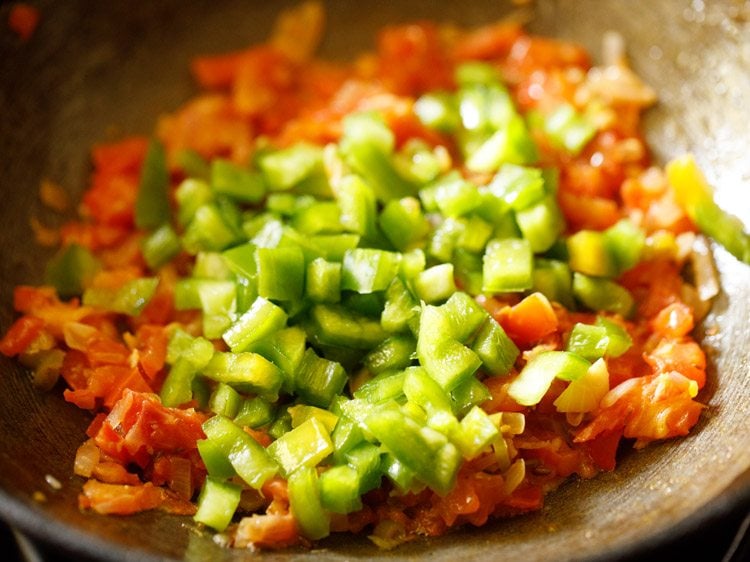
21. When the tomatoes have softened, add ½ cup finely chopped capsicum (green bell pepper). Sauté for 2 to 3 minutes.
Tip: If the mixture starts sticking to the pan, then add some splashes of water. You don’t need to cook the capsicum until very soft. A little crunch is fine in the capsicum.
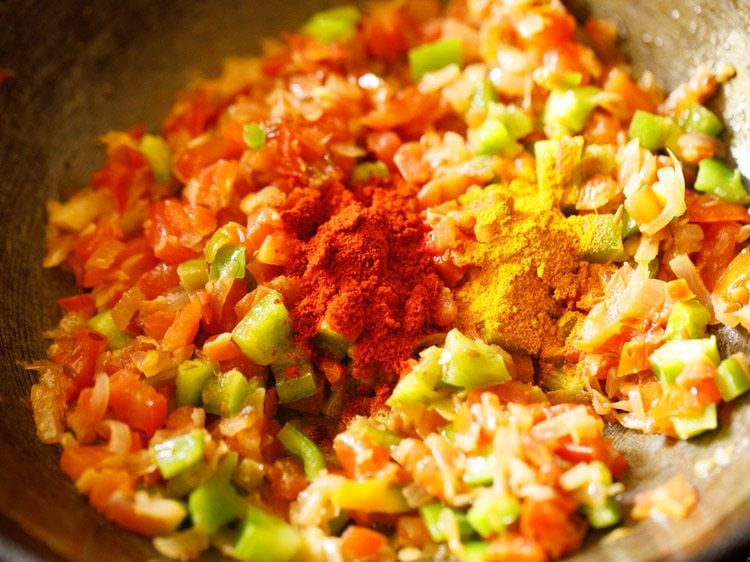
22. Add 1 teaspoon turmeric powder and 1 teaspoon Kashmiri red chilli powder.
Make Vegetable Bhaji
23. Add 2 to 3 tablespoons Pav bhaji Masala Powder. Depending on how instense is the aroma and flavor of pav bhaji masala, you can add it in less or more proportions.
Add 2 tablespoons if the pav bhaji masala is strong, intense and flavorful. For a more robust and spiced bhaji add 3 tablespoons of it.
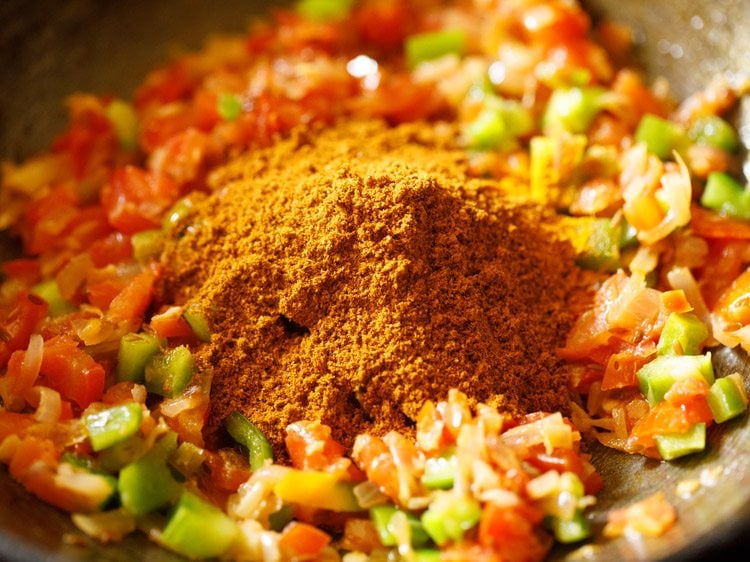
24. Mix very well.
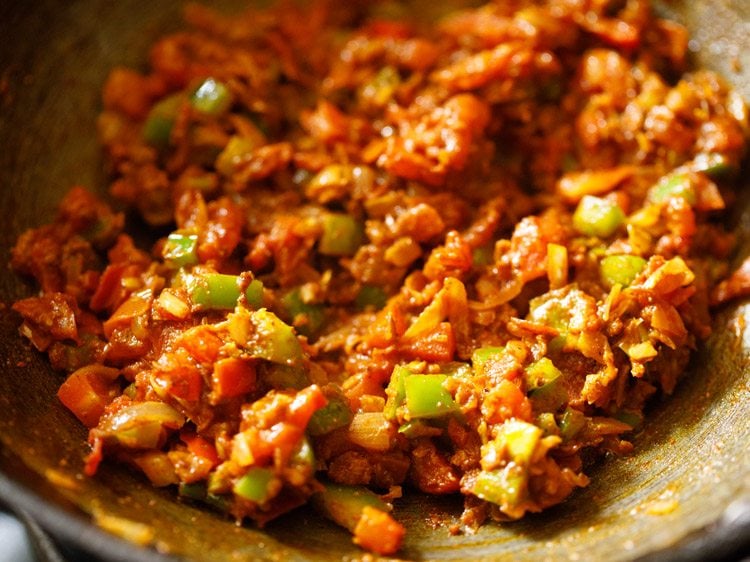
25. Add the cooked veggies. You can choose to mash the veggies before you add them in the pan or skillet.
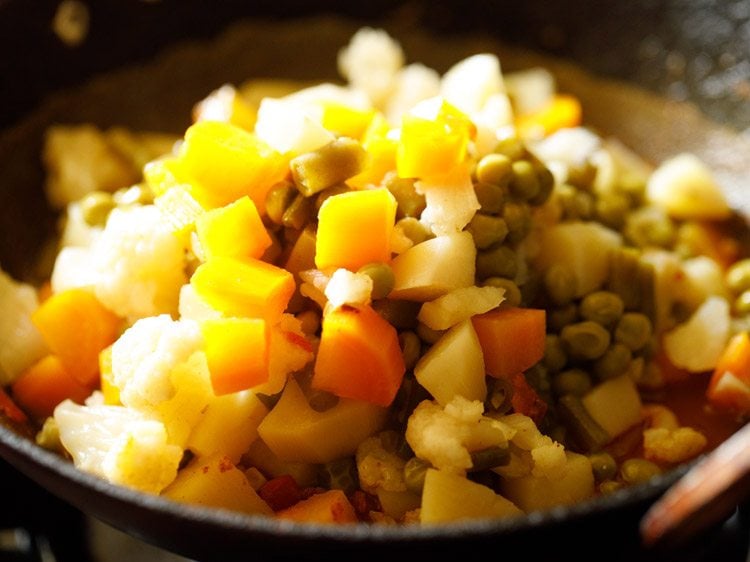
26. Mix thoroughly.
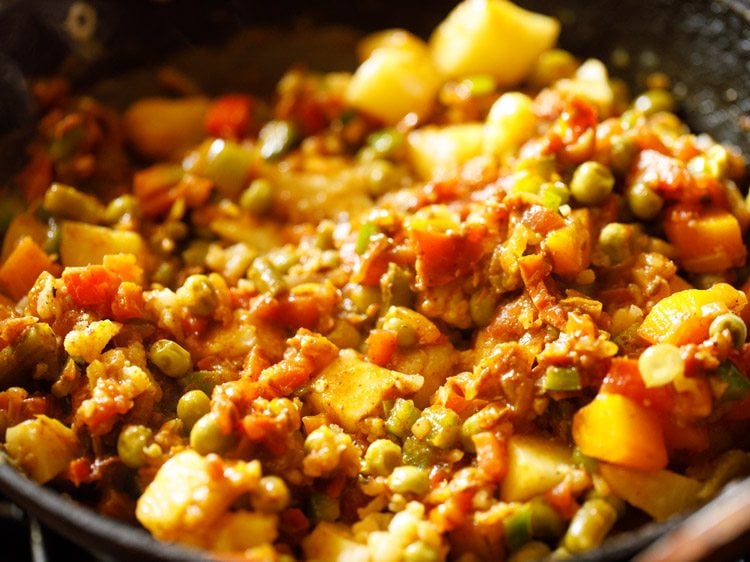
27. Add all of the stock or water from the pressure cooker in which the veggies were cooked.
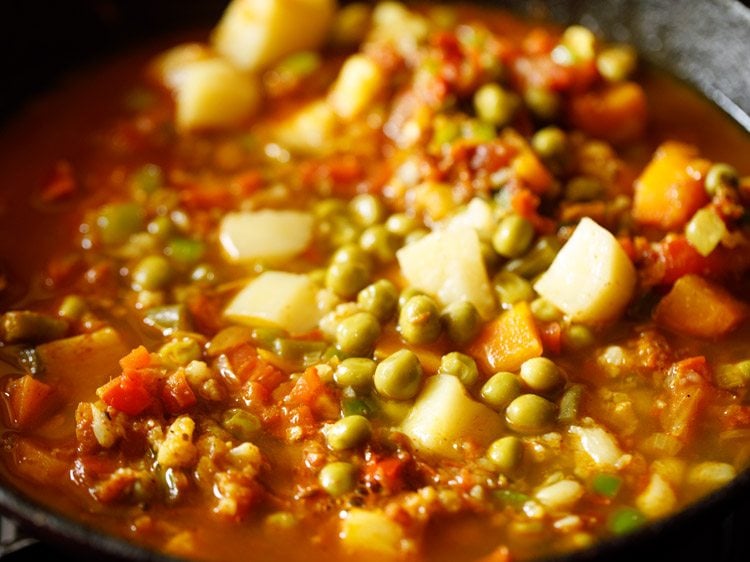
28. Combine and mix thoroughly.
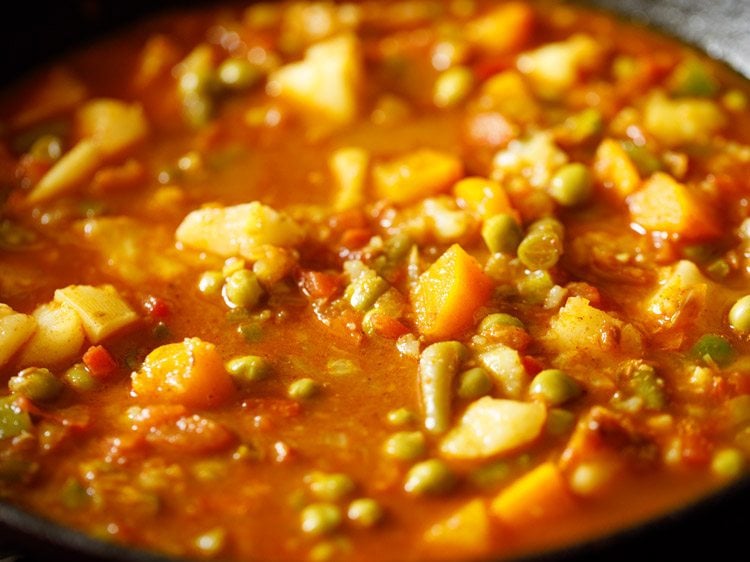
29. Season with salt according to your taste preferences and give a mix.
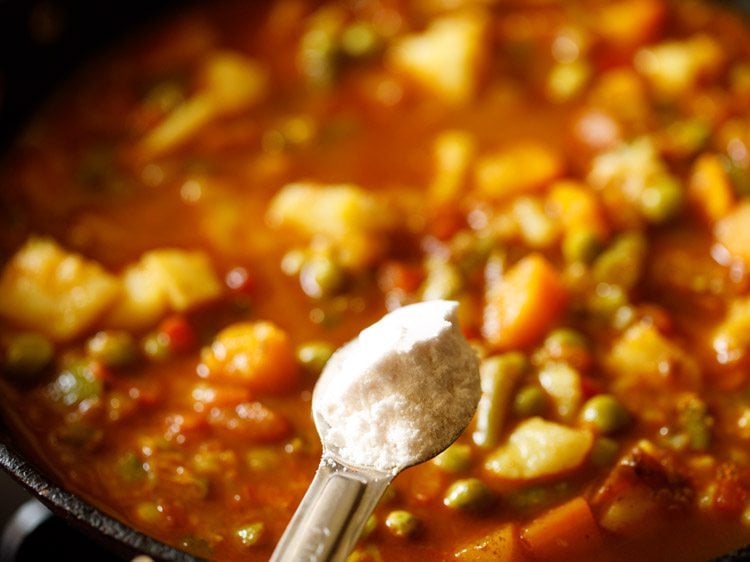
30. With a potato masher, begin to carefully mash the veggies directly in the pan.
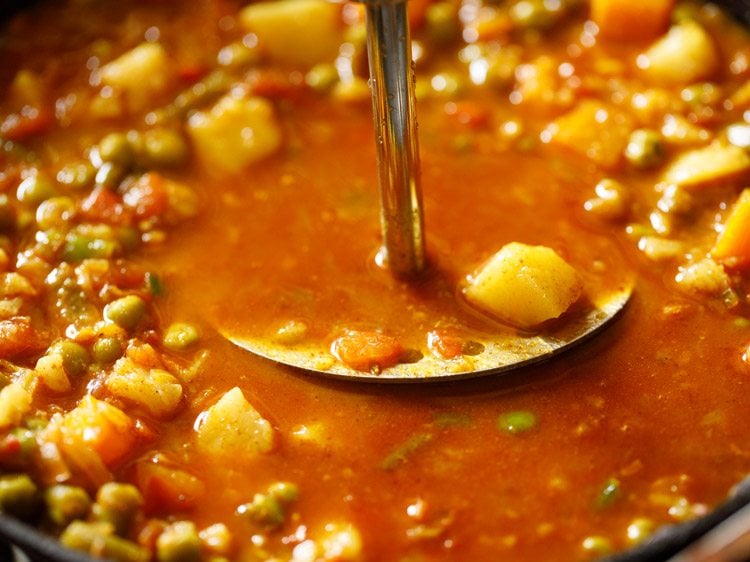
31. You can mash the veggies less or more according to the consistency you want in the bhaji.
For a smooth mixture mash more. For a chunky bhaji, mash less. Add more water if the bhaji looks thick.
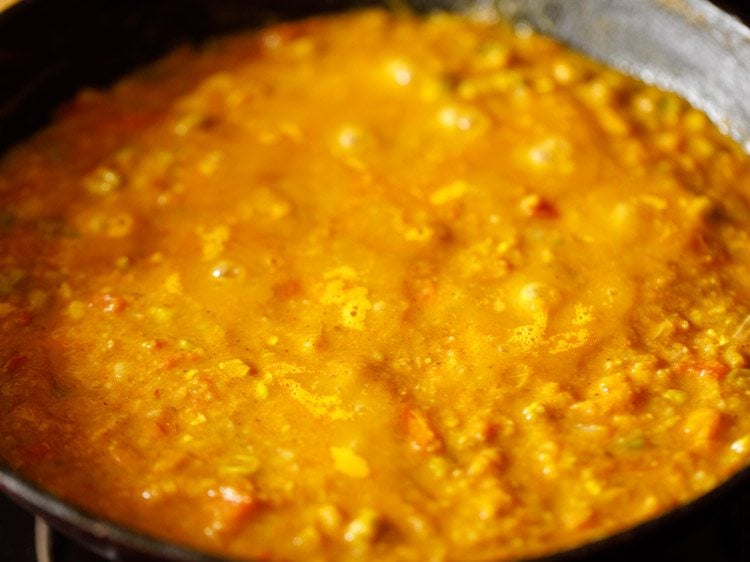
32. Keep on stirring occasionally and let the mashed vegetable gravy simmer for 8 to 10 minutes on a low heat.
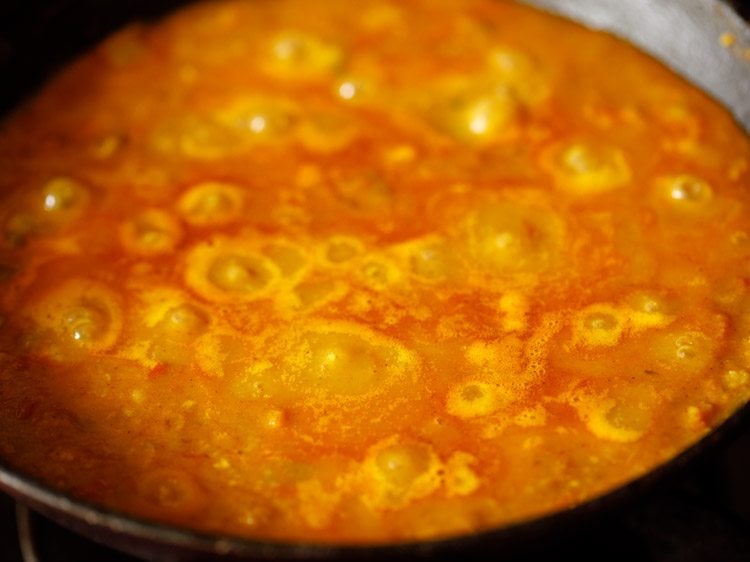
33. If the bhaji looks dry and then add some water. The consistency is neither very thick nor thin.
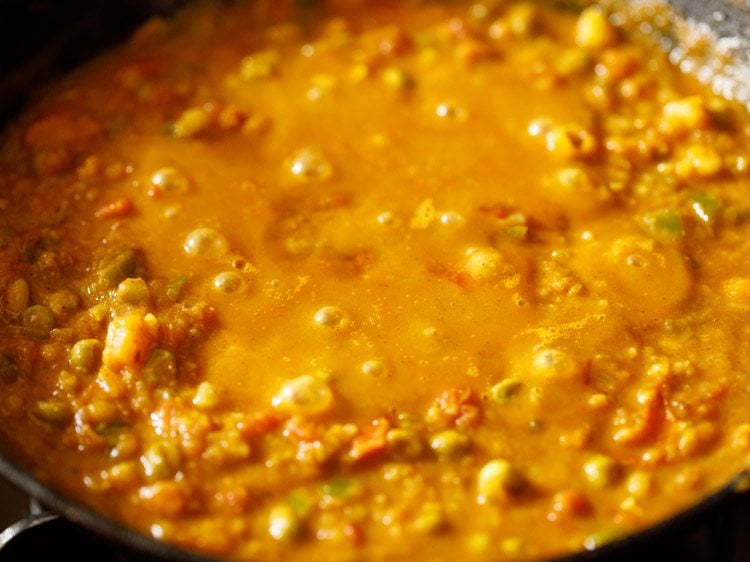
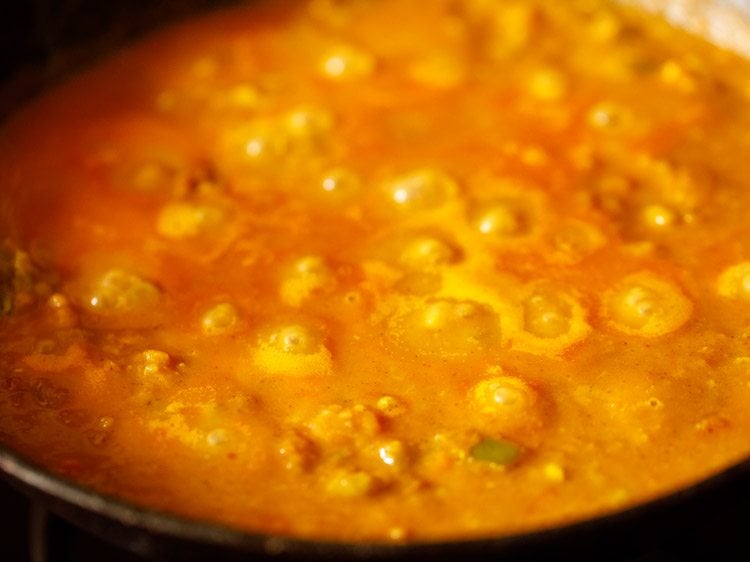
34. Do stir often so that the bhaji does not stick to the pan. When the bhaji simmers to the desired consistency, check the taste.
Add salt, pav bhaji masala, red chili powder or butter if needed.
Pan Fry Pav
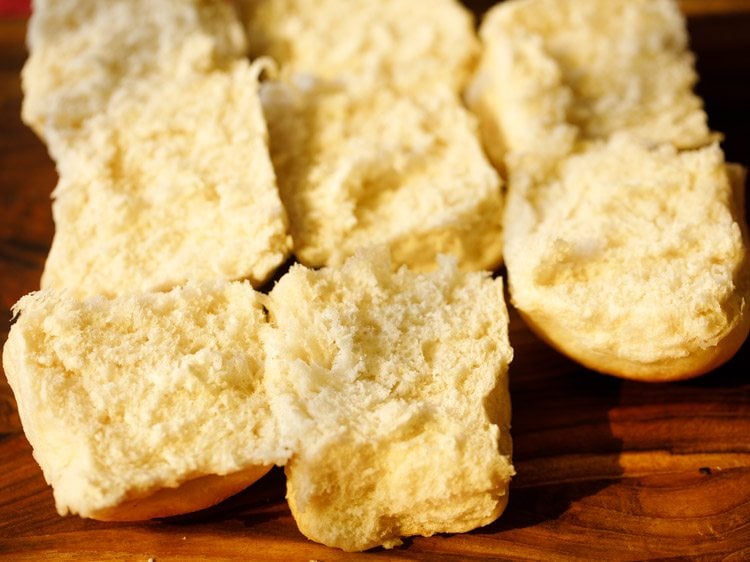
35. When the bhaji is simmering, you can pan fry the bread rolls so that you serve the pav with steaming hot bhaji. Cut through the bread roll from the center so that you get two equal halves.
36. Heat a tawa or skillet or a shallow frying pan. Keep the heat to a low and then add 1 to 2 tablespoons butter or more if you like.
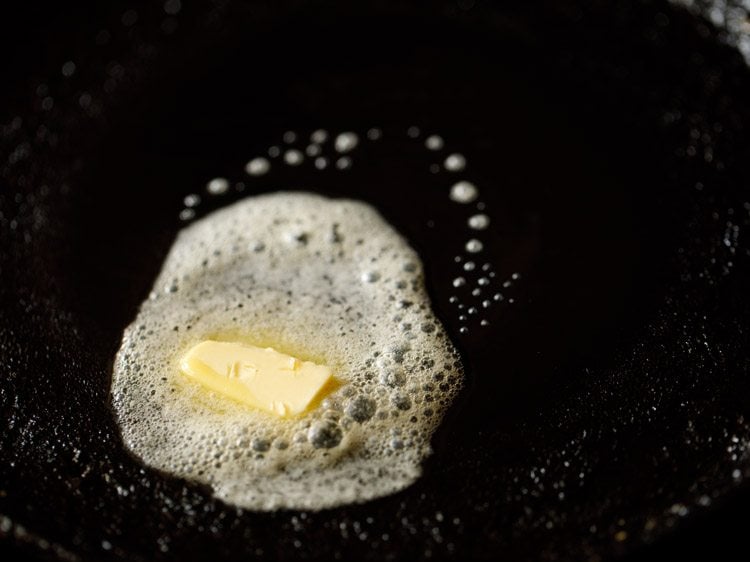
37. When the butter begins to melt, add 1 teaspoon of pav bhaji masala (for 2 to 3 pav). You can skip pav bhaji masala if you prefer.
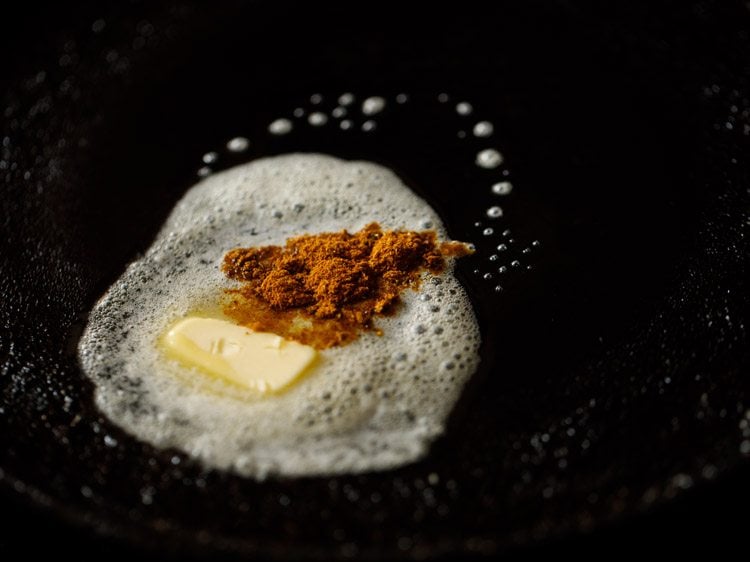
38. Mix the pav bhaji masala very well with a spoon or spatula.
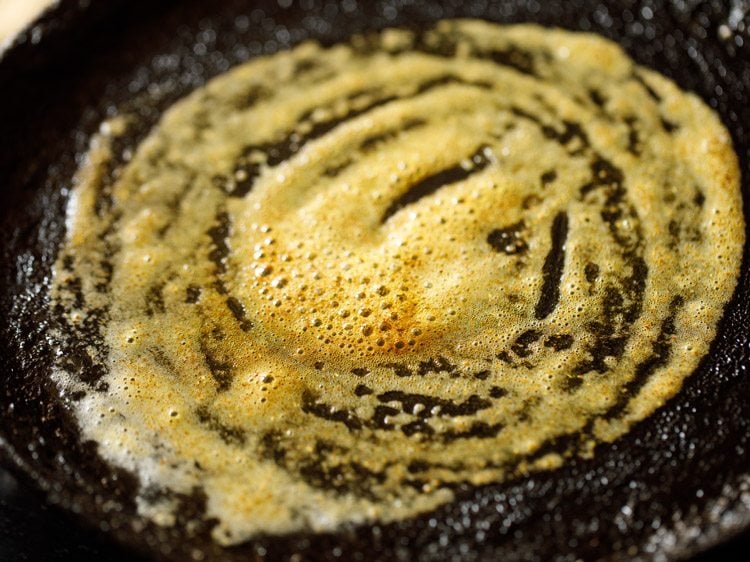
39. Then place the pav on the butter.
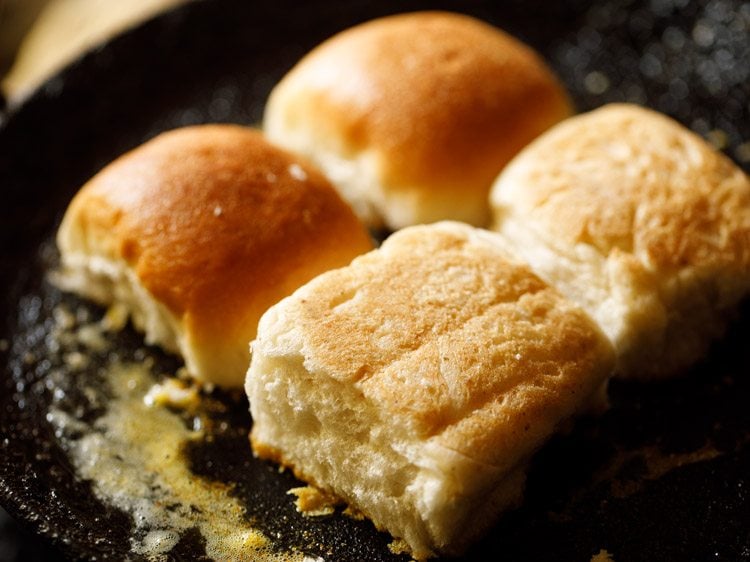
40. Press with a spatula and rotate the pav all over the melted butter so that the pav absorbs the butter together with the ground spices.
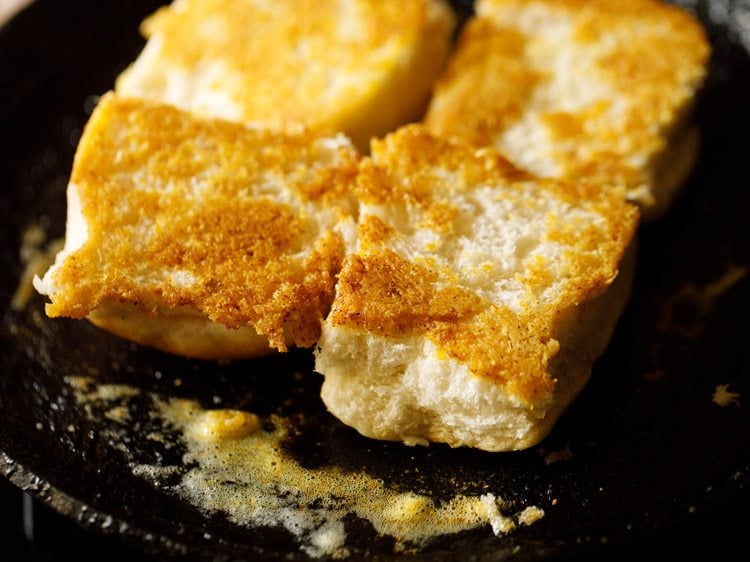
41. Now turn over the pav. Press gently with a spatula and rotate them on the tawa so that the second side absorbs the butter.
Add more butter if needed. You can turn over and toast them more if required. Then transfer the lightly pan fried bread rolls in a plate and set aside. This way fry the rolls in two to three batches.
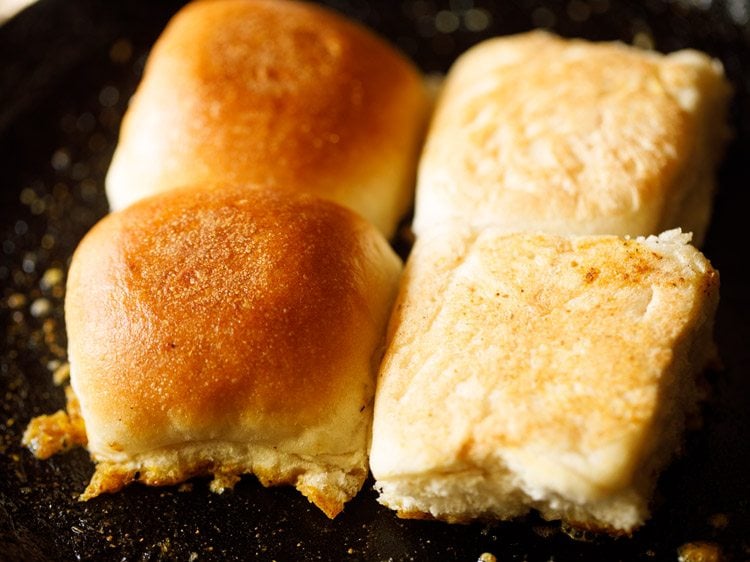
42. Serve piping hot Bhaji topped with a bit of butter paired with the lightly toasted pav and a side of finely chopped onions, coriander leaves and lemon wedges.
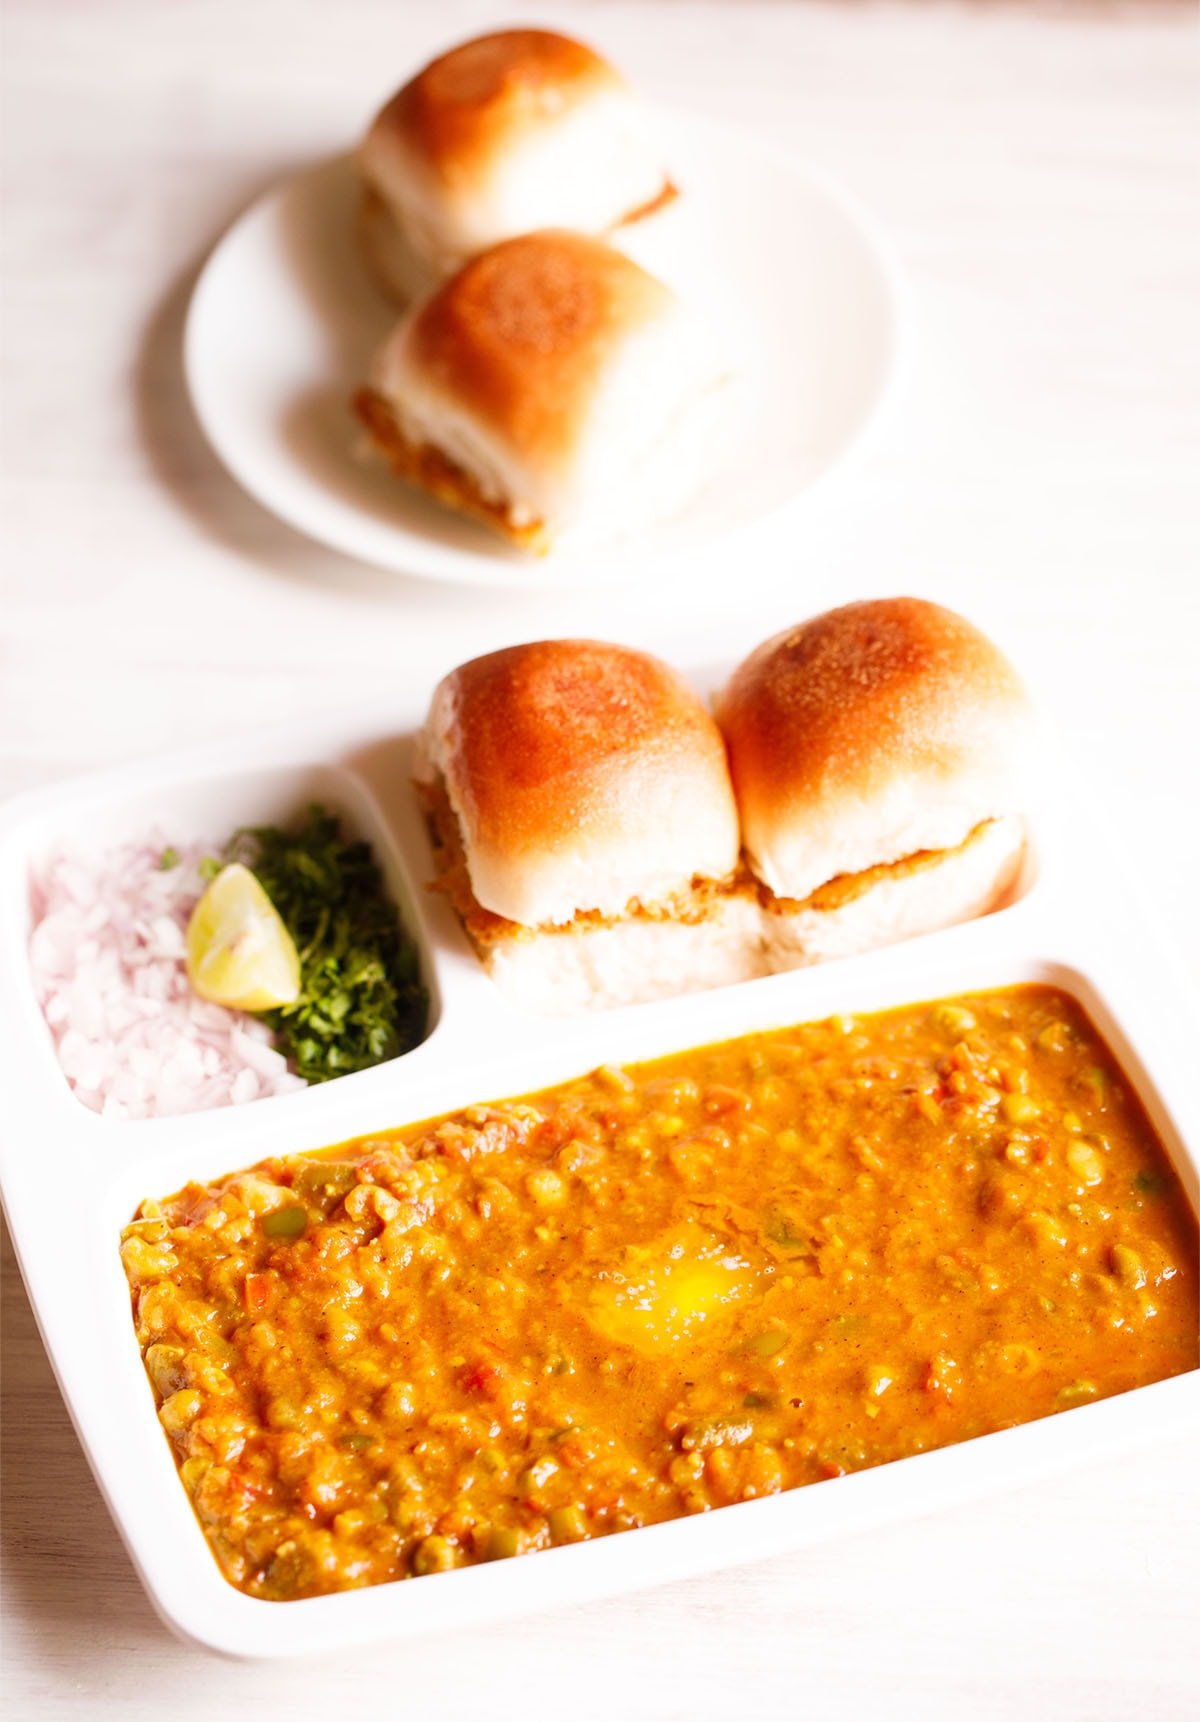
How to make Instant Pot Pav Bhaji
This is an easy and quick way to prepare the Pav Bhaji Recipe, using an electric pressure cooker or Instant Pot.
There are times when I make Pav Bhaji in the Instant Pot. Thus, sharing the same here as well. The best thing about this method is that apart from being easy, it saves time as well. When you have unexpected guests or are in a hurry, go for this procedure.
Obviously, the cooking method has to be different when using an Instant Pot. Unlike the street-side stalls, where it is made on a very large tawa (flat griddle), you can cook everything together in the Instant Pot to make it quicker.
Ingredients
2 to 3 tablespoons butter, salted or unsalted
½ teaspoon cumin seeds
½ cup finely chopped onions
2 teaspoons Ginger Garlic Paste
1 teaspoon chopped green chilies
2 cups chopped tomatoes
⅓ cup chopped capsicum
2 cups chopped potatoes
¾ to 1 cup chopped cauliflower
¾ cup chopped carrots
¼ cup chopped french beans, optional
½ cup green peas, fresh or frozen
½ teaspoon turmeric powder
1 to 1.5 teaspoons kashmiri red chilli powder
1.25 cups water
salt as required
2 tablespoons Pav Bhaji Masala
1 to 2 tablespoons butter – to add later
2 tablespoons chopped coriander leaves (cilantro)
To Serve With Bhaji
12 pav (dinner rolls) or as needed
3 to 4 tablespoons butter – for toasting pav
1 lemon or lime, chopped in wedges
1 onion – medium to large, finely chopped
3 to 4 tablespoons chopped coriander leaves – for garnish
2 to 3 tablespoons butter – for topping, add more for a richer version
Method
Prep Vegetables
1. Firstly rinse all the vegetables. Peel the veggies which need peeling. Chop all the veggies and keep them ready.
You can add your choice of veggies. I have used a mix of potatoes, cauliflower, carrots, french beans, peas and capsicum.
Chop the carrots, beans, cauliflower, potatoes in small cubes or pieces so that they get cooked faster.
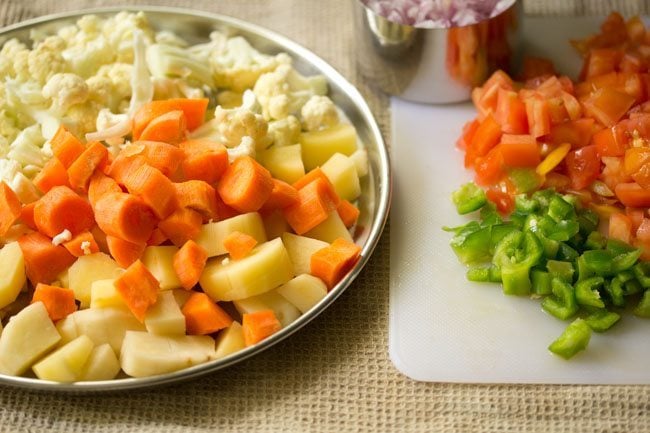
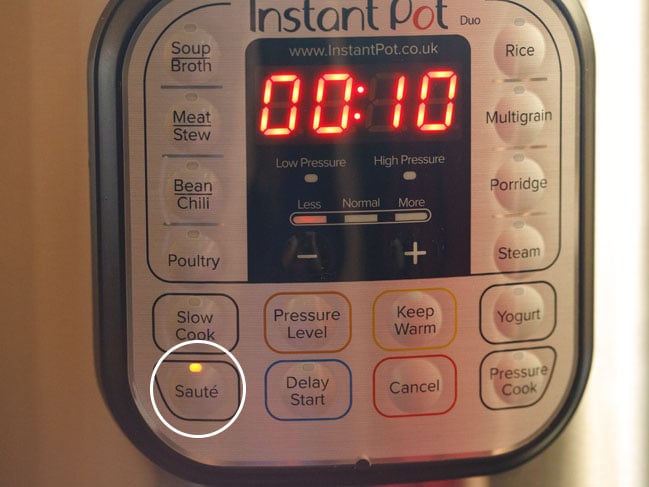
2. Switch on the instant pot. Press the saute button on less mode.
Sauté Onions, Tomatoes, Veggies
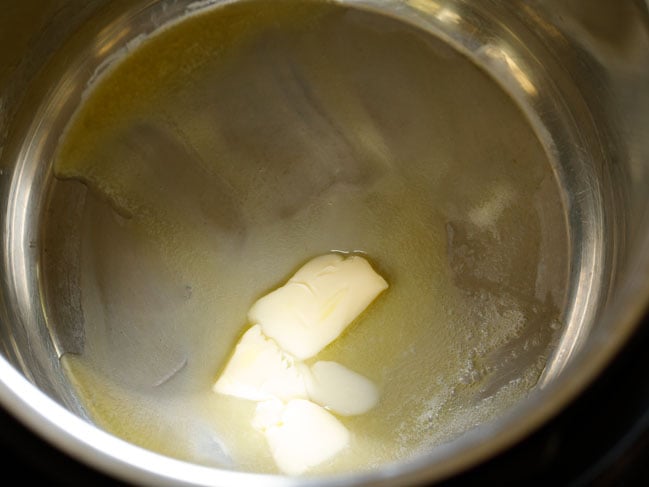
3. Add 2 to 3 tablespoons butter in the IP steel insert.
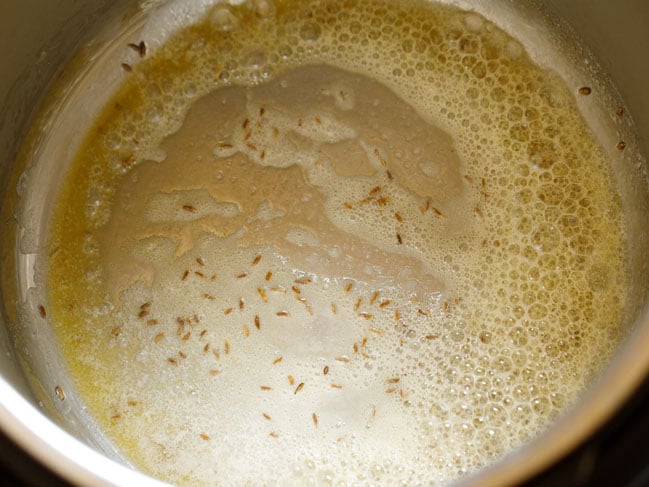
4. When the butter melts, add ½ teaspoon cumin seeds and let them splutter and change color.
5. Then add ½ cup finely chopped onions.
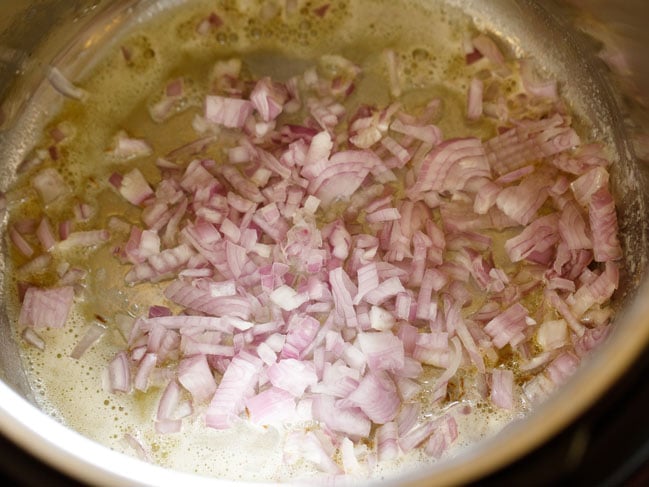
6. Sauté onions till they soften and turn translucent using the ‘less’ or ‘normal’ mode of the sauté option in the Instant pot.
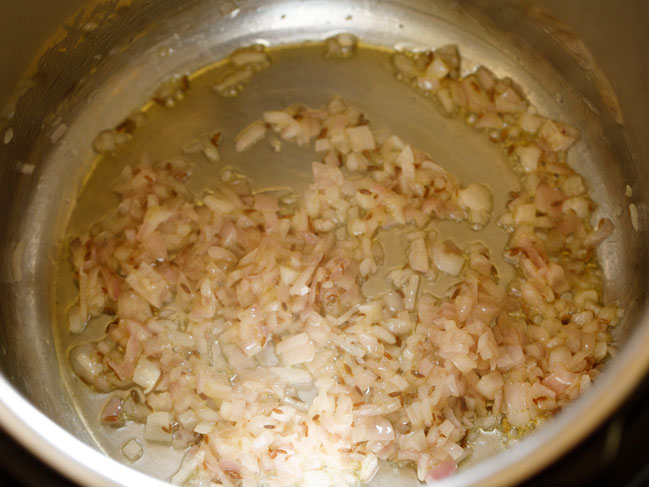
7. Next add 2 teaspoons ginger-garlic paste and 1 or 2 chopped green chillies.
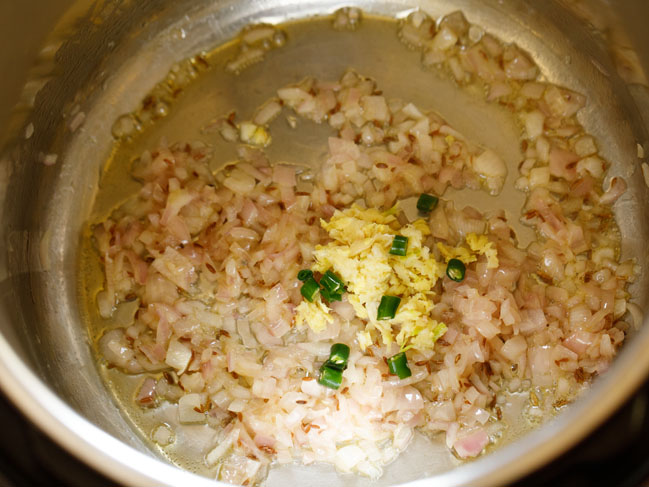
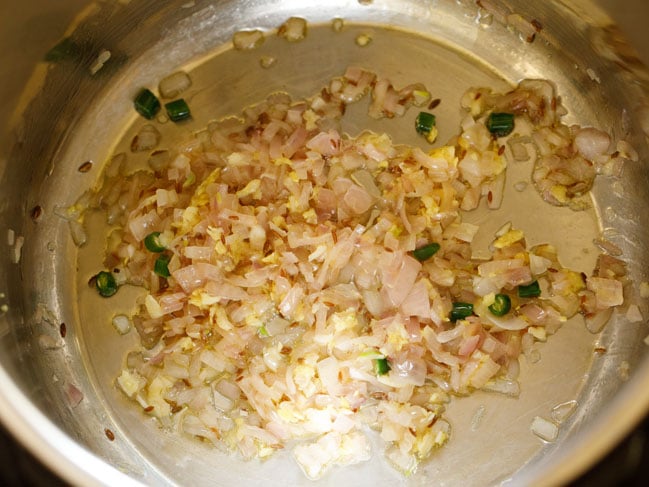
8. Stir and sauté for a few seconds until the raw aroma of ginger-garlic goes away.
9. Then add 2 cups chopped tomatoes and ⅓ cup chopped capsicum (green bell pepper). Sauté for 1 to 2 minutes.
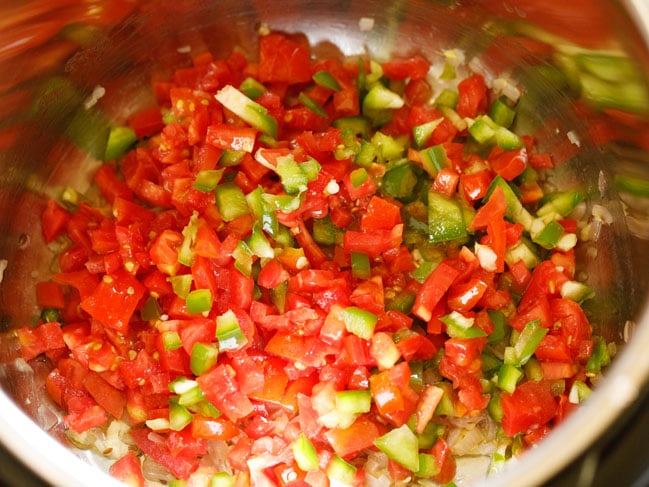
10. Add the chopped veggies and green peas.
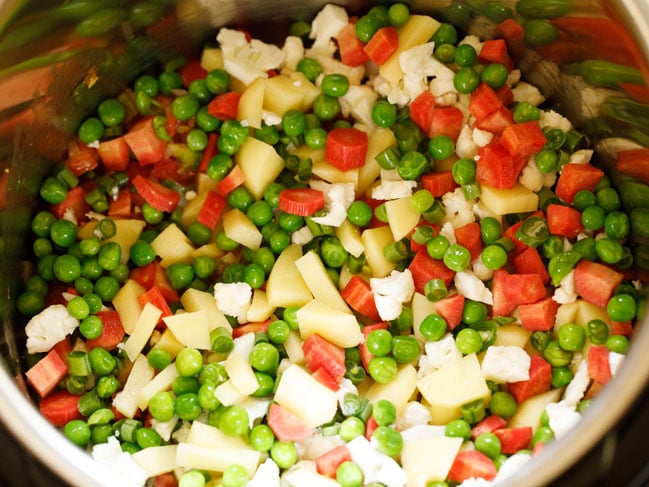
11. Add ½ teaspoon turmeric powder and 1 to 1.5 teaspoons Kashmiri red chilli powder. If using any other red chilli powder or cayenne pepper, then you can add less of it.
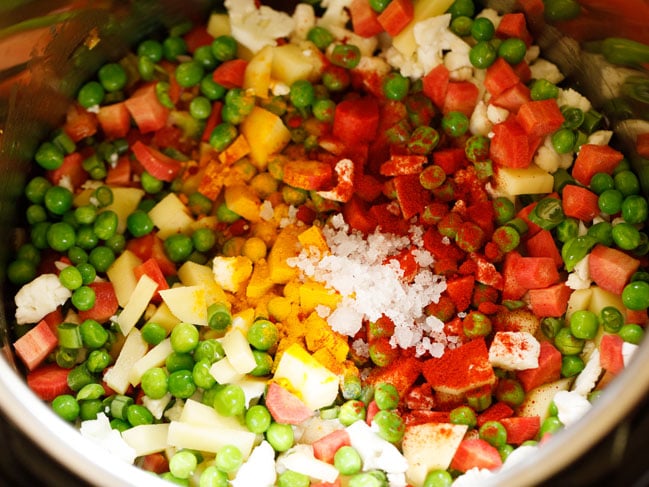
12. Mix everything very well. Deglaze while mixing so that any ingredients stuck at the bottom of the pan is removed. The moisture from the vegetables helps in deglazing.
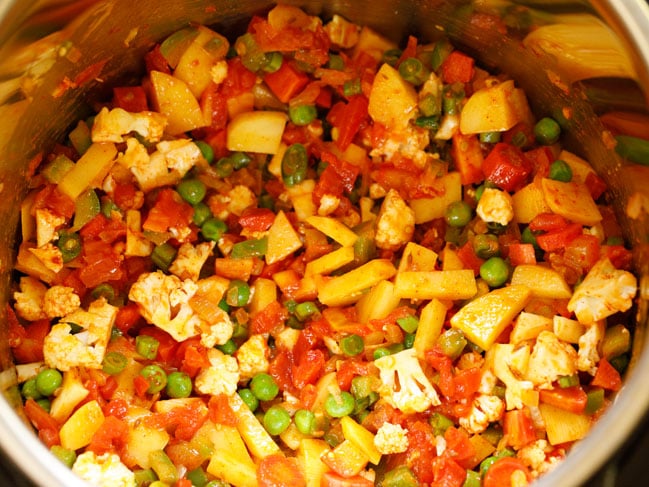
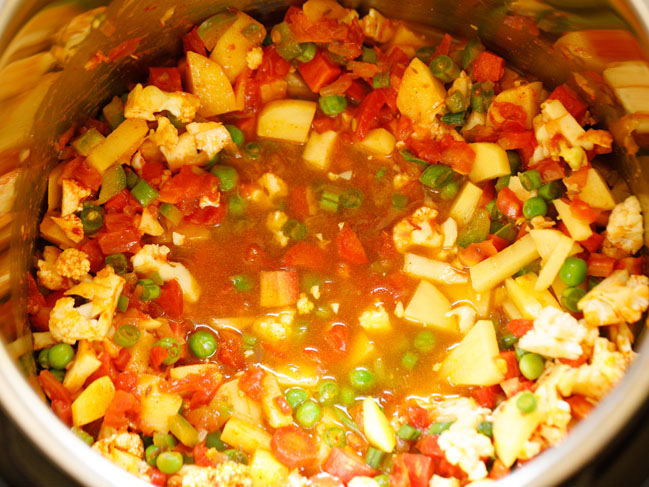
13. Add 2 cups of water. Stir again. Deglaze if required.
Pressure Cook Bhaji
14. Press the cancel button. Now press the pressure cooker/manual button and set time to 7 minutes on high pressure.
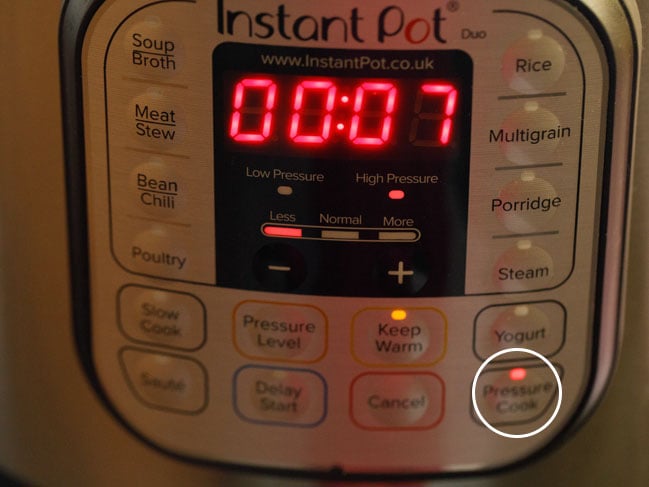
15. When the beep sound is heard and the pressure cooking is complete, do a quick pressure release (QPR). When all the pressure is released, open the lid.
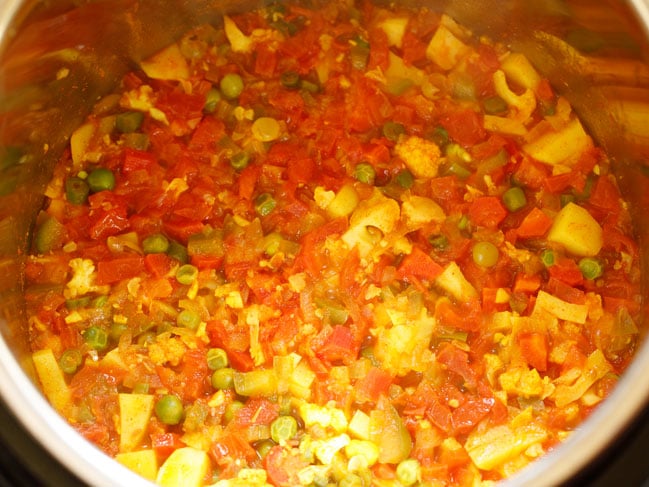
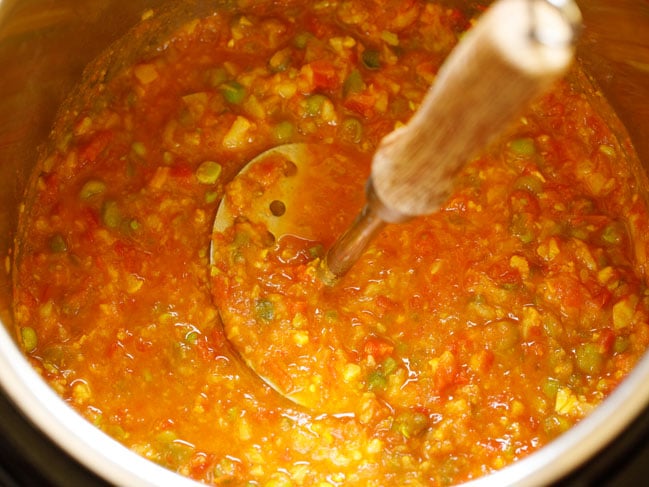
16. Using a napkin or oven mittens, remove the steel insert from the instant pot. Place it on your kitchen counter. With a potato masher, begin to mash the cooked vegetables.
Mash very well. You can even use an immersion blender and puree the veggies to a semi-fine consistency.
17. Now add 2 tablespoons pav bhaji masala and 1 to 2 tablespoons butter. You can skip the butter if you want. Mix very well.
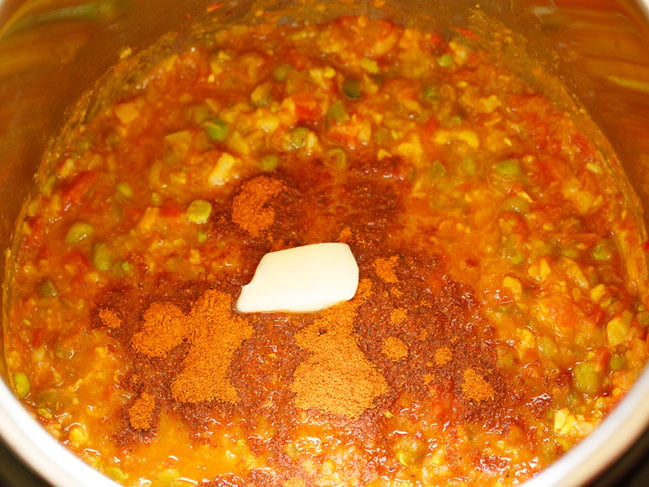
18. Place the steel insert pan in the IP. Press the cancel button and then press the sauté button on normal mode. Set the timer to 3 to 5 minutes or more.
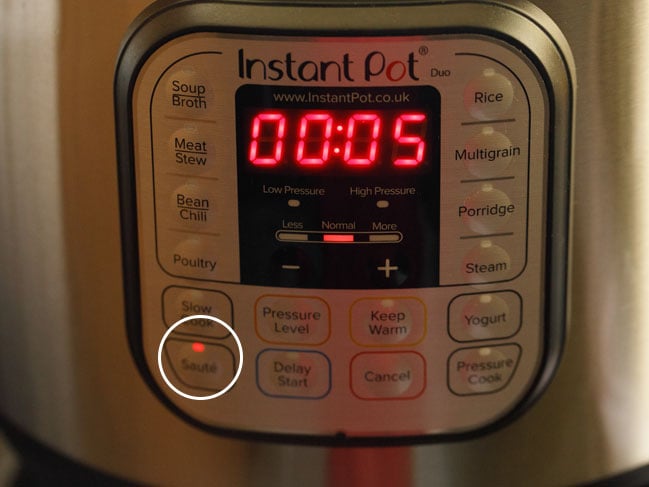
19. Simmer the bhaji for a few minutes, till it thickens a bit. Stir often, so that the bhaji does not stick to the bottom. If the bhaji looks very thick, then add some water.
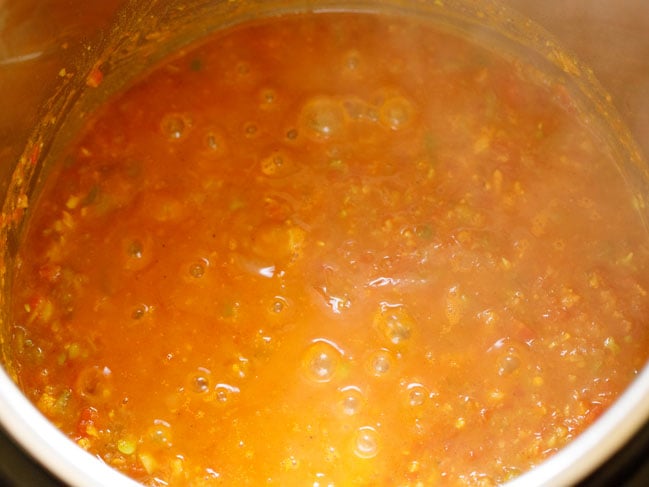
20. Simmer till you get the desired consistency.
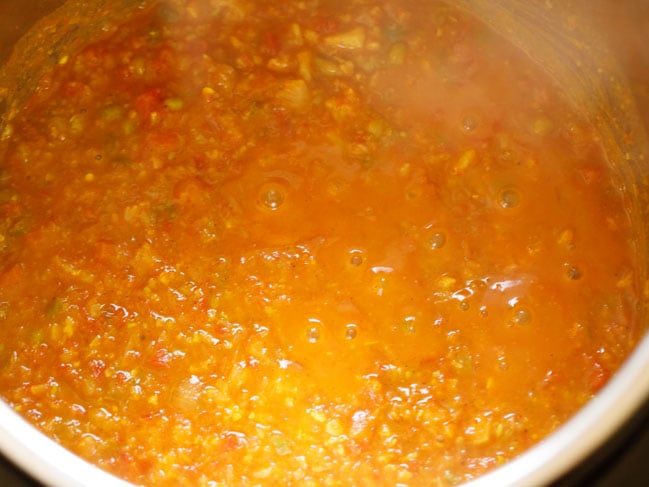
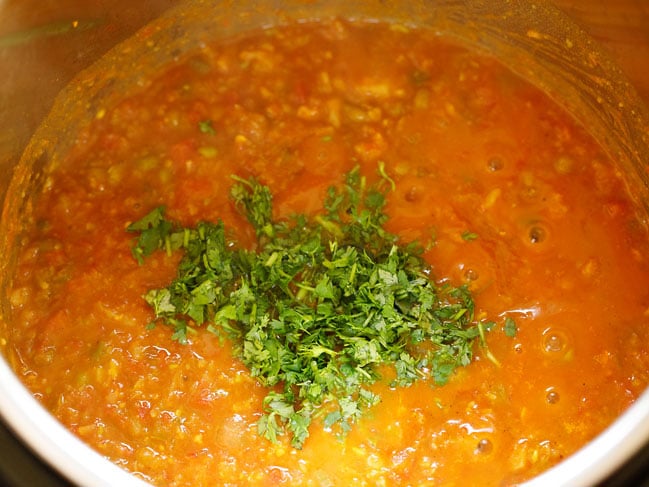
21. Sprinkle 2 tablespoons chopped coriander leaves. Mix very well.
Do check the taste and add salt, butter, Kashmiri red chili powder or pav bhaji masala if required. Cancel and keep the IP mode on warm.
Pan Fry Or Toast Pav
22. For the pav, heat a tawa or griddle and melt some butter on it. Place sliced pavs (dinner rolls) on it.
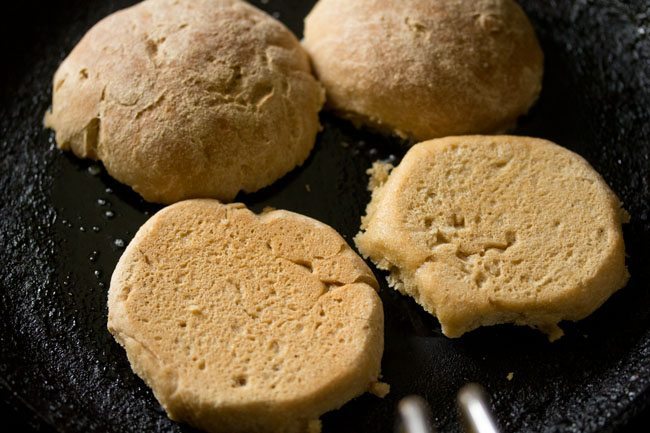
23. Let the pav soak the butter and become warm. If you want you can even lightly toast the pavs.
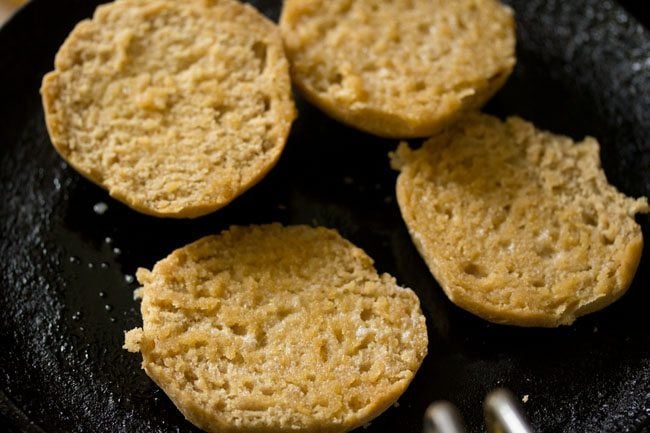
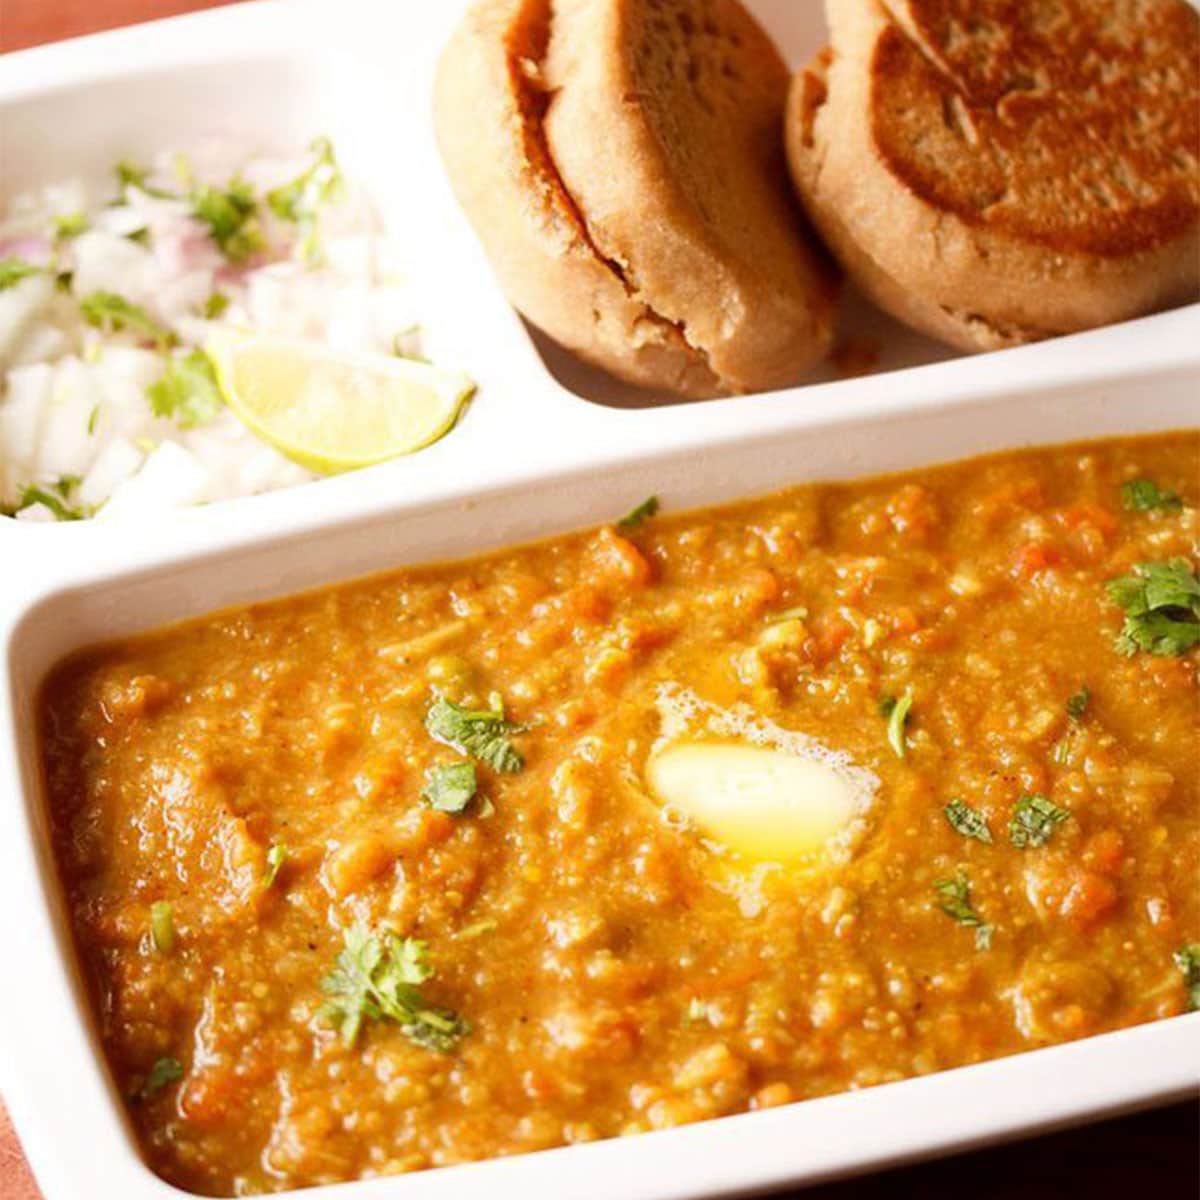
24. Serve hot Instant Pot bhaji topped with some butter paired with lightly toasted pav and a side of finely chopped onions, coriander leaves and lemon wedges.
Serving Suggestions
Whether you choose to make Pav Bhaji recipe in a traditional way or using the Instant Pot, you will have to eventually serve it in a few ways to make the whole thing become a tasty experience. Serving ways are:
- Transfer the bhaji in a bowl and top with some cubes of butter. Add more or less, as you prefer.
- Add some finely chopped onions, finely chopped fresh coriander leaves and lemon wedges on the side. You can even sprinkle these directly as well. If doing so, mix them well.
- You can then proceed to enjoy the jazzed-up bhaji with butter toasted pav. To lighten up your palate, you can consider serving Pav Bhaji with a cooling Cucumber Raita.
Expert Tips
- Cook veggies: I cook the veggies in a pressure cooker for the stove-top recipe. A pan or steamer pan can also be used instead.
- Taste: The end taste and color of the bhaji will differ depending on the quantity of veggies. For instance, more carrots in the bhaji means it’ll have a mild sweet flavor. Capsicum should not be missed, as it really brings in a good taste.
- Spices: Add more or less quantities of green chilies, turmeric powder, red chili powder, etc. according to how you prefer the bhaji. To make the bhaji really spicy, add more red chili powder or use a spicy pav bhaji masala powder.
- Pav Bhaji Masala: It is paramount that you use good quality pav bhaji masala for the bhaji. So, either opt for homemade or a trusted brand. You must also always avoid using rancid pav bhaji masala. It has to be fresh.
- Vegan and gluten-free options: If you don’t want to add butter, then you can also make the recipe with a neutral tasting oil or vegan butter. While serving too, use gluten free bread or pavs.
FAQs
Usually cauliflower, potatoes, carrots, peas, capsicum and French beans are added. Street side ones don’t have carrots in them. But you can add them in your homemade version.
Remember to just keep quantity of cauliflower less as compared to the other veggies.
What you can’t add – eggplant/brinjal, radish, corn, okra/lady’s finger, yam or green leafy veggies. Although, you can include cabbage, broccoli, zucchini, pumpkin. However, these are not added in the traditional street versions.
The bhaji that is served in restaurants has a bright orange or red color. Homemade bhaji usually does not have this color. I have heard about some street vendors adding artificial color to the bhaji.
To get the red color naturally, you can either make a red chili paste or include the mild Kashmiri red chili powder.
To make Red chilli paste – deseed 3 to 4 Kashmiri dried red chilies and soak in hot water for half an hour. Then, drain and grind to a fine paste with some of the water used for soaking.
You can use 2 teaspoons garam masala powder and 1 teaspoon amchur (dried mango powder) as an alternative to pav bhaji masala.
I will always vouch for the homemade pav bhaji masala. However, if out of stock, I trust the Indian brands Everest, Badshah, Pure and Sure for their pav bhaji masala.
The bhaji (veggie gravy) is traditionally had with soft pavs (bread rolls). The hot bhaji is topped with a few butter cubes and coriander leaves.
Along with this, add a side of chopped onions, squeeze some lemon juice in the bhaji, mix and have it with morsels of the pav. You can enjoy it as a lunch or dinner meal, or as an evening snack.
While the street style variant has humongous amounts of butter, which is served with pavs made of maida (all-purpose flour); you can customize and make a healthier dish at home.
Add less butter or use oil for the bhaji. Opt for whole wheat pavs and lightly toast them sans any fat.
Variations
There are many variations of making this snack. The bhaji remains the same in most variants and some more ingredients or spice blends are added.
- Paneer Pav Bhaji: Here, grated paneer or cooked paneer cubes are added on the bhaji.
- Cheese Pav Bhaji: In this, the bhaji is generously topped with grated processed/mozzarella/cheddar cheese.
- Jain style: This is made without onions, garlic and potatoes. Plantains (green, raw bananas) are added in place of aloo.
- No onion, no garlic style: In this, the bhaji is made without any onion or garlic. Thus, is satvik.
- Kala Pav Bhaji: The very regional kala masala or goda masala is added in the bhaji in this one. This results in the color of the dish, hence, also the name black Pav Bhaji. To make this interesting version, add 1 teaspoon kala masala or goda masala while adding the pav bhaji masala to the mashed veggies.
- Khada Pav Bhaji: This is one of the noteworthy variations with chunky, whole veggies and not mashed.
- Pav Bhaji Fondue: This is a fusion way of serving the Pav Bhaji recipe in many restaurants featuring fancy menus. They put the bhaji in a fondue bowl which is accompanied with bite-sized pav pieces.
- Kolhapuri style: This is a really fiery, hot bhaji made with the super spicy Kolhapuri masala or onion garlic masala (kanda lasun masala).
- Punjabi style: As obvious by the name, this is a robust version, where a lot more spice powders and butter is added.
- With mushrooms: You can turn the bhaji into a more umami version by adding some button mushrooms in the bhaji along with the rest of the lot. In this, make sure to add mushrooms after sautéing the onions, tomatoes, etc. Also, sauté the mushrooms till all the moisture evaporates. Then, add capsicum and other ingredients.
More Mumbai Street Food Recipes To Try!
Indian Street Food Recipes
Indian Street Food Recipes
Indian Street Food Recipes
Maharashtrian Food
Please be sure to rate the recipe in the recipe card or leave a comment below if you have made it. For more vegetarian inspirations, Sign Up for my emails or follow me on Instagram, Youtube, Facebook, Pinterest or Twitter.
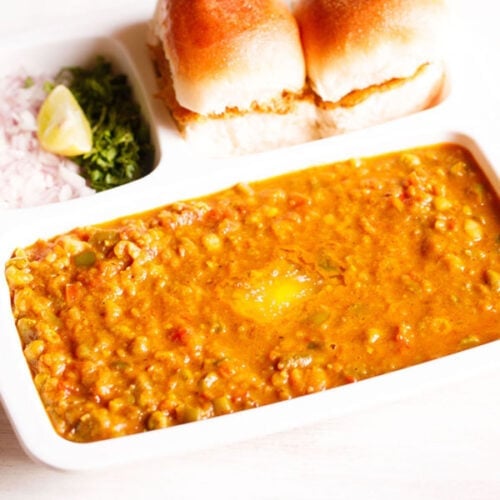
Pav Bhaji Recipe (Stovetop & Instant Pot)
Ingredients
For making bhaji (vegetable gravy)
- 3 potatoes (medium-sized) – 250 grams
- 1 to 1.25 cups chopped cauliflower – 120 to 130 grams
- 1 cup chopped carrot
- 1 cup green peas – fresh or frozen
- ⅓ cup chopped french beans – 12 to 14 french beans – optional
- 2.25 to 2.5 cups water – for pressure cooking veggies
Other ingredients
- 3 tablespoons Butter – salted or unsalted
- 1 teaspoon cumin seeds
- ½ cup finely chopped onion or 1 medium to large onion
- 2 teaspoons Ginger Garlic Paste or 1.5 inch ginger & 5 to 6 medium garlic cloves crushed in a mortar
- 1 teaspoon chopped green chilies or serrano peppers or 1 to 2 green chilies
- ½ cup finely chopped capsicum or 1 medium sized capsicum (green bell pepper)
- 2 cups finely chopped tomatoes (tightly packed) or about 2 to 3 large tomatoes
- 1 teaspoon turmeric powder (ground turmeric)
- 1 teaspoon kashmiri chilli powder or freshly ground 3 to 4 soaked dry kashmiri red chilies
- 2 to 3 tablespoons Pav Bhaji Masala – add as required
- 1.5 to 2 cups water or the stock in which the veggies were cooked, add as needed
- salt as required
For Instant Pot Pav Bhaji
- 2 to 3 tablespoons Butter – salted or unsalted
- ½ teaspoon cumin seeds
- ½ cup finely chopped onions or 1 medium to large onion – 50 to 60 grams
- 2 teaspoons Ginger Garlic Paste or 1.5 inch ginger and 5 to 6 medium garlic cloves crushed in a mortar
- 1 teaspoon chopped green chilies or serrano peppers or 1 to 2 green chillies
- 2 cups chopped tomatoes or 3 large tomatoes – 300 grams
- ⅓ cup chopped capsicum (green bell pepper)
- 2 cups chopped potatoes or 3 medium or 2 large potatoes – 250 grams
- ¾ to 1 cup chopped cauliflower – 100 grams
- ¾ cup chopped carrots or 1 medium to large carrot – 100 grams
- ¼ cup chopped french beans – optional
- ½ cup green peas – fresh or frozen
- ½ teaspoon turmeric powder
- 1 to 1.5 teaspoons kashmiri red chilli powder or ½ to 1 teaspoon cayenne pepper or paprika
- 1.25 cups water
- salt as required
- 2 tablespoons Pav Bhaji Masala
- 1 to 2 tablespoons Butter – to be added later
- 2 tablespoons coriander leaves (cilantro)
Instructions
Cooking veggies
- Rinse, peel and chop the veggies. You will need 1 cup chopped cauliflower, 1 cup chopped carrot, 3 medium sized potatoes (chopped) and ⅓ cup chopped french beans. You can also add veggies of your choice.
- Add all the above chopped veggies in a 2 litre pressure cooker. Also add 1 cup green peas (fresh or frozen).
- Add 2.25 to 2.5 cups water.
- Pressure cook the veggies for 5 to 6 whistles or for about 12 minutes on medium flame.
- When the pressure settles down on its own, open the cooker and check if the veggies are cooked well. You can even steam or cook the veggies in a pan. The vegetables have be to cooked completely.
Sautéing onions
- Heat a pan or kadai. You can also use a large tawa. Add 2 to 3 tablespoons butter. You can use amul butter or any brand of butter. Butter can be salted or unsalted.
- As soon as the butter melts, add 1 teaspoon cumin seeds.
- Let the cumin seeds crackle and change their color.
- Then add ½ cup finely chopped onions.
- Mix onions with the butter and saute on a low to medium flame till the onions translucent.
- Then add 2 teaspoons ginger-garlic paste. You can also crush 1.5 inch ginger and 5 to 6 medium garlic cloves in a mortar-pestle.
- Mix and saute till the raw aroma of both ginger and garlic goes away.
- Then add chopped green chilies. Mix well.
Sautéing tomatoes
- Now add 2 cups finely chopped tomatoes. Mix very well.
- Then begin to sauté tomatoes on a low to medium heat.
- Saute till the tomatoes become soft and mushy and you see butter releasing from the sides. This takes about 6 to 7 minutes on a low to medium flame. If the tomatoes start sticking to the pan, then sprinkle some water and mix well.
- When the tomatoes have softened, then add ½ cup finely chopped capsicum (green bell pepper). Sauté for 2 to 3 minutes. If the mixture starts sticking to the pan, then you can sprinkle some water. You don’t need to cook the capsicum till very soft. A little crunch is alright.
Sautéing ground spices
- Add 1 teaspoon turmeric powder and 1 teaspoon kashmiri red chilli powder.
- Then add 2 to 3 tablespoons pav bhaji masala. mix very well.
Adding cooked vegetables
- Add the cooked veggies. Add all of the stock or water from the pressure cooker in which the veggies were cooked. Mix very well.
- Then season with salt as per taste.
- With a potato masher, begin to mash the veggies directly in the pan.
- You can mash the veggies less or more according to the consistency you want. For a smooth mixture mash more. For a chunky pav bhaji, mash less.
- Keep on stirring occasionally and let the bhaji simmer for 8 to 10 minutes.
- If the bhaji looks dry and then add some more water. The consistency is neither very thick nor thin.
- Do stir often so that the bhaji does not stick to the pan. When the pav bhaji simmers to the desired consistency, check the taste. Add salt, pav bhaji masala, red chili powder or butter if required.
- When the bhaji is simmering, you can fry the pav so that you serve the pav with hot bhaji. Slice the pavs.
Making Instant Pot Pav Bhaji
- Switch on the instant pot. Press the sauté button on less mode. Add 2 tablespoons butter in the ip steel insert.
- When the butter melts, add cumin seeds and let them splutter and change color. Then add finely chopped onions and sauté onions till they soften.
- Next add the ginger-garlic paste and green chillies. Mix and sauté for a few seconds till the raw aroma of ginger-garlic goes away.
- Then add chopped tomatoes and chopped capsicum. Sauté for 1 to 2 minutes.Add the chopped veggies and green peas.
- Add ½ teaspoon turmeric powder and 1 to 1.5 teaspoons kashmiri red chilli powder. If using any other red chili powder or cayenne pepper, then you can add less of it. Also, add salt as per taste.
- Mix everything very well. Add water and stir.
- Press the cancel button. Now press the pressure cooker/manual button and set time to 7 minutes on high pressure.
- When the beep sound is heard and the pressure cooking is complete, do a quick pressure release (qpr). When all the pressure is released, open the lid.
- Using a napkin or oven mittens, remove the steel insert from the instant pot. Place it on your kitchen counter.
- With a potato masher, begin to mash the cooked vegetables. Mash very well. You can even use an immersion blender and puree the veggies. Just make a semi-fine puree.
- Now add 2 tablespoons pav bhaji masala and 1 to 2 tablespoons butter. You can skip the butter if you want. Mix very well.
- Place the steel insert pan in the IP. Press the cancel button and then press the sauté button on normal mode. Set the timer to 3 to 5 minutes or more.
- Simmer the bhaji for a few minutes, till it thickens a bit and you get the desired consistency. Stir often, so that the bhaji does not stick to the bottom. If the bhaji looks very thick, then add some water.
- Sprinkle 2 tablespoons chopped coriander leaves. Mix very well. Do check the taste and add salt, butter, kashmiri red chili powder or pav bhaji masala if required. Cancel and keep the IP on warm mode.
Toasting pav (dinner rolls)
- Heat a skillet or a shallow frying pan. Keep the flame to a low and then add butter.
- When the butter begins to melt, add a bit of pav bhaji masala. You can skip pav bhaji masala if you want.
- Mix the pav bhaji masala very well with a spoon or spatula.
- Then place the pav on the butter.
- Rotate the pav all over the melted butter so that the pav absorbs the butter.
- Now turn over the pav and rotate them on the tawa so that the second side absorbs the butter. Add more butter if required.
- You can turn over and toast them more if required. Then remove in a plate and keep aside.
Serving suggestions
- Take the bhaji in a serving plate or a bowl. Top it up with one to two cubes of butter. You can add more butter, if you like.
- Place a side of finely chopped onions, lemon wedges and finely chopped coriander leaves. Or you can sprinkle onions, coriander leaves and lemon juice directly on the bhaji.
- Serve bhaji with the lightly pan fried and buttered pav. Pav bhaji is topped with chopped onions, coriander leaves and the lime or lemon juice is squeezed on the bhaji while eating.
Storage and Leftovers
- Refrigerate only the bhaji (vegetable gravy without any toppings of onions, coriander and lemon juice) in the refrigerator for 1 to 2 days.
- Reheat in a small pan. If the bhaji looks thick, mix in some water to loosen it a bit and reheat.
Video
Notes
The vegetables that are usually added are sturdy veggies like cauliflower, potatoes, carrots, peas, capsicum and french beans. In the pav bhaji that one gets in the streets of Mumbai, carrots are not added. But when you make at home, you can add carrots. You can also simply make bhaji with any of these veggie proportions but always keep the proportion of cauliflower less than the other veggies. Refrain from using veggies like okra, eggplants, radish, corn, yam or green leafy vegetables. Cabbage, broccoli, zucchini, pumpkin are some unique options that you can consider to add, but the traditional version does not include these vegetables. 2. Cooking veggies
In the recipe I have used a pressure cooker for cooking the vegetables. You can also steam or cook them in a pan on the stove-top. 3. Taste and Flavor
Depending on the quantity of these vegetables, the final taste and color of the bhaji will be different. Example, if you add more carrots, the bhaji will have a mild sweeter taste. However, do add capsicum (green bell pepper) as it gives a really good taste to the bhaji. 4. Spicing
The spice powders can be easily adjusted to suit your taste. So add them less or more according to your preferences. 5. Vegan option
If you don’t want to add butter, then you can also make the pav bhaji recipe with a neutral tasting oil or a vegan butter. 6. Gluten-free options
Make the bhaji as is following the recipe and serve with gluten-free dinner rolls or bread. 7. Pav Bhaji Masala
Use good quality pav bhaji masala or make it at home following my recipe – Pav Bhaji Masala 8. Do not have pav bhaji masala?
Not to worry. Try this option and it works so well, that no one will know the difference. Swap pav bhaji masala with 2 teaspoons garam masala and 1 teaspoon amchur (dry mango powder).
Nutrition Info (Approximate Values)
Mumbai Pav Bhaji recipe from the archives was first published on February 2010.



As we get to hear pav bhaji we feel that spicy taste in our mind. This step by step recipe did the same. Thank you for sharing this delicious recipe.
Welcome Smita. Glad to know that you like the recipe presentation.
We can make this menu without cauliflower know?
cauliflower is one of the essential veggie used in mumbai pav bhaji. without cauliflower some taste will go away. but you can still make pav bhaji without cauliflower. but just that there will be slight change in the taste.
Thanks for the wonderful recipes.
I want to request You to please post an estimate of SALT also in dishes, at least the min required amount, that long be helpful, Thanks ??
welcome kanika. i do try to add the amount of salt in some recipes. but for most recipe i do not add as the preference for salt varies from person to person. though for any recipe having 3 to 4 servings, you can add 1/2 teaspoon salt first. then if you feel the salt is less, you can just add some more salt, like 1/8th to 1/4th teaspoon.
Hello Dasana, your above recipe demands for your name to be upgraded to Bara-anna, and the recipe itself is pure sola-anna. ! :-o) I don’t expect you remember me, but I wrote to you on March 14, 2015 because that was Pi day = 3.14 15, in the medu vada section. Anyway, I’ve been following many of your recipes, and have always had wonderful results. I’ve just finished dinner, and may I share some thoughts ? …..
1. I started late, and my wife came home from work, early, and the food was not ready – so she pouted, and had cornflakes and milk for dinner. But she did try my pavbhaji after an hour, and she liked it, so I am ecstatic !
2. I added a little beetroot, and it added some sweetness. ( I really don’t care much about the red color …). I also added 200cc of tomato juice, that I had left over after some sambar, 4 days ago. so I reduced the number of tomatoes and added less salt, because tomato juice has salt added to it. I added a whole bulb of fresh crushed garlic – only because I have too much garlic in my pantry …. I just reduced the onion somewhat. I added some MSG, because I add it to almost everything I make. I don’t know if it makes any iota of a difference. ;-D)
3. Finally, it’s nice to see you’re going strong, and your website still comes up number one, for me, on most indian vegetarian recipes ! My niece is a VP for Google, in Chicago, and she says the algorithm is so secret, even she has no idea. Best wishes for continued success, and sincere regards to Amit.
G Kulkarni Ji, I remember you clearly. Because very few readers write humorous comments which makes you laugh. Laughter is something which we are missing in present time. My hubby told me that in old times there used to be 16 anna in one rupee which he has further learn from his grand father. Its good to see that you experiment with food because thats what brings out the flavor which one wants. I believe even google does not know the real algorithm because its becoming more machine oriented. But they definitely favor sites which are liked by readers. So sharing good recipes not only generate good karma in form of readers love and support but also attracts google attention !!!
Wow that’s a great read between you both. I love your recipes and am 100% confident that it comes out well. This aspect of humor and good karma caught me bang on. Best wishes to you
thanks a lot rashmi. best wishes to you too.
i like ur recipes very much. plz share some microwave recipes.
nishtha, when i started the blog, i had shared some microwave recipes as i used to use it often. now for health reasons, i have stopped using microwave completely. hence i am not adding any microwave recipes on the blog.
Hi dassana,
I love all ur receipes and they turned up so good . My family likes it too . I m known in my street line for my Pav Bhaji ( made in ur way :)) i always ask them just to check ur website(those who can).
Though i have made few changes-
1) i add haldi after frying onion in butter.
2) Then ginger garlic paste . after adding tht i wait for few mins and add garam masala , kashmiri lal mirch. After cooking this for a min i add tomatoes and salt.
3) Rest steps i follow urs
Thnx alot to u for such a great website , receipes. u r a boon 🙂
thank you mini and also thanks for sharing your experience and the changes you have made. nice to read your comment. thanks again.
Very nice..I made it at home & everybody love it
thanks chaitali for sharing positive feedback.
Super recipe
Hello dassana.. Just love ur recipes.. They are awesome! One question,can i replace cauliflower with cabbage if i dont hv cauliflower? Wl it make any difference in taste?
taposhi thanks, caulifower has a different texture hence it gives a nice flavor and texture to pav bhaji. so use cauliflower is possible, hope this information helps you. do let us know once you try the pav bhaji.
Firstly m biggest fan of urs..ur recipe is awesome….Please share the recipe of lithhi chokaa pls pls pls
pleased to know this sandhya, have taken your request for lithhi chokaa recipe on our file. do allow us some to post the recipe thanks.
i always fllw ur recipe whle i m in kitchen
pleased to know this thank you barnita 🙂
its awsme, i jst lv ur recipe, its so simple and easy to get the idea how to cook the particular item. so hlpfl….
thank you barnita for your kind and positive words 🙂
I’m just a big fan of ur recipes and u…
Thnx for all the awsome tastes, which I learn from us website..
Tnxn alot..
welcome bhagya shree. thanks for your kind words.
Good this like U food
Can I just say you’re my goto person/site for veg recipes! You make it really simple to cook and everything I’ve tried from paneer tikka masala to fried rice just turned out fantastic! I’ve only been cooking for about a year now and I’m enjoying it all thanks to the ease with which you describe them. Thank you with all my heart and the clean licked plates 🙂 Much love!
welcome ramya and thank you very much for this sweet feedback and appreciation.