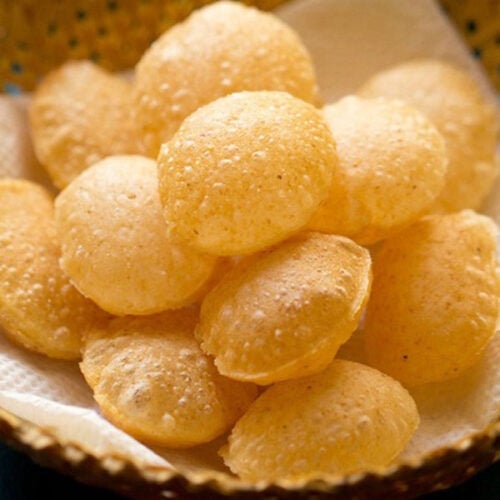
Suji ki Puri for golgappa or pani puri or puchka with step by step photos. These puri made with semolina, all purpose flour dough are light and crisp. Perfect to carry the various delicious pani puri fillings. Make a big batch of these suji ke golgappe and store it in an airtight container to make your favorite pani puri or puchka.
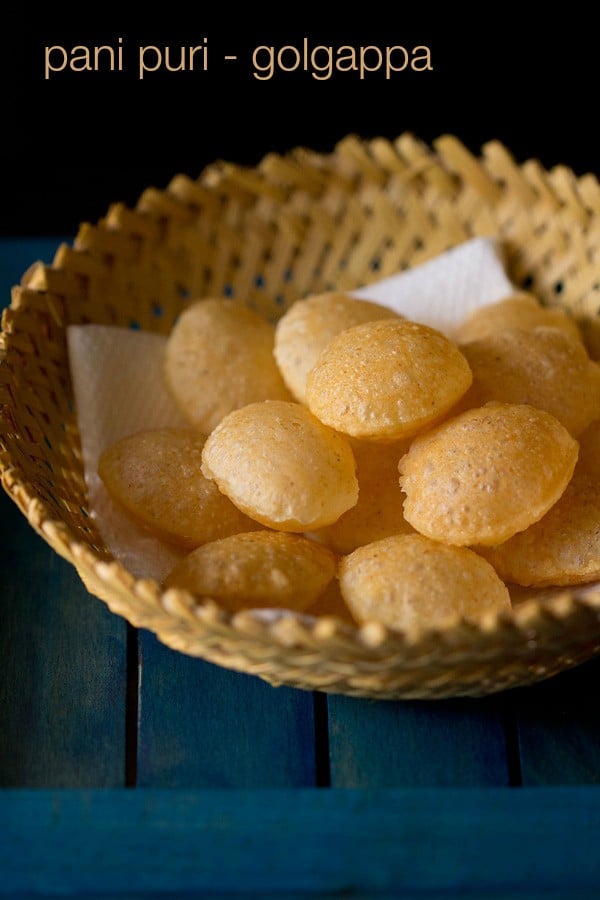
Pani Puri, as I call this awesome snack has always been a favorite since childhood. I remember me and my folks having pani poori from the pani puri wallah on the streets of Mumbai many times.
I have even seen how the puris are made in bulk and then sold. While as a kid, I used to think, how come the puri puffs so much and stays crisp. There was a family, close to my house who used to make these puris in bulk, pack them and then supply them to grocery stores.
We are fond of these crisp puris, that most of the times we just have them plain. I have made these pooris many times. Hence, I have updated this post with better photos and a lot of tips.
I was getting many comments that the pani puri becomes soft after cooling down. when I make them, I never had this issue. I reasoned, that this problem is because the dough was not kneaded well and the poori roundels being thick.
Previously I has just mentioned to knead the dough well. But not emphasized that the dough also need to have elasticity in it. Hence updated this suji ke golgappe recipe post.
I must say its easier to get a packet of ready made puris than to make them. Its does take an effort to make these pooris. So prepare them, when you are free from any work.
The perks of making homemade suji ke golgappe are that fresh oil and ingredients are used. Plus no additives or preservatives are added and you know what goes into them. Also they do taste better than the store brought ones.
These puris can be made in large numbers and stored in an airtight container. This recipe yields 50 to 60 pooris. However you can easily halve or double the recipe.
You could use these suji ke golgappe later to make Pani Puri or Golgappa or ragda puri or puchka or Dahi Puri, just crumble and top it up on Ragda Patties, dahi papdi chaat, aloo chana chaat, sev puri, bhel puri or just have it plain.
How to make Suji ke Golgappe
Make the Suji (Semolina) Dough
1. In a mixing bowl, take 1 cup fine unroasted sooji or rava or semolina (160 grams), 1 teaspoon oil, 3 to 4 pinches of baking soda and ¼ teaspoon salt.
Remember to use fine textured rava. You can also use bombay rava. It should be in the shelf period and not be infested with insects or molds.
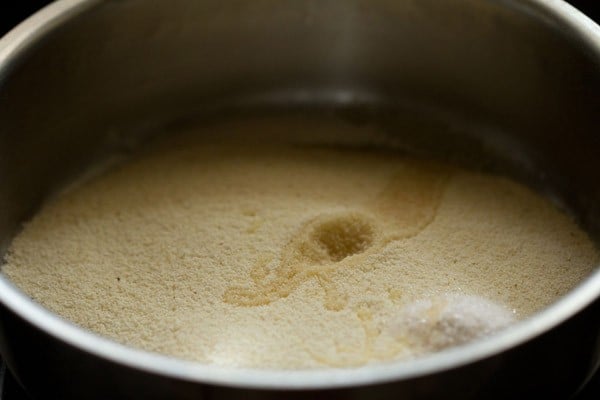
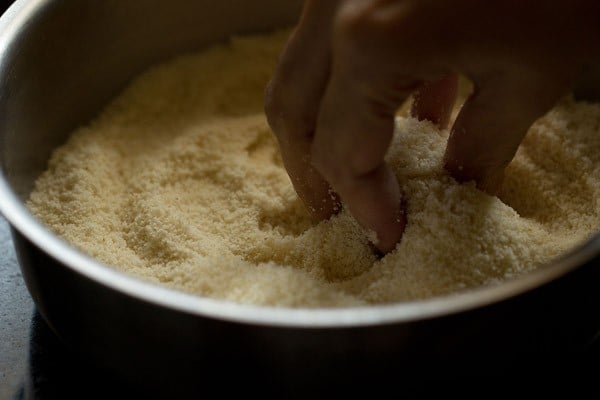
2. With your fingers, mix the oil evenly with the sooji.
3. Here’s the evenly mixed oil, sooji and salt mixture.
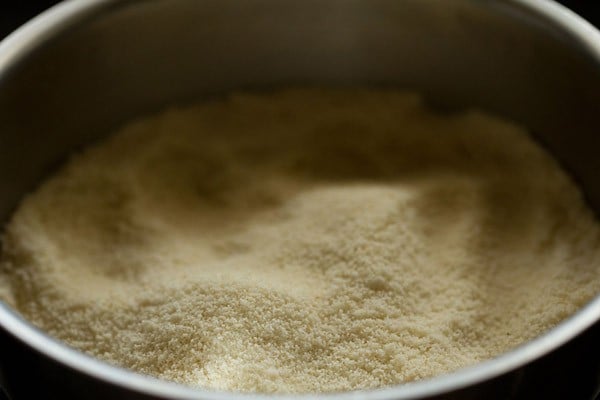
4. Now add 1 tablespoon maida (all purpose flour) to this mixture.
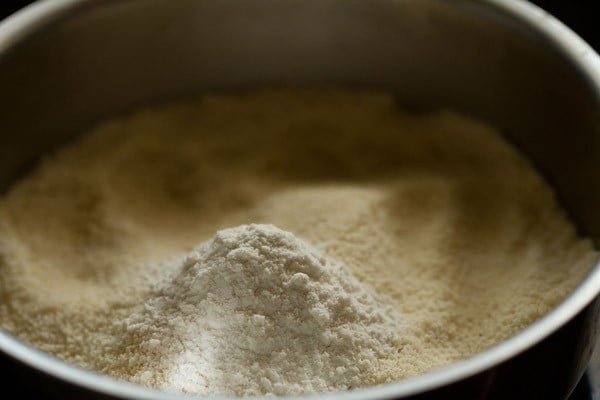
5. Mix again very well so that the all purpose flour is mixed evenly.
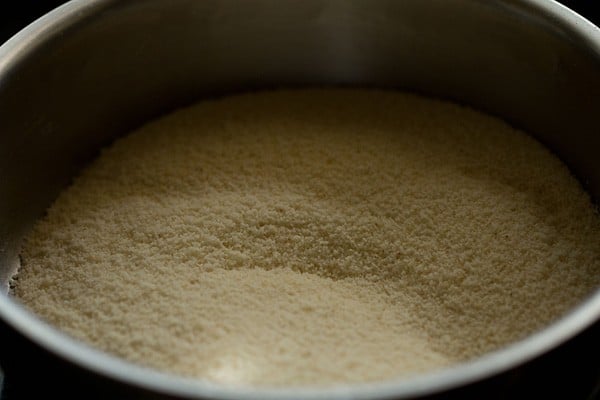
6. Add 3 tablespoons of water first.
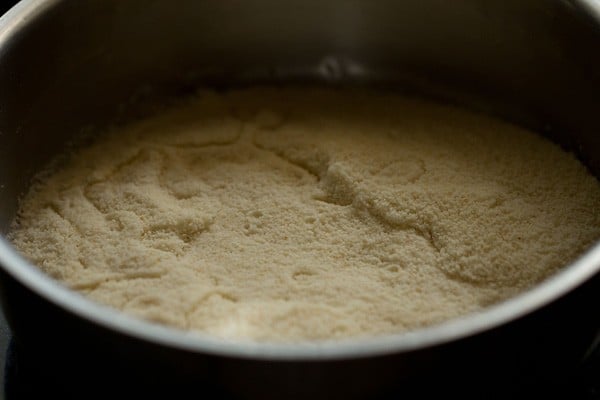
7. Stir and mix again.
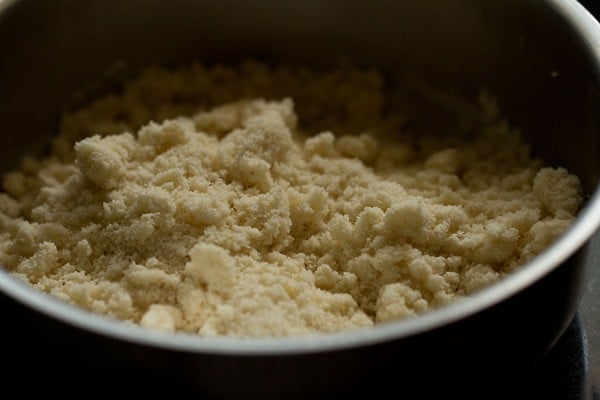
7. Then add 1 tablespoon water more and begin to knead the dough. Sooji absorbs water while kneading. Hence add water in parts while kneading. Then add 2 tablespoons more of the water and continue to knead. I added 6 tablespoons of water.
Depending on the quality of sooji, you may need to add a bit less or more. The kneading is very important in getting the perfect pani poori texture.
Remember that the dough is not soft nor too hard. If you make the dough soft, then add 1 to 3 teaspoon more of the sooji. If the dough looks hard, then add sprinkle some water and continue to knead.
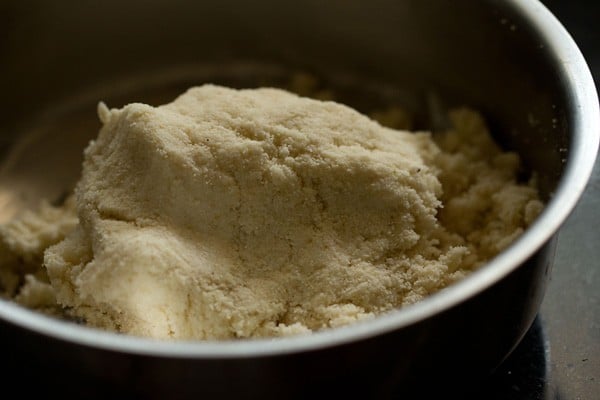
8. The puri dough should be elastic. Gluten strands need to be formed, which gives structure and shape to the pooris.
The correct texture of the dough, also help in puffing pooris and helps in them staying crisp. So knead very well.
Elasticity helps in the rolling dough without cracks and thinly. When rolling, the dough should roll easily without any cracks.
You should be easily able to lift the rolled dough without it tearing or breaking and falling apart.
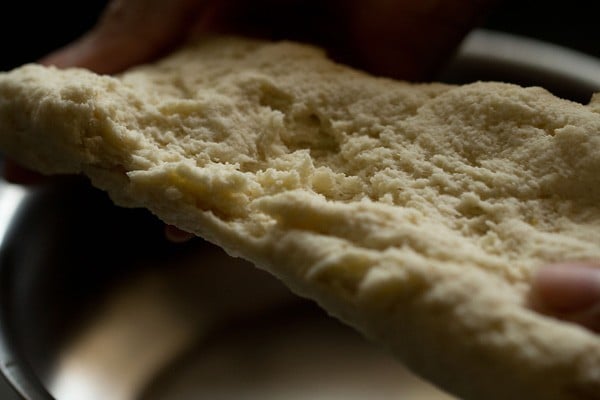
9. Knead to a semi-soft elastic dough.
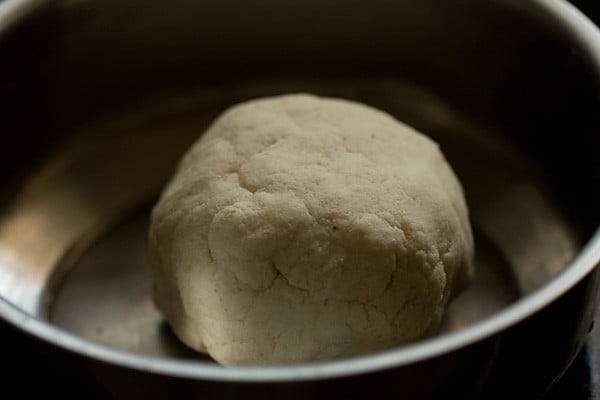
10. Keep the well kneaded dough in a bowl or pan.
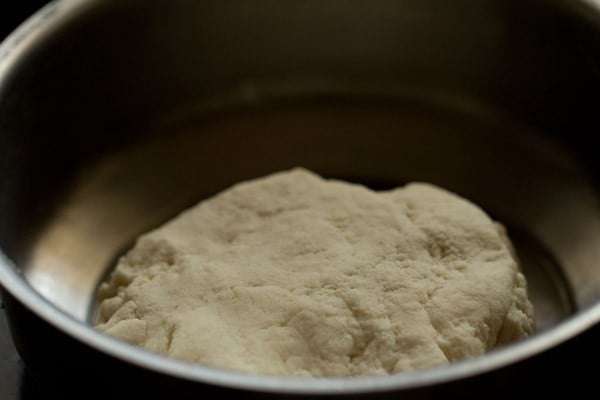
12. Cover with a moist kitchen towel or napkin and allow the dough to rest for 30 minutes.
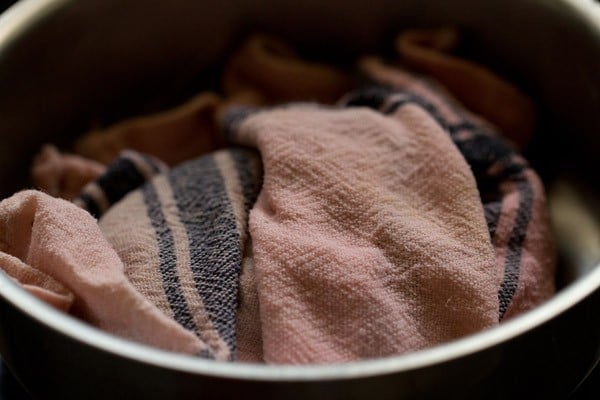
13. Here’s the dough after resting for 30 minutes.
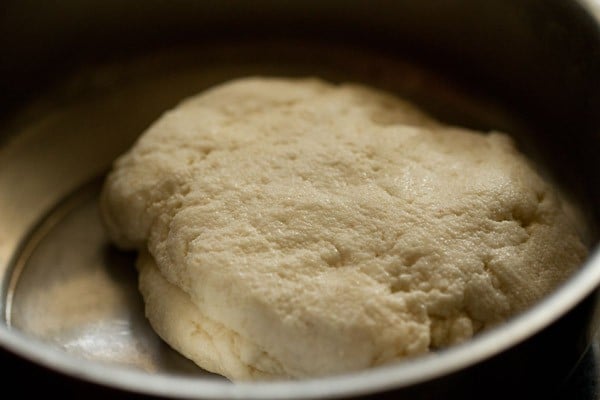
14. Knead the dough again for 2 to 3 minutes.
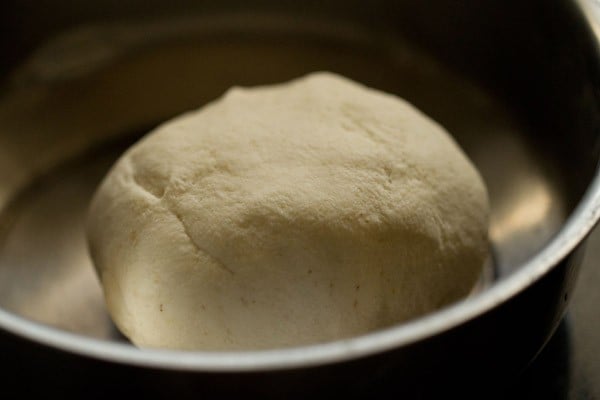
Assemble and Roll
15. Now divide the dough into two or three parts. Take one part on your work surface and begin to roll. Avoid adding any dry flour while kneading. Keep the remaining parts of the dough covered with a moist kitchen towel so that it does not dry out.
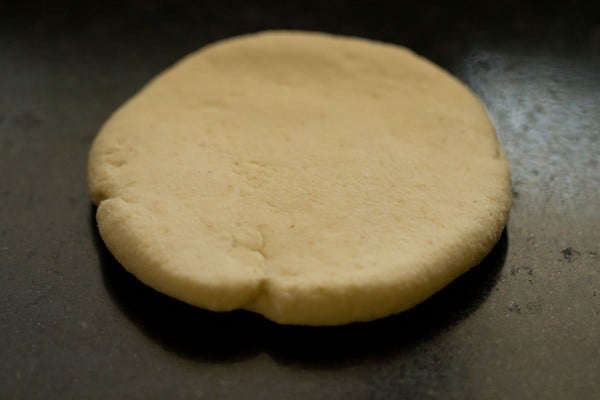
16. Roll to a large round. You see there are no cracks in the rolled dough and the dough has good elasticity. You can flip the entire rolled dough without it breaking or tearing apart.
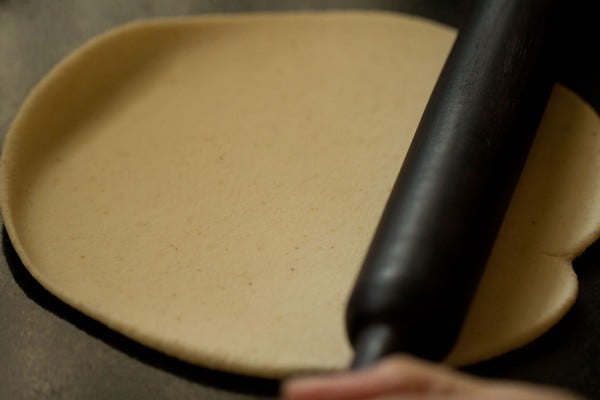
17. Keep on rolling to a thin and even round. The pooris have to be thinly rolled. If not thin, the base becomes thick and remains soft even after frying. If the dough is not rolled evenly, then the pooris won’t puff up.
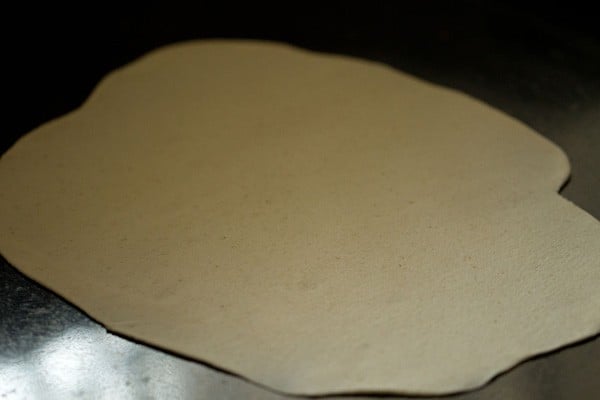
18. With a cookie cutter or a small bowl or a small jar lid, cut small to medium discs from the rolled dough. Using a cookie cutter gives even shape and size to the pooris.
You can also make small balls and roll them with a rolling pin. But then the pooris won’t have an even and uniform shape.
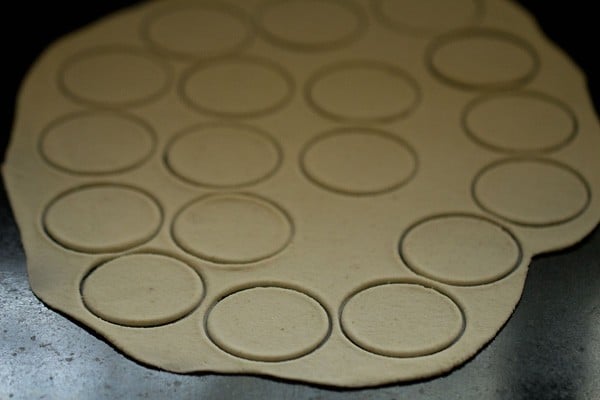
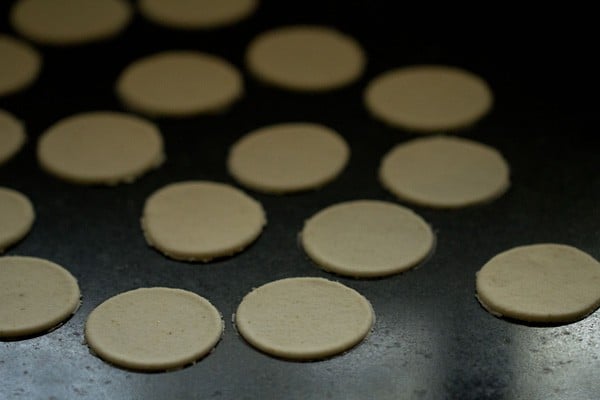
19. Remove the dough edges and place the small roundels on a plate without them touching each other. Keep these pooris covered with a moist kitchen towel.
Collect the dough scrapes and knead them lightly. Again roll this dough and make pooris the same way.
In this way make all the pooris and keep them covered with a moist kitchen towel. You can also roll them and fry simultaneously like I have done.
Fry Golgappa Puri
20. Heat oil for deep frying in a kadai or pan. The oil should be medium hot. Add a tiny piece of the dough ball to the hot oil.
If the ball steadily comes up to the surface, the oil is hot and the pooris can be fried now. Don’t fry them at a low temperature of the oil as this will make the puri soggy with oil.
Frying at a high temperature will brown the crust fast but the inside dough will be undercooked and soft.
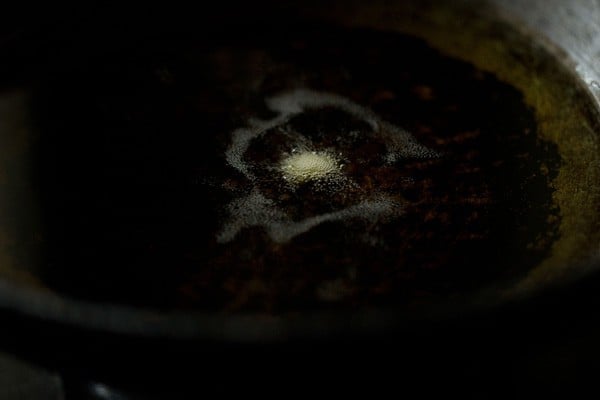
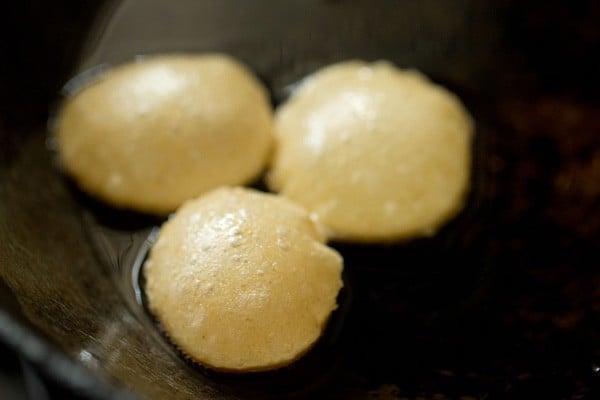
21. Slid a few pooris in the oil. But don’t overcrowd the kadai.
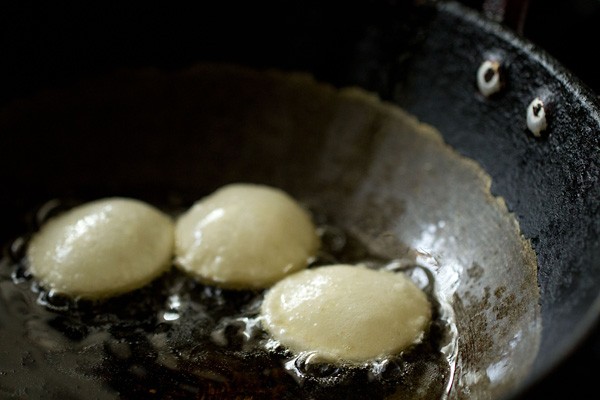
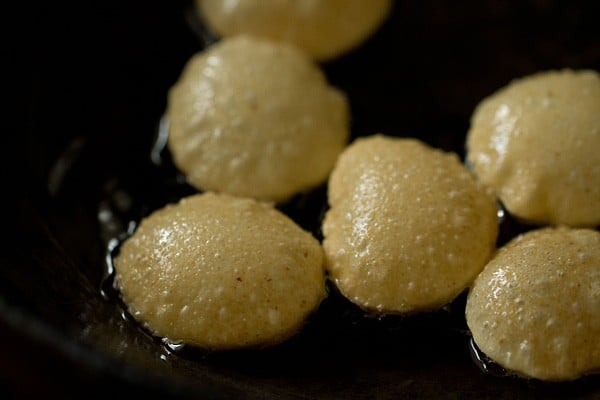
22. They will puff up quickly as soon as you add them to the hot oil. You can fry up to 4 to 8 pieces at a time, depending on the size of your pan. Nudge the pooris with the frying spoon so that they puff up.
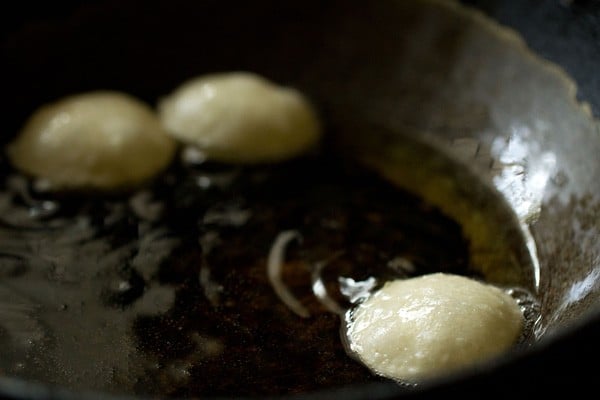
23. With a slotted spoon flip them, once they puff up. Flip a couple of times as needed.
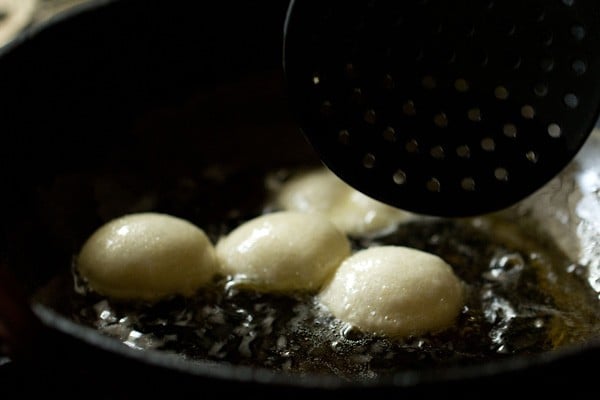
24. Even after oil stops sizzling, continue to fry the pooris till light golden or golden. Even after they become golden, keep them in the oil getting fried for a few seconds, so that they become crisp.
Frying this way, gives a crisp texture to the pooris from outside as well as inside. Otherwise, they may remain soft from the inside and crisp from the outside.
25. Drain puris on kitchen paper towels. There will be a few flat puris too. These you can use to make Sev puri, Bhel puri, chana dal bhel puri or Papdi chaat.
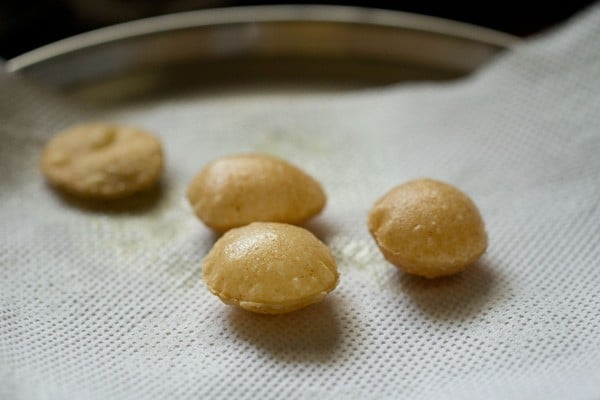
26. Continue to fry the remaining pooris this way in batches.
27. Drain puris on paper towels to remove excess oil.
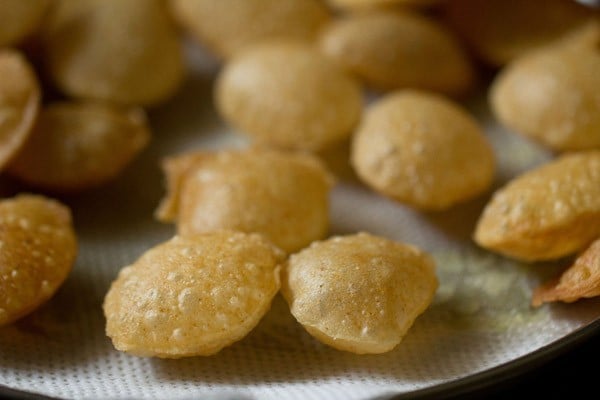
28. Once puris get cooled at room temperature, immediately add them to a jar or box and close the lid tightly.
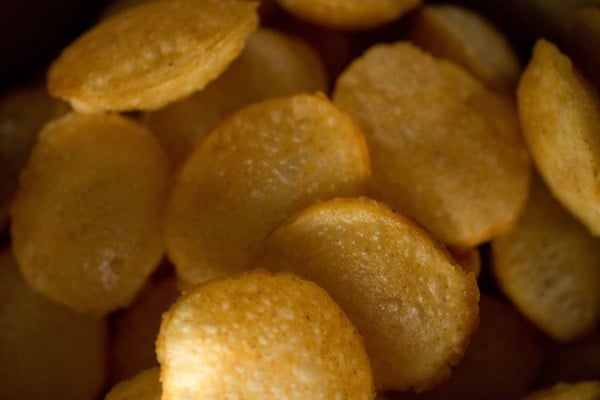
29. A close-up photo showing the crispy texture of the pooris.
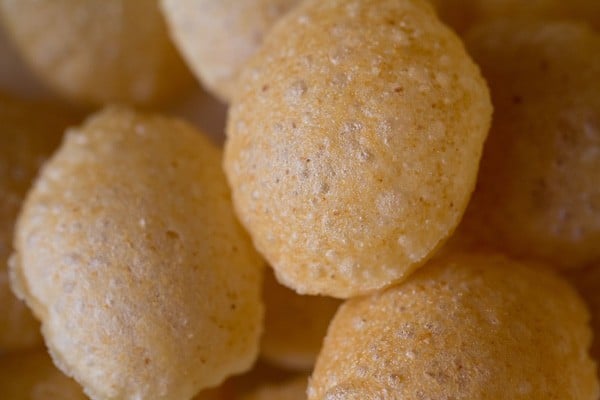
30. Make Pani puri, Dahi puri or ragda puri from these homemade puri or golgappas or puchka.
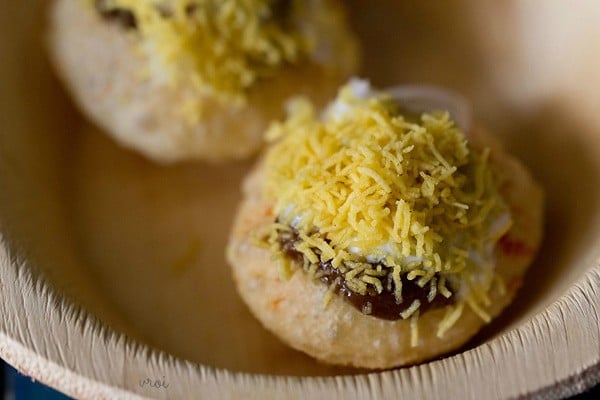
31. You will get 50 to 60 sooji puris from this recipe. They stay crisp and good for a month if stored in an airtight box or jar.
If in case the crispy texture is lost then dry roast the puri in a pan or kadai for some minutes until they become crisp.
Or you can bake them in a preheated oven at 180 degree Celsius for few minutes till they become crisp. But take care that they don’t get too much browned or burnt in the oven. So keep a check when toasting them in the oven.
If you can scale the recipe depending upon the quantity you want to make.
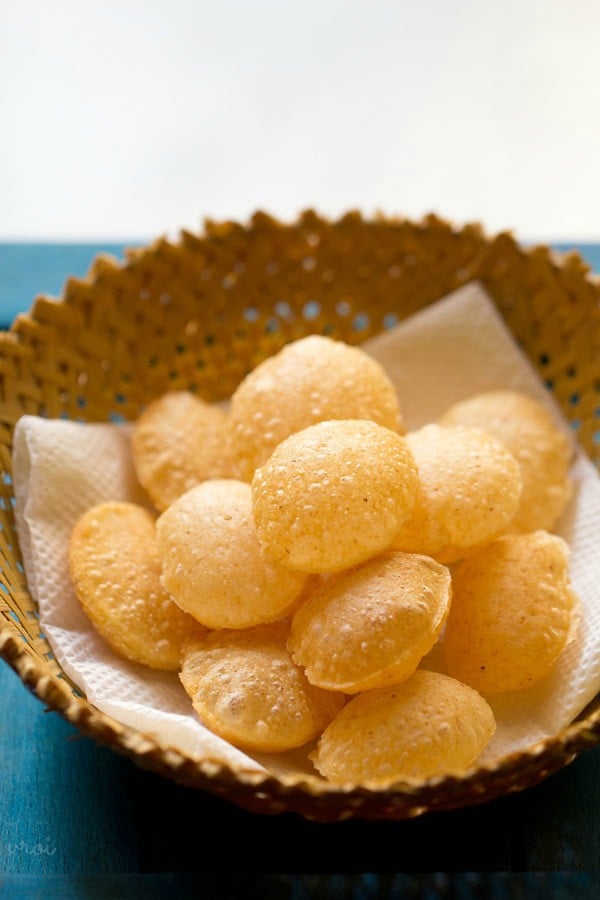
Expert Tips To Make Best Golgappa Puri
- Always cover the dough with a damp cloth even while rolling the puris. If the dough becomes dry, you will not be able to roll the dough easily.
- Ensure that all the rolled puris are covered with a damp cloth. If the puris become dry, then the puris will not puff up.
- These tips comes from experience. Just before frying remove the damp cloth from the puri.
- You could fry 4 to 7 puris at a time depending upon the size of the kadai.
- Do not add oil to the dough while kneading as the suji ke golgappe will become soft later.
- The dough has to semi soft with gluten strands formed in them. There has to be elasticity in the dough. These factors give a crisp puri. The crispness stays even after the pooris are cooled and even later.
- Refined flour or all-purpose flour (maida) is used for binding the dough. Avoid adding more flour to the dough. If the dough is not binding well, then you could add a few teaspoons more of flour. But don’t add too much.
- The puris have to be thin. If you do not roll them thinly, then they won’t puff up well and will remain soft from within.
- Fry the puris in a moderately hot oil. If the oil is not hot enough, the puris will absorb oil and become soaked in oil. Too hot oil, will burn the suji ke golgappe.
Please be sure to rate the recipe in the recipe card or leave a comment below if you have made it. For more vegetarian inspirations, Sign Up for my emails or follow me on Instagram, Youtube, Facebook, Pinterest or Twitter.
Puri For Pani Puri | Suji Ke Golgappe
Ingredients
- 1 cup sooji (rava or semolina), fine and unroasted – 160 grams
- ⅛ teaspoon baking soda or 3 to 4 pinches
- 1 tablespoon all-purpose flour
- 6 tablespoon water or add as required
- ¼ teaspoon salt or add as required
- 1 teaspoon oil – for the dough
- oil – as required for deep frying
Instructions
Making suji puri dough
- In a mixing bowl, take the fine unroasted sooji or rava or semolina, 1 teaspoon oil, baking soda and salt. With your fingers, mix the oil evenly with the sooji.
- Now add all purpose flour to this mixture.
- Mix again very well so that the all purpose flour is mixed evenly.
- Add 3 tablespoons water first. Mix again. Then add 1 tablespoon water more and begin to knead the dough. Sooji absorbs water while kneading. Add water in parts while kneading.
- Then add 2 tablespoons more of the water and continue to knead. The kneading is very important in getting the perfect texture. The dough is not soft nor too hard.
- If you make the dough soft, then add 1 to 3 teaspoon more of the suji. If the dough looks hard, then add sprinkle some water and continue to knead.
- The suji puri dough should be elastic. Gluten strands need to be formed, which gives a structure and shape to the pooris. The correct texture of the dough, also help in puffing puris and helps in them staying crisp.
- Knead very well. Elasticity helps in rolling the dough without cracks and thinly. When rolling, the dough should roll easily without any cracks. You should be easily able to lift the rolled dough without it tearing or breaking and falling apart.
- Knead to a semi soft elastic dough and keep it in a bowl or pan.
- Cover the dough with a moist kitchen towel or napkin and allow the dough to rest for 30 minutes. You can also keep the dough for an hour.
- After 30 minutes, knead the dough again.
Assembling and Rolling
- Now divide the dough into two or three parts. Take one part on your work surface and begin to roll. Avoid adding any dry flour while kneading. Keep the remaining dough covered with the moist kitchen towel.
- Roll to a large round. There should be no cracks in the rolled dough. You can flip the entire rolled dough without it breaking or tearing apart.
- Keep on rolling to a thin and even round. The puri have to be thinly rolled. If not thin, the base becomes thick and remains soft even after frying. If the dough is not rolled evenly, then the puri won't puff up.
Making Suji Ke Golgappe
- With a cookie cutter or a small bowl, cut small to medium discs from the rolled dough. Using a cookie cutter gives even shape and size to the pooris. You can also make small balls and roll them. But then the puri won't have an even and uniform shape.
- Remove the dough edges and place the small roundels in a plate without them touching each other. Keep these puris covered with a moist kitchen towel.
- Collect the egdes and knead them lightly. Roll the edges too and make puris the same way.
- In this way make all the puris and keep them covered in a moist kitchen towel. You can also roll them and fry simultaneously like I have done.
Frying Suji Puri
- Heat oil for deep frying in a kadai or pan. The oil should be medium hot. Add a tiny piece of the dough ball in the hot oil. If the ball steadily comes up to the surface, the oil is hot and the pooris can be fried now.
- Slid a few pooris in the oil. They will puff up quickly as soon as you add them to the hot oil. You can fry up to 4 to 8 pieces at a time, depending on the size of your pan.
- With a slotted spoon flip them, once they puff up. Even after oil stops sizzling, continue to fry till light golden. Frying this way, gives a crisp texture to the pooris from outside as well as inside. Otherwise, they remain soft from inside and crisp from outside.
- Fry them till they are a light golden or golden.
- Drain fried puri on kitchen paper towels. There will be a few flat puris too. These you can use to make sev puri or papdi chaat. Continue to fry all the pooris this way.
- Drain them on paper towels.
- Once they get cooled at room temperature, immediately add puris to a jar or box and close the lid tightly.
- Make pani puri, dahi puri or ragda puri or puchka from these homemade pooris or golgappas. You will get 50 to 60 pooris from this recipe. They stay crisp and good for a month if stored in an airtight box.
Notes
- Fry the puri at medium temperature of the oil. You can keep the heat to medium to medium-high while frying. Don’t fry at low temperature or high temperature. Regulate the heat as needed.
- Knead the dough very well until you get a semi-soft elastic dough.
- The rava should be fresh and within its shelf period. Use fine textured rava.
- You can easily halve or double the recipe according to your needs.
- Note that the approximate nutrition info is for 1 golgappe ki puri.
Nutrition Info (Approximate Values)
This Suji Ke Golgappe recipe post from the blog archives first published in July 2010 has been republished and updated on 8 January 2022.




what i can do to preserv the hardness of puri’s they beacome soft and don’t taste good .
give me some tips related to frying puri ( time to fry each puri and the one sided or both sided fry etc )
thanx 🙂
as soon as the puris cool down, store them in an airtight box or container. if they become soft still, then just bake them in the oven for few minutes or slightly roast them on the tava or kadai before serving. they will become crisp. when frying puris, first the the side touching the oil gets browned and then you turn and fry the other side.
ooooooooooooooooooooooooooooooooooooooooooooooooooooooooooooooooh
I think its great we die for this pani puri and to finally have a recipe is amazing
good for you
thanks very much
eleanor
thanks eleanor
I cannot get hold of semolina flour, can I substitute it ( I have chick pea flour? ) with something else??
Debs
in this recipe some other substitute won’t work. there is another kind of pani puri made with wheat flour. i don’t have a recipe of it on the blog. you can search on google for this one. i tried searching but i could not get the wheat flour version 🙁
I have found a source of semolina flour about 15 miles away and am going tomorrow to buy some. I’ll let you know how they turn out.
Debbie
thats nice to know debbie… but i will try to add the whole wheat version of pani puri too.
I tried these fro the first time yesterday ( thanks to Araf…workmate! and loved them. I have to try and make them. Ours came with a lovely sour tamarind sauce, do you have a recipe??
Many Thanks
Debs
there is a tamarind sauce recipe here: https://www.vegrecipesofindia.com/tamarind-date-chutney-recipe-sweet-chutney-for-chaat/
Thank you so much.
welcome debbie 🙂
it is about Panipuri (GOLGAPPE)
Excellent Procedure I like this Method very Much.
Which guides us promptly and correct with no difficult steps.
thanks for the recipe. i follow all ur instructions for pani puri,puri puffs realy nicely but as soon as we take puri off the cooking oil it becomes soft..what should i do to maintain hardness???
i really have no clue why the pooris are turning soft. it never happens with me.
still i would suggest a few things… fry the pooris in a moderately hot oil. after you remove them from oil, drain on kitchen tissues and once they cool down to room temperature, then quickly store them in an air tight container.
another thing that you can do is… if you have an oven then bake the pooris which have become soft for couple of minutes at 180 degrees C. baking will make them crisp. this technique you can do just before serving.
i have tried this recipe of puris step by step,but as soon as i t cools it become soft .i dont know why?please suggest
dear ekta, i am not sure why the puris became soft.
a few tips could be helpful which i have already suggested in the previous comment:
1: fry the pooris in a moderately hot oil. after you remove them from oil, drain on kitchen tissues and once they cool down to room temperature, then quickly store them in an air tight container.
2: if you have an oven then bake the pooris which have become soft for couple of minutes at 180 degrees C. baking will make them crisp. this technique you can do just before serving.
3: lastly if you do not have an oven, then sun dry the fried pooris in the sun for a day and then store.
Hi, there
First of all u can be really a good teacher,as yesterday only I took recipe from my frd she gave same thing but it doesn’t work out after an hour it became soft and then I thought to search on goggle n I got yours u won’t believe it was just awsome thx
thanks reshma. glad to the know the recipe worked for you.
very nice recipe but one thing pl clear that how can i maintain crisp of pani puri as they become soft after cooling
if you store them in air tight container, they won’t become soft. also if in case they do become soft, then just bake them for a few minutes in the oven and they become crisp again. you can also lightly roast them in a kadai or pan. this also makes them crisp.
prior to all thank u very much for this kind of recipe,but can u help me.i mean i want to know recipe for ready made pani puri.today evening i purchased few grams ready made gol gappe(pani puri,) and just fry it.,so my need to know how can we make this kind of ready made pani puri ?pls tell me sir…….i m waiting for this recipe………thnx
i am thinking you have the readymade pooris… so just boil some potatoes or chana or moong. soak the chana and moong overnight before you boil them.
you can buy readymade jal jeeera powder and readymade sweet chaat tamarind/imli chutney. make the jal jeera with some water. then just make the pani pooris with the boiled potatoes or moong/chana and the jal jeera and imli chutney… before buying just check the manufacture date & expiry dates.
you can also make a sweet & sour pani from this link here: https://www.vegrecipesofindia.com/pani-puri-recipe-mumbai-pani-puri-recipe/
nw a days i m big fan of yours recipes.
thanks rashmi for your lovely comment.
i am very big fan of panipuri/golgappa…by above panipuri recepie.i can eating panipuri…wen i want to eat…..so thank u so much…i loved this.Mmmmaaaa
thanks cute girl…
please give the recipe of the pani. does the pani of pani puri differs from that of golgappa!!!!!!!!!!!!
there are some different ways of making the green or sour pani. but the same pani can be had with puri or golgappa. here is a recipe of the pani which my mom makes:
https://www.vegrecipesofindia.com/pani-puri-recipe-mumbai-pani-puri-recipe/
ok i will try