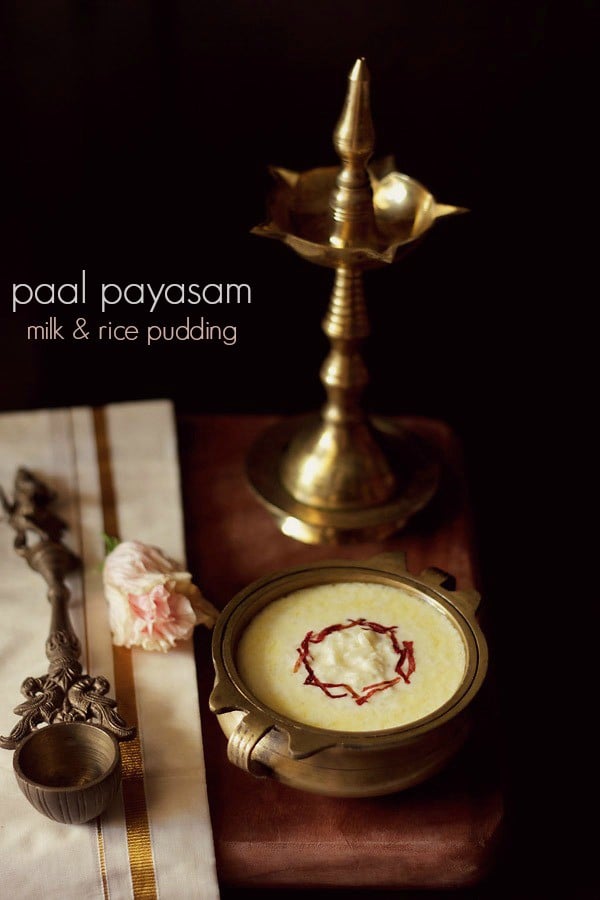
This Paal Payasam recipe is a typical Tamil style Rice Payasam – a creamy, delicious pudding of milk and rice. No extras added, just the basic rice pudding in South Indian style. Rice is a staple grain in the Indian cuisine and we make many preparations from it. Particularly in South India, savory and salty preparations like Tamarind Rice, Curd Rice, etc. to sweet desserts like this Paal Payasam, Sweet Pongal and many more are made. South Indian cuisine is known for its plethora of rice-based dishes too.
About Paal Payasam
A Rice Pudding is known as Rice Kheer in India. So, when you translate the famous sweet from Tamil Nadu, Paal Payasam in English, it is ‘milk (paal)’ and ‘kheer (payasam).’ It is often spelt as Paal Payasam or referred to as Arisi Paal Payasam or Rice Payasam.
This Rice Payasam is also the simplest sweet that you can ever imagine of. Only 4 ingredients – rice, milk, sugar and ghee – simmered together into a thick, creamy concoction of deliciousness.
This South Indian sweet dish can literally be the dessert of your dreams because it is so easy to make and a 10/10 on taste.
Paal Payasam can be served hot or cold as a sweet or an after-meal dessert. You can also make this payasam on festivals and offer it to the deities.
Since we are talking about this particular South Indian version of sweet pudding, me sharing other similar variations of the same will be totally justified. So, you can try all of these too.
From Southern India, some of my other favorites are Pasi Paruppu Payasam and Tamil delicacy Aval Payasam.
About My Recipe
I had developed my affinity towards different types of payasams while holidaying in Kerala many years back. The hotels we stayed at served some really authentic and tasty versions.
Like the mixed lentil payasam. Another one was the moong dal payasam, which was served as prasadam at the Guruvayur Temple.
I literally had an overdose of payasams on that trip, but in a positive way. And it was only right on my part to try all of them (and more!) back at home, and share the recipes that I would come up with on my blog as well.
To begin with, was this really simple, yet decadent version of the Rice Payasam. This Paal Payasam has no flavorings or dry fruits, still tastes heavenly.
The combination of rice, milk and ghee is enough to bring out the best of flavors, and you actually won’t miss any of the flavorings in this dish.
But still, if you can’t really digest a payasam or kheer without adding some flavorings in it, refer to this list, choose and add what you like:
- Cardamom powder
- Nutmeg powder
- Saffron strands
- Blanched and sliced almonds
- Chopped or sliced cashews or pistachios
- Raisins
- Rose water
- Kewra water (pandanus water)
The way to cook this Rice Payasam is that of a slow cooking method. Because of the slow simmering, the Paal Payasam develops its own rice flavors.
I usually don’t cook kheers/payasams in a pressure cooker as I don’t take chances with the milk spilling out from the cooker and creating a mess. But if you wish, you can try cooking it in a stovetop pressure cooker.
How to make Paal Payasam
Sauté Rice
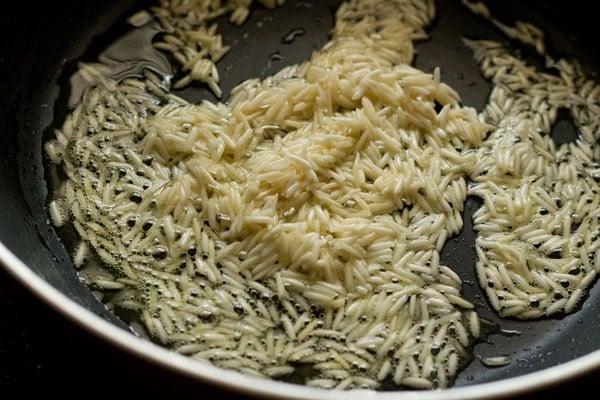
1. Heat 1 tablespoon ghee in a thick bottomed wide pan or kadai. If you want, you can also add ½ tablespoon ghee.
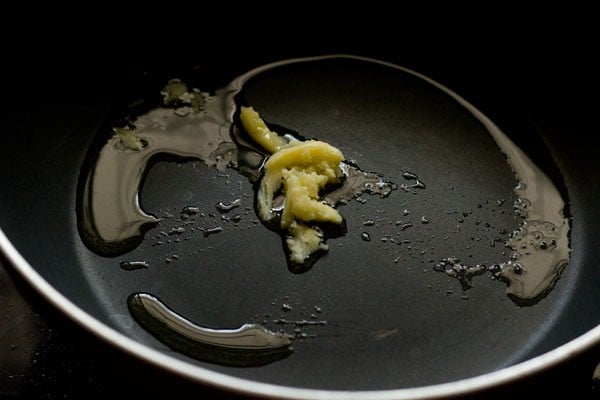
2. Add 3 tablespoons basmati rice. I kept the rice whole. You can also coarsely ground the rice and then add.
Also, if you prefer, you can rinse the rise grains first and spread them on a plate to dry.
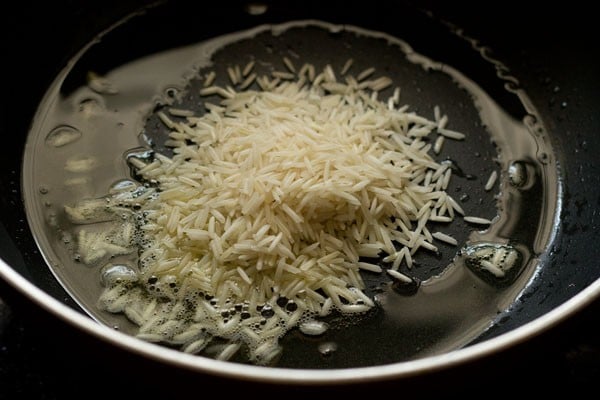
3. Stir the rice grains and sauté.
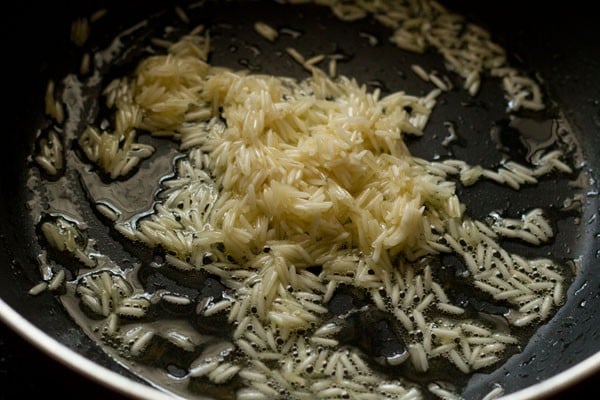
4. Sauté for on low to medium heat for about 30 seconds or till the rice turns fragrant. Do not brown the rice.
Cook Rice With Milk
5. Then, add 1 liter full fat milk or whole milk which has been boiled before. The pre-boiled milk can be hot, warm or refrigerated.
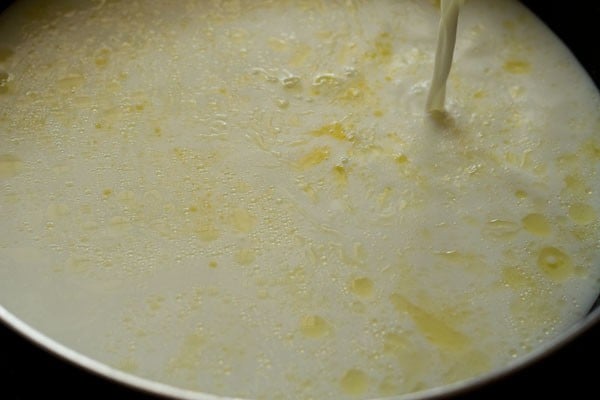
6. Stir to combine.
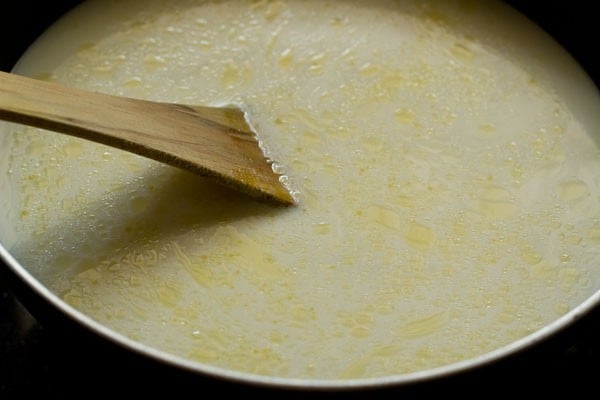
7. Bring the milk to a boil first, on low to medium heat. Stir while the milk is getting heated up, so that the bottom of the milk does not get scorched.
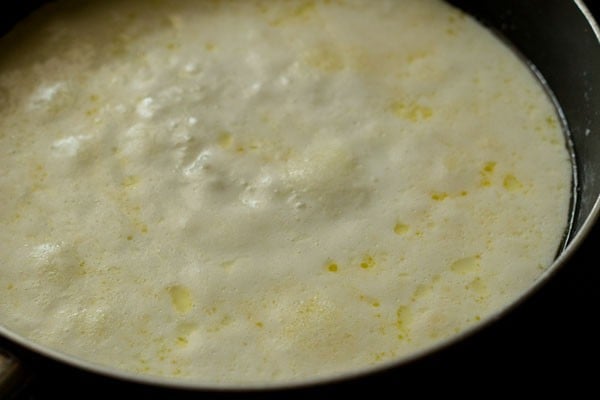
8. After the milk has come to a boil, continue to simmer till the rice grains are cooked. For quick cooking of the rice, I kept a lid on the pan.
But in this case, you have to be in the kitchen and alert, so that you open the lid when the milk starts frothing up.
Or else you can cook the rice uncovered. But do stir regularly. Another tip is cover the pan in such a way, so that some of the steam can be passed through.
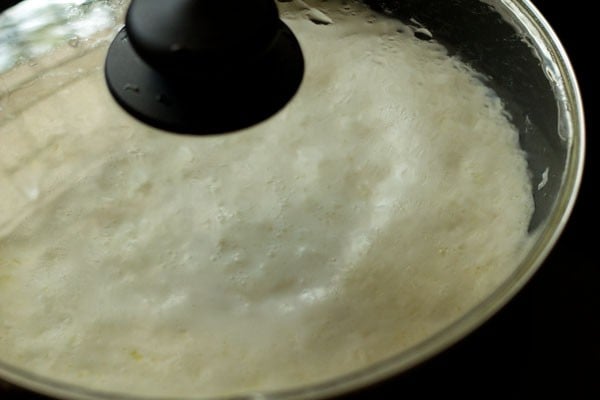
9. After 30 minutes the rice grains are ¾ᵗʰ cooked.
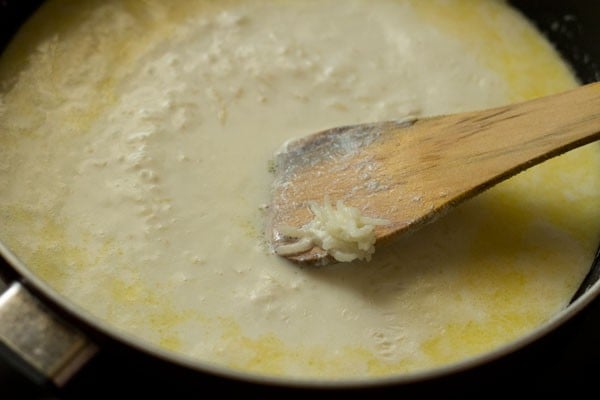
10. Continue to cook further till the rice grains are completely cooked. Here, I have kept the lid in a way, allowing some space for the steam to pass.
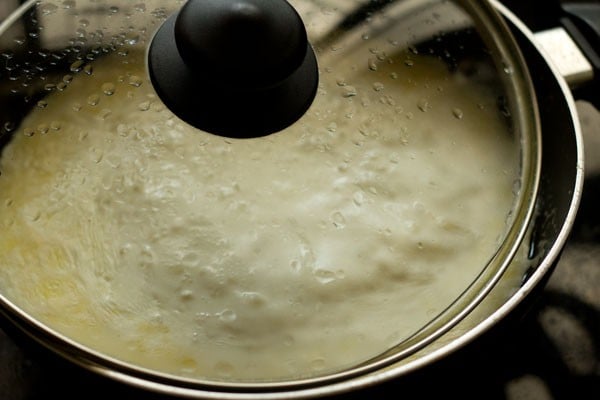
11. Here the rice grain are cooked well and softened. After the rice grains are completely softened, you can even mash them while stirring with a spoon or spatula.
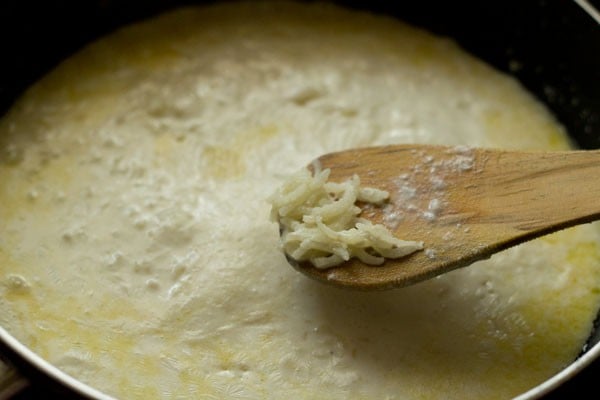
Make Paal Payasam
12. Once the rice grains are cooked, add 4 tablespoons sugar. You can add sugar as per your taste requirements.
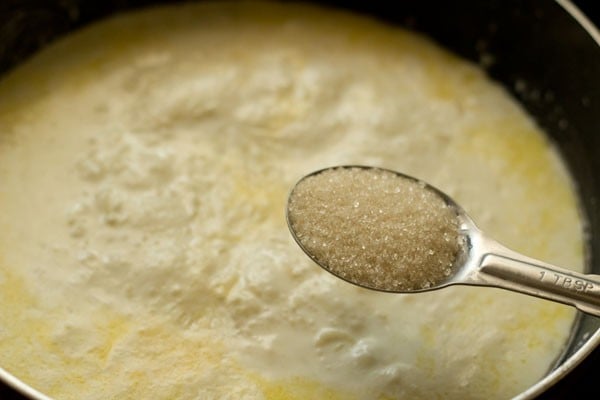
13. Stir so that the sugar is dissolved.
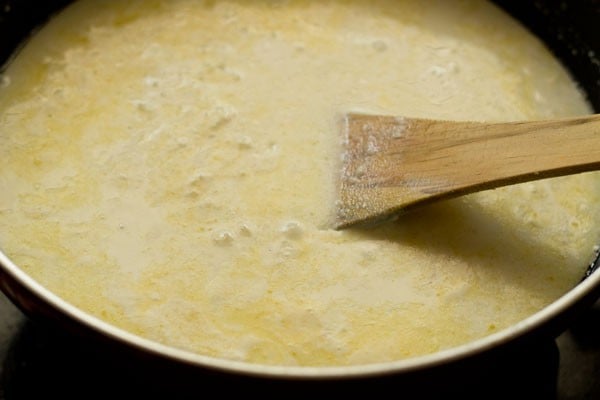
14. Simmer further for 8 to 10 minutes or till the milk has reduced and the payasam has thickened.
Keep in a mind that as the payasam cools, it will thicken more. So, you can decide the consistency you prefer.
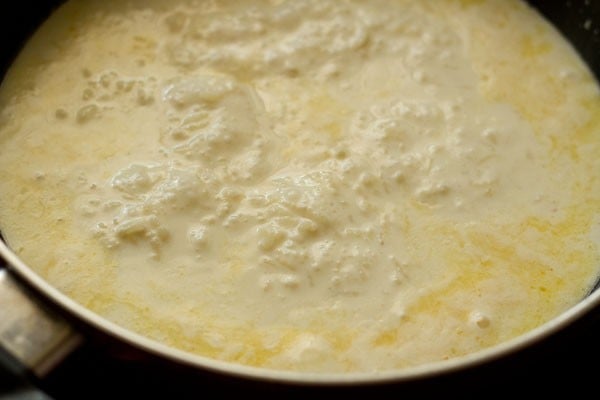
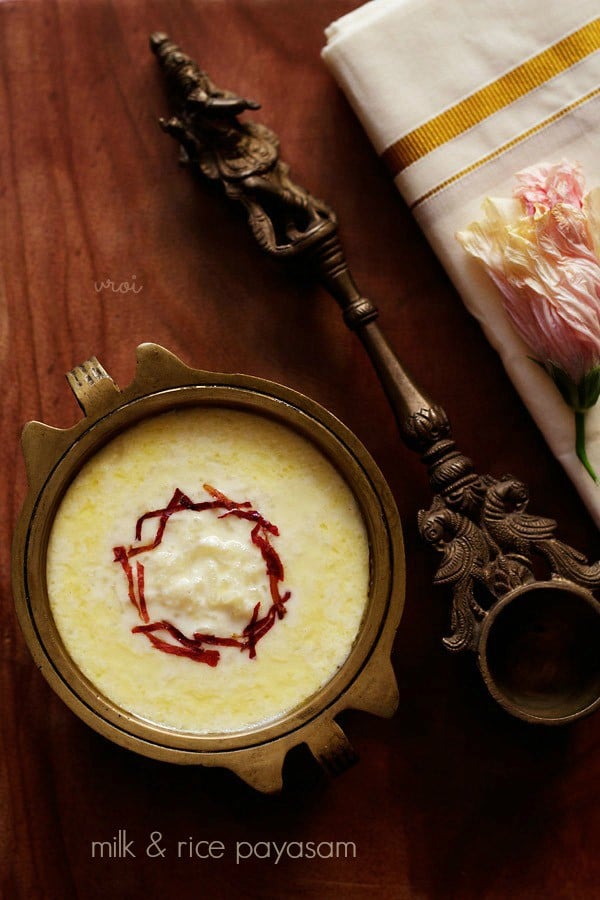
15. Serve Paal Payasam plain or garnished with saffron, rose petals or sliced almonds.
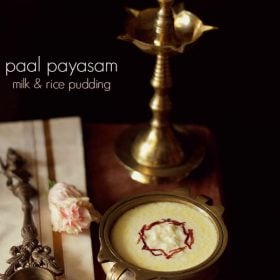
For the picture, I garnished with some dried rose petal chiffonade. You can serve the Rice Payasam hot or cold. Refrigerate when it comes to room temperature.
Expert Tips
- For this payasam, use full fat or whole milk. Low fat milk have the chances of curdling while getting cooked. Also, pre-boiled milk that is added in the rice, can be hot, warm or refrigerated.
- You have to keep stirring the milk when it is getting heated in order to avoid scorching from the bottom.
- Since this payasam is cooked in ghee, you can go a little low on it. Instead of 1 tablespoon, you can add ½ tablespoon too.
- I have added whole rice in this recipe. You can even grind the rice coarsely and then add. With ground rice the cooking will be faster.
- To cook the rice quickly, I covered the pan with a lid. But if you are doing so, stay around so that you can open and check when the milk starts to froth. Also, cover your pan in a way that some steam can be passed through. If not doing this, then you can cook the rice uncovered as well, but keep stirring regularly.
- You may have your likings when it comes to the sweetness in the payasam. Add sugar accordingly.
- Remember on cooling, you will have a thicker payasam. So, decide on the consistency you want and cook accordingly. If not serving immediately, refrigerate once it comes to room temperature.
- Garnish options: Rose petals, saffron, sliced almonds or pistachios or your choice of nuts.
More Similar Recipes To Try!
South Indian Food Recipes
South Indian Food Recipes
Sweets Recipes
Sweets Recipes
Please be sure to rate the recipe in the recipe card or leave a comment below if you have made it. For more vegetarian inspirations, Sign Up for my emails or follow me on Instagram, Youtube, Facebook, Pinterest or Twitter.
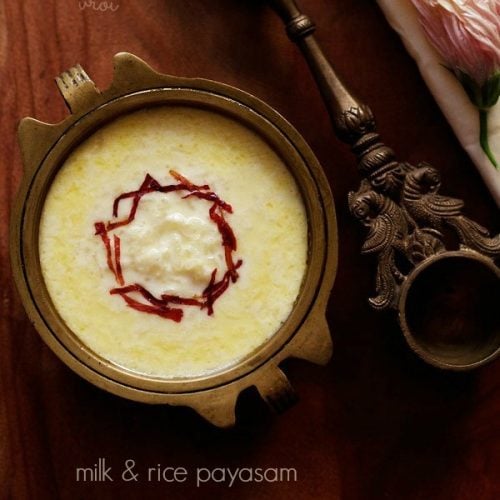
Paal Payasam | Rice Payasam
Ingredients
- 3 tablespoons basmati rice or any regular or long grained non-sticky rice
- 1 litre whole milk or full fat milk
- 4 tablespoons sugar or add as per taste
- 1 tablespoon Ghee (clarified butter)
Instructions
- Heat ghee in a thick bottomed wide pan or kadai until it melts. Keep the heat to a low or medium-heat.
- When the ghee melts, add basmati rice.
- Stir the rice grains and sauté for about 30 seconds on a low to medium heat or till you get a nice fragrant aroma from the rice. Do not allow the rice to get browned.
- Then add milk which has been boiled before. The pre-boiled milk can be hot, warm or refrigerated. Stir the rice grains with the milk.
- Bring the milk to a boil first on a low to medium heat. Do stir when the milk is getting heated up, so that the bottom of the milk does not get scorched.
- After the milk has come to a boil, continue to simmer till the rice grains are cooked completely and softened.
- For quick cooking of the rice, I kept a lid on the pan. But in this case, you have to be in the kitchen so that you open the lid when the milk starts frothing up. Or else you can cook the rice uncovered. But do stir regularly.
- Another tip is cover the pan in such a way, so that some of the steam can be passed through.
- Continue to cook further till the rice grains are completely softened. After the rice grains are cooked, you can even mash them while stirring with a spoon or spatula.
- Once the rice grains are cooked well, add sugar. Stir so that the sugar is dissolved.
- Simmer for a further 8 to 10 minutes till the milk has reduced and the payasam has thickened. Do keep in mind that as this payasam cools it will thicken more, so you can decide the consistency which you prefer.
- Serve Paal Payasam as is or garnished with saffron, rose petals or sliced almonds. You can serve the payasam hot or cold. You can also offer the payasam to any deity first before serving to anyone else.Keep any leftover payasam in the fridge after it comes at room temperature.
Notes
- When making rice payasam for the deities, do not taste or smell any of the ingredients. Also use freshly purchased ingredients.
- Feel free to include your choice of nuts and dry fruits. You can opt to fry the nuts separately in 1 tablespoon ghee and add this entire mixture of the fried nuts and ghee to the payasam once it is cooked.
- For flavorings, you can add add cardamom powder, cloves powder, nutmeg powder, cinnamon powder, saffron strands, rose water or kewra water.
- While I have used raw sugar to make this sweet, you can also use jaggery omitting the sugar. Grate or finely chop the jaggery. Let the payasam cook first. After the payasam is cooked, set it aside on the countertop for 3 to 4 minutes. Then add the jaggery and stir to mix until the jaggery dissolves. You could add about 4 tablespoons of grated or finely chopped jaggery.
- This recipe can be scaled easily to make for less servings or more portions.
Nutrition Info (Approximate Values)
This Rice Payasam recipe post from the archives first published in October 2015 has been republished and updated on November 2022.


Thanks for the recipe! I have prepared payasam with plantains but now I will try this it seems to be a more filling dish from the description. Your culture is simply intoxicating! Thank you for sharing 🙂 greetings from 🇨🇦
Thanks a lot Kane. Greetings and Namaste from India.
Hii, Dassana will u suggest instead of sugar can i add milkmaid in it will it taste good or not….
shweta, if using condensed milk, then use it with milk. it will taste good. but cook the rice first in water + milk. once the rice is cooked, then add the condensed milk. so for 3 tbsp rice, you can use 1/2 litre of milk (2 cups milk) + 1 cup water or overall 3 cups milk. if required you can always add more milk. when the grains are almost cooked, then add the condensed milk. you can add 1/3 cup which i guess will be enough and not making the payasam too sweet. also in case the payasam becomes very sweet, then you can always add some more hot milk to reduce the sweetness.
Came out really well for today’s pooja… Thx a lot..
welcome vandhena and thanks for positive feedback 🙂
I have tried this on my wife’s birthday and it came out very well. Thank you!
welcome gowtam, thanks for positive views:)
Super recipes
thanks anitha.s
I try it today and it is amazing 😀
I will eat everything I have. Fantastic recipe. I give into it a cinnamon and it taste really good 🙂
Thank you :):):)
thanks a lot michaela 🙂
Hi Dasana,
looks awesome…will definately try this one. I tried most of your recipes and all turn out just awesome…I don’t have to modify it at all, specially with respect to dessert the amount of sugar that you mentioned in your recipes works best for our family.
Thanks a ton for posting new recipes.
A small request if you can include how to make dhoda at home in future…would be great !!
welcome shipra. glad to know this. thanks for sharing your positive feedback. i had dhoda many times (from Om Sweets, Sec 14 – Gurgaon) but i don’t know how to make it at home. i will have to try the recipe at home first.
Hi Dassana,
yes me too have it many times from Om sweets – Gurgaon. Now I moved to Singapore and really miss it on our festivals. So thought to ask you if you are aware of how to make it. I am sure you would be able to figure out and post that soon. Good luck with trying at home and hope to hear from you soon.
shipra, whenever our relatives come from gurgaon, they always get a pack of dhodha, patisa and petha. for dhodha i know the ingredients but never given a try. so lets see if i can try the recipe and then post. thanks. hope the trial is a good one and not a disaster 🙂
Lovely pics dassana!
Have u tried any Thai desserts using sago if so can u post the recipe or any dessert using sago
thanks lata. i have not tried any thai sago dessert, but i have seen them on the web. let me see if i can add during navaratri 🙂
Love to cook. Made your payasam, I was some good,
Thanks
If you have a news latter,with recipes, I would to get it
welcome bradley. there is no newsletter but i will add your email in feedburner subscription link.
Wanted to share few suggestions regarding the preparation of payasam, since I am from kerala 🙂 Try to use small variety of rice for this. Basaltic has a flavour and smell which might change the taste and aroma of the final product. There is absolutely no need of ghee in this recipe. I am just telling you the traditional style. Any modifications can be made as per personal tastes. Usually the raw rice is added to boiling milk and let it cook in that milk. The milk will also reduce in quantity. Once the rice is cooked, you can add sugar. Traditionally there are no flavoring agents added, no dry fruits too. But again, it is all about personal taste. Sorry for the long post!
no problem about the long post karthika. i know about the kerala payasam. ghee is not added and the kerala rice is used. this recipe is the tamil version. thats why ghee is added. in kerala i had rice payasam with the kerala red rice, but flavorings were added in that one. we also had ada pradhaman and all of us liked it. i will try to get ada here and make the payasam. i just want to know what is basaltic? i think its an spelling mistake and you meant some other word. btw basaltic comes from the word basalt which is a type of rock.
Oh my God,that was a typo 😀 Auto corrected.. so sorry!I meant basmati. And sorry I misunderstood it to be kerala payasam 🙂 I thought my post didn’t get uploaded. There was some error while submitting it.
the auto correct typo happens with many readers 🙂 its fine karthika. no problem. i will add the kerala payasam also in some time. sometimes while adding due to slow internet or the website speed, the comment form gives an error. sometimes the comments go in the spam and then i manually unspam all the comments.
I m great fan of ur recipes..I followed always..I want to ask u baking tray size of lg21 ltr convention microwave..plz solve my query.. I m totally beginner in baking…baking tips plz
.
thanks a lot. i am not sure what will be the baking tray size of a lg 21 convection microwave oven. what i do for my OTG is that i measure the dimensions inside with a measuring tape and while buying i check the dimensions of the tray or pan. then i buy. what baking tips you are looking for?
1 Can we add milk maid in the recipe , Dassana ji .
2 Do we have to strain or keep rice some time in water ?
Thanks alot
Sorry for bothering.
no issues. yes you can add milkmaid. but then do not add sugar. you can add about 1/3 cup of milkmaid. no need to soak the rice in water. but for a quick cooking, you can soak the rice for about 20 to 30 minutes. then drain them well and dry them in a kitchen towel. also if you want you can rinse the rice and then dry them in a kitchen towel, before sauteing in ghee.