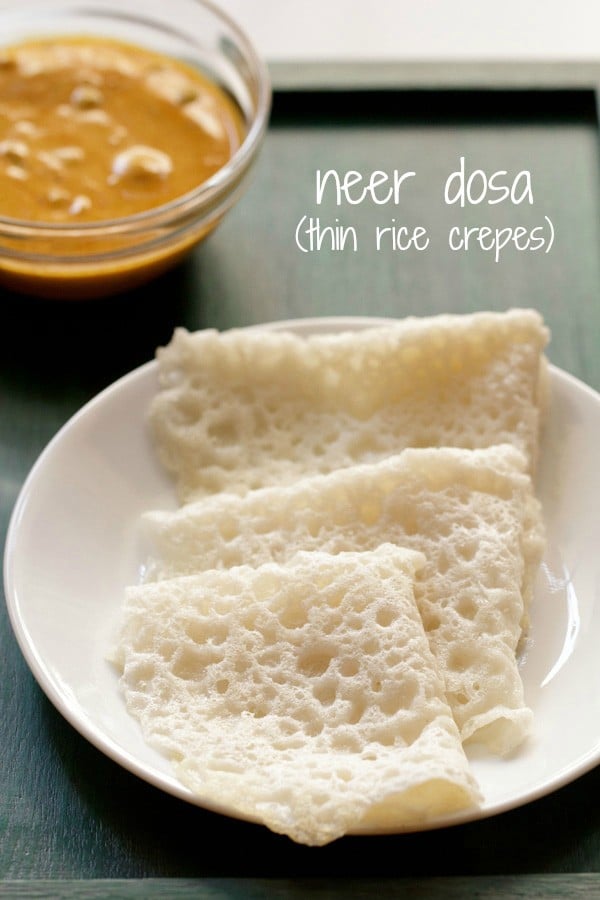
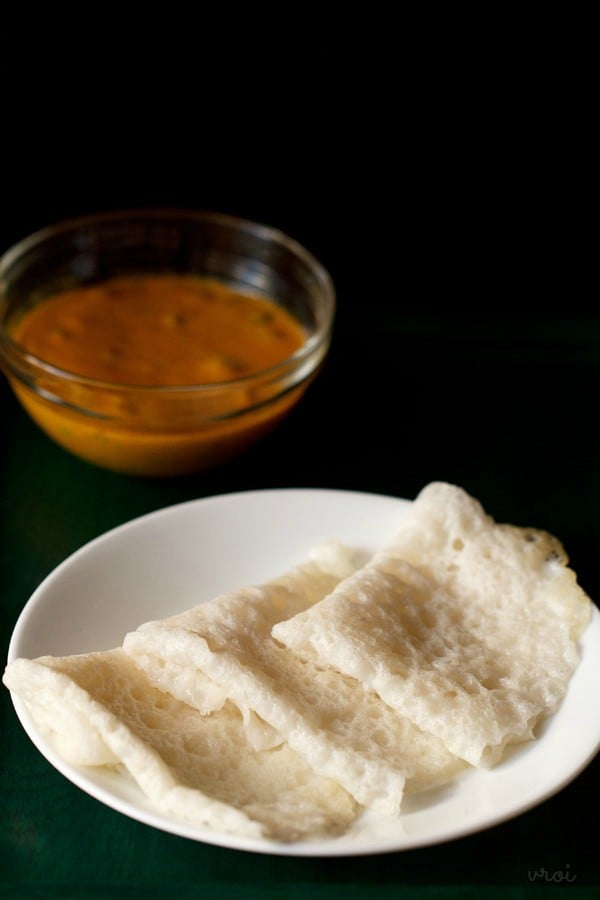
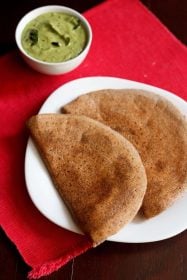
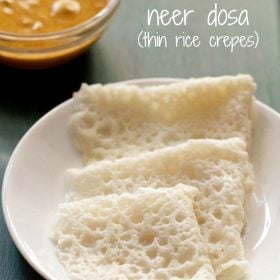
Thin yet fluffy, lacy and light, this Neer Dosa recipe yields a breakfast that you’re sure to love. Also known as neer dose and a special breakfast from the Mangalorean cuisine, these super soft and tasty Indian crepes are made with a handful of ingredients – rice, water and salt. They also just so happen to be naturally gluten free and vegan, making them the perfect menu item for your weekend brunch.
About Neer Dosa Recipe
Neer dosa are is a popular dosa variant from the Indian state of Karnataka. “Neer” means “water” in the Tulu language, meaning this dish is literally known as “water dosa.” They are so named because the batter is quite thin and watery, unlike the usual thick dosa batter.
One of my aunts – who is from the Bunt community in Mangalore – introduced me to this lovely breakfast specialty. I make them often because they are easy to prepare and don’t require any fermentation (or much forethought).
These lacy dosa pair well with coconut chutney for a delicious breakfast, or can be added to your tiffin box for a nice addition to your packed lunch.
Since they are so light, you can easily devour 5 to 6 of them in one sitting, so make sure you plan accordingly when making the batter.
Neer dosa are easy to prepare as fermentation is not required. You just need to soak the rice for about 4 to 5 hours and then grind it. If you want to eat the neer dosa first thing, you have to soak the rice overnight.
If you’re in a real rush, you can also swap in rice flour to cut back on soaking time. Rice flour requires just a 30 minute soak in water prior to making the batter. I sometimes use this tip when we wake up extra hungry and have cravings for neer dosa. Once the batter is ready, you can start making the crepes and eat them hot from the pan.
Apart from coconut chutney, neer dosa can also be served with Veg Sagu, Vegetable Kurma or Potato Kurma. For kids, it is commonplace to serve this dosa with coconut milk or milk sweetened with some jaggery.
How to Make Neer Dosa
Make Rice Batter
1. Soak 1 cup rice for 4 to 5 hours or overnight, using enough water to cover it. I generally soak overnight and then grind or blend the next day.
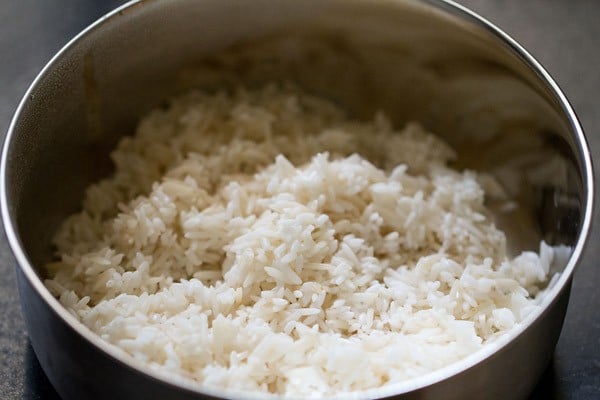
2. Drain the soaked rice and add the grains to a powerful blender or mixer-grinder.
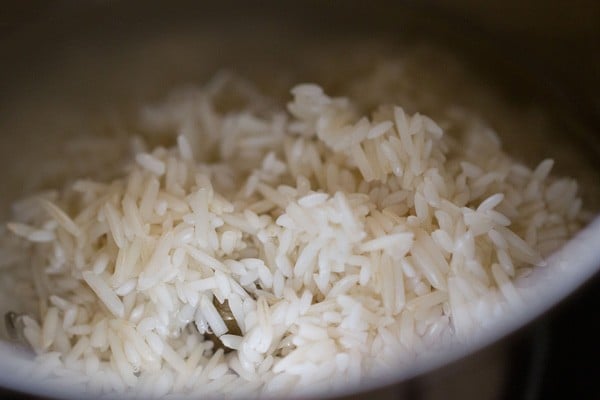
3. Add *just* enough of water for grinding the rice – about ¼ to ⅓ cup. If you add plenty of water, you won’t be able to grind the rice well.
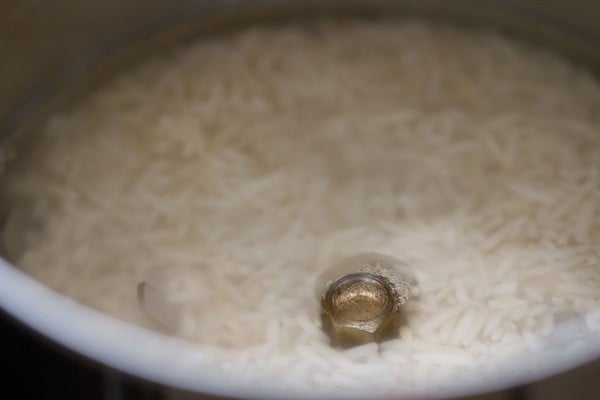
4. Grind or blend to a smooth batter and then pour it in another bowl or pan. The batter should not have any coarse particles of rice. If the mixer-grinder becomes hot, then wait for a few minutes for it to cool down and then grind again.
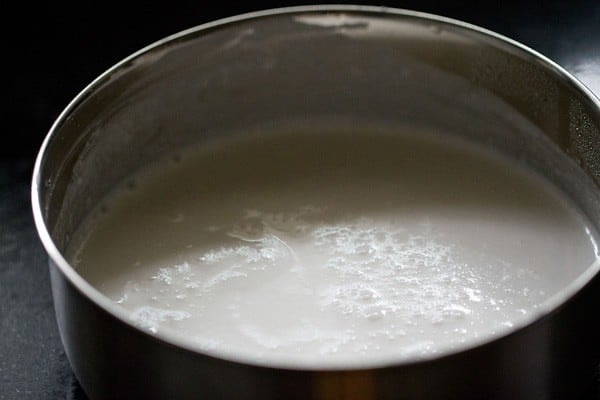
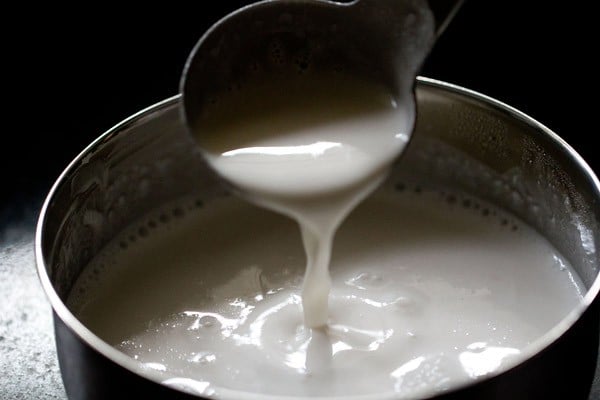
5. Add more water to get a thin, flowing, watery consistency almost like that of milk. The addition of water depends on the quality and kind of rice; add water accordingly. Now you can add from 1.5 to 2 cups of water. I added 2 cups of water for 1 cup of rice.
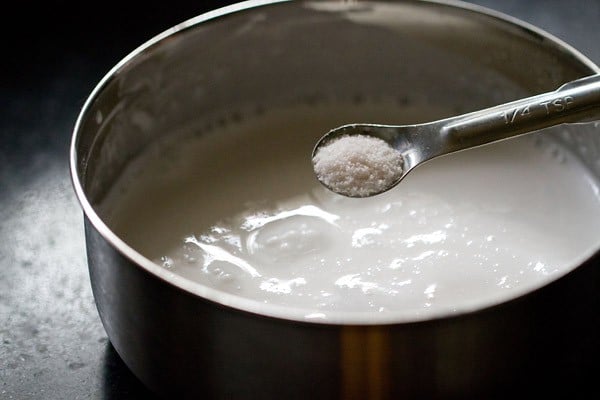
6. Add salt as required and mix well.
Make Neer Dosa
7. In a cast iron skillet or tawa or a nonstick pan, drizzle ½ teaspoon of oil with a high smoke point.
Tip: If using a cast iron skillet, sprinkle some water to check the temperature of the pan before adding the oil. If the water droplets sizzle and evaporate, then the pan is ready to make dosas. Avoid using this method on a nonstick pan as adding water on a hot nonstick pan will affect the coating.
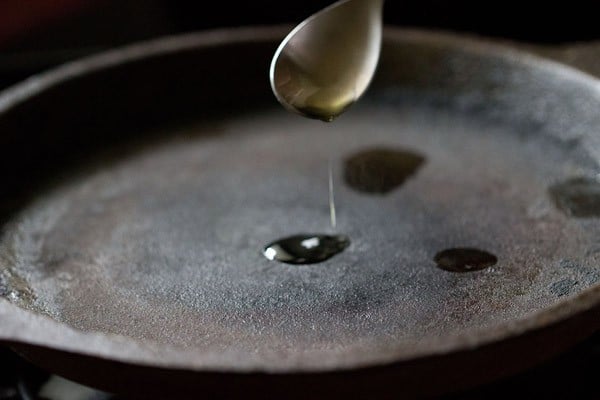
8. Spread the oil all over with a spoon, a small piece of cotton kitchen towel or a halved onion.
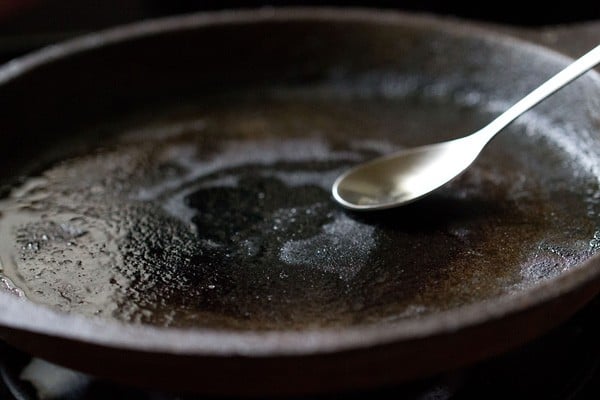
9. Stir the batter in the bowl and take a ladle full of batter.
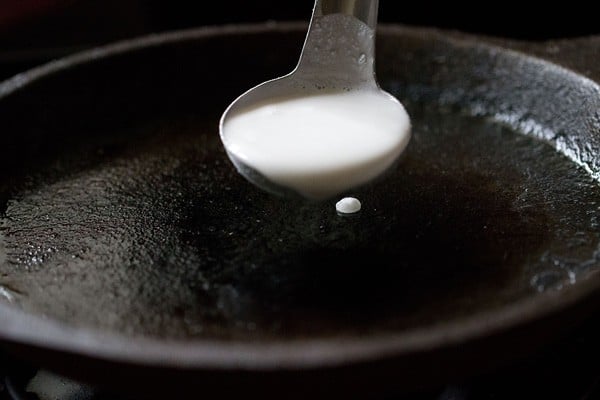
10. Then pour the batter moving from the outside of the pan to the inside, like we do for Rava dosa. You can also spread the batter by tilting and rotating the pan.
Do not spread the batter with the back of the ladle like we do for regular dosa.
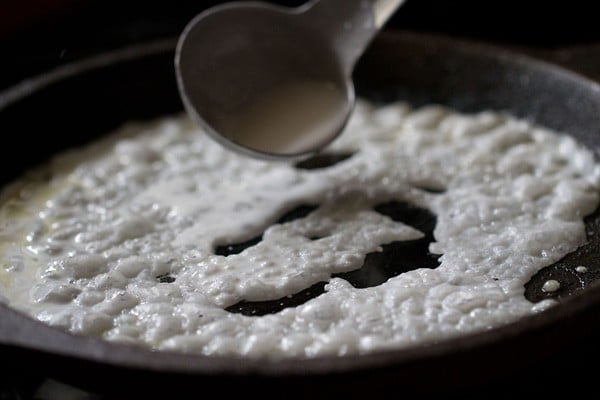
11. Fill in any large gaps with extra batter.
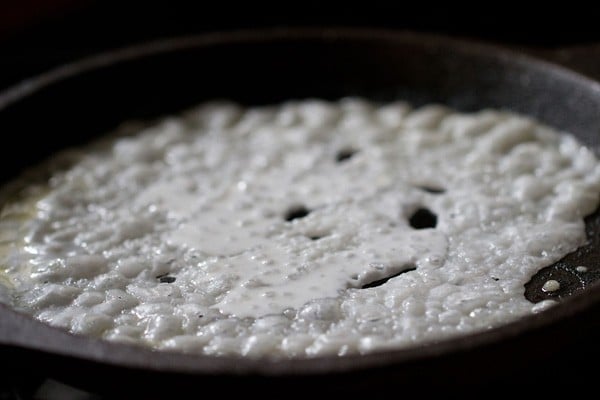
12. Cover with a lid and cook the neer dosa until cooked through. Don’t brown it.
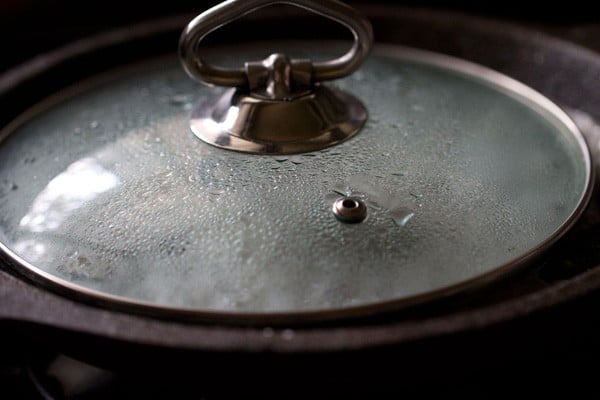
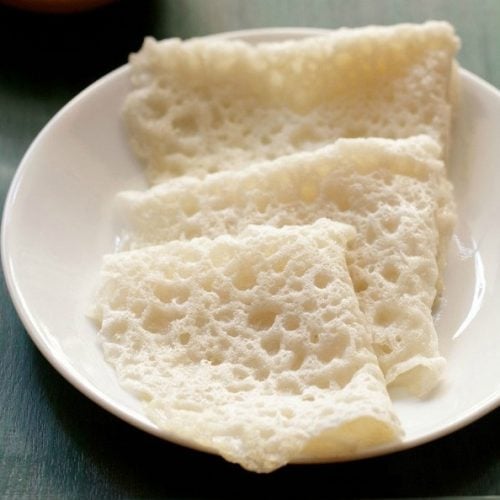
13. In the photo below, the neer dosa is done. When the the batter has firmed up and looks cooked, the dosa is done. The edges or sides will also separate from the pan.
These rice crepes are never flipped. Only the base has to be cooked well.
You can choose to drizzle some oil on the top of the neer dosa if you prefer.
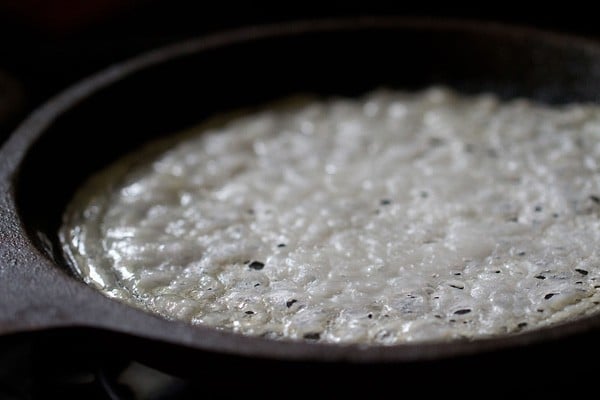
14.Fold the completed neer dosa into a triangle on the tawa or skillet itself.
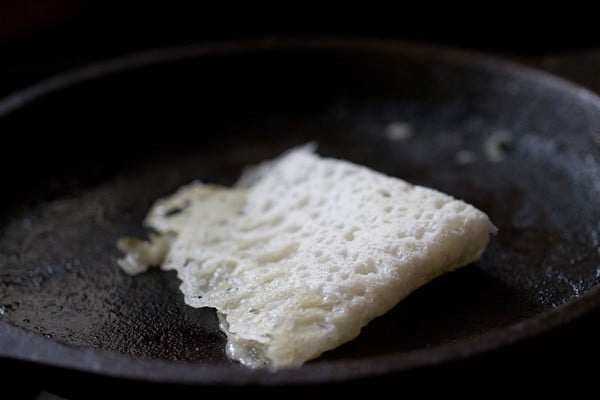
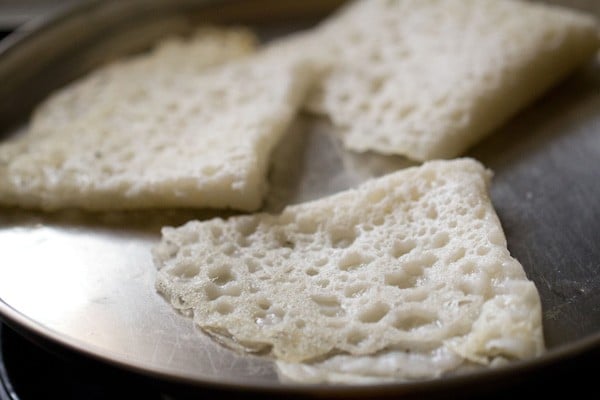
15. Then remove the dosa and place it on a plate. Make the remaining neer dosa this way and place them separately – without them touching each other – on a plate.
Once they cool down, you can keep them in a casserole or an airtight container/dabba.
Serving Suggestions
16. Serve neer dosa warm with coconut chutney, potato sagu, or veg kurma. Neer dosa will remain soft even after they cool down, so you can serve them later, too.
Since they remain soft, they are a good option to pack in tiffin-box or lunch-box.
Storage
Once the dosas are done cooking, don’t stack them while they are still hot as they will stick to each other. Stack them up only when they are thoroughly cooled. Or you can choose to place them between parchment papers.
You may ask “Can we keep neer dosa batter in fridge?”.
My answer is yes, you can. It stays good for a 1 to 2 days. Store it in an air-tight container. I would not recommend storing it for more than 2 days as the batter can go sour or become rancid.
If in case the batter has thickened a bit after refrigeration, then add a splash of water to thin the consistency slightly.
Tips & Tricks
These simple, lacy rice crepes are rather easy to make. That said, I have assembled a list of my best advice for ensuring they come out perfectly every time.
A Thin Batter is the key to get perfect neer dose
The batter consistency should be watery, thin and flowing. The batter should not be thick. If the batter has a pouring consistency, then you will get the coveted tiny holes and lacy appearance of neer dose. If you cannot easily pour the batter, then you’ll need to add some more water to thin it down.
Thick batter will cause cracks in the neer dosa; be sure to have a pourable, thin consistency.
If the batter becomes too thin, then the dosas will fall flat and break while lifting. In this case, add some rice flour to slightly thicken the batter.
Cooking these soft crepes in the best way
Much like pancakes, you need to heat the skillet or tawa very well before you pour the batter. Before making each neer dose, stir the batter very well with the ladle as it tends to settle over time.
The tawa or skillet should be well-seasoned if you are using a cast iron one. You could also opt to use non-stick pan. If the cast iron skillet is not properly seasoned, the batter or the dosa will stick to the pan.
Variations
The addition of coconut is optional, but adds a lovely flavor and texture. Add about 2 to 3 tablespoons of fresh grated coconut while grinding the batter. You can also consider adding 1 to 2 tablespoons of unsweetened desiccated coconut.
We make neer dose with either of the Indian varieties of rice like sona masuri, surti kolam, ponni or parmal rice. Basmati rice will also work.
FAQs
Yes, you can. Just soak the rice flour in water for at least 30 minutes and up to 2 hours. For a slightly fermented taste, you can also keep the flour soaking at room temperature overnight.
Uh oh, sounds like the batter must have been of a medium to thick consistency. Simply add a few tablespoons of water to loosen it up, stir the batter thoroughly and try again.
If the batter becomes too thin or thick then the neer dose will crack or break. The batter thickens gradually as it gets up used in preparing the first several dosas. So you need to add a splash of water to thin it a bit. On the contrary if you make a very thin batter, then also the neer dosa will crack.
When the dosa are hot, they will stick together. That’s why neer dosa are not stacked like regular dosas and are instead set on a plate without touching each other.
If the tawa becomes too hot, then it becomes difficult to get the lacy effect. If you use a cast iron tawa, then sprinkling some water brings down the temperature of the surface.
For nonstick, just remove the tawa from flame for a minute and then place it back on the flame. Do not sprinkle water on nonstick tawa as the nonstick coating wears off.
Yes! The rice need not be thick and starchy. You can use any regular variety of short-grained or medium-grained rice. For 1 cup of rice flour, start with adding ½ cup water. Stir and then add more water to make a thin batter. Let the rice batter rest for at least 30 minutes before you make the dosa, stirring well before pan-frying.
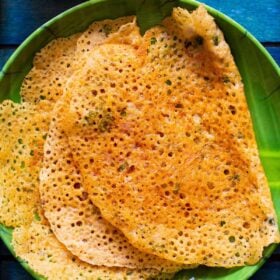
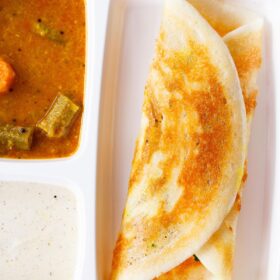
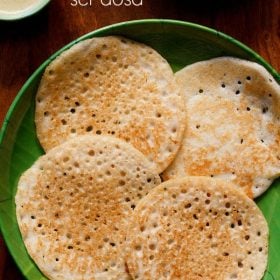
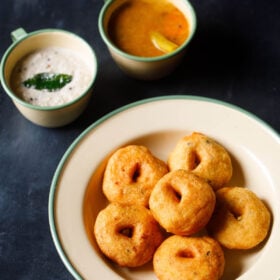
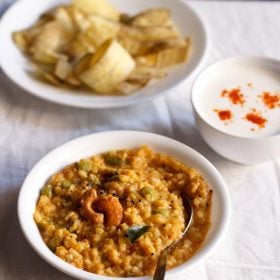
If you still have a craving for dosas, I don’t blame you! Here are other varieties of this delightful Indian treat.
More Dosa Varieties!
Breakfast Recipes
Breakfast Recipes
Breakfast Recipes
Breakfast Recipes
Please be sure to rate the recipe in the recipe card or leave a comment below if you have made it. For more vegetarian inspirations, Sign Up for my emails or follow me on Instagram, Youtube, Facebook, Pinterest or Twitter.
Neer Dosa Recipe (Mangalorean Style)
Ingredients
- 1 cup rice – 200 grams, (sona masuri or parmal rice or surti kolam)
- water as required for soaking rice
- ¼ to ⅓ cup water to grind or blend
- 1.5 to 2 cups water to be added later
- salt as required
- oil as required
Instructions
Making neer dosa batter
- Rinse the rice grains a few times. Soak them in enough water for 4 to 5 hours or overnight.
- Later drain the soaked rice and add them in a blender or a mixer-grinder.
- Add water for grinding or blending the rice. Do not add a lot of water as then you won't be able to grind the rice finely.
- Grind to a smooth and fine batter and then transfer the batter to another bowl or pan.
- Add water again to get a thin, flowing, runny and watery consistency. I added 2 cups of water.
- The addition of water depends on the quality and kind of rice. So add water as needed.
- Then add salt as required and mix well.
Making neer dosa
- Heat a cast iron pan or a non stick pan on medium to medium-high heat. Drizzle ½ teaspoon of oil.
- Just spread the oil all over with a spoon or small piece of cotton kitchen napkin or with half of an onion.
- Stir the batter in the bowl with the ladle. Then fill the ladle with the batter.
- Pour the batter moving outwards to inside like the way we do for rava dosa.
- Fill in the large gaps too with some of the batter.
- Cover with a lid and cook the dosa till the batter firms up. Don't brown it or flip it. The edges will also separate when the dosa is cooked. You can drizzle a bit of oil on the top of neer dosa if you prefer.
- Make a triangular fold on the tawa itself.
- Then remove the dosa and place it in a plate. Make neer dosa this way and place them separately without them touching each other in a plate.
- Serve neer dosa hot or warm with coconut chutney, veg sagu, veg korma.
Notes
Batter Consistency
- Keep in mind that the batter consistency for neer dosa should be runny, watery, thin and flowing. It should not be thick or with a medium consistency. If the batter has a pouring consistency, then you will get lacy appearance of neer dose. If you cannot easily pour the batter, then you’ll need to add some more water to thin it down.
- A thicker batter or a very thin batter will make for cracks in the neer dosa. So make sure to have a pourable, thin consistency.
- If the batter becomes too thin, then the dosa will fall flat and break while lifting. In this case, add some rice flour to slightly thicken the batter.
Cooking Neer Dose
- You do need to heat the skillet or tawa very well before you pour the batter. Keep the heat to medium or medium-high. Remember to use a well seasoned cast iron tawa or skillet, so that the batter does not stick.
- Before making each neer dose, stir the batter very well with the ladle as the ground rice particles tends to settle over time.
Variations
- You can consider adding about 2 to 3 tablespoons of fresh grated coconut while grinding the batter. It gives a lovely flavor.
- You can use Indian rice varieties like sona masuri, surti kolam or parimal rice. Basmati rice will also work.
Storage
- Once the neer dosa are made, then don’t stack them up while they are hot as then they will stick to each other. Once cooled then you can stack them up. Or you can place a parchment paper between each neer dose.
- Neer dosa are best enjoyed hot or warm. But you can also eat them when they cool as they remain soft and taste good. Thereby making them a good option to pack in a tiffin box.
Nutrition Info (Approximate Values)
Neer Dosa recipe from the archives was first published on April 2015.


Amazing !
Tried this today and it came out really good…superb recipe with detailed instructions.
thank you winnie. thanks for the rating too.
Great recipe! Came out really well if instructions are followed to the T.
thanks a lot for this review and the rating too.
Love them. No restrictions on how many I can eat.
Going to try it tomorrow- I will give you feedback. I ate them when we visited Mangalore. Loved the silky softness.
sure and thanks. happy cooking.
I have neer dosa tava please suggest
i did not understand your comment. you can elaborate a bit more.
Can we make neer dosa with rice powder
yes you can. just soak rice flour in water for at least 30 minutes to 1 or 2 hours. for a slight fermented taste, you can also keep overnight.
Please post sorekai dosa madam????
Sowmya, I will try to post this dosa variety.
Thank you