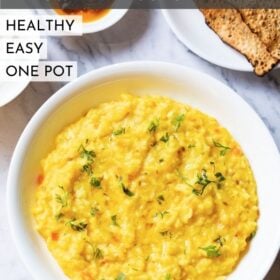
This Khichdi recipe is a light and easy to digest Indian dish made with rice and moong dal. Nutritious and light on the tummy, serve this healthy, comforting and nourishing porridge-like Dal Khichdi with curd, raita or papad. I share three ways of making Moong Dal Khichdi (more in the post below and the recipe card). The pressure cooker stove-top version with step-by-step photos and the Instant Pot and Pan method with detailed instructions.
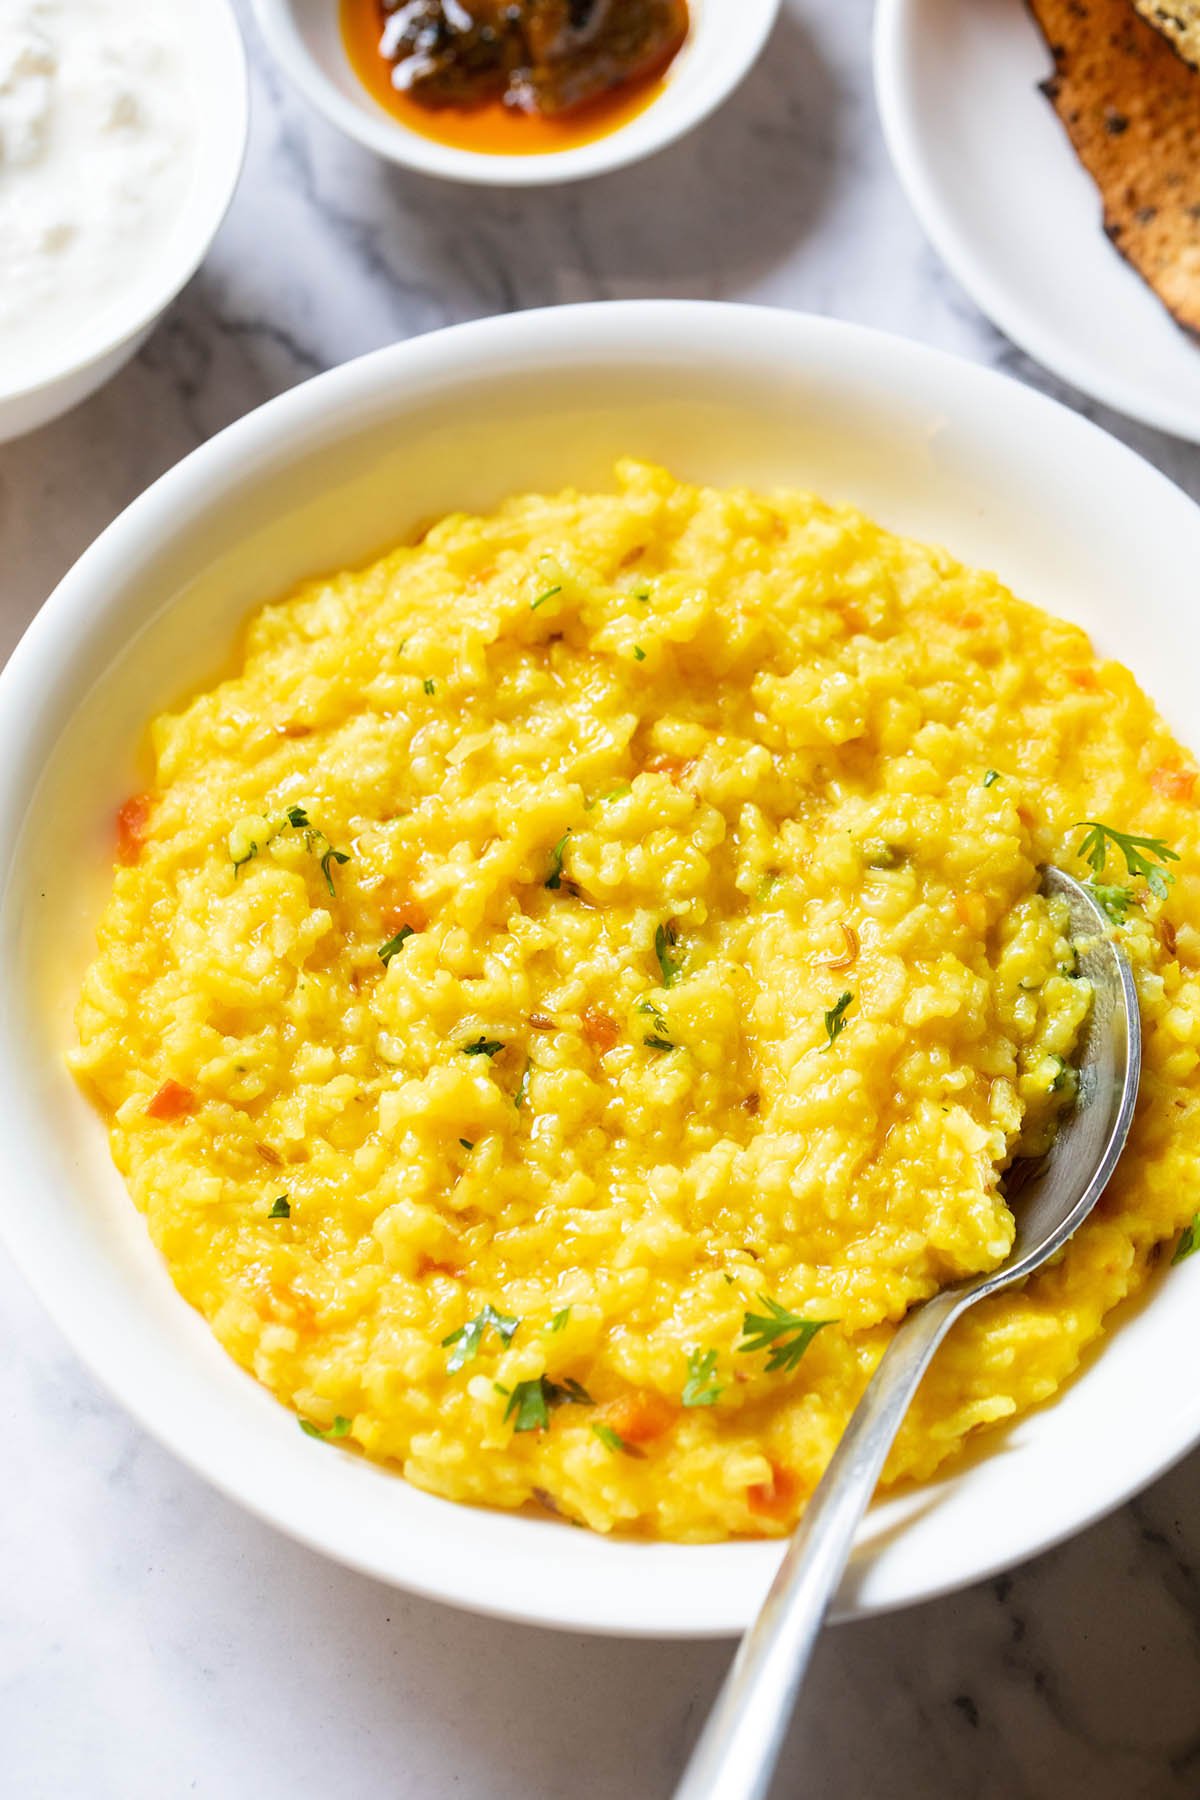
What is Khichdi
Khichdi is a simple, classic Indian dish made with rice and yellow mung lentils. It is actually a very healthy recipe — so much so that in India, when someone is ill or recovering from illness, Dalia and Moong Dal Khichdi are often served.
Specifically, small children or senior citizens recovering are often recommended this dish (even by doctors) because it is so nutrient-rich and easy to digest.
Table of Contents
The word Khichdi comes from the sanskrit word “Khicca” which means a dish of lentils and rice (source wikipedia). Khichdi is also pronounced and written as khichri, kichuri, khichari.
The simplest khichdi recipe version is made with just Ghee (clarified butter), cumin seeds (optional), and turmeric, which is prescribed in Ayurveda for detoxifying the body.
A few herbs or spices like ginger, black pepper, asafoetida, can be added depending on the dosha type.
In ayurveda, moong is one lentil that is recommended for balancing all three doshas of the body – kapha, pitta and vata.
Even a plain mung dal khichdi without any seasoning or spices is consumed as part of an Ayurvedic detox diet.
About Moong Dal Khichdi Recipe
My dal khichdi recipe is flavorful and not at all bland. Though this dish has the reputation of being bland, it isn’t actually if you include a few spices or herbs.
The kind of spices, herbs, veggies you add make a great difference to the flavors. In fact in Indian cuisine, there are so many ways we make khichri.
I add onions and tomatoes to my moong dal khichdi – this is my usual, go-to basic recipe for regular, at-home cooking.
Perfect for weeknight dinners, this one-pot rice recipe can be finished in less than an hour and is sure to become a new family favorite in no time.
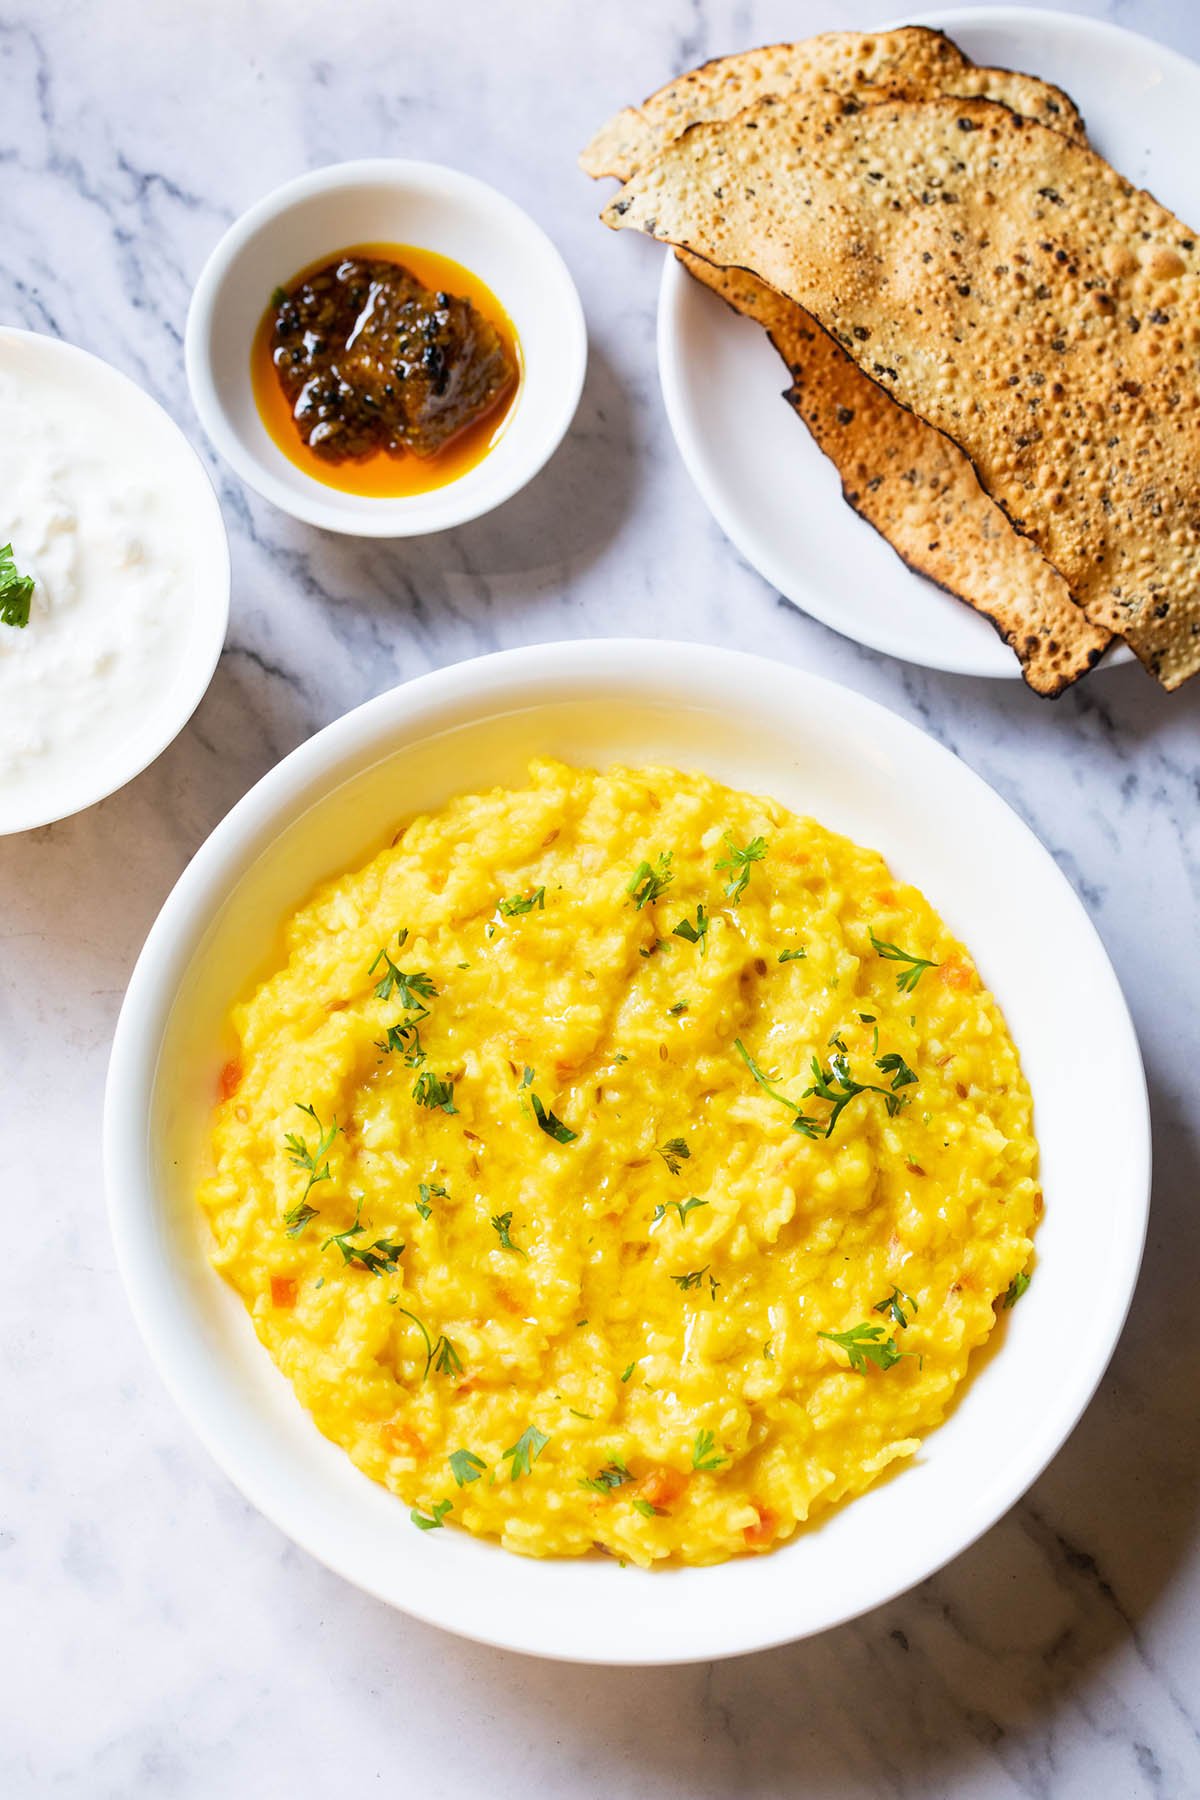
Ingredients You Need
- Lentils: I used a half cup of split and husked moong dal, but you can use red lentils (masoor dal) or pigeon pea lentils (tur dal) instead. Keep in mind that while using other lentils, the cooking time will vary and change and you may need to add more water.
- Rice: You can use any type of non-sticky rice for this recipe — regular, short, or medium-grained rice or even basmati.
- Veggies: You will need onion, tomato, all finely chopped.
- Seasonings: I always end up adding adding green chillies, ginger, cumin seeds, turmeric powder, asafoetida (hing), and salt.
- Liquids: We use water to thin-out the consistency of the khichri, and oil or ghee to sauté throughout the recipe.
How to Make Khichdi Recipe
Prep
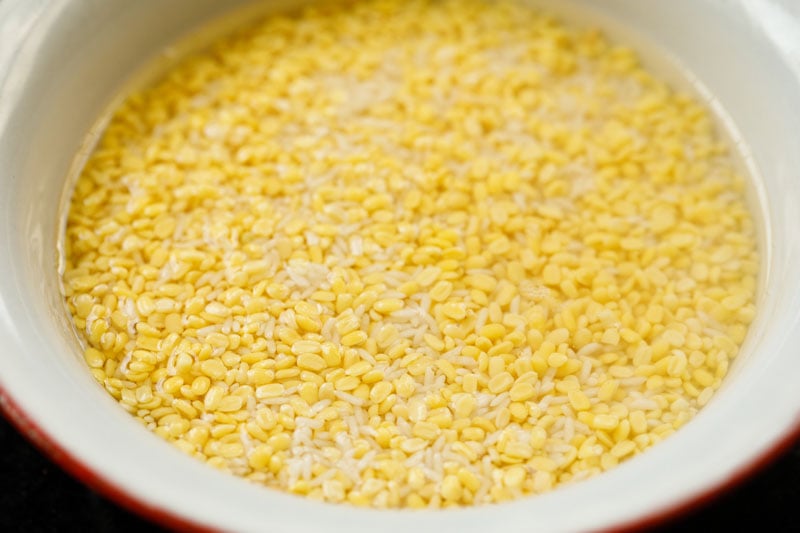
1. Rinse ½ cup moong lentils and ½ cup rice together. Then soak both of them for about 30 minutes in water.
When the lentils and rice have had time to absorb water, drain all of the water and set aside.
Also finely chop one medium-size onion, 1 medium-sized tomato, 1 small green chili and 1 inch ginger.
If you like to garnish your khichdi with some coriander leaves (cilantro) rinse and set aside a few stems.
So you will be needing the following veggies, spices and herbs:
- ⅓ finely chopped onions
- ⅓ to ½ chopped tomatoes
- ½ teaspoon chopped green chillies or serrano peppers
- 1 teaspoon finely chopped ginger or grated
- 1 to 2 tablespoons chopped coriander leaves, for garnish – optional
You can opt to add some more vegetables like carrots, green peas, broccoli, cauliflower and green beans. If you plan to add any veggie, chop them too and set aside.
Sauté
2. Now heat 2 tablespoons ghee or oil in a 3 litre pressure cooker, then add 1 teaspoon cumin seeds (jeera).
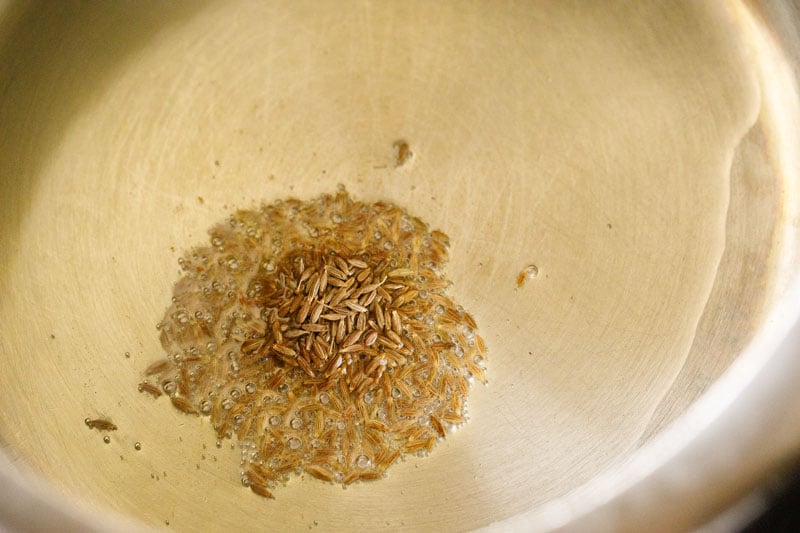
3. As soon as the cumin begins to splutter, add the ⅓ cup finely chopped onions.
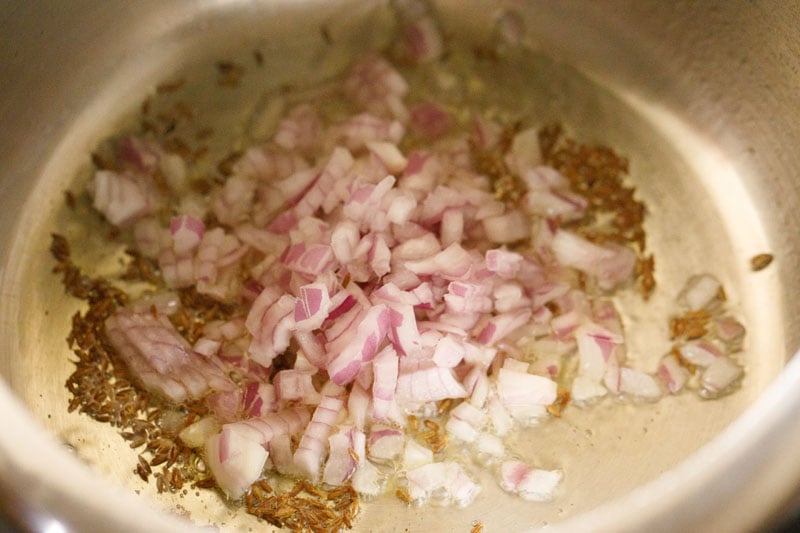
4. Sauté until the onions soften and turn translucent.
Note: You do not need to sauté the onions until they are light or golden brown.
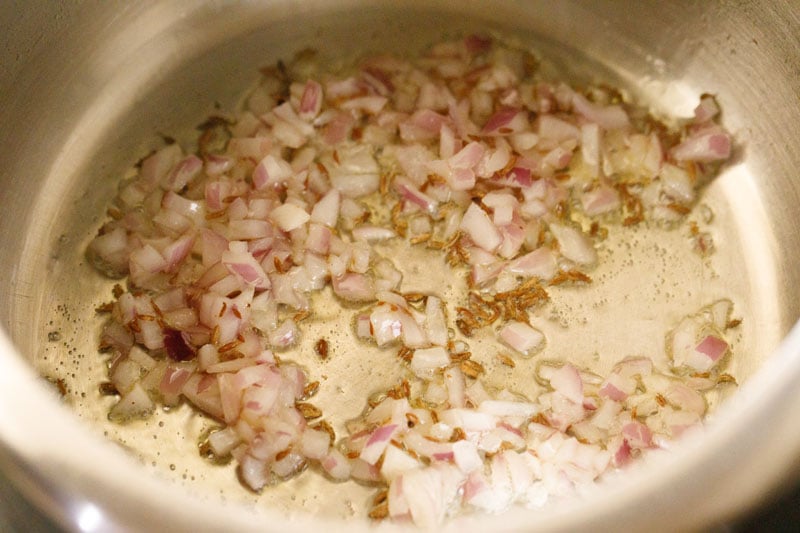
5. When the onions have become translucent, add in ⅓ to ½ cup chopped tomatoes, ½ teaspoon chopped green chili and 1 teaspoon chopped ginger.
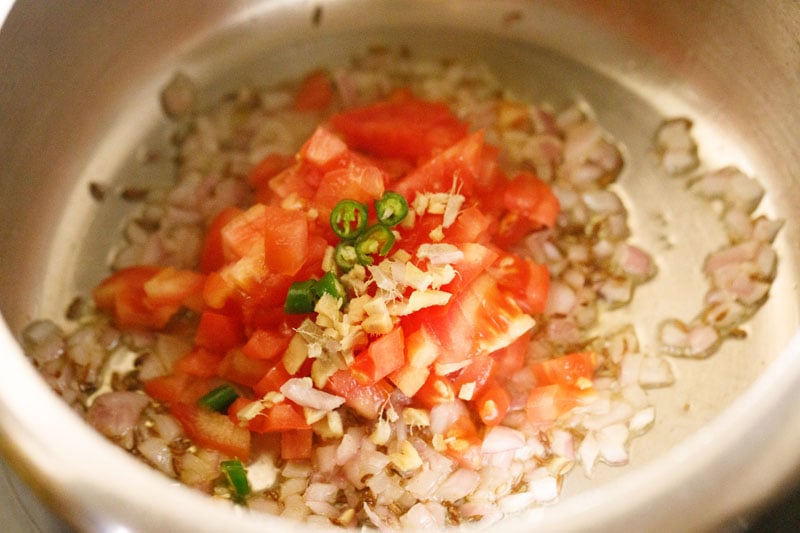
6. Mix well with the sautéed onions.
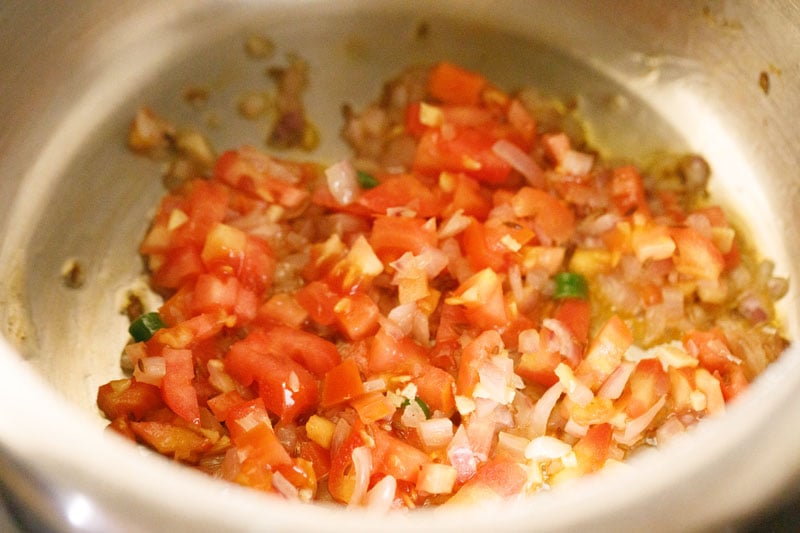
7. After stirring in the tomatoes, add ¼ teaspoon turmeric powder and a pinch of asafoetida (hing). Adding hing is optional.
Tip: For a gluten free khichdi, skip the asafoetida or use a gluten-free asafoetida.
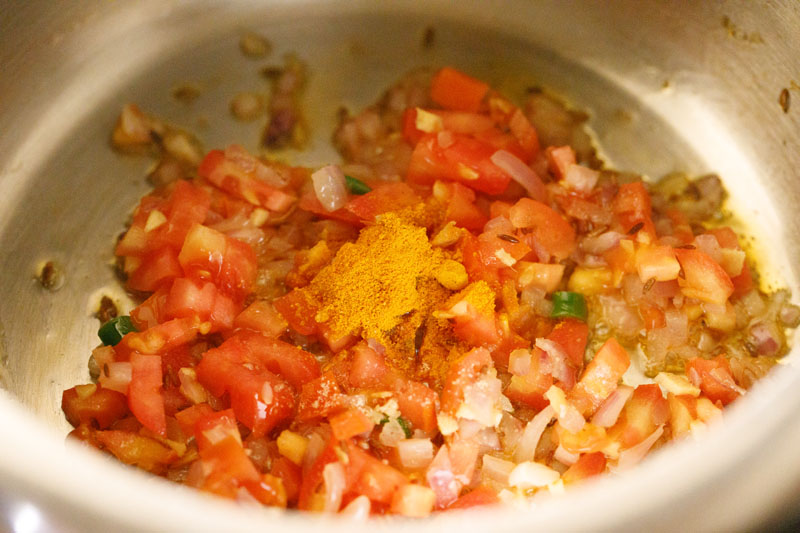
8. Sauté until the tomatoes soften stirring often.
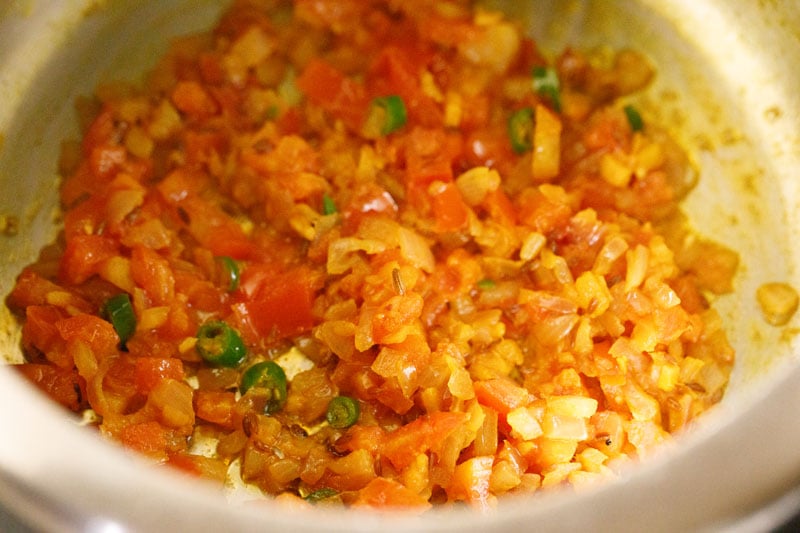
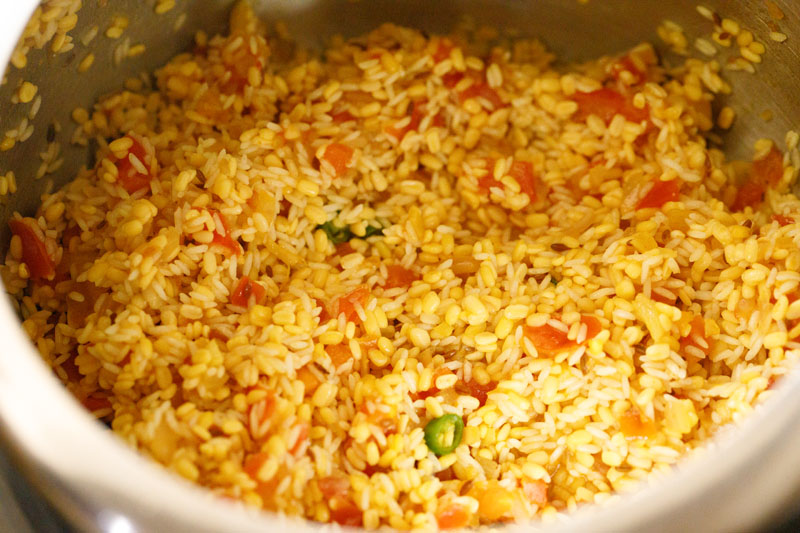
9. Next, add the drained rice and moong lentils to the pressure cooker, and stir for about a minute or until all the ingredients are fully combined.
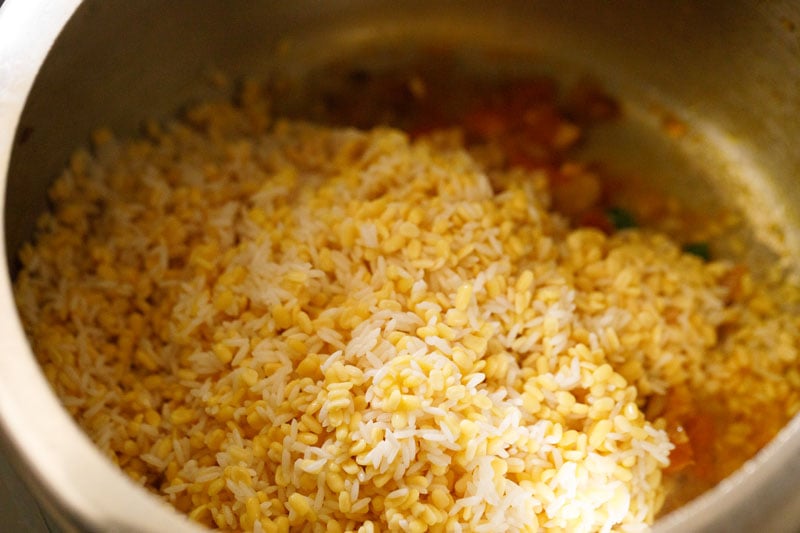
10. Season with salt to taste.
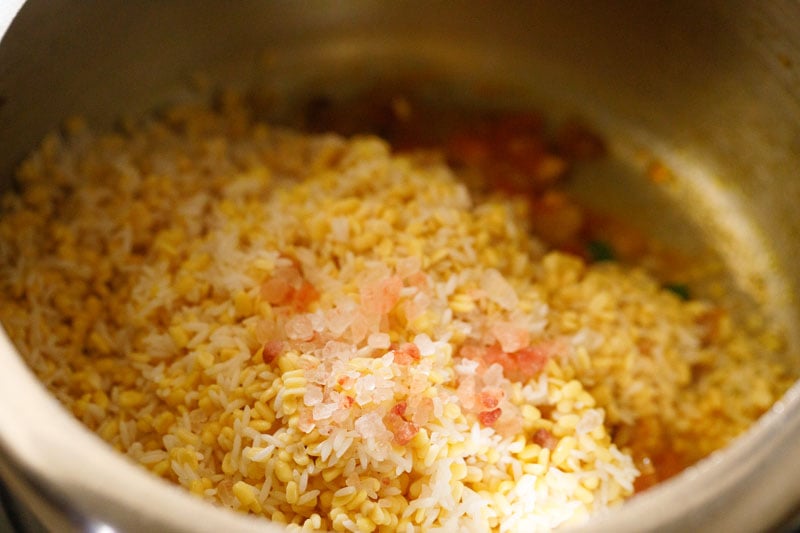
11. Mix and sauté the rice and lentils for a minute.
Cook Khichdi
12. Add 3.5 cups water and mix really well, deglazing the bottom and sides of the cooker.
3.5 cups of water will give you a porridge like consistency. For a thinner consistency, add 4 to 4.5 cups water.
Tip: Check the taste of water and it should be slightly salty. If the water does not taste salty, then add a few pinches of salt and mix. Check the taste again.
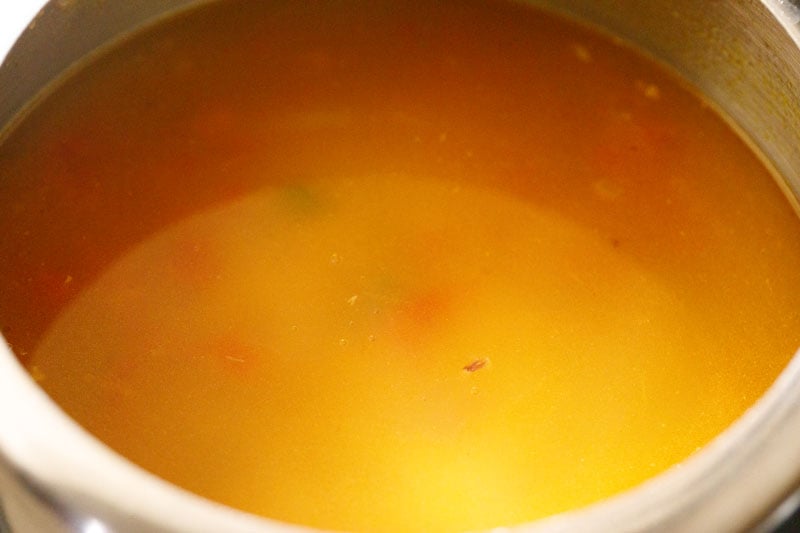
13. Finally, close the lid tightly and pressure cook for 8 to 9 minutes or 7 to 8 whistles on medium-high to high heat.
When the pressure drops on its own in the cooker (which takes some minutes), then only open the lid.
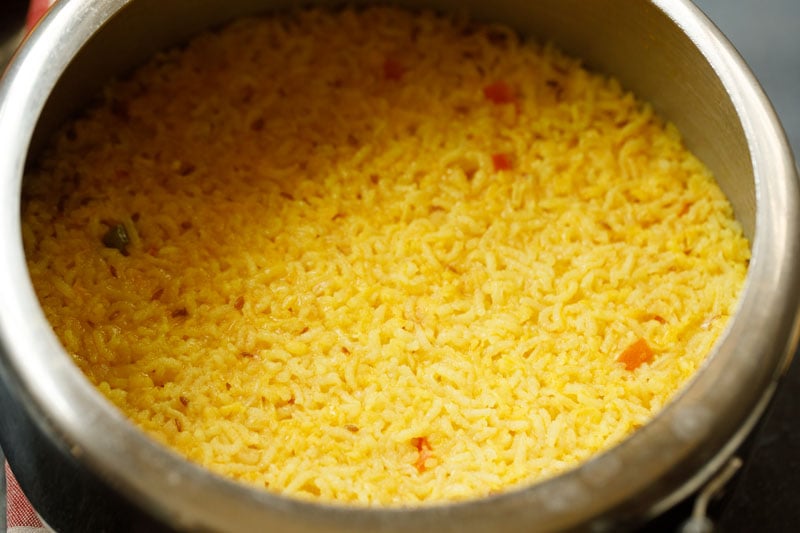
14. Stir the khichdi.
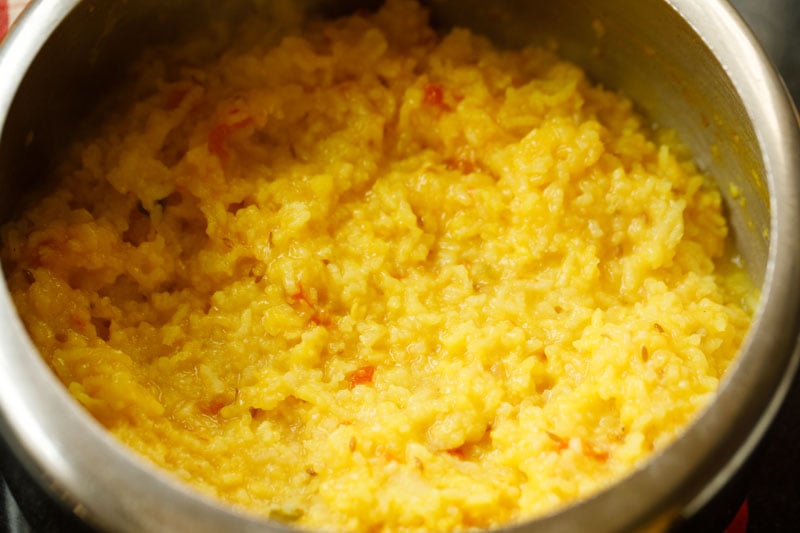
15. The below photo shows the consistency of khichdi. If you prefer a thinner version or if is too thick for your liking, add some hot water and mix. Simmer for a couple of minutes stirring often.
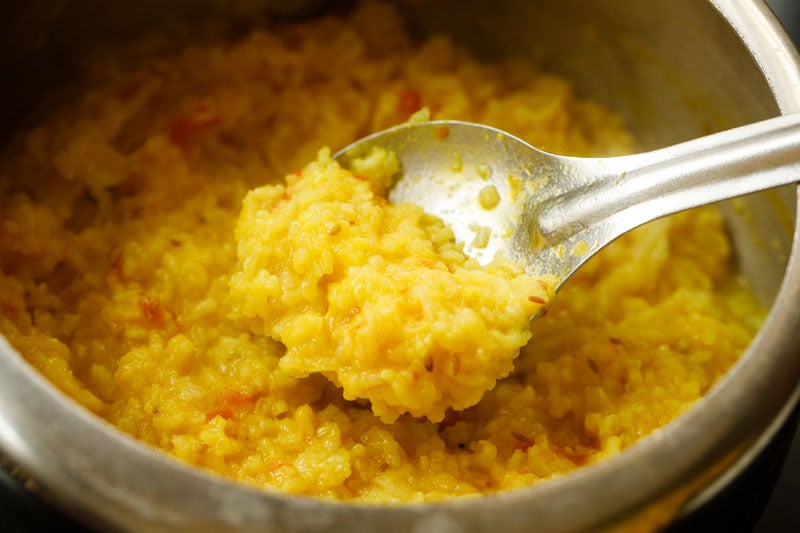
16. Serve your delicious Moong Dal Khichdi hot or warm! You can also top it with a bit of ghee before serving.
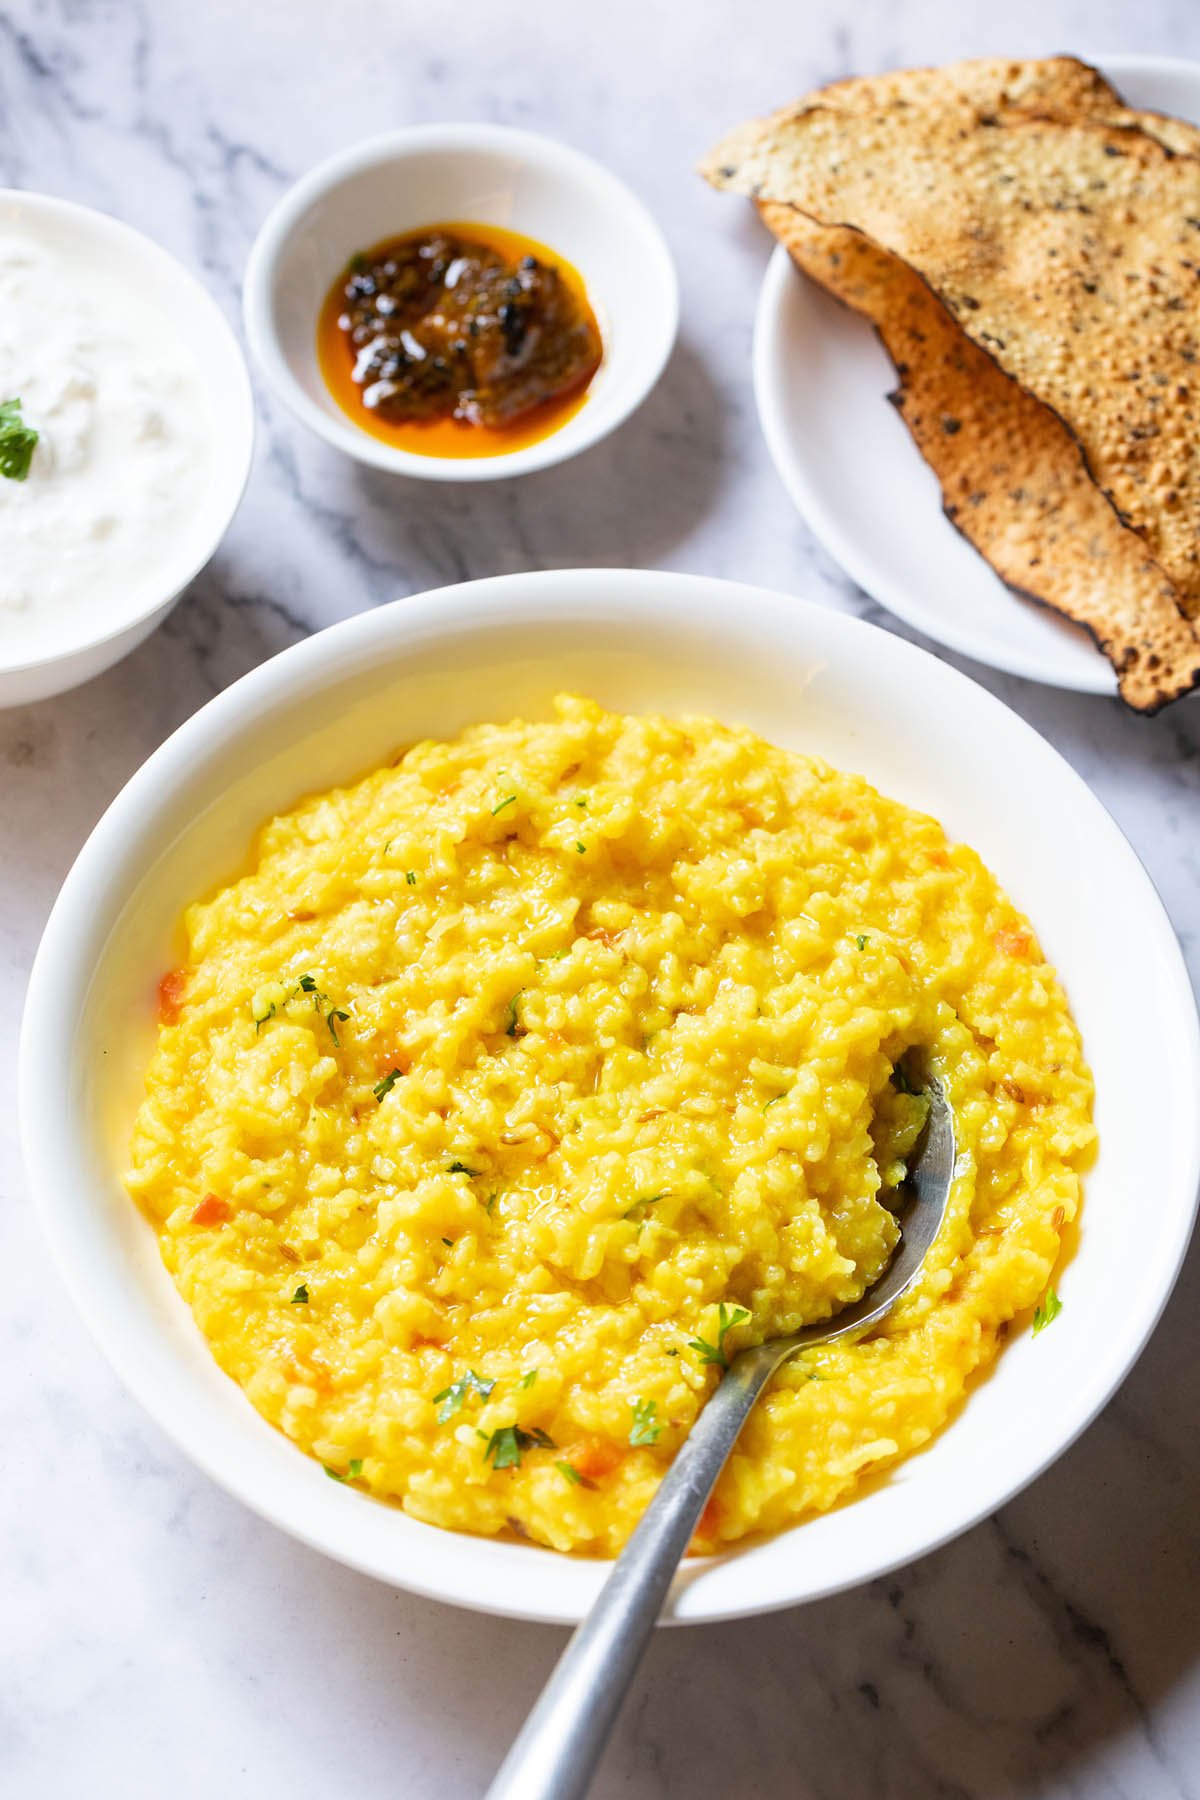
What to eat with with Khichdi
There is a phrase in Hindi – “Khichdi ke chaar yaar“. Literally translated it means “the four friends of Khichdi“.
Are you wondering who are these four friends of khichdi?
The four friends are the sides that you serve with khichdi and which make it a satisfying complete meal. They are:
- Curd (yogurt)
- Papad (roasted or fried)
- Pickle (any Indian pickle, like mango, lemon, green chili or vegetable)
- Ghee which we drizzle in bits on top of the khichdi.
So you can serve moong dal khichdi with either or all of these four sides. You can also pair it with a Raita or salad.
One of my personal favorite ways to enjoy khichdi is to drizzle it with some lemon juice and serve either with Eggplant Fries or Potato Fries and with a finely chopped vegetable salad. Also don’t forget to top it with a spoon of ghee while serving!
Storage and Leftovers
Because khichdi can become dry and lumpy, I always prefer to eat and serve this delicious recipe fresh.
If you do end up with leftovers, however, you can store in the refrigerator in an air-tight container for up to 1 day.
I also prefer to reheat the dish in a saucepan instead of the oven so that I can add some water to thin it a bit and ensure everything is evenly heated before serving.
On cooling khichdi does thicken and becomes lumpy, so you have to add some water to it while reheating.
Instant Pot Khichdi Recipe
You can easily make khichdi in the instant pot. Follow the steps below to make this tasty and satisfying rice and lentil dish in a 6 quart Instant Pot.
- Frying spices: Press the sauté function of your IP. Let the display read ‘hot’. Add ghee or oil. Fry cumin seeds until they splutter.
- Sautéing onions and tomatoes: Add onions and sauté until they soften. Tip in the tomatoes, ginger, green chillies and and sauté stirring often until tomatoes soften. Stir in the turmeric powder and asafoetida.
- Mixing rice and lentils: Add soaked rice and lentils. Stir deglazing the steel insert.
- Pouring water: Add 3.5 cups water and salt. Deglaze if needed.
- Pressure cooking: Seal with the IP lid and set the valve to the sealing position. Pressure cook on high pressure for 9 minutes. When you hear the beep sound, wait for 10 minutes and then do a quick pressure release lifting the valve carefully.
- Doneness: Check the consistency. If it is too thick, add some hot water and sauté for 1 to 2 minutes using the sauté function. If it has a thin consistency, sauté for some more minutes until you get the desired consistency. Serve hot or warm.
Dal Khichdi in a Pan
To make the dish in a pan or pot, follow all the directions as listed for the pressure cooker version in a pan until you add rice and lentils.
After you add the rice and lentils, give a good stir and sauté for a minute. Add 4 to 4.5 cups water and season with salt. Cover the pot and cook on a medium-low to medium flame until the lentils are softened and mushy.
Keep a check while cooking and if the water has dried up with undercooked lentils, add some hot water and combine well. Cover and continue to cook.
When the khichri is cooked, check the consistency. If thick, add some hot water and simmer for 1 to 2 minutes. For a thin consistency, continue too cook for some more minutes.
Ingredient Notes and Variations
- Vegetables: You can add mixed veggies to the recipe, like in my Masala Khichdi where mixed vegetables are added. Sometimes I add green peas, carrots and french beans to this dal khichdi to make it more healthier.
Various vegetables can be added to make the khichdi rich in nutrients and fibre – like green peas, potatoes, carrots, beans, cauliflower, capsicum, fenugreek leaves and brinjal. I also add spinach and make Palak Khichdi with peanuts. - Lentils: Moong dal is the lentils that is used traditionally. Red lentils (masoor dal) and pigeon pea lentils (tur dal) also make a good dal khichdi. You can even make khichdi with a combination of these three lentils.
- Rice and millets: Though white rice is used commonly to make khichdi, you can make it with brown rice, broken rice. There are some more khichdi variations made with millets, oats and cracked wheat (dalia). You can check my recipes of Oats Khichdi and Dalia Khichdi which are healthy and easy.
- Spices: For a rich flavor of the spices, you can add tej patta, cloves, cinnamon, black pepper, green cardamom. If making dal khichdi for small kids then you can skip or reduce the spices and omit the green chilli.
- Ghee: Clarified butter aka ghee gives a better flavor in khichdi than the oil.
- Vegan and Gluten-free: To make vegan and gluten-free khichdi, use a neutral tasting oil and skip asafoetida.
Cooking Notes
- Consistency: Unlike other rice-based dishes like pulao or biryani, in khichdi the rice grains are not as separated. You can increase or decrease the water quantity to vary the consistency of the moong dal khichdi.
Some prefer a thick porridge consistency, but if you want a slightly thinner or more soupy consistency, you can increase the amount of water. - Stovetop: I usually prepare this dish in the pressure cooker or instant pot, but if you do not have one, then you can still make it in a pan or pot. It’s important to note that you will have to add more water when cooking in a pot.
FAQs
Yep! Moong beans are healthy and easy to digest, so when your stomach is upset then it is best to have khichdi to get your everyday dose of protein and nutrients without further irritating your system.
Yes – so much so that in India, khichdi is often served when someone is ill or recovering from illness, especially for small kids or older people. Even doctors recommend it to patients!
Traditionally, khichdi is made using moong dal and is a great way to get your protein. The rice gives you some carbs.
So while it may not be a “weight loss recipe,” it can certainly help if you increase the proportion of mung lentils and reduce the rice.
Absolutely! It has a porridge-like consistency and can help kids and even small babies who are struggling to digest certain foods.
It is important to note, that if you are making dal khichdi for babies then skip adding salt and all of the spices and herbs.
Ayurveda mentions that moong lentils balances all three doshas (kapha, pitta & vata). A simple, plain mung dal khichdi without any seasoning or spices is had as part of a detox diet.
More Delicious Rice Recipes to Try!
Rice Recipes
Rice Recipes
Please be sure to rate the recipe in the recipe card or leave a comment below if you have made it. For more vegetarian inspirations, Sign Up for my emails or follow me on Instagram, Youtube, Facebook, Pinterest or Twitter.
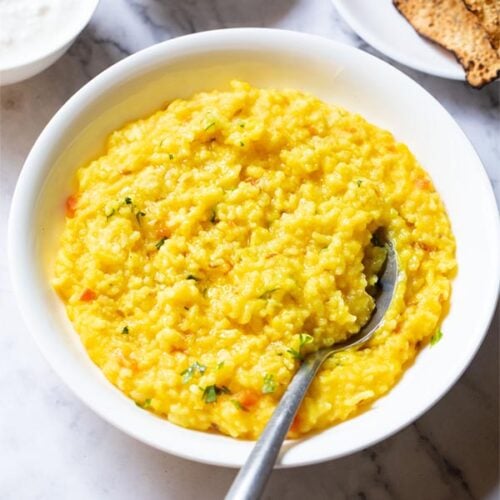
Khichdi Recipe | Easy Moong Dal Khichdi
Ingredients
For soaking lentils and rice
- ½ cup moong dal (split and husked mung lentils)
- ½ cup rice – you can add any rice, regular short or medium grained rice or even basmati
- water – as required
Other ingredients
- 2 tablespoons Ghee (clarified butter) or oil – any neutral oil
- 1 teaspoon cumin seeds
- ⅓ cup finely chopped onions or 1 small to medium-sized
- ⅓ to ½ cup chopped tomatoes or 1 medium-sized
- ½ teaspoon chopped green chillies or serrano peppers or 1 small green chilli
- 1 teaspoon finely chopped ginger or grated – 1 inch ginger
- ¼ teaspoon turmeric powder (ground turmeric)
- 1 pinch asafoetida (hing) – optional
- 3.5 cups water – for a more thin consistency, add 4 to 4.5 cups water
- salt as required
Instructions
Soaking rice and lentils
- Rinse and wash moong lentils and rice together.
- Soak both rice and lentils for 30 minutes in water.
- After 30 minutes, drain all the water and set aside.
Sautéing onions, tomatoes, spices
- Heat ghee or oil in a 3 litre pressure cooker. Add cumin seeds. When cumin splutters then add onions.
- Sauté onions until translucent. No need to make onions light brown or golden brown.
- Once the onions become translucent, then add tomatoes, green chilli and ginger.
- Mix and add turmeric powder and asafoetida. Mix again and sauté until the tomatoes softens.
- Add the rice and moong lentils to the pressure cooker.
- Stir and sauté for a minute. Add water and season with salt.
- Mix well. Check the taste of the water and it should be slightly salty.
Cooking khichdi
- Close the lid tightly and pressure cook on a high heat for 7 to 8 whistles or 8 to 9 minutes on medium-high to high heat.
- Switch off heat and wait. Let the pressure fall naturally in the cooker.
- When there is no pressure in the cooker, remove the lid and check the consistency. If it looks too thick, add some hot water and mix well.
- Keep on sim or low heat to simmer for a few minutes until you get the right consistency.
- The consistency can be adjusted as per your choice by adding less or more water. Some people prefer thick and some thin consistency.
- While serving drizzle 1 to 2 teaspoons of ghee on top while serving. Optional step.
- Serve moong dal khichdi hot or warm with curd (yogurt) and accompanying salad.
Instant Pot Khichdi Recipe
- Follow the steps below to make this savory and comforting rice & lentil dish in a 6 quart Instant Pot.
- Press the sauté function of your IP. Let the display read 'hot'. Add ghee or oil. Fry cumin seeds until they splutter.
- Add onions and sauté until they soften. Tip in the tomatoes, ginger, green chillies and sauté stirring often until tomatoes soften. Stir in the turmeric powder and asafoetida.
- Add soaked rice and lentils. Stir deglazing if needed.
- Pour 3.5 cups water and salt. Deglaze removing any stuck ingredients from the bottom of the pan.
- Seal with the IP lid and set the valve to the sealing position. Pressure cook on high pressure for 9 minutes. When you hear the beep sound, wait for 10 minutes and then do a quick pressure release lifting the valve carefully.
- Check the consistency. If it is too thick, add some hot water and sauté for 1 to 2 minutes using the sauté function. If it has a thin consistency, sauté for some more minutes until you get the desired consistency. Serve hot or warm.
Khichdi in a pan on the stove-top
- To make khichdi in a pan, follow all the directions as listed for the pressure cooker version in a pan until you add the rice and lentils.
- After you add the rice and lentils, give a good stir and sauté for a minute. Add 4 to 4.5 cups water and season with salt. Cover the pan and cook on a medium-low to medium flame until the lentils are softened and mushy.
- Keep a check while cooking and if the water has dried up with undercooked lentils, add some hot water and combine well. Cover and continue to cook.
- When the khichri is cooked, check the consistency. If thick, add some hot water and simmer for 1 to 2 minutes. For a thin consistency, continue too cook for some more minutes.
Serving suggestions
- The sides that that pair great and make khichdi a satisfying complete meal are Curd (yogurt), Papad (roasted or fried), Pickle and Ghee – a teaspoon or two drizzled on top of the khichdi
Storage and Leftovers
- I always prefer to eat and serve khichdi fresh as it can become dry and lumpy on cooling or after some hours.
- If you do end up with leftovers, you can store in the refrigerator in an air-tight container for up to 1 day.
- I also prefer to reheat the dish in a saucepan instead of the oven so that I can add some water to thin it a bit and ensure everything is evenly heated before serving.
- On cooling khichdi does thicken and becomes lumpy, so you have to add some water to it while reheating.
Video
Notes
Recipe Notes and Variations
- Consistency: Unlike other rice-based dishes like pulao or biryani, in this dish the rice grains are not as separated. You can increase or decrease the water quantity to vary the consistency. Some prefer a a thick porridge-like consistency, but if you want a slightly thinner or more soupy consistency, you can increase the amount of water.
- Stovetop: I usually prepare the recipe in the pressure cooker or instant pot, but if you do not have a one, then you can still make it in a pan or pot. It’s important to note that you will have to add more water when cooking in a pot.
- Vegetables: You can add mixed veggies to the recipe. Sometimes I add green peas, carrots and french beans to this dal khichdi to make it more healthier. Various vegetables can be added to make the khichdi rich in nutrients and fibre – like green peas, potatoes, carrots, green beans, zucchini, spinach, fenugreek leaves, cauliflower, broccoli, capsicum and brinjal.
- Lentils: Moong dal is the lentils that is used traditionally in a khichdi recipe. Red lentils (masoor dal) and pigeon pea lentils (tur dal) also make a good dal khichdi. You can even make khichdi with a combination of these three lentils.
- Rice, other grains and millets: Though white rice is used commonly to make khichdi, you can make it with brown rice or broken rice. There are some more khichdi variations made with millets, oats and cracked wheat (dalia).
- Spices: For a rich flavor of the spices, you can add tej patta, cloves, cinnamon, black pepper, green cardamom.
- Ghee: Clarified butter aka ghee gives a better flavor in khichdi than the oil.
- Vegan and Gluten-free: To make vegan and gluten-free recipe, use a neutral tasting oil and skip asafoetida.
Nutrition Info (Approximate Values)
This Moong Dal Khichdi recipe from the archives was first published in July 2014. It has been updated and republished on June 2022.


Awesome
Hi, can’t find the restaurant style daal Khichdi recipe that you had on your page. It’s a lovely recipe I’ve made several times!! Could you please help?
I have never shared restaurant style dal khichdi. There are only two variations and both are shared on the website. Kindly search with the term ‘khichdi’ using the search icon (search feature) on the website and you will surely get both the recipes.
Healthy, tasty, easy to make
Thank you 🙏
There is nothing like kitchari when you want something simple and yet tasty, thank you Dassana!
Motivated myself to the kitchen with your recipe coming from a google search, good taste and saved me 300 bucks from Swiggy! Thank you for sharing!
Welcome and glad to hear that.
Hi Dassana – I have tur dal. Can I use that instead of moong in this recipe and also in your kachori recipe?
Hi Tammy, yes you can use use tur dal in khichdi. Tur dal will take more time to cook, so you can increase the cooking time to 5 minutes more and add half cup more water – total of 3.5 cups water.
For kachori, I would not suggest to use tur dal. Instead you can use green peas (fresh or frozen) or urad dal or moong dal.
Soul food on a winter night accompanied by pappad, pickle and yogurt ????
true that. thanks for the rating.
I have been using your recipes for years now. Thank you Dassana!
thanks a lot paras. glad to read your comment. welcome and happy cooking.