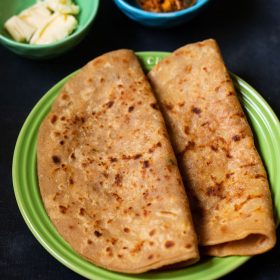
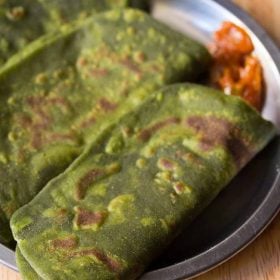
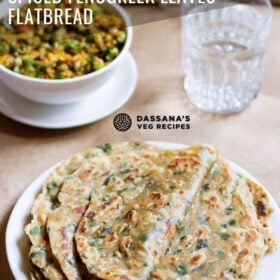
Methi paratha is a healthy tasty whole wheat flatbread made with fenugreek leaves. These Methi ke Parathe are packed with flavor and nutrition. Plus they are a great healthier alternative to plain Paratha. Cook this methi paratha recipe in 30 minutes (if you have prepped methi leaves) and serve with curd, pickles, and curries!
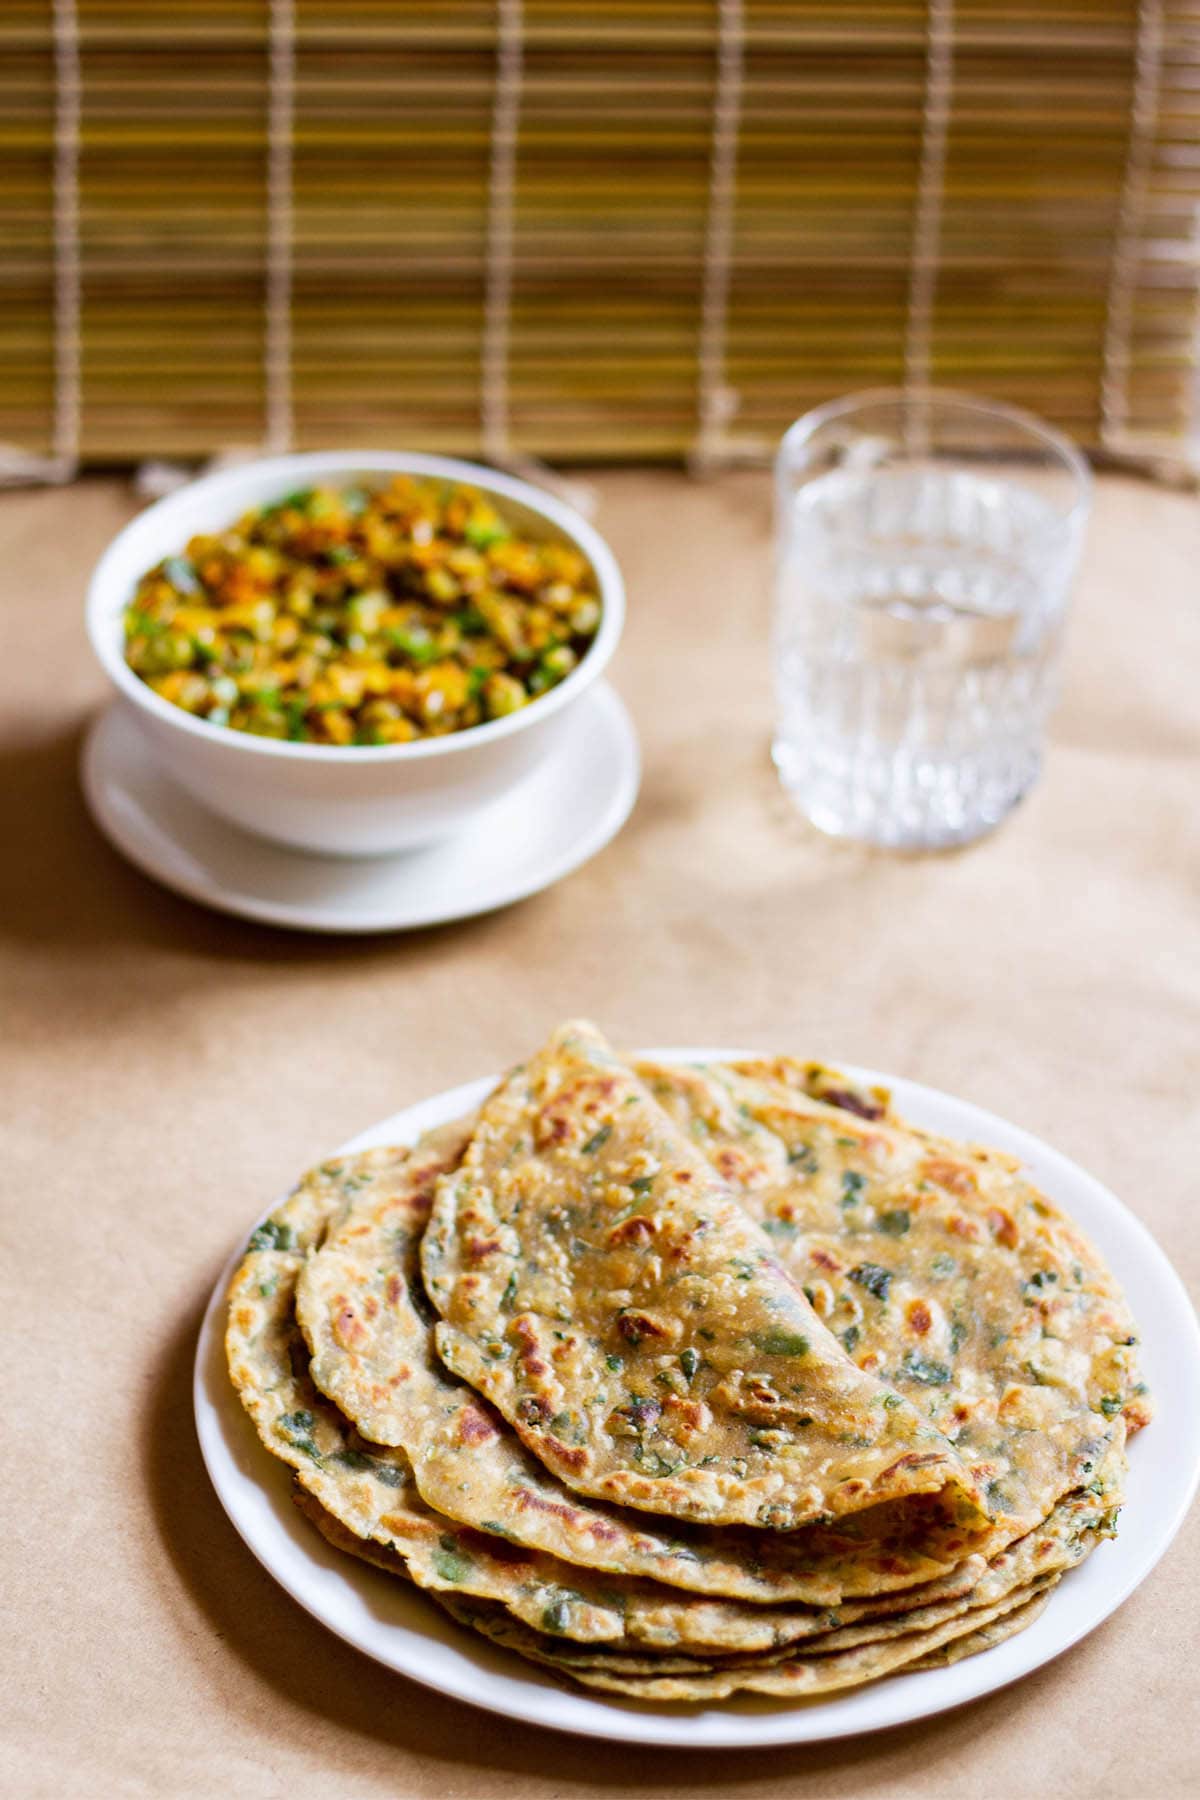
About This Methi Paratha Recipe
Methi paratha are whole some flatbreads from unleavened whole wheat dough featuring fenugreek leaves, herbs and spices. These healthy flatbreads are also known as “methi ke parathe” or “methi roti”.
Crispy and soft, these parathas have a lovely fragrant aroma and a light bitterness of the fenugreek leaves. They are a quick and healthy breakfast or side that can be eaten with any Indian curry or sabzi.
Fenugreek a.k.a methi leaves are easily found in India and I often end up making lots of dishes using it. When living in Bangalore, we would grow fenugreek leaves in our balcony.
I would often add the fenugreek micro greens to salads and also make a variety of methi recipes from the fully grown harvested leaves. If you have a balcony, terrace garden or a herb garden, then try growing fenugreek.
Another mouth-watering addition to this paratha is garlic. The fenugreek and garlic complement each other so well and both awesome flavors come through when eating the paratha.
In North India, methi ke parathe are made for breakfast or packed in a tiffin box. We like to eat these at any time of the day. So I make them for breakfast, lunch, or at times for dinner.
I usually accompany these methi roti with a dry veggie curry, sweetened curd, or pickle. Some people like to have methi ka paratha with plain curd, mango pickle, lemon pickle, or green chili pickle. It is completely up to you!
2 Ways To Reduce Bitterness in Methi
Methi leaves have a fragrant flavor with a faint bitter taste. The bitterness is not overwhelming to your palate. It is a fragrant light bitterness that you may like if you have not grown up eating fenugreek.
Sometimes the fenugreek leaves can be highly bitter. Follow either of the two methods listed below to reduce the bitterness in the leaves.
- Mix some salt with the rinsed fenugreek leaves. Set aside for 15 to 20 minutes. Rinse the leaves a few times and drain the water.
- Blanch the methi leaves in boiling salted water for about a minute. Drain, rinse with fresh water, and use.
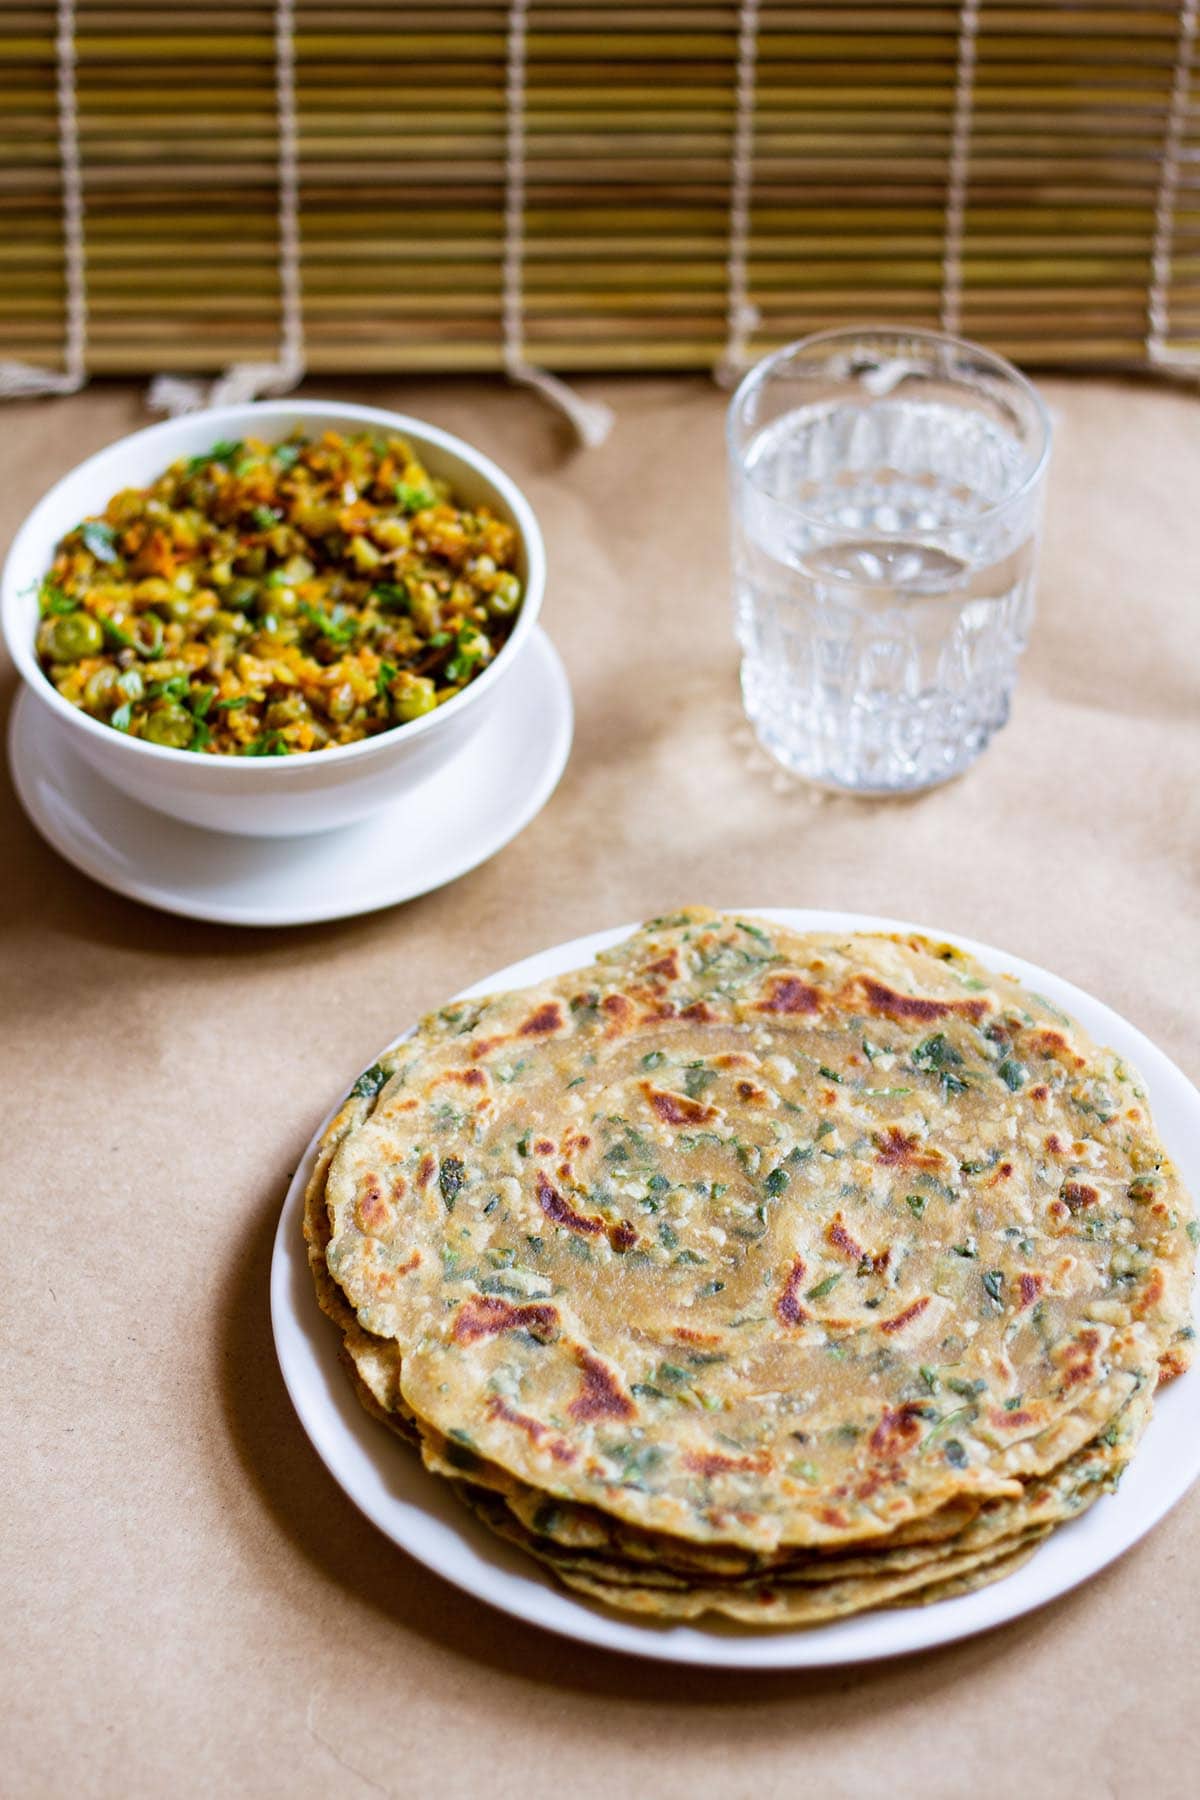
How to Make Methi Paratha
Prepare Methi Leaves
Before you begin making methi paratha recipe, you need to prep the leaves. So lets begin.
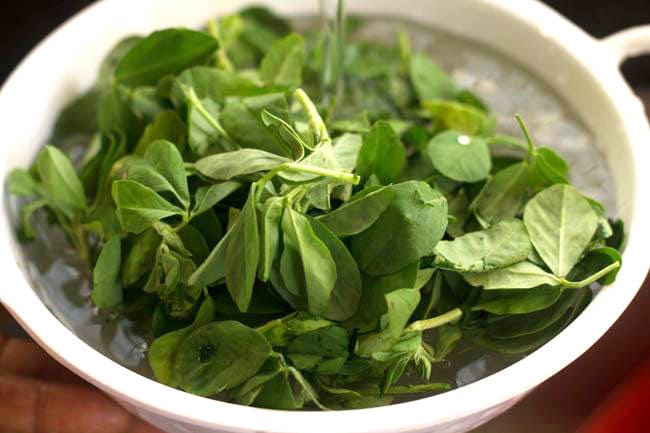
1. If you buy the fenugreek from the market, first pluck about 1 cup of methi leaves. Then in a bowl, soak the plucked leaves with enough water, 1 tablespoon vinegar and ½ teaspoon baking soda for about 3 to 4 minutes. Gently mix. The baking soda and vinegar gets rid of pesticides from the leaves.
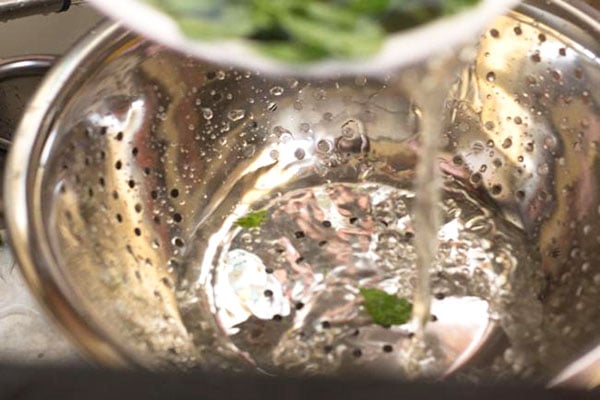
2. Drain this water using a colander.
3. Soak the leaves again in fresh clean water in a bowl for a couple of minutes. Later move the methi leaves gently in the water. This will remove any soil or mud particles that are on the stems or leaves.
Drain the water. You can repeat this process once or twice or opt to thoroughly rinse the leaves under running water for a few times. Finally, drain all the water.
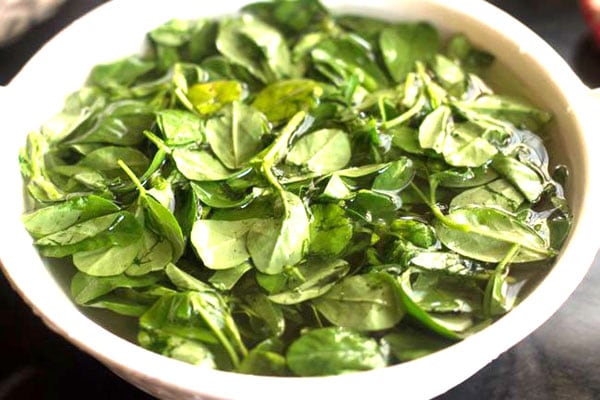
4. Place the leaves on a kitchen towel and spread them evenly on it for a few minutes or you can proceed to chopping them.
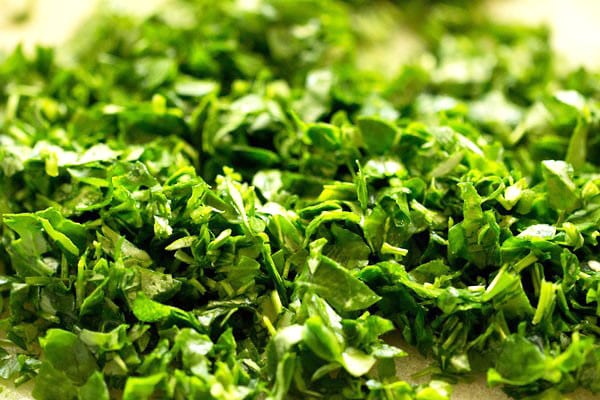
Another method is to use a wired rack and place the leaves on it. Keep a tray below the wired rack to collect any water droplets. Finely chop the leaves and set aside.
Knead Dough
In a bowl add 2 cups of whole wheat flour and ½ teaspoon salt or as required. Add the chopped fenugreek leaves, ½ to 1 teaspoon chopped green chilies (1 to 2 green chillies), 1.5 teaspoons of finely chopped garlic and 2 teaspoons oil.
Use a stand-mixer for kneading the dough if you have it.
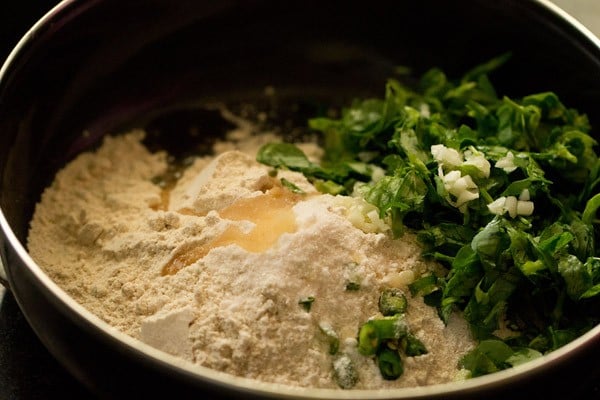
2. Pour ⅓ cup of water bit by bit. Do not add all the water at once. Add a portion of water as you go on working on the dough. The fenugreek leaves will release a good amount of water, so take a note of this while kneading.
Keep in mind that the water proportion will vary with the water content in the fenugreek leaves and the type, variety of wheat flour.
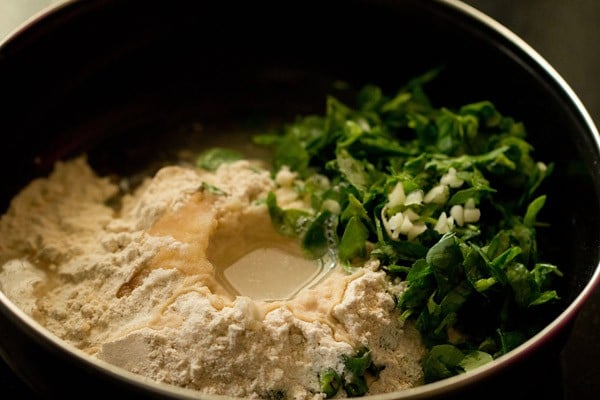
3. First mix and then start to knead the dough. Add water as needed when you go about kneading the dough.
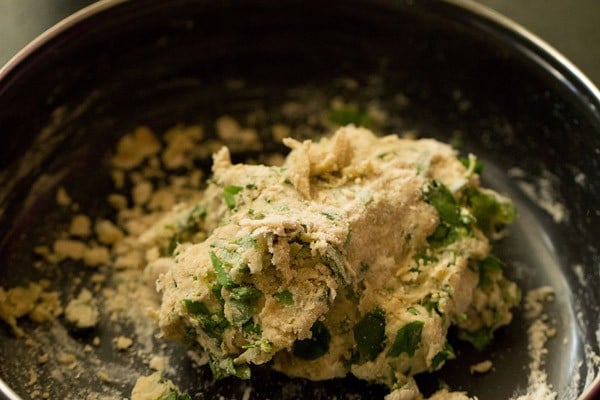
4. Knead the mixture into a smooth, soft and pliable dough. Add more water if required while kneading.
Tip 1: If the dough feels sticky, add a few tablespoons of whole wheat flour and knead again.
Tip 2: If the dough is dry or dense, add a couple of tablespoons of water and continue to knead.
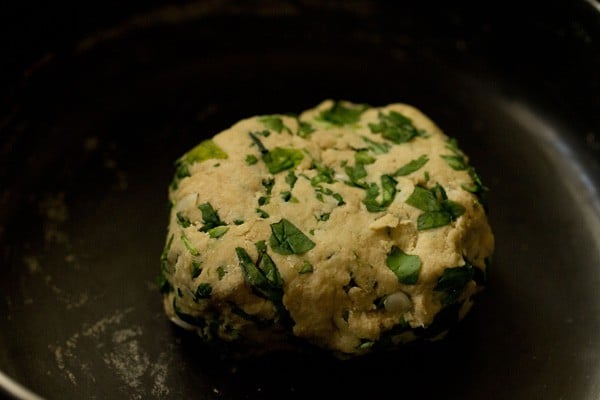
Roll Dough
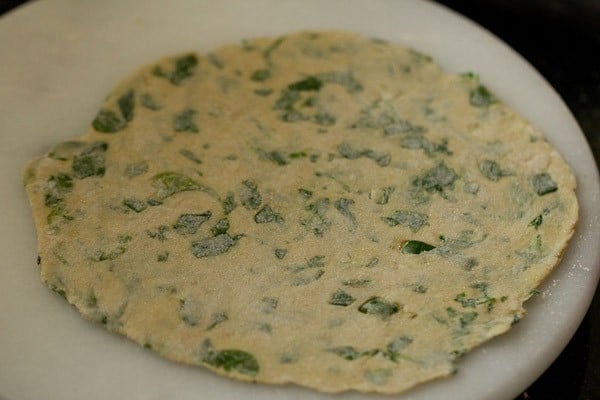
5. Pinch medium-sized portions from the dough. Roll the dough between your palms to make a neat round ball of dough.
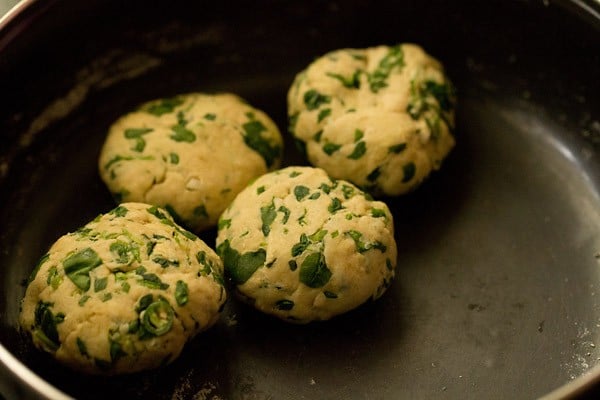
6. Lightly flatten the dough ball and keep it on the rolling board. Lightly dust the dough ball and the rolling board with some flour. Start rolling the paratha with a rolling pin.
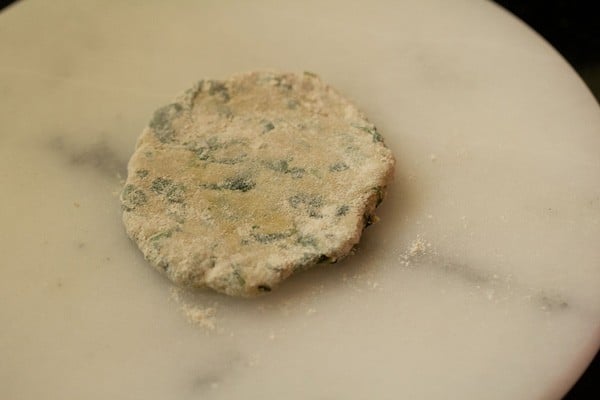
7. Roll the dough into medium-sized roti or circles having about 7 to 8 inches diameter, sprinkling flour as needed.
For a flaky, crispy layered paratha, spread ghee/oil all over and fold twice into a triangle shape. Then roll into a triangular shaped paratha dusting flour lightly.
The layering method with ghee or oil adds more fat in your parathas, but if you want a simple lighter version, then roll them plain with brushing any fat on the dough as I have done.
Make Methi Paratha
8. Place the paratha on a hot skillet or tawa. Keep the heat to medium-high or high before you place the paratha on it. The tawa has to hot before you start making the paratha.
Tip: To check the hotness of the skillet, sprinkle a pinch of flour on it. If the flour browns in a few seconds, the skillet is hot enough for roasting paratha. Wipe this roasted flour on the skillet with a kitchen napkin before placing the paratha.
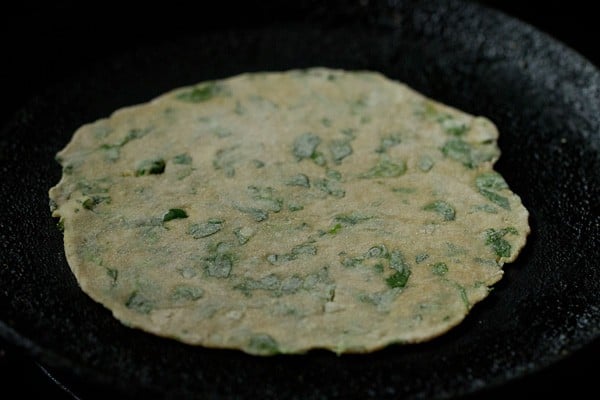
9. When one side is a bit cooked or about ¼ cooked, flip it. You will see some air pockets beginning to form on the paratha.
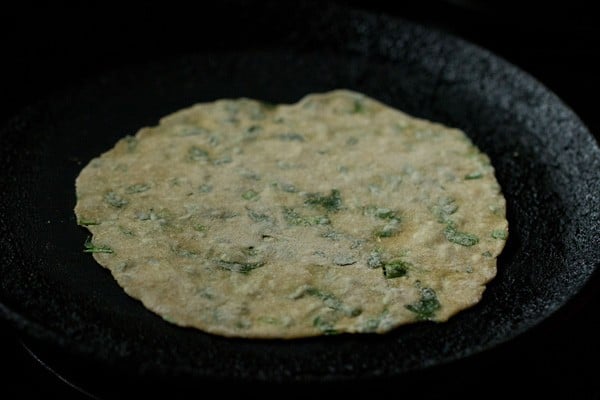
10. Spread oil or ghee (clarified butter) on this side that is facing you. Use any neutral oil or peanut oil for roasting.
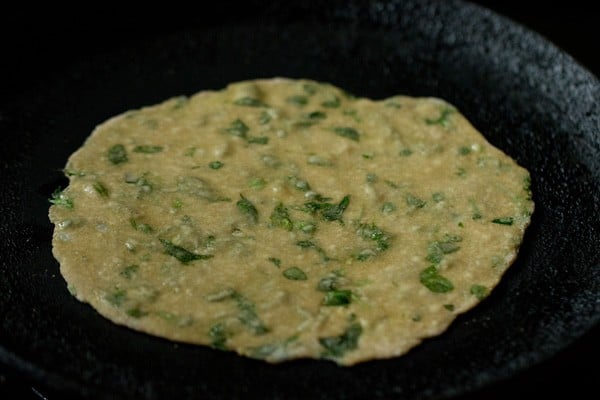
11. Flip again and you should see some brown or golden spots on the paratha. Spread ghee on this side which has the golden spots.
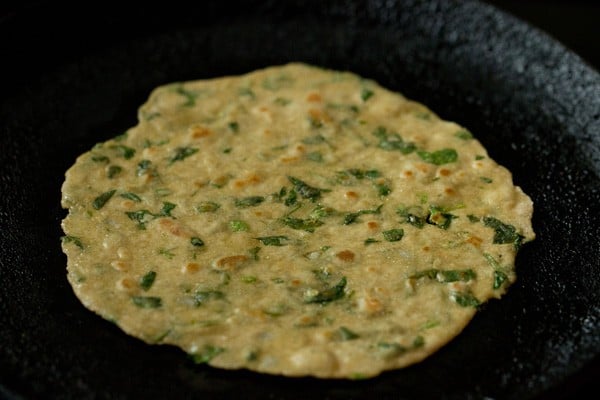
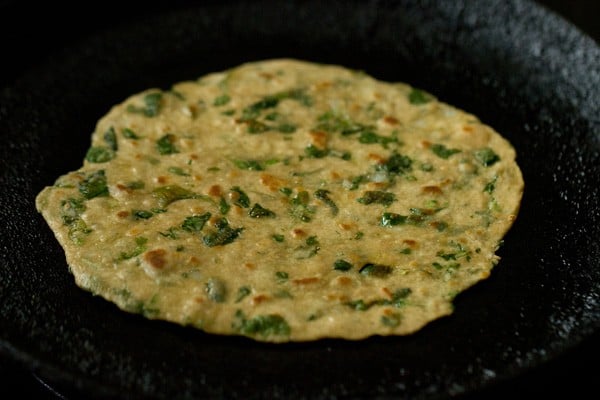
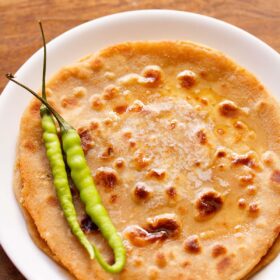
12. Flip again a couple of times until the methi paratha is evenly cooked and has golden spots or blisters. Press the edges with a spatula so that they get cooked well.
While making the second paratha don’t forget to wipe the skillet with a kitchen napkin if there is any excess whole wheat flour on it.
Roll the remaining dough balls and roast all methi parathas this way on a hot skillet or tawa.
Serving Suggestions
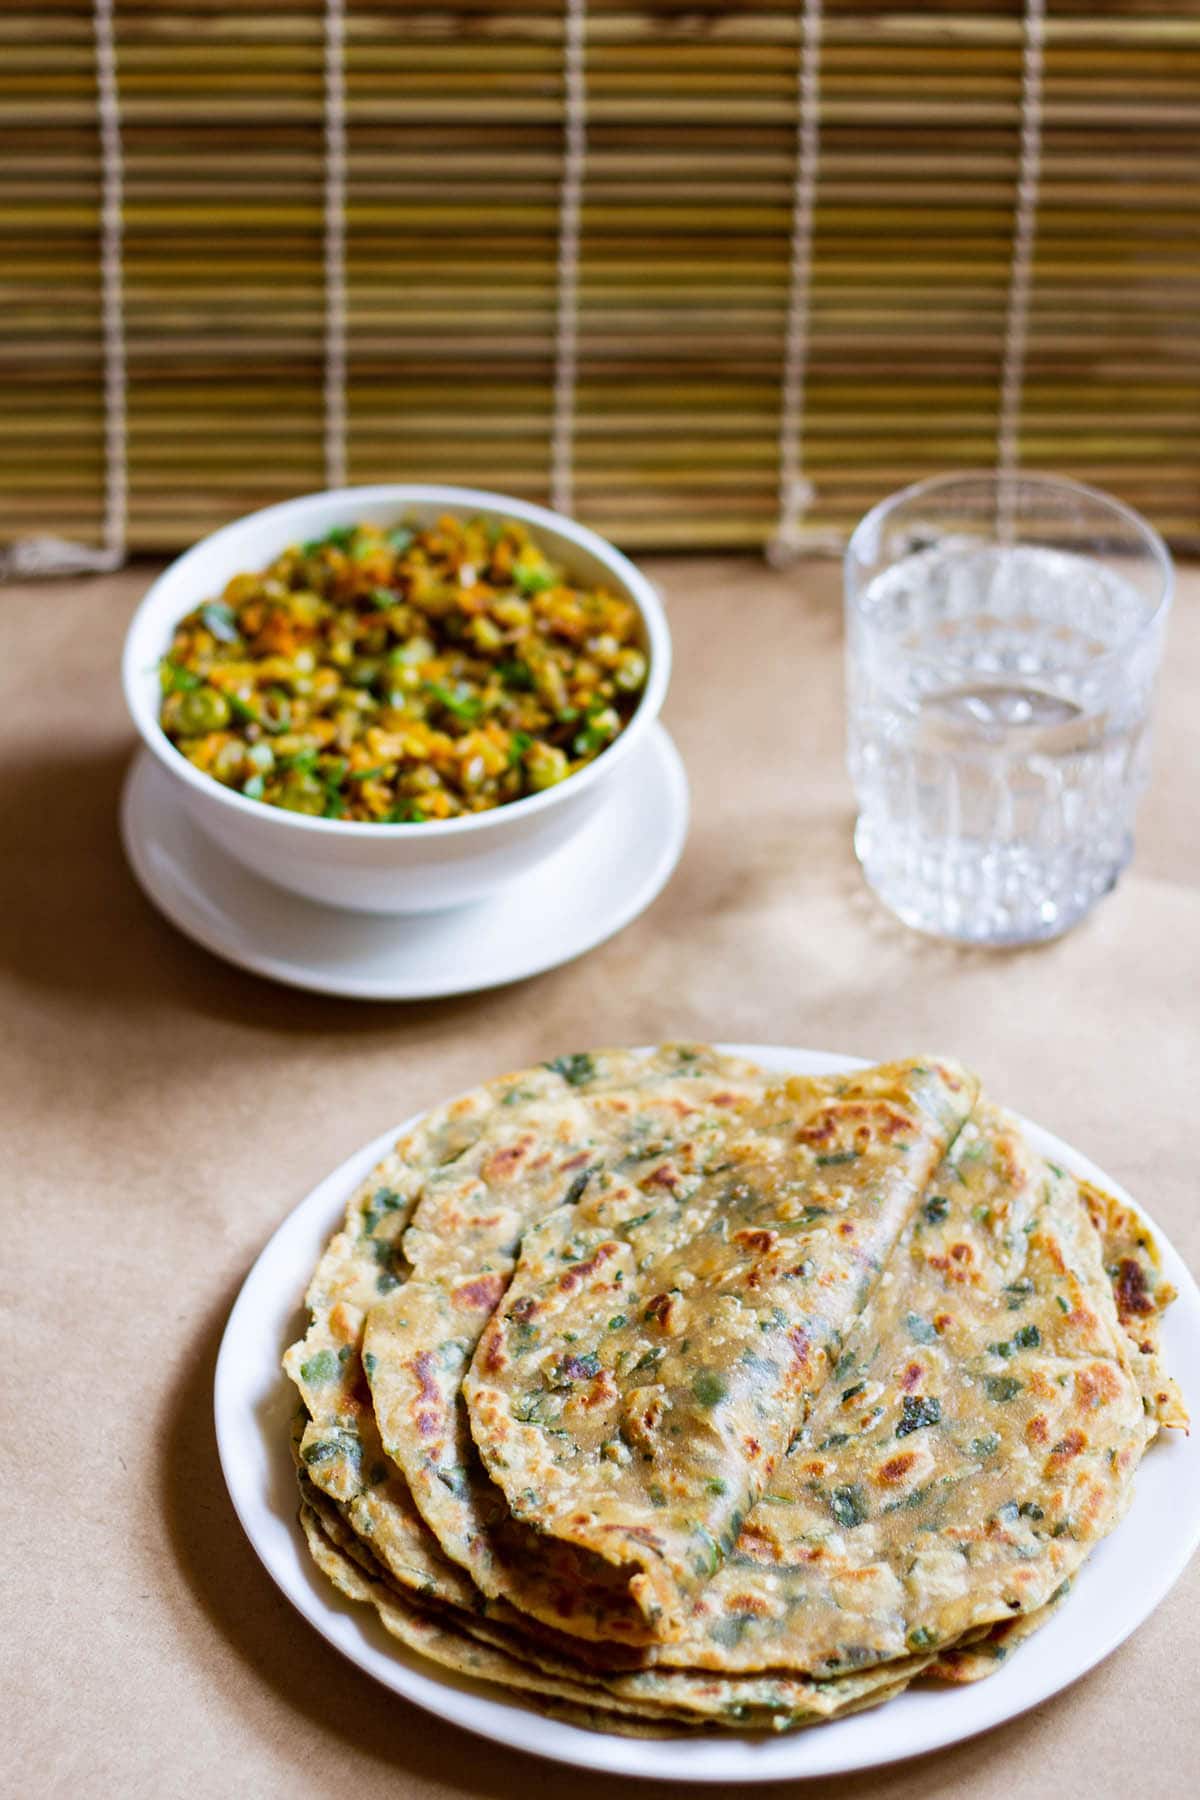
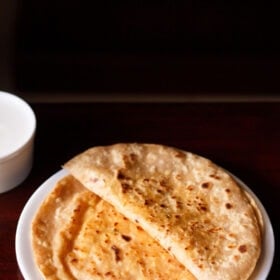
Methi paratha is best served hot. However, it can be served warm or at room temperature. You can also stack them in a roti basket or casserole box/container.
Easily enjoy for breakfast, lunch, or at dinner. My favorite things to serve with methi ka paratha are vegetable curries, sugar-sweetened yogurt, or pickles.
Some people like to have these methi roti with plain Curd (yogurt), Mango Pickle, Lemon Pickle, Red Chilli Pickle, Garlic Pickle or Green Chili Pickle. It all depends on your preference!
They can also be wrapped in foil and packed in lunch boxes or for short journeys. Methi ke parathe make a good tiffin box snack and stay soft when packed in a foil.
Expert Tips
- Substituting methi leaves: If you do not get methi leaves, then substitute spinach (palak) or amaranth (chaulai – green or red leaves). The taste will be different and the parathas won’t have the unique methi flavor, but nevertheless, they will be healthy and nutritious.
- Swapping with dried fenugreek leaves: Kasuri methi or dried fenugreek leaves are a great option for fresh ones. I often use kasuri methi when I do not have fresh fenugreek leaves to make these methi roti. Include 2 to 3 tablespoons of kasuri methi to make your methi paratha recipe.
- Roasting tips: Ensure that your skillet or tawa is hot. Roast parathas on medium-high to high heat. Roast paratha on low heat would make them undercooked or chewy and hard. A very high heat would cause the parathas to burn. Regulate the heat as needed when roasting.
- Heat: If you like spicy food then feel free to add more chilies to this methi paratha recipe. Conversely, if you are not too fond of chilies then you can add less.
- Add-ins: Bring more flavors in your methi paratha recipe by including finely chopped onions, minced ginger or ginger-garlic paste. Opt to add ground spices like turmeric powder, garam masala powder, cumin powder, coriander powder, red chilli powder to make a spiced flavorsome methi roti.
FAQs
Yes, you can definitely use dried fenugreek in this recipe. You will need to add 2 to 3 tablespoons of dried fenugreek leaves to the whole wheat flour and follow the remaining steps of the recipes as normal. The dried fenugreek leaves will give the methi ke parathe a slightly different flavor and taste compared to the fresh fenugreek leaves.
Methi paratha is made with fenugreek, herbs, and spices while methi thepla includes gram flour (besan), curd (yogurt), and plenty of spices. The besan gives the thepla a nutty taste and the curd adds a delicious rich flavored sour taste.
Remove the fenugreek leaves from the stem as soon as you buy the fenugreek. Then thoroughly wash the leaves and dry them. Once the leaves are dry put them in a container or zip lock bag and refrigerate.
I keep my plucked methi leaves in a steel container and they usually stay fresh for 4 to 5 days. It’s very convenient for when I want to sprinkle methi leaves on pakoras, pulao, and dal to add some flavor. For more advice about cleaning methi read this Aloo Methi recipe post!
More Tasty Paratha Recipes!
North Indian Food Recipes
Breakfast Recipes
Breakfast Recipes
Breakfast Recipes
Please be sure to rate the recipe in the recipe card or leave a comment below if you have made it. For more vegetarian inspirations, Sign Up for my emails or follow me on Instagram, Youtube, Facebook, Pinterest or Twitter.
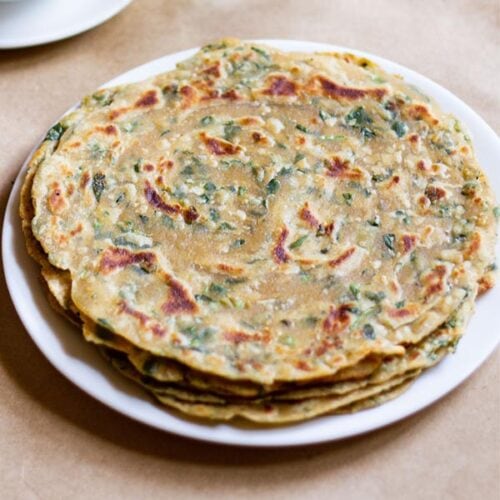
Methi Paratha Recipe (Punjabi Methi ke Parathe)
Ingredients
- 2 cups whole wheat flour – 240 grams
- 1 cup methi leaves (fenugreek leaves), tightly packed, not chopped
- ½ to 1 teaspoon finely green chilies or 1 to 2 green chillies
- 1.5 teaspoons finely chopped garlic or 7 to 8 small to medium-sized
- 2 teaspoons oil or Ghee – use any neutral oil or peanut oil
- ⅓ cup water or add as required
- ½ teaspoon salt or as required
- Ghee (clarified butter) or oil, as required for roasting
Instructions
Prepping Methi Leaves
- Place the fenugreek leaves in a bowl filled with water and to which ½ teaspoon baking soda and 1 tablespoon vinegar has been added.
- Soak for about 2 to 3 minutes, later draining all the water.
- Soak the leaves in clean water for a couple of minutes. Swish and move the leaves gently with your fingers. This removes any soil or mud particles that are on the stems or leaves.
- Drain the water again. You can repeat this process of soaking and draining once or twice or choose to thoroughly rinse the leaves under running water for a few times. Finally, drain the water well.
- Place the leaves on a kitchen towel and spread them evenly on it for a few minutes or you can proceed to chopping them.
Kneading Dough
- In a bowl mix the whole wheat flour and salt.
- Add the chopped methi leaves, green chilies, garlic, oil and mix again.
- Pour water little by little and mix the dough first. Later knead to a smooth and soft dough adding water as needed.
- Note that the water proportion will vary with the water content in the fenugreek leaves and the type, variety of wheat flour.
- Tip 1: If the dough looks sticky, add a few tablespoons of whole wheat flour and knead again.
- Tip 2: If the dough looks dry or dense, add a couple of tablespoons of water and continue to knead.
Rolling dough
- Pinch medium sized balls from the dough. Roll them between your palms to make a neat round ball.
- Flatten the dough ball and dust it lightly with some flour and the rolling board as well.
- With a rolling pin, roll the dough into medium sized roti or circle having 7 to 8 inches diameter.
- For a flaky, crispy layered paratha, spread ghee all over and fold twice into a triangle shape. Then roll them to a large triangle shaped dough sprinkling flour lightly.
- The layering method with ghee adds more fat in your parathas, but if you want a simple lighter version, then roll them plain with brushing any ghee on the dough as done in this recipe.
Roasting
- Heat a skillet or tawa on medium-high to high heat. Place the rolled methi paratha on a hot tawa or griddle.
- Tip: To check the hotness of the skillet, sprinkle a pinch of flour on it. If the flour browns in a few seconds, the skillet is hot enough for roasting paratha.Wipe this roasted flour on the skillet with a kitchen napkin before placing the paratha on it.
- When one side is a bit cooked or about ¼ cooked, flip the paratha. You will see some air pockets beginning to form on paratha.
- Spread some oil or ghee (clarified butter) on the side that is facing you.
- Flip again and you should see some brown or golden spots on the paratha. Spread ghee on this side having the golden spots.
- Flip again a couple of times, until the paratha is evenly roasted and has some golden spots or blisters. Press the paratha edges with a spatula so that they get cooked.
- Roll the remaining dough balls and make the methi parathas this way. While making the second paratha don’t forget to wipe the skillet with a kitchen napkin if there is any excess whole wheat flour on it.
Serving Suggestions
- Methi paratha is best served hot. However, it can be served warm or at room temperature. You can also stack them in a roti basket or casserole box/container.
- Easily enjoy for breakfast, lunch, or at dinner. My favorite things to serve with methi ke parathe are vegetable curries, sweetened curd, or pickle.
- Some people like to have parathas with plain curd (yogurt), mango pickle, lemon pickle, or green chili pickle. It all depends on your preference!
- They can also be wrapped in foil and packed in lunch boxes or for short journeys. Methi roti make a good tiffin box snack and stay soft when packed in a foil.
Notes
- Substituting methi leaves: If you do not get methi leaves, then substitute spinach (palak) or amaranth (chaulai- green or red). The taste will be different and the parathas won’t have the unique methi flavor, but nevertheless, they will be healthy and nutritious.
- Swapping with dried fenugreek leaves: Kasuri methi or dried fenugreek leaves are a great option for fresh ones. I often use kasuri methi when I do not have fresh fenugreek leaves to make these methi roti. Swap with 2 to 3 tablespoons of kasuri methi.
- Roasting tips: Ensure that your skillet or tawa is hot. Roast parathas on medium-high to high heat. Roasting paratha on low heat would make them undercooked or chewy and hard. A very high heat would cause the parathas to burn. Regulate the heat as needed when roasting.
- Heat: If you like spicy food then feel free to add more chilies to this recipe. Conversely, if you are not too fond of chilies then you can add less.
- Add-ins: Bring more flavors in your methi paratha by including finely chopped onions, minced ginger or ginger-garlic paste. Opt to add ground spices like turmeric powder, garam masala powder, cumin powder, coriander powder, red chilli powder to make spiced flavorsome methi ke parathe.
Nutrition Info (Approximate Values)
Methi Paratha recipe from the blog archives first published on Jan 2013. It has been updated on December 2024.


Your recipes are awesome thanks for giving us such good options. Really awesome.
Thanks a lot.
Super easy to make and so tasty! I was told to add some jaggery to the dough in order to reduce the bitterness of the fresh methi leaves (which I, for one, have never had any trouble with) and some ajwain seeds, too.
They turned out great like that, but since I used your recipe as a base, I am very grateful and give you full credit for the result, since I definitely need some tried and tested measurements and detailed step-to-step instructions when making bread (something I have yet to master).
Greetings from a big fan of your recipes living in Spain.
Thanks a lot. If the fenugreek leaves are not bitter, jaggery need not be added. Ajwain seeds can be added though. Glad that you like the recipe. Making bread or for that matter flat breads is not that difficult. With more practice it becomes simple and easy. Thanks again.
I agree 100%: jaggery is definitely not needed here. I probably added too little for it to have any meaningful impact on the final result, anyway, so I suspect it would’ve been just delicious without it.
I do think the ajwain gave a special touch, though. Will definitely be doing another batch this week. Thanks again.
Made these today for the first time, so good ! 🥶 I will be making many times. I put the add-in spices you recommended in small amounts, and next time I will add more methi leaves to the dough too.
I’m just a home cook, I don’t have a blog or website or social media for cooking, however I can see how much work it is to write out these recipes in detail and upload all the photos and tips things. We home cooks appreciate so much ! Thx ! 😍
Thank you. Oh yes, it does take plenty of time and effort to write and maintain the blog. Thanks for the understanding. Also thanks for the feedback on the recipe. You can always adjust the spices and herbs according to your taste preferences.
Dear Dassana, Excellent recipes and explanations. Any beginner can make your recipes. I feel each and everyone should learn how to cook their ethnic food at home. You give the best to your family.
Thank you Zehra. I do agree with your thoughts – yes we should learn how to cook our ethnic food. Thanks again.
Hello Mam.
I have loved your site so far! I have been able to try only a few of your recipes yet.
I am a complete newbie to cooking. I wanted to ask what exactly does 1 cup measure to ? Is this the same as ‘1 cup’ of baking measurement cups (= 8 oz) ?
Is there any utensil I can substitute from the ones more commonly seen in an Indian household ?
Please help mam.
Thank you.
Hi Sristy, thank you. I will reply you in detail by tonite on the email. Yes in my recipes, the 1 cup measure is the standard American measuring cup which is 8 oz. In baking recipes, you cannot use any utensil, but in some Indian recipes, you can use a small bowl or a small glass.
Excellent recipe. I am enjoying and sharing it with my friends and family relations.
Hello
Where I’m living we get only dry leaves
Will it work the same way?
Thank you
the recipe method will be the same, but only the quantity of dried methi leaves will be less. you can use about 2 to 3 tablespoons dried methi leaves (kasuri methi). the rest of the ingredients will be the same.
These parathas with just methi,chilli and garlic in the dough tasted so good.makes for a healthy and nutritious breakfast.all of us loved it.
thanks winnie.
Great recipe and we prepare this almost every week.
Thank you for sharing your recipes and making our lives easy and healthy.
Loads of love and Best wishes
thanks. welcome kabyashree. hugs and best wishes to you too.
Thanks for the recipe:)
Welcome Pavana
SINCE THE NAME OF THIS RECIPE IS METHI PARATHA, AND NOT METHI THEPLA……WE HAVE TO ROLL DOUGH SAME WAY WE ROLL PLAIN PARATHAS..
YOUR RECIPES ARE EXCELLENT. THANKS FOR SHARING.
yes. thanks and welcome.
Thanks for sharing. It was nice. Kids loved it. But parata was not too soft little hard. May be could have added more water. Any tips to make it soft.
Welcome Bhuvi. The paratha dough has to be smooth and soft. otherwise methi parathas won’t be soft. Yes you could have added some more water.
Add some hot oil while making dough
Thanks for the recipe. I find your recipes easy to follow. I have one suggestion and one request here. Please insist the readers to wash the methi leaves thoroughly such that the mud in the leaves get washed off. I made this paratha yesterday. Although it came out soft, much of it were served to crows as there were grains of mud in every bite. ????
Please also tell how to wash methi leaves. They are too tiny for me to handle.
anuradha, welcome and thanks for the suggestion. i do not usually mention cleaning methi leaves as most indian women know how to clean and rinse the leaves. also the post becomes lengthy. usually the leaves are plucked from the stems.
the leaves are usually on the top and do not have mud clinging on them. the muds clings on the roots or on the lower parts of the stems. even if you rinse the leaves 3 to 4 times in water the mud gets rinsed away.
always use the leaves and not the stems. tender stems are fine to use. take the leaves in a colander or a in a large bowl. if using a colander then under running water rinse the leaves.
if using a bowl then fill the bowl with water and keep methi leaves in it for a few minutes. the mud settles at the bottom. then invert the bowl carefully and drain all the water. repeat the process 3 to 4 times. in the methi mushroom recipe post, i have shared a detailed method of cleaning methi leaves.
Thank you for sharing. I have question. Can we saute methi and then add to atta? Is that ok?
by sautéing methi, some flavors will be lost and then again the methi gets cooked when making parathas. so i would suggest to add fresh methi leaves.
Hi!! As usual u rock everytime ..I love Methi paratha instead of curd or any other dish I go with garlic pickle or if u dnt hve pickle I make garlic cloves with oil and some masala like oil chili powder salt and tomato finely chopped mix with garlic cook till u see the oil ozzes out goes best with methi paratha.. Hope u like it I shared my experience.. Thnk you for ur delicious recipes..
Welcome Fazila. Nice to know this. Thanks for sharing your positive feedback and your garlic pickle recipe. I am sure someone will try the pickle recipe you shared here.
Hi,
Which Sabzi goes well with Methi Paratha..Please Suggest…
Sharvani, you can serve with aloo sabzi, aloo gobi, pumpkin sabzi or aloo matar sabzi.
Hello Amit,I have always followed ur receipes…
The step by step photo procedure is very good and it gives clarity…..
Thanks again…Looking forward for some more delicious receipes from u to write and me to follow…????
Welcome Amruta. Thanks for your positive feedback on recipes.
Hi Dassana…. tried most of your methi recipes…. they all came out very well & was appreciated by everyone at home.
Thanks Bindu for sharing your positive feedback on methi recipes.
Hiii dasanna…I tried most of your re eipes..and went out awesome..my husband liked it very much…for mehi paratha can we make dough at night…
Thanks Akshatha. You can make the dough at night.
Do we have to let the dough rest for sometime ?
no need shruti. if you keep the dough to rest, then the methi leaves release more moisture and the dough can get sticky.
Nice
Super breakfast food
thank you.
super recipe
thankyou bala 🙂
Easy to cook.receipe is simple.
thankyou girija 🙂
You are a saviour.can blindly follow your recepies
thank you very much kajal 🙂
love your recipies.
thanks aysha.
Hi Dassana had a doubt.. Actually I grow my own methi but it’s a bit bitter than the store bought ones.. Any steps that I can follow to eliminate the bitterness?
It’s a kind of repetitive dialogue but I still couldn’t stop myself from saying that.. You really rock… Made some Gobi masala restaurant style from your blog and it was mouth watering.. Not a speck was left 🙂 thanks for your wonderful and precise recipes..a great help for beginners..
try making it grow a bit more. methi leaves can be be bitter and it depends on the type and quality. i also used to grow methi. but they were not bitter. thanks again ashritha for the lovely and encouraging comment.
Great recipe! I made these with some leftover cilantro and chives I had chopped up in the freezer. I used ginger-garlic paste and some cumin seeds along with some dried methi leaves. Nice texture and taste, I now want to dip these into some sauces and curries. Thanks, love the site and the step by step pictures!
thanks for the positive review curtis. chives are my favorite and i do add them in these parathas instead of garlic. the variations are good.
Can we add dry methi, instead of fresh ones ?
fathima, yes you can add. but reduce the quantity to 1-2 tbsp. but with fresh methi leaves parathas taste better.
Thanks dassana.. i tried ur recipe by adding carrom seeds and finely chopped onions with pinch of turmeric and it became more tasty..
welcome deepa. thanks for sharing your tip.
most popular dish
Could one use dried fenugreek leaves? If so, what quantity?
I have tried quite a few recipes from your website, and they all were delicious. Thanks.
thanks amy. you can use 2 to 3 tbsp dried fenugreek leaves for 2 cups of whole wheat flour.
Thanks for this recipe. I thought I will need to boil the leaves but its quite easy
welcome vivek
Easy to make and very tasty paratha.
Thanks Dassana.
welcome sheetal
very nice recipe and easy to make
thanks seema
I Am Your Fan And Recipe Lover.Every Recipe Is Easy To Make Because Of You Explain And Describe So Lovely It Feels Like You Are Standing Right In Front Of Me And Showing How To Make It..
thanks vivek. glad to know that recipes are helping you in cooking.
Thanks Dassana…. thanks for teaching me how to cook…. i have started cooking thanks to ur blog. Thanks once again;)
welcome sanjeet. glad to know. thanks for sharing positive feedback.
Not only your recipes are awesome but you too are a wonderful soul….
thanks manjiri for this sweet comment.
easy recipe
thanks rekha
Very easy recipe.
thanks angana
Hi Dassana 🙂 ,
Its been quite a few days since I wrote to u. Don’t have a specific query as of now. Just wanted to let you know that you are creating pleasure in my kitchen and home day in and out. 🙂
Well, after following your blog for months, I have come to the conclusion that it’s not only your recipes which make me come back to your blog repeatedly, but also your style of writing which is quite captivating. I do not enjoy reading recipes on any other blog as much as I do on your blog. You narrate your experiences and real stories along with the recipes, which makes for an interesting read. 🙂 🙂 Keep going.
thanks a lot himani for your kind, motivating and positive feedback. so i am on the right track as far as recipes and writing is concerned. glad to know this.
Nice…
Thanks for wonderful recipe
Superb it is…
I love this recipe. Thanks Dassana for this recipe. We want more recipes from you.
You and your recipe are great
thanks priyanka. god is great
To day i have prep, Methi paratha as above, with an addition of turmeric powder & cumin seeds.It became more tasty, with good colour.
thanks chitra for sharing your variation of methi paratha.
Dear dassana,
Thank you so much for the wonderful nutritious recipes, yesterday i tried the Methi Paratha at home & it was just superb.
we are awaiting to hear more & more recipes from you.
thanks jyothi for the motivating words.
Today i hv prepared this methi paratha it was vry tasty n my son n. My husband liked this methi parotha
thanks meena. i am glad you all liked the methi paratha.
Really nice recipes. Thank you.
It is nice recipe. I like and thank you to show me the recipe.
Yumm looking paranthas dear!
The parathas look so filing…perfect treat for any meal!
yummy paratha.. I love it
love the flakiness of these parathas! 🙂