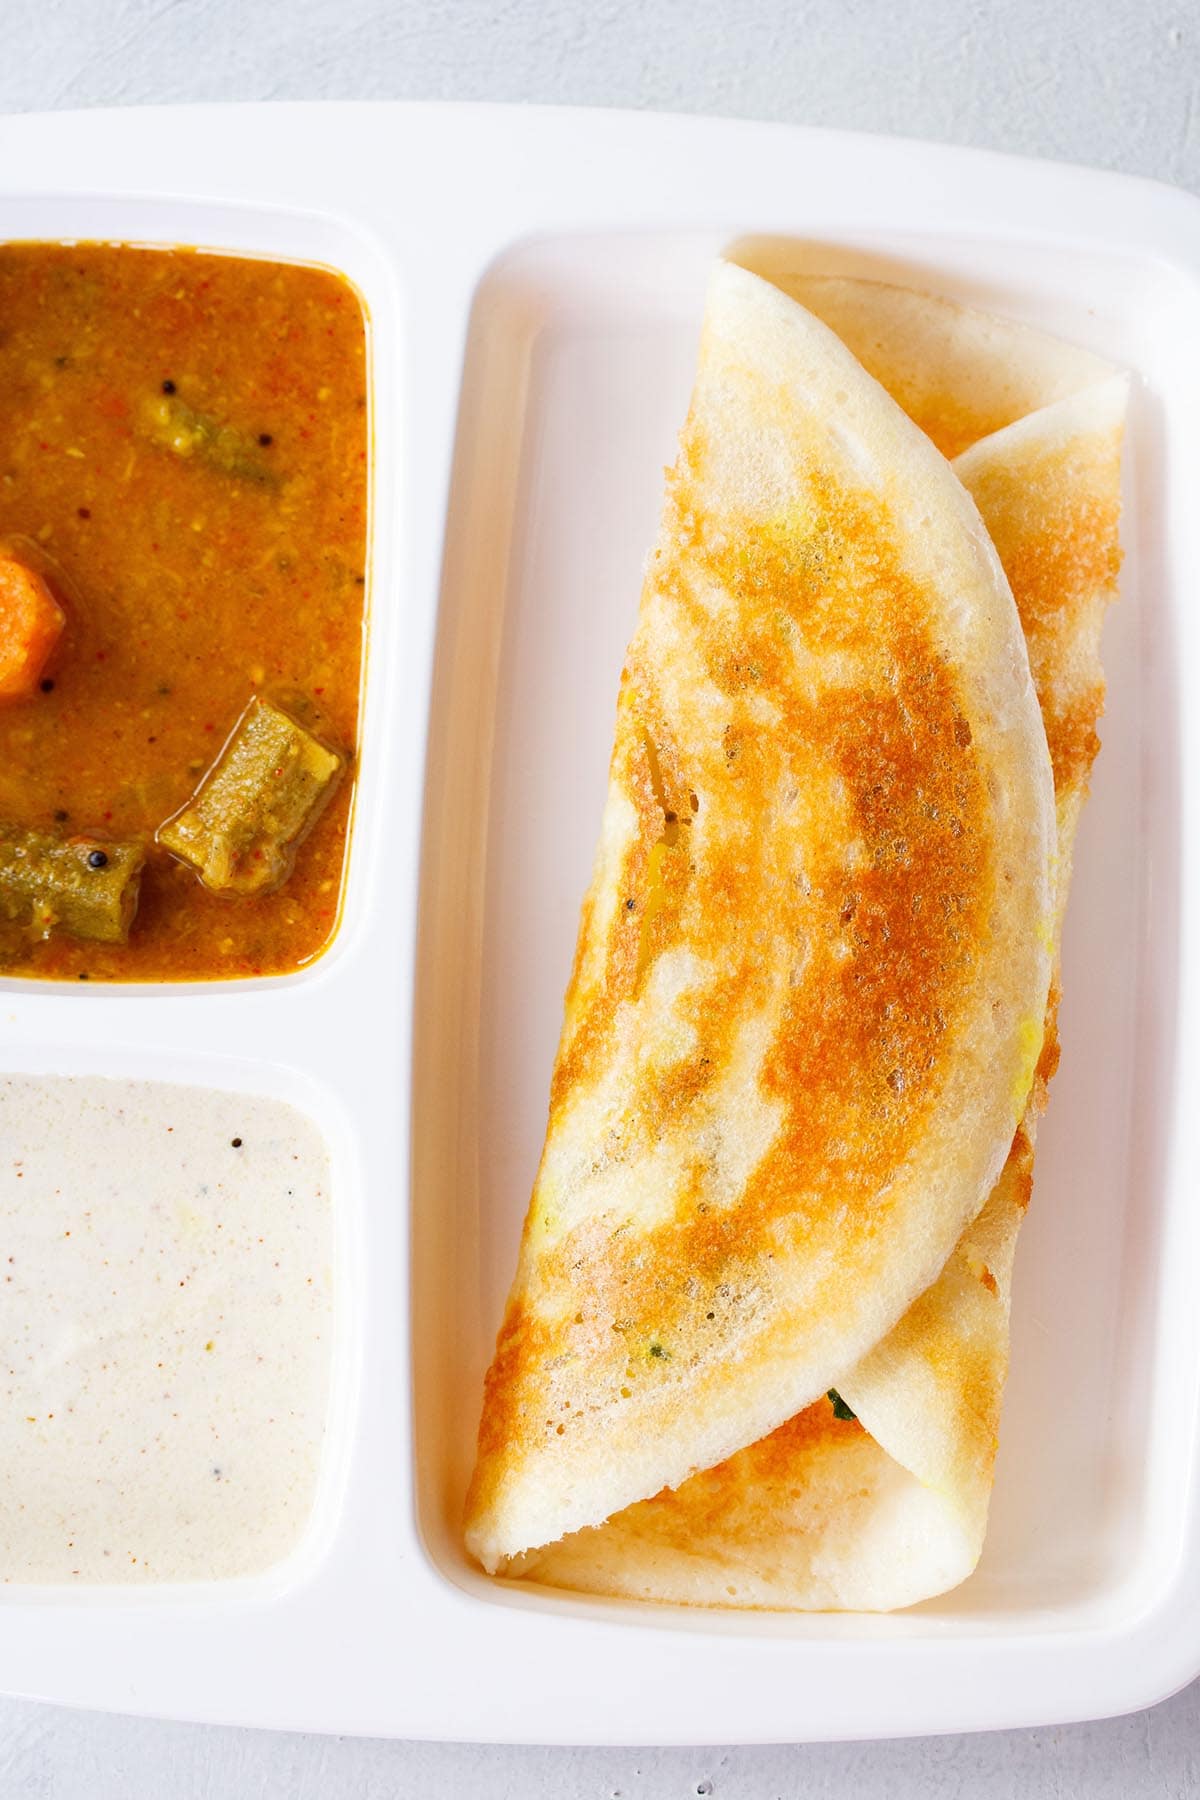
This classic Masala dosa recipe makes perfectly light, soft and crispy crepes stuffed with a savory, wonderfully spiced potato and onion filling. It might take a bit of time to make delicious hotel style masala dosa, but with my step-by-step instructions and photos I promise it will be easier than you think and is so worth the effort!
About Masala Dosa Recipe
While masala dosa is a famous snack most popular in South India, these tasty stuffed crepes are enjoyed in North India as well and can be found on menus throughout the world.
Masala dosa are crispy, soft, savory and healthy crepes made with a rice and lentil batter. The dosa are gluten-free and dairy-free, with a sturdy yet soft texture that’s great for holding a hearty homemade potato filling.
To make the batter, lentils and rice are soaked for several hours and then blended together. This makes a creamy and smooth batter. This rice and lentil batter is fermented overnight to create just the right tangy flavor and tender, light crepes.
Dosa Batter is quickly cooked like a thin pancake on a hot griddle, with your choice of oil or butter or ghee. The crepe is then filled with a spiced potato and onion filling, and served with Sambar and Coconut Chutney.
You can easily customize this recipe to fit your tastes by adding grated paneer, cheese, extra veggies (like peas, carrots, cauliflower, and/or green beans) to the potato filling, and serving with other favorite dipping sauces or side dishes.
Getting hungry? Here I share with you step-by-step photos and instructions for making the best restaurant-quality masala dosa recipe from scratch. This recipe is fun to serve for breakfast, brunch or dinner with friends, and much of the prep work can be done in advance!
My easy recipe for hotel style masala dosa features 4 main steps you’ll find below:
- Blending the lentil and rice batter
- Fermenting batter
- Preparing the savory potato masala filling
- Assembling the complete masala dosa dish
How to make Masala Dosa
1. Make Batter
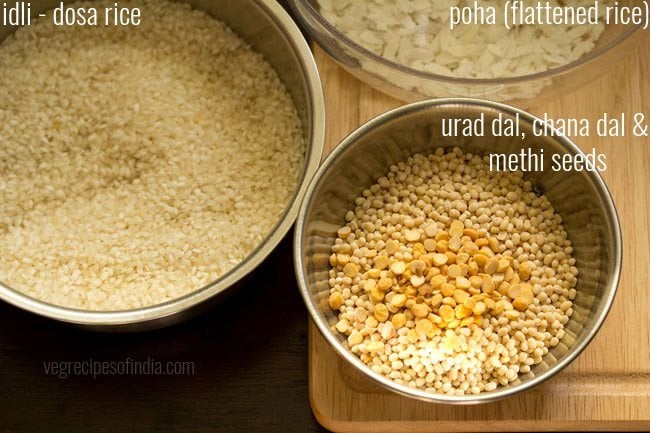
1. First take all the ingredients in three bowls. Note that these ingredients are easily available online or any Indian or Asian grocery store if you live outside India.
- 1.5 cups idli rice or parboiled rice in one bowl. You can also use regular short-grained to medium-grained rice like sona masuri or parmal.
- ½ cup urad dal (husked black gram) + 1 tablespoon chana dal (husked and split bengal gram) + 20 methi seeds (fenugreek seeds) in a second bowl
- ⅓ cup thick poha (flattened rice) in a third bowl.
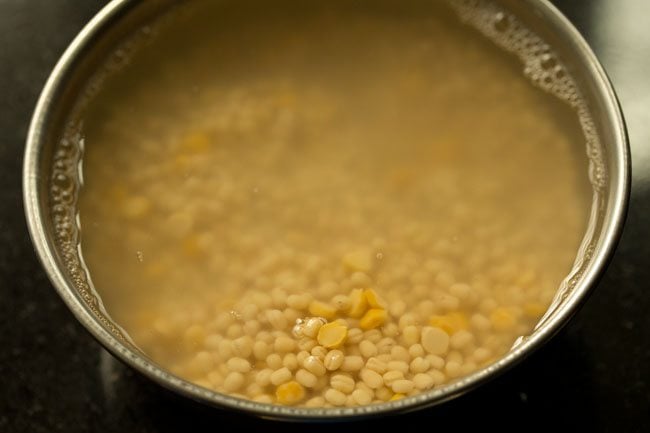
2. Rinse the lentils and fenugreek seeds a couple of times. Then soak them in 1 cup water for 4 to 5 hours.
Tip: Ensure to use urad dal that are fresh and within their shelf-period.
3. Rinse the rice a couple of times and keep aside.
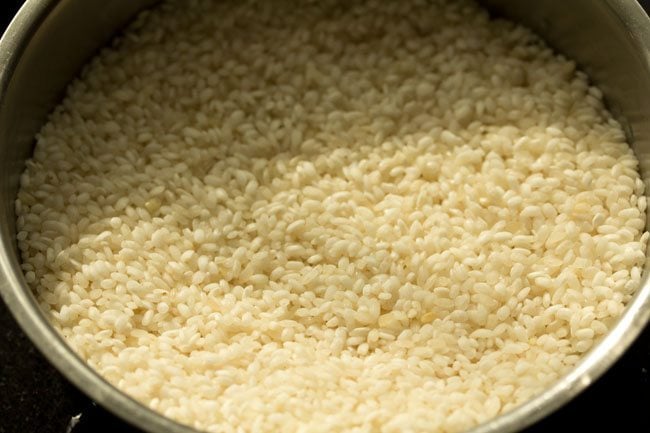
4. Rinse flattened rice once or twice and then add to the rice.
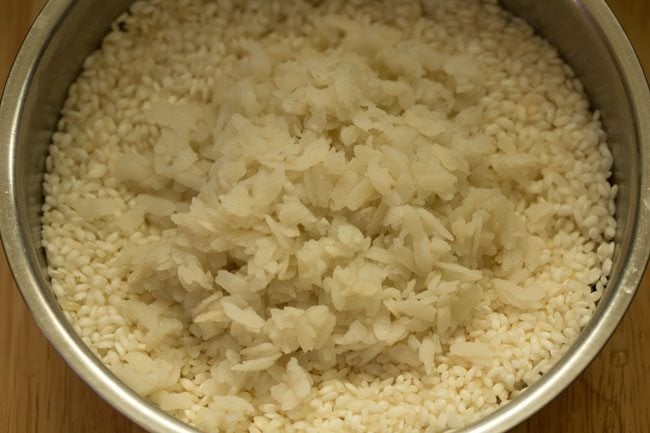
5. Pour 2 cups water. Stir and soak both rice and flattened rice together for 4 to 5 hours.
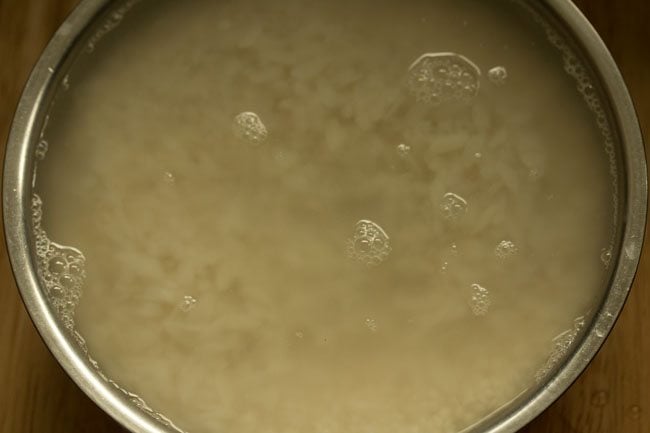
6. Before grinding, strain the water from the soaked lentils+fenugreek seeds and keep it for grinding urad dal. You can also use fresh water if you prefer.
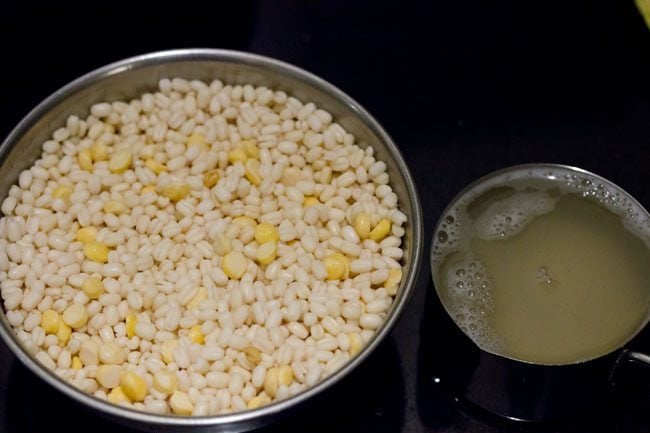
7. Add the lentils in the grinder jar. Also add ½ cup of the soaked and strained water to the lentils or ½ cup of fresh water if you like.
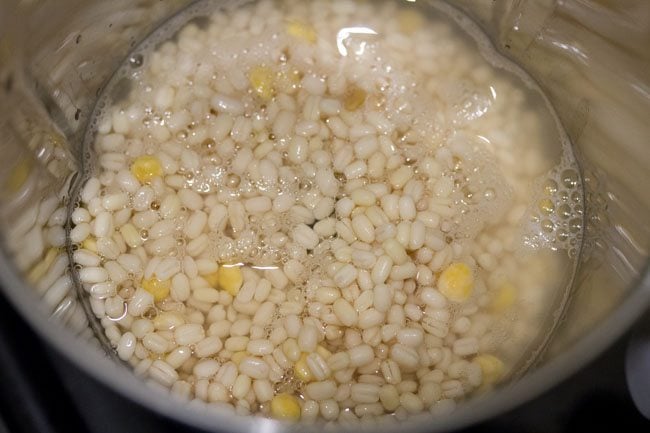
8. Grind the urad dal, chana dal and fenugreek seeds till you get a batter which is light and fluffy. The urad dal has to be ground really well, so that the dosa batter ferments well.
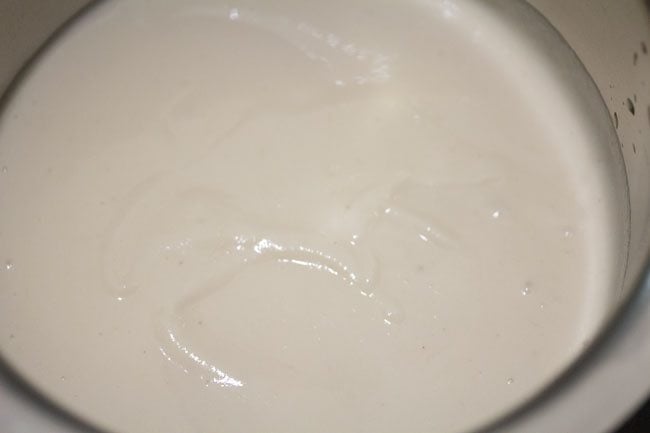
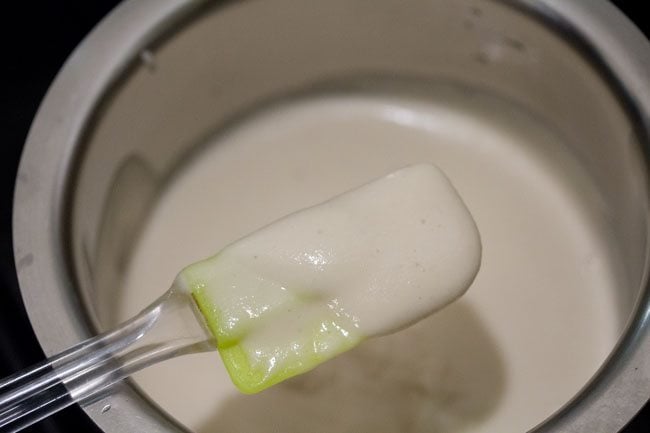
9. Remove batter in a bowl or pan with a spatula. Below is a photo showing the consistency of the urad dal batter.
Note that a well ground and fluffy urad dal batter helps in the fermentation process.
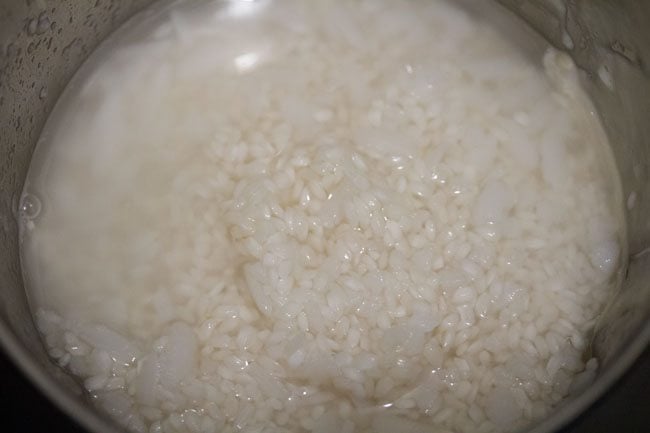
10. Strain the rice well. Then in the same grinder, add the soaked rice and 1 cup fresh water. You can grind rice in one batch or in two to three batches. This will depend on the size of the grinder jar.
I ground in one batch and added 1 cup water for grinding. You can even add ¾ cup water while grinding. Addition of water will depend on the quality of rice. So you may need to add less or more water.
11. Grind the rice till you get a fine grainy consistency in it. The rice batter should have a fine rava (cream of wheat) like consistency of the ground rice grains.
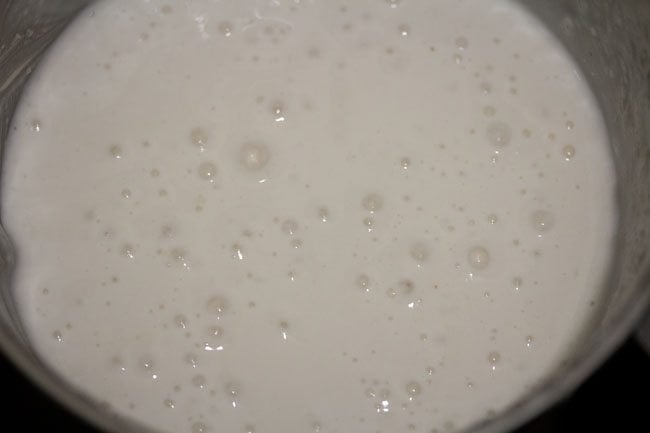
12. Now pour the rice+flattened rice batter in the same pan or bowl containing the urad lentil batter.
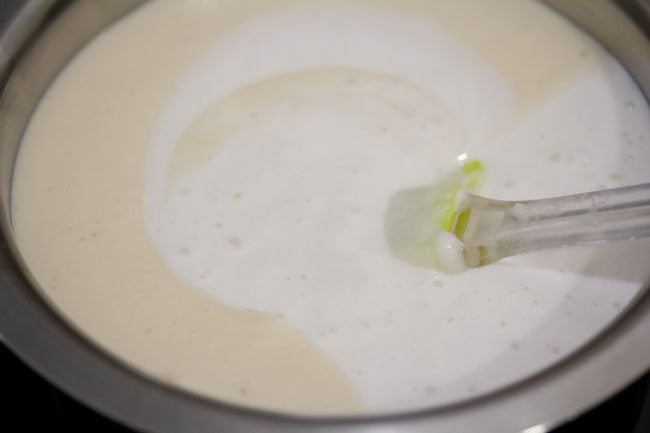
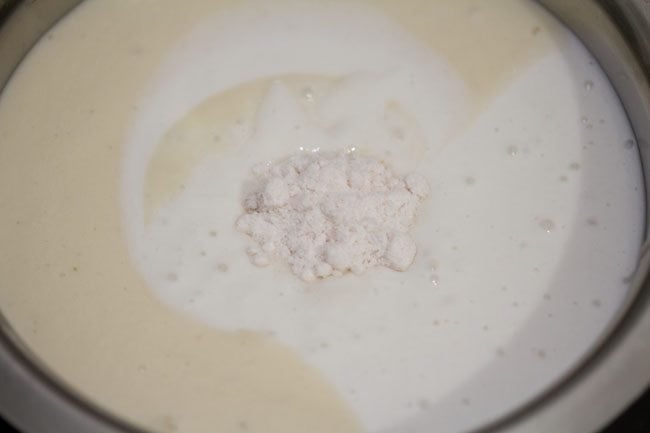
13. Add ½ teaspoon edible rock salt or add as per taste. You can also use sea salt or pink salt.
2. Ferment Batter
14. Mix the salt very well with the ground batter. Also, mix both the rice batter and the urad lentil batter thoroughly. Cover with a lid and keep aside to ferment for 8 to 9 hours at room temperature.
You can keep for less or more time and this will depend on the temperature conditions in your city. It can take anywhere from 6 hours to a day or more for it to ferment.
In the Indian summers, the batter ferments quickly and during winters it takes a longer duration of time.
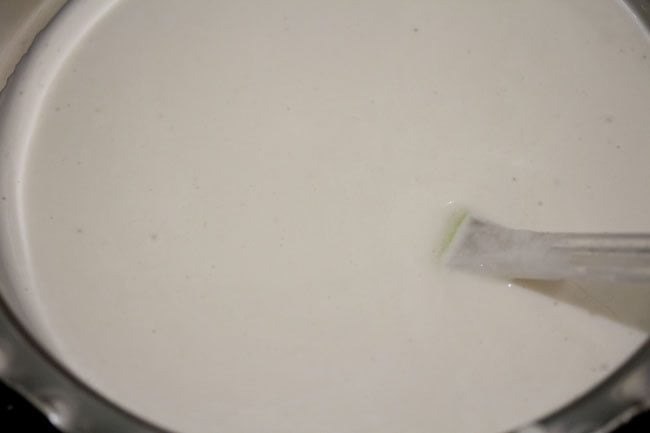
15. In the below photo, you see a well fermented batter the next day. I kept for about 13 hours and 35 minutes at room temperature, as it is cooler during the monsoons where we live.
If you live in a cold place, keep your batter in a lit (but not heated) oven or keep near a warm place.
You can also use the yogurt setting of your Instant Pot to ferment. Use the “low” option when using the yogurt setting as the “medium” option will cook the batter instead of fermenting it. Cover with a separate lid and not the Instant pot lid as it can get locked.
For fermenting batter in the instant pot, time will vary from 8 to 12 hours depending on your room temperature, season, altitude and geographical location.
During winters and cooler days, I always use the instant pot for fermenting dosa batter and it works like a charm.
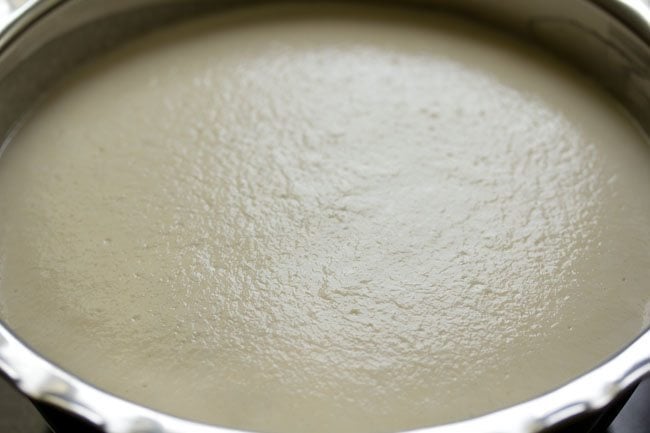
A well fermented batter will double or triple in volume, have a pleasant sour aroma with many tiny air-pockets.
Once your batter is nicely fermented, cover and refrigerate it when you start to make the potato masala stuffing. In hotter seasons, the batter kept at room temperature will continue to ferment and will become very sour.
3. Make Potato Filling
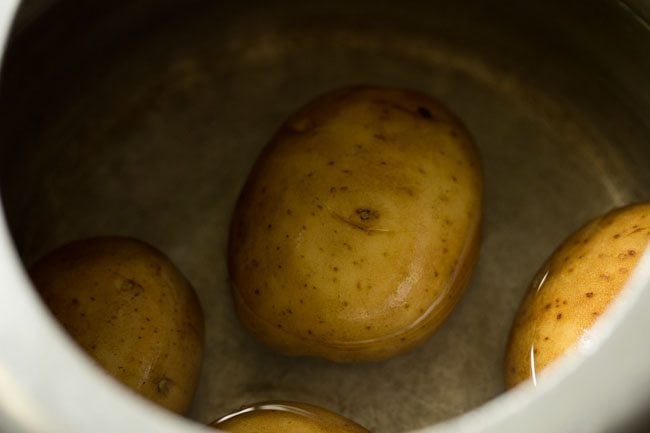
1. First rinse and then boil 4 medium sized potatoes in 2 cups water for 5 to 6 whistles in a pressure cooker.
You can also boil potatoes in a pan or in an Instant pot. The potatoes have to be completely cooked and fork tender.
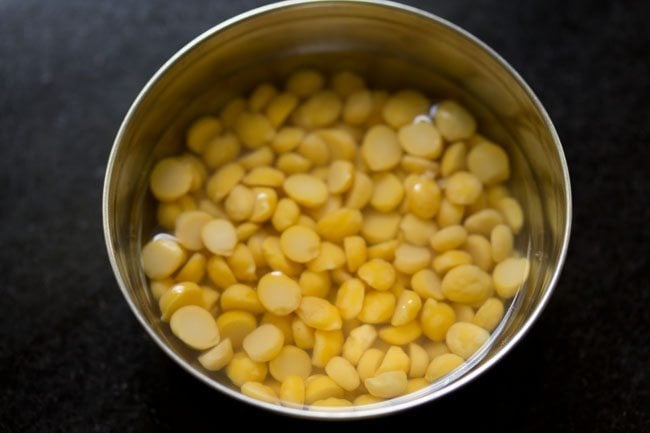
2. When the potatoes are cooking, rinse and soak 1 tablespoon chana dal in ¼ cup hot water for 30 minutes. Then drain all the water from the chana dal and set aside.
If you are out of chana dal, then simply skip it.
3. When the pressure settles down on its own in the cooker, remove the lid. Drain the potatoes and let them become warm.
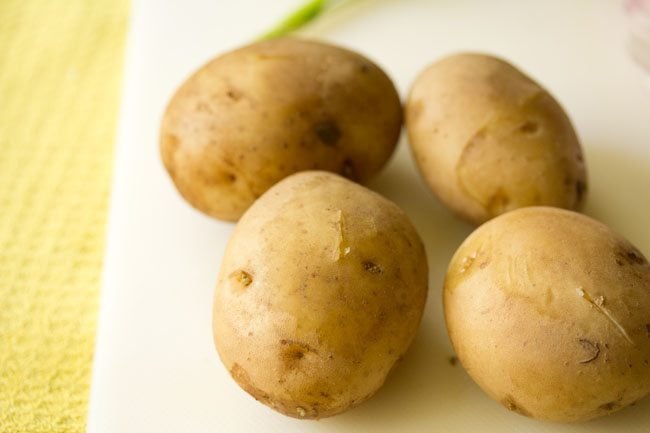
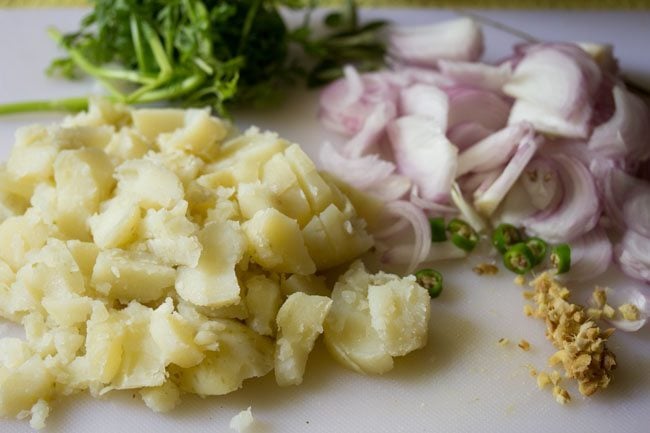
4. Then peel and chop them. Also, thinly slice 2 medium to large onions (200 grams) and chop 1 to 2 green chilies, finely chop 1 inch ginger and some coriander leaves. When you measure, you should have:
- 1.25 cups thinly sliced onions
- 1 teaspoon chopped green chillies
- 1 teaspoon finely chopped ginger
- 3 tablespoons chopped coriander leaves
5. Heat oil or ghee in a frying pan or skillet. If using cashews, then fry 2 tablespoons cashews at this step and keep them aside.
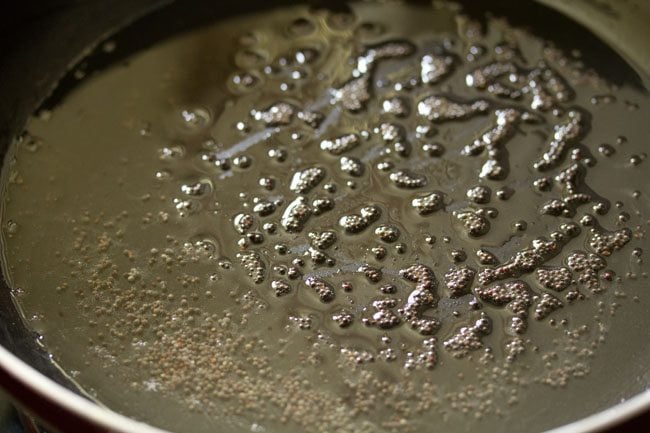
Lower the heat and add mustard seeds and let them splutter. You can add ½ teaspoon cumin seeds while tempering.
6. Then add the chana dal.
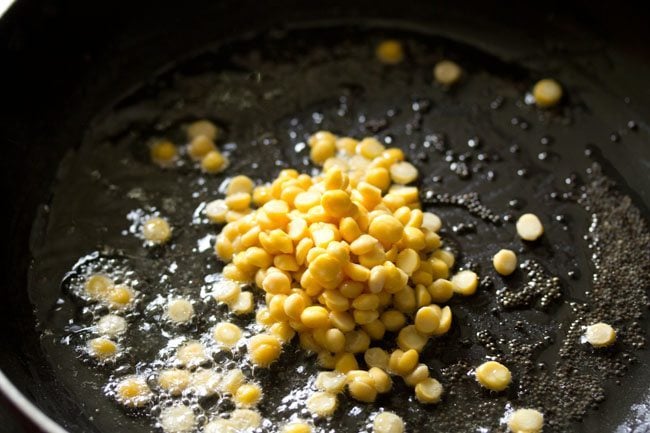
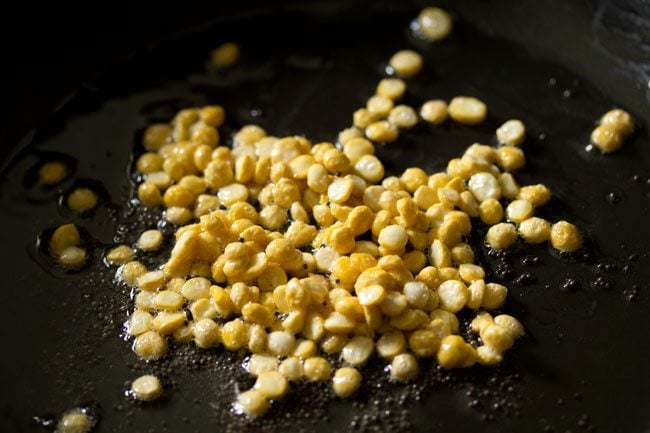
7. Saute the chana dal for 2 to 3 minutes on a low heat or till they turn light golden or golden.
8. Now add the sliced onions, curry leaves, green chilies and ginger.
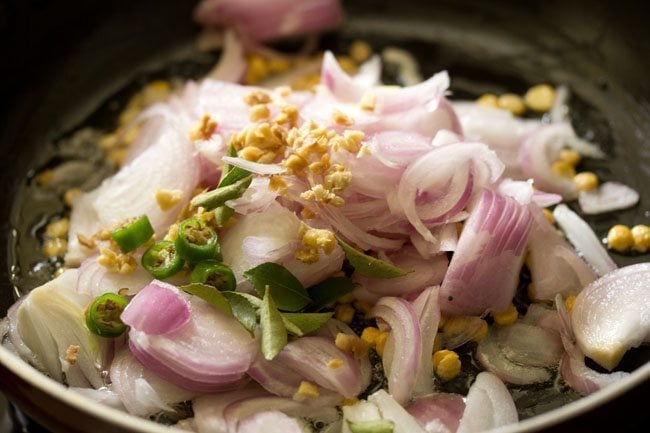
9. Sauté the onions till they soften and turn translucent. Stir often while sautéing onions so that they get evenly cooked.
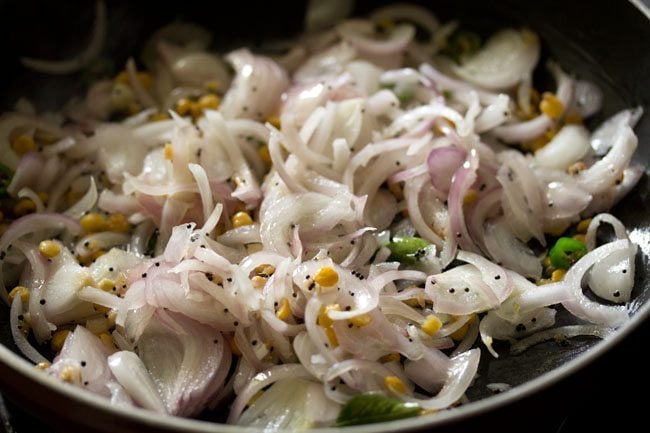
10. Add the turmeric powder and asafoetida (hing). To make it gluten-free use the gluten-free asafoetida or skip it altogether.
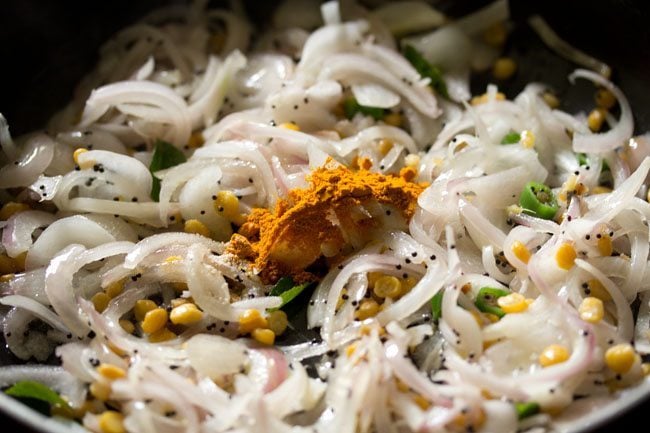
11. Mix very well.
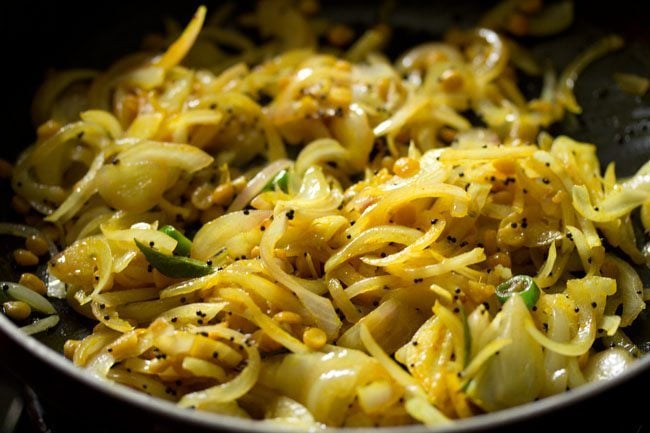
11. Now add ½ cup water.
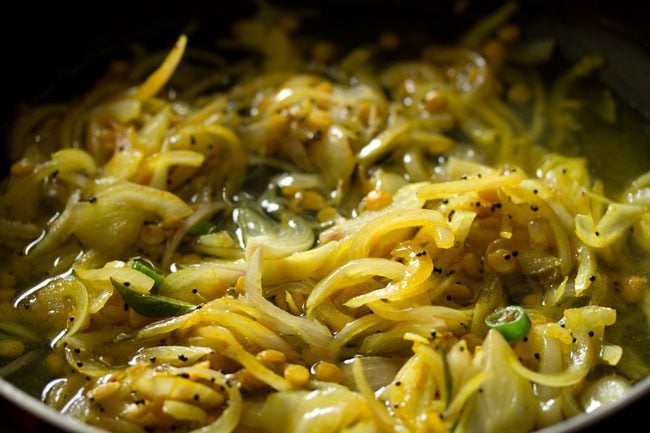
12. Again mix well and simmer for 2 to 3 minutes or till the mixture thickens a bit.
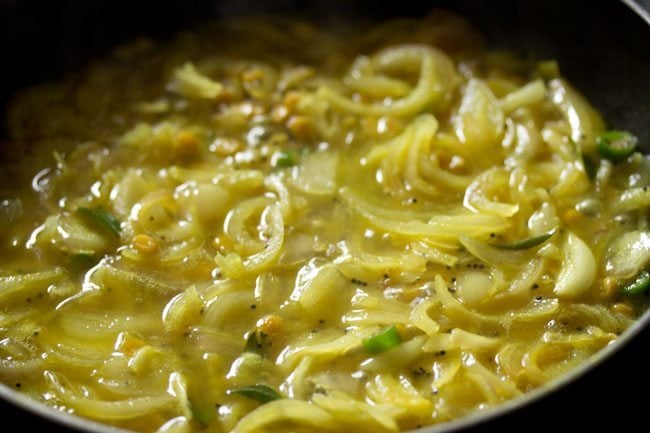
12. Next add the boiled chopped potatoes.
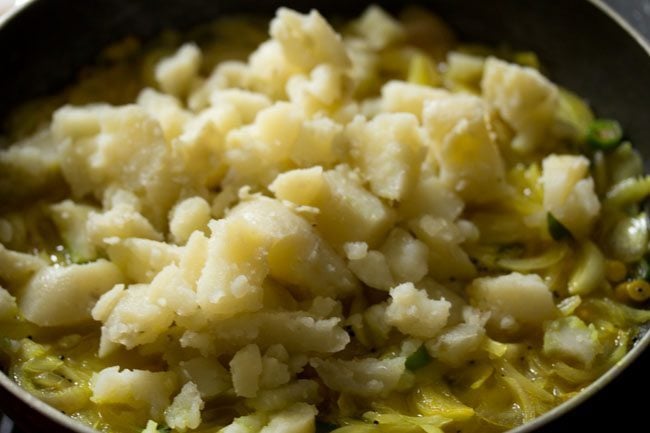
13. Mix very well. You can choose to mash the potatoes slightly while cooking.
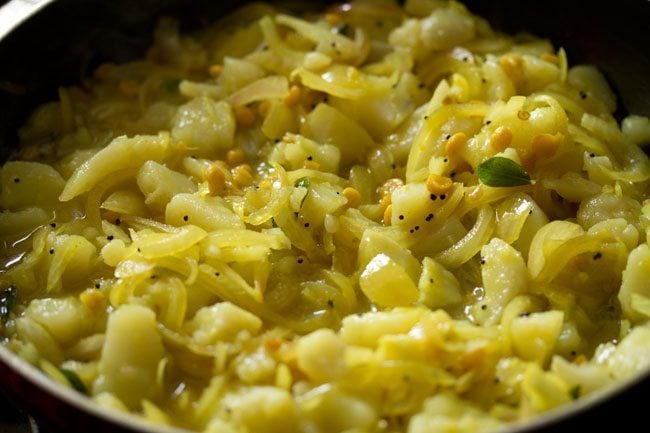
14. Season with salt according to taste. Also add ¼ to ½ teaspoon sugar for a slightly sweet taste. You can add more sugar if you prefer.
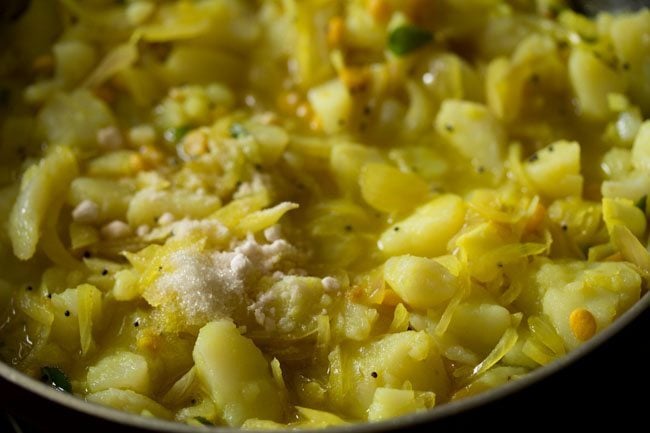
14. And stir again.
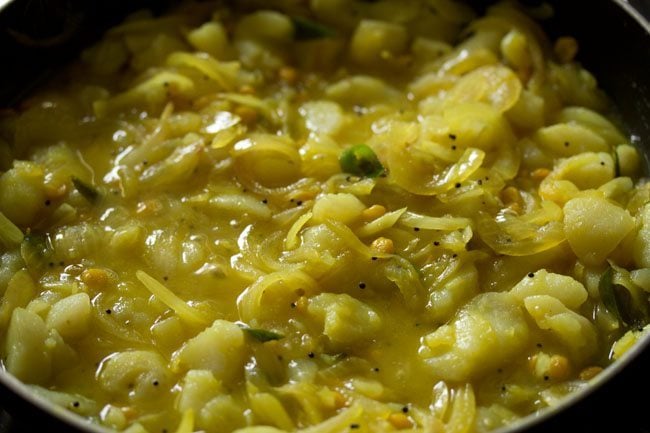
15. Simmer on a low to medium-low heat for 3 to 4 minutes stirring occasionally.
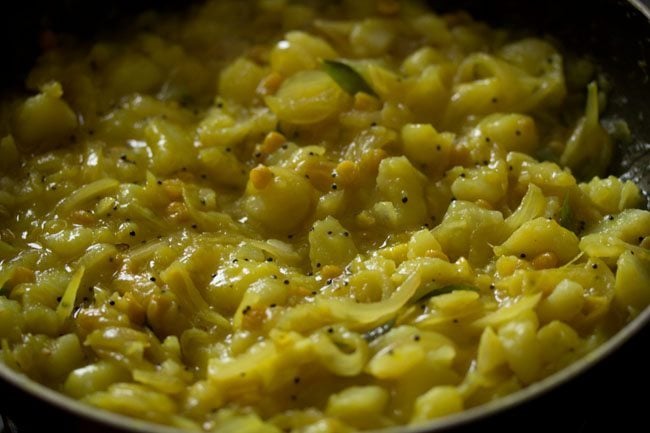
16. Switch off the heat and then add chopped coriander leaves. Also add fried cashews now (if you have fried the cashews earlier as mentioned in step 5 above). Mix well.
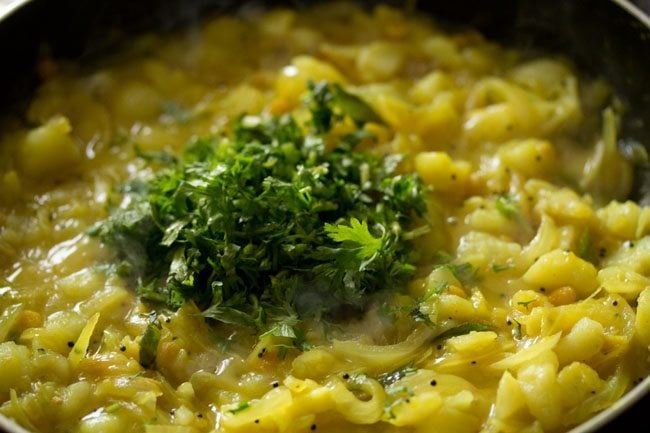
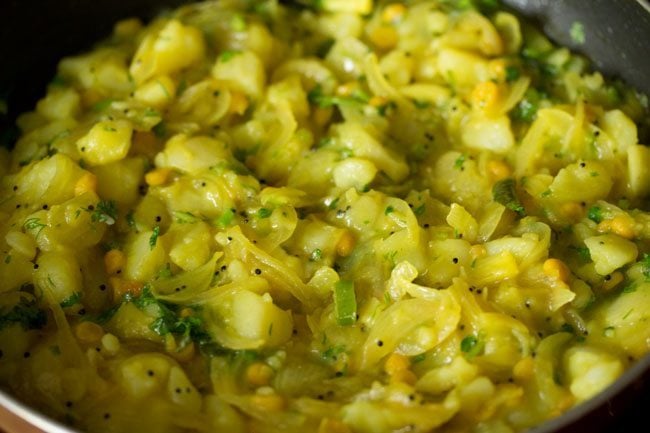
15. Stir and keep the potato masala aside. The potato filling should be moist and easily spreadable on the dosa. Make sure there is no water in the potato stuffing. It should not be of a curry or gravy consistency.
This is your basic potato masala for the masala dosa.
4. Make Masala Dosa
1. Now lightly stir the batter, before you begin to make dosa. You will also see tiny air pockets in the batter with an increase in its volume.
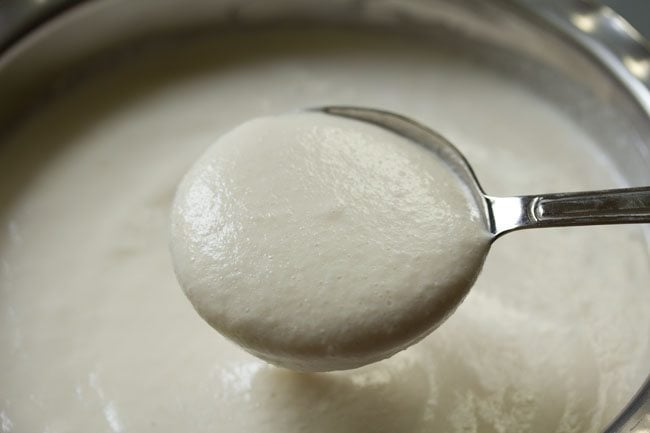
2. Heat a cast iron pan or a flat non-stick pan. The pan should be medium hot. Smear some oil if using an iron pan or griddle. Don’t smear oil on a non stick pan, as then you won’t be able to spread the batter easily.
Dosa batter has a medium-thick to medium flowing consistency and is easily pourable.
Tip 1: If its too thick to spread, add a splash of water and mix it well.
Tip 2: If it has become thin, add some rice flour to thicken it.
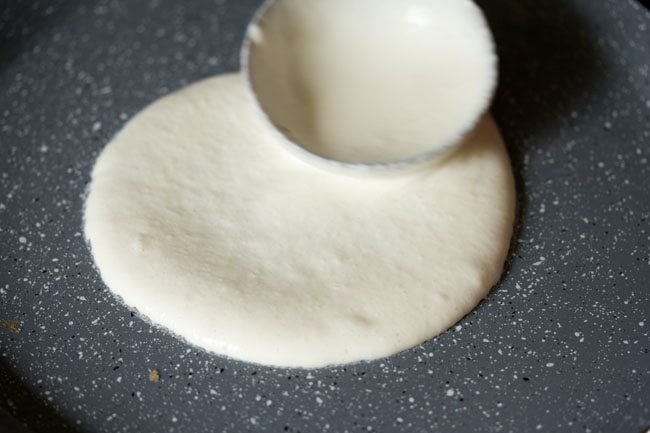
3. Keep the heat to a low, while spreading batter.
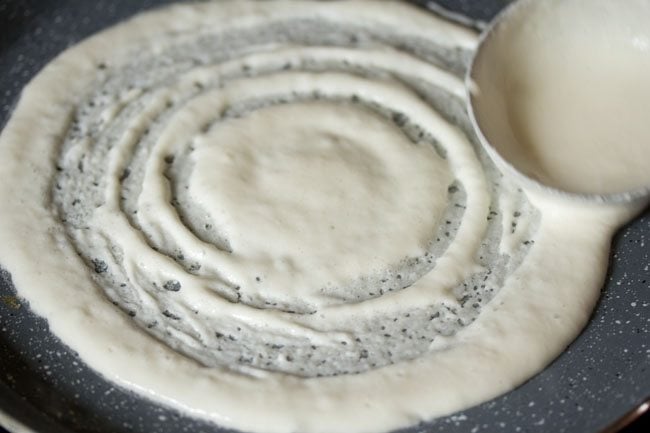
4. Spread the batter in a circular way on the pan. On a medium heat, cook the dosa.
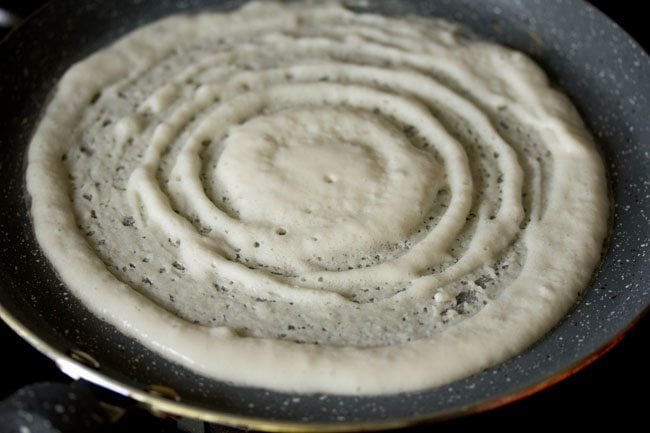
5. Sprinkle some oil on top and edges.
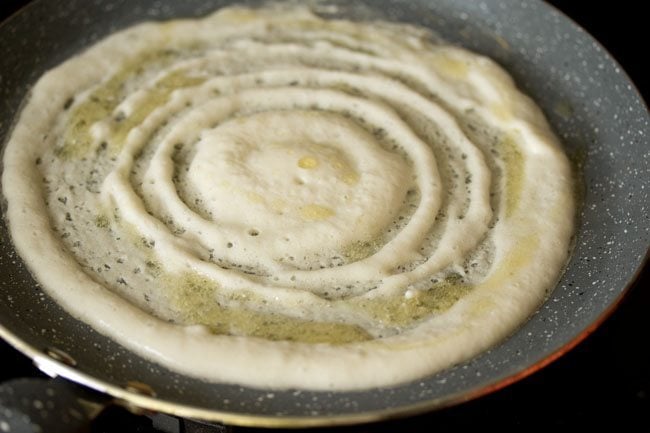
6. Cover the dosa with a lid and let it cook.
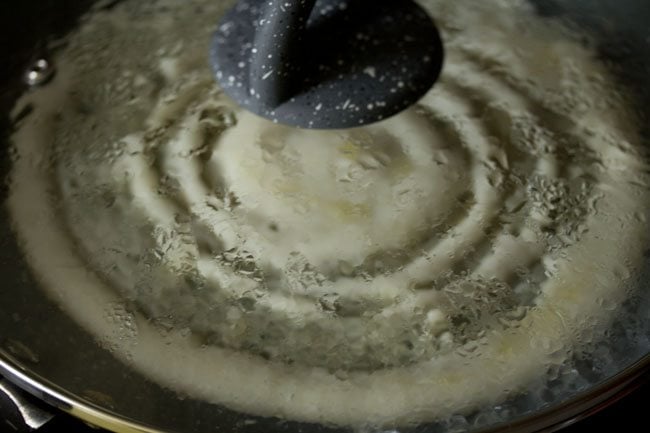
7. Cook till its base becomes golden and crisp. You can spread the oil which was sprinkled earlier on the dosa with a spoon.
You can also opt to flip the dosa and cook the top side.
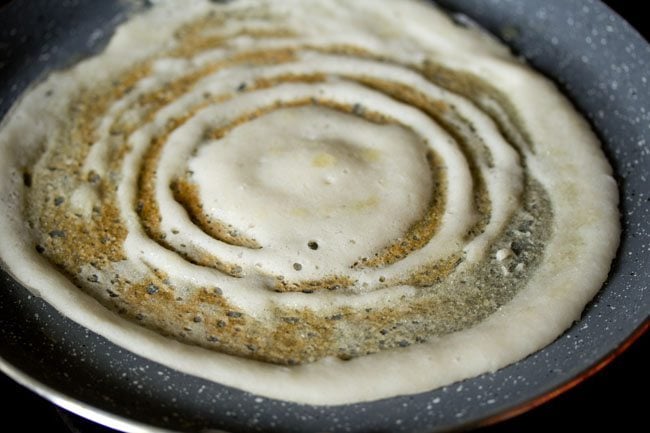
8. When you see the base has become golden, the edges have separated from the pan and the dosa has cooked, place a portion of the potato masala filling on the dosa. You can spread the filling a bit if you want.
If you prefer then you can choose not to place the potato stuffing in the dosa and instead serve it separately. Some people like to have masala dosa served this way. Simply cook the dosa without any added potato filling.
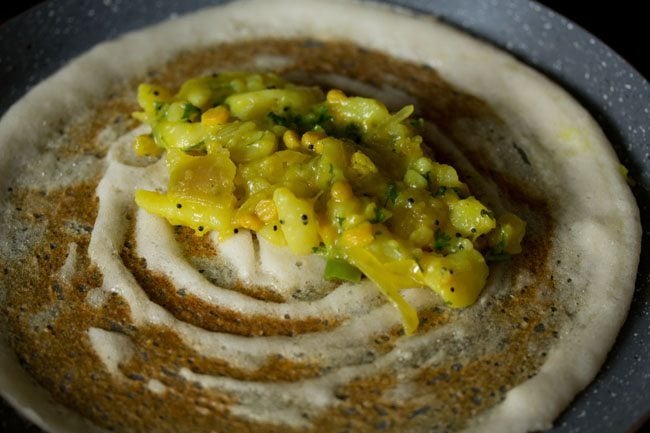
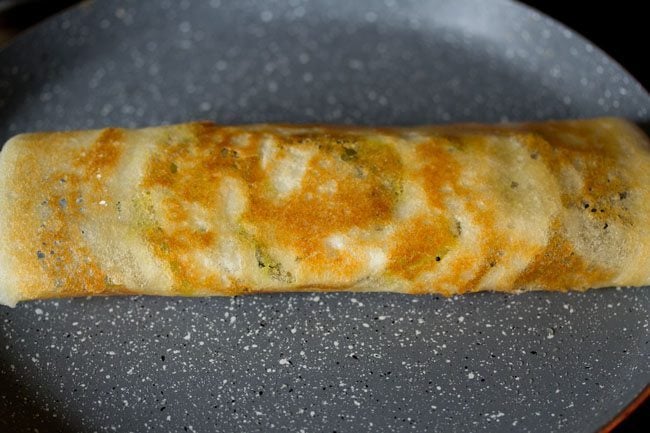
9. Now fold the dosa and serve.
Serving Suggestions
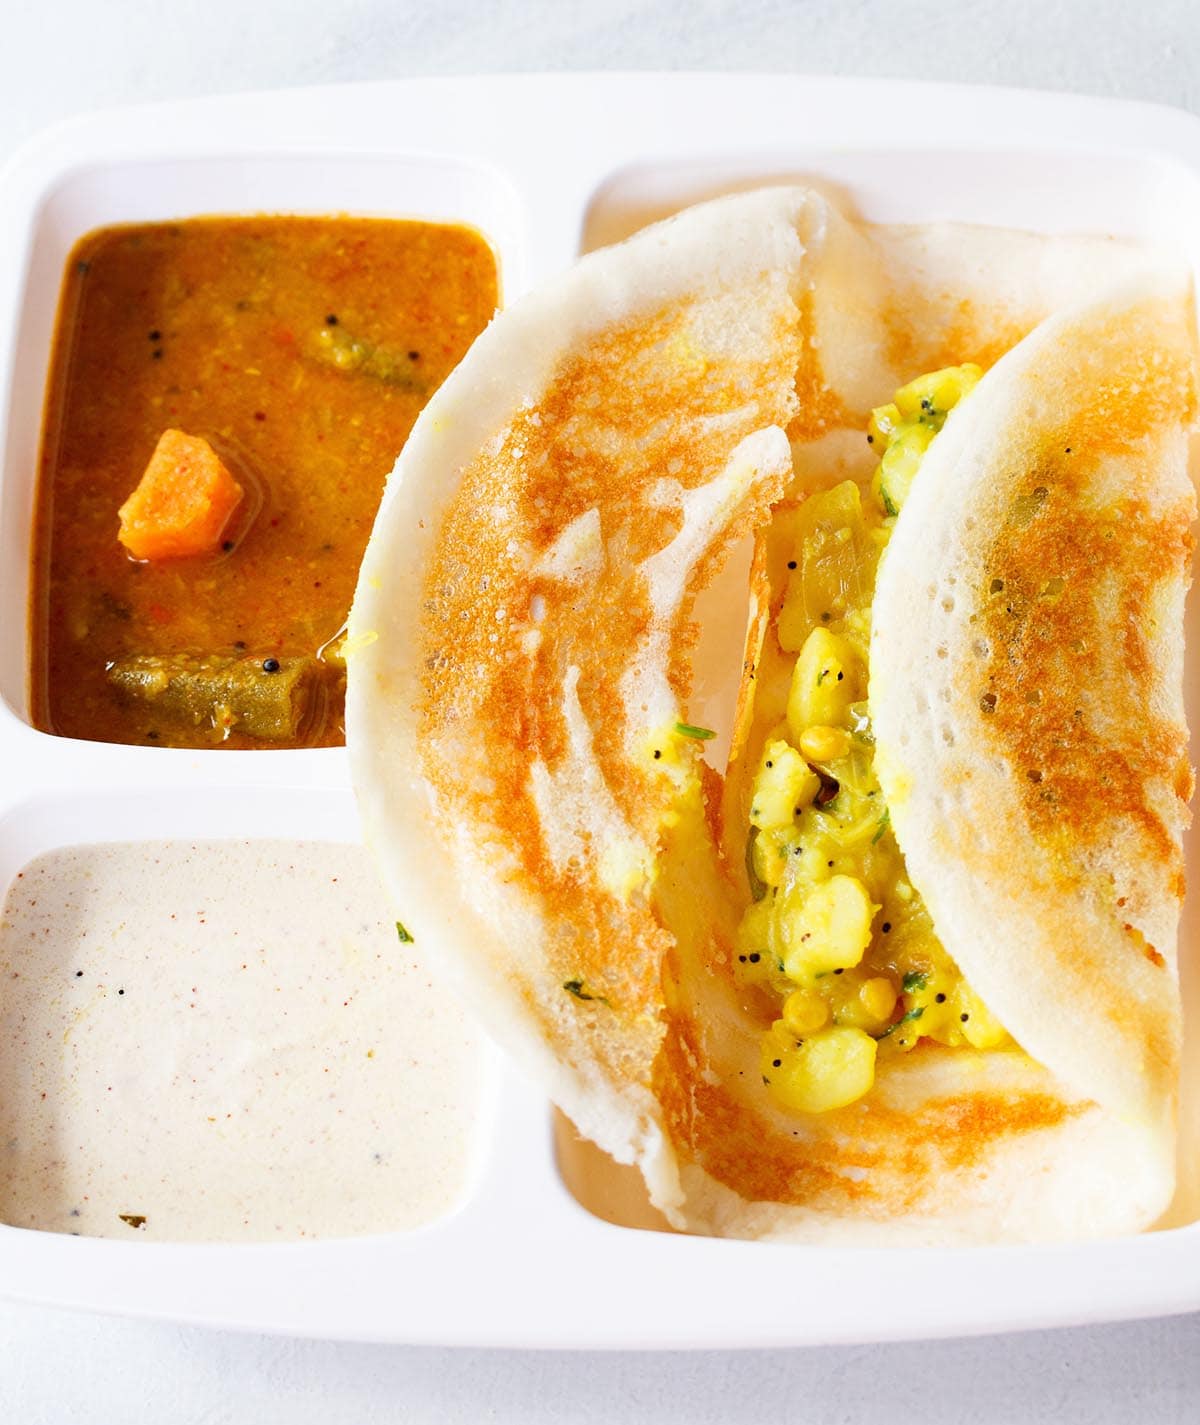
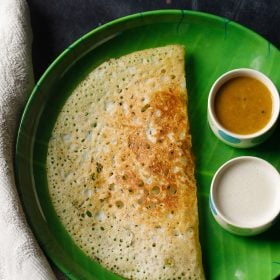
Serve crisp restaurant style masala dosa hot. It’s delicious with sambar and coconut chutney, or your favorite dipping sauces or saucy dishes.
Apart from sambar and coconut chutney, masala dosa also taste good with onion chutney, tomato chutney and peanut chutney.
Storage and Leftovers
The fermented rice and lentil batter stays good for 3 to 4 days in the fridge. You can opt to freeze it for a few weeks too. Store any leftover potato filling in the refrigerator for a day only.
Expert Tips
- Rice: I have used idli rice to make this masala dosa recipe. You can also use parboiled rice or any Indian varieties of short-grained to medium-grained rice, like sona masuri, surti kolam or parmal rice. Many of these rice variants are easily available online.
- Flattened rice and chana dal: Adding thick flattened rice (poha) and chana dal help to make the masala dosa both crisp and soft. It also gives the crepe that lovely golden color. You can skip the poha, chana dal, or both if you like, but if available I highly recommend you use in this masala dosa recipe.
- Fenugreek Seeds: To assist the fermentation process I add fenugreek seeds along with the rice and lentils to make the dosa batter. They also give a nice flavor to the dosa and also help in digestion. Leave out if you don’t have, but again, I suggest you include the seeds if it available.
- Proportion: I find that the ideal proportion for the best dosas is 3:1 of rice to lentils. So to make this hotel style masala dosa recipe, I have used 1.5 cups idli rice with ½ cup of urad dal. I use the same recipe proportions to make Ghee Roast Dosa.
- Fermentation: The rice and lentil batter must be properly fermented for the best masala dosa. You therefore need to store it overnight in a fairly warm place. If you are in a colder climate, keep it in the warmest part of the house and/or increase the fermentation time by some hours or so as needed.
- Cooking Dosa: You need to get the pan hot but not too hot for perfectly golden and crisp dosa. The skillet or nonstick pan should be hot enough to quickly cook and brown the crepe, but not so hot that the batter immediately sticks and cannot be spread evenly.
If using a cast iron pan, sprinkle with water and wipe clean between cooking each dosa to keep the heat just right. For nonstick pans and skillets, first get the pan to become hot, then reduce the heat to low and spread on the batter. Increase the heat back to medium and continue to cook the dosa. - Make ahead: The lentil and rice dosa batter can be made ahead and kept in the fridge, but should be used within 3 to 4 days after fermenting.
More Tasty Dosa Recipes
Breakfast Recipes
Karnataka Recipes
Breakfast Recipes
Breakfast Recipes
Please be sure to rate the recipe in the recipe card or leave a comment below if you have made it. For more vegetarian inspirations, Sign Up for my emails or follow me on Instagram, Youtube, Facebook, Pinterest or Twitter.
Masala Dosa Recipe (Hotel Style)
Ingredients
Ingredients for batter
- 1.5 cups idli rice – 330 grams, (parboiled rice, ukda chawal, sela chawal) or 1.5 cups regular rice
- ½ cup urad dal – 125 grams, husked whole or split black gram
- ¼ cup thick poha – 35 grams, flattened rice
- 1 tablespoon chana dal – husked and split bengal gram
- 20 fenugreek seeds (methi seeds)
- 1 cup water for soaking urad dal
- 2 cups water for soaking rice
- 1 cup water for grinding rice & poha
- ½ cup water for grinding dal
- ½ teaspoon rock salt (edible and food grade), add as required or sea salt or pink salt
Ingredients for potato filling
- 4 potatoes medium-sized potatoes – 300 grams or 2 cups boiled, chopped or crumbled potatoes
- 2 tablespoons oil – any neutral oil
- ½ teaspoon mustard seeds
- 1 tablespoon chana dal (husked and split bengal gram) soaked in ¼ cup hot water for 30 minutes – optional
- 1.25 cups onions thinly sliced, or 2 medium to large – 150 grams
- 1 teaspoon ginger – finely chopped, or 1 inch peeled ginger
- 8 to 10 curry leaves
- 1 teaspoon green chillies – chopped, or 1 to 2 green chillies
- ¼ teaspoon turmeric powder
- 1 pinch asafoetida (hing) – optional
- ½ cup water
- 3 tablespoons coriander leaves – chopped
- 2 tablespoons cashews – optional
- ¼ to ½ teaspoon sugar – optional
- salt as required
Instructions
Soaking rice and lentils
- First take all the ingredients in bowls. Take rice and flattened rice in separate bowls. Take the urad dal, chana dal and fenugreek seeds in one bowl.
- Rinse the urad dal, chana dal and fenugreek seeds a couple of times. Then soak them in 1 cup water for 4 to 5 hours.
- Rinse the rice a couple of times and keep aside.
- Rinse flattened rice once or twice and then add to the rice.
- Pour 2 cups water. Stir and soak both rice and flattened rice together for 4 to 5 hours.
Making batter
- Before grinding, strain the water from the soaked lentils and keep it for grinding urad dal.
- Add the lentils in the grinder jar. Also add ½ cup of the soaked and strained water to the dal. You can even use fresh water while grinding.
- Grind the urad dal, chana dal and fenugreek seeds till you get a batter which is light and fluffy. The urad dal has to be ground really well, so that the batter ferments well.
- Remove the batter in a bowl or pan with a spatula.
- Strain the rice well. Then in the same grinder, add the soaked rice and 1 cup fresh water. You can grind rice in one batch or in two to three batches. This will depend on the size of the grinder jar. To make the batter, I added 1 cup water. You can even add ¾ cup water while grinding. Addition of water will depend on the quality of rice.
- Grind the rice till you get a fine grainy consistency in it. The rice batter should have a fine rava (cream of wheat) like consistency. You can even grind to a smooth batter.
- Now pour the batter in the same pan or bowl containing the urad dal batter.
- Add ½ teaspoon edible rock salt or add as per taste. You can also use sea salt or pink salt.
- Mix the salt very well with the batter. Also mix both the batters very well. Cover and keep aside to ferment for 8 to 9 hours. You can keep batter to ferment for less or more time and this will depend on the temperature conditions in your city.
Preparation for potato filling
- First rinse and then boil 4 medium sized potatoes in 2 cups water for 5 to 6 whistles in a pressure cooker. You can also boil potatoes in a pan or in an Instant pot. The potatoes have to be completely cooked and fork tender.
- When the potaoes are cooking, soak the chana dal in hot water for 30 minutes. Then drain the chana dal and keep aside.
- When the pressure settles down on its own in the cooker, remove the lid. Drain the water from the potatoes and let them become warm. Then peel and chop them.
- Also slice the onions thinly and chop the green chilies, ginger and coriander leaves.
Making potato filling
- Heat oil or ghee in a frying pan or a skillet. Fry cashews and keep aside. This step of frying cashews is optional.
- Lower the flame and add mustard seeds and let them splutter. Then add the chana dal.
- Saute the chana dal for 2 to 3 minutes on a low flame or till they turn light golden or golden. Now add the sliced onions, curry leaves, green chilies and ginger.
- Saute the onions stirring often till they soften and turn translucent.
- Add the turmeric powder and asafoetida (hing). Mix very well.
- Add water. Mix well and simmer for 2 to 3 minutes or till the mixture thickens a bit.
- Next add the boiled chopped potatoes and mix very well. You can also mash the potatoes if you like while cooking them.
- Season with salt according to taste. Also add ¼ teaspoon sugar for a slight sweet taste.
- Simmer on a low flame for 3 to 4 minutes stirring occasionally. The water will reduce and the consistency will thicken.
- Switch off the flame and then add chopped coriander leaves. Also add the fried cashews now and mix well. The potato filling should be moist and easily spreadable on the dosa. Make sure there is no water in the potato filling. It should not be of a curry or gravy consistency.
- Stir and keep the potato filling aside.
Making masala dosa
- Lightly stir the batter, before you begin to make dosa. You will also see tiny air pockets in the batter and it would have increased in volume.
- Heat a cast iron pan or a flat non-stick pan. The pan should be medium hot. Smear some oil if using an iron pan or griddle. Don't smear oil on a non stick pan, as then you won't be able to spread the batter.
- Keep the flame to a low, while spreading batter.
- Spread the batter in a circular way on the pan.
- On a medium flame, cook the dosa.
- Sprinkle some oil on top and edges.
- Cover with a lid and let it cook. You can spread the oil which was sprinkled earlier on the dosa with a spoon. Cook till its base becomes golden and crisp.
- When you see the base has become golden and the edges separate from the pan, place a portion of the potato filling on the dosa. You can spread it a bit if you want.
- Now fold the dosa and serve.
Serving Suggestions
- Serve crisp restaurant style masala dosa hot with coconut chutney and sambar.
- Alternatively, simply make the dosa and serve the potato filling separately in a bowl.
- You can also choose to serve masala dosa with onion chutney, tomato chutney or peanut chutney.
Storage and Leftovers
- The batter stays good for 3 to 4 days in the fridge. You can opt to freeze the batter for a few weeks too. Store any leftover potato filling in the refrigerator for a day only.
Notes
- You can use regular variety of short grained to medium grained rice like sona masuri or parmal rice.
- The batter should be well fermented. It should have a pleasant sour aroma and should increase in volume after fermentation. In a well fermented batter you will see many tiny air pockets. Ensure that you don’t over ferment the batter as this will result in a very sour tasting dosa.
- If using a cast iron pan, make sure it is well seasoned or else the dosa can stick on it.
- According to me the ideal proportion for the best dosa is 3:1 ratio of rice to lentils. However feel free to change and add some more lentils for a protein boost.
- The fermentation depends on the temperature and climate in your city. In a cooler or colder climate the fermentation will take more than a day. To quicken it, I suggest to keep the batter in a warm place or use the yogurt settings of your Instant pot to ferment the batter.
Nutrition Info (Approximate Values)
Masala Dosa recipe from the archives was first published on January 2010.


Which mixer grinder are you using? I am living in US and I am planning to buy a mixer grinder to make dosa and chutney. Which grinder do you suggest?
archana, i am using preethi mixer grinder (blue leaf brand, 750 watts) with 4 jars (2 wet & dry grinders, 1 spice & chutney grinder and 1 juicer). till now this mixie has been working for a long time as compared to the other mixer grinders which worked only for some months. i use the mixer-grinder regularly.
Great recipe
Looks perfect..may I know wat tawa do u use for making it.is the non stick one safe?
thanks. non stick is safe provided you don’t scratch the non stick surface with steel spoons or spatula and also do not use the pan on a high flame. for dosas i use two pans, one is this one which you see in the pics and the other is a cast iron pan. this one is a granite look non stick pan from wonderchef.
nice
Hi Dassanaji, have tried posting my comments few times but somehow I think it doesn’t get posted. Hope this one does ?. First of all thank you very much for providing such great and simple to understand recipes. I have made dosa with your recipe number of times but every time the crispness is different. I need super crisp dosa that’s how my husband likes it. What can be done for that? I use basmati 1 cup and sona masoori 1 cup and rest similar to your ingredients. Please help.
Thank you
Shraddha?
shraddha, i have only received one comment from you and its in the bombay pav post. i do check the spam folders, but your comments are not there. for a super crisp dosa, you can add chana dal and some poha. a pinch of sugar also helps. i have posted a recipe of ghee roast dosa, that really gives crisp dosa. while making dosa, do keep the flame on a low or sim, so that you can spread the batter thinly. when the dosa is cooked from top, then spread oil or ghee all over the dosa. this also helps in crispiness of the dosa.
while I’m searching for any recipe…. by mistake one word wrongly typed… then it shows nothing found… and app is slow… while I’m using fast internet… other than this…. your recipes are awesome…. and I learn lots of recipes from you….
thanks for letting me know shalini. the app search is based on the website search. so if anything is wrongly typed or the search word is not there in any of the posts, then there will be no results. for app being slow, i will check. thanks again.
excellent recipes with pictures…..plzz try to improve mobile app also…..
thanks shalini. are you having any issues with the mobile app. let me know.
Yummy!!
Nice n simple. I like the way photos are given along with description
glad to know this thank you jas 🙂
Thanks for helping
welcome divyanshi 🙂
Today I tried Dosa sambhar, n it was my first attempt for Dosa… But your recipe made it PERFECT……thank you
thankyou prabha 🙂
I love dosa and would love to make this. Is it possible to make it without a wet grinder?
christine, you will need a mixer-grinder or a table-top grinder to make batter. if you have a blender, than the blender has to be a sturdy one and with high speed. i have seen some people using vitamix blender.
What is poha and parboiled rice??
sakchi, poha is flattened rice. parboiled rice is rice which has been partially cooked and then husked and pounded. you will get them easily in grocery stores or super markets.
I just recieved a wet grinder and am new to making dosa. Would thick or thin poha be preferable? This recipe looks delicious I can’t wait to try it! Thanks!
you can use either thick or thin poha. but generally i use thick poha.
Thank you!
welcome michele.
After the batter is fermented,do I keep in the refrigerator.?for how long?
shanie you don’t add salt to the batter, place in the fridge should last for a week.