Delicious, nutritious mung beans are a breeze to sprout at home. Not only do they taste better than store bought, sprouting moong from scratch is much more budget-friendly than you might think! Here I share two simple and easy methods for making homemade mung sprouts (green gram sprouts) yourself, no sprout maker needed.
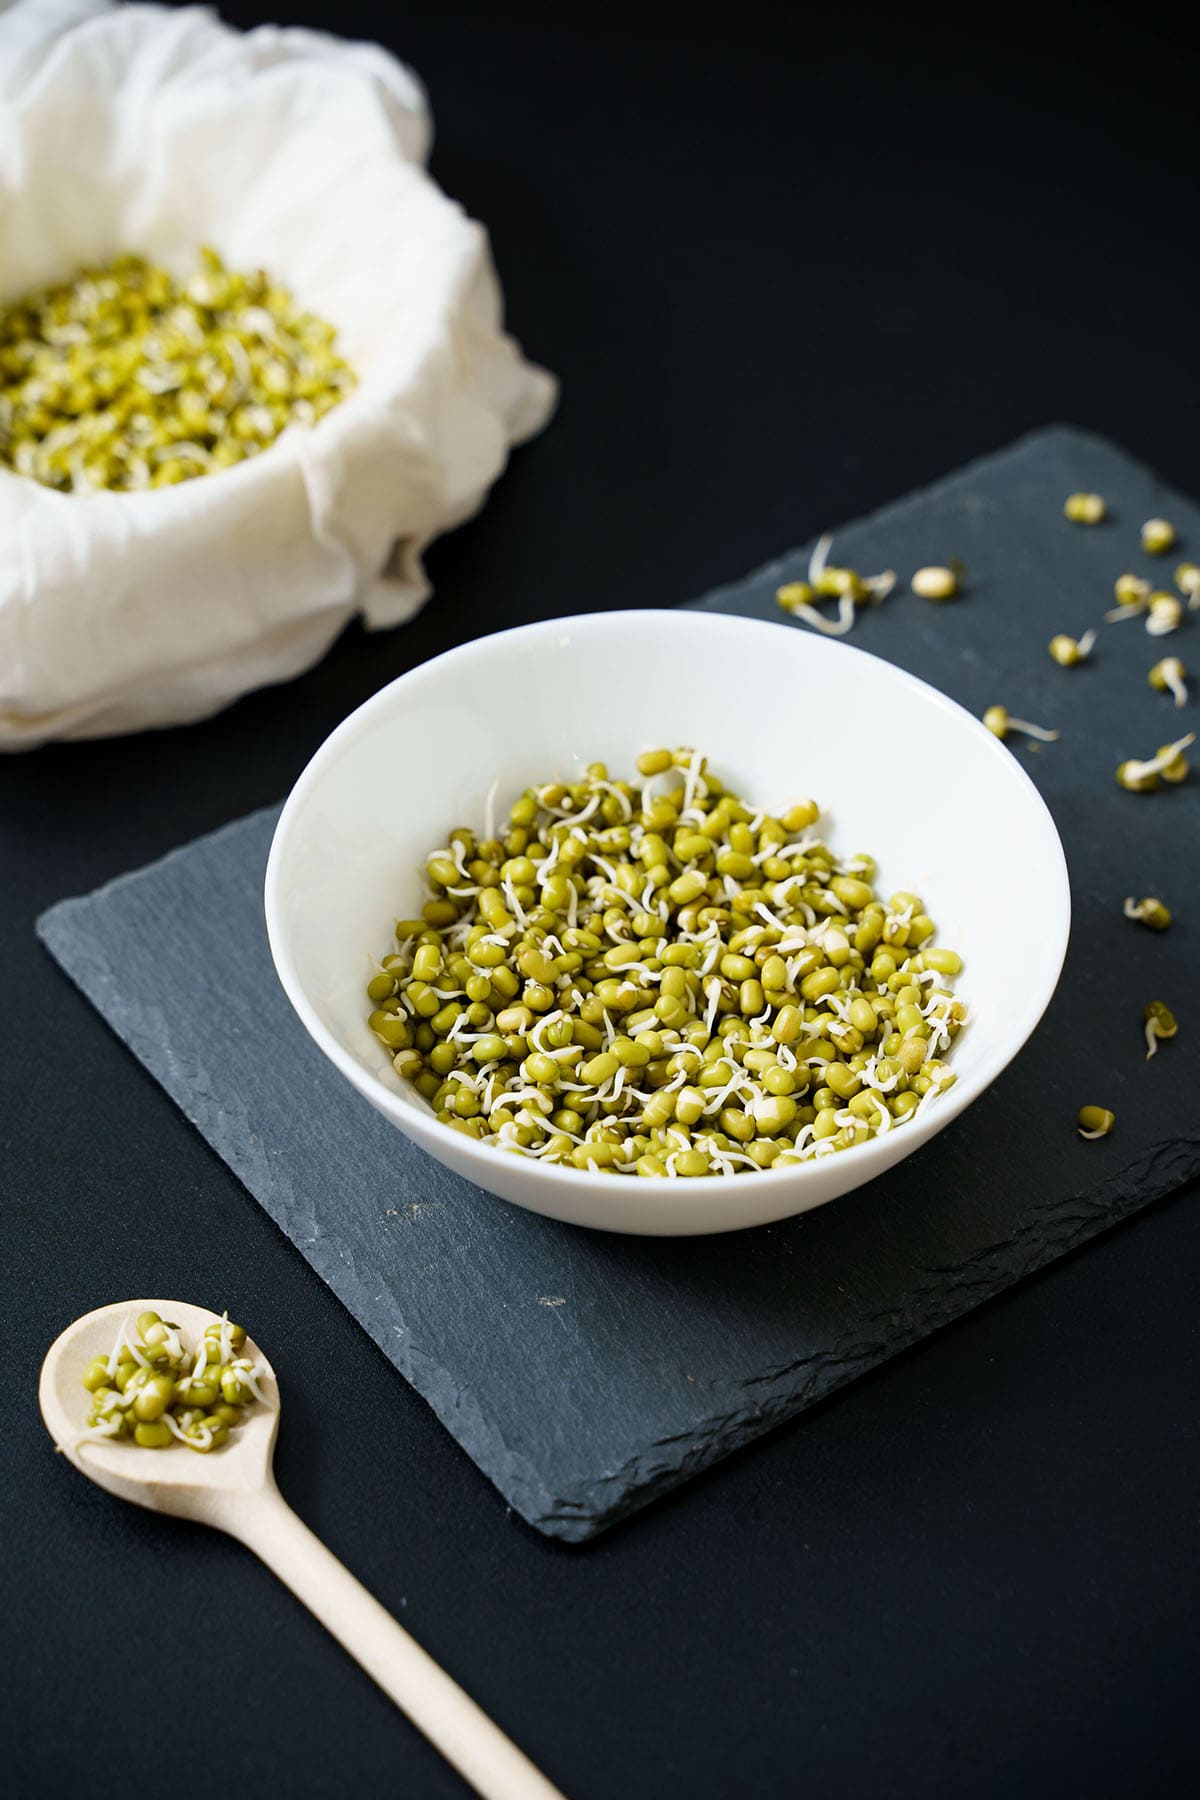
Table of Contents
Mung Beans
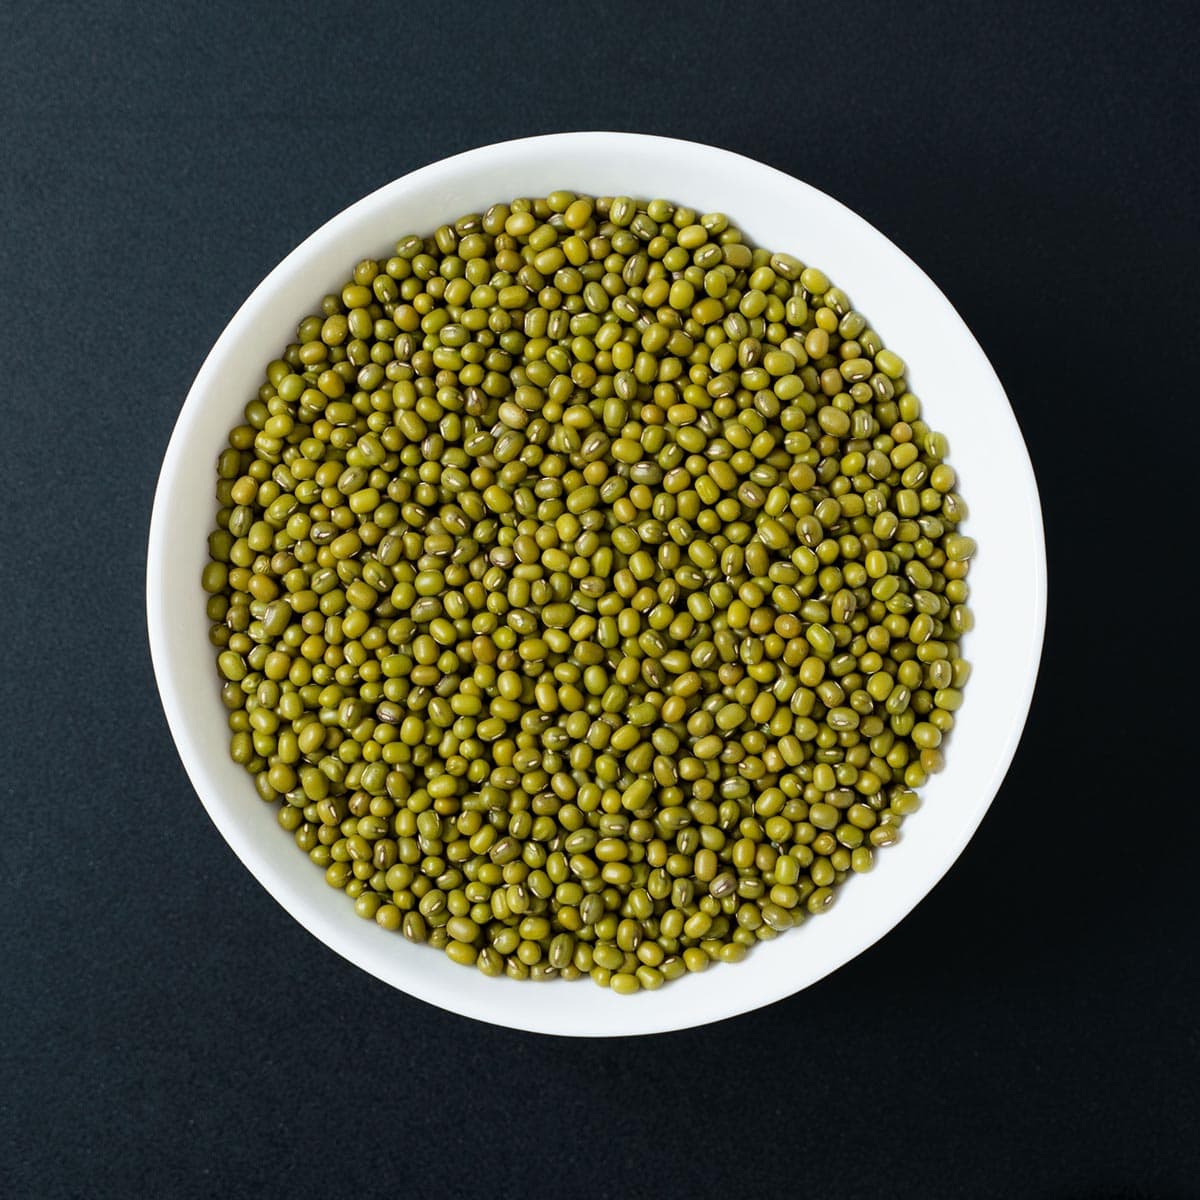
Mung bean has the botanical name vigna radiata. It is also known as green gram and called as sabut mung in Hindi.
We make a lot of recipes with these small dark green beans in the Indian cuisine. In Southeast Asian countries moong beans as well mung bean sprouts are included in many recipes like stir-fries, salads and for toppings or garnishes.
In Ayurveda moong is considered tridoshic – meaning it balances all the three doshas ie. vata, pitta and kapha found in the human body. These beans are also one of the easiest to digest.
Mung beans are rich source of plant based protein. They are also a good source of essential nutrients and dietary fiber.
Sprouting mung beans enhances some of the nutrients in them like Vitamin C thereby increasing their antioxidant properties.
Why Homemade Sprouts
Sprouting these yummy, tender soaked beans at home is very easy and requires no cooking.
Moreover the sprouts do not have any risk of contamination if handled carefully compared to packaged sprouts that have a greater risk of contamination.
Packaged sprouts may also have preservatives added to them to increase their shelf-life. Sometimes the packaged sprouts have a bitter taste or a foul aroma.
Making your own mung bean sprouts is inexpensive and pocket friendly as well. The method to sprout beans is simple and does not take much of your time.
Below you’ll find step-by-step instructions for two simple methods I most prefer. Either one is excellent for producing flavorful and hearty mung beans every time.
Tasty sprouted mung beans (also known as green gram sprouts) are a healthy ingredient you find featured in many sweet and savory recipes.
From salads to snacks, thick custards and soups, moong are fantastic for adding a bit of earthy flavor and lots of nutrients to a variety of great dishes.
For another fun and delicious at-home sprouting project, I also suggest you try my homemade Mixed Sprouts and Alfalfa Sprouts!
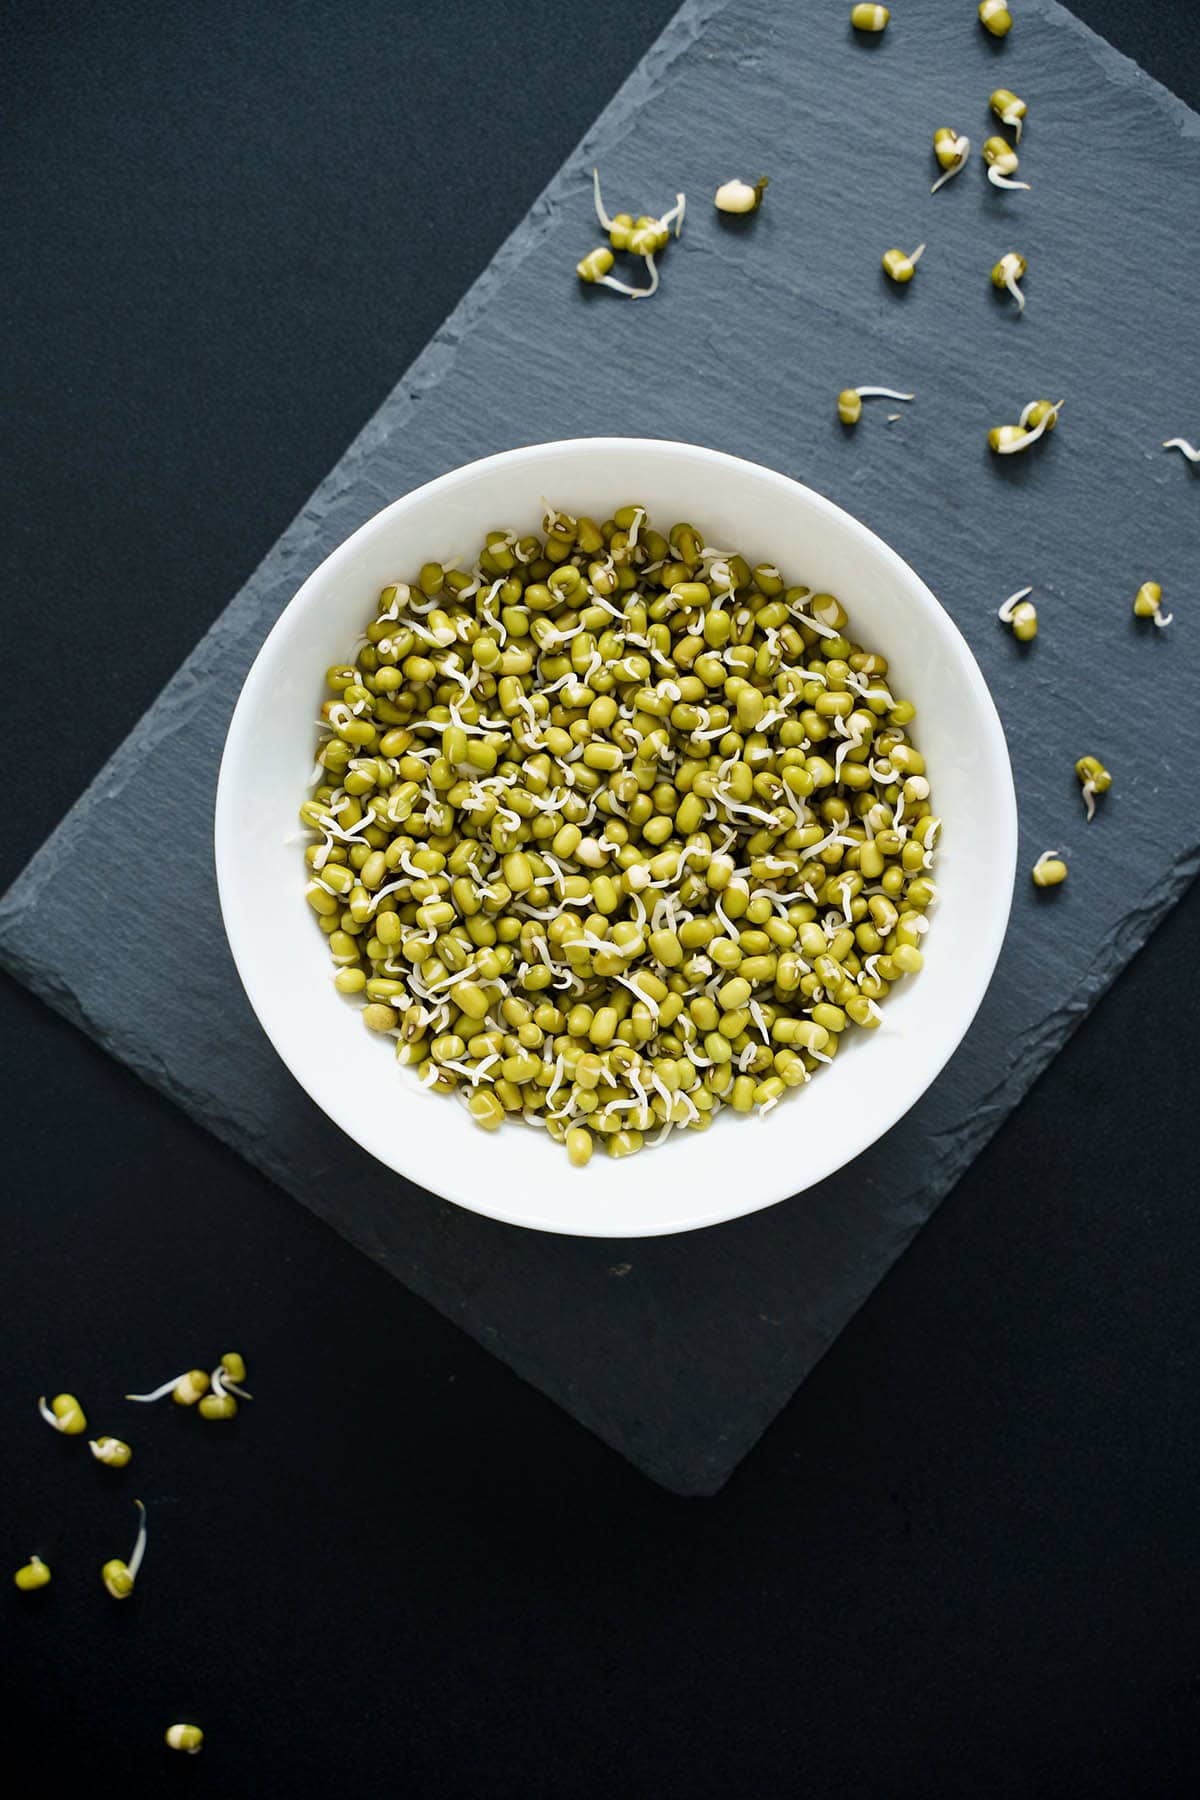
How to sprout Mung Beans
Rinse Mung Beans
This first method is for how to sprout beans in a bowl or large container. This is particularly useful for sprouting a big batch of moong.
1. Firstly, measure out the amount of whole mung beans you want to sprout on a plate. Pick and clean the beans to remove any stones or husks. Place the beans in a mesh strainer or colander.
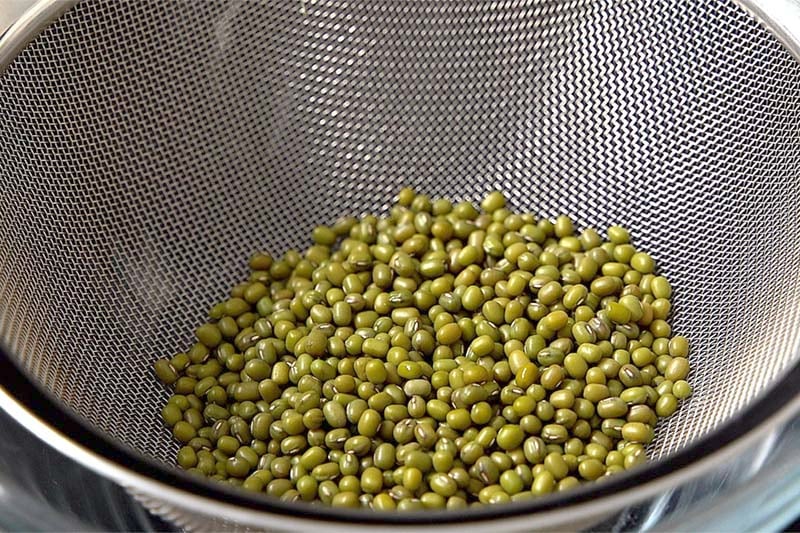
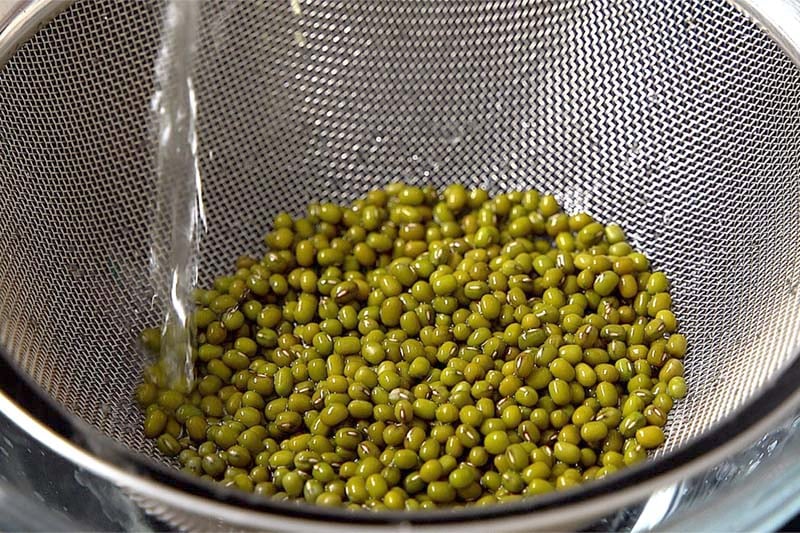
2. Rinse the beans thoroughly in clean water for 3 to 4 times.
Soak Beans
3. Transfer the rinsed mung beans to a clean bowl.
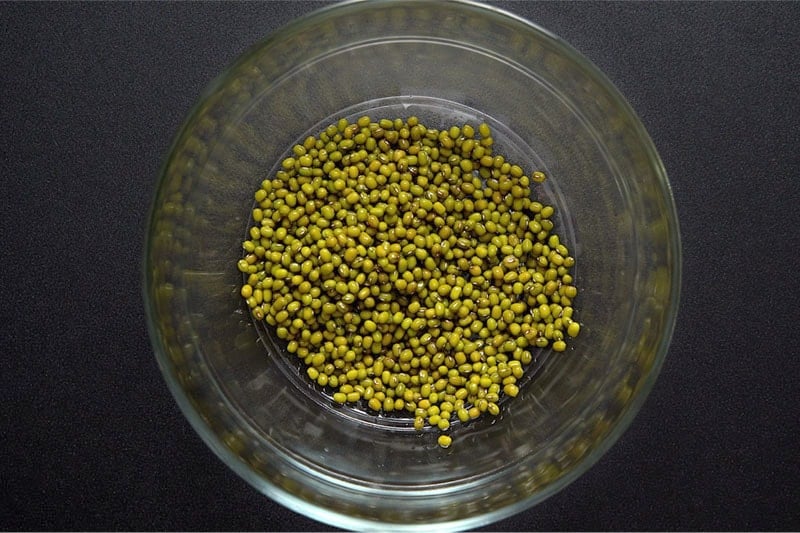
4. Add filtered water, or water that has been boiled and cooled. Ensure that the water is at least 2 to 3 inches above the moong beans. Below is a photo to demonstrate.
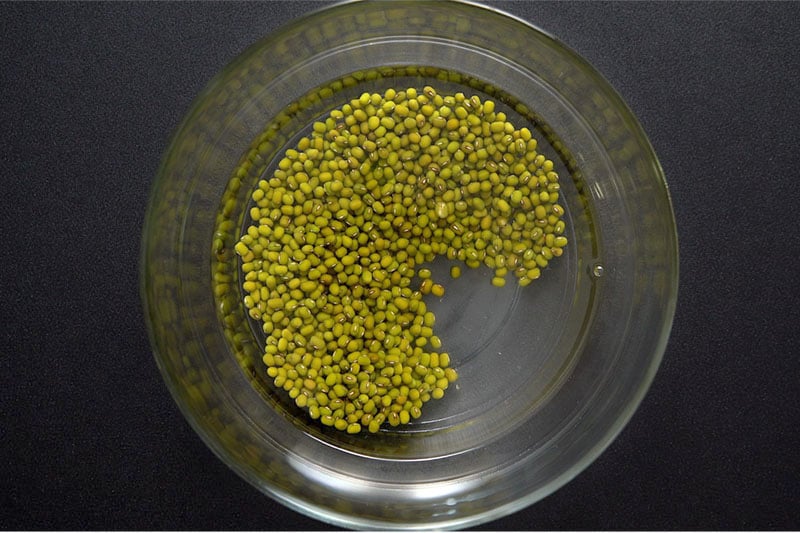
5. Now cover the bowl with a lid and soak the beans overnight or for 8 hours at room temperature.
Rinsing Soaked Beans
6. Check the moong beans the next day to see that they’ve swollen. Drain the water either from the bowl or by using a colander to strain.
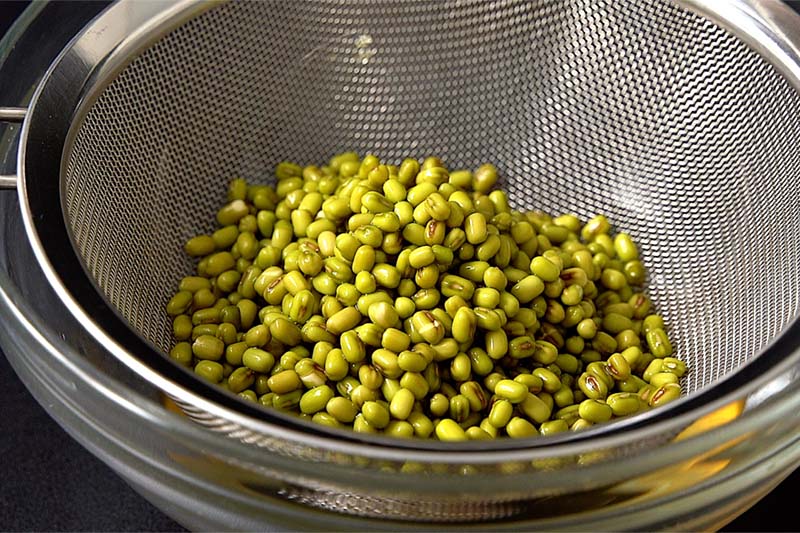
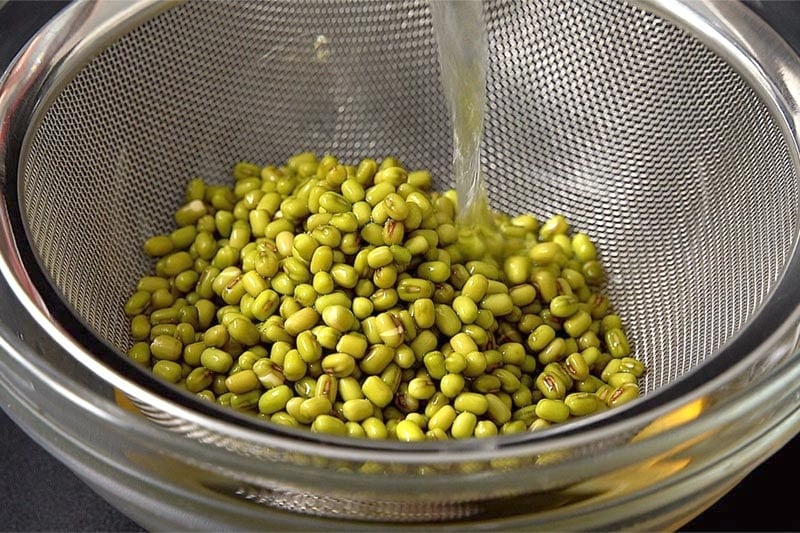
7. Thoroughly rinse the beans with clean filtered water, or water that has been boiled and cooled. This step is essential to avoid the risk of contaminating the sprouts.
Method One – Growing Sprouts in a Bowl
8. Place the soaked beans back into a new clean bowl.
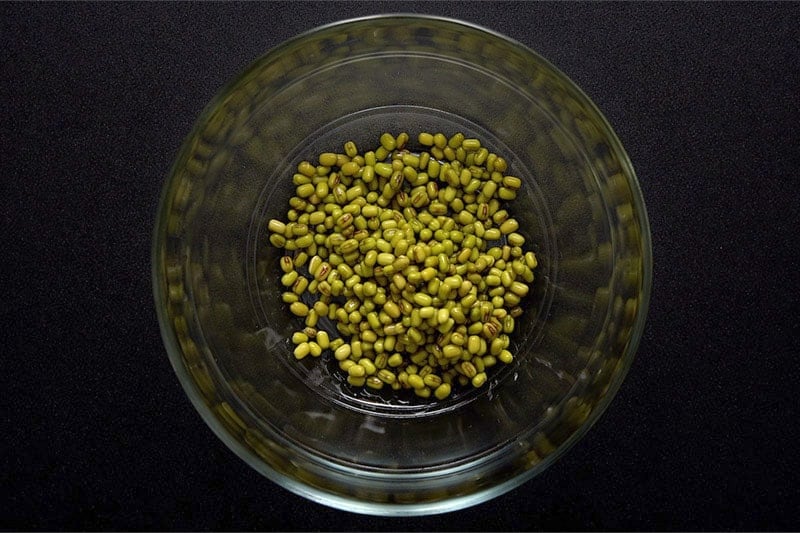
9. Cover with a lid (which is not too tight or air-tight) at room temperature for 1 to 2 days in a dry and clean place or corner of your kitchen.
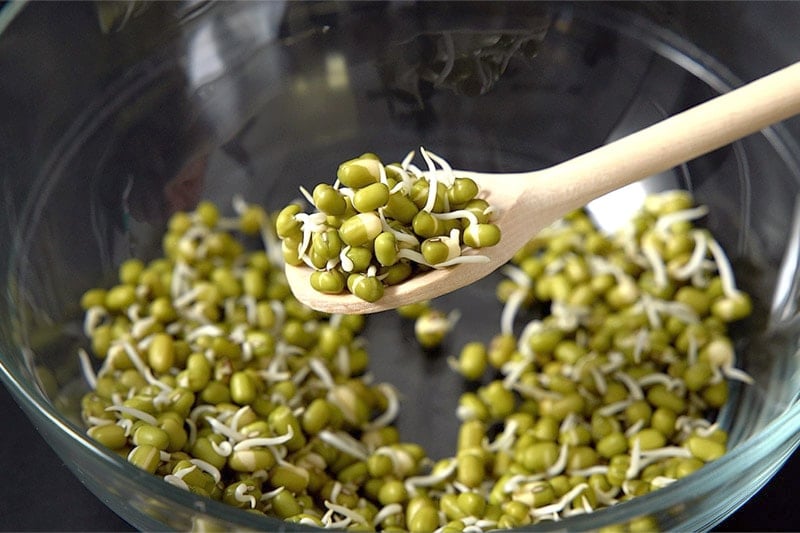
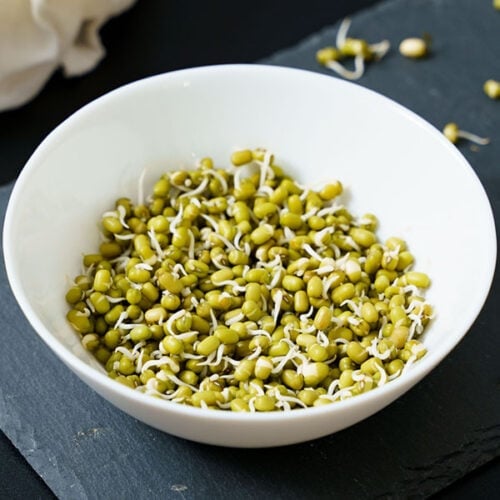
10. Check after a day or so and you should notice little sprouts start to form. After the full 2 days you will have lovely, healthy and hearty moong sprouts ready to use!
Depending on the weather, temperature conditions and the quality of mung beans, the sprouting may happen in a day or may take more time. For long tender sprouts, keep for 2 to 3 days.
While the beans are sprouting, do not touch them with your hands or with any spoon or fork to avoid contamination.
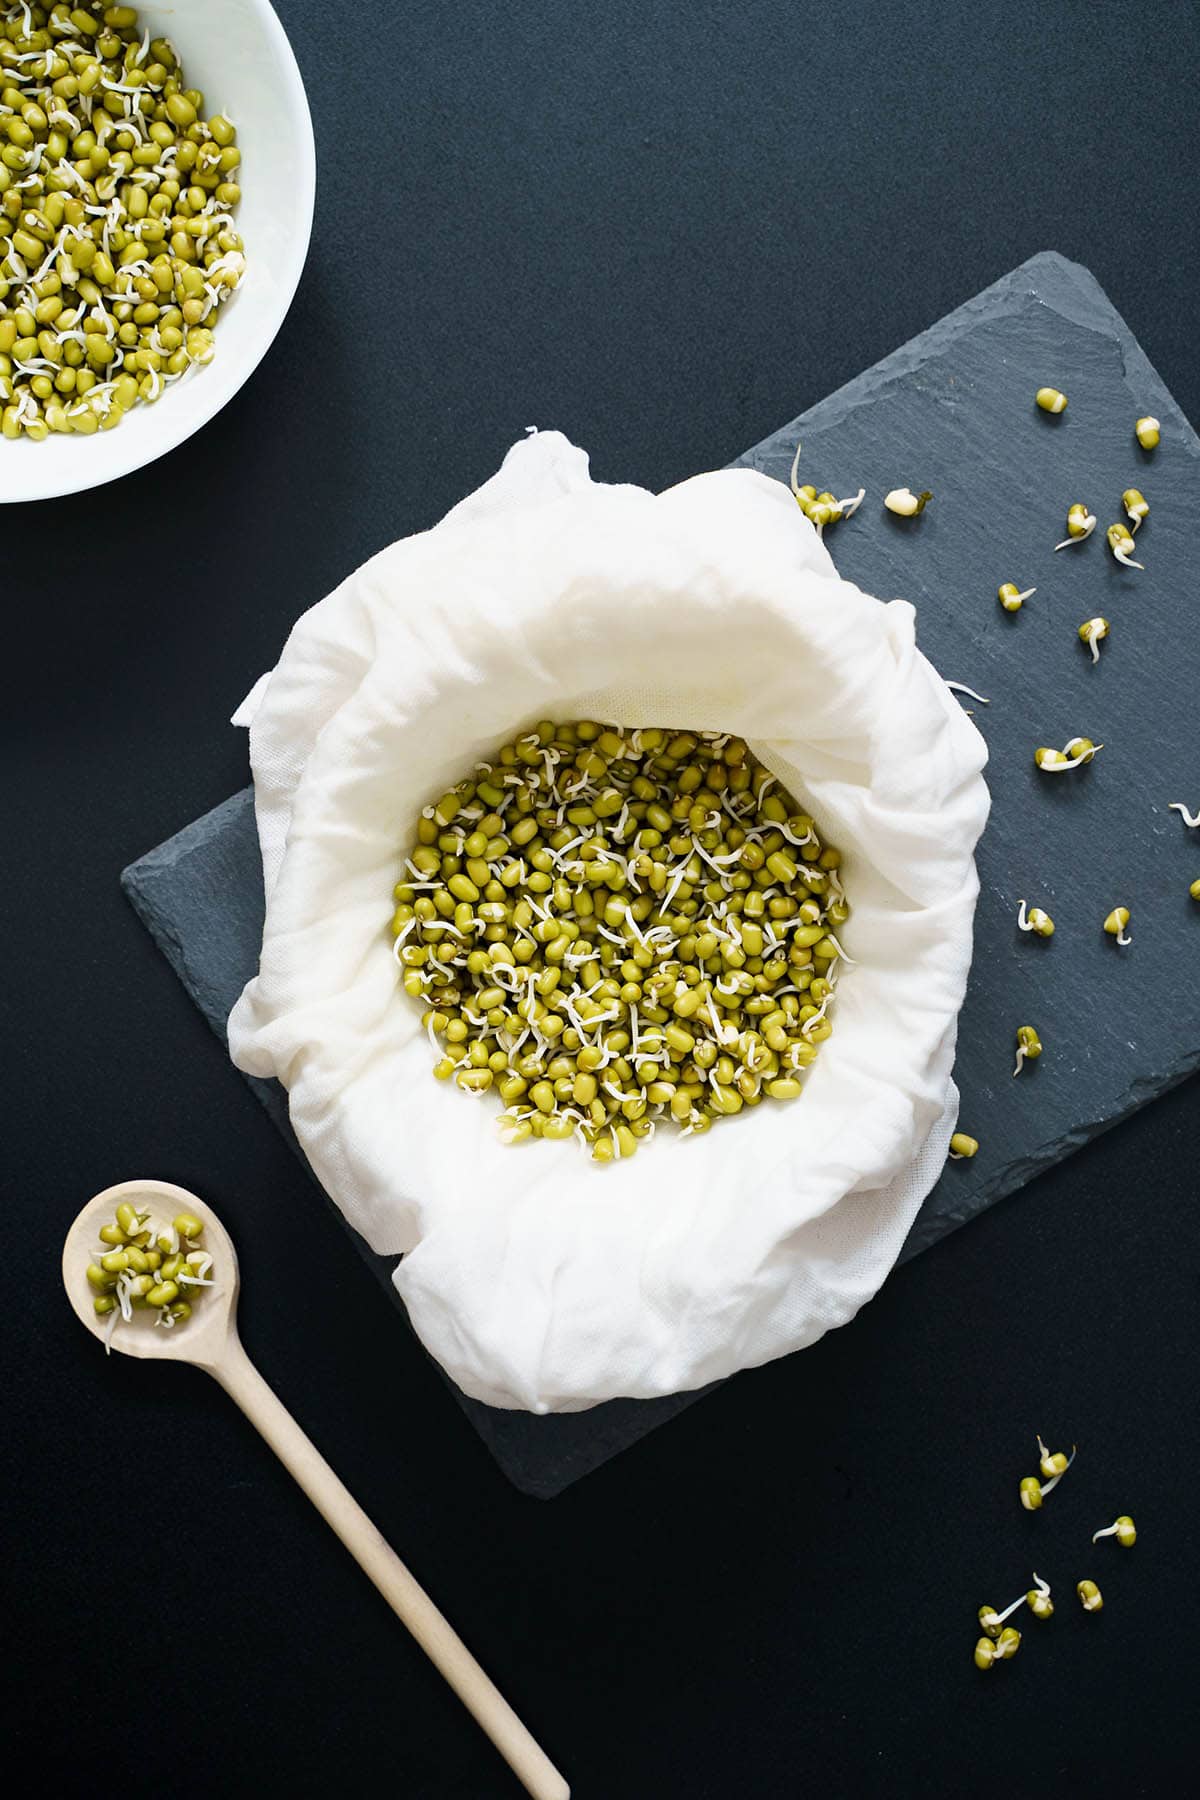
Here’s a closer look at the green gram sprouts.
Method Two – Growing Sprouts in a Cloth
The second easy way to sprout mung beans from scratch is by using a kitchen towel or cloth.
1. As with the first method, this prep starts by rinsing and soaking the cleaned beans overnight in filtered water. The next day, drain the soaked water. Then rinse and drain all of the water from the soaked moong beans.
2. Next, wet a muslin, cheese cloth, clean cotton cloth or kitchen cotton napkin with clean filtered water, and squeeze the excess water from it. Open the cloth fully and add the beans to the middle.
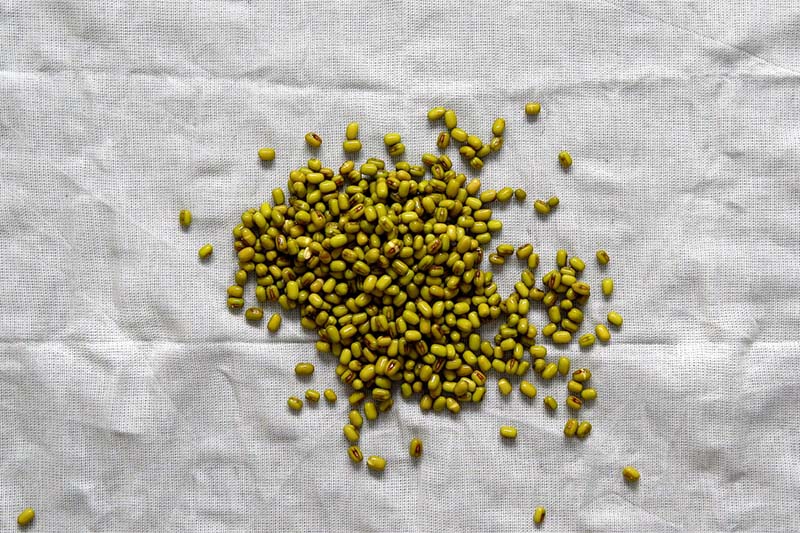
3. Tie the ends and tighten into a bundle, and place in a clean bowl.
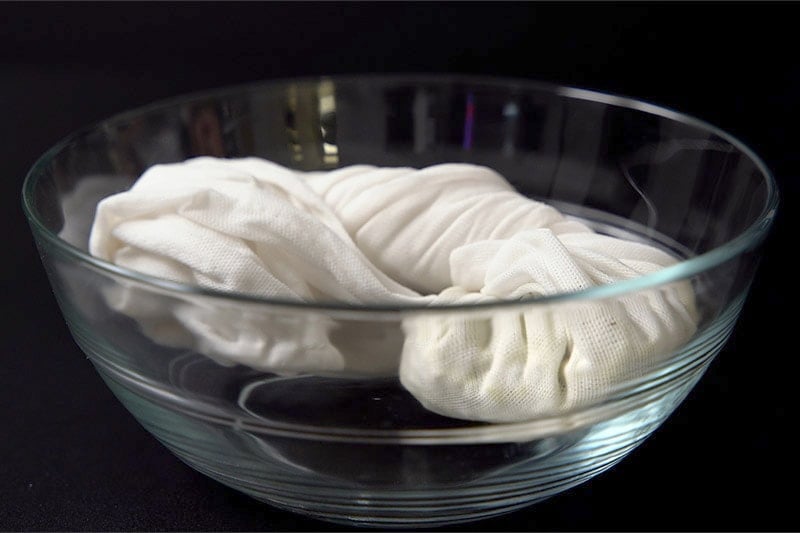
4. Keep covered in a container for 1 or 2 days in a dark place. Be sure the lid on the container is not too loose and not tight.
In fact, you can simply place a full napkin over the top to allow a bit of airflow, without letting anything accidentally get into the bowl.
While sprouting beans with this method, it is important that you keep the cloth moist. If after a day or two the kitchen napkin looks dry, lightly sprinkle some filtered water on it.
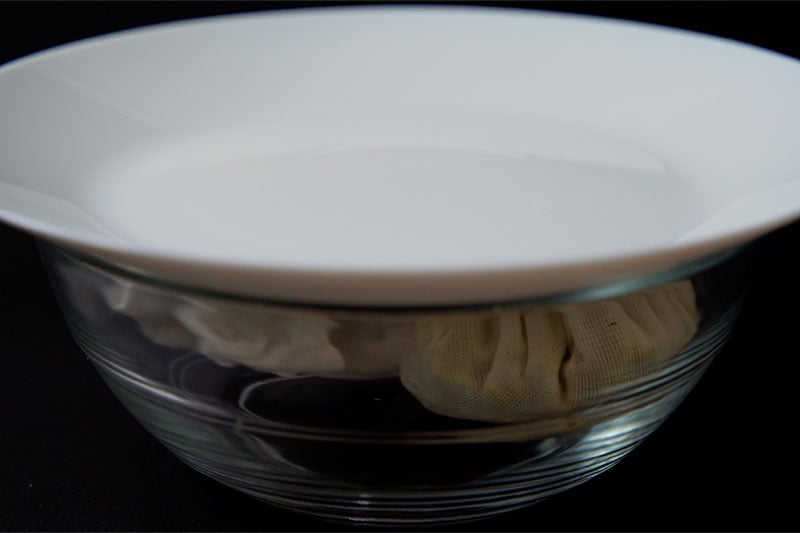
5. To check on the sprouting beans, do not open the cloth bundle. After the first day, check the outside of the kitchen towel.
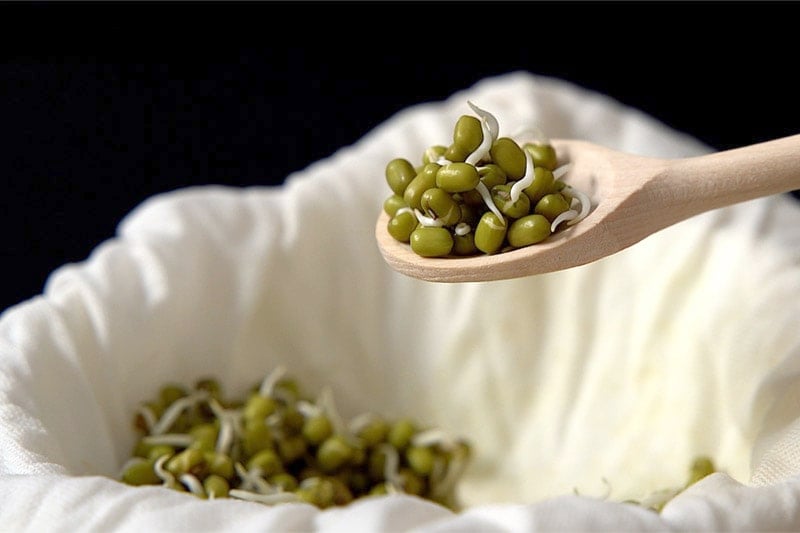
You will see tiny little sprouts or longer sprouts growing out of the cloth fabric, especially if you have used a thin material like muslin or a cheesecloth. The mung beans will be fully sprouted after one or two days.
Feel free to continue letting the moong sprout for another day or so to get longer sprouts.
How to use Moong Sprouts
Whichever technique you use and prefer, once the moong bean sprouts are done you could now incorporate them into your favorite recipes.
Before using the sprouts, always rinse them in clean water or hot water. Add the sprouts raw in salads, or slightly steam and enjoy them plain or just with about anything. Even just smashed onto toasted bread!
If you plan to eat the sprouts raw, rinse them in hot water before including them in any raw recipe or dish.
I love to steam the green gram sprouts and serve them with a popular Indian steet food Pani Puri. You can also add them to other Indian chaat snacks, like Papdi Chaat, or can use them to make a variety of savory and satisfying recipes like:
Dal (Lentils) & Legumes
Snacks Recipes
Storage
Once completely sprouted the beans stay fresh in the fridge for 1 or 2 more days.
Remove the green gram sprouts from the bowl or from the muslin with a clean spoon and place in an air-tight steel container. Store in the crisper drawer of your refrigerator for 1 to 2 days.
Expert Tips
Which method to choose?
I have sprouted mung beans using both the methods and they have always worked for me. Choose whichever method that you like best!
For the second method it’s important that you keep the cloth moist. If after a day or two the moisture in the kitchen napkin starts to dry up, you can lightly sprinkle some filtered water on it.
Ensure that you do not touch the sprouting beans with your hands or with any spoon or fork to avoid contamination.
Keeping a check on the sprouts
Even though they take about one to two days to fully sprout, always check the moong beans after twelve hours and later after the first day. For the bowl method, you can just open the lid and see. DO NOT open the cloth bundle if using the second method.
Examine the outside of the towel after the first day. You should see little sprouts coming out of the cloth, especially if you have used a thin fabric like cheesecloth or a muslin.
To avoid contamination
Use boiled and cooled water or filtered water to soak the beans. Remember the water should be drained very well before keeping the beans to sprout.
There can be a bacterial growth or fungus can form if there is even a bit of water left in the bowl when you use the first method.
Formation of fungus or any other microorganism will make the sprouts have a stinky smell and they will be slimy to touch. If the beans have an off odor or look slimy, simply trash them.
Use clean bowls, spoons, lid and kitchen napkins while making the sprouts. Ensure that your mung beans are in their shelf life and are not aged or old. If possible use organic mung beans.
FAQs
The mung beans will begin to sprout within a day. To grow long and tender sprouts it can take 2 to 3 days depending on the quality of mung beans, the room temperature and weather.
You can easily cook mung bean sprouts and make a variety of dishes with this. Cooking method like sautéing, steaming or boiling are often employed to cook sprouts.
Older and aged mung beans won’t sprout or take a long time to sprout. If they do not sprout, this will make them them rot, making them slimy and smelling stinky. While buying check the package date and preferably use organic beans.
More DIY Recipes To Try!
World Recipes
DIY & Collections
DIY & Collections
DIY & Collections
Please be sure to rate the recipe in the recipe card or leave a comment below if you have made it. For more vegetarian inspirations, Sign Up for my emails or follow me on Instagram, Youtube, Facebook, Pinterest or Twitter.
Mung Bean Sprouts | How to sprout Mung Beans
Ingredients
- ½ cup mung beans
- 1.5 cups water for soaking – filtered or boiled and cooled
Instructions
Rinsing and soaking Mung beans
- Take the moong beans on a plate or tray. Pick and clean the beans to remove any husks or stones.
- Rinse the beans in clean water, three to four times using a mesh strainer or colander.
- Place the rinsed mung beans In a bowl. Add water to cover the moong beans in the bowl.
- Cover the bowl with a lid and soak the beans overnight or for 8 hours.
- The next day the moong beans will swell. Drain the water either from the bowl or by using a colander to strain.
- Thoroughly rinse the beans with clean filtered water, or water that has been boiled and cooled. This step is essential to avoid the risk of contaminating the sprouts.
Method one
- This first method is for how to sprout beans in a bowl or large container.
- Place the soaked beans back into a new clean bowl. Cover again with a lid (not tight fitting or air-tight) at room temperature for 1 to 2 days in a dark place.
- Check after a day and you will see the the beans begin to sprout. After 2 days you will see beautiful sprouts from the moong beans.
- Depending on the weather, temperature conditions and the quality of mung beans, the sprouting may happen in a day or may take more time. For long tender sprouts, keep for 2 to 3 days.
- Do not touch the sprouting beans with your hands or with any spoon or fork to avoid contamination.
Method two
- The second method is to sprout the mung beans using a muslin, kitchen cotton towel or cloth.
- Wet a muslin, cheese cloth, clean cotton cloth or kitchen cotton napkin with clean filtered water, and squeeze the excess water from it. Open the cloth fully.
- After rinsing and draining the soaked beans thoroughly, place them in the center on this damp cloth.
- Tie the ends and tighten into a bundle, and place in a clean bowl.
- Keep loosely covered in a container for 1 or 2 days. Be sure the lid on the container is not too loose and not tight.
- To check on the sprouting beans, do not open the cloth bundle.
- After the first day, examine the outside of the kitchen towel. You will see tiny little sprouts or longer sprouts growing out of the cloth fabric, especially if you have used a thin material like muslin or a cheesecloth.
- For more longer sprouts, you can keep it for one more day.
Storage
- Once completely sprouted the beans stay fresh in the fridge for 1 or 2 more days.
- Remove the sprouted beans from the bowl or from the muslin with a clean spoon and place in an air-tight steel container. Store in the crisper drawer of your refrigerator for 1 to 2 days.
How to use
- You could use the moong beans to make your favorite recipe. You could even have these raw in salads or slightly steam and have it plain or just with about anything, even toasted bread.
- Before using the sprouts, always rinse them in clean water or hot water. Add the sprouts raw in salads, or slightly steam and enjoy them plain or just with about anything
- If you plan to eat the sprouts raw, rinse them in hot water before including them in any raw recipe or dish.
- I make some recipes with the sprouts like this Mixed Sprouts Curry (where I include only mung sprouts) or this simple recipe of Moong Sprouts Sabzi and this delicious Moong Sprouts Chaat and a healthy Moong Sprouts Salad.
Video
Notes
Which method to choose
Both methods work for me. Choose whichever method that you like best. For the second method it is important that you keep the cloth moist. If after a day or two the moisture in the kitchen napkin starts to dry up, you can lightly sprinkle some filtered water on it.Keeping a check on the sprouts
Even though they take about one to two days to fully sprout, always check the moong after twelve hours and later after the first day. For the bowl method, you can just open the lid and see. Do not open the cloth bundle if using the second method. Examine the outside of the towel after the first day. You should see little sprouts coming out of the cloth, especially if you have used a thin fabric like cheesecloth or a muslin. Ensure that you do not touch the sprouting beans with your hands or with any spoon or fork to avoid contamination.To avoid contamination
Use boiled and cooled water or filtered water to soak the beans. Remember the water should be drained very well before keeping the beans to sprout. There can be a bacterial growth or fungus can form if there is even a bit of water left in the bowl when you use the first method. Formation of fungus or any other microorganism will make the sprouts have a stinky smell and they will be slimy to touch. If the beans have an off odor or look slimy, simply trash them. Use clean bowls, spoons, lid and kitchen napkins while making the sprouts. Ensure that your mung beans are in their shelf life and are not aged or old. If possible use organic mung beans.Nutrition Info (Approximate Values)
This Mung Bean Sprouts post from the archives first published in September 2010 has been republished and updated on 22 April 2021.


