Here’s a recipe of a vegetarian Kashmiri Biryani which has no onion, no garlic, made with vegetables and still is absolutely capable of making you fall in love with it. Try this delicious biryani from the Kashmiri Pandit style of cooking today.
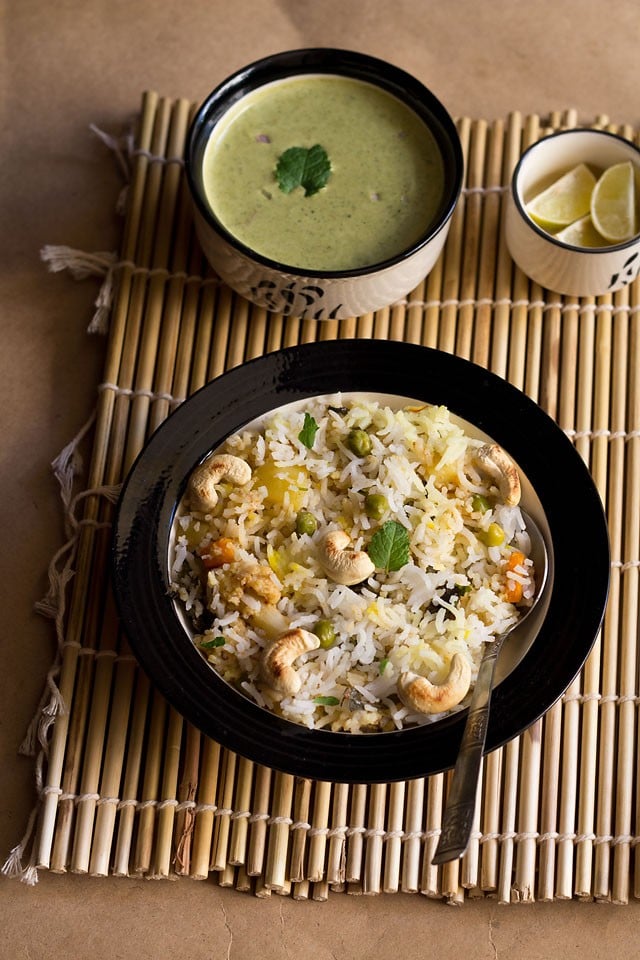
More on this Kashmiri Biryani
This delectable veg Kashmiri Biryani recipe is loosely adapted from the pocket-sized books I have on Kashmiri Pandit cuisine. I often make Kashmiri food at home and had made this veg biryani during one of the visits by my parents.
They did feel the difference in taste due to the absence of onions or garlic, but nevertheless liked the biryani. Onion and garlic impart their own flavors to any dish. Crisp fried onions or ‘birista’ also add a touch of sweetness to a biryani, just like in this Mughlai Biryani.
In this Kashmiri Biryani recipe, asafoetida plays an important role in substituting for the flavor of onions and garlic. Fennel powder and dried ginger powder along with other whole spices also add their unique taste and aroma.
I have used garam masala powder in this Kashmiri Biryani recipe. Incase you have the famous Kashmiri Ver Masala, you must use that. This typical masala is generally composed of cumin, cinnamon, coriander, peppercorns, fennel, cloves and more. Definitely a super seasoning spice mix.
This is a layered biryani recipe, so some preparation needs to be done beforehand. For instance, making the rice and the vegetable gravy. This vegetarian Kashmiri Biryani can also be turned into vegan by using any vegetable oil instead of ghee and a non-dairy yogurt.
The best part is you can dum-cook this biryani on a gas stove or even bake it in an oven. If baking, you can serve this Kashmiri Biryani directly. Also, addition of the fried dry fruits especially raisins add a slight sweetness to the final dish.
How to make Kashmiri Biryani
Prepare Rice
1. Pick and rinse 1.25 cups basmati rice in running water till the water runs clear of starch. Then, soak the basmati rice in water for 30 minutes.
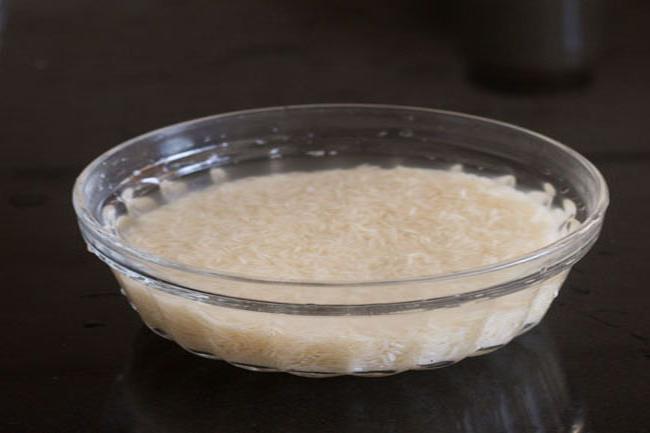
2. After 30 minutes, drain the water and keep the rice aside.
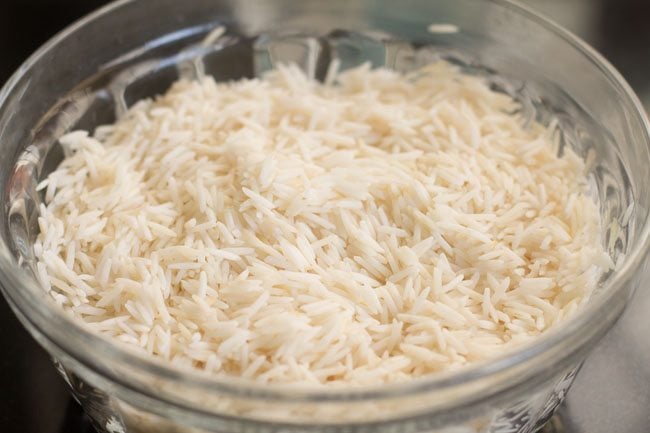
3. In a pot or pan, boil 5 cups water.
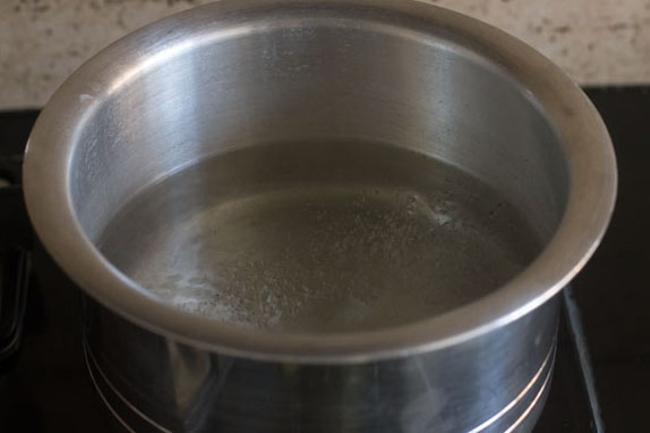
4. Then, add the soaked and drained basmati rice. Also, add salt as required.
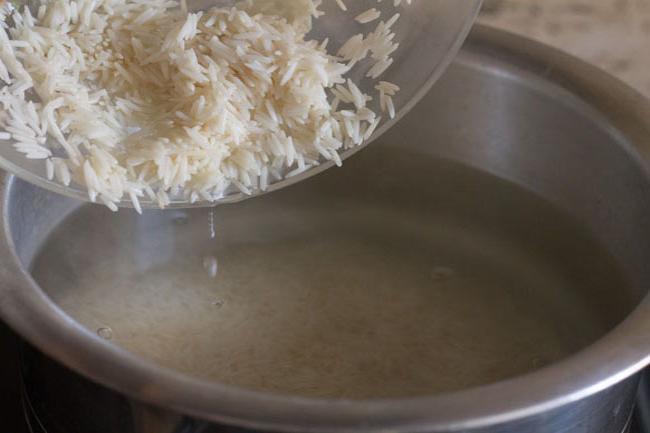
5. Simmer the rice till the grains are ¾ᵗʰ or 75% cooked.
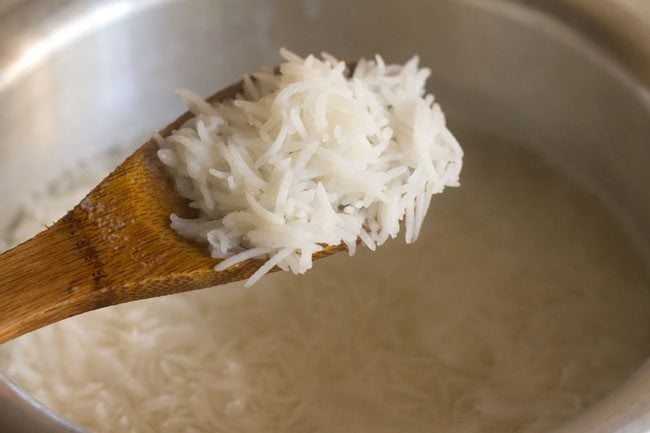
6. Then, drain the rice in a colander.
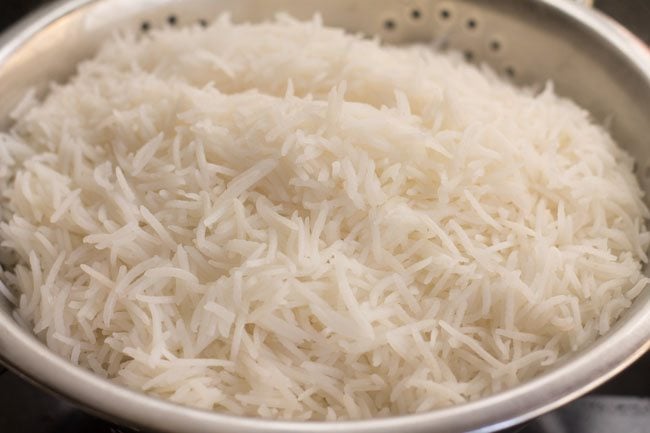
7. Sprinkle 1 pinch saffron on the rice.
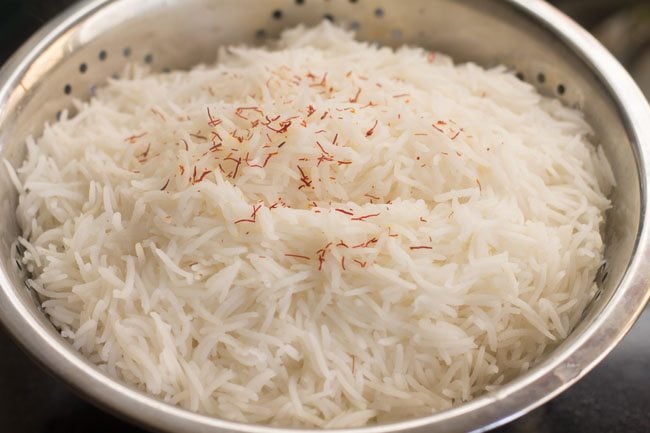
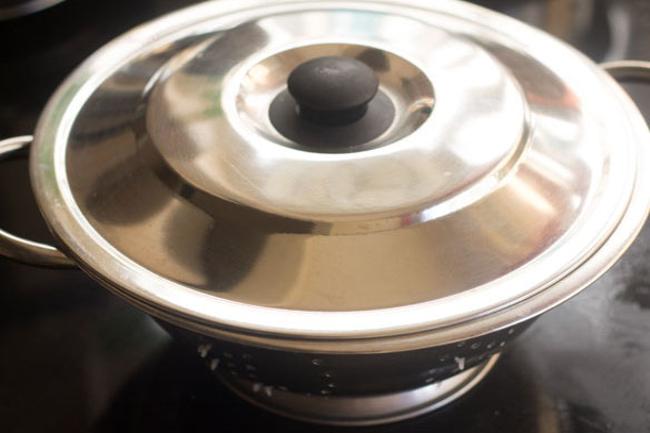
8. Keep the rice covered so that it does not dry out.
Cook Vegetable Gravy
9. Chop cauliflower, potatoes, carrots, mint leaves and coriander leaves. Also soak 2 pinches of saffron in ⅔ cup of warm water or warm milk or lukewarm yogurt. Measure and keep all the ingredients ready.
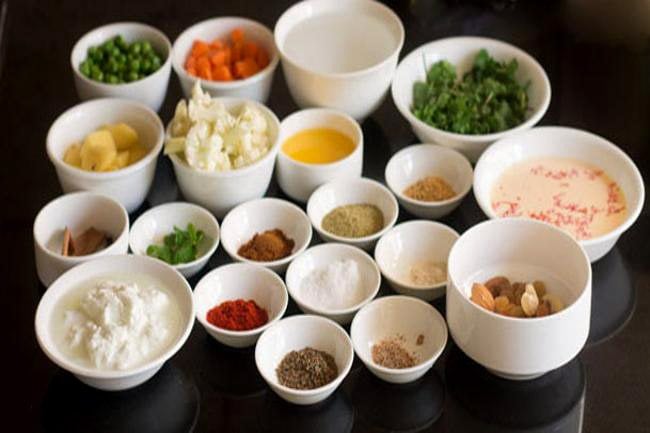
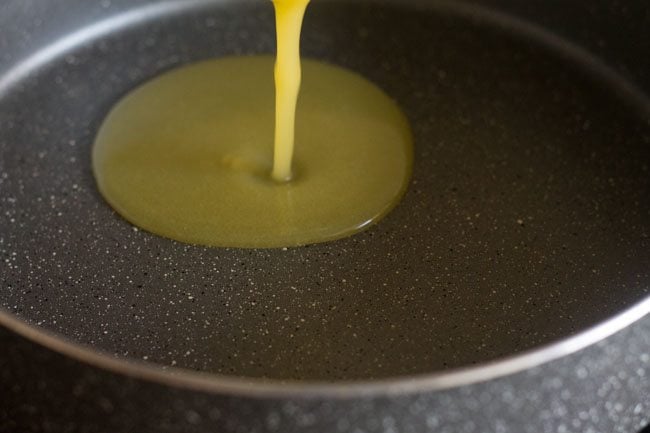
10. Heat 3 tablespoons oil or ghee in a pan or pressure cooker. Keep the flame to low.
11. Add the list of whole spices as mentioned below:
- 1 teaspoon caraway seeds (shahi jeera)
- 2 inch cinnamon sticks
- 2 black cardamoms
- 3 to 4 green cardamoms
- 3 to 4 cloves
- 1 to 2 strands of mace (javitri)
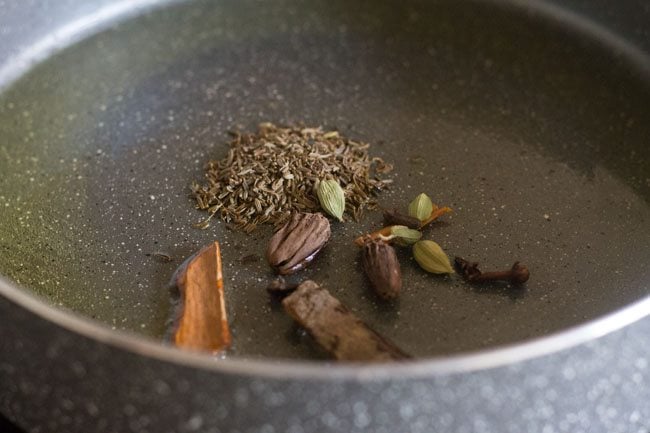
12. Fry the spices till they splutter and become fragrant on low heat.
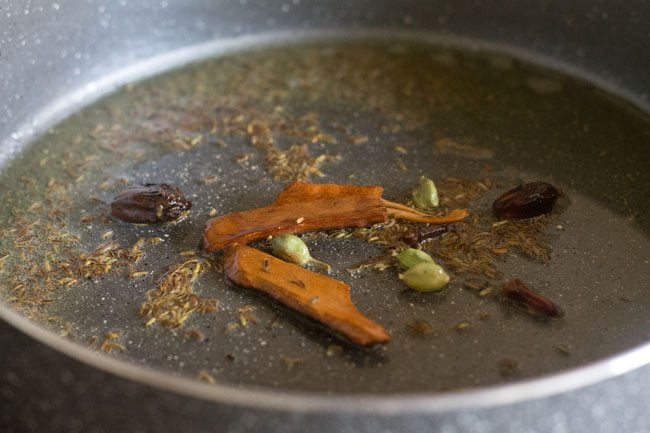
13. Now, add ½ cup chopped cauliflower, ½ cup chopped carrots, ½ cup chopped potatoes and ½ cup green peas.
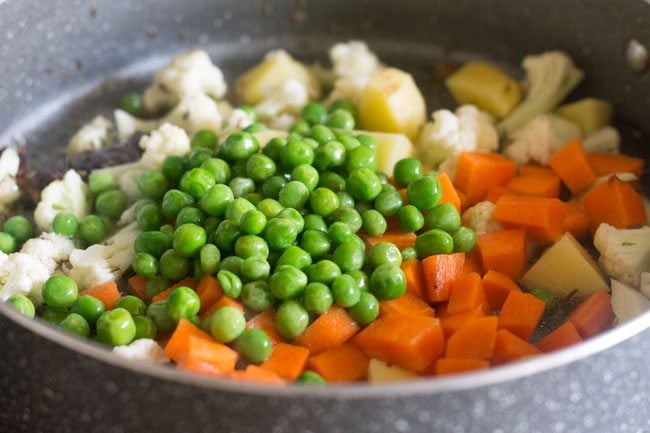
14. Sauté the vegetables for 1 to 2 minutes on medium-low to medium heat.
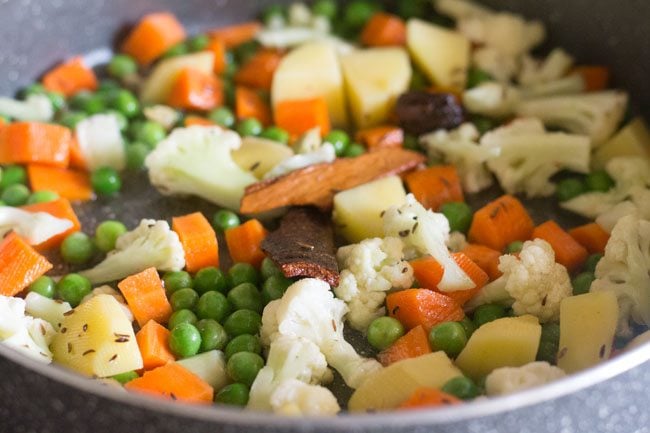
15. Next the following listed ground spices:
- 1.5 teaspoons fennel powder (ground fennel)
- 1 teaspoon ginger powder (ground ginger)
- ½ to 1 teaspoon red chili powder or cayenne pepper
- 1 teaspoon garam masala powder (or Kashmiri Ver Masala)
- ¼ teaspoon asafoetida (hing)
- ¼ teaspoon grated nutmeg or ground nutmeg powder.
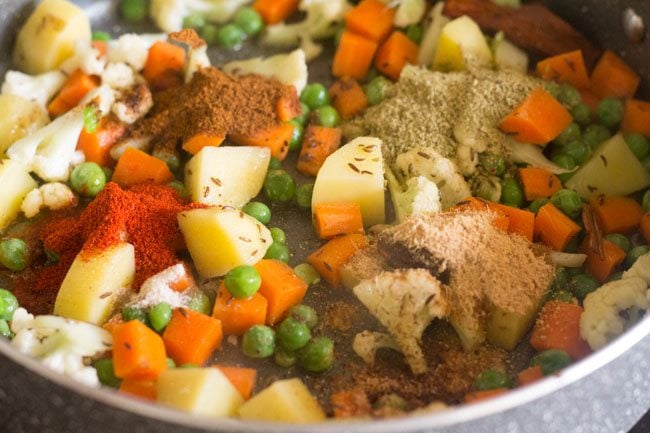
16. Mix well and sauté for 2 minutes on medium-low heat. Keep on stirring.
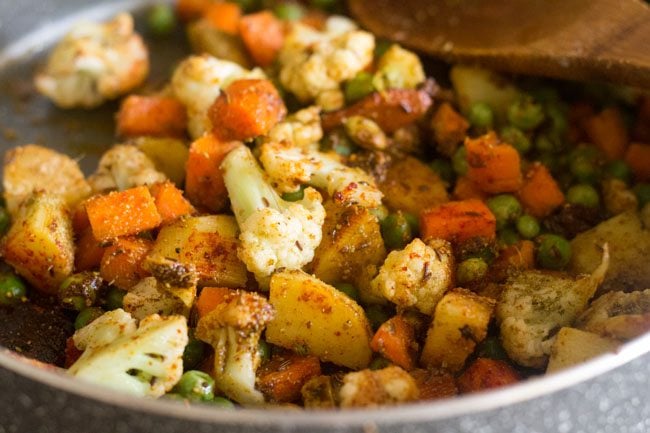
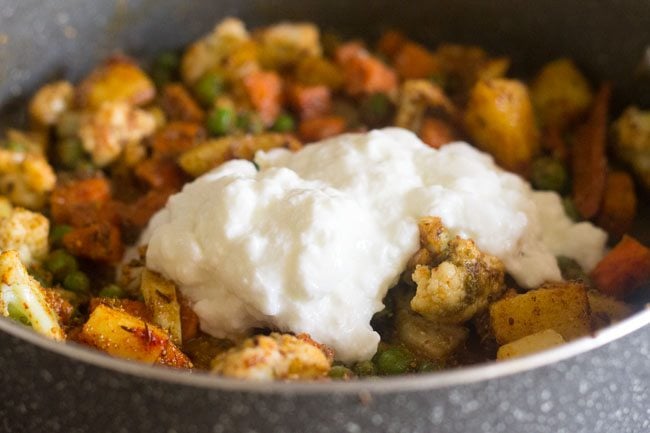
17. Turn the heat to low and add 5 to 6 tablespoons beaten fresh yogurt (curd) and stir to mix quickly.
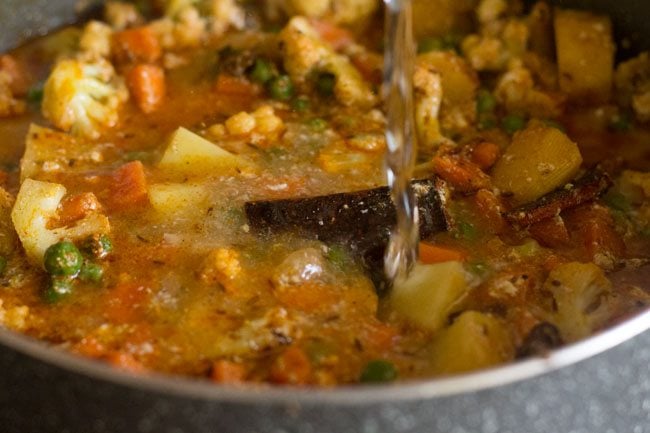
18. Pour 1 cup water.
19. Next, add salt as required.
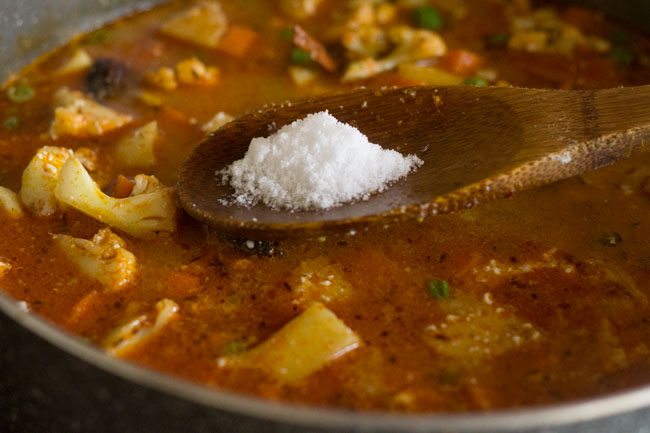
20. Stir and mix well.
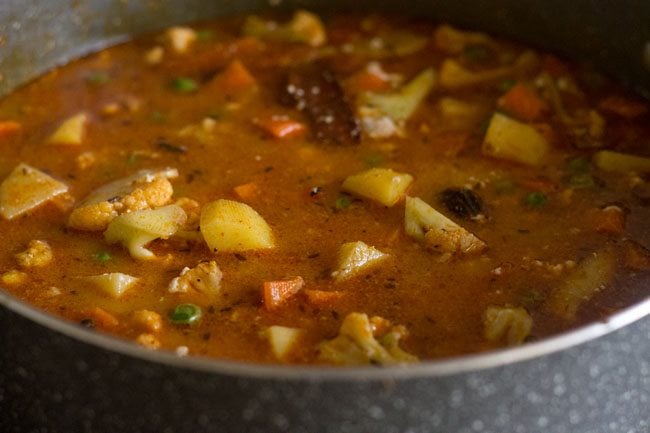
21. Cover the pan with a lid.
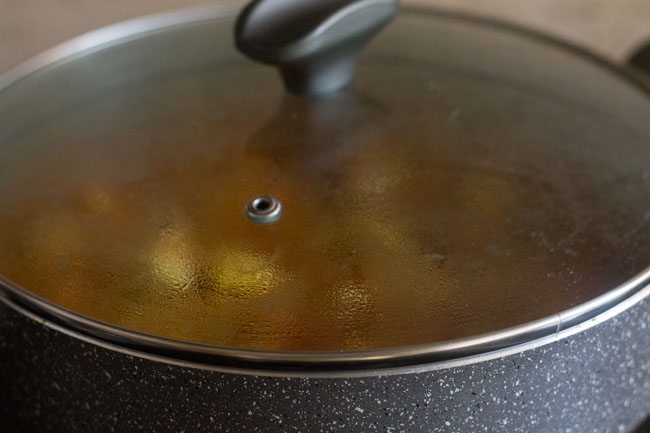
22. Simmer on medium-low heat and cook till the vegetables are tender.
If using pressure cooker, then pressure cook for 1 to 2 whistles till the vegetables are cooked. Don’t overcook the vegetables. If there is too much water in the gravy then simmer till some water dries up. The gravy should be of medium or slightly thick consistency and should not be watery.
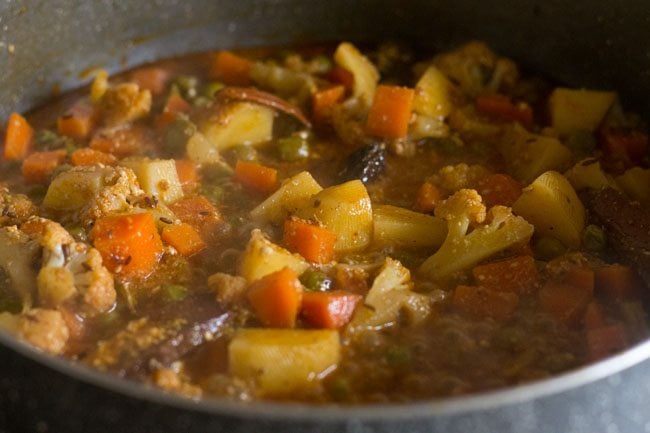
Assemble and Layer Kashmiri Biryani
23. In a heavy thick bottomed pan, layer half of the vegetable gravy first.
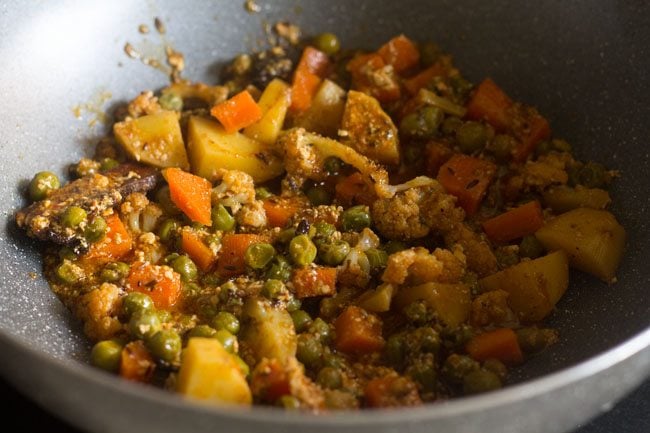
24. Next, layer half of the rice.
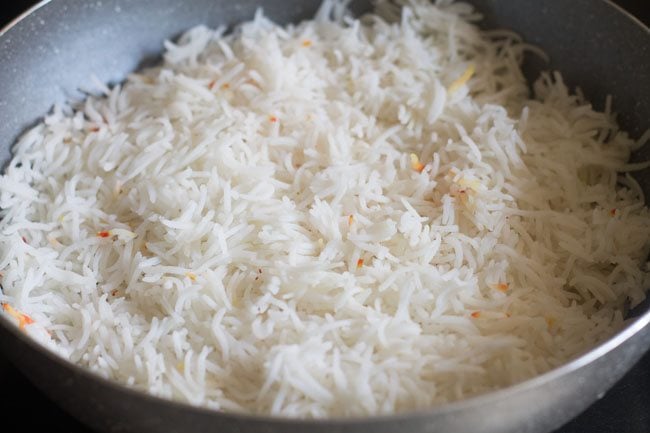
25. Add 1 tablespoon chopped mint leaves and 1 tablespoon chopped coriander leaves.
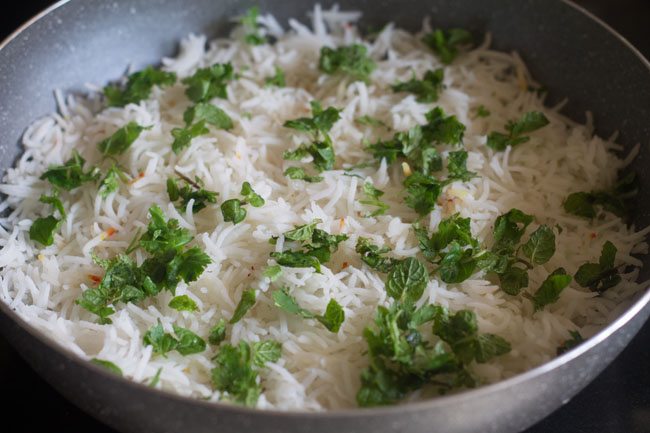
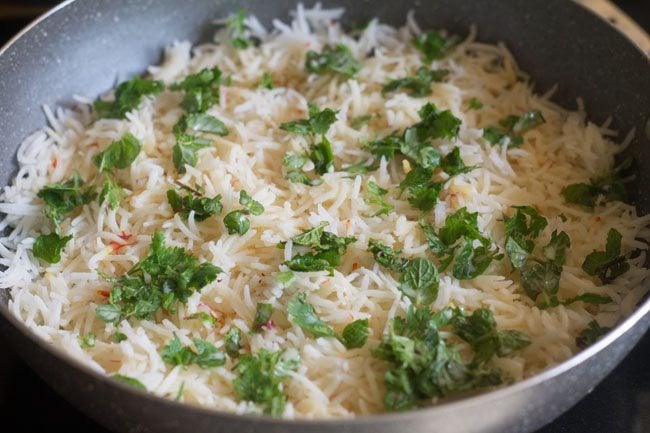
26. Also, add half the saffron which was soaked in warm milk (or in warm water or warm yogurt).
27. Now, layer with the remaining of the vegetable curry.
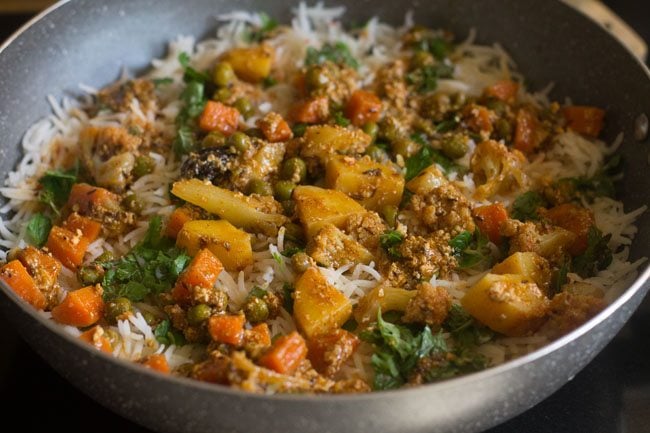
28. Continue by layering with the remaining rice.
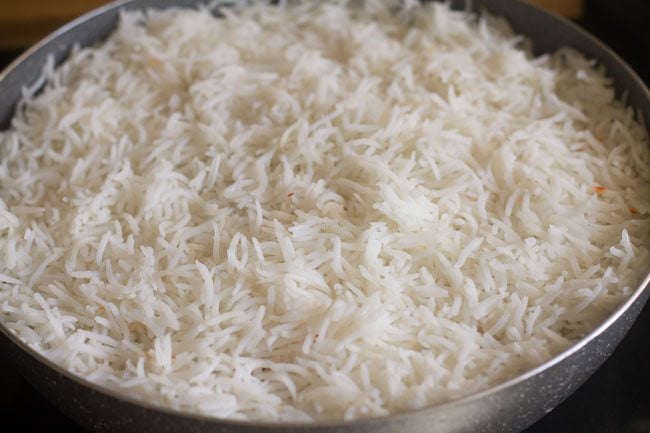
29. Sprinkle the remaining mint leaves and coriander leaves. Also, add the remaining saffron which was dissolved in milk. You can make 1, 2 or 3 layers this way. But do remember that rice should be the last layer.
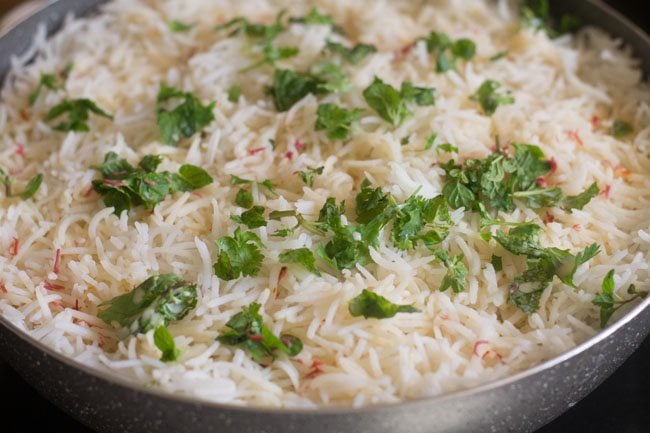
Cooking Kashmiri Biryani
30. There are 2 ways to dum-cook the Kashmiri Biryani:
- Method 1 – Cooking on a gas stove.
- Method 2 – Baking the biryani, which I have explained in the Notes section of recipe card below.
For cooking on a gas stove, seal and secure the pan or pot with an aluminum foil.
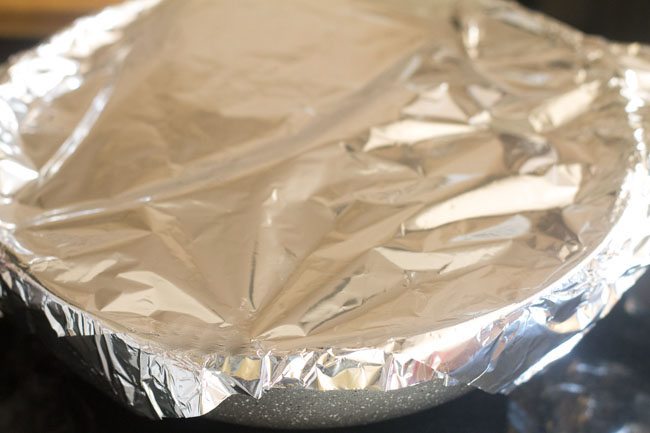
31. Take a tava or skillet and place it on medium heat of the stove-top. You can begin to preheat the tava when you begin to assemble and layer the biryani.
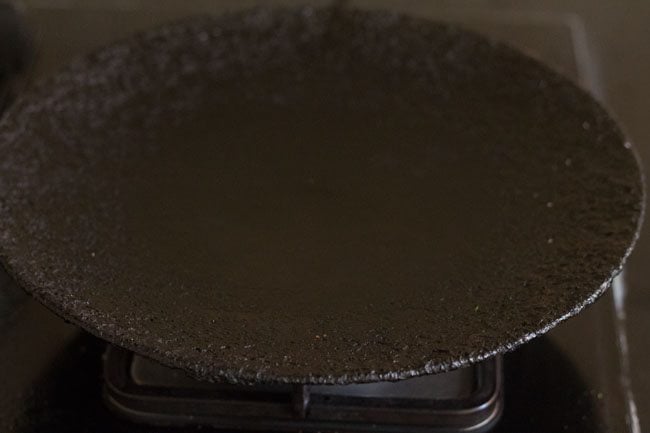
32. When the tava becomes hot, lower the heat and place the pot or pan on the tava. Then, place a tight fitting lid on the pan or pot. Keep the heat to the lowest and cook the Kashmiri Biryani for 25 to 30 minutes.
Alternatively, you can also dum-cook the biryani for the first 15 minutes on direct low heat. Then, for the last 10 minutes, place the pot on the hot tava and cook on a low heat.
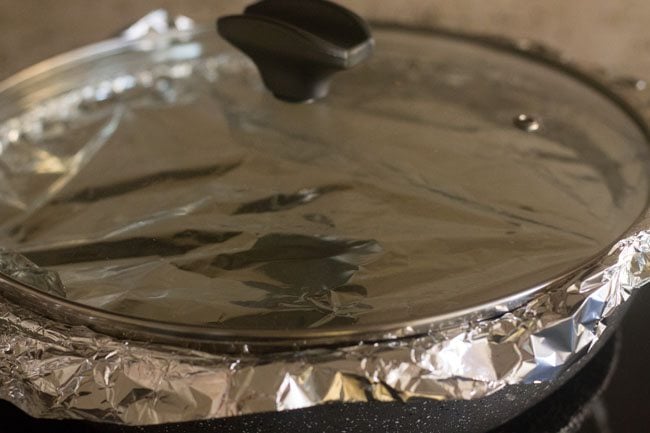
33. After 25 to 30 minutes, switch off the heat. Give a standing time of 5 to 7 minutes and then check the biryani.
If there is still some liquid at the bottom, then dum-cook the biryani for some more time till all the liquids are absorbed.
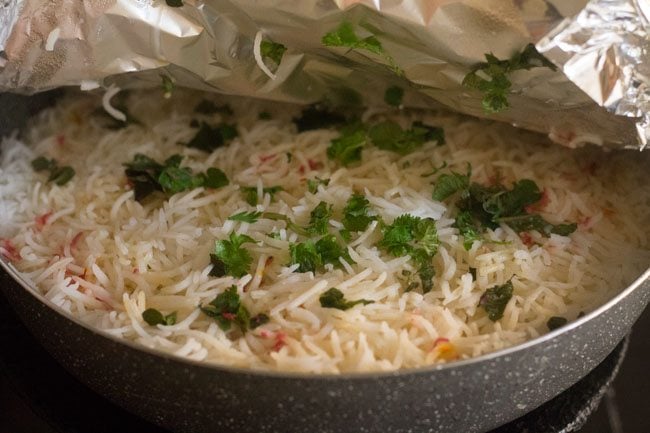
34. While the biryani is getting cooked, you can dry roast or fry 20 to 25 cashews in some oil or ghee. Alternatively, you can also roast or fry a mix of cashews, raisins and almonds.
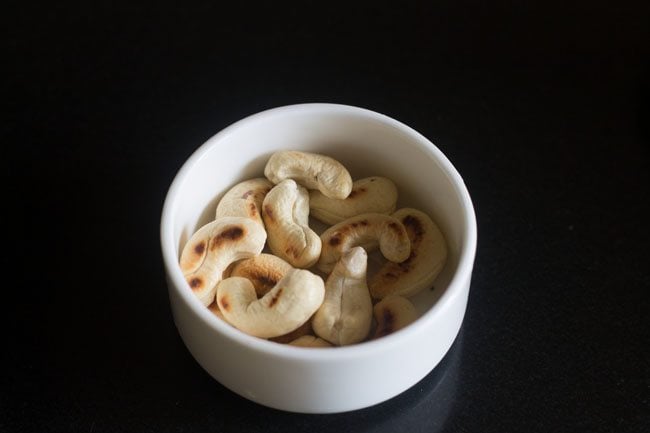
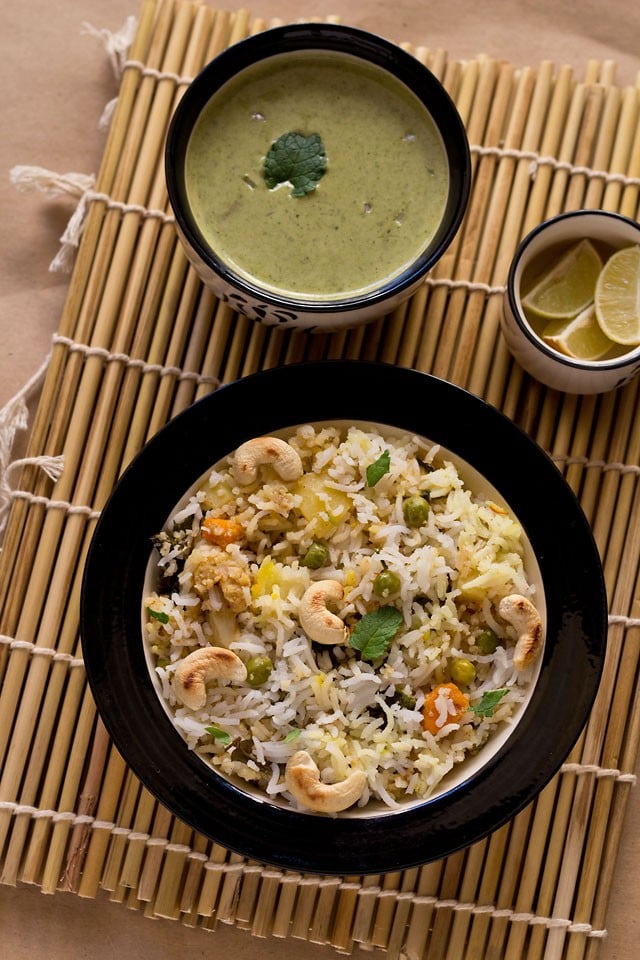
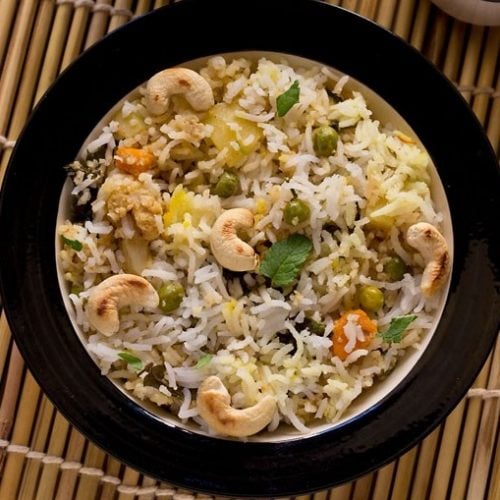
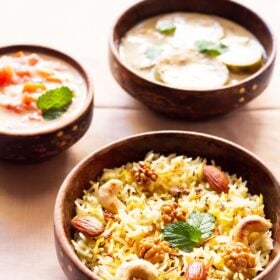
35. While serving, garnish with the roasted or fried cashewnuts (or the mix of nuts) along with some mint leaves.
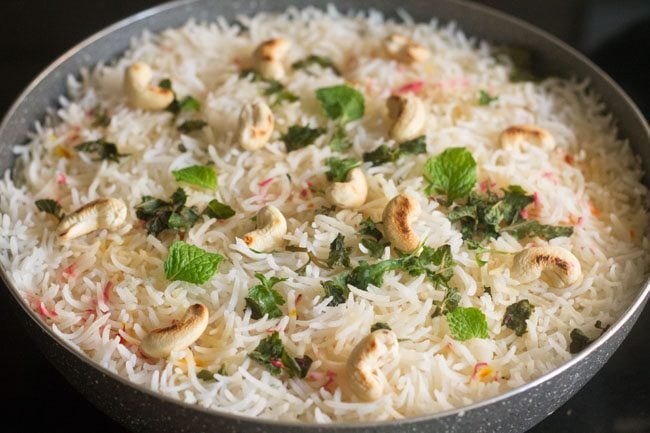
Serving and Storage Suggestions
You can serve this biryani with your choice of Raita, plain Curd (yogurt), salad or Kachumber or lemon wedges. Or have it just as it is.
You can refrigerate the leftover biryani for a day only. While reheating, steam for 5 minutes in a pan or instant pot. You can also lightly sauté the biryani in a frying pan or skillet until warm or hot.
Expert Tips
- Rice: To make any biryani, you need good quality rice. Biryani is not mushy and the rice grains should remain separate in the dish. While cooking the rice, you can add less or more water depending on the variety and age of the rice. Also, the rice should not be fully cooked and only cooked about 75% or ¾ done. It should have a slight bite.
- Spices: The lovely aroma of the biryani is due to the whole spices used in the recipe. So, make sure that the spices are fresh and in good condition.
- Vegetable gravy: Don’t overcook the vegetables. If there is too much water in the vegetable gravy then simmer till some water dries up. The gravy should have a medium to medium-thick consistency. It should not be watery, as this will lead to the rice becoming mushy or very soft after being dum cooked.
- Curd (Yogurt): Use fresh curd or yogurt, which is not sour, for the vegetable gravy. The curd should also be made from whole milk. Do not use fat free curd made from toned milk as it will split while cooking.
- Layering biryani: While assembling, you can make 1, 2 or 3 layers of the vegetable gravy, rice and other ingredients. But do remember that rice should be the last layer on top.
- Cooking biryani: You can cook the Kashmiri biryani either on a gas stove or bake it in an oven. If you are dum-cooking the biryani on a gas stove, you can also cook the biryani first for 15 minutes on direct low heat. Finally, put it on the hot tawa or skillet and cook for 10 minutes more on low heat.
- Checking cooked biryani: Allow the biryani to rest for about 5 to 7 minutes after it is cooked. If there is still some liquid at the bottom, then dum-cook the biryani for some more time till all the liquid is absorbed.
- Garnish: You can either use only cashews or a mix of cashews, raisins and almonds for garnishing the biryani. Dry roast or fry them in some oil or ghee. Mint leaves for garnishing is also optional.
More Biryani Recipes To Try!
Rice Recipes
Rice Recipes
Rice Recipes
Please be sure to rate the recipe in the recipe card or leave a comment below if you have made it. For more vegetarian inspirations, Sign Up for my emails or follow me on Instagram, Youtube, Facebook, Pinterest or Twitter.
Kashmiri Biryani
Ingredients
For rice
- 1.25 cup basmati rice – soaked in water for 30 minutes
- 5 cups water – to cook the rice
- salt as required
- 1 pinch saffron strands
For the veg gravy
- ½ cup chopped carrots
- ½ cup chopped cauliflower
- ½ cup green peas
- ½ cup chopped potatoes
- 3 tablespoons ghee (clarified butter) or oil
- 1 teaspoon caraway seeds (shahi jeera)
- 2 inches cinnamon
- 2 black cardamoms
- 3 to 4 green cardamoms
- 3 to 4 cloves
- 1 or 2 single strands of mace
- 1.5 teaspoon fennel powder (ground fennel)
- 1 teaspoon dried ginger powder (ground ginger)
- ½ or 1 teaspoon red chili powder
- 1 teaspoon Garam Masala or Kashmiri Ver Masala
- ¼ teaspoon asafoetida (hing)
- ¼ teaspoon grated nutmeg (ground nutmeg)
- 5 to 6 tablespoons yogurt (curd), fresh and whipped – dairy or any plant based yogurt
- 1 cup water or add as required
- salt as required
for the layers
- 2 tablespoon chopped mint leaves
- 2 tablespoon chopped coriander leaves (cilantro leaves)
- 2 pinches saffron strands
- ⅔ cup warm water or warm milk or warm yogurt for soaking saffron strands
For garnish
- 20 to 25 whole cashews or a mix of cashewnuts, almonds and raisins – roasted or fried in some oil or ghee
- 2 to 3 tablespoons chopped mint leaves – optional
Instructions
Cooking rice
- Pick and rinse basmati rice in running water till the water runs clear of starch. Then, soak the basmati rice in water for 30 minutes.
- After 30 minutes, drain the water and keep the rice aside. In a pot boil 5 cups water and then add the soaked rice.
- Cook the rice till they are ¾ᵗʰ cooked or 75% cooked. Then, drain the rice in a colander. Sprinkle a pinch of saffron strands all over the rice.
- Keep the rice covered so that the grains don't dry out.
Preparing veg gravy
- Chop cauliflower, potatoes, carrots, mint leaves and coriander leaves. Also, soak 2 pinches of saffron strands in ⅔rd cup warm water, warm milk or warm yogurt.
- Heat ghee or oil in a pan or pressure cooker.
- Add the whole spices – caraway seeds, cinnamon sticks, black cardamom, green cardamoms, cloves and mace.
- Fry till the spices splutter and become fragrant.
- Now, add the chopped vegetables – cauliflower, carrots, potatoes and green peas. Sauté the vegetables for 1 to 2 minutes.
- Then, add the spice powders – fennel powder, dried ginger powder, red chili powder, garam masala powder or Kashmiri Ver Masala, asafoetida and grated nutmeg. Sauté for 2 minutes. Keep on stirring.
- Put the heat on low, add the beaten yogurt and stir well.
- Add water and salt as required. Mix well.
- Cover the pan with its lid and cook on medium-low heat till the vegetables are tender. If there is too much water in the gravy, then simmer till some water dries up. The gravy should be of medium or slightly thick consistency and should not be runny or watery.
- If using pressure cooker, then pressure cook for 1 to 2 whistles till the vegetables are tender. Don’t over cook the veggies.
Assembling Kashmiri Biryani
- In a heavy thick bottomed pan, layer half of the vegetable gravy first.
- Next, layer half of the cooked rice.
- Sprinkle some of the chopped mint and coriander leaves.
- Also, sprinkle some of the saffron which was dissolved in warm milk, warm water or warm yogurt.
- Now, layer with the rest of vegetable gravy.
- Next, layer with the remaining cooked rice.
- Sprinkle the mint, coriander and saffron milk again.
Cooking Kashmiri Biryani
- Then, cover the pan or pot with a tight fitting lid.
- Take a tawa or skillet and put it on medium heat. You can begin to preheat the tawa when you begin to assemble and layer the biryani.
- When the tava becomes hot, then lower the heat. Keep the sealed biryani pot on the tava. Keep the heat to the lowest and dum-cook biryani for 25 to 30 minutes.
- Alternatively, you can also dum-cook the biryani for the first 15 minutes on direct low heat and then for the last 10 minutes, place the pot on the hot tava and cook on low heat.
- After 25 to 30 minutes, switch off the heat. Give a standing time of 5 to 7 minutes and then check the biryani. If there is still some liquid at the bottom, then the biryani needs to be dum-cooked for some more time. Cook till all the liquids is absorbed.
- When the Kashmiri Biryani is getting dum-cooked, you can roast the cashewnuts or fry them in some oil or ghee. Alternatively, you can also roast a mix of cashewnuts, raisins and almonds or fry them in some oil.
- While serving, garnish with the roasted or fried cashewnuts, almonds and raisins along with some mint leaves.
- Serve the Kashmiri Biryani hot with a raita by the side.
Notes
- Preheat the oven at 180 degrees C/356 degrees F for 10 to 15 minutes.
- While the oven is getting preheated, assemble the biryani in an ovenproof utensil as mentioned above. Remember to use oven proof glass utensils like Pyrex bowl or oven safe steel pan for baking in the oven.
- Cover the bowl or pan with aluminium foil or the Pyrex bowl lid and then bake the biryani for 25 to 30 minutes. However, the baking time will vary from oven to oven.
- When done, give a rest time of 5 to 7 minutes.
- Then, check the Kashmiri Biryani. If there is still some liquid at the bottom, then the biryani needs to be baked for some more time till all the liquids are absorbed.
Nutrition Info (Approximate Values)
This Kashmiri Biryani post from the archives first published in June 2013 has been republished and updated on 8 May 2022.






Hi,,
How can I do it without oven?
Kindly reply..
Suryakanti, you can check this hyderabadi veg biryani recipe for how to cook biryani on a gas stove – https://www.vegrecipesofindia.com/hyderabad-veg-biryani-hyderabadi-vegetable-dum-biryani-recipe/
it’s very nice to prepare your recipes.plse send tawa pulao reciepe
thanks rama. tawa pulao recipe has already been added. here is the link – https://www.vegrecipesofindia.com/tawa-pulao-recipe-pulao-recipes/
This is an absolutely delicious recipe.. Loved it totally!!! The saffron and nuts add a magnificent touch.. It works great for my Jain friends.. Thank you.. I’m an avid reader of your blog.. Love your recipes 🙂
thanks a lot rasheeda for the positive review. good to know your friends liked the biryani.
omg this turned out sooooooooo goood!!!!
by the way… do you any non-veg recipes? like chicken biryani? I really want to learn!!!
thanks henna. i only share veg recipes in the blog.
Nice lunch combination…kashiri pulao is my fav anytime
Hi Dassana,
Your pulao looks amazing! I am a rice eater and give me a pulao or pilaf with some papad and dahi on the side and I am set.
I would definitely mis the onions and garlic in my biryani, but can understand where such recipes would come handy. Have a few friends whose parents are Kashmiri pandits and others who are Jainis. Would definitely be useful when they come home 🙂
I love the simplicity of your recipes and how the same is reflected in your pics, neat and simple. 🙂
I’m excited to browse all the recipes here. Being on a vegan and gluten free diet, your website is very helpful to me. Thanks
Hi D, first time to your blog, I really like the variety of Indian dishes here. I can eat biryani any day and any time of the day, this one looks simple,healthy and tasty.
thanks.