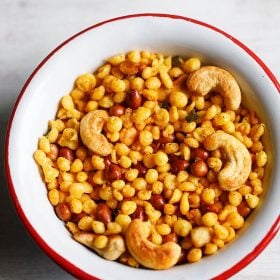
You may know tiny fried pearls of spiced or plain gram flour mixture as ‘boondi’ across the Indian subcontinent. But here’s Kara Boondi or a Masala Boondi Mixture, which I’m sure, is going to get you addicted to it. Yes, it is this good! This is a South Indian style spiced Kara Boondi Recipe which is also a delectable, crunchy-munchy mix of boondi, peanuts, cashews, curry leaves and some spices and seasonings. A great choice as a festive treat, especially for Diwali. You should try this one, for sure!
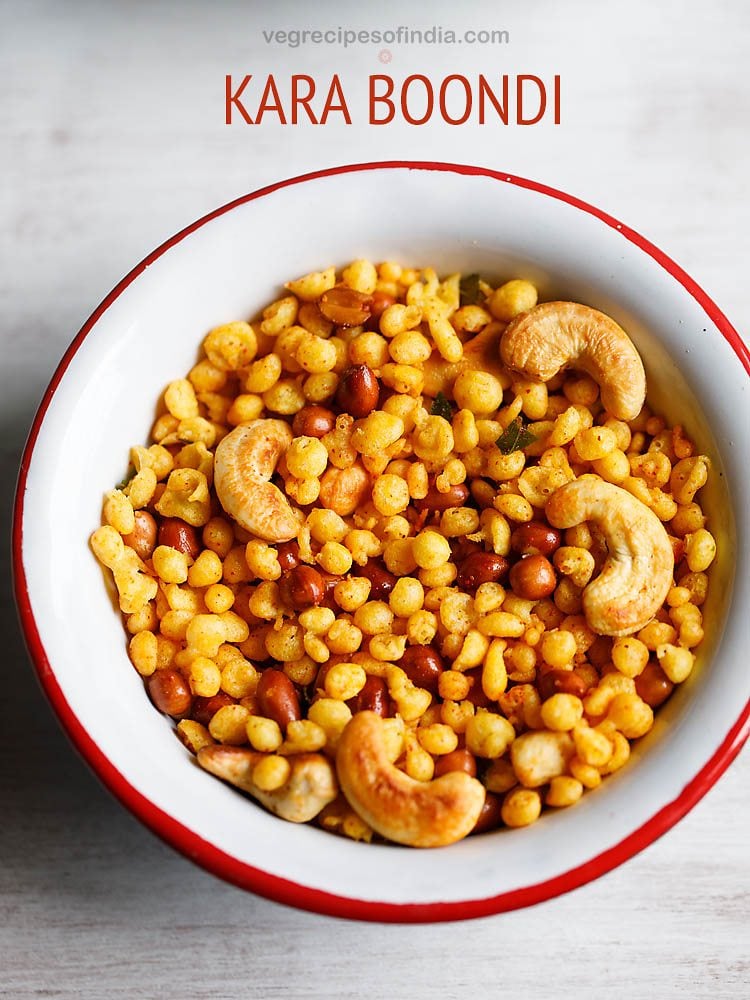
One of the fried snacks that is made during Diwali in South India is kara boondi. Making boondi is easy but does take some time. The time taken here is for frying the boondi. Frying other ingredients does not take much time.
This kara boondi recipe is not too spicy as I do not add too much of chilli powder in it. However, for a more spicy taste you can add more chilli powder.
Kara boondi is also added to popular South Indian Mixture recipe. Another fried snack that is made during Diwali is Omapodi recipe. I have also shared many chiwda and Diwali faraal which is made during Diwali festival like:
- Potato sev
- Sev recipe
- Poha chivda (with thin poha)
- Chakli recipe
- Corn flakes chiwda
This spicy boondi mixture tastes awesome and you can munch them any time of the day. Its far better in taste than the salted boondi mixture you get outside.
The reason being the quality of oil used is better in the home as it’s not reused many times. So do give this kara boondi recipe a try if you are fond of such snacks.
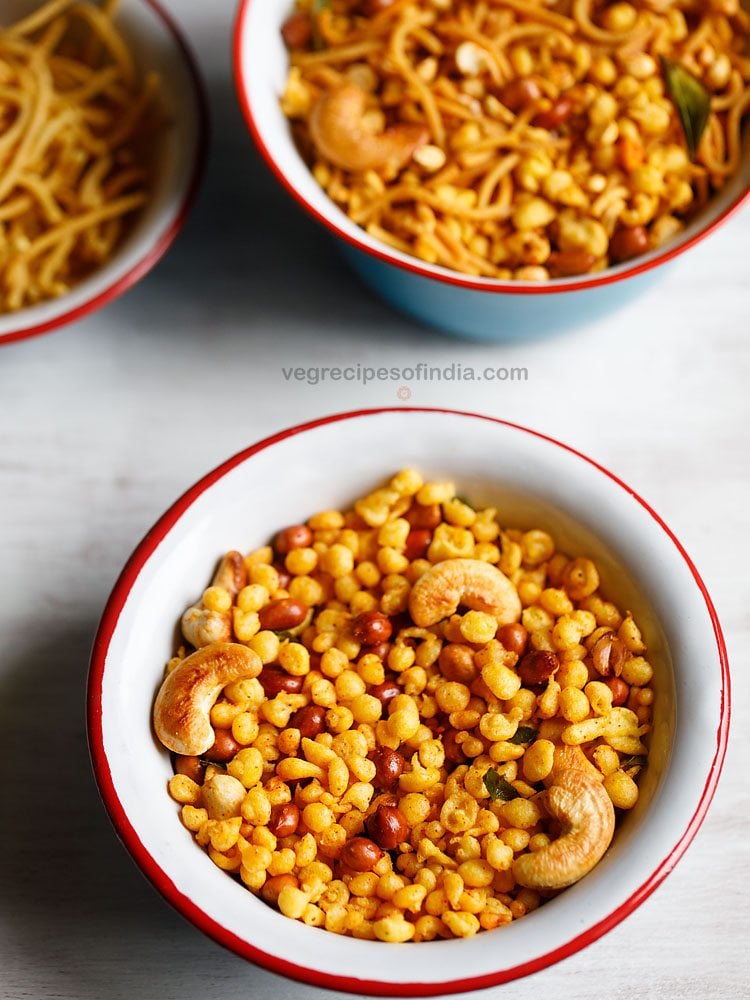
The recipe yields a small batch of kara boondi, but the recipe can be easily doubled or tripled to make a big batch.
The ingredients used in this recipe are all basic and easily available at home, most of the time. There’s nothing special, apart from following the procedure to make the boondi, that goes into this dish.
You can serve kara boondi as tea time snack or Diwali snack.
How to make Kara Boondi Recipe
A) making boondi batter
1. Take ½ cup besan (gram flour) and 1 tablespoon rice flour in a mixing bowl.
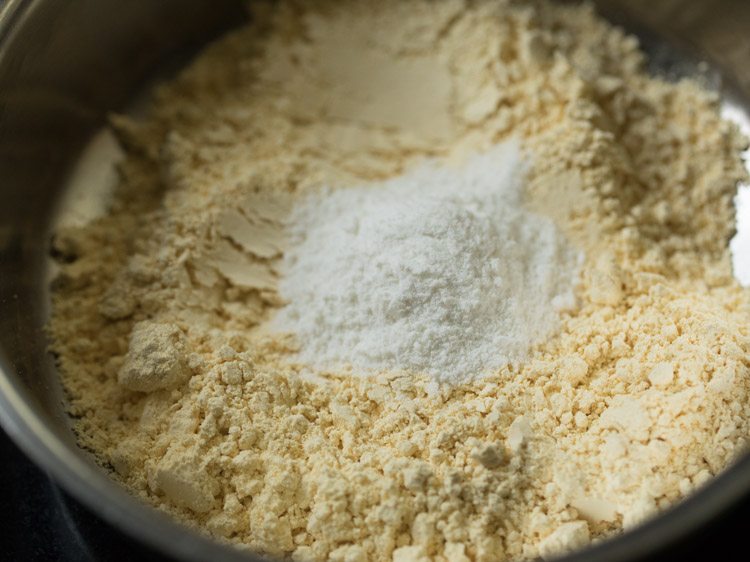
2. Then add 1 pinch asafoetida (hing), 1 pinch of baking soda, 2 pinches turmeric powder and ½ teaspoon salt.
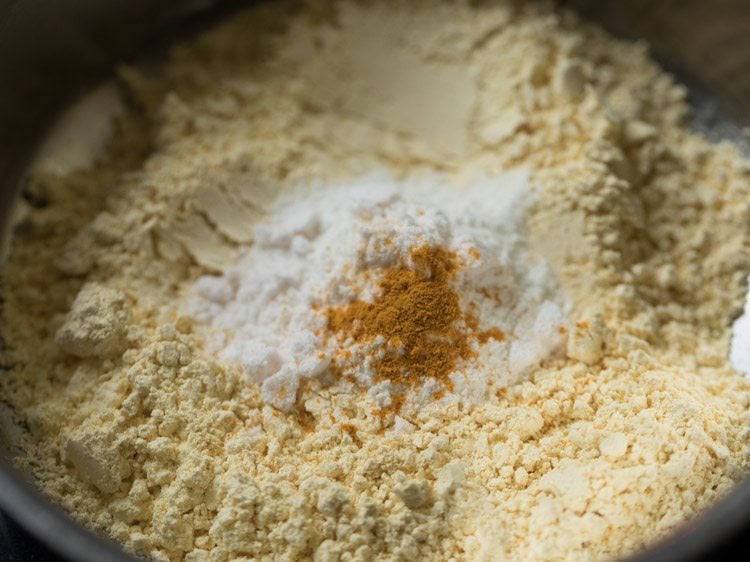
3. Mix everything with a spoon.
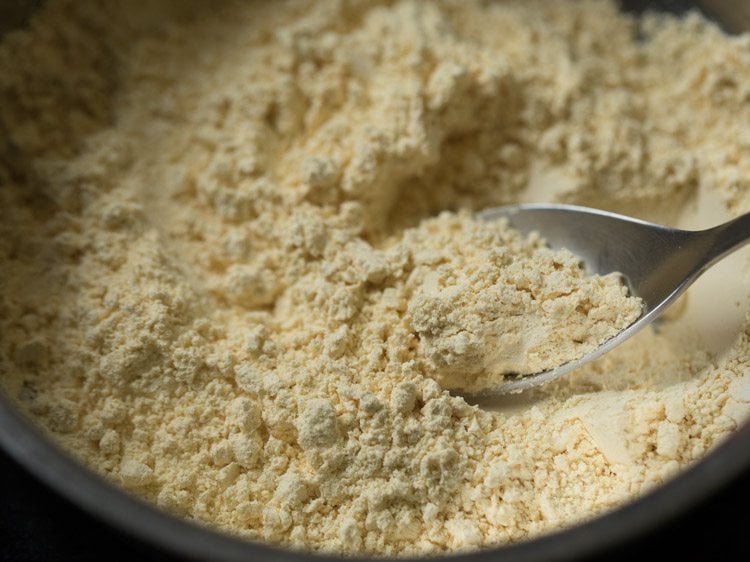
4. Now add 8 to 9 tablespoons of water in parts.
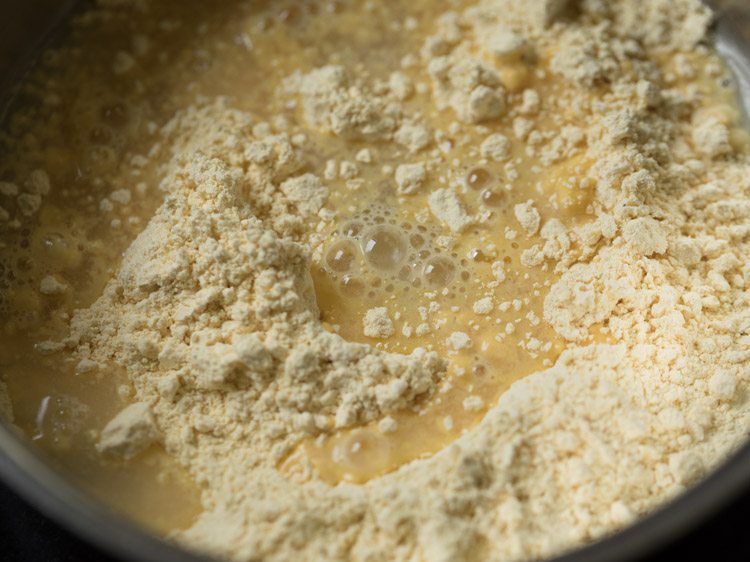
5. Using a wired whisk make a smooth and slightly thin batter without lumps.
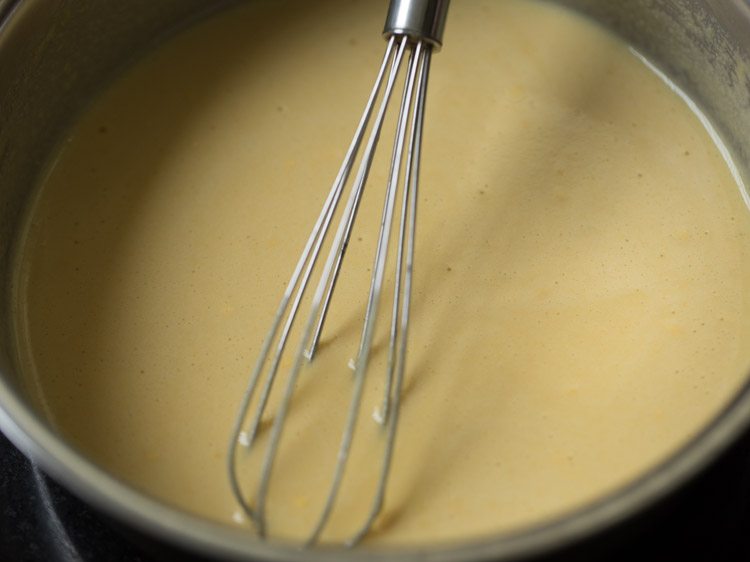
6. The batter consistency is slightly thin. the amount of water to be added depends on the quality of gram flour. So add accordingly.
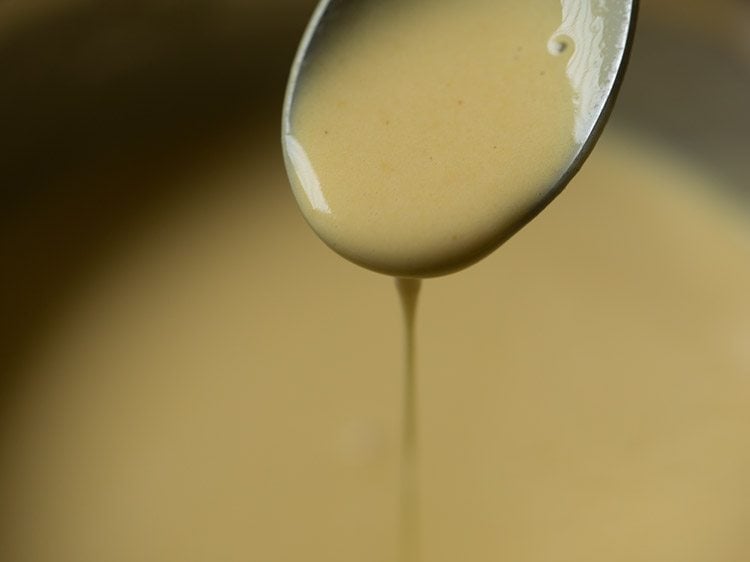
Frying salted boondi
7. Heat oil for frying in a kadai or pan. When the oil becomes hot, then tap the wired whisk or the handle of a spoon which has a bit of batter in to the hot oil.
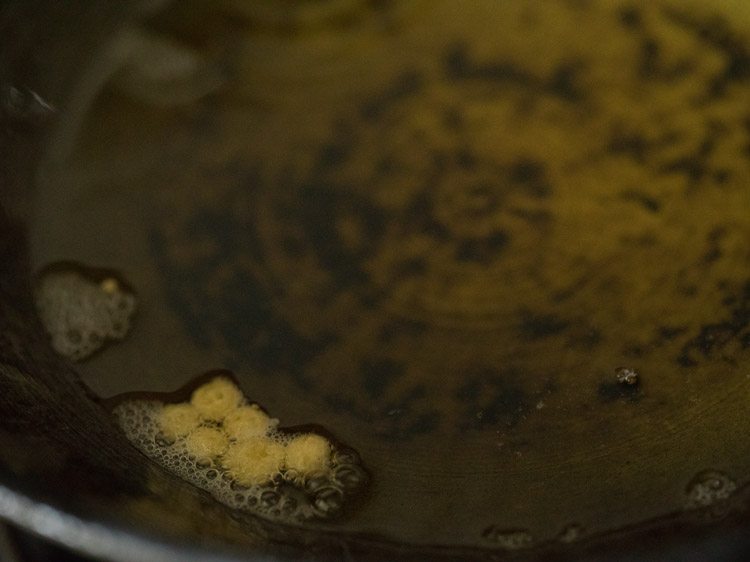
8. The boondis should have a round shape. If they become flat, then the batter is thin. If they get tail ends, then the batter is thick. If the batter is thin, then add 1 to 2 teaspoons of gram flour and check by frying a few boondis.
If the batter is thick, then add a few teaspoons of water and then do the same test. Once you get the correct consistency, proceed with the next step of frying the boondis.
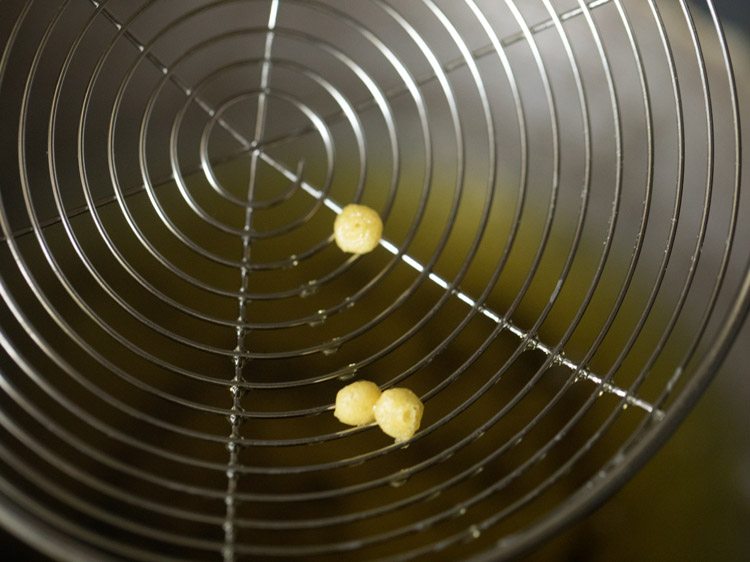
9. Now take a dry perforated ladle/jhara and place it above the hot oil. Don’t keep too much on a height, as the batter droplets, when falling from a height, do not give a round shape. with a spoon add some batter on the perforated spoon ladle/jhara.
Spread the batter lightly with a spoon. Finish up the batter on the perforated spoon ladle this way.
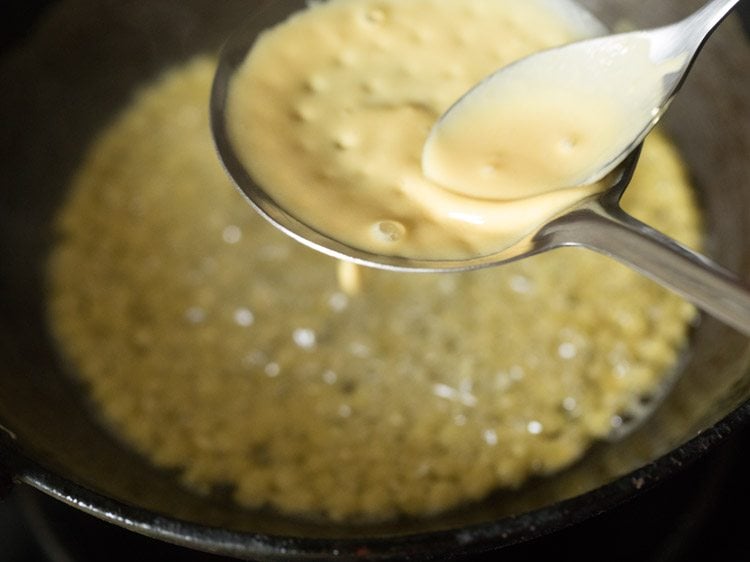
10. On a medium flame begin to fry the boondis. Do not turn them. Let them become slightly crisp and then turn them.
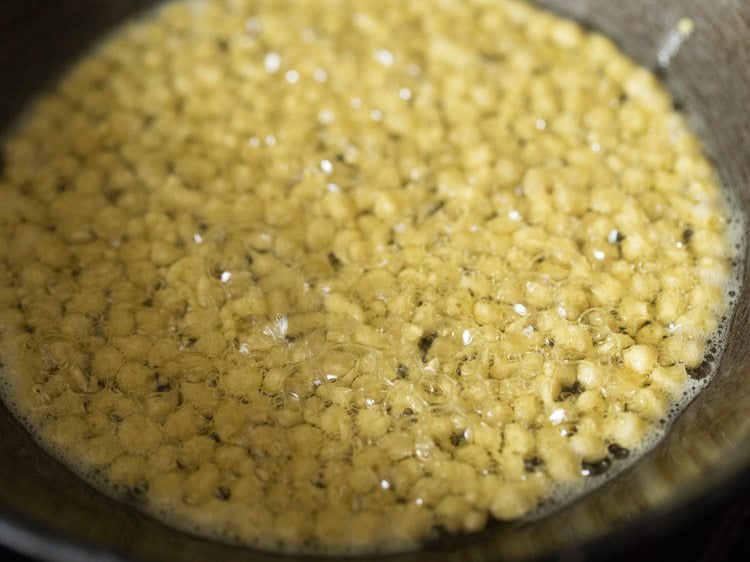
11. When the boondis have become crisp, turn them with a slotted spoon. You won’t get perfect round shape for each boondi, but it does not matter as the taste of homemade boondi is better than store brought ones.
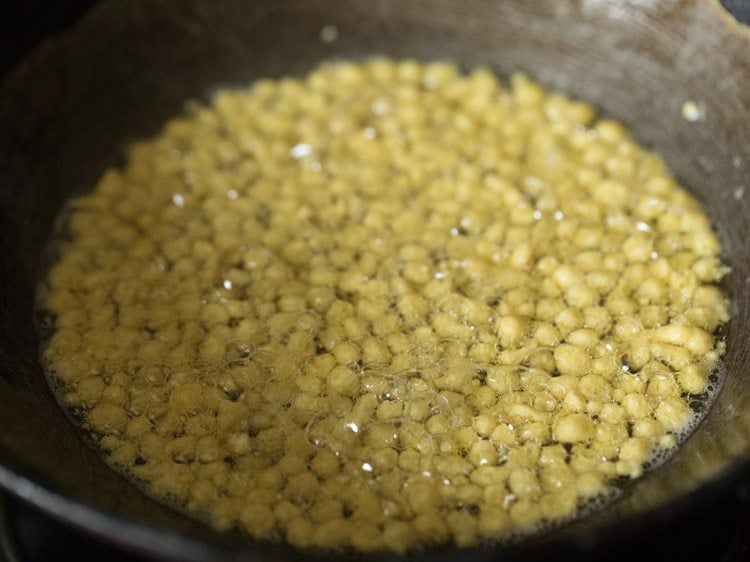
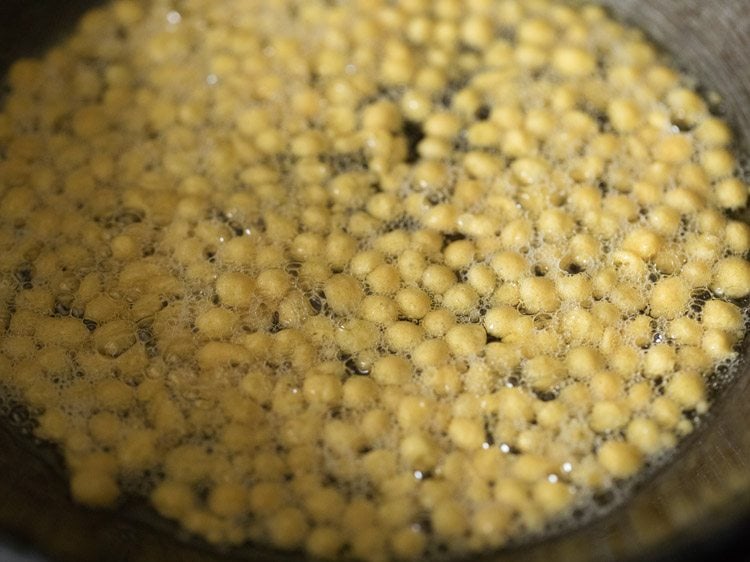
12. Continue to fry till the boondis become crisp and golden.
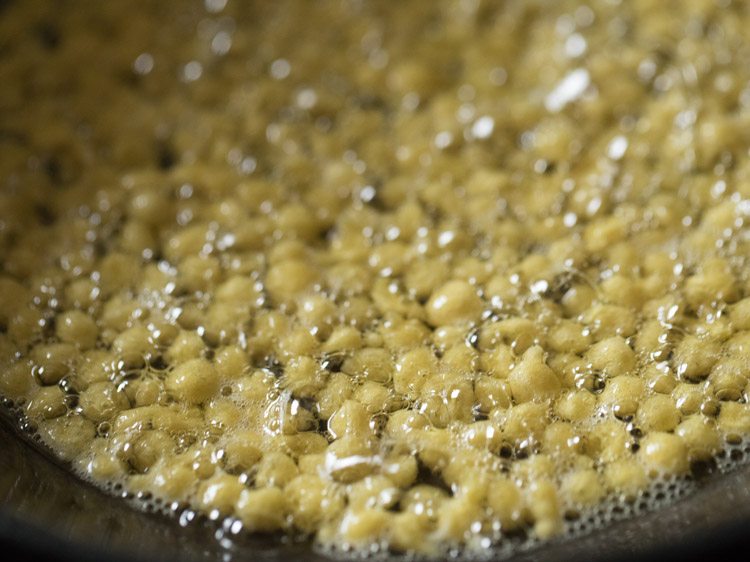
13. After the oil stops sizzling, continue to fry the boondis for some more seconds so that they become crisp.
14. Remove with a strainer spoon or a slotted spoon draining the extra oil.
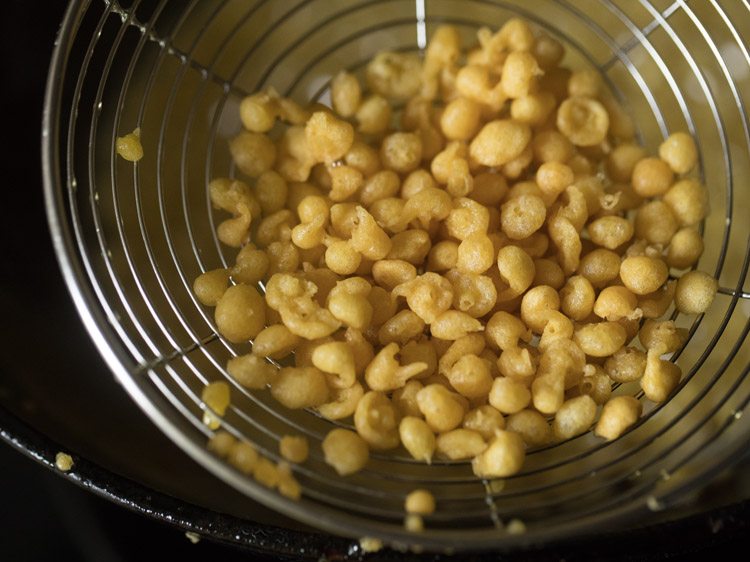
15. Place the fried salted boondi on kitchen paper towels. If making salted boondi, then you can stop at this step.
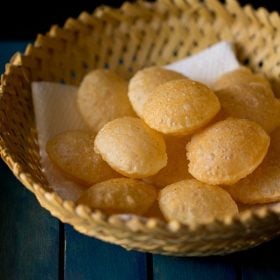
Once the boondi cools down, store them in an air tight jar or box. You can now use these salted boondi to make Boondi raita or use them in chaat recipes like Dahi vada, Dahi bhalla or Pani puri or Papdi chaat.
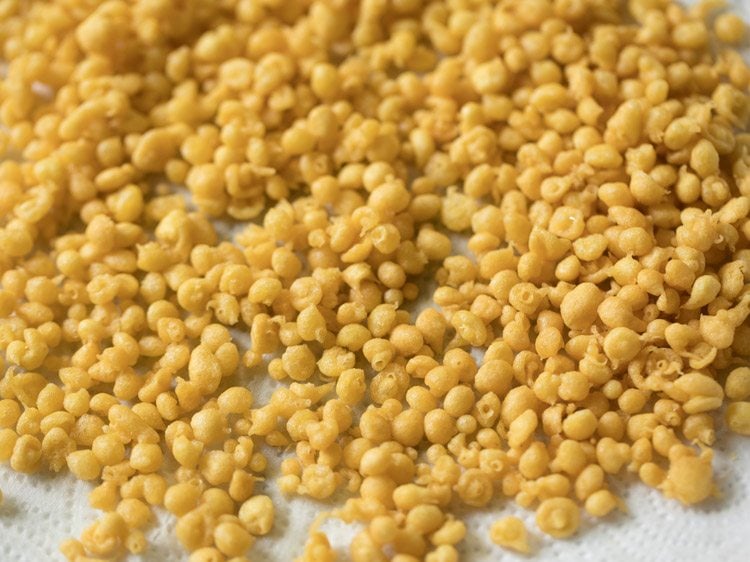
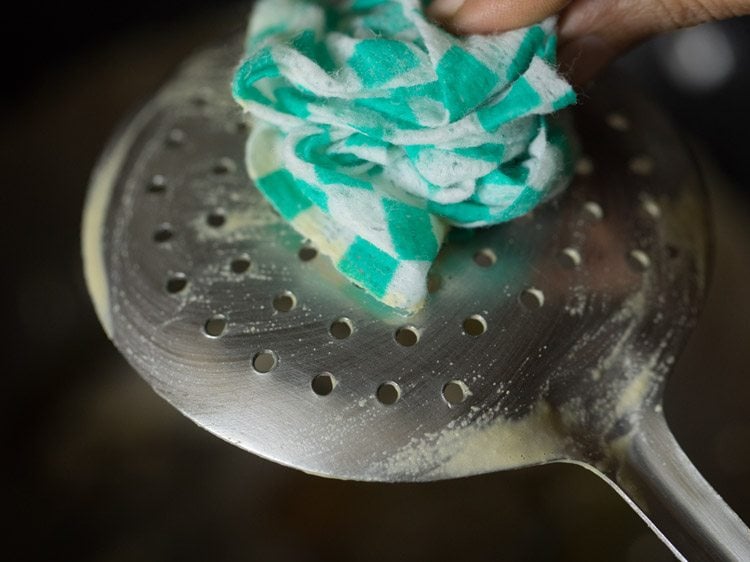
16. After each batch, wipe the perforated ladle/jhara with a clean piece of moist thin cotton kitchen towel from both sides. Continue to fry boondis this way.
Frying nuts for kara boondi
17. In another small pan, take 1 to 2 teaspoons ghee or oil.
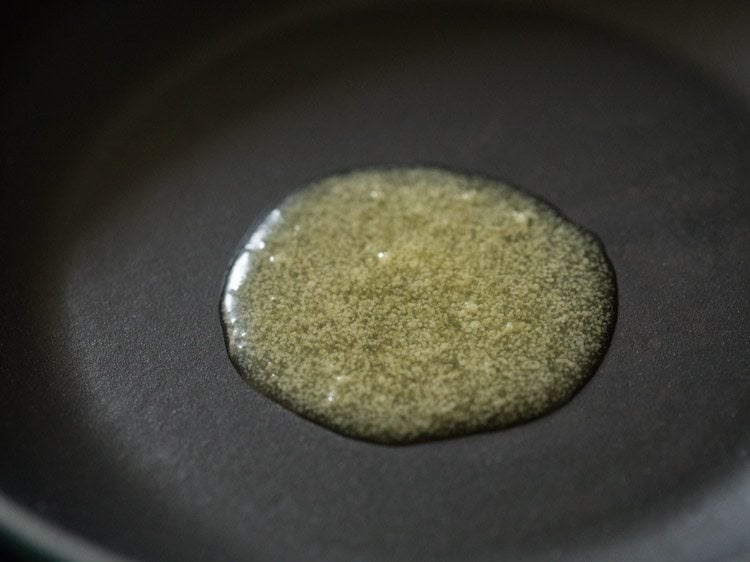
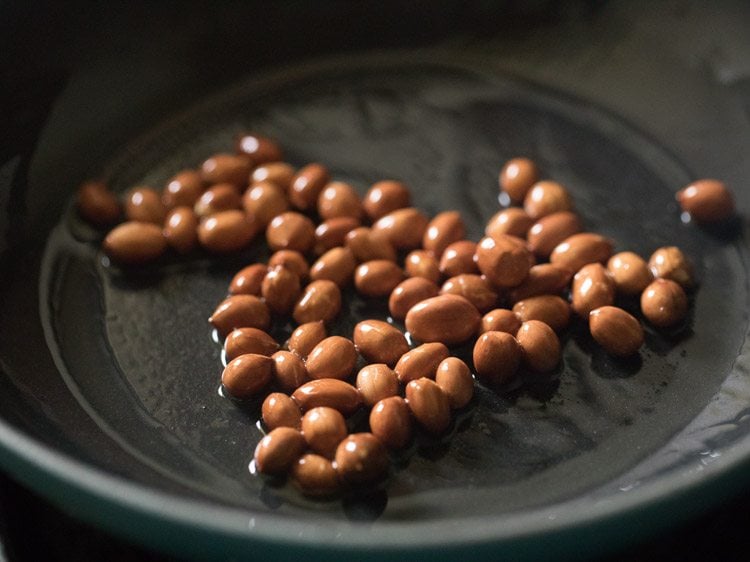
18. Add 2 tablespoons of peanuts.
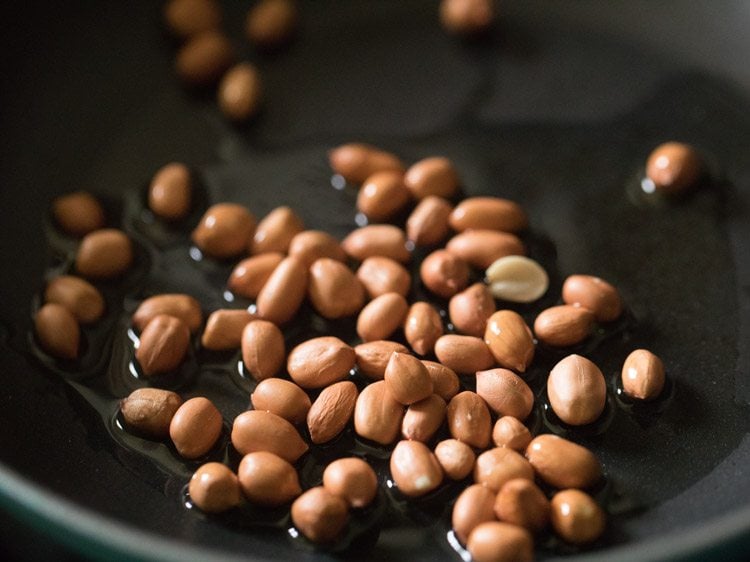
19. Stirring them often fry till the peanuts becomes crunchy and change their color. Remove the fried peanuts and keep them aside on kitchen paper towels.
20. Then add 12 to 15 cashews.
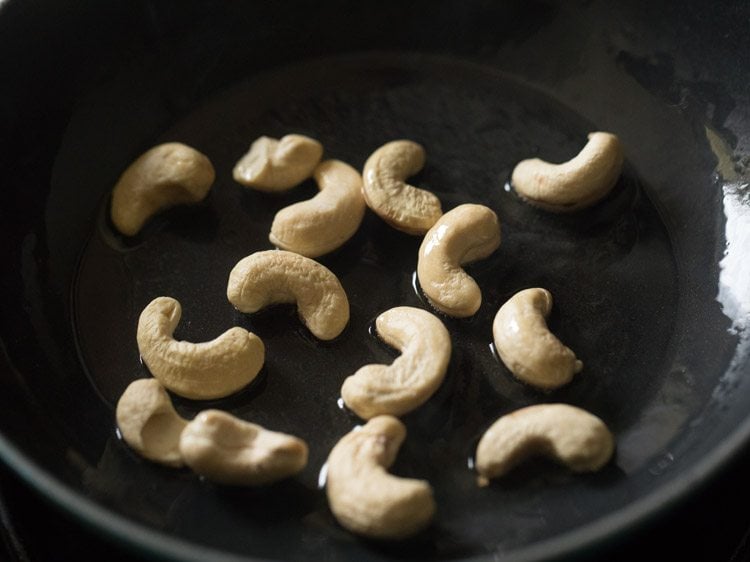
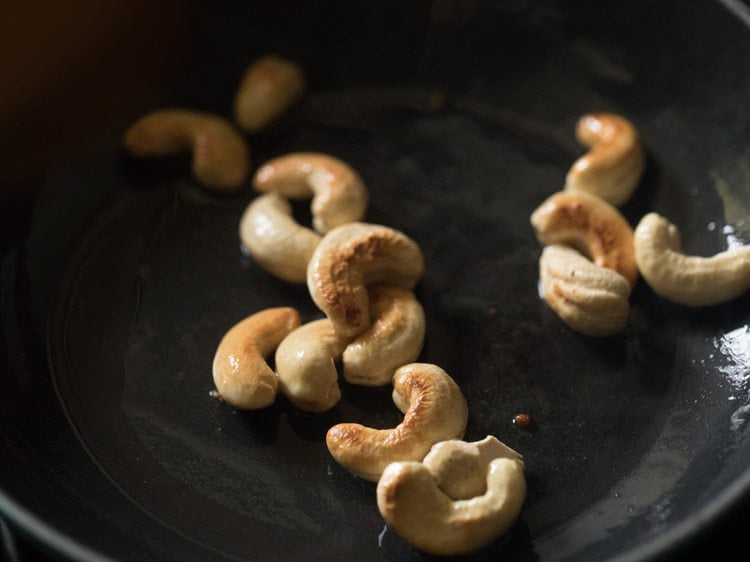
21. Stirring often fry the cashews till they become golden. Remove and keep aside on kitchen paper towels. You can add more peanuts or cashews if you want.
22. Now add 8 to 9 curry leaves.
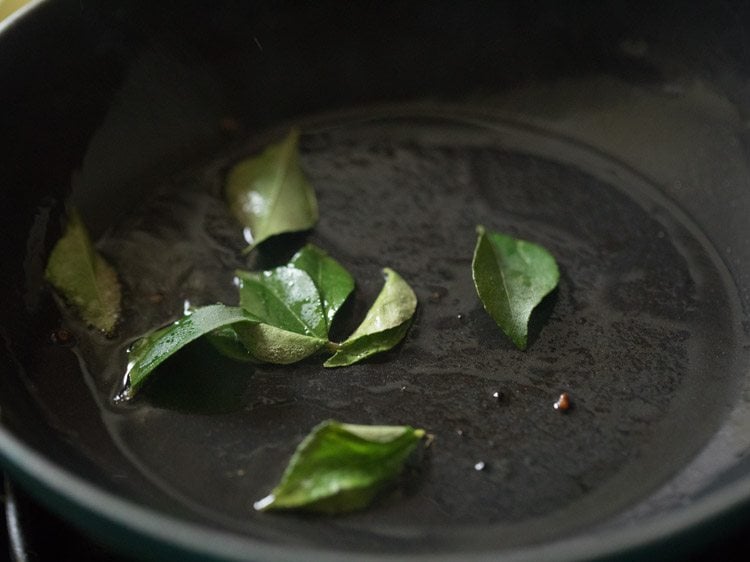
23. Fry for some seconds till the curry leaves become crisp. Do not burn them.
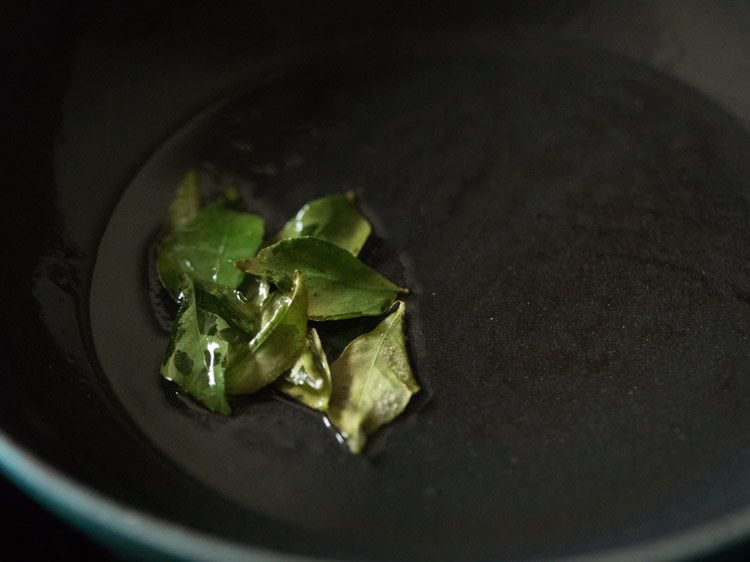
24. Remove and keep aside on kitchen paper towels.
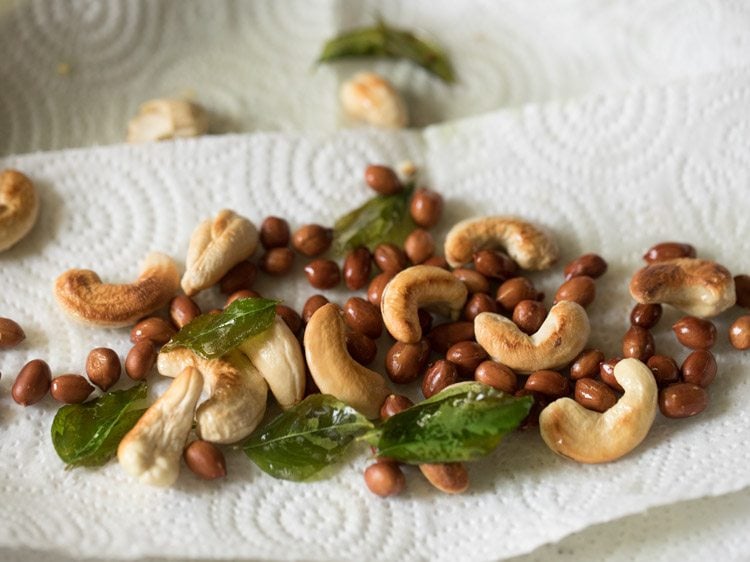
Making kara boondi
25. Now take the fried peanuts, cashews, curry leaves and salted boondi in a plate or bowl.
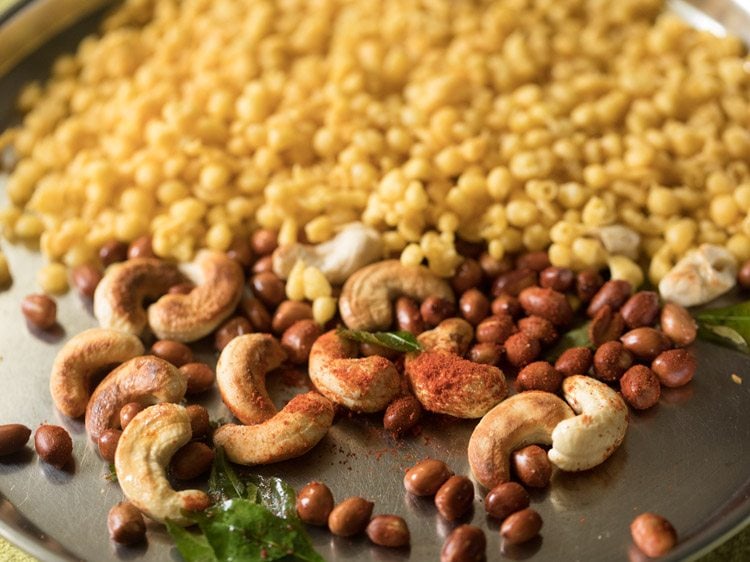
26. Add ¼ teaspoon Kashmiri red chilli powder and 1 pinch asafoetida. You can also add black pepper powder instead of red chilli powder.
For a spicy taste you can add more red chilli powder. Add salt as per taste. You can even add black salt if you want.
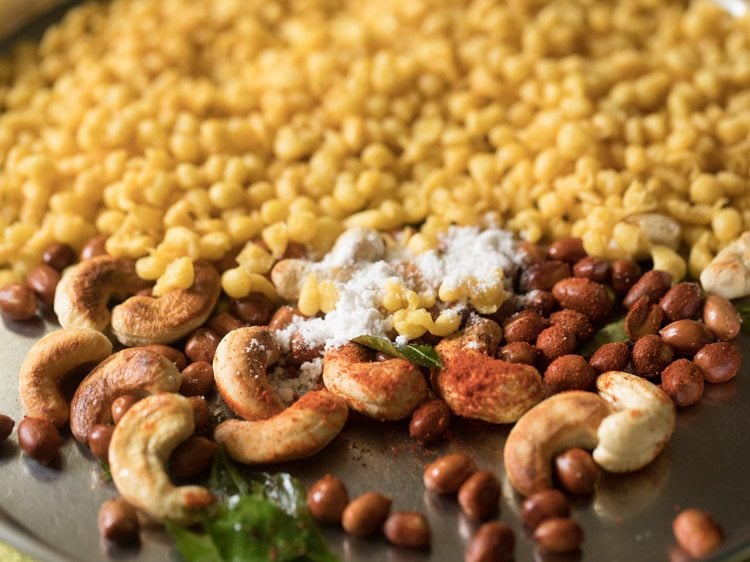
27. Mix very well.
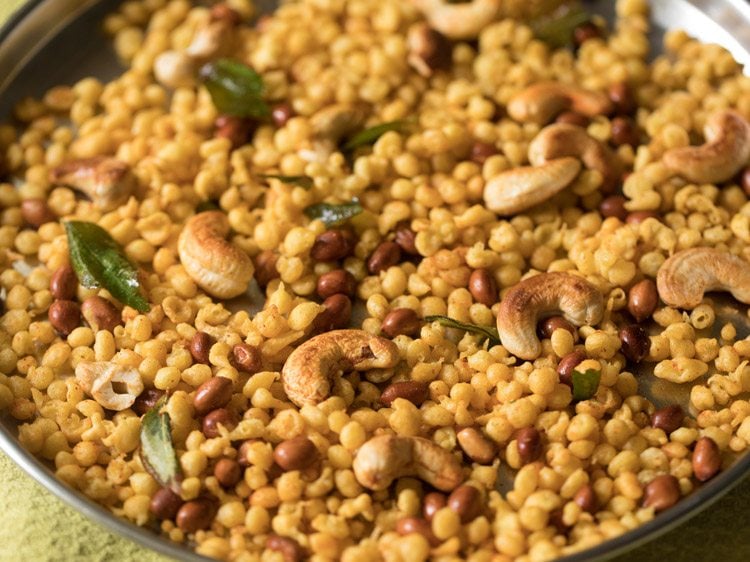
28. Store the kara boondi mixture in an air-tight container or jar.
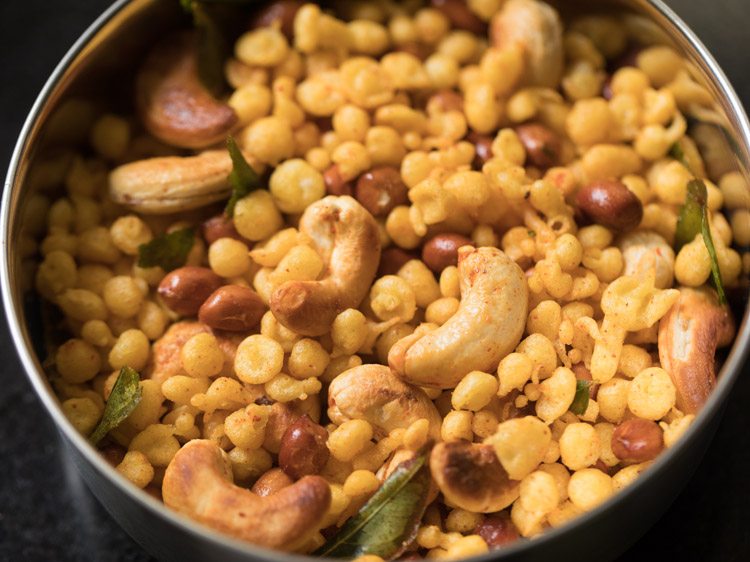
29. Serve kara boondi as a tea time snack or Diwali snack.
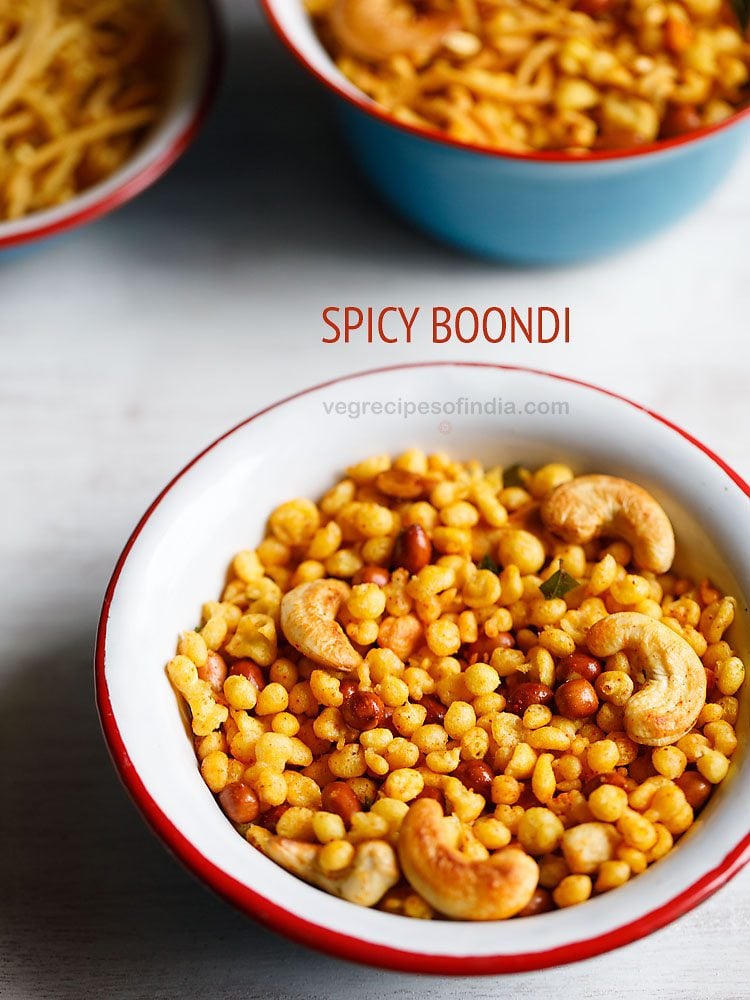
If you are looking for more Diwali snacks then do check:
Please be sure to rate the recipe in the recipe card or leave a comment below if you have made it. For more vegetarian inspirations, Sign Up for my emails or follow me on Instagram, Youtube, Facebook, Pinterest or Twitter.
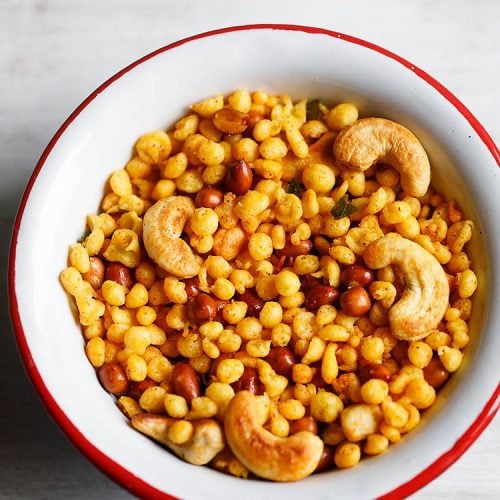
Kara Boondi | Masala Boondi Mixture
Ingredients
for boondi batter
- ½ cup besan (gram flour)
- 1 tablespoon Rice Flour
- 1 pinch asafoetida (hing)
- 1 pinch baking soda
- 2 pinches turmeric powder
- ½ teaspoon salt or add as required
- 8 to 9 tablespoons water or add as required
other ingredients
- 1 to 2 teaspoons oil or ghee
- 8 to 9 curry leaves
- 12 to 15 cashews
- 2 tablespoons peanut
- ¼ teaspoon kashmiri red chilli powder
- 1 pinch asafoetida (hing)
- salt as required
- oil as required for deep frying
Instructions
making boondi batter
- Take ½ cup besan and 1 tablespoon rice flour in a mixing bowl.
- Then add 1 pinch asafoetida (hing), 1 pinch of baking soda, 2 pinches turmeric powder and ½ teaspoon salt.
- Mix everything with a spoon.
- Now add 8 to 9 tablespoons water in parts.
- Using a wired whisk make a smooth and slightly thin batter without lumps.
- The batter consistency is slightly thin. The amount of water to be added depends on the quality of besan (gram flour). So add accordingly.
frying salted boondi
- Heat oil for frying in a kadai or pan. When the oil becomes hot, then tap the wired whisk or the handle of a spoon which has a bit of batter in to the hot oil.
- The boondis should have a round shape. If they become flat, then the batter is thin. If they get tail ends, then the batter is thick. If the batter is thin, then add 1 to 2 teaspoons of gram flour and check by frying a few boondis. If the batter is thick, then add a few teaspoons of water and then do the same test. Once you get the correct consistency, proceed with the next step of frying the boondis.
- Now take a dry perforated ladle/jhara and place it above the hot oil. Don’t keep too much on a height, as the batter droplets, when falling from a height, do not give a round shape. With a spoon add some batter on the perforated spoon ladle/jhara. Spread the batter lightly with a spoon. Finish up the batter on the perforated spoon ladle this way.
- On a medium flame begin to fry the boondis. Do not turn them. Let them become slightly crisp and then turn them.
- When the boondis have become crisp, turn them with a slotted spoon.
- Continue to fry till the boondis becomes crisp and golden.
- After the oil stops sizzling, continue to fry the boondis for some more seconds so that they become crisp.
- Remove with a strainer spoon or a slotted spoon draining the extra oil.
- Place the fried salted boondi on kitchen paper towels.
- After each batch, wipe the perforated ladle/jhara with a clean piece of moist thin cotton kitchen towel from both sides. Continue to fry boondis this way.
frying nuts for kara boondi
- In another small pan, take 1 to 2 teaspoons ghee or oil.
- Add 2 tablespoons peanuts.
- Stirring them often fry till the peanuts becomes crunchy and change their color. Remove and keep aside on kitchen paper towels.
- Then add 12 to 15 cashews.
- Stirring often fry the cashews till they become golden. Remove and keep aside on kitchen paper towels. You can add more peanuts or cashews if you want.
- Now add 8 to 9 curry leaves. fry for some seconds till the curry leaves become crisp. Do not burn them.
- Remove and keep aside on kitchen paper towels.
making kara boondi
- Now take the fried peanuts, cashews, curry leaves and boondi in a plate or bowl. Add ¼ teaspoon kashmiri red chilli powder and 1 pinch asafoetida. You can also add black pepper powder instead of red chilli powder. For a spicy taste you can add more red chilli powder.
- Add salt as per taste. mix very well.
- Store kara boondi mixture in an air tight container or jar.
- Serve kara boondi as a tea time snack or diwali snack.
Notes
- This recipe can be easily doubled or tripled.
Nutrition Info (Approximate Values)
This Kara Boondi post from the archives first published in October 2017 has been republished and updated on January 2023.



Very nice mouth watering visuals sir! Definitely today I will try this.
Thanks Ravichanran.