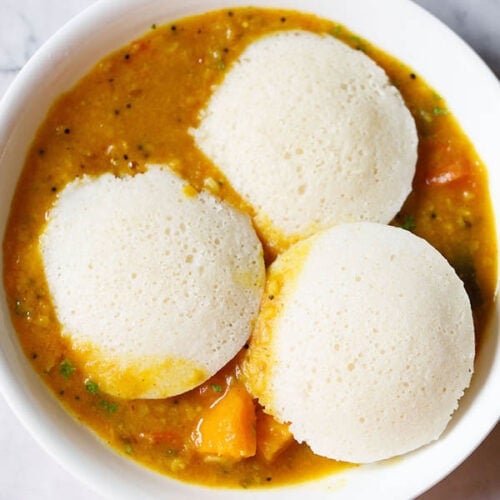
Idli is one of the most healthiest and popular South Indian breakfast dish. These are soft, light, fluffy steamed round cakes made with a ground, fermented rice and lentil batter. Here I share my foolproof recipe with video and step-by-step photos that will help you in making the best idli. This Idli recipe is one of the earliest recipe from the blog which has been tried and tested with great results by many of our readers.
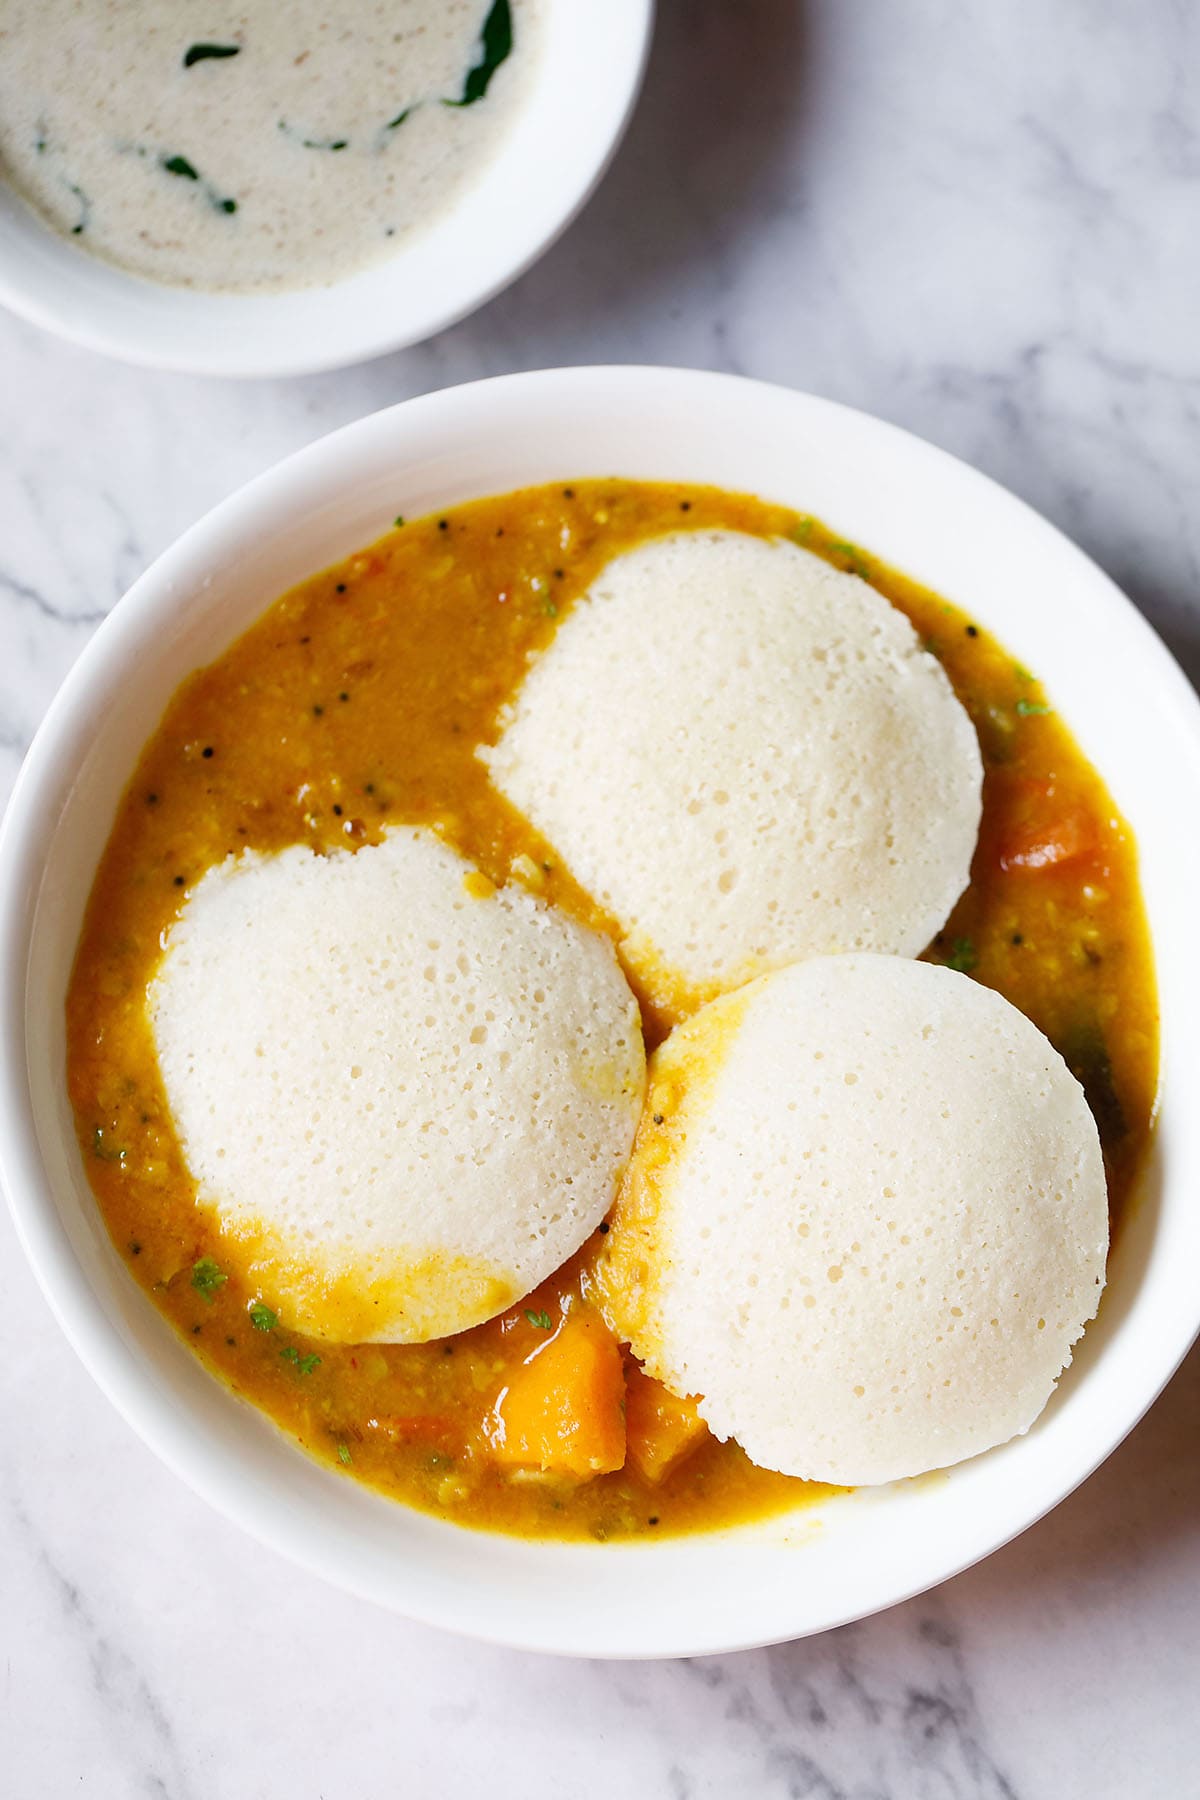
Table of Contents
What is Idli
Idli is a soft, pillowy steamed savory cake made from fermented rice and lentil batter. The lentils used in making the idli batter are urad dal (hulled black gram).
Black gram is also known as matpe beans, urad beans. To make idli the off white colored husked/hulled black gram is used – it can be split or whole.
The lentils and rice are soaked first and then later ground separately. The batters are mixed together and seasoned with salt.
The batter is allowed to ferment until it increases in volume. Later the batter is steamed in a special and unique cookware traditionally used for making idli.
Idli is a traditional breakfast made in every South Indian household including mine. Idli is popular not only in the whole of India but outside India too.
It is naturally vegetarian, vegan, gluten-free and makes for one of the healthiest breakfast options served with Sambar and Coconut Chutney.
Ways to make Soft Idli
Firstly there are two basic ways you can make idli with the traditional method of soaking the ingredients, grinding them to a batter and fermenting.
Of course there are many variations you can do with the basic batter like adding spices, herbs, veggies etc but the basic, simple fermented batter is made with rice or idli rava and urad dal.
- With Idli Rice: Traditionally idli rice and urad dal are used to make the idli batter. Idli rice is parboiled rice and used specifically for making idli and dosa. This recipe post shares the method of making idli with idli rice and regular white rice.
You can even make idli with short-grained rice. My mom makes one of the best idli with parmal rice. At times I also make idli with the traditional method of using only idli rice.
As I have mentioned above Urad dal is also known as black gram, urad bean and black matpe bean. With husks these lentils look black due to their black husks. With the husks removed they have creamish ivory or off white color and are also called as white lentils.
The urad dal that is used is the husked whole urad dal preferably unpolished. You can even use husked split urad dal. - With Idli Rava: A second easier way is to use idli rava with urad dal. Idli rava is coarsely ground idli rice and is easily available in shops and online.
- Soaking rice and lentils: For making simple traditional idli, both the rice and the urad dal are rinsed a couple of times with fresh water and soaked separately for 4 to 5 hours.
- Quality of rice and urad dal: Make sure to use both rice and urad dal within their shelf-period. Always use urad dal which is fresh and within its shelf-life. Aged urad dal does not ferment well and makes the idli dense.
- Grinding: Then the lentils (urad dal) are ground to a soft, fluffy batter and the rice to a semi-fine consistency. Both the batters are mixed and allowed to ferment.
- Grinding Equipments: The grinding of the batters, can be done in a table-top stone wet-grinder or in a mixer-grinder. Most South Indian families have a table top stone grinder that they trust to make a fluffy idli batter.
- Table top stone grinder: Grinding in a stone grinder is helpful if making a large quantity of idli batter. The advantage of grinding in a stone grinder is that the urad dal batter gets ground really well and thus the idli batter ferments also well.
The amount of water to be added in a stone-grinder is more than what is added in a mixer-grinder.
For ½ cup soaked urad dal, you can add about 1 cup water. Add water in parts while grinding urad dal. For 2 cups of soaked rice, add about 1.5 to 2 cups of water. - Mixer-grinder: The lentils also grind well in a mixer-grinder or heavy duty blender like Vitamix. For smaller quantities, a mixer-grinder or blender works like a charm.
Everyone does not have a stone grinder. So I have shared the detailed method on how to grind the batter in a mixer-grinder with plenty of tips and suggestions in the step-by-step guide below.
I have both a stone grinder and a mixer grinder. For smaller quantities, I use the mixie for grinding and for larger quantities I use the stone grinder. - Fermentation: Both the ground lentil batter and rice batter are mixed thoroughly. Then the batter is kept to ferment overnight or for 8 to 9 hours or more till the batter doubles or triples in volume having a pleasant sour aroma. The fermentation largely depends upon the temperature and climate. A warm temperature is conducive for a good fermentation in the batter.
- Steaming: Special pans are used to steam the idli. You can buy these pans online. This idli pan is brushed or greased with some oil. The batter is poured in the pan and then steamed.
- Steaming time: The steaming time varies from 12 to 15 minutes. Idli should never be oversteamed as then they become dry and dense.
How to make Idli Batter
Soak Rice and Lentils
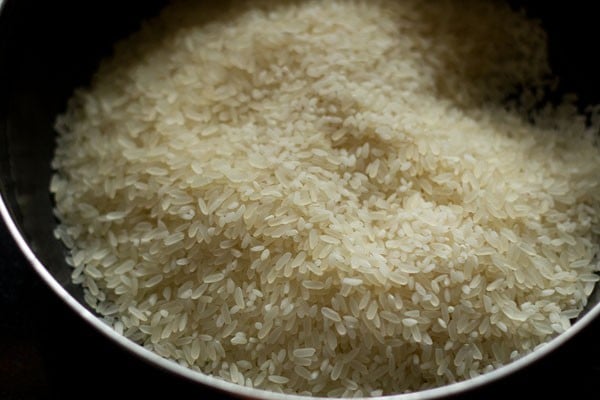
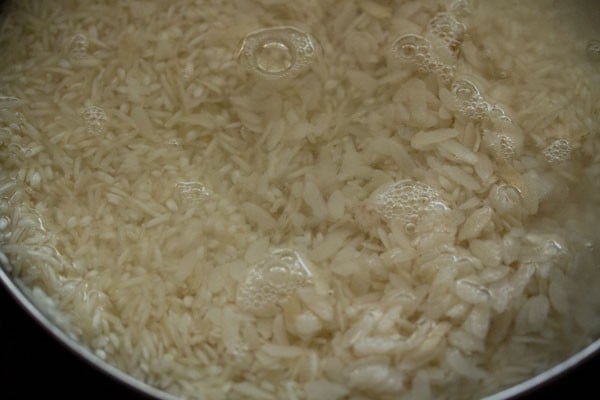
1. In a bowl or pan take 1 cup parboiled rice and 1 cup regular rice. Here I have used the Indian variety of sona masuri rice along with parboiled rice.
Instead of this proportion, you can also use overall 2 cups of idli rice OR 2 cups of parboiled rice (as shown in the video above).
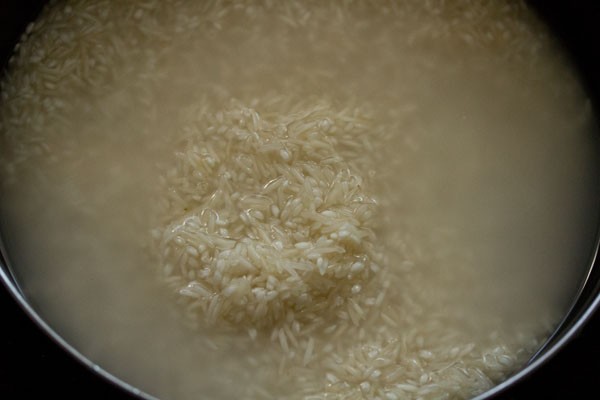
2. Pick and then rinse both the rice varieties a couple of times in fresh water. Drain all the water and keep it aside.
3. Take ¼ cup thick poha (flattened rice or parched rice) in a bowl. Poha helps in making the idli soft and fluffy. If you don’t have poha then you can skip it.
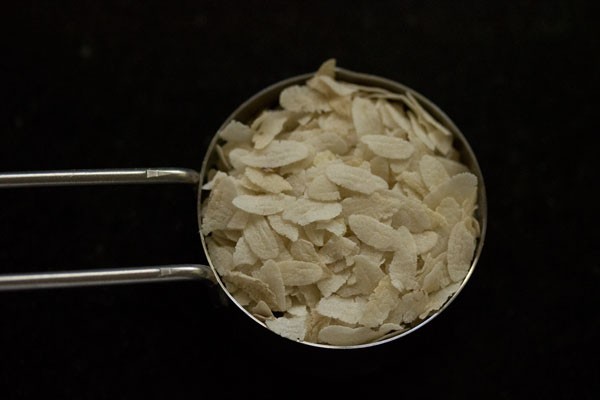
4. Rinse the poha once or twice with fresh water.
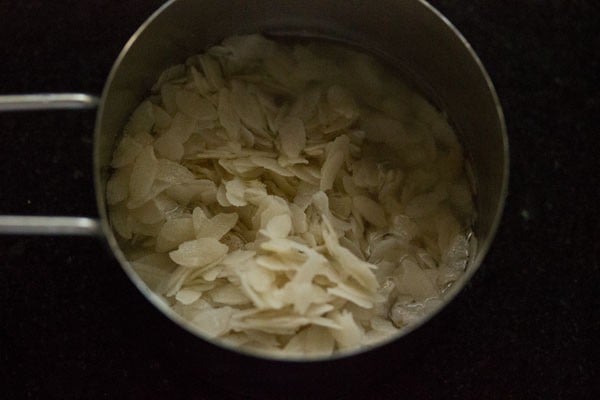
5. Then add the poha to the rice. Add 2 cups of water. Mix very well and keep aside covered to soak for 4 to 5 hours.
6. In a separate bowl take ½ cup urad dal (husked black gram) along with ¼ teaspoon fenugreek seeds.
Omit the fenugreek seeds if you don’t have them.
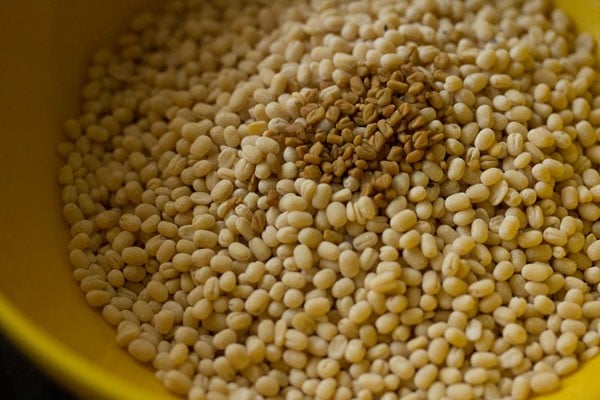
7. Rinse a couple of times in fresh water.
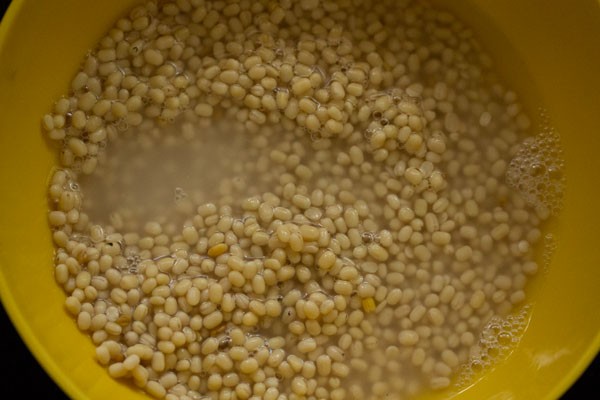
8. Add 1 cup water. Cover and soak for 4 to 5 hours.
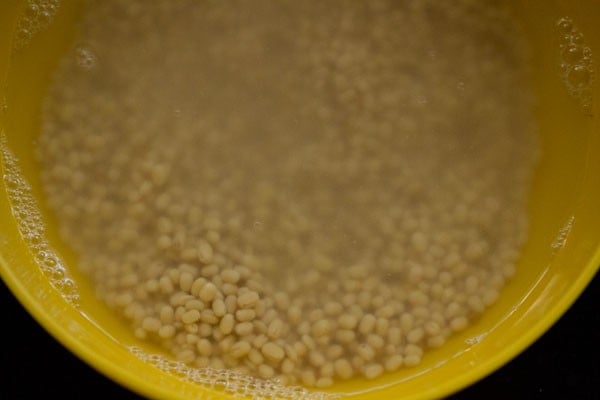
9. Before grinding, drain the water from urad dal, but don’t throw away the water. Reserve the soaked water as we will be using this water for grinding or you can use fresh water for grinding.
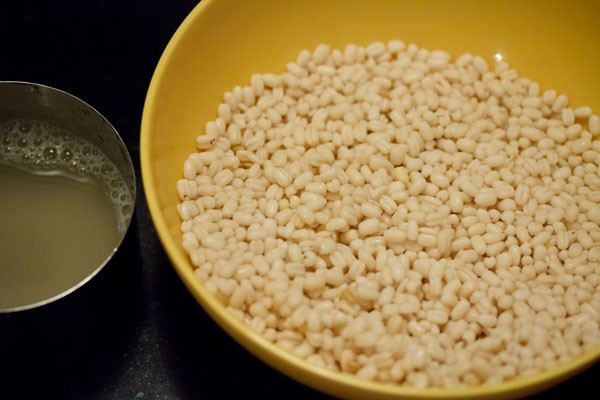
Grind or Blend Rice and Lentils
10. In a wet grinder jar, add the urad dal. Initially add ¼ cup of the reserved water or fresh water.
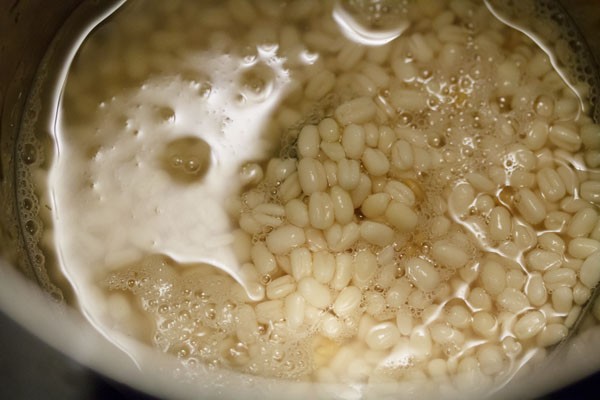
11. And grind the urad dal for some seconds. Then add ¼ cup of the reserved soaked water or fresh water and continue to grind. The batter should be light and fluffy when completely ground.
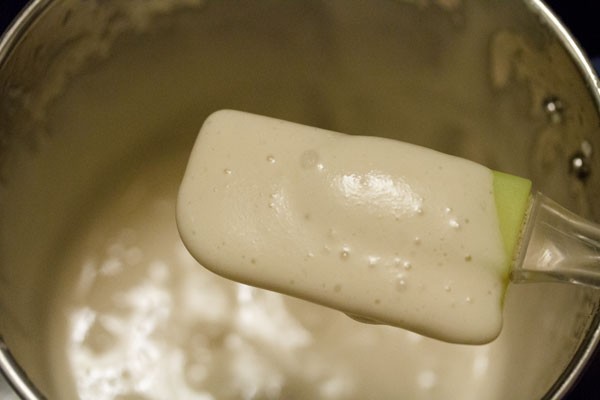
12: Pour the urad dal batter in a deep pan or bowl.
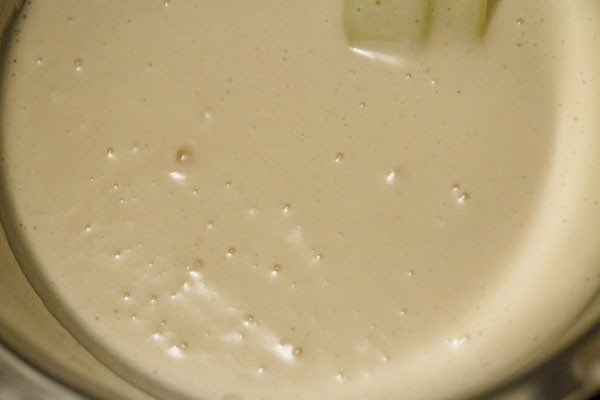
13: Drain the water from the rice and poha. Add them in the wet grinder jar or in a powerful blender. I usually grind in two batches.
Depending on the capacity of your mixer-grinder or blender you can grind in two to three batches. If the mixie gets heated up while grinding, then stop and let it cool. Then continue with the grinding.
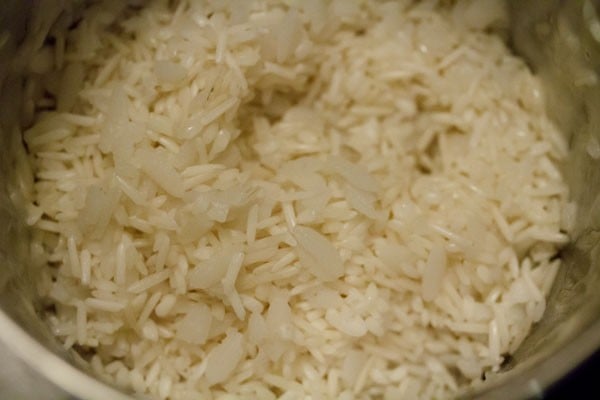
14: Use the reserved urad dal strained water or regular fresh water to grind the rice and poha too. Add water in parts and grind.
The rice can have a fine rava like consistency in the batter. A smooth batter is also fine. I usually add a total of ¾ cup of water while grinding rice. The rice batter should not be too thick or thin.
You can add about ¾ to 1 cup of water depending upon the quality of rice.
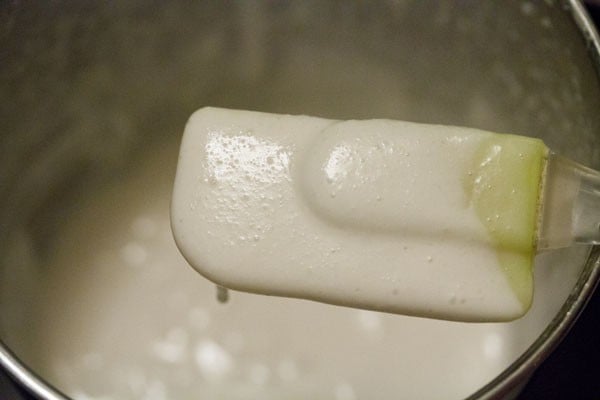
15: Now pour the rice batter in the bowl containing the urad dal batter.
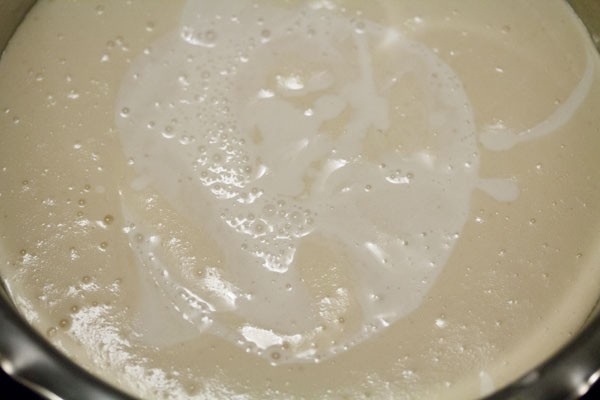
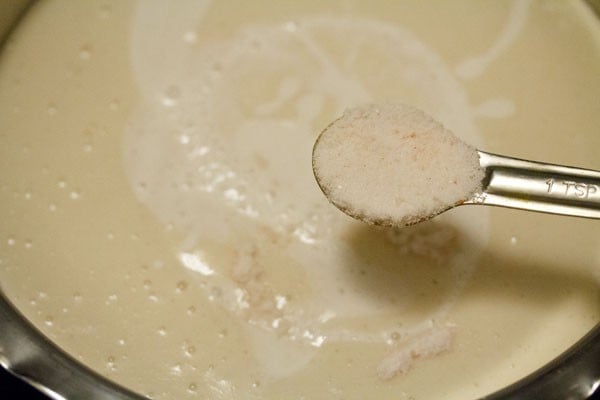
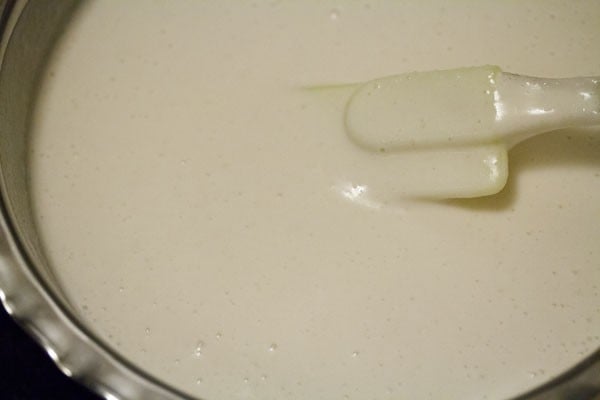
16. Add 1 teaspoon of rock salt. Mix very well with a spoon or spatula. If you live in a cool or cold region, then do not add salt. Add salt later once the fermentation is done.
If you live in a hot or warm climate, then add salt as it does not allow the batter to get over fermented in the time duration of 6 to 8 hours.
Note that salt retards the fermentation process.
Ferment Idli Batter
17. Cover the bowl or container with a lid and keep the batter in a warm place. It should be left undisturbed for 8 to 9 hours. Don’t use an air-tight lid. In colder climate, keep the batter for a longer time – from 12 to 24 hours.
I have mentioned various tips below for the idli batter to ferment well. So do read this section below after step by step photos.
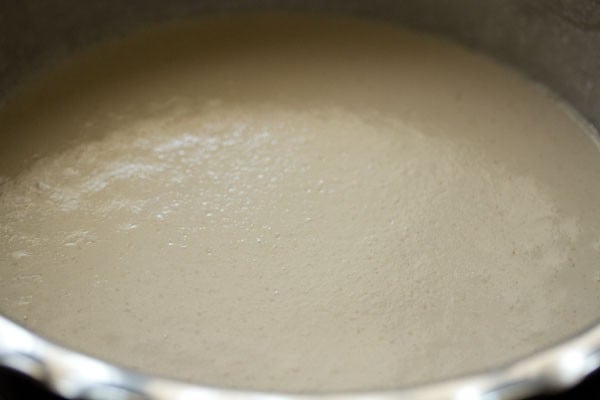
18. The batter the next morning. It will ferment and increase in volume. A well fermented idli batter will have a nice sour aroma with many tiny air pockets in the batter.
As soon as the batter is fermented you can begin with steaming the idli or keep the batter in the fridge if making later.
If you allow the fermented batter to remain at room temperature, it will ferment more and will become very sour with time.
How to Make Idli
19. Grease or brush the idli mould with oil all over evenly. Gently and lightly swirl the batter. Don’t overdo. Now with a spoon pour portions of the batter in the greased idli moulds.
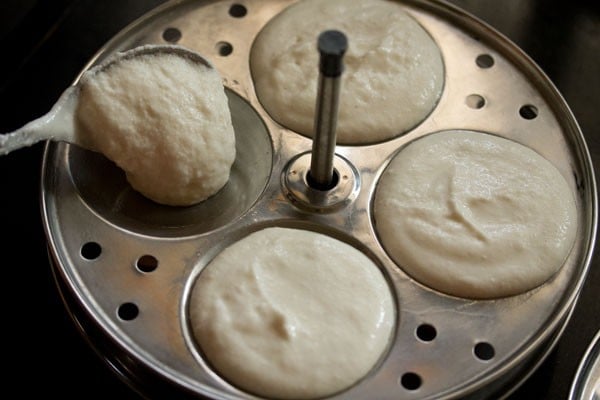
20. Take your idli steamer or pressure cooker or electric cooker or Instant pot. Add some 2 to 2.5 cups water and heat the water until it comes to a light boil. Keep the idli mould in the steamer or pressure cooker. Steam for 12 to 15 minutes.
Timing will vary depending on the kind of equipment you have used. If using a pressure cooker, then cover the pressure cooker with its lid. Remove the vent weight/whistle from the lid. Steam the idlis for approx 12 to 15 minutes.
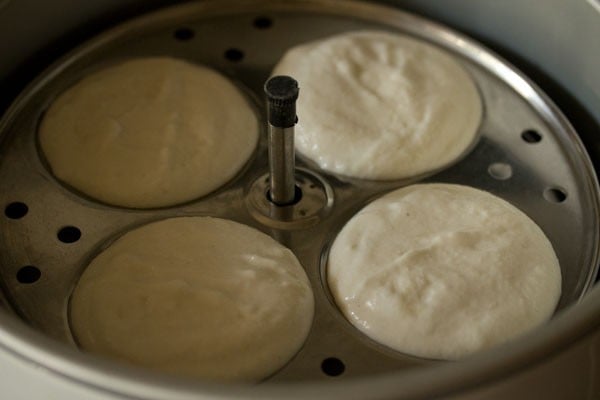
21. Check for doneness by carefully inserting a bamboo skewer or knife. If it does not come out clean, then keep again for a few more minutes.
When done remove the idli mould from the cooker. Don’t overcook as then they become dry. Dip a spoon or butter knife in water and slid them through the idlis. Remove and place the idlis in a warm container like a casserole.
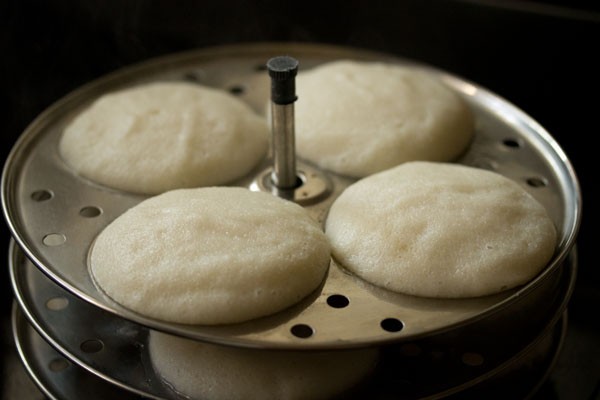
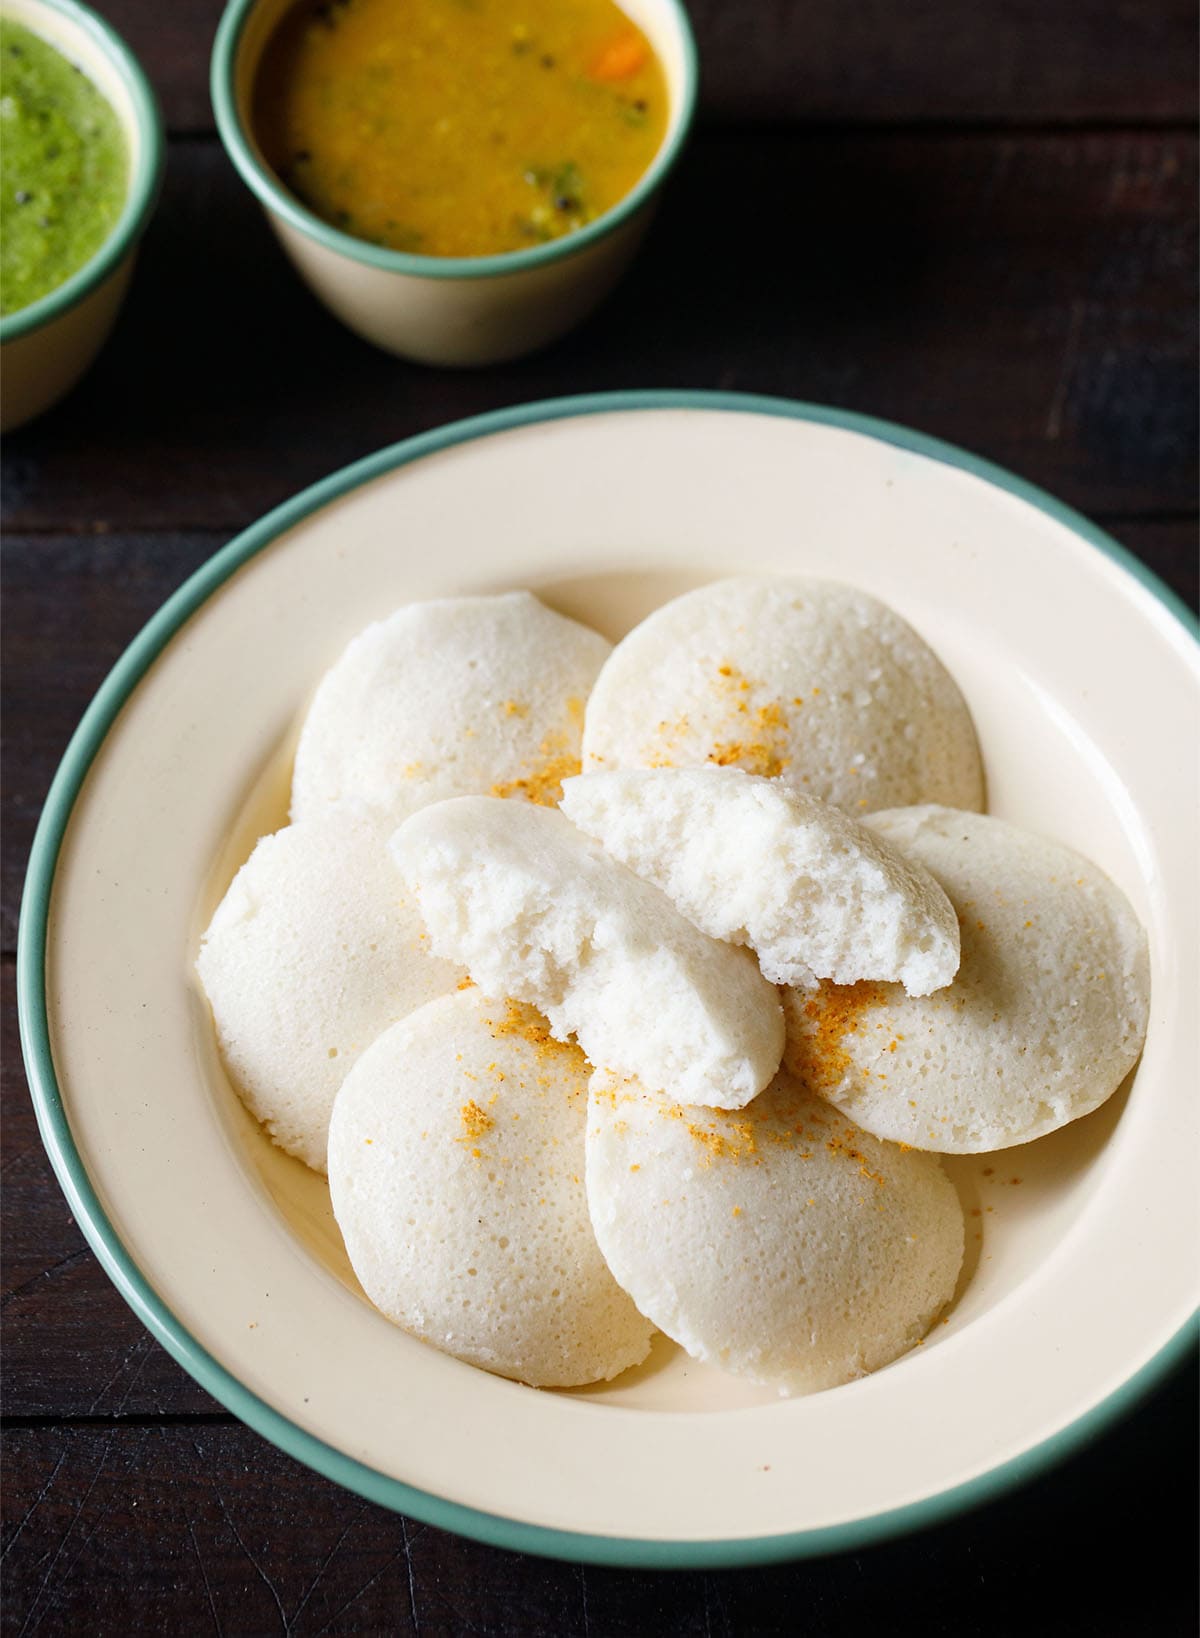
22. Serve Idli hot or warm with sambar and coconut chutney.
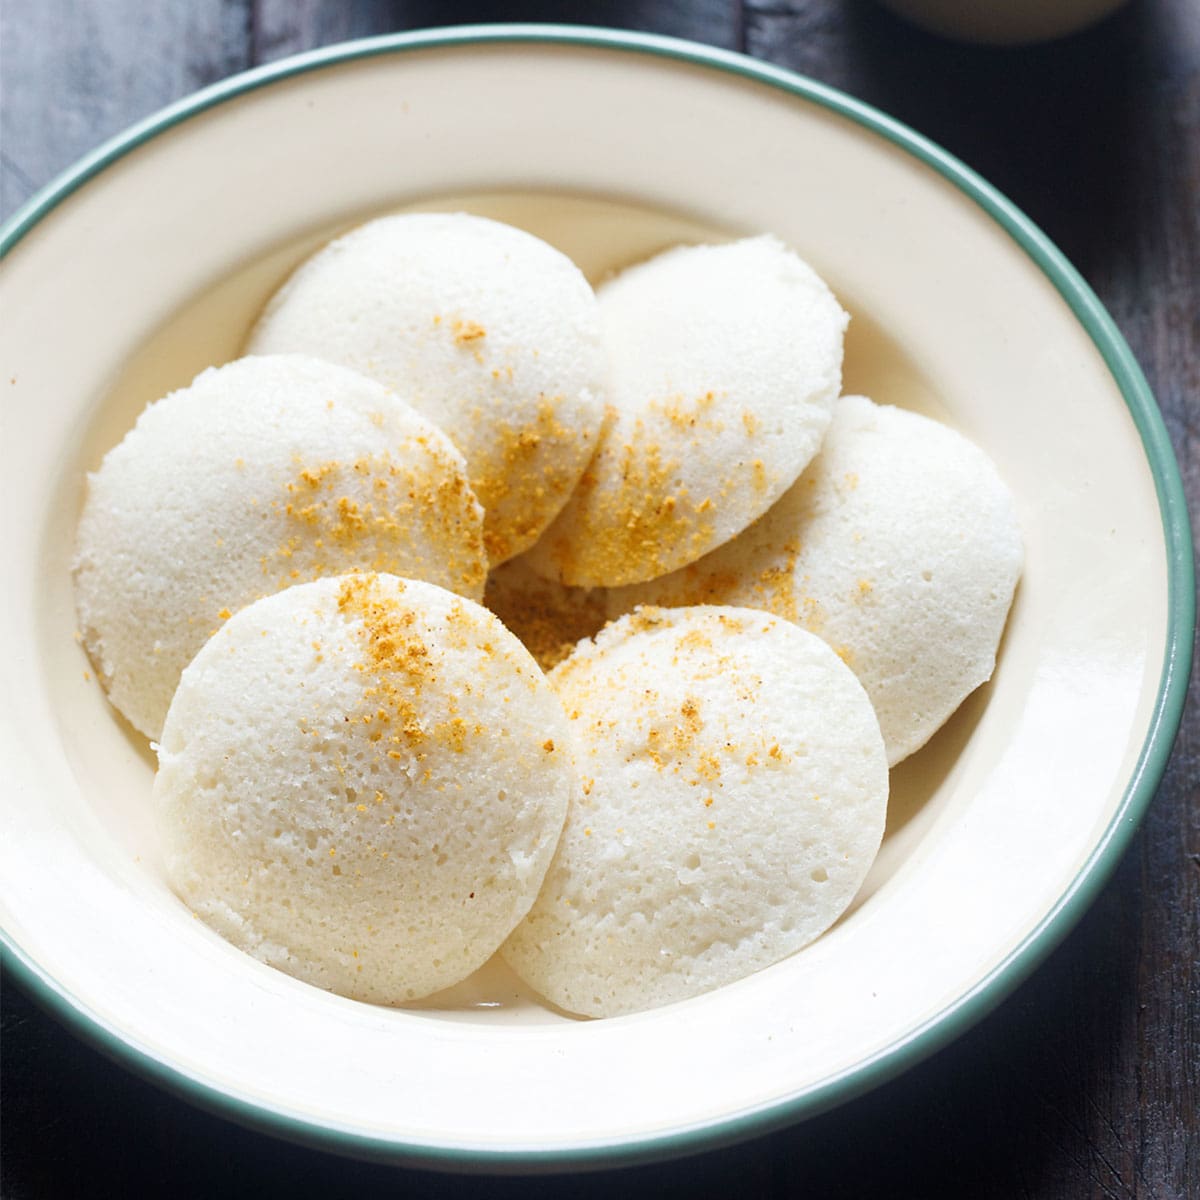
What to serve with Idli
- Idli is served with coconut chutney and sambar. Idli is dunked in sambar and eaten. There are quite a number of both sambar and coconut chutney varieties that one can make to go with idli. You can also idli with onion chutney, tomato chutney, peanut chutney and ginger chutney.
- Idli is also served with idli podi or gun powder. Idli podi is a condiment powder made with lentils and spices. If you do not have time to make sambar, then you can just serve idli with coconut chutney and idli podi. Idli can also be served with curd which has been spiced and tempered.
Variations with Idli Batter
There are many possible variations you can do with a basic idli batter. You can add lentils like moong dal and make moong dal idli.
Even millets, flattened rice (poha) can be added to the batter. Oats can also be added. I have shared Oats Idli. Experiment with proportions and then decide on the one which gives you the best idli in terms of texture and taste.
More Traditional Idli Varieties
Breakfast Recipes
South Indian Food Recipes
Breakfast Recipes
Evening Snacks
Expert Tips for Idli Batter Fermentation
Fermentation is a key factor in getting soft, light and fluffy idli. For proper fermentation of idli batter a warm temperature is apt. In cold climates, fermentation does not happen well. I get a lot of queries on how to ferment idli or dosa batter in winters. So I have summarized my experiences in the following points below:
- Warmth: Keep the idli batter bowl in a warm place – e.g near a heater or in a warm place in your kitchen.
- Oven: You can also preheat your oven at a low temperature (80 to 90 degrees celsius) for about 10 to 15 minutes. Then switch off the oven and keep the batter bowl inside – I use this method when it becomes very cold outside.
- Lights in the oven: Alternatively, if your oven has lights, then keep the lights on and place the batter inside.
- Sugar: Addition of a bit of sugar does help in fermenting the batter. So I use this method at times in the winters here.
- Salt: During winters, skip adding salt to the idly batter as salt retards the fermentation process. It is better to use rock salt or sea salt. I always use rock salt in the idli batter.
- Fermentation time in cold winters: In winters, keep the batter for a longer time to ferment, like 14 to 24 hours or more. Do remember that even if you do not see the batter doubled or tripled, you should see tiny bubbles in the batter. You should also get the typical faint sour fermented aroma from the idli batter.
- Instant Yeast: You can even add ¼ to ½ teaspoon of instant yeast (dissolved in 2 to 3 teaspoons of water) 30 to 45 minutes before you steam the idli. But do this method when the batter has not fermented well. The downside of this method is that you have to use all the batter at once. If you refrigerate than the batter gets too yeasty and sour.
- Baking Soda: You can also add ¼ to ½ teaspoon baking soda and then ferment the batter in cold seasons.
- Fenugreek seeds: Addition of fenugreek seeds (methi seeds) also helps in fermentation.
- Urad dal batter consistency: Urad dal has to be ground really well. Urad dal batter has to be soft, light and fluffy. So I suggest to grind both urad dal and rice separately to get soft and fluffy idli. A well ground urad dal batter also helps in fermentation.
- Amount of water: Also do remember to add the correct amount of water in the batter. If the water is less, then the idli will become dense.
- Fermenting idli batter in Instant Pot: In cold seasons I use the Instant Pot for fermenting the batter. Use the yogurt option and use the less mode. Place a small trivet in the IP steel insert. Keep the bowl with the batter on the trivet.
Keep the vent position to venting or you can use the Instant Pot glass lid. Set the time for 7 to 8 hours. On warmer days, the batter will ferment quickly. On colder days, it may take a few more hours for the batter to ferment in the Instant Pot.
Idli Batter vs Dosa Batter
Both idli and dosa batter are made from rice and lentils. Idli batter is more thick in consistency than a dosa batter. To make dosa, the batter is spread on the tava (griddle) and thus needs to have a slight flowing and spreadable consistency.
- For idli batter the ratio to be used is 4:1 of rice and lentils. From this 4:1 ratio of idli batter, you can even make dosa. I always use the proportion of 4:1 to make idli. the proportion of rice and urad dal is always a matter of controversy. So I suggest experiment with different types of rice and come to your own standard measurements which will give you perfect idli.
- For dosa, the ratio that is generally used is 3:1 of rice and lentils. Also do not that for making dosa batter, you can easily use rice like sona masuri, parmal rice or can even use idli rava instead of idli rice.
Idli is a breakfast I have grown up with. On every weekends, soaking rice & lentils, then preparing idli batter was a regular ritual. Every sunday, I knew we would get piping hot idli or soft dosa for breakfast along with chutney and sambar.
Initially, when preparing idli for the first time, I ran into problems. But now after so many years of experience, I can make really good idli and dosa.
For a more softer texture in idli, I always add thick poha (flattened rice) or cooked rice. This is optional and you can skip adding poha. You could also steam idli in a damp muslin cloth. Steaming idli this way also gives a soft texture.
With this recipe of idli batter, you can also make crisp dosas. You can use this batter on the same day, the batter is fermented to make dosas. Or else you can make idli on the first day and make dosa or uttapams on the second day. serve idli hot or warm with sambar and coconut chutney.
I have also attached a video (2.08 minutes quick video). In the video I have shown the preparation of idli with 2 cups of idli rice. But you can even use 1 cup of regular rice and 1 cup of parboiled rice.
Leftover Idli Ideas
At times there is an extra or surplus of idli left. You can use these idli the same day to make a new recipe or refrigerate them and use the next day. With leftover idli you can make the following recipes.
Tasty Leftover Idli Recipes
Snacks Recipes
Evening Snacks
Snacks Recipes
Breakfast Recipes
Please be sure to rate the recipe in the recipe card or leave a comment below if you have made it. For more vegetarian inspirations, Sign Up for my emails or follow me on Instagram, Youtube, Facebook, Pinterest or Twitter.
Idli Recipe (With Homemade Idli Batter)
Ingredients
- 1 cup regular rice + 1 cup parboiled rice or 2 cups idli rice or 2 cups parboiled rice
- ½ cup whole or split urad dal – 120 grams whole or split urad dal (husked black gram)
- ¼ cup thick poha – 20 grams (flattened rice)
- ¼ teaspoon fenugreek seeds (methi seeds)
- 2 cups water – for soaking rice
- 1 cup water – for soaking urad dal
- ½ cup water – for grinding urad dal or add as required
- ¾ to 1 cup water – for grinding rice or add as required
- 1 teaspoon rock salt (edible and food grade) or sea salt
- oil – as required to apply to the idli moulds
- 2 to 2.5 cups water – for steaming idli
Instructions
Soaking rice and lentils
- Pick and rinse both the regular rice and parboiled rice.
- Rinse the poha and add to the rice.
- Add water. Mix well. Cover and keep the rice + poha to soak for 4 to 5 hours.
- In a separate bowl, rinse the urad dal and methi seeds a couple of times.
- Soak the urad dal with methi seeds separately in water for 4 to 5 hours.
Making idli batter
- Drain the soaked urad dal. Reserve the water.
- Grind the urad dal, methi seed with ¼ cup of the reserved water for some seconds. Then add remaining ¼ cup water. Grind till you get a smooth and fluffy batter.
- Remove the urad dal batter in a bowl and keep aside.
- Grind the rice in batches to make a smooth batter.
- Mix both the batters together in a large bowl or pan. Add salt and mix well.
- Cover and let the batter ferment for 8 to 9 hours or more if required.
- After the fermentation process is over, the idli batter will become double in size and rise.
Steaming idli
- Grease or brush the idli moulds evenly with oil.
- Pour the batter in the moulds and steam the idli in a pressure cooker or steamer.
- If using pressure cooker remove the vent weight (whistle).
- Steam for 12 to 15 mins or until the idli is done.
- Serve the steaming hot idli with coconut chutney and sambar.
- Remaining batter can be stored in the refrigerator for a couple of days.
Video
Notes
- For regular rice variety – you can use sona masuri rice or parmal rice or basmati rice.
- Note that the approximate nutrition info is for 1 medium-sized idli served as is without chutney or sambar.
-
Fermentation is one of the main factors to get soft, light and fluffy idli. Fermentations tips for winters listed below.
- Warmth: Place the idli batter bowl in a warm place – e.g near a heater or in a warm place in your kitchen.
- Oven: Preheat your oven at a low temperature (80 to 90 degrees celsius) for about 10 to 15 minutes. Then switch off the oven, keep the batter bowl inside and close the door.
- Lights in the oven: If your oven has lights, then keep the lights on and place the batter inside.
- Sugar: Adding a bit of sugar does help in fermenting the batter. In this recipe you can easily add upto 1 teaspoon sugar and don’t worry – the idli won’t be sweet.
- Salt: During winters, skip adding salt to the idly batter as salt retards the fermentation process. Rock salt and sea salt are good options to add in the idli batter.
- Fermentation time in cold winters: In winters, keep the batter for a longer time to ferment, like 14 to 24 hours or more. Do remember that even if you do not see the batter doubled or tripled, you should see tiny bubbles in the batter. You should also get the typical faint sour fermented aroma from the idli batter.
- Instant Yeast: You can even add ¼ to ½ tsp of instant yeast (dissolved in 2 to 3 teaspoons of water) 30 to 45 minutes before you steam the idli. But do this method when the batter has not fermented well. The negatives of this method is that you have to use all the batter at once. Even refrigerating this batter makes it very yeasty and sour.
- Baking Soda: You can also add ¼ to ½ baking soda and then ferment the batter in cold seasons.
- Fenugreek seeds: Addition of fenugreek seeds (methi seeds) also helps in fermentation.
- Urad dal batter consistency: Urad dal has to be ground really well. Urad dal batter has to be soft, light and fluffy. So I suggest to grind both urad dal and rice separately to get soft and fluffy idli. A well ground urad dal batter also helps in fermentation. Also use urad dal which is fresh and within its shelf-life. Aged urad dal does not ferment well and makes the idli dense.
- Amount of water: Do remember to add the right amount of water in the batter. If the water is less, then the idli will become dense.
- Fermenting idli batter in Instant Pot: Press the yogurt option and use the less mode. Place a small trivet in the IP steel insert. Keep the bowl with the batter on the trivet. Keep the vent position to venting or you can use the Instant Pot glass lid. Set the time for 7 to 8 hours. On warmer days, the batter will ferment quickly. On colder days, it may take a few more hours for the batter to ferment in the Instant Pot.
Nutrition Info (Approximate Values)
This Idli Recipe post from the archives was first published on April 2012. It has been updated and republished on March 2023.







Great recipe… easy to follow and read.
This is as good and easy recipe you can find anywhere. Very detailed, well explained and yet easy to follow.
Such a wonderful recipe with detailed description. I would definitely try.
Fabulous recipe, Love From Smritee ❤❤
Thanks a ton.
Hello Dassana, I have a question on fermentation of the batter. I normally use oven with the light on for over 12 hrs. Batter ferments ok but not really very bubbly and frothy. I live in northern US where it is still cold.
I have a dehydrator for dehydrating foods. The minimum temperature setting on it is 40C. Do you think 40C temperature for the fermentation of the batter is ok or too much?
I want to try this dehydrator for fermentation and would like to hear your opinion on this. Thanks. Keep up the great work you are doing.
Hi Rom, sorry could not reply earlier as I was travelling.
I am not sure how the dehydrator would work in fermenting the batter. I hope it does not remove a lot of moisture/water from the batter. But you can try with a small portion of the batter with about 30 to 35 degrees Celsius temperature.
If you use a room heater, you can keep the batter near it. This would help.
Another option is the instant pot which helps to ferment the batter perfectly. Now I use the instant pot in cold seasons, but earlier I would preheat the oven at 80 degrees Celsius for 10 minutes. Then place the batter in it. I did not have the option of keeping lights on in the oven, so I would turn off the oven, close the door with the batter bowl inside.
I hope these suggestions help.
Dassana, thanks very much for your response. Yes, there is a high probability that the food dehydrator will dehydrate the batter.
As the name indicates, it is a dehydrator. I think I will try the preheated oven. We don’t use room heater here. Only central heating system.
Since it gets bitterly cold during winter months, room heaters will not provide the necessary warmth. Keep up the great work you are doing. Thanks again.
Hi, I love to make this recipe as I have tried this at my Indian friend’s house. But I only have rice and fenugreek seeds for this where I live now.
Do you think it will work without other important ingredients Or do any suggestions you have?
The urad dal is needed and the recipe may not work without the lentils. There is a regional goan variation made with rice only (which is called sanna) but it has some other ingredients added to it – like coconut, yeast or palm wine which is called toddy. You can check the recipe of sanna online and that will help.
Fantastic!
idli delicious !!!
i felt so good after having idli as a breakfast. we do have fermented rice cake in korea but idli is much softer and lighter. thank you for the great recipe.
Thanks and welcome. Thanks also for sharing about the fermented rice cake.
If we are using idli rava instead of idli rice, does the proportion remain the same?
You can use 2 cups of idli rava for ½ cup urad dal. Another proportion that you can use is 2 cups of idli rava for 1 cup of urad dal.
sounds delicious! going to try cooking it!
One of my favourite items in Indian food! Thanks a lot!
Hi, should I add or skip salt in colder places to speed up the fermentation process? Because some say salt helps in fermentation in colder weather.
Salt retards fermentation and slows it. What has worked for me is to add salt during hot weathers and skip it in colder seasons. Hope this helps.