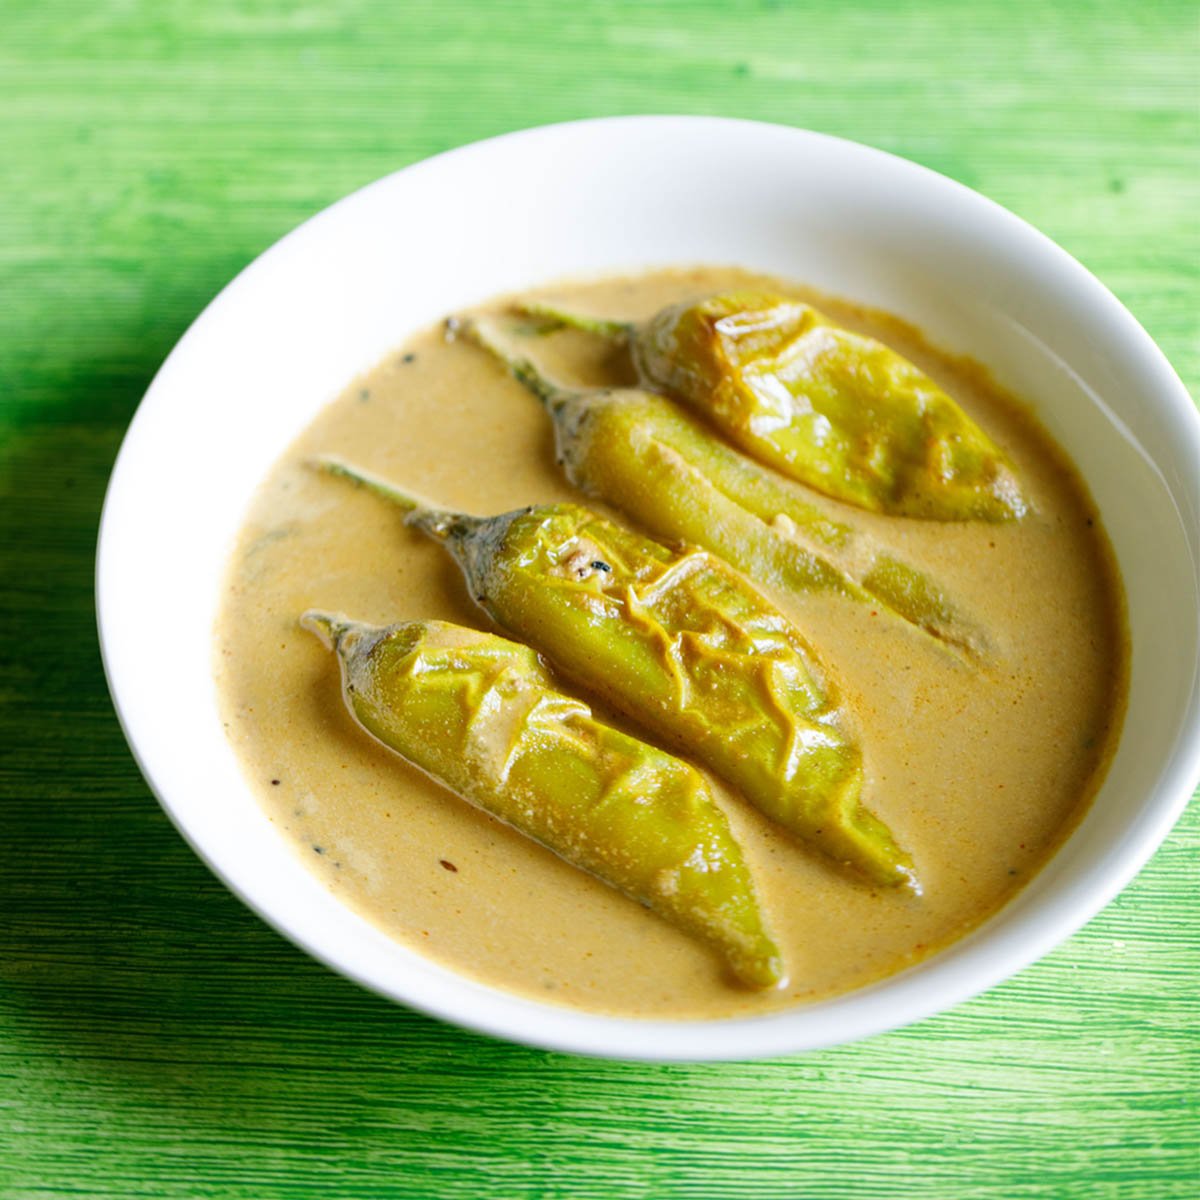
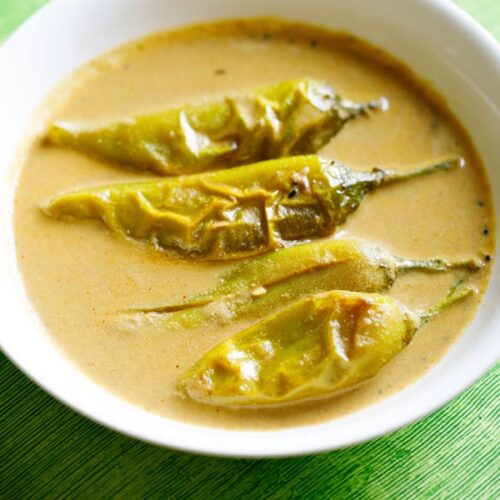
Mirchi ka Salan is a spiced, creamy, tangy, earthy, tongue-tickling preparation made with green chillies in a gravy base of nuts, seeds, aromatics and tamarind. It is a famous curry from the Hyderabadi cuisine. Primarily made with green chilli peppers (a.k.a hari mirchi in Hindi), this dish is a must-have with a Biryani in Hyderabad. The Mirchi ka Salan recipe (also called Biryani Salan) may have quite a few steps in its preparation, but is otherwise a simple one. The bold flavors are surely to blow your mind away!
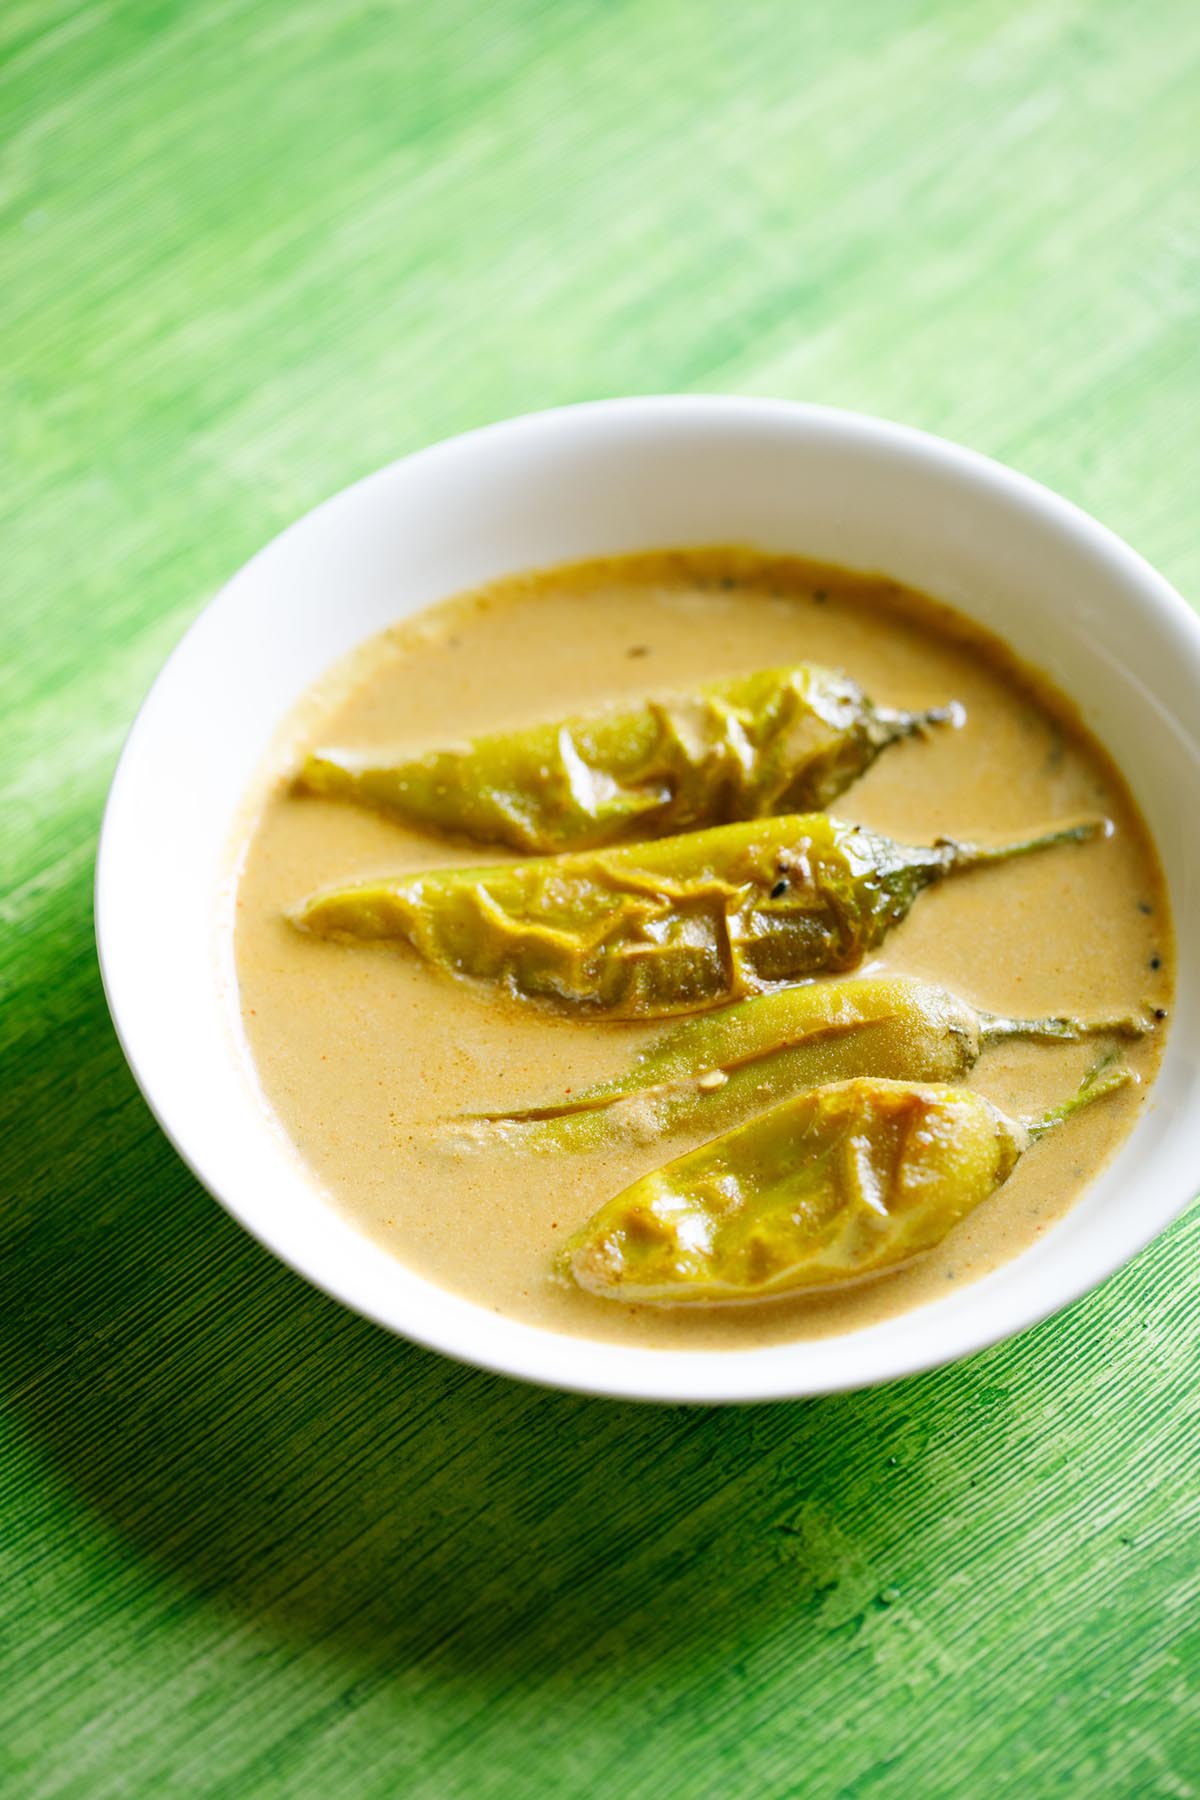
Table of Contents
What is Salan
‘Salan’ is an Urdu term for ‘curry’ and ‘mirchi’ translates to chilli. Hence, the name. Not just chilies, but a salan can also be made of various other vegetables like tomatoes, eggplant, etc.
Other than being the best friend to a Hyderabadi biryani, the Mirchi ka Salan is also a traditional dish made during special occasions and even weddings in Hyderabadi culture.
Mirchi ka Salan recipe has green chilies cooked in a ground mixture of spices, peanuts, sesame seeds and coconut. The dish has a rich nutty flavor and a fine grainy texture because of these ingredients.
About Mirchi Ka Salan
During my trips to the royal city of Hyderabad, I’ve had many opportunities of savoring Mirchi ka Salan. Most of the times when I would order a veg biryani in the restaurants there, it would always be accompanied by a salan and raita.
Since then, the flavors of the Mirchi ka Salan have stayed on my palate and recreating the essence at my home was the need of the hour.
This recipe was also developed because of a special request that I received from one of my readers. I can say this is a really good recipe and you must try this one.
What makes the Mirchi ka Salan unique from other curries is:
- It is made with green chilies. Otherwise, there are hardly any curry/gravy dishes made wholly with chilies in it.
- The masala paste in it is made with wholesome ingredients like sesame seeds, coconut and peanuts. Which in turn make it a healthier choice.
- The beauty of the masala paste is that it tones down the fieriness of the green chilies in the curry and pack an extra punch as well.
I have also added lightly browned onions in the paste which give a really nice rustic touch. Once ground to a paste, it is then cooked in a typical way with tamarind water and then simmered with lightly fried green chilies.
All this results in a lovely, zingy, smooth Mirchi ka Salan which goes exceptionally well with the biryani along with regular steamed rice, Veg Pulao, Jeera Rice or any Indian flatbread.
How to make Mirchi Ka Salan
Prepare Masala Paste
1. Measure and keep all the ingredients ready for making the masala paste.
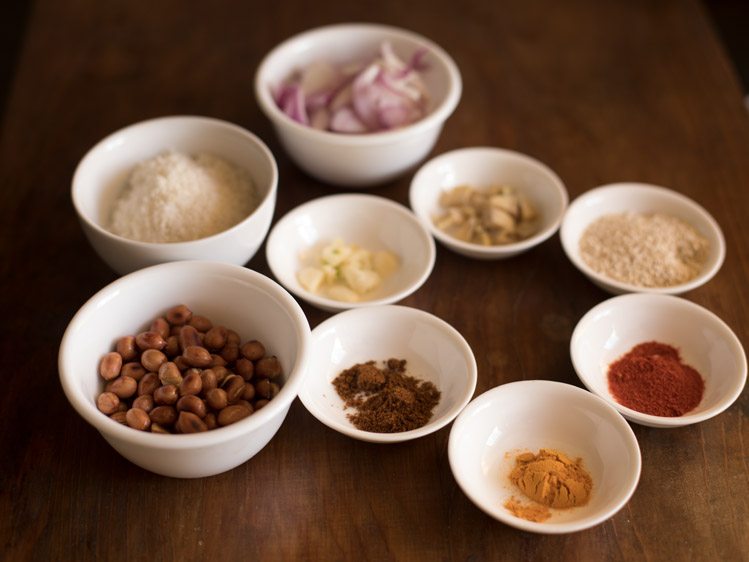
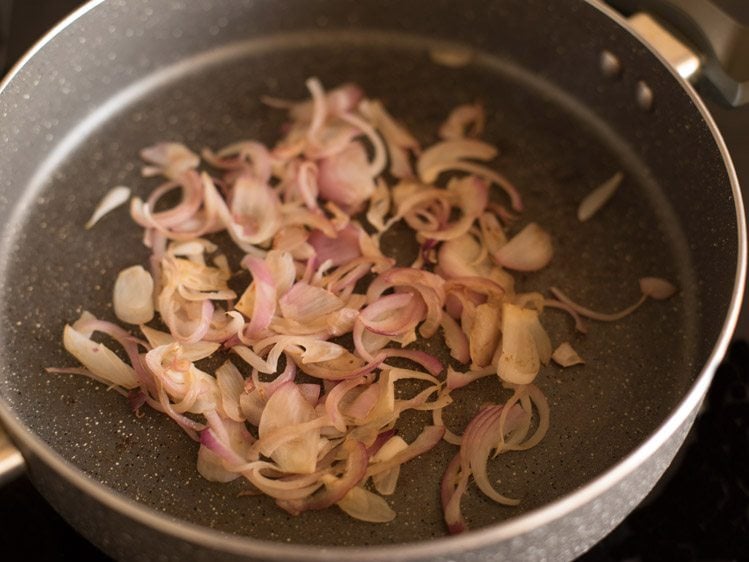
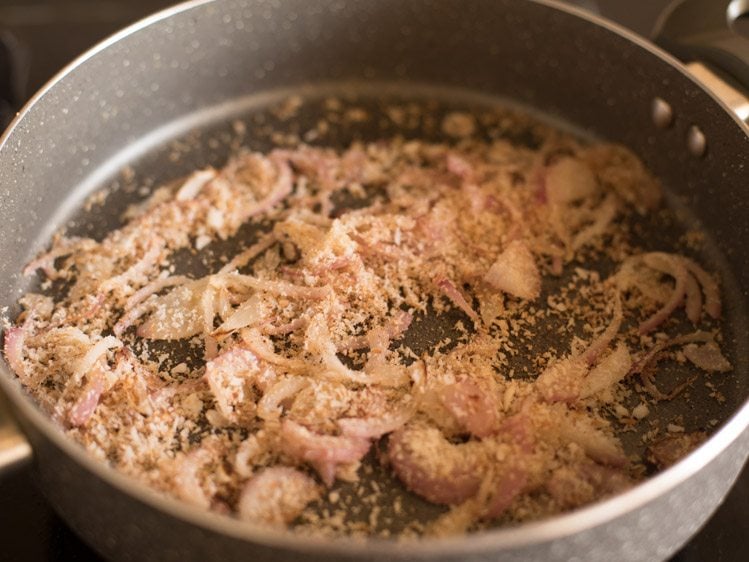
2. In a pan, heat 1 tablespoon oil. Add ⅓ cup sliced onions (about 1 medium-sized onion, sliced) and sauté till lightly browned on medium-low heat.
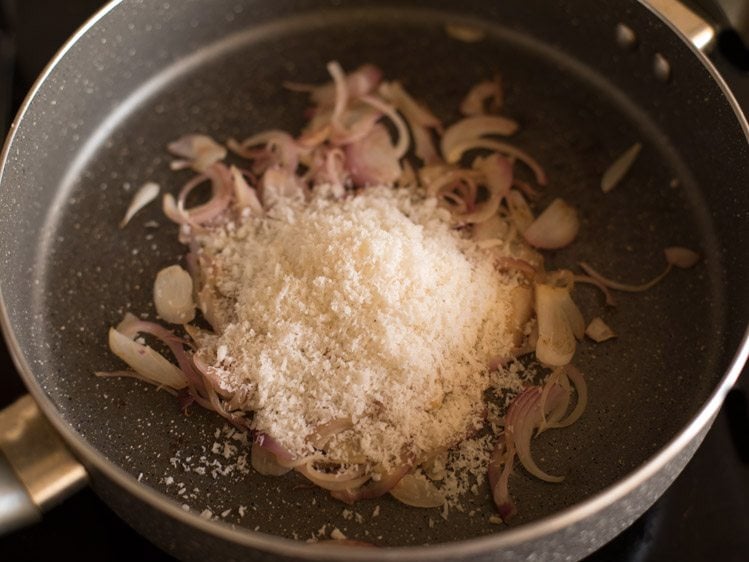
3. Add ¼ cup desiccated unsweetened coconut.
4. Roast stirring often on a low heat till desiccated coconut is lightly golden.
5. Later, add ¼ cup roasted peanuts and 1.5 tablespoons sesame seeds to this mixture.
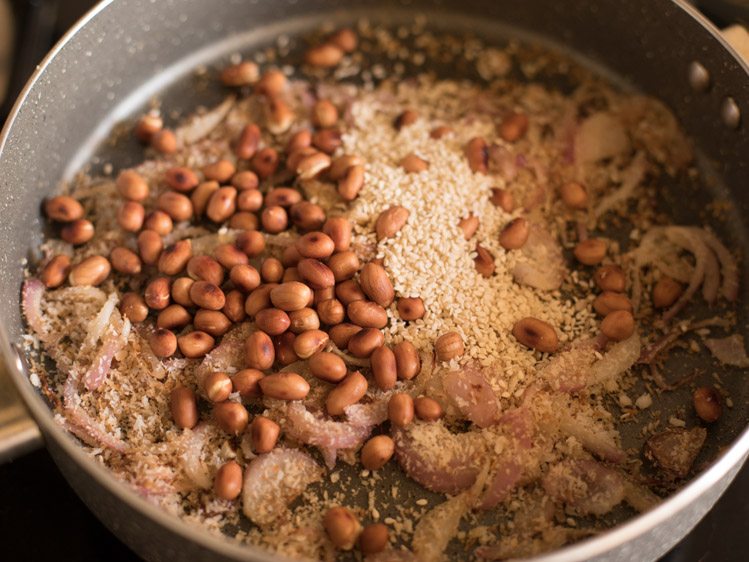
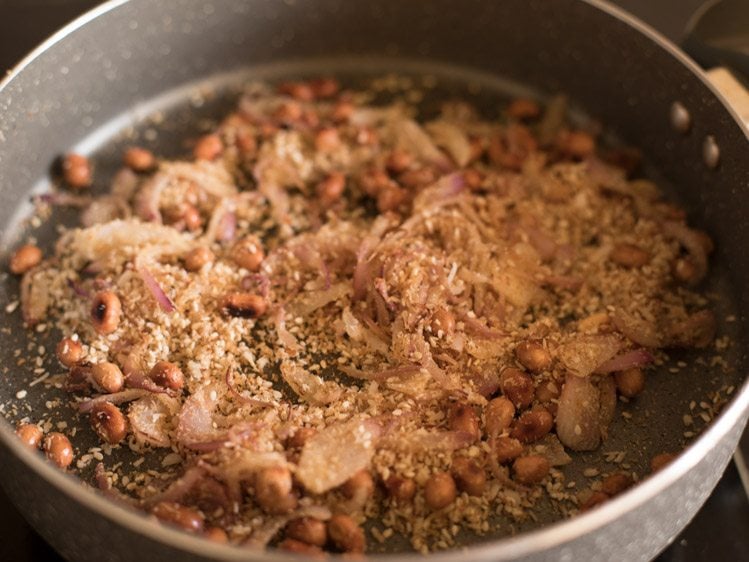
6. Roast for 1 to 2 minutes on low heat.
7. Now, take the roasted mixture along with 2 to 3 garlic cloves (chopped) and 1 inch ginger (roughly chopped) in a blender jar.
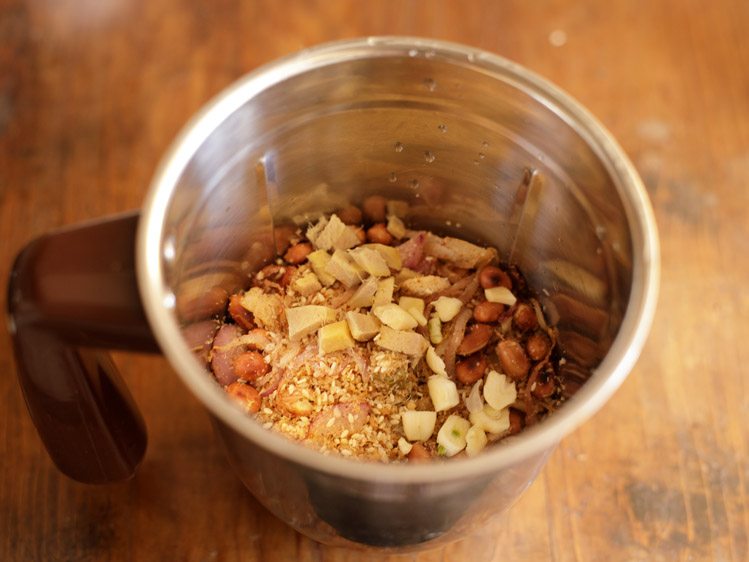
8. Next, add ½ teaspoon red chili powder, ½ teaspoon turmeric powder and ½ teaspoon garam masala powder.
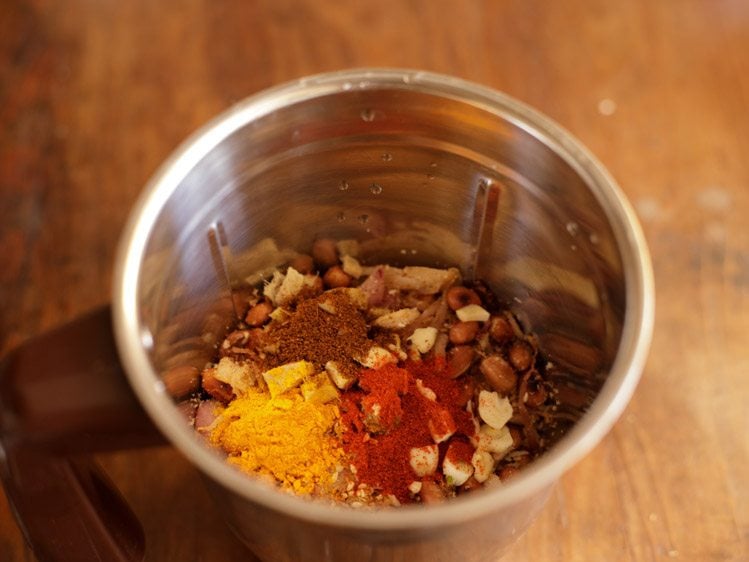
9. Add ½ cup water or as required.
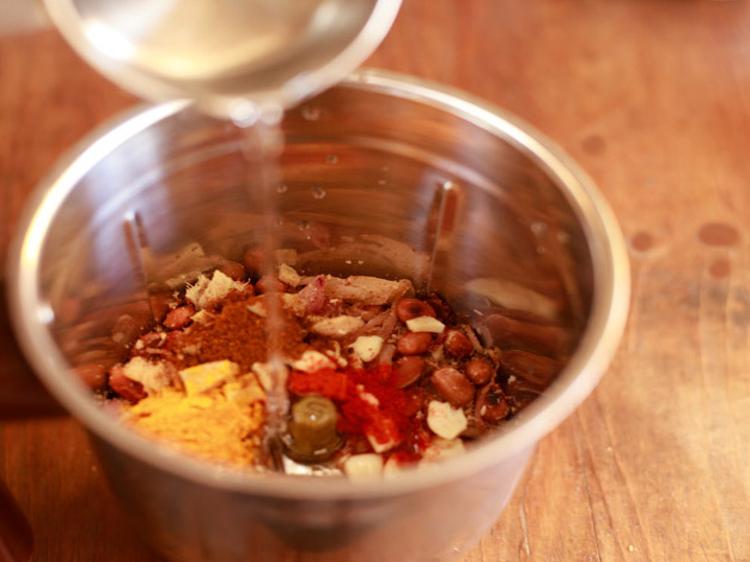
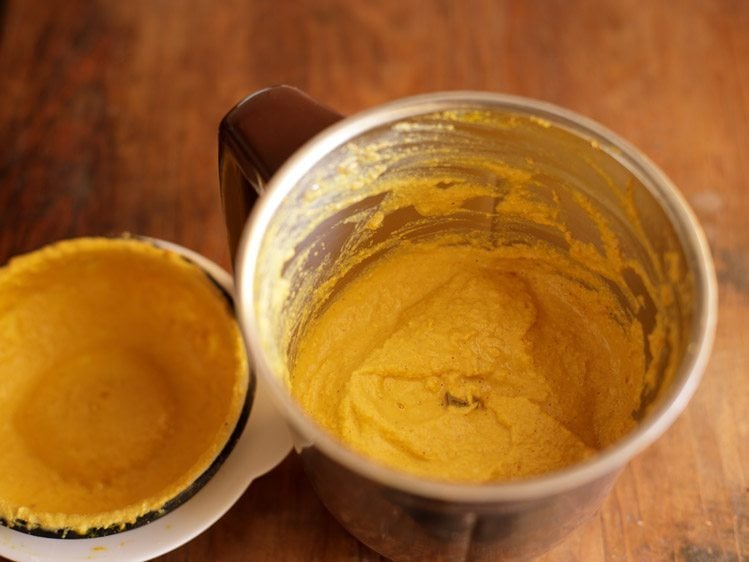
10. Blend the ingredients to a fine and smooth paste.
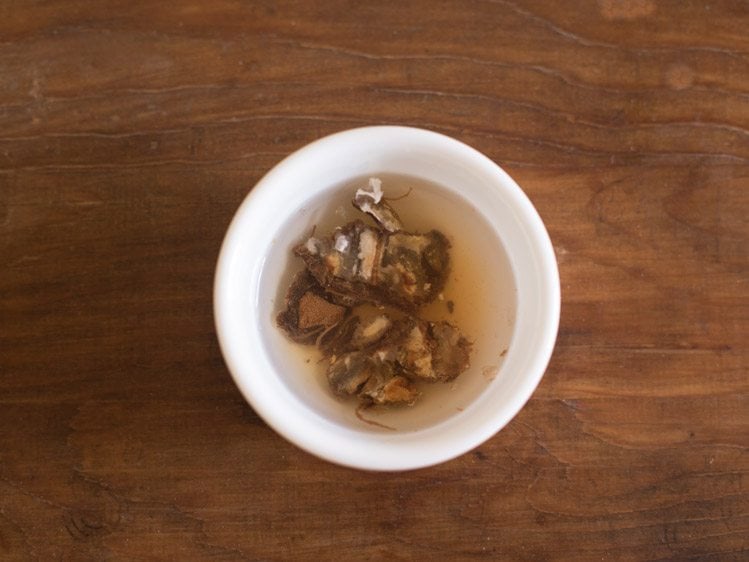
11. Add 1 tablespoon tamarind in ⅓ cup hot water and keep aside for about 20 to 30 minutes.
When the tamarind has softened, squeeze the pulp from it in the soaked water. Set the tamarind water aside.
Prep Green Chilies
12. Rinse 10 to 12 green chilies a couple of times in water. I have used green chilies which are not of the hot variety.
Try to use chillies that are not spicy or pungent. You could also use the larger and bigger sized chillies that is used to make Mirchi Bajji.
If you plan to make the recipe with the large-sized chillies, add 5 to 6 of them.
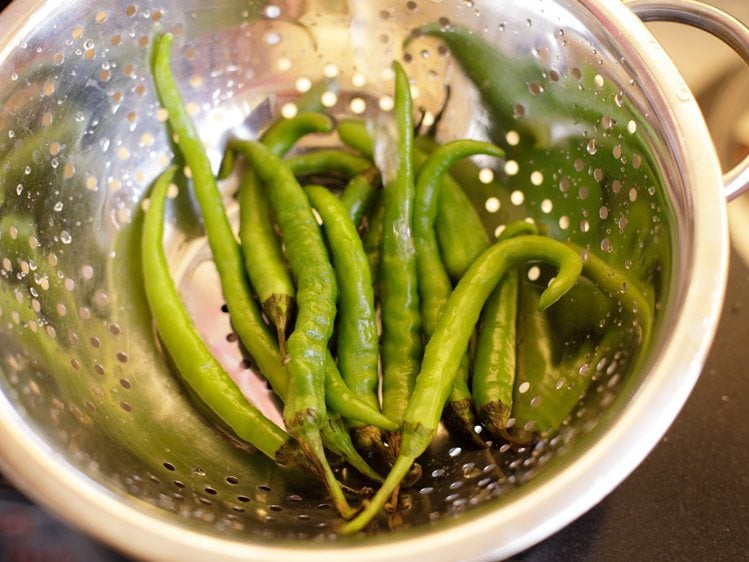
13. Wipe them dry with a kitchen napkin or cloth.
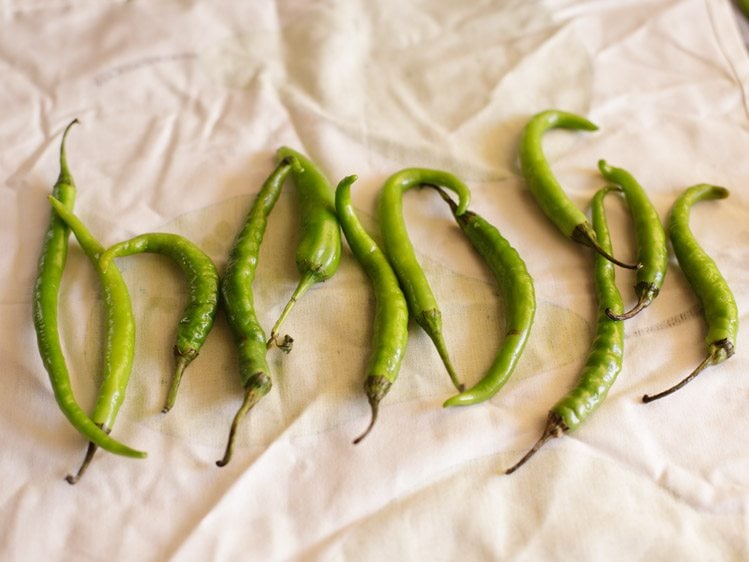
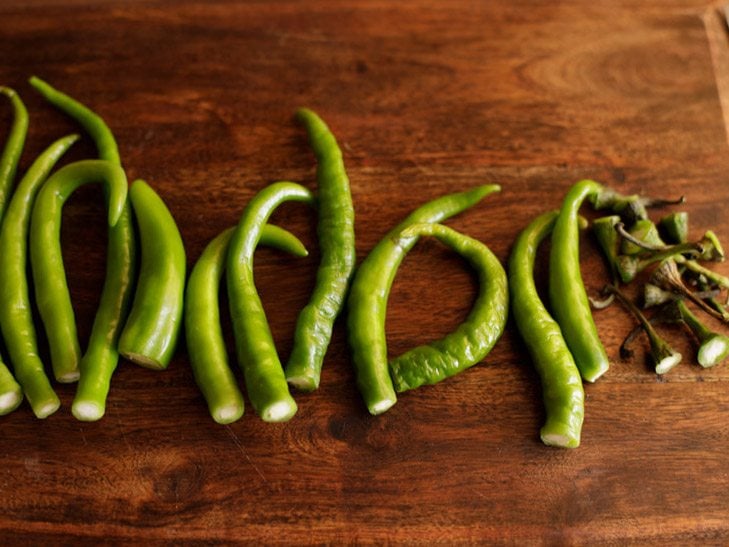
14. Remove the chili crowns or you can also keep them intact.
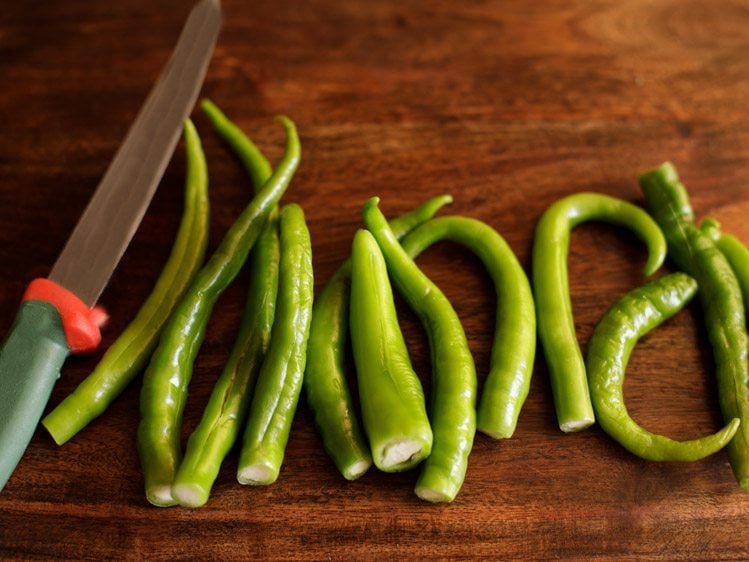
15. Slit the chilies vertically, but do not break them.
Fry Chillies or Mirchi
16. Heat about 2 tablespoons oil in a pan. Add the slit green chilies.
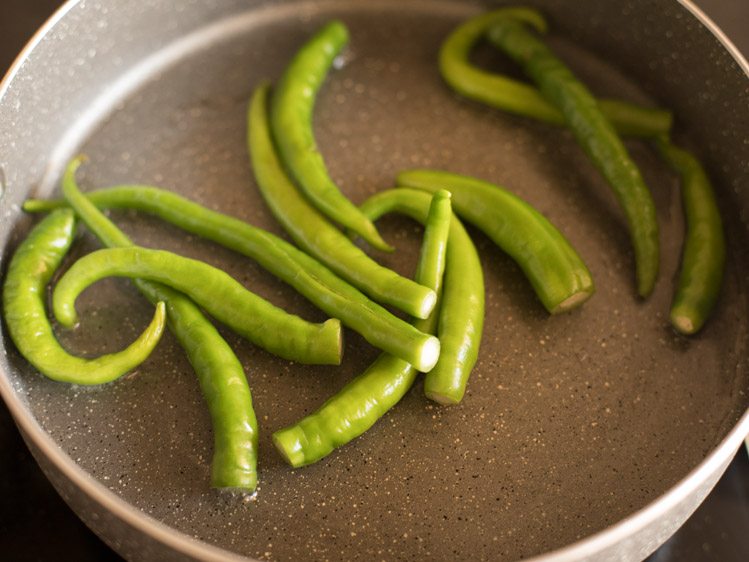
18. Fry the chilies till lightly browned from both sides stirring as needed until you see a some golden blisters on them.
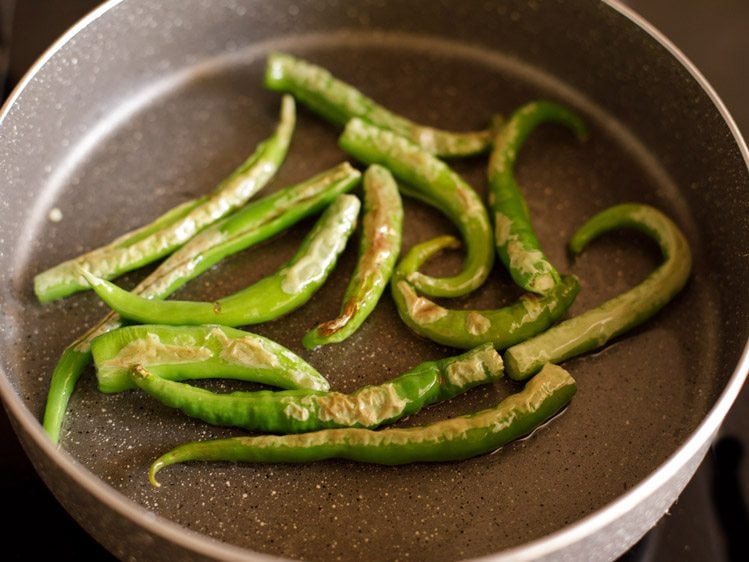
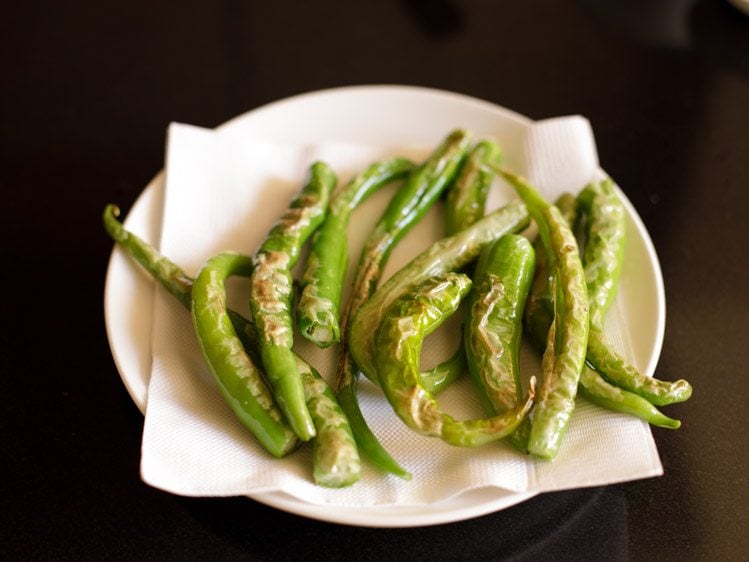
19. Remove the green chillies and place them on kitchen paper towels.
Make Mirchi Ka Salan
20. Now, in the same pan, add 2 tablespoons oil. Fry ½ teaspoon mustard seeds till they pop and crackle.
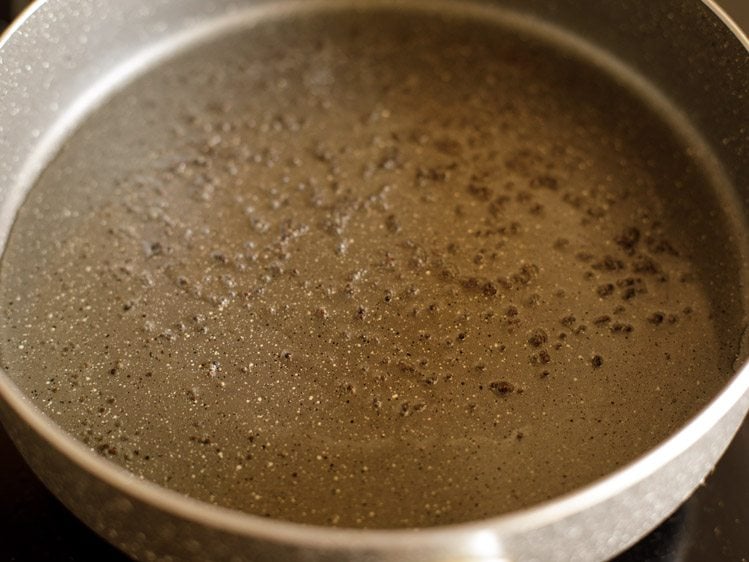
21. Then, add ½ teaspoon onion seeds or nigella seeds (kalonji) and ½ teaspoon cumin seeds.
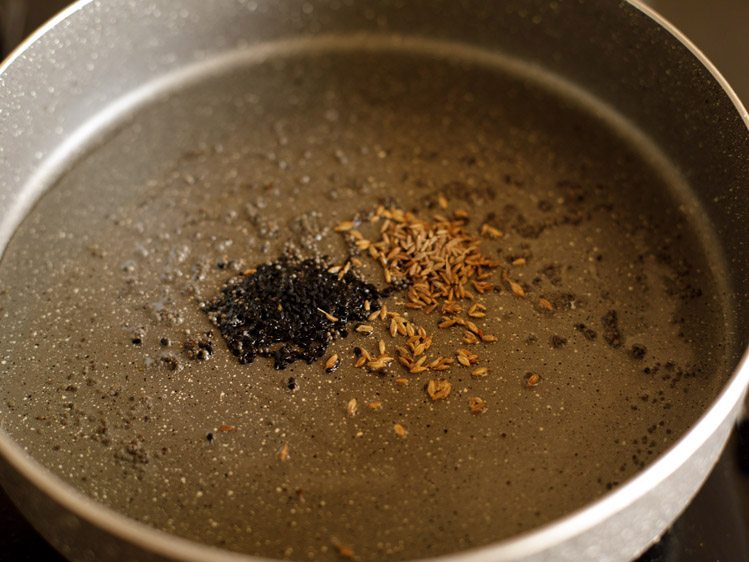
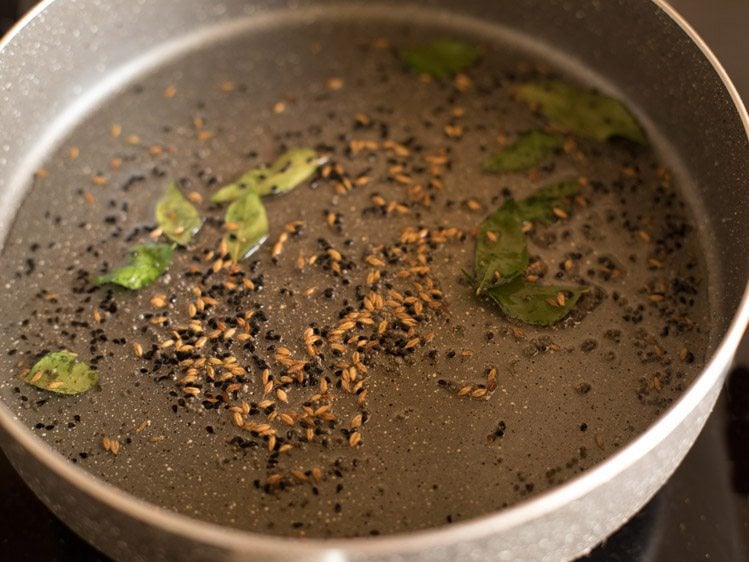
22. Add 8 to 10 curry leaves and fry for a minute.
23. Next, add the ground masala paste.
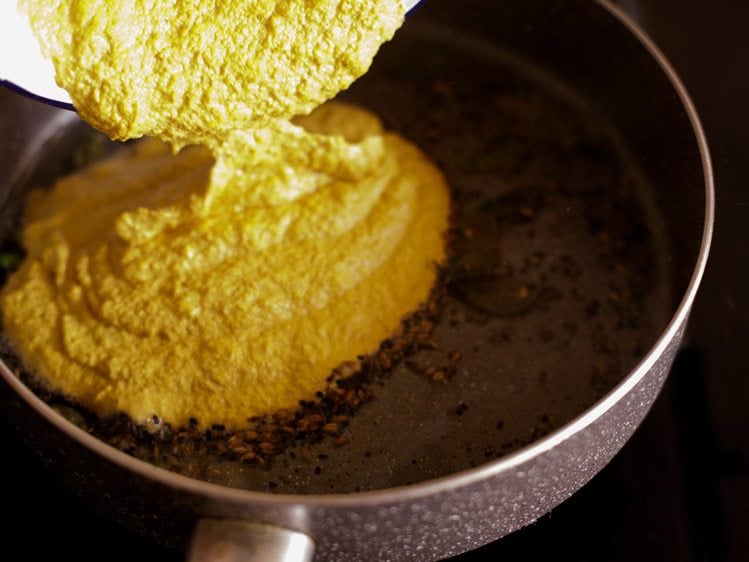
24. Stir and mix very well.
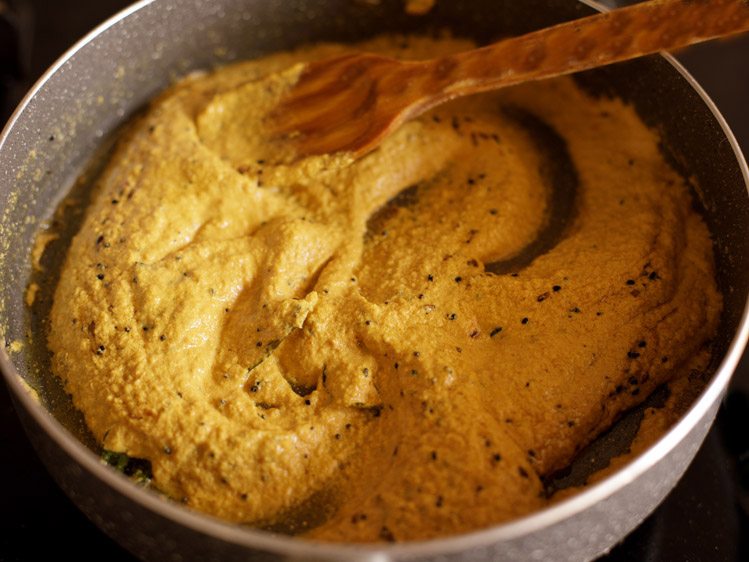
25. Keep stirring continuously on low heat. Fry for 3 to 4 minutes or more till the oil floats on the top and sides of the masala.
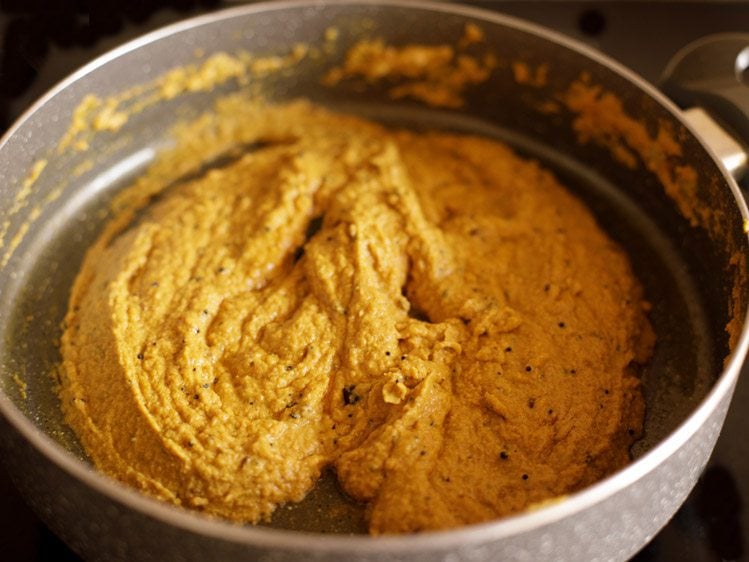
26. Squeeze the tamarind and add the tamarind water along with 1.5 or 2 cups water.
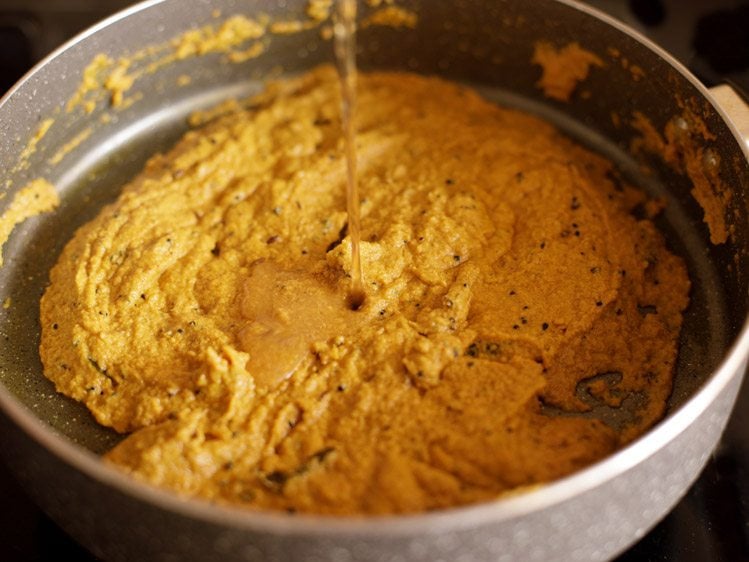
27. Mix very well.
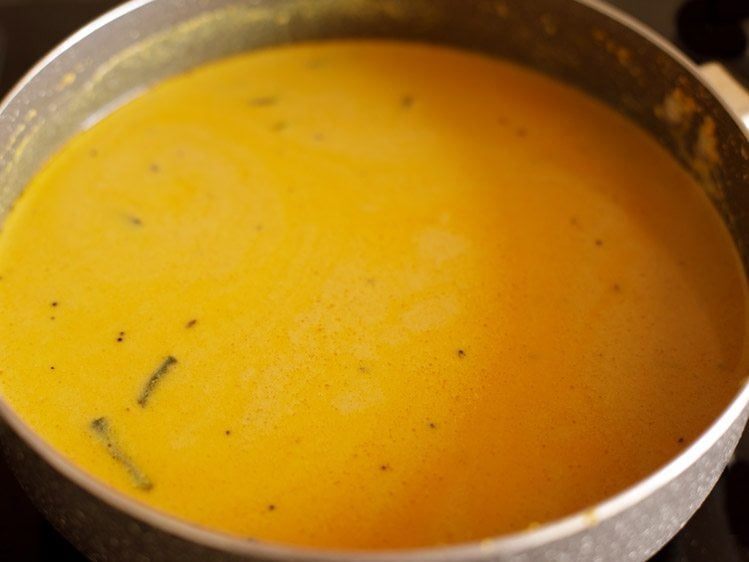
28. Stir and simmer for 5 minutes.
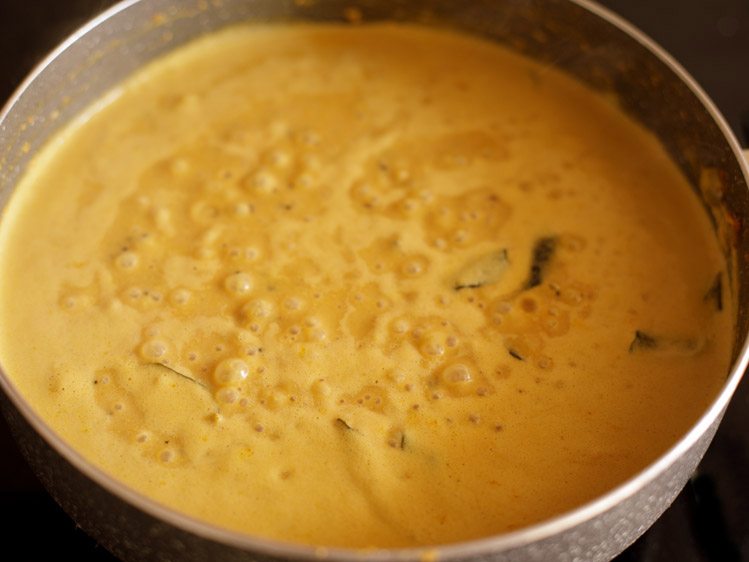
29. Add fried green chilies.
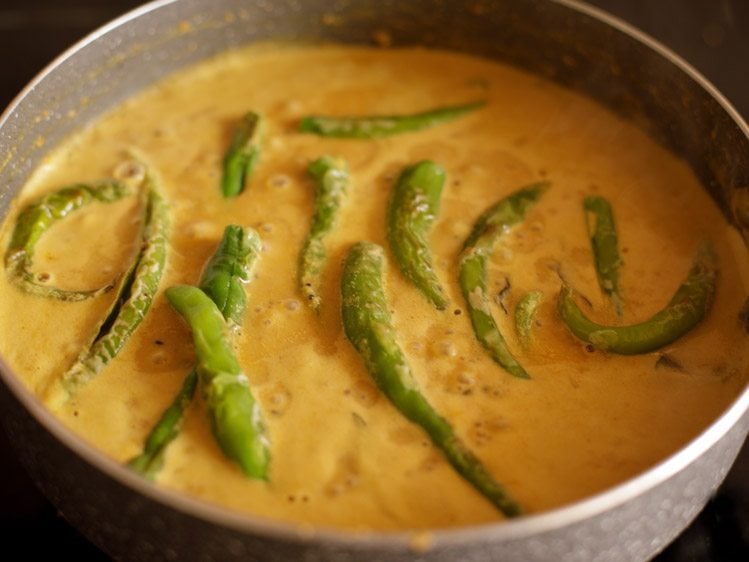
30. Next, add salt as required.
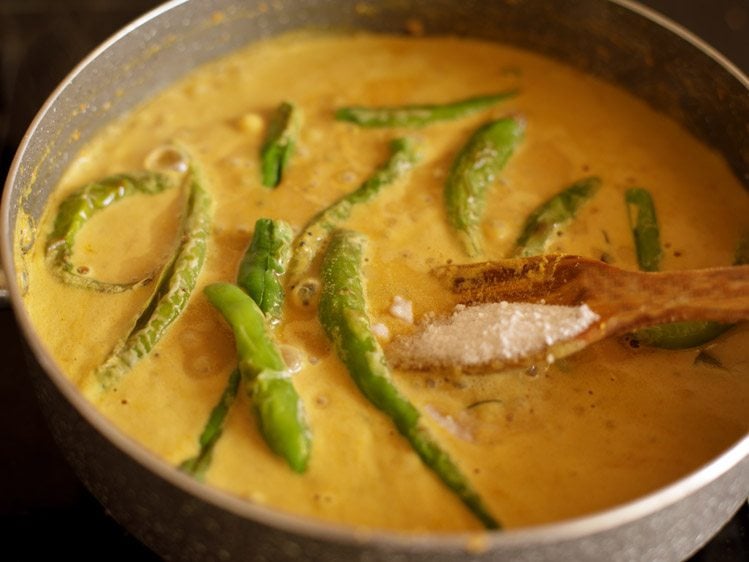
31. Simmer for 5 to 6 minutes more.
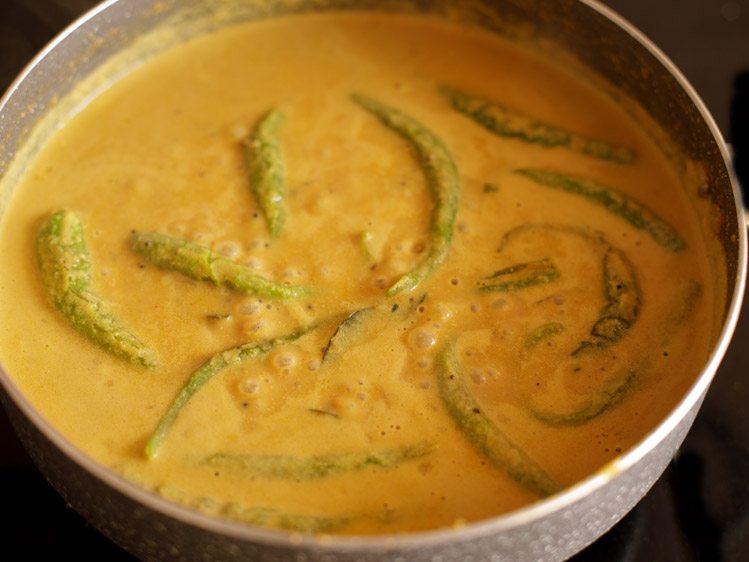
32. Garnish with 1 tablespoon of chopped coriander leaves.
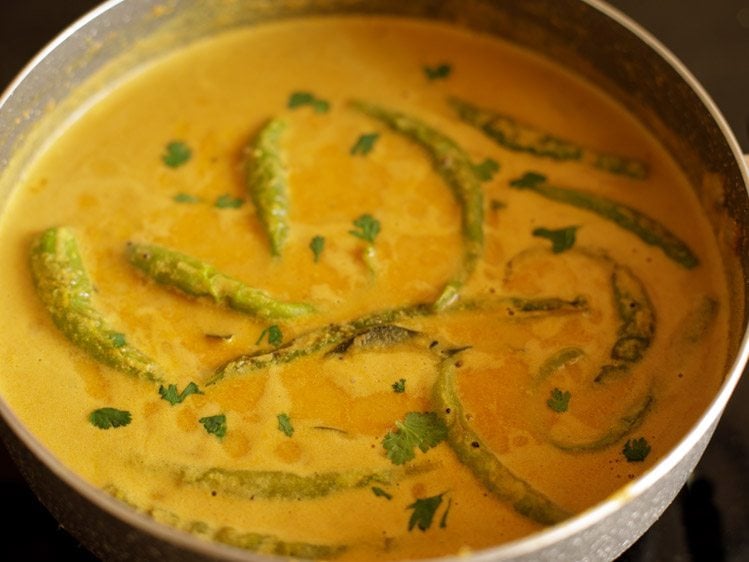
33. Serve Mirchi Ka Salan hot with Hyderabadi veg biryani, plain steamed rice or any Indian flatbread.
Expert Tips
- Keep a check on the curry, it thickens while cooking. So, add more water if required.
- To remove the hotness from the chilies, discard the seeds from the chilies. Also, for a less spicy dish, it is better to use a milder variety of chilies. You can also use a mix of spicier chillies and mild ones for a slightly spicy tasting curry.
- If you add the hotter variety of chilies, your curry will become very spicy. So, avoid making this recipe with extra fiery green chilies.
- Use only fresh peanuts for the masala paste in this Mirchi ka Salan recipe. Rancid peanuts will spoil the taste of the curry. Also do use roasted peanuts. Prep by roasting peanuts in a frying pan or in the oven until crunchy.
- If you don’t want to add chilies to the curry, you can add other vegetables of your choice in it.
- You can store the leftover Mirchi ka Salan for about 1 to 2 days in the refrigerator.
FAQs
Salan or salana basically means a curry.
The Mirchi ka Salan stays good for about 1 to 2 days, if refrigerated.
A traditional Mirchi ka Salan is a specialty of Hyderabadi cuisine. However, there are many variations of this dish that are made by different people across India.
Mirchi ka Salan tastes really good with any Indian flatbread like roti, naan, plain paratha as well as plain steamed rice.
You can dry roast the onions. If you want, you can also fry the onions in less oil.
You can remove the seeds of the chilies to reduce the spice level in the curry. You can also use a milder variety of chili for this Mirchi ka Salan.
More Hyderabadi Recipes To Try!
Brinjal Recipes
Sweets Recipes
Dal (Lentils) & Legumes
Raita Recipes
Please be sure to rate the recipe in the recipe card or leave a comment below if you have made it. For more vegetarian inspirations, Sign Up for my emails or follow me on Instagram, Youtube, Facebook, Pinterest or Twitter.
Hyderabadi Mirchi Ka Salan Recipe | Biryani Salan
Ingredients
For mirchi ka salan
- 10 to 12 green chilies or 5 to 6 large sized chillies – which are not of the hot variety
- 1 tablespoon tamarind soaked in ⅓ cup hot water
- 1.5 to 2 cups water or as required
- ½ teaspoon mustard seeds
- ½ teaspoon nigella seeds (kalonji)
- ½ teaspoon cumin seeds
- 8 to 10 curry leaves
- 5 tablespoons oil
- salt as required
- 1 tablespoon coriander leaves (chopped)
For the masala paste
- ¼ cup desiccated coconut (unsweetened)
- ¼ cup peanuts – roasted
- 1.5 tablespoons white sesame seeds
- ⅓ cup onions – thinly sliced or 1 medium-sized onion
- 2 to 3 garlic cloves (medium-sized)
- 1 inch ginger
- ½ teaspoon red chili powder or cayenne pepper
- ½ teaspoon turmeric powder (ground turmeric)
- ½ teaspoon Garam Masala
- ½ cup water – for grinding or add as required
Instructions
Preparing masala paste
- In a pan add 1 tablespoon oil.
- Add sliced onions. Stirring often sauté onions until lightly browned.
- Next add the desiccated coconut. Mix and sauté until the coconut turns light golden.
- Later, add roasted peanuts and sesame seeds to this mixture and roast for 1 to 2 minutes on low heat
- Make a smooth paste of the above roasted mixture with garlic cloves, ginger and all the ground spice powders with ½ cup water.
Make tamarind water
- In a small bowl, soak tamarind with ⅓ cup hot water for 20 to 30 minutes.
- When the tamarind has softened, squeeze the tamarind pulp in the water in the bowl. Keep the tamarind water aside.
Preparing green chillies
- Remove the green chilli crowns or you can also keep them intact.
- Rinse and wipe dry the green chillies.
- Slit the chillies vertically, but do not break them. You can opt to remove the seeds from the chillies if you prefer.
- Heat about 2 tablespoons oil in a pan. Fry the chillies lightly until you see some blisters on them.
- Remove and drain on kitchen paper towels.
Making mirchi ka salan
- Now, in the same pan add 2 tablespoons oil. Fry the mustard seeds on low heat till they crackle.
- Then, add nigella seeds, cumin seeds and curry leaves. Fry for a minute.
- Add the ground masala paste. Sauté for 3 to 4 minutes on low to medium-low heat or till the oil floats on the top and sides of the masala.
- Now, add tamarind pulp and 1.5 or 2 cups water. Stir to combine. Simmer for 5 minutes on low to medium-low heat.
- Add fried green chilies, salt and simmer for 5 to 6 minutes more.
- Garnish with coriander leaves.
- Serve Mirchi Ka Salan hot with veg biryani, plain steamed rice or any Indian flatbread.
Notes
- To make a less spicy dish, use milder variety of chilies. You could also use a mix of hot chillies and the mild ones to make a slightly spicy curry.
- If make the curry with the hotter variety of chilies, it will become very spicy. So, avoid making this recipe with extra fiery and hot green chilies.
- Opt to remove and discard the seeds from the chilies if you prefer.
- Do give a slit or cut to the chillies before lightly frying them.
- Use only fresh peanuts for the masala paste in the salan recipe. Rancid peanuts will spoil the taste. Remember to use roasted peanuts. You can roast peanuts in a frying pan or in the oven until crunchy.
- Skip nigella seeds, if you do not have them.
- You could also make the curry with vegetables of your choice instead of green chillies.
- Any leftover Mirchi ka Salan can be stored for about 1 to 2 days in the refrigerator.
Nutrition Info (Approximate Values)
This Mirchi ka Salan recipe from the archives first published in October 2012 has been republished and updated on November 2022.



I tried the recipe and it came out very well. My family members enjoyed it. Thank you for the super recipe.
welcome renukadevi and thanks for the feedback and rating. glad to know.
i have been told by the locals that if you are vegetarian you should n’t be going to Paradise.
Superb recipe of Mirchi Ka Salaan Hyderabadi style. Just made it and it’s tasting heavenly. Thanks for sharing.
thanks sudhir for the feedback. glad to know and happy cooking.
Thanks for the recipe, i tried and it tastes awesome
Welcome Nivedita
Hi, just want to check do we have to fry the onions with oil or just dry roast it?
nadia, you can dry roast them. in case you want, then you can add 1 tablespoon oil and fry the onions in it.
Thank U for giving instructions
It is really helpful and easy way process.
Goodbye
Nuzhat Parveen
From Karachi
Welcome Nuzhat. Glad to know this. Do try some recipes.
Love your recipes.. keep up the good work
thanks ashish.
It’s delicious….. ur blog is very useful for me…. i’ve learnt lots of dishes here… thank you very much dassana…. for sharing the recipes
welcome shona and thank you for your positive views.
Hi dasanna, your recipes are clear and easy to prepare at home.. i tried rajma masala which turned out really tasty and appealing…Thanks I’m a learning north indian recipes with help of your site…
pleased to know this siri 🙂 thankyou for your kind words and you are welcome.
Good recipe
thankyou bolli 🙂
We tried the recipe for mirichi ka Salan. It was a great experience and we are enjoying the dish but need to improve
ravail, good to know this.
dasanna didi..your blog is simply superb and awesome..I tried almost all vegetable recipes of ur’s..thank you for your wonderful recipes
welcome soujanya. thanks for sharing your positive feedback.
Excellent! It came very well
thanks for the feedback vipin.
It is my and my family favorite.in a weekend ofcourse we make it thank u for Introducing ur special salan recipe also
welcome sunitha. glad to know this.
nice dish
thanks tukku
thanks a lot .it was really yummy
welcome nirzari
Dassanna, simply love your blog!! Have tried out many baking recipes of yours and they come out perfectly!! Tried this mirch ka salan yesterday, turned out lip smacking!! Thanks so much and loved your “About us” section too 🙂
welcome priya. thanks for this sweet feedback.
Mirchi ka salan is very good recipe. I am going to make it first time. Because we belong to punjabi family. And always try different cusions. So it is my first experiment on Hyderabadi dishes. Thanks
welcome jaskiran
the taste is verry verry gud……….
thanks zaheer
ya… its has got a great taste….!!
Hi Dassana, I looked at your Hyderabadi Biryani and Mirchi ka salan. Really happy to see both recipes with nice pictures and step by step process. Only thing I feel missing, very important one, is the proportions. I did not see the quantities need to use for each ingredient. Different proportions will make the recipe different. I hope you will post the quantities too. Thanks.
hi mani. thanks. i have posted the ingredients quantities in the recipe detail section after the step by step pics are over. thats the case with all the step by step recipes on the blog.
Hi Dassana. I live in the US and am the mother of 2 daughters, 19 and 22 yrs old. We are vegetarian and mostly eat Indian food and they love it. They know I use your recipes and have been filing away all your posts for the last year or so in the hope that when they want to begin cooking, your pictures and details will help them as nothing else can!! I cannot thank you enough for all the elegant presentations and easy step by step directions. My wishes that you should be well, and be happy always, my dear.
thanks a lot jayshree. i am so honoured and pleased. thanks also for your good wishes.
I love the use of coconut and peanuts for the masala. THis looks so delicious 🙂
So excited to find a recipe that uses dried coconut since that is pretty much all I can find here! (That and coconut milk.) And it looks delicious, although because of my kids I will have to make extra sure the chile peppers are mild enough. I wonder if poblanos would work?…
dear laura, you can use poblano chilies. since they are mild they will be good in the curry.
Dassana, I love “mirch ka salan ” a lot. Your’s looks drool worthy and that reminds me of my mirch ka saalan that is sitting in my drafts:) Shall post it soon!
do post your version soon.
My husband is fan of Mirchi ka salan, but i an not. I always make it for him with Jalapeno peppers. Your mirchi ka salan looks absolutely delicious.
Mirchi ka salan is one of my favorite Hyderabadi dishes. This along with some spicy biryani and yellow dal would be perfect. Followed by kurbani ka mitha.
This mirchi salan looks great. Would love to try it out.
i love mirchi ka salan with my biryani…wow..you are making me hungry!!
BTW, i really admire you step by step pics… 🙂