If you have ever wondered how to make butter at home, you have come to the right place. In this post, I’ll show you how to make pure, fresh, homemade white butter – called makhan in Hindi – without any additives, coloring agents or preservatives. I’ll also instruct you on the method of making homemade cultured butter.
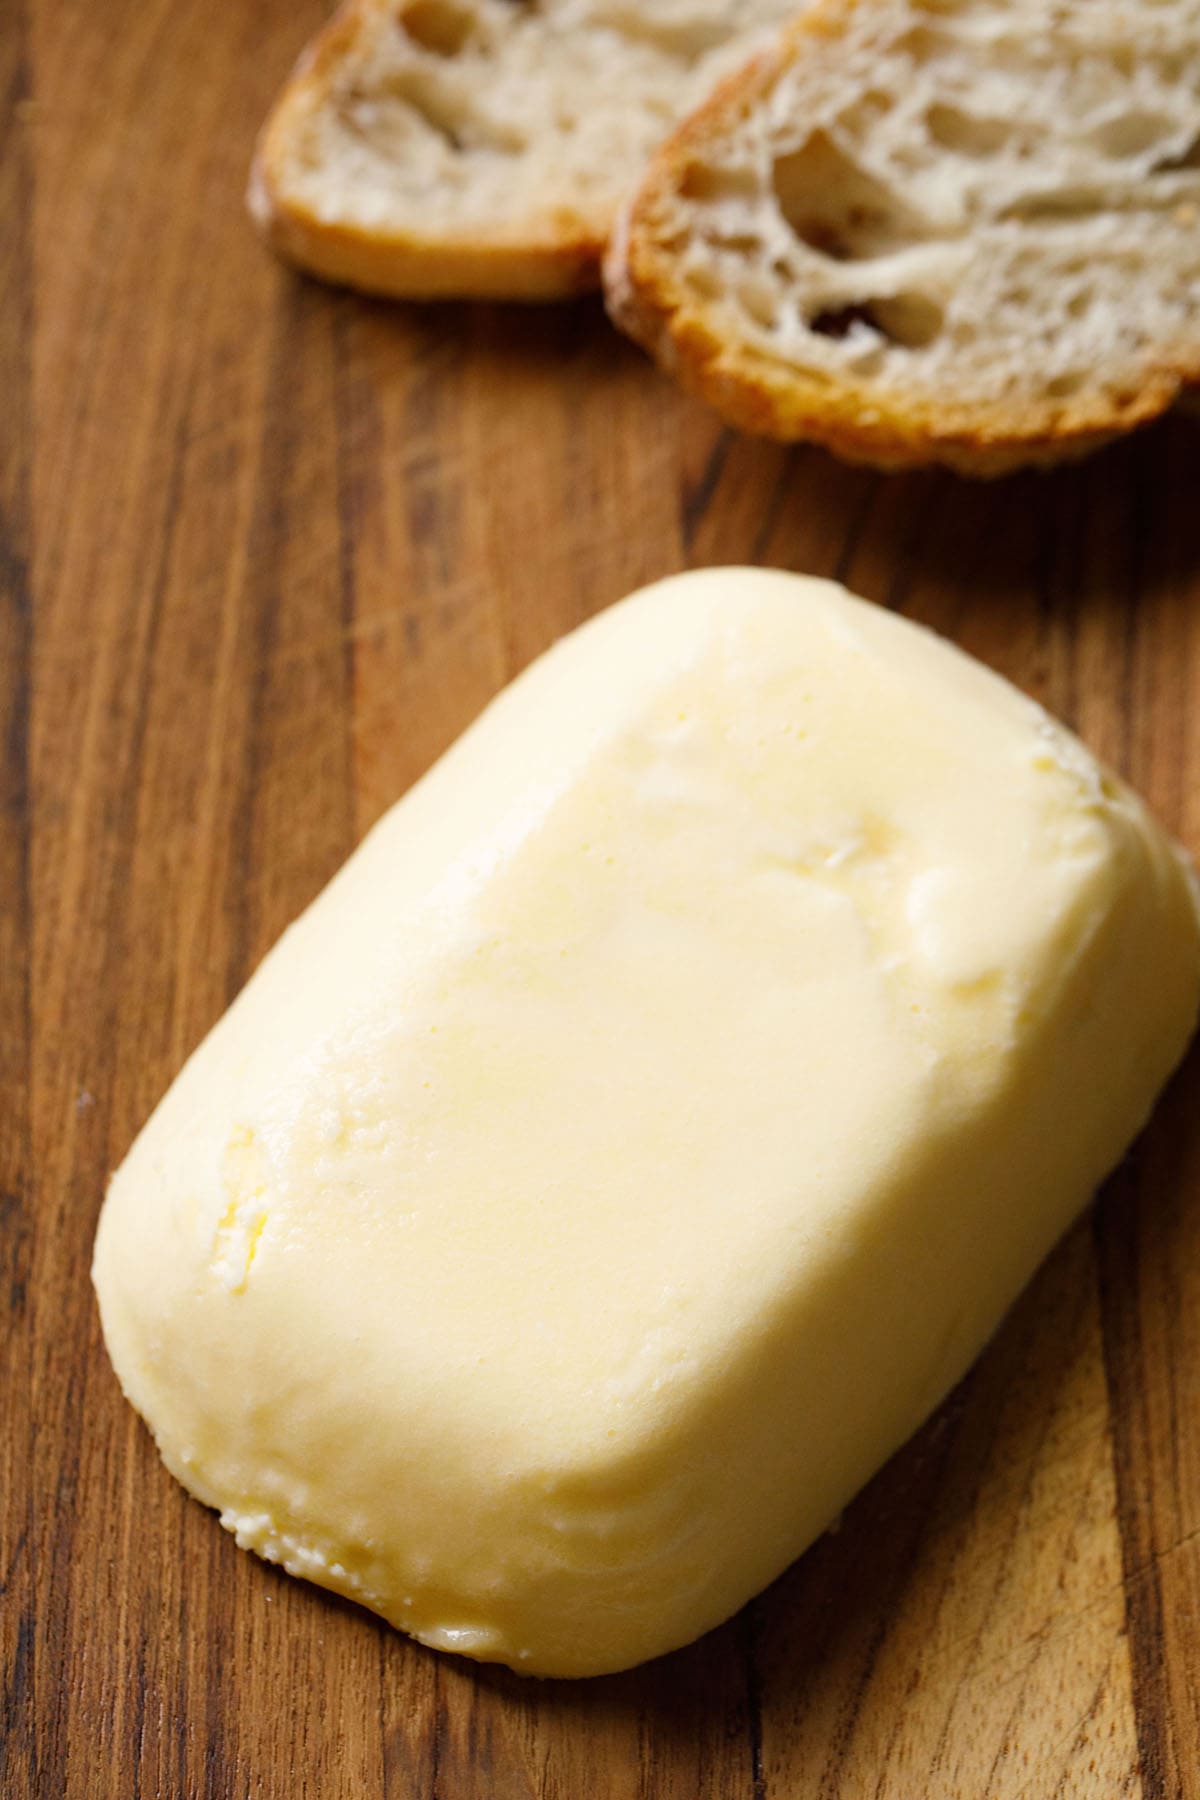
About Homemade Butter
I know that making butter at home sounds difficult, but I promise you it is quite simple. Thanks to electronic mixers or food processors, you can whip it up in just 5 minutes!
Many North Indian families make butter at home because it tastes better than the butter you can buy at the store.
Butter making is something I was exposed to at a young age. My Mom used to make butter in order to make Homemade Ghee, but you can also do as my Mother-in-Law and keep the butter whole for everyday cooking.
Table of Contents
Early in our marriage, when we still lived with my Mother-in-Law, we would always have homemade white butter in the fridge.
It was delicious served on piping hot parathas of all sorts, like Aloo Paratha, gobi paratha or paneer paratha.
She also used the homemade butter liberally when serving the famous combination of makki di roti (corn meal flatbread) with sarson ka saag (mustard greens).
My mom-in-law makes butter from the malai (cream) floating atop whole, un-homogenized milk. She collects the malai in a bowl she keeps in the freezer.
When there is a good amount to churn, she removes it from the fridge and lets it thaw a bit. She then adds a bit of yogurt to culture the cream before churning it into butter.
While some people make butter from curd, I have always made both butter and ghee (clarified butter) from whole milk cream.
I should also note that unlike my Mother-in-Law, I use store-bought heavy cream. I simply don’t have the time or patience to collect layers of malai in a bowl.
When using packaged cream, it is very important to use heavy cream with at least 35% to 50% milkfat.
Please do not use low-fat cream, cooking cream or light cream that has less than 35% milk fat; you won’t get butter no matter how much you whip these because there just isn’t enough fat.
Also, make sure to use heavy cream that doesn’t have any additives or stabilizers, as they will prevent the fat and whey from separating.
The only trouble with making butter at home are the greasy tools and utensils you’ll end up with.
Even if you wash your dishes by hand, I promise that this is a small price to pay for the luxury of having delicious homemade butter on hand!
How to make Butter
Please note that while I have gone into great detail below, the process of making butter at home is quite simple. Once you have successfully made white butter once, you’ll see just how easy it really is!
Prep Equipment & Ingredients
1. Gather all your equipments and tools before you begin. You will need a few bowls; a silicon spatula; a wooden spoon or spatula; cheesecloth or muslin; a mesh strainer; a few kitchen towels; and an electric blender, stand mixer or food processor.
I highly recommend you use a silicon spatula – it makes the work of scraping the butter from the bowls, cheesecloth and the whipping blades easier.
Make sure all your equipment and tools are clean and dry so that you do not run the risk of any contamination.
To make butter at home, you’ll need at least 2 to 3 cups of cream or more. The cream can be pasteurized but avoid homogenized one. You can do as I do and buy ready-made full cream from the grocery store. Otherwise, you can use cream from the (non-homogenized) milk you use every day.
Please note that fresh malai has to be collected every day for 10 days to a month in order to get enough for churning. Remember to store this collected cream in the freezer, defrosting it prior to churning.
2. Add the cream to the base of the stand mixer, food processor or blender. If using a hand mixer, add the cream to a large mixing bowl that you set atop a damp kitchen towel.
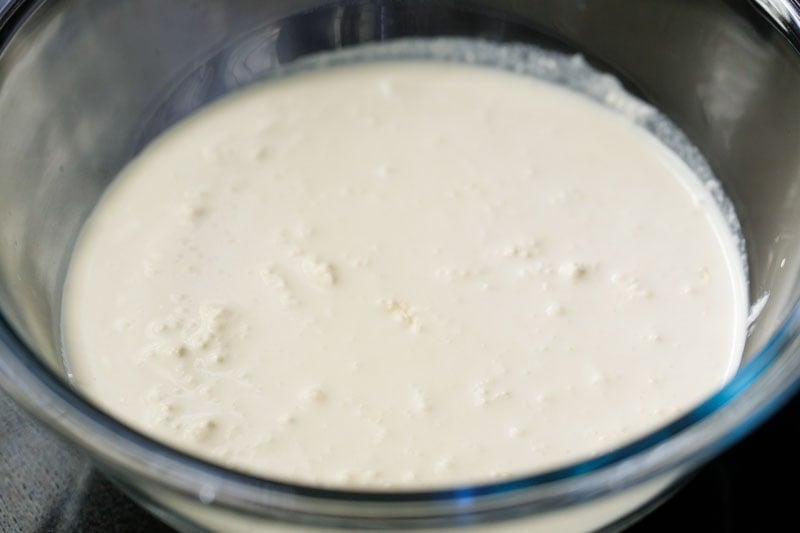
Whip Cream
3. Begin to whip the cream on a low speed.
Note: I like to place a kitchen towel over the entire work surface prior to starting; this helps keep the counters nice and clean.
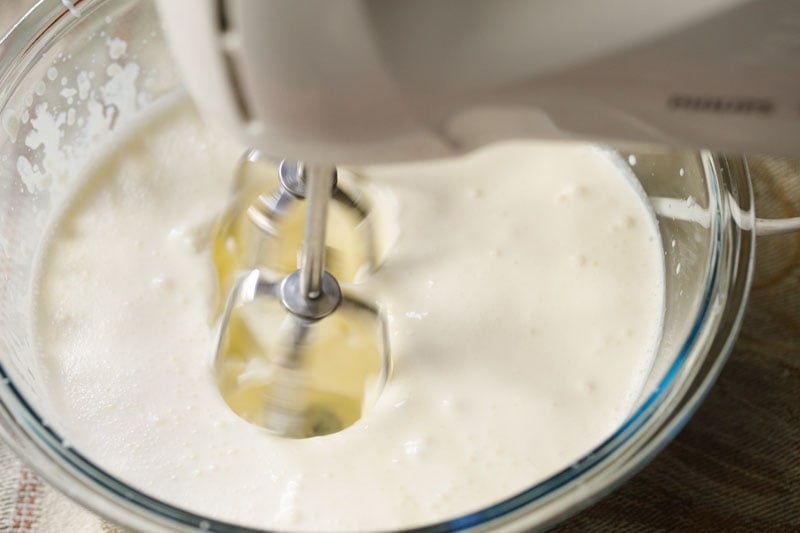
4. Initially, the cream will start to thicken and you will get whipped cream with smooth peaks that will give way to stiff peaks.
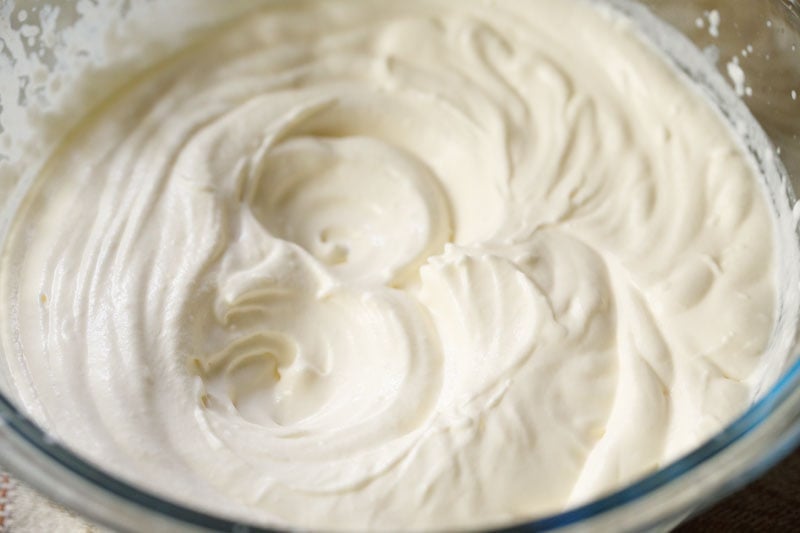
5. Continue to whip. The mixture should start to become grainy.
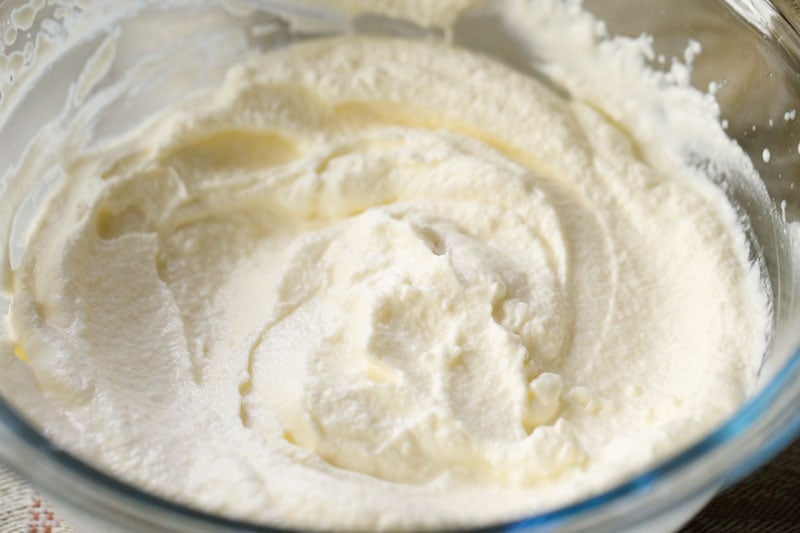
6. Keep whipping – it will look curdled and you’ll see some buttermilk beginning to separate.
At this point, the buttermilk will begin to splash all around. I recommend you cover the bowl and your hand mixer with a kitchen napkin to avoid a messy countertop.
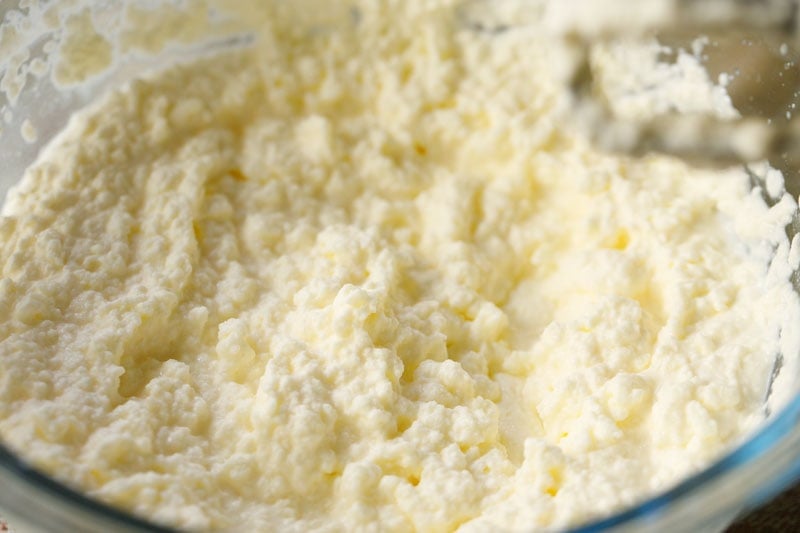
Butter Separated
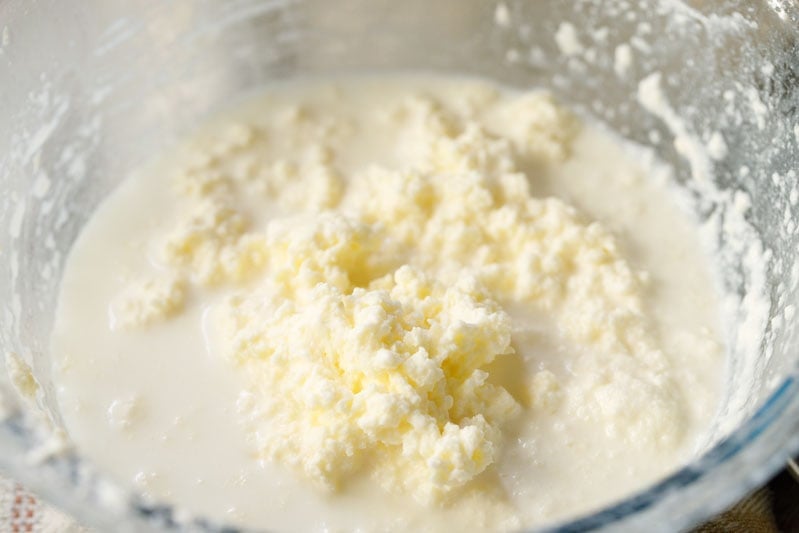
7. Continue to beat until the butter is clearly separated. You should see distinctive lumps of white butter floating in a white liquid.
The liquid is buttermilk (also known as whey), and can be used in cooking.
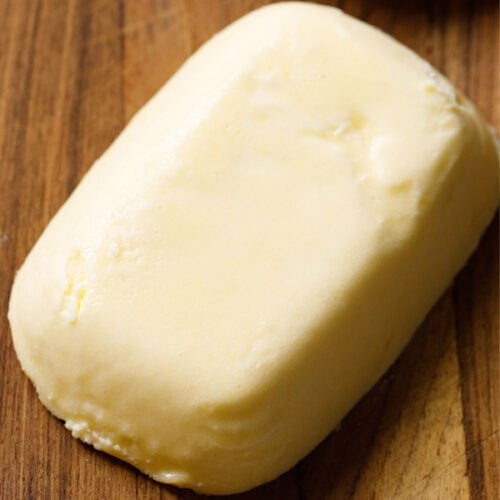
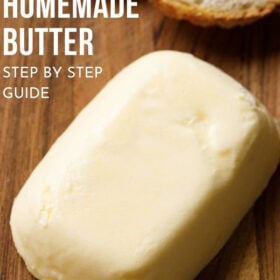
Your beautiful, homemade white butter is ready.
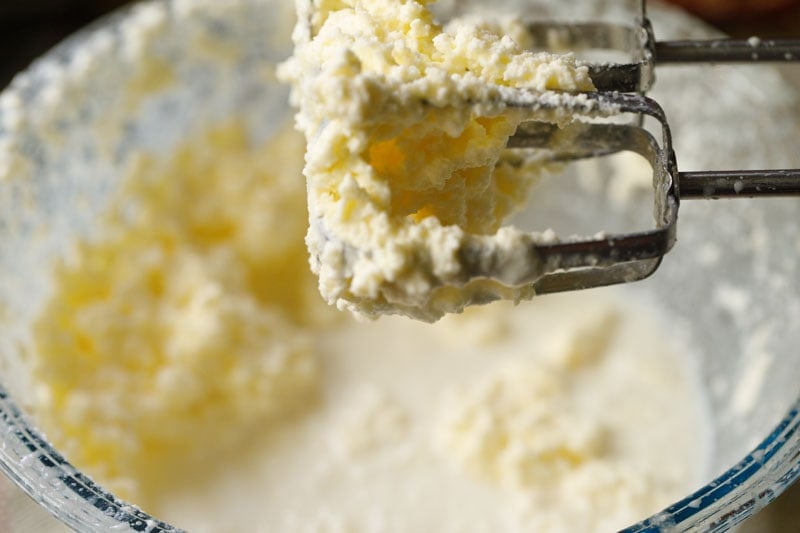
8. The butter will also be stuck on the whipping blades, so be sure to scrape the whipping blades with a spatula and add the solids back to the bowl.
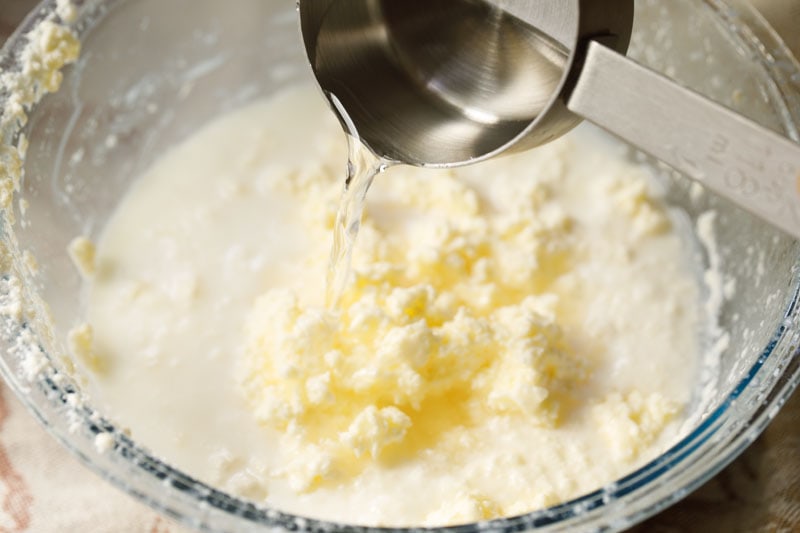
9. Now add ½ cup of cold icy water all over the butter in the bowl. This will solidify the butter and firm it up.
Note that adding water will dilute the buttermilk. If you do not want your buttermilk to be diluted with some water, then add cold water after collecting the white butter as shown below.
Collect & Strain
10. Line a mesh strainer with cheesecloth or muslin and place it on top of a bowl. Pour the buttermilk and butter from the bowl into the cheesecloth. Scrape the white butter at the sides of the bowl with a spatula and transfer it onto the cheesecloth.
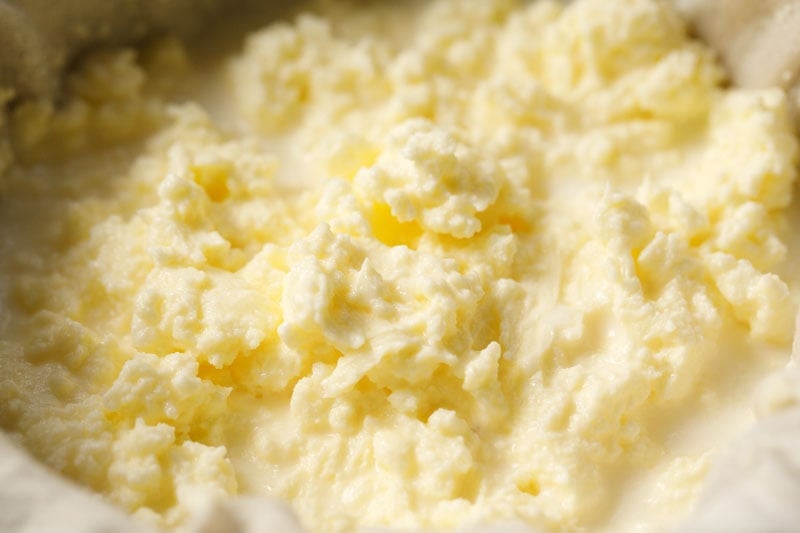
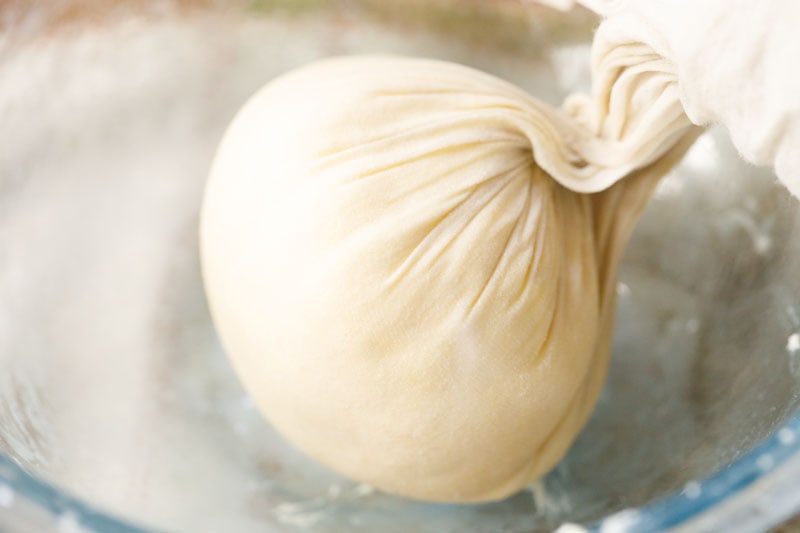
11. Collect the edges and form a bundle, gently pressing off the extra whey or buttermilk from the butter.
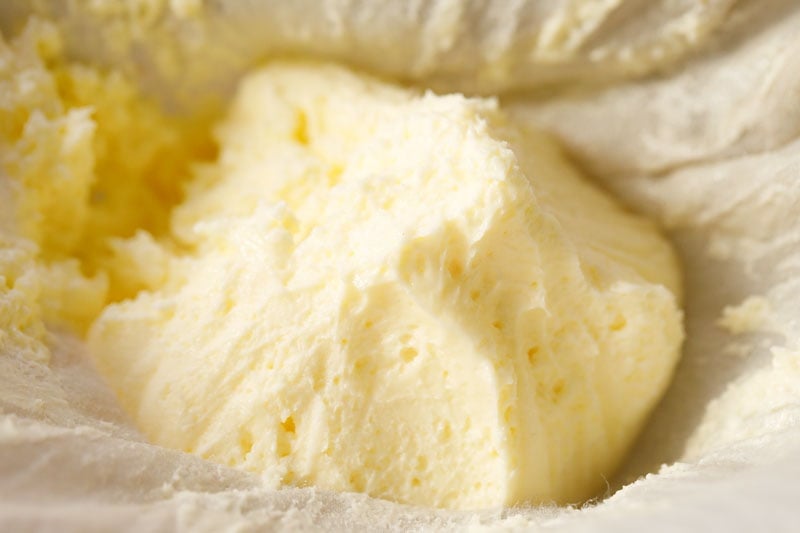
Open the cheesecloth and you will see a nice lump of soft homemade butter.
Save Buttermilk
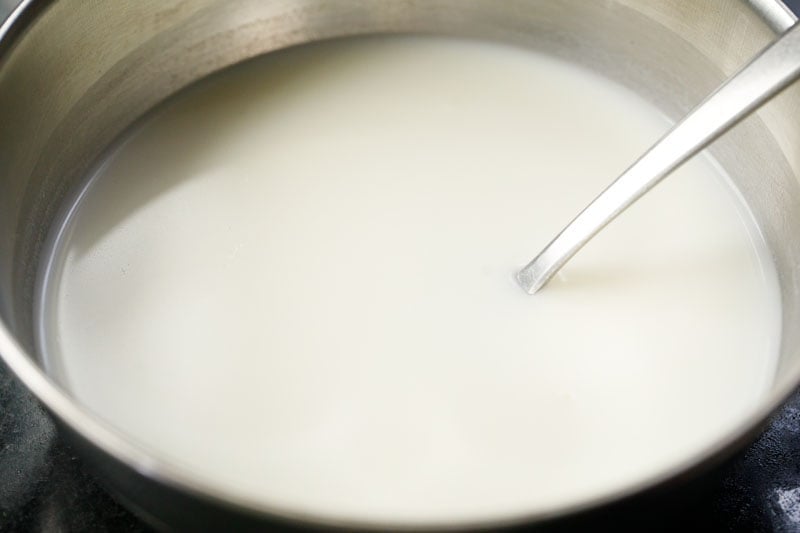
12. After you have collected the butter, you will see buttermilk collected in the bottom of the bowl. Do not discard it! This is a lovely ingredient that is a bonus from making butter. Use buttermilk as needed in any recipes.
Note that this buttermilk will have a sweet taste unlike the buttermilk made from cultured cream which will have a sour or tangy taste.
A simple way to use the excess buttermilk would be to season with salt, cumin powder, finely chopped ginger, some mint and coriander leaves.
Mix and drink it like a chaas or spiced Buttermilk. Read on below for more ideas to use up the buttermilk.
Rinse & Store
Now place the cheesecloth with the butter on the mesh strainer and keep on the same bowl in which you whipped the cream. We will be rinsing the butter with ice cold water so that more of the buttermilk is extracted from it.
Gently pour ½ cup cold water all over. This will help chill the butter, helping it to solidify. Press the butter with a wooden spoon or spatula so that more of the buttermilk is removed from it.
Repeat – pour ½ cup cold water all over, press the white butter to extract the buttermilk. Discard the water.
Pour ½ cup cold water over the butter for a third time and press again to remove any extra buttermilk. While rinsing, you will see that the milky white color of the water will become more faint.
Repeat this process of rinsing a few more times until the water becomes mostly clear.
You can also strain the butter through a super-fine strainer. Some people use their hands to rinse the butter and remove the buttermilk. I do not prefer to use my hands as I find it messy and untidy.
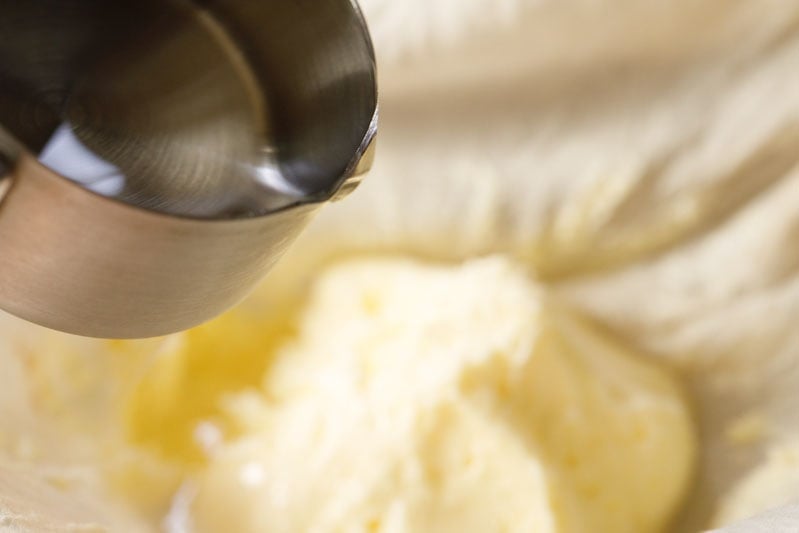
Bring the edges of the cheesecloth together and press gently to extract as much buttermilk from the butter as possible.
The more the buttermilk that is removed, the longer shelf life your butter will have.
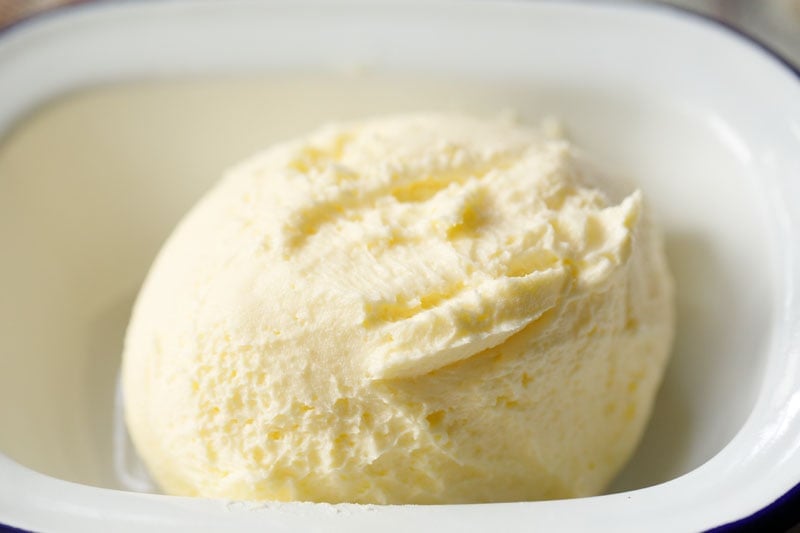
Remove the white butter from the cheesecloth and place it in an airtight container. Scrape any butter clinging on the cheesecloth with spatula and transfer to the container.
Feel free to line the container with parchment paper. I prefer to store the butter unsalted in the refrigerator.
At this point, you can take the butter in a bowl and turn it into a compound butter by adding salt, spices or herbs, or even fruit that you like. Mix very well.
There are many variations of butter that you could possibly make, like garlic butter, herbed butter, or strawberry butter.
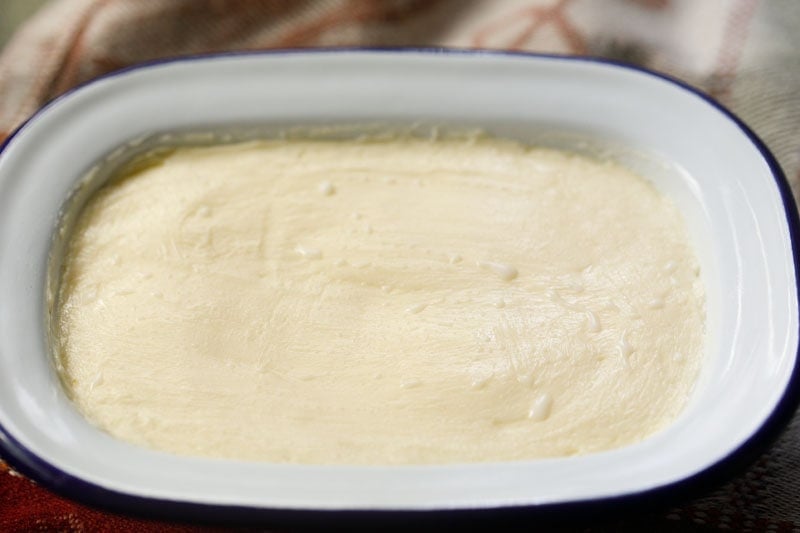
With a spatula, smooth the top and the edges making the butter even from all sides. Cover with an airtight lid and let the butter set in the refrigerator until you are ready to use it.
Uses for White Butter
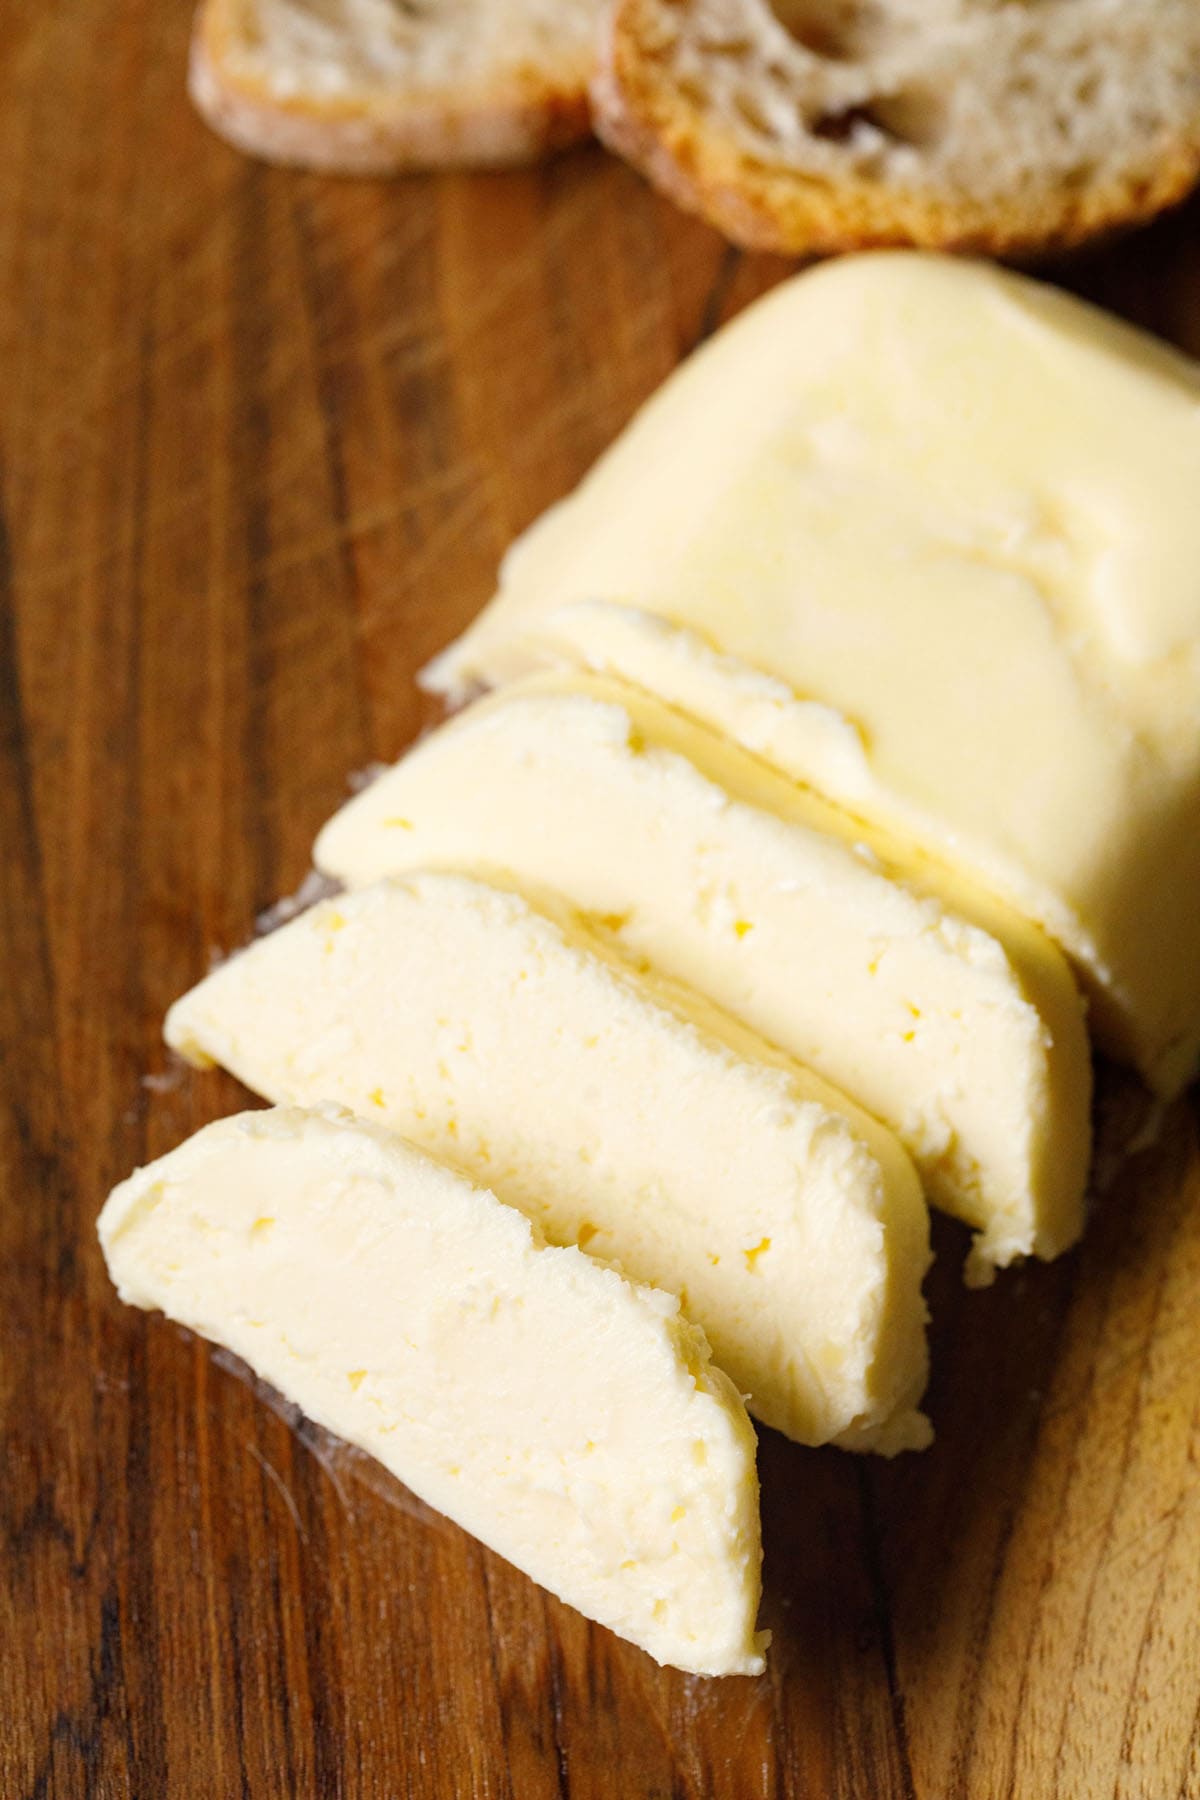
This white butter – also called Makhan in India – can be used on breads, rotis, parathas, or sandwiches. Homemade butter can also be used for baking biscuits and cakes.
If you are not worried about counting calories, then you can also use the butter in dals, vegetables etc or make the popular Indian street food Pav Bhaji. You could also use this fresh butter to make ghee (clarified butter) at home.
In short, you can use this homemade butter anywhere you would use normal, store bought butter.
That said, I suggest you try my favorite, simple, beautiful breakfast of fresh butter on a slice of fresh bread with a cup of tea or coffee. You won’t believe how delicious it is!
How long does homemade butter last
You can keep the homemade butter at room temperature for 1 to 2 days if you live in a cool place. If you live in a hot humid place, it is better to refrigerate. At room temperature butter can go rancid very easily.
If your butter has more of the buttermilk in it, it will have a shorter shelf life. A well made butter will last for a couple of weeks in the refrigerator and for a month in the freezer.
How to Make Cultured Butter
To make cultured butter, the process is slightly different. You’ll need to make cultured cream first. You can use homemade cream as I have explained in step 1 or use packaged cream to culture it.
Make Cultured Cream
Take 2 cups of heavy cream. The cream can be cold or at room temperature. Mix in ¼ cup of yogurt or Curd until uniform. Cover and let the cream set for 8 to 9 hours. You can also use the Instant Pot yogurt setting to make this sour cream.
When the cream is perfectly cultured, it will be wobbly and thickened. Place the cultured cream in the fridge and let it cool completely before churning.
Whip Cultured Cream
Then follow the step as mentioned above to whip the cultured cream until the cultured butter gets separated. You can whip it in a blender, stand-mixer or with a hand-held electric blender.
Collect the butter in a muslin draining all the buttermilk. Rinse the butter in ice cold water and remove as much buttermilk from it as you can.
Transfer completed butter to an air-tight box and refrigerate or freeze it. You can use this cultured butter to make cultured ghee.
Note that both cultured butter and the buttermilk extracted from the cultured cream is far healthier due to the presence of the gut friendly bacteria and also has a better flavor than the buttermilk from uncultured cream.
How to Use Buttermilk
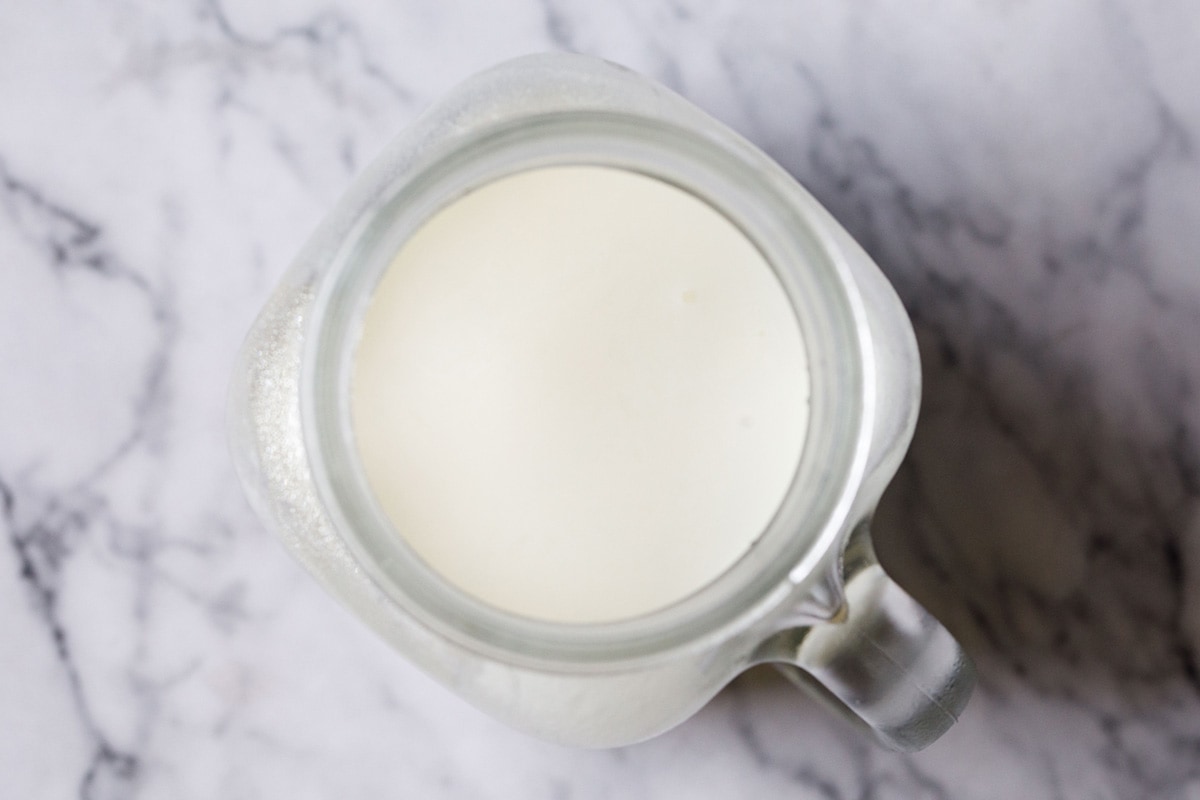
As I mentioned above, you should definitely keep the buttermilk that is extracted during the butter-making process. It is a delightful (and basically free) ingredient that can be used in a wide array of applications. Here are some ideas for what to do with your whey:
- Buttermilk Pancakes
- Cakes
- Breads
- Spiced Savory Drinks
- Cornbread
- Cheese Biscuits
- Kadhi – Use cultured buttermilk here – the sour taste is superior.
- Chaas Recipe: For this popular, cooling Indian drink, I recommend using cultured buttermilk – the tang is much welcomed.
- Ragi Dosa
- Cheese Naan
FAQs
If you have used cream with a low fat content, it won’t whip into butter. The cream should have fat above 35%; anything lesser than that won’t work.
If you have used heavy cream with 35% fat or above and the butter is not separating, then follow these steps:
1. Add ½ cup of ice cold water or 5 to 6 ice cubes to the cream. Continue to whip the cream.
2. If the butter has not separated after using ice water or ice cubes, then place the bowl in the fridge for an hour. Remove and begin to churn or beat again until butter separates.
3. Sometimes, melted butter will be dispersed in the cream and won’t separate. This happens if you churn butter in a hot or humid climate. Refrigerate the bowl with its contents for an hour or so. Upon refrigerating, you should see layers of butter floating on the buttermilk as the melted butterfat solidifies.
It takes about 5 to 10 minutes depending on the quality of cream, speed of your beater or mixer and the temperature of the cream. It is best to use cream that has been refrigerated for a day before you make butter from it.
Yes, you do. It not only helps to get rid of that milky taste and gives a smooth looking texture, it also helps the butter to last longer without spoiling.
Please be sure to rate the recipe in the recipe card or leave a comment below if you have made it. For more vegetarian inspirations, Sign Up for my emails or follow me on Instagram, Youtube, Facebook, Pinterest or Twitter.
How to Make Butter (White Butter)
Equipment
- Bowls
- Stand Mixer or Electric Hand Mixer or Blender or Food Processor
- Mesh strainer
- Silicon spatula
- Wooden spoon or spatula
- Cheesecloth or Muslin
- Kitchen towels
Ingredients
- 2 cups heavy cream or heavy whipping cream, with 35% fat and above
- 2 cup cold water or as needed
- salt or ground black pepper as required – optional
Instructions
Collecting Cream From Milk
- If you are collecting fresh cream or malai at home from milk then store this collected cream in the freezer. This cream is collected everyday and stored in a container in the freezer.
- After you have collected 2 or 3 cups of cream, then you can easily convert it into butter. Defrost the cream. You can defrost it in microwave or keep it on the countertop till it comes to room temperature.
- To culture this cream add ¼ cup yogurt (curd) to 2 cups of cream. The cream can be cold when you add the yogurt.
- Mix well and set aside for 7 to 8 hours until the cream gets cultured. After fermentation, the cream will thicken, be wobbly and set nicely.
- Keep this cultured cream in the refrigerate for a few hours until it becomes cold.
Whipping Cream
- Later in a blender, or in a food processor or in a bowl add the cream or the cultured cream. Turn on the blender or food processor or use an electric blender to whip the cream in a bowl.
- While whipping, initially, the cream will begin to smoothen and you will get whipped cream with soft peaks first and later with stiff peaks.
- Continue until you see buttermilk and the thick butter getting separated. You will see lumps of butter floating in the buttermilk.
- The butter will also be stuck on the whipping blades, so ensure to scrape the whipping blades with a spatula and add the butter solids back to the bowl.
- Now add ½ cup of cold icy water all over the butter in the bowl. This will solidify the butter and firm it up.Note that adding water will dilute the buttermilk. If you do not want your buttermilk to be diluted with some water, then add cold water after collecting the white butter in a cheese cloth or muslin.
Making Homemade Butter
- Line a mesh strainer with cheesecloth or muslin and place it on top of a bowl. Pour the buttermilk and butter from the bowl into the cheesecloth. Scrape the butter at the sides of the bowl with a spatula and transfer it onto the cheesecloth.
- Collect the edges and form a bundle, gently pressing off the extra whey or buttermilk from the butter. Open the cheesecloth and you will see a nice lump of soft homemade white butter.
- After you have collected the butter, you will see buttermilk collected in the bottom of the bowl. Use buttermilk as needed in any recipes.
- Now place the cheesecloth with the butter on the mesh strainer. Keep the mesh strainer on top of the same bowl in which you whipped the cream. We will be rinsing the butter with ice cold water so that more of the buttermilk is extracted from it.
- Gently pour ½ cup cold water all over the butter. This will help chill the butter, helping it to solidify. Press the butter with a wooden spoon or spatula so that more of the buttermilk is removed from it.
- Repeat – pour ½ cup cold water all over, press the butter to extract the buttermilk. Discard the water.
- Pour ½ cup cold water over the butter for a third time and press again to remove any extra buttermilk. While rinsing, you will see that the milky white color of the water will become more faint.
- You could also strain the butter from the buttermilk through a superfine strainer. Some people use their hands to rinse the butter and remove the buttermilk. I do not prefer to use my hands as I find it messy.
- Bring the edges of the cheesecloth together and press gently to extract as much buttermilk from the butter as possible. The more the buttermilk that is removed, the longer will the shelf life of your homemade butter.
- Remove the butter from the cheesecloth and place it in an airtight container. With a spoon or spatula collect any white butter clinging on the cheesecloth and transfer to the container.
- Feel free to line the container with parchment paper. I prefer to store the butter unsalted in the refrigerator.
- At this point, as a variation, you could also add salt or ground pepper or your choice of dried herbs to the butter and mix very well.
Storing Butter
- With a spatula, smooth the top and the edges making the butter even from all sides.
- Cover with an airtight lid and let the butter set in the refrigerator until you are ready to use it.
- Butter stays good in the refrigerator for a couple of weeks. If you have drained the buttermilk very well, then the butter will keep for about a month. You can also freeze this homemade white butter.
Making Cultured Butter
- To culture cream you can use homemade cream as I have explained above or use packaged cream to culture it.
- To culture packaged cream, take 2 cups of heavy cream. The cream can be cold or at room temperature. Add ¼ cup of yogurt or curd to the cream and mix well.
- Cover and let the cream set for 8 to 9 hours. You can also use the Instant Pot yogurt setting to make this sour cultured cream.
- When the cream is perfectly cultured, it will be wobbly and thickened. Place the cultured cream in the fridge and let it cool completely before churning.
- Then follow the steps as mentioned above to whip the cultured cream until the cultured butter gets separated. You can choose to whip the cultured cream in a blender, stand-mixer or with a hand-held electric blender.
- Collect the cultured butter in a muslin draining all the buttermilk. Rinse the butter in ice cold water and remove as much buttermilk from it as you can.
- Transfer completed cultured butter to an air-tight box and refrigerate or freeze it. You can use this cultured butter to make cultured ghee.
Notes
- Make sure to use cream with 35% fat content and above. If you have used cream with less fat content, it will not work.
- You can flavor homemade butter with seasonings like salt, black pepper and even a mix of herbs and spices like garlic, basil, mint, oregano, cayenne, red chili flakes, green chilies, thyme, parsley etc.
- To whip the cream, use an electric beater or a stand-mixer with the whisk attachment.
Nutrition Info (Approximate Values)
Homemade Butter recipe from the blog archives was first published on July 2009.


Hi. I have been making ghee all these years. I store malai in a glass jar for around 10 – 12 days, which is fine I guess. But the malai always becomes bitter😢. Why so?
Try reducing the temperature of the fridge. Looks like the malai is getting rancid. Alternatively you can freeze it in a steel bowl. Hope this helps.
I love the recipe❤♥
I made it. It came out superb. But how long can we store it in fridge? Because already the cream is 15days old. If we prepare ghee then its boiling but for butter we are just churning the cream and that’s it
thanks urmi. keep in the freezer and not in the fridge.
So, I tried making butter from malai using whipping blade of my food processor. I don’t see the butter floating on buttermilk. Instead it’s very fine and mixes up and then getting it out is very very difficult and time consuming. I had a similar problem with hand blender too. What am I doing wrong?
did you add water. try to add some warm water. should work.
Hi… is the wet blade grinder useful for this task? Or will I have to buy a specific blade for making butter?
don’t use wet blade. use the whipping blade or flat blade that is used to churn curd or whip cream.
Hai ….from my experience….there is an easy way to remove water from home made. butter. Just keep it in refrigerator ( not freezer) for a few minutes . After it becomes a bit hard, tilt the bowl and water will flow out.
Thanks Jolly for the suggestion. I am sure it will help the readers.
Who is using full fat milk he can collect cream (sai) from that milk and keep in refrigerator adding one spoon of curd in it so that taste and quality not disturbs. After 10 to 15 days depending upon quantity of cream you can blend it in food processor with plastic blade. You have to add some ice or cold water while churning so that makhan solids become separated easily. After removing makhan you can freeze it max 2-3 days After that you have to heat it in the kadai till the Color changes to slightly red. Then remove from the gas and add one leaf of betel leaf or 2 to 3 cloves in it.
thank for this detailed info. what is the purpose of heating makhan after 2 to 3 days. we generally don’t do it and use the makhan from the fridge.