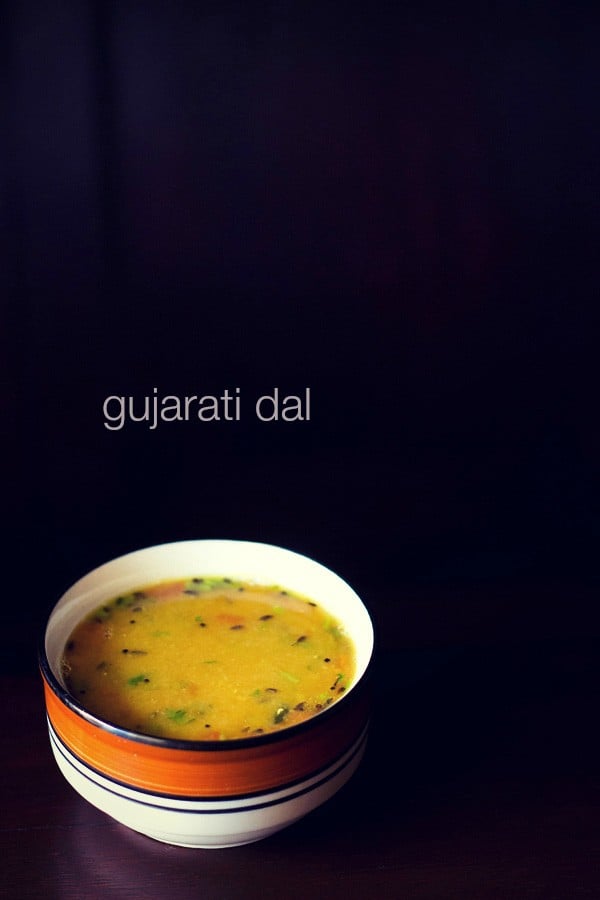
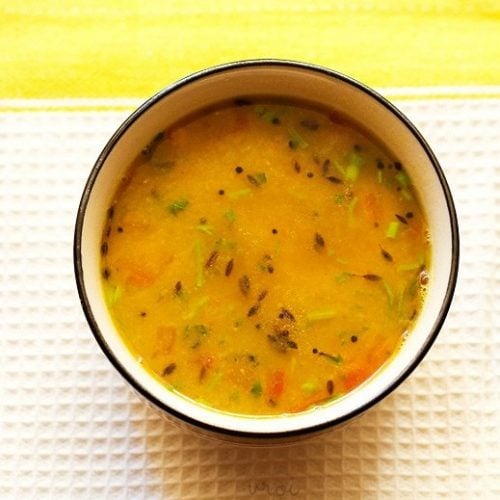
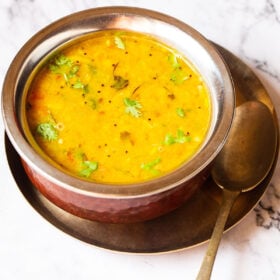
Gujarati dal recipe is a unique tasting soupy lentil dish that has two contrasting flavors – sweet and sour. A bit of sweet and some sourness in any dish tastes too good and so does in this Gujarati dal. It is a vegan recipe made without onion and garlic.
About Gujarati Dal Recipe
Dal or lentils is one of the food we make regularly and is a staple. I often cook various lentil recipes from the Indian cuisine with pigeon pea lentils, mung lentils, pink lentils and many more.
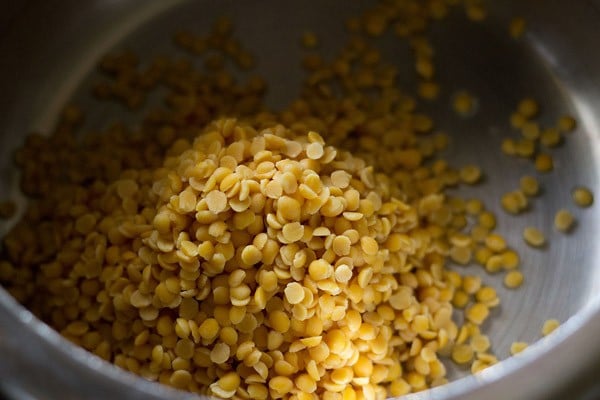
Gujarati dal recipe is made with pigeon pea lentils, also known as tur dal or arhar dal in Hindi. These are yellow colored lentils that are halved with their husks removed. You will find them in any Indian grocery store or online.
This dal is one of those lentil recipes that I make many times as we simply love it. Give us a bowl of piping hot dal with some steamed rice and we don’t need anything more 🙂
Like most Indian dal recipes, this Gujarati dal is also easy to make. The consistency of this dal is medium-thin with a mild sweet-sour taste.
In Hindi, the tastes ‘sour’ means khatti and ‘sweet’ refers to meethi. Hence this particular lentil preparation is also called Khatti Meethi Dal.
The sweetness comes from jaggery (Indian unrefined cane sugar) and the sourness comes from kokum (garcinia indica).
Note that kokum may be difficult to procure, so you could opt to get that sour taste from lemon juice or tamarind pulp. Both the sweetness and sourness can be adjusted according to your liking.
Some variations of gujarati dal feature peanuts. My recipe does not have peanuts but you can add a handful of them if you like. On occasions I add peanuts when I have a stock of them. With or without peanuts, the dal always tastes good.
How to make Gujarati dal
Cook Lentils
1. Take ¾ cup arhar dal (tuvar dal or pigeon pea lentils). First pick the arhar dal for stones etc. Then rinse the lentils thoroughly in running water for 4 to 5 times.
Tip: To get the best taste in your Gujarati dal, I recommend to make it with unpolished tur dal.
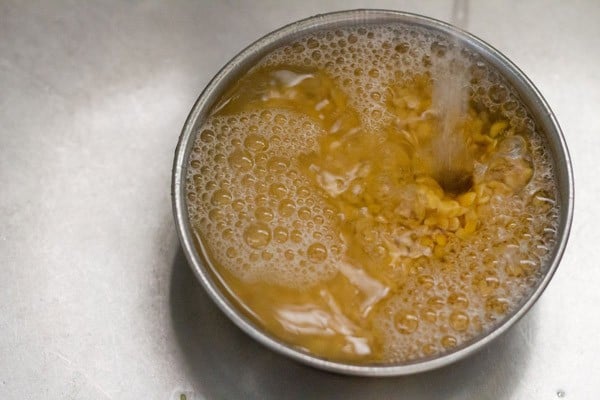
2. Add the rinsed dal in a 3-litre pressure cooker. You can choose to cook the lentils in an Instant Pot or in a pan if you do not have a stove-top pressure cooker.
Read on the details below in the Tips section and the notes section of the recipe card.
3. Add 2 to 2.5 cups water.
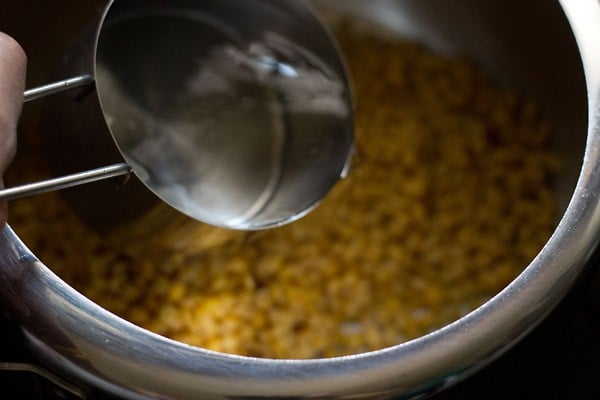
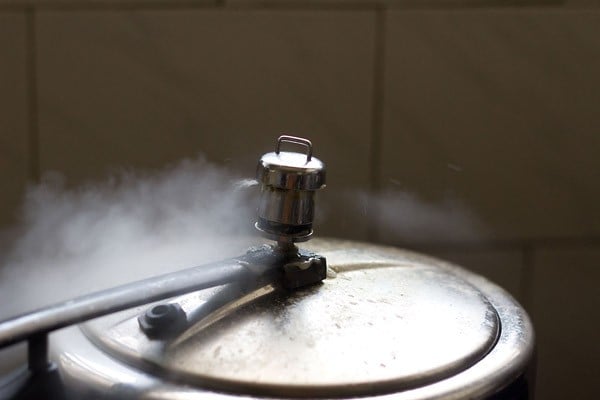
4. Pressure cook for 7 to 8 minutes on a medium to high heat.
Mash Lentils
5. The lentils have to be cooked completely and mushy. Note that the timing of cooking lentils will vary with their quality and age.
If the lentils have not softened, add about ⅓ to ½ cup water and pressure cook again for 3 to 4 minutes or more until the lentils have softened completely.
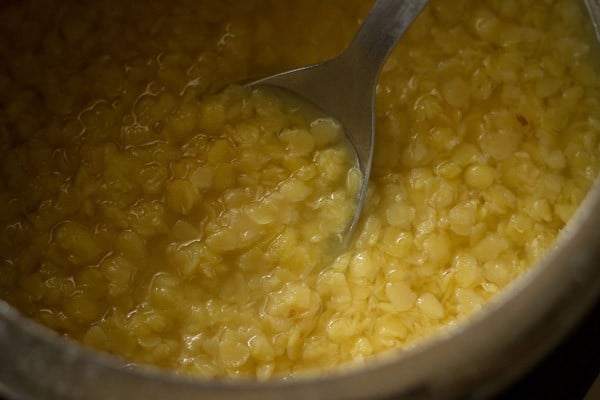
6. Mash the dal very well with a wired whisk or with a spoon.
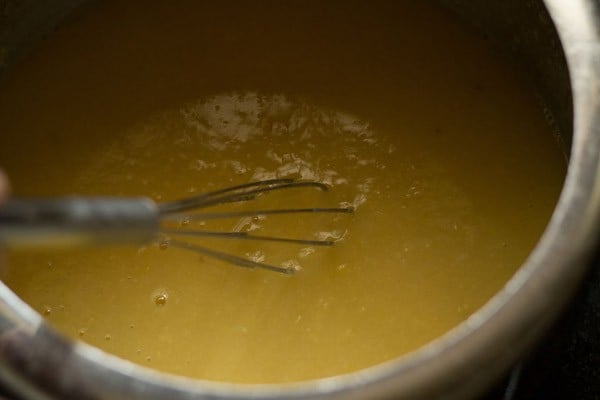
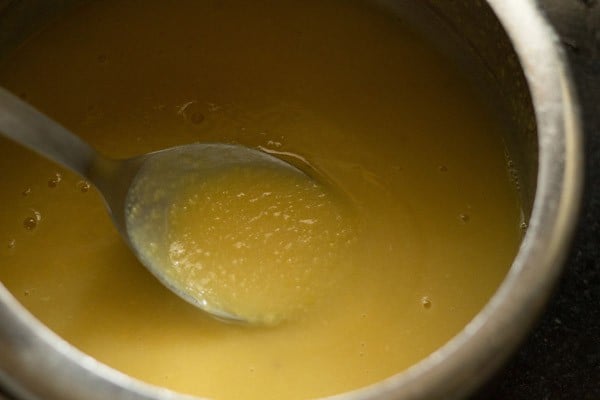
7. The lentils should be mashed thoroughly.
Flavor with Seasonings, Spices
8. Add the following listed ingredients to the mashed lentils.
- 1 teaspoon green chili-ginger paste (made by crushing 1 green chilli and ½ inch ginger in a mortar-pestle)
- ½ teaspoon of turmeric powder
- ½ teaspoon red chili powder or cayenne pepper
- ½ teaspoon coriander powder
- ½ teaspoon cumin powder
- 1.5 to 2 tablespoons jaggery or sugar (can sub palm sugar or coconut sugar)
- salt as required
- 3 to 4 dried kokums (swap kokum with 1 to 2 teaspoons lemon juice or 1 teaspoon unsweetened tamarind sauce/pulp or as needed. Note for lemon juice add it after you add the tempering ingredients to the dal.)
- 1 small sized chopped tomatoes (optional)
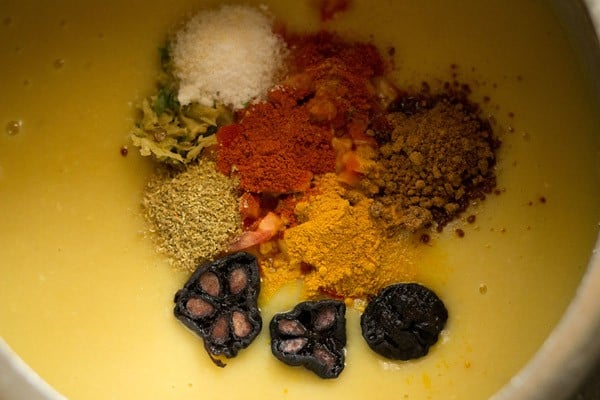
9. Combine and mix thoroughly.
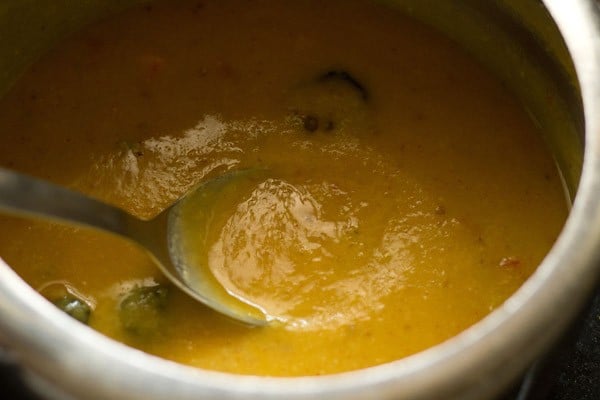
Simmer Dal
10. Add 1.5 to 2 cups water to get a medium or medium-thin consistency.
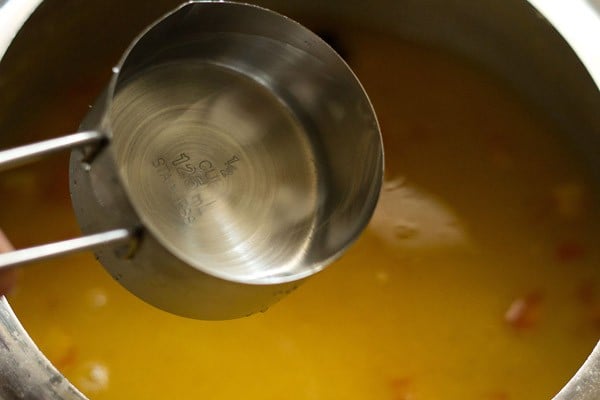
11. Mix again and place the pressure cooker back on the stovetop.
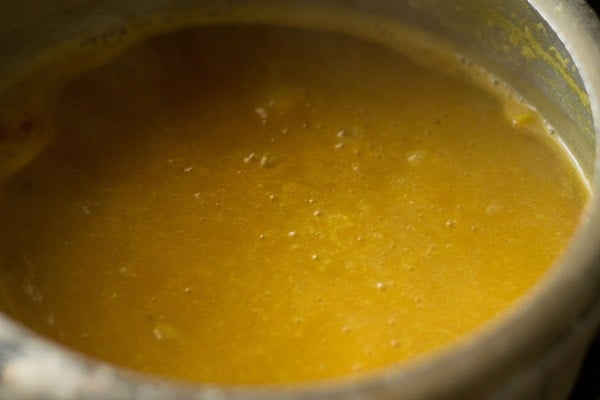
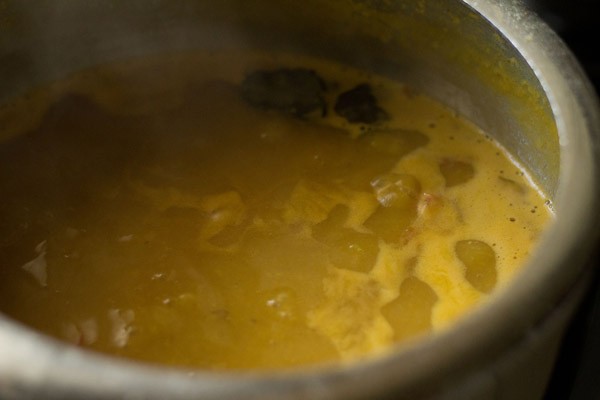
12. Bring the lentils to a simmer on a low heat for 7 to 8 minutes.
Tempering
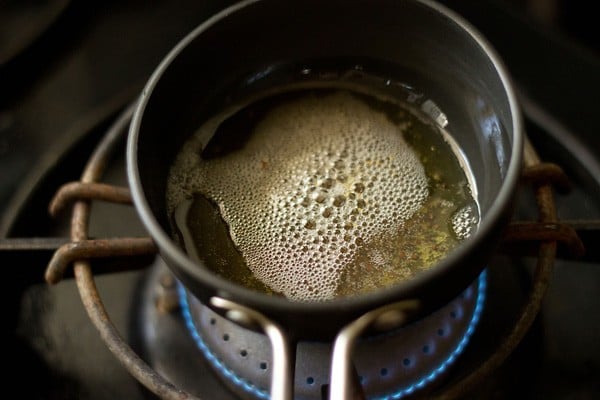
13. For the tempering, heat 2 tablespoons oil (or ghee if you prefer) in a small frying pan or skillet. Lower the heat. Crackle ½ teaspoon mustard seeds first and then add ½ teaspoon cumin seeds.
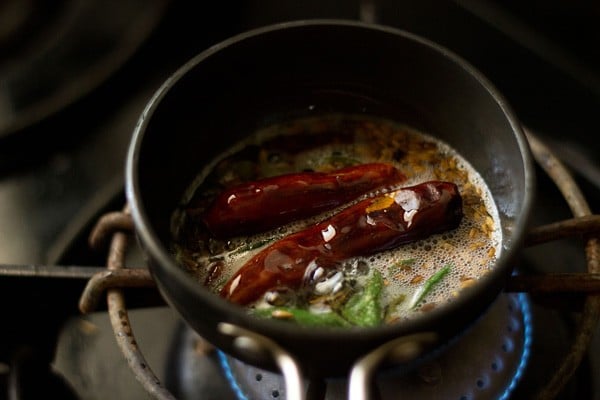
14. Make sure to add these spices, herbs after the cumin seeds crackle. Stir and fry for some seconds on a low heat until the red chilies change color, but do not burn them.
- 2 to 3 small dry red chilies (if you prefer break the chillies and remove the seeds prior to frying
- 3 to 4 cloves
- 1 inch cinnamon
- 8 to 10 curry leaves (or swap curry leaves with 1 tej patta)
- a generous pinch of asafoetida (hing)
- ¼ teaspoon fenugreek seeds.
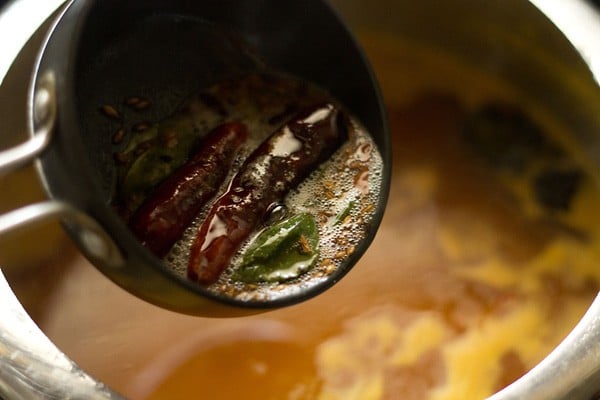
15. Carefully pour this entire tempering mixture together with the oil on the simmering dal.
16. Switch off the heat.
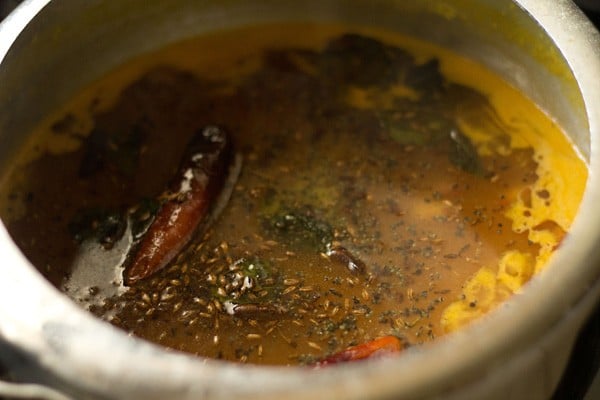
17. Add 1 to 2 tablespoons of coriander leaves.
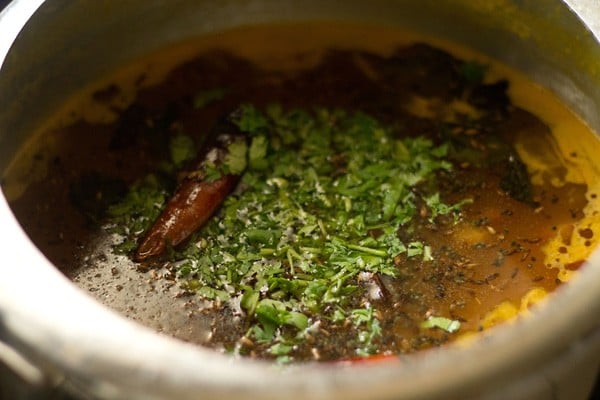
18. Mix well.
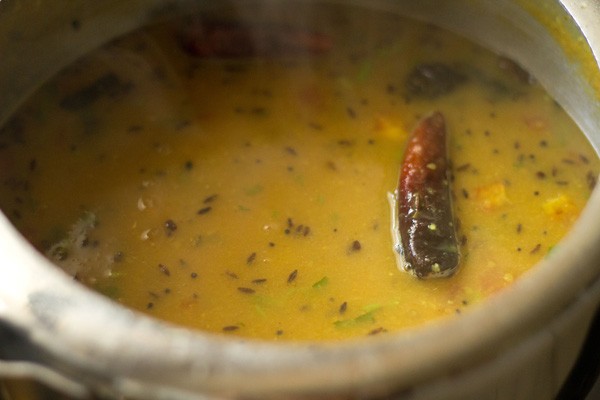
19. Serve Gujarati dal piping hot.
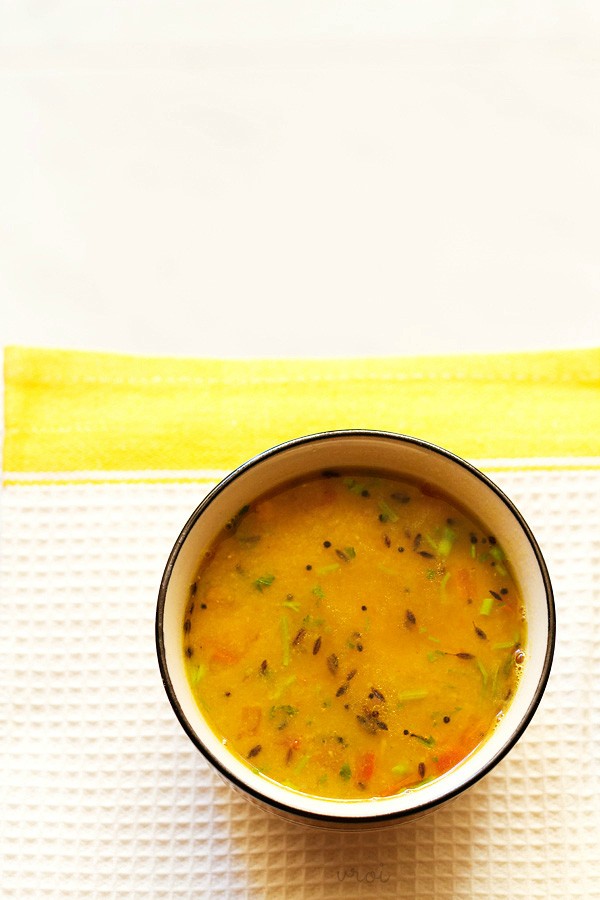
Serving Suggestions
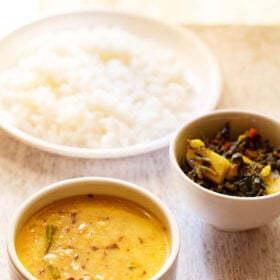
Gujarati dal is best served with hot steamed rice. Drizzle a bit of ghee on the dal if you like. Have a complete meal by pairing the dal and rice with a side of any Indian Vegetable Dish or Salad or Raita or a plain Curd (Yogurt).
You can relish the dal with some soft Roti or crispy Paratha or even bread or dinner rolls (pav).
Storage
It is best to eat Gujarati dal when freshly cooked. Lentils always taste best when served hot and as soon as they are cooked. If you have leftovers, then store in the refrigerator and try to consume the same day or at the most next day.
Dal when refrigerated, will thicken with a change in flavor and taste. Refrigerated dal does not taste as better or good than freshly cooked dal. Moreover I suggest that for health reasons, it is best to eat dal the day it is made.
Expert Tips
Cooking Lentils
As you see I have cooked the lentils in a stove-top pressure cooker, but below I share cooking them in a pan on the stove-top and in the Instant Pot
1. Cooking Lentils in a Pan
Prior to cooking the lentils in a pan or pot on the stove-top, soak them for an hour in a bowl. Rinse and drain the water. Add the lentils and about 2.5 to 3 cups water in a pan. Cover and cook on medium-low to medium heat.
If the water starts frothing and bubbling, likely to spill over, remove the lid or cover it partly and simmer. It may take 30 to 45 minutes for the lentils to cook depending on their quality and age.
2. Pressure cooking lentils in Instant Pot
Add the lentils and 2 cups water in the inner steel insert of your Instant pot. Pressure cook for 10 to 12 minutes on high pressure until the lentils have softened.
You can also cook rice when pressure cooking lentils by placing a pan/pot of rice and water on a trivet placed inside the steel insert. Soak the rice for an 30 minutes before cooking.
After you hear the beep sound, when the cooking is complete, wait for 10 minutes and then give a quick pressure release.
Mash the lentils and then later add the tempering ingredients to the dal. If the consistency looks thin, use the ‘sauté’ function and simmer the dal for some minutes until you get the desired consistency.
More Helpful Tips
- Lentils: Though traditionally Gujarati dal is made with tur dal (pigeon pea lentils), feel free to use mung lentils (moong dal) or pink lentils (masoor dal). Equal proportions of different lentils also work well in this recipe. I recommend to use unpolished tur dal for optimum taste, flavor and for health reasons.
- Peanuts: Add about ¼ cup raw peanuts (unsalted) when cooking the lentils. Peanuts can be soaked for 30 minutes prior to cooking them.
- Gluten-free option: Asafoetida gives some onion and garlic flavor to the dal. If you do not use asafoetida, the flavor will be different. If you have gluten allergy, I suggest to omit the asafoetida, and include ¼ to ⅓ cup chopped onions and ½ to 1 teaspoon chopped garlic in the lentils when cooking them. Or use a gluten free asafetida.
- Scaling: You can easily scale this recipe to make a small or a big batch of dal.
More Indian Dal Recipes To Try!
Dal (Lentils) & Legumes
Dal (Lentils) & Legumes
Dal (Lentils) & Legumes
Dal (Lentils) & Legumes
Please be sure to rate the recipe in the recipe card or leave a comment below if you have made it. For more vegetarian inspirations, Sign Up for my emails or follow me on Instagram, Youtube, Facebook, Pinterest or Twitter.
Gujarati Dal Recipe (Khatti Meethi Dal)
Ingredients
For cooking lentils
- ¾ cup arhar dal (tuvar dal or pigeon pea lentils)
- 2 to 2.5 cups water or add as needed
Other ingredients
- 1 tomato small-sized, chopped (optional)
- 1 or 2 green chilies + ½ inch ginger – crushed in a mortar pestle to a paste or about 1 teaspoon ginger green chili paste
- ½ teaspoon turmeric powder (ground turmeric)
- ½ teaspoon Coriander Powder (ground coriander)
- ½ teaspoon cumin powder
- ½ teaspoon red chili powder
- 3 to 4 dried kokums * check point 3 in notes
- 1.5 to 2 cups water or add as required, to be added later
- 1.5 to 2 tablespoon organic powdered jaggery powder or grated jaggery or add as required
- 1 to 2 tablespoon chopped coriander leaves (cilantro leaves)
- salt as required
For tempering
- 2 tablespoon oil or add Ghee if you prefer
- ½ teaspoon mustard seeds
- ½ teaspoon cumin seeds
- ¼ teaspoon fenugreek seeds (methi dana)
- 2 to 3 dry red chilies small-sized or 2 regular to large dry red chili – halved and deseeded or kept whole
- 8 to 10 curry leaves
- 1 generous pinch asafoetida (hing)
- 3 to 4 cloves
- 1 inch cinnamon
Instructions
Pressure cooking lentils
- First pick the arhar dal or pigeon pea lentils for stones etc.
- Then rinse the lentils thoroughly in running water for 4 to 5 times.
- Add the rinsed dal in a 3 litre pressure cooker. Add water. Pressure cook for 7 to 8 minutes on a medium to high heat.
- Read on below in the notes section on cooking lentils in the Instant pot or in a pan.
- The lentils have to be cooked completely and softened really well.
- Mash the dal very well with a wired whisk or with a spoon. The lentils should be mashed very well.
Making gujarati dal
- Add green chili-ginger paste, turmeric powder, red chili powder, coriander-cumin powder, jaggery, salt, tomato(optional) and kokums. Mix well.
- Add water to get a medium to medium-thin consistency. Mix again and keep the cooker back on the stove top.
- Bring the dal to a simmer on a low heat for 7 to 8 minutes stirring often.
For tempering
- Heat oil or ghee in a small pan. Crackle mustard seeds first and then add cumin seeds.
- Add the dry red chilies, cloves, cinnamon, curry leaves, asafoetida and fenugreek seeds.
- Stir and fry for some seconds until the red chilies change color.
- Carefully, pour this tempering mixture together with the oil in the simmering dal. Switch off the heat.
- Add coriander leaves. Finally stir the dal.
- Serve piping hot gujarati dal with steamed rice.
Serving Suggestions
- Gujarati dal is best served with hot steamed rice. Drizzle a bit of ghee on the dal if you like. Have a complete meal by pairing the dal and rice with a side of any Indian vegetable dish or salad or raita or a plain yogurt.
- You can relish the dal with some soft roti or crispy paratha or even bread or dinner rolls (pav).
Storage
- It is best to eat Gujarati dal when freshly cooked. Lentils always taste best when served hot and as soon as they are cooked. If you have leftovers, then store in the refrigerator and try to consume the same day or at the most next day.
- Dal when refrigerated, will thicken with a change in flavor and taste. Refrigerated dal does not taste as better or good than freshly cooked dal. Moreover I suggest that for health reasons, it is best to eat dal the day it is made.
Notes
- Lentils: Though traditionally Gujarati dal is made with tur dala (pigeon pea lentils), feel free to use mung lentils (moong dal) or pink lentils (masoor dal). Equal proportions of different lentils also work well in this recipe. I recommend to use unpolished tur dal for optimum taste, flavor and for health reasons.
- Gluten-free option: Asafoetida gives some onion and garlic flavor to the dal. If you do not use asafoetida, the flavor will be different. If you have gluten allergy, I suggest to omit the asafoetida, and include ¼ to ⅓ cup chopped onions and ½ to 1 teaspoon chopped garlic in the lentils when cooking them. Or use a gluten free asafetida.
- Kokum: Swap kokum with 1 to 2 teaspoons of unsweetened tamarind pulp/sauce or 1 to 2 teapsoons of lemon juice. Add the lemon juice after you add the tempering ingredients to the dal.
- Peanuts: Add about ¼ cup peanuts when cooking the lentils. Peanuts can be soaked for 30 minutes prior to cooking them.
- Cooking Lentils in a pan: For cooking the lentils in a pan or pot on the stove-top, soak them for an hour. Take the lentils and about 2.5 to 3 cups water in a pan. Cover and cook on medium-low to medium heat. If the water starts frothing and bubbling likely to spill over, remove the lid or cover it partly and simmer. It may take 30 to 45 minutes for the lentils to cook depending on their quality and age.
- Pressure cooking lentils in Instant Pot: Add the lentils and 2 cups water in the inner steel insert of your Instant pot. Pressure cook for 10 to 12 minutes on high pressure until the lentils have softened. You can also cook rice when pressure cooking lentils by placing a pan/pot of rice and water on a trivet placed inside the steel insert. After you hear the beep sound, when the cooking is complete, wait for 10 minutes and then give a quick pressure release. Mash the lentils and then later add the tempering ingredients to the dal. If the consistency looks thin, use the ‘sauté’ function and simmer the dal for some minutes until you get the desired consistency.
- Scaling: You can easily scale this recipe to make a small or a big batch of dal.
Nutrition Info (Approximate Values)
This gujarati dal recipe from the blog archives was first published on November 2014. It has been updated on December 2024.



I used tamarind instead of kokum but the taste was authentic, just like how I remember from Gujarati-style thaali restaurants. Instructions are spot on! Good job!
Thanks for the review and the rating. Yes, tamarind also works well in the recipe. Glad that the instructions were helpful.
AMAZING… I loved loved loved this recipe. I tried this multiple times. And even for guests. And it was absolute hit. No matter how much I make it. I never have anything leftover !!
I have made this thrice now
Accidentally added extra jaggery today, but it is still yummy
Thank you.
Your recipes have helped me a lot as I am a total newbie to cooking.
❤️❤️❤️
great and thank you bhanisha. i am glad that the recipes are helping you to cook good food.
most welcome and happy cooking.
you forgot one thing is jaggery
jaggery is added in the recipe. its also there in the photos as well as in the ingredient list and stepwise instructions. i have also mentioned about jaggery in the main content of the post.
I’ve been using your recipes for quite some time now, and I realised that not only does my food taste better, but also I have fallen in love with cooking again. Thanks for the clear, detailed instructions and the step by step photos : they really help a lot!
Looking forward to many more recipes from you 🙂
welcome girija. nice to know this. thanks for sharing this encouraging feedback on recipes.
Dear Dassana,
Love all your recipes and the way you detail them. Made this dal today. It is very easy to prepare and tastes really good… Thank you so much!!! All loved at home 🙂 You are doing an awesome job!
Nice recipe. Keep posting like this
thanks anuj
Love this recipe !
Oh, can you please do some more kids lunch box recipes? With 2 school going 5 year olds, its always a challenge to think up something that tastes good, looks pretty, is healthy, doesn’t get soggy/dry by meal time..the list is never ending!
NM, have a look at this tiffin recipes category – https://www.vegrecipesofindia.com/recipes/tiffin-recipes/
Hi, I have been a regular reader of your blog for quite a while, though haven’t commented till date. Just wanted to let you know that I love your blog 🙂 The look & feel of it is very serene, I don’t know if that makes sense, but your blog feels very calm and homely and it has become a go to for me since I love cooking and always look for ways and means to tweak daily dishes. I especially love your step by step pics..love your patience in taking those. Its very relaxing to read through as well. Thanks for doing a great job, please take care & god bless!
Thanks NM for your kind words. a lot of thought has gone into design of the website to give it a serene look. we make sure that the person who is reading the recipes feels at ease while reading. so we had tried our best to select best font, colors, layout and avoid distractions like pop ups. good to know that all this work we have done makes a difference in reading. because we hardly get any comment on design format and layout. so it feels good to know that all these things do make a difference.
I second you, NM. The website design is indeed very soothing and the navigation is extremely simply too. I absolutely love ur recipes and your recipes are the most trusted ones for me, after my mom’s ☺️☺️
Thanks for all the efforts and for making cooking such a delight 🙂
thanks rashika for this lovely feedback on the design as well as the recipes. happy cooking 🙂
The best website on the world in Food. thanks for vegerecipesof india
thanks a lot vineet for these encouraging words.
I love your website! I often use your recipes to try new dishes, tried making this dal today, followed the instructions step by step, and it turned out wonderful and so aromatic! Thank you so much for the great recipes 🙂
welcome manika. glad to know this.
great blog nice work i would like to get latest recipe on my email.
thanks abid. we no longer send recipes in email via weekly newsletter. please follow us on facebook, twitter or pinterest to get updates about new recipes posted.
HELLO MAM,
IN THIS DAL YOU ALSO ADD TOMATOES?
suvidha, addition of tomato is optional. i had forgotten to mention it in the post. but tomatoes are visible in step 8 photo and also in the final photo. i appreciate your sharpness.
Thanku mam…
I am a big fan of ur recepies..each n every day i read your blog n trying to make such a delisious recepies every day…. all becoz of ur food blog…
welcome suvidha. glad to know this.
Pretty good recipe! loved the variation of spices and ginger chilly paste !
thanks aparna