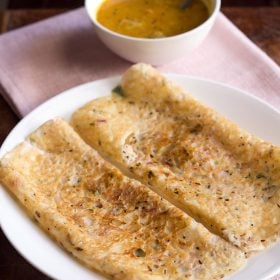
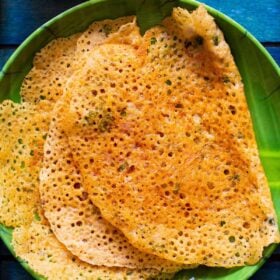
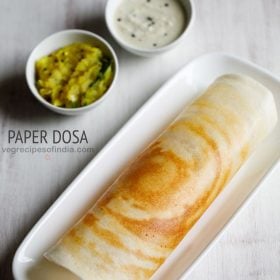
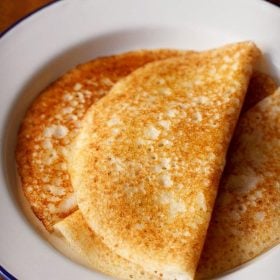
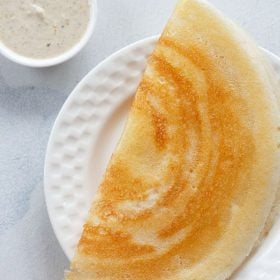
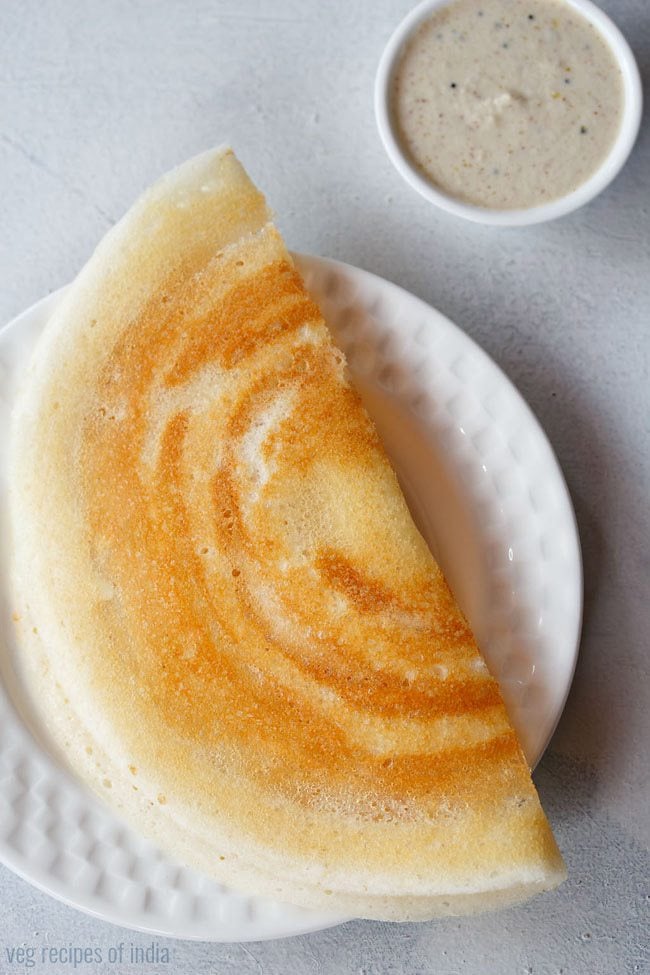
If there’s one South Indian meal that has comfort present all over it, it is that of a dosa, sambar and chutney. The world of dosas is also as varied and versatile as any other common dish from the cuisine of South India. One such awesome variation is that of this Ghee Roast Dosa. This is also the easiest way you can amp-up your regular plain dosas, by just cooking the dosa with the lovely ghee or clarified butter. This results in a restaurant-style crisp roasted dosa laced with the flavors of ghee.
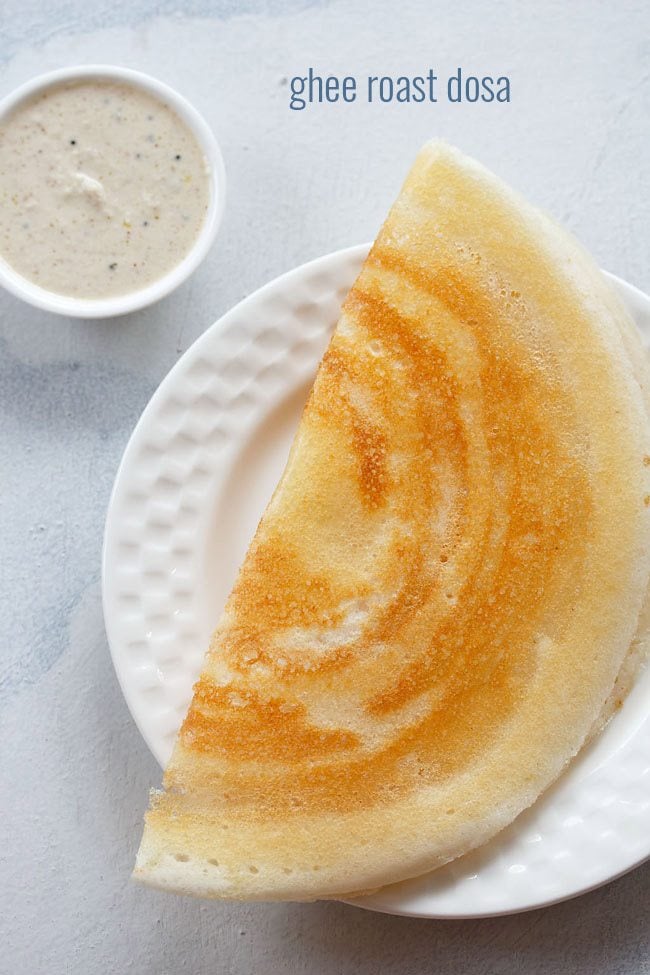
About Ghee Roast Dosa
It is not wrong when one says that the Ghee Roast Dosa is one of the most popular dosa varieties, which is liked by all ages. The same goes for me and my family too.
When at home, I usually make the simple plain or Sada Dosa with some coconut chutney for breakfasts. Even the sambar is not that frequent, and gets made only when we are wanting to have a dosa meal for lunch or dinner.
So, at times, when I want to make this basic plain dosa a little fancier without putting much efforts, I end up making this yummy crispy Ghee Roast Dosa. I must admit that with this dosa specially, you don’t even need any other accompaniment. It is that good, all by itself as well.
Table of Contents
Whether you choose to make your own dosa batter at home or use the readymade one brought from the market, one thing you must take care is that the batter is well fermented. Then only, you will be able to cook some really nice Ghee Roast Dosa or any dosa, for that matter.
Traditionally, in South India, the Ghee Roast Dosa is served after shaping it into a cone. You can do that at home as well or simply serve it folded. If using a cast iron pan, you can make the cone dosas as you’ll have to cut the dosa and then fold in a cone. If using a non-stick pan, then avoid doing this.
As I mentioned earlier, cook some of these dosas and enjoy them with an earthy Coconut Chutney and homely Sambar for a comforting meal. Sometimes, even this Red Coconut Chutney makes for a fab spicy accompaniment with this dosa. Try it too.
I use my restaurant style masala dosa batter recipe to make the Ghee Roast Dosa. Though you can even use the regular Idli Batter or dosa batter recipe to make it. In this post, I have shared recipes for both the batter and preparing of the Ghee Roast Dosa on tawa.
While making Ghee Roast Dosa, one important tip is to maintain the temperature of the tawa. If the tawa is hot, you won’t be able to spread the batter. If the tawa is not hot, the dosa will not be crisp. So, while cooking, you need to maintain a medium temperature on the tawa.
Also, use a well-seasoned tawa for making the Ghee Roast Dosa. By seasoned, I mean a tawa which is only used for making dosas. You can use a non-stick pan or a cast iron tawa. Since the cast iron tawa at my home is a smaller one, I used a non-stick pan to cook this dosa in a larger size.
How to make Ghee Roast Dosa
Soaking rice and lentils
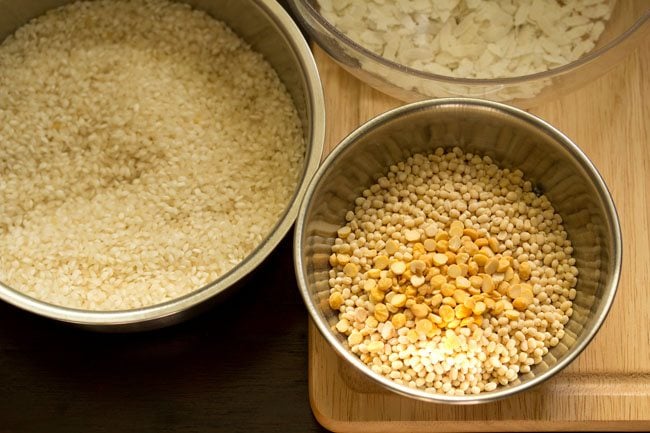
1. First take all the ingredients in 3 bowls:
- 1.5 cups idli rice or parboiled rice in one bowl
- ½ cup urad dal + 1 tablespoon chana dal + 20 fenugreek seeds (methi dana) in second bowl
- ⅓ cup thick poha in a third bowl
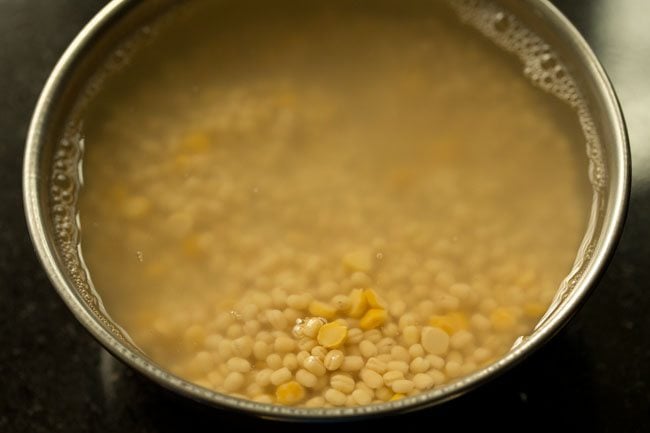
2. Rinse the lentils and methi seeds a couple of times. Then, soak in 1 cup water for 4 to 5 hours.
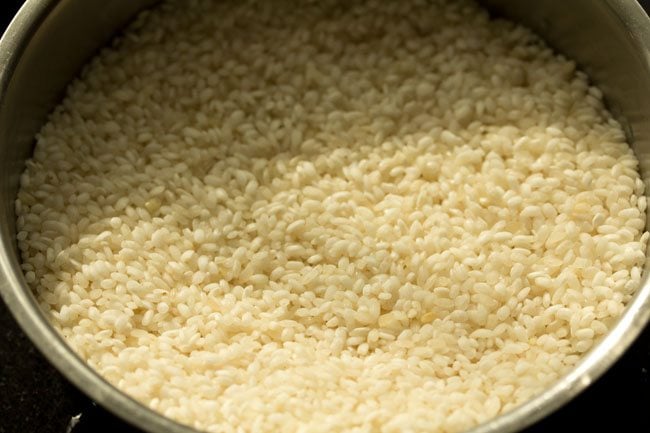
3. Rinse the rice a couple of times and keep aside.
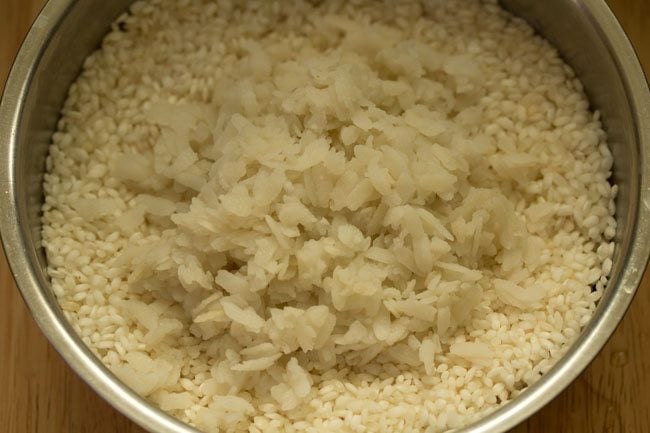
4. Rinse poha once or twice and then add to the rice.
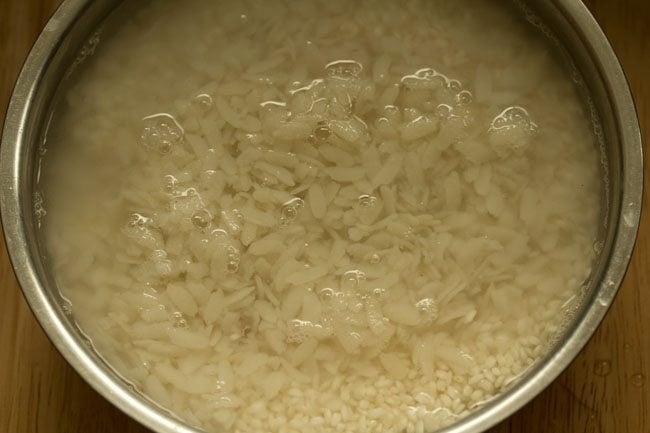
5. Pour 2 cups water. Stir and soak both rice and poha together for 4 to 5 hours.
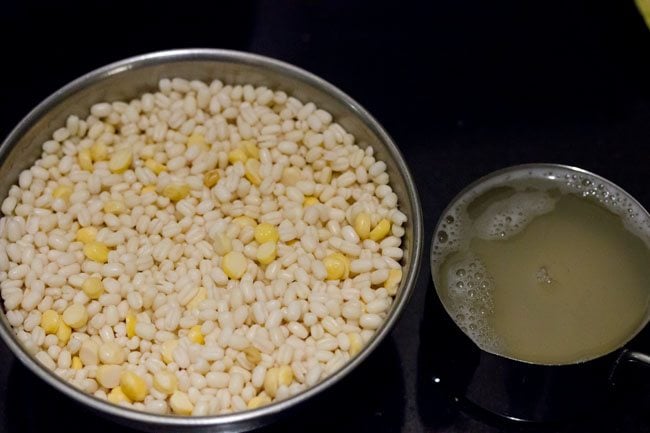
6. Before grinding, strain the water from the soaked lentils-methi seeds.
Grinding lentils and rice
7. Add the lentils-fenugreek seeds in the grinder jar. Also, add ½ cup of soaked and strained water to the dal.
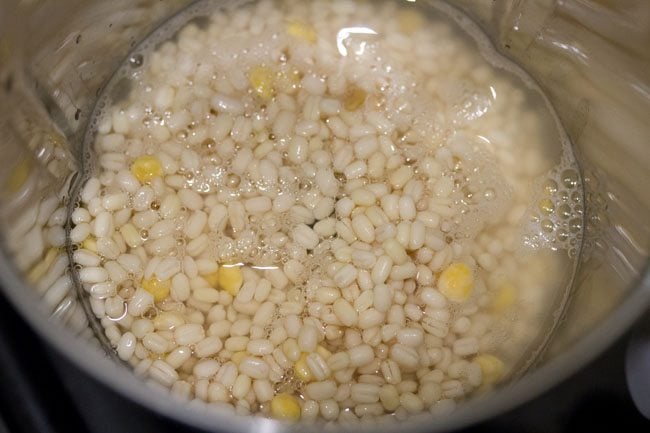
8. Grind the lentils and methi seeds till you get a batter which is light and fluffy. The urad dal has to be ground really well, so that the batter ferments well.
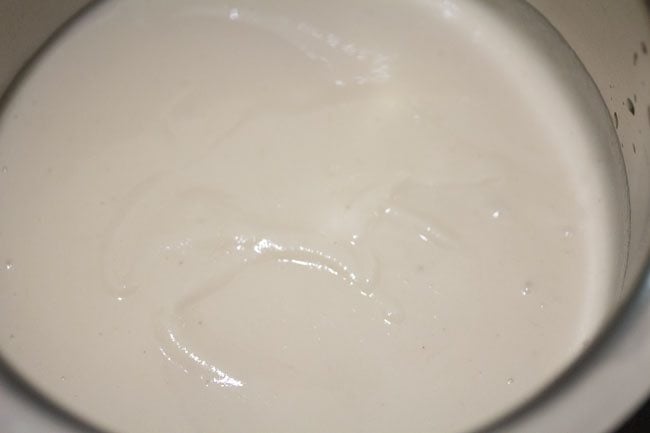
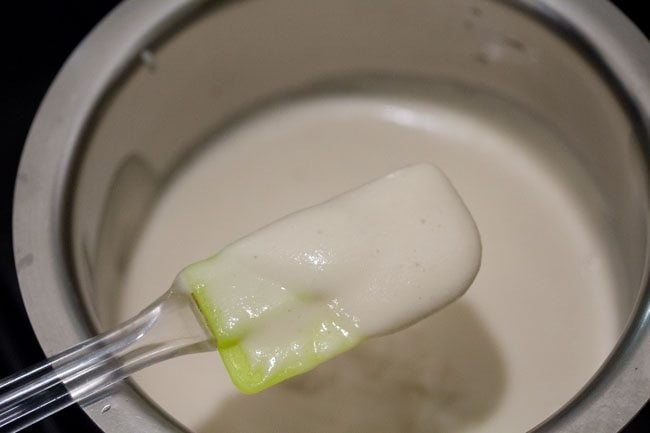
9. Remove the batter in a bowl or pan with a spatula. The picture below shows the consistency of the batter.
10. Strain the rice well. Then, in the same grinder, add the rice and 1 cup fresh water. You can grind rice in one, two or three batches. This will depend on the size of the grinder jar. I did it in one batch and added 1 cup water for grinding. You can even add ¾ cup water while grinding. Addition of water will depend on the quality of rice.
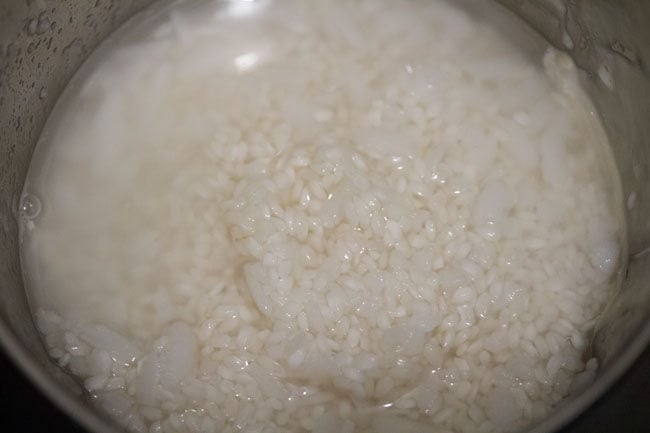
11. Grind the rice till you get a fine grainy consistency in it. The rice batter should have a fine rawa like consistency.
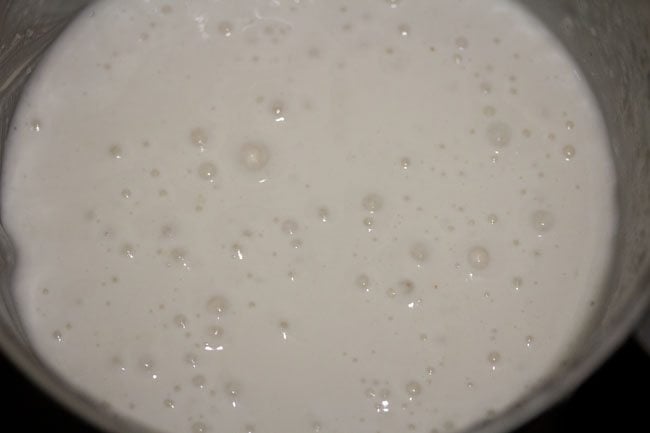
Making batter
12. Now, pour the rice batter in the same pan or bowl containing the lentils batter.
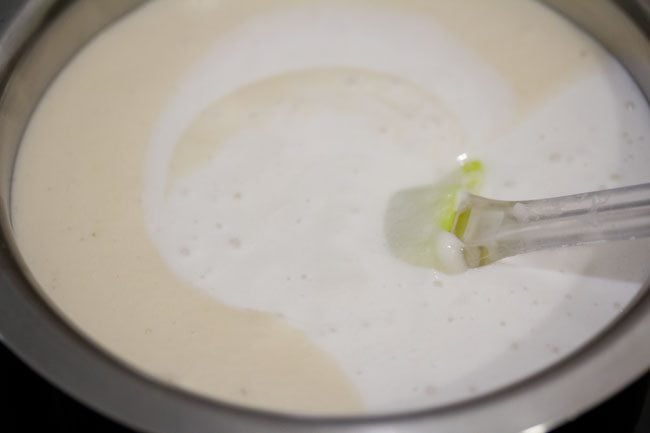
13. Add ½ teaspoon rock salt or as per taste.
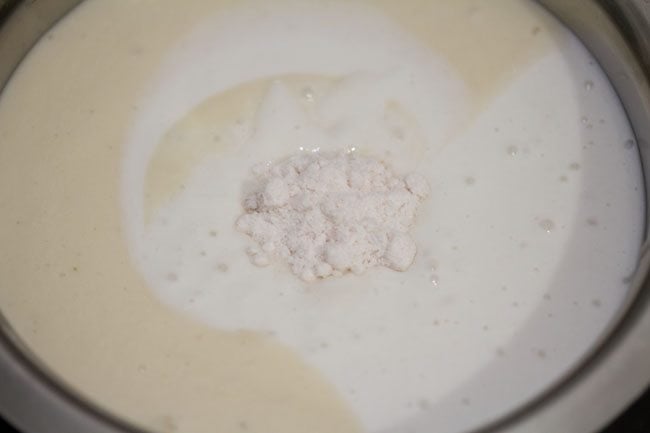
14. Mix the salt and both the batters very well. Cover and keep aside to ferment for 8 to 9 hours. You can keep for less or more time, and this will depend on the temperature conditions in your city.
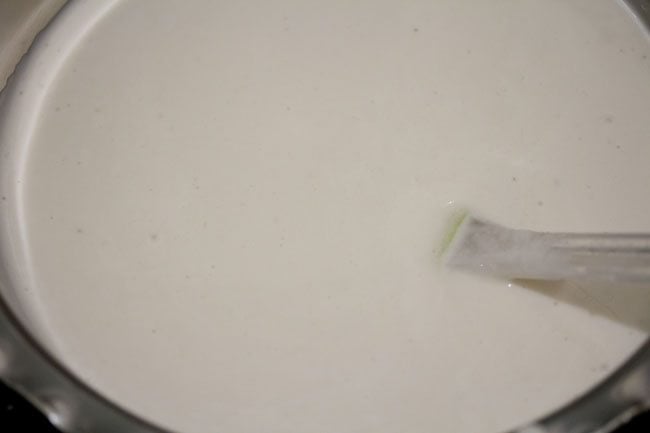
15. The batter the next day. I kept for about 13 hours and 35 minutes as it was cold during monsoons here.
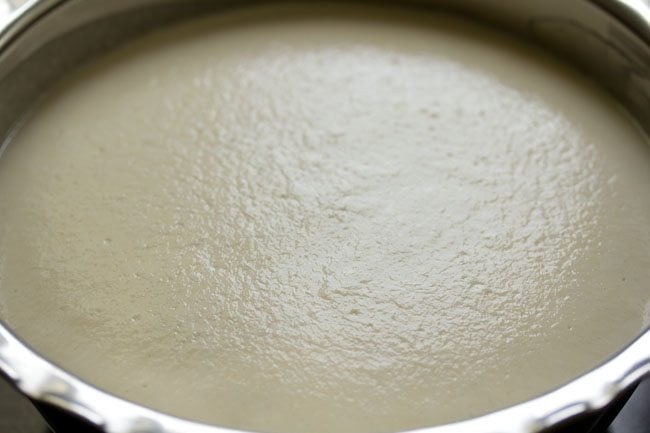
16. Now, lightly stir the batter, before you begin to make dosa. You will also see tiny air pockets in the batter.
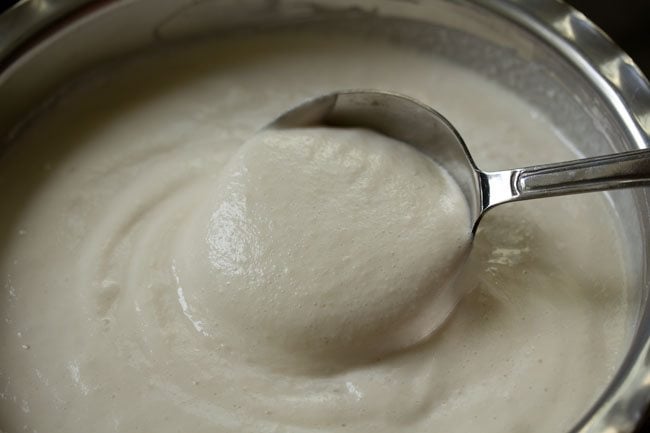
Making Ghee Roast Dosa
17. Heat a thick bottomed cast iron griddle or non stick pan. The pan should be medium hot. You can keep the flame to a low or medium while making dosas. If using an iron pan, then spread ¼ to ½ teaspoon oil or ghee all over the pan. Use a silicon brush, spoon, kitchen towel or onion halve to spread the oil or ghee. Do not spread oil or ghee on a non stick pan. Keep the flame on low to low-medium flame, so that you can easily spread the batter. If the pan base is very thick, then keep the flame to medium. Pour a ladle of the batter in the center.
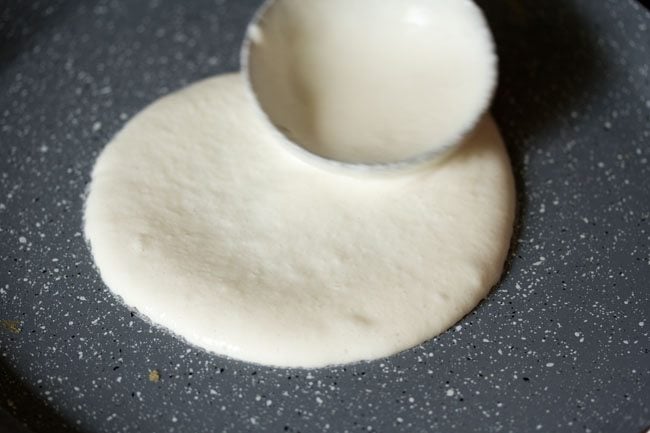
18. With a ladle, gently spread the batter to get a neat round shape and a thin dosa. If the pan is very hot, you won’t be able to spread the batter in a round circle. So, for a non stick pan, just lift the pan from the flame and keep outside for some seconds or half a minute. Then, again place it on the fire.
For an iron griddle, you can sprinkle some water on the pan. This reduces the temperature of the griddle. Do not sprinkle water on non stick pan. The non stick coating can wear off.
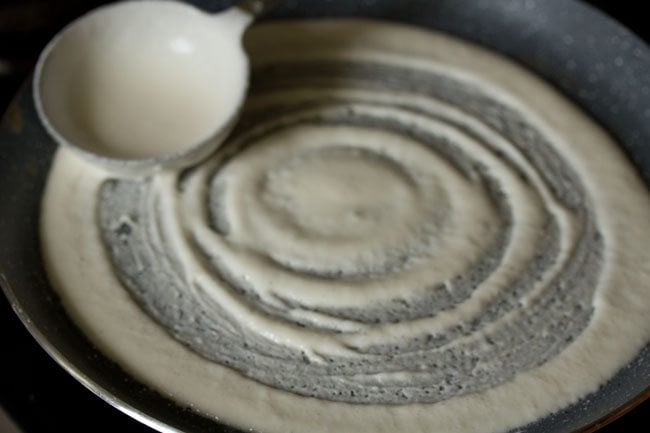
19. On medium heat, cook the dosa.
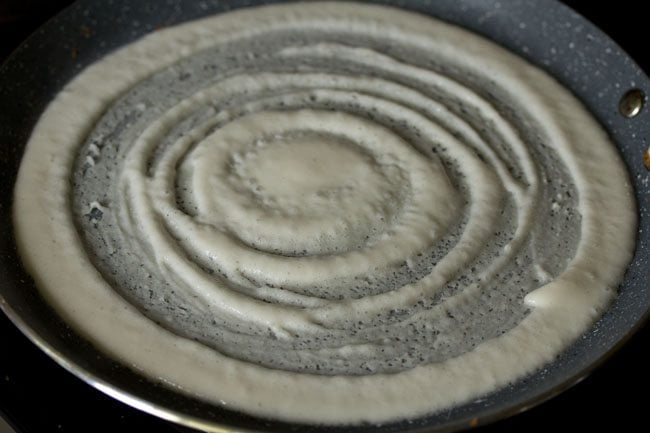
20. Let the top get cooked.
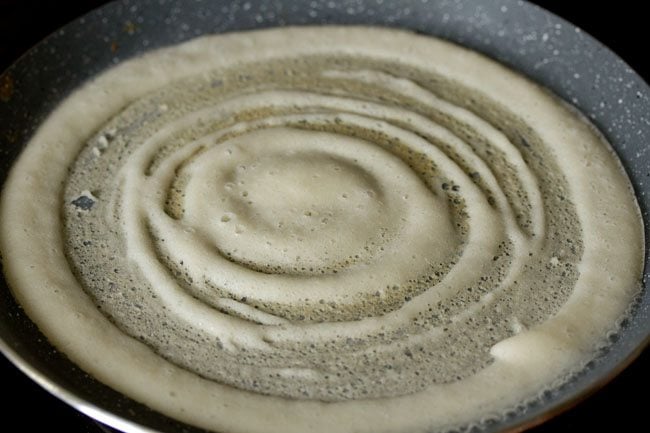
21. When the top looks cooked, sprinkle ½ to 1 teaspoon ghee on the sides and on the top of dosa. You can add less or more ghee as per your requirements.
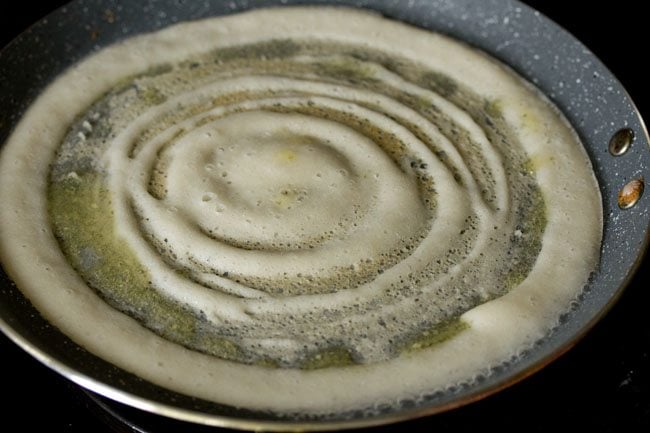
22. Now, with a spoon, spread the ghee all over.
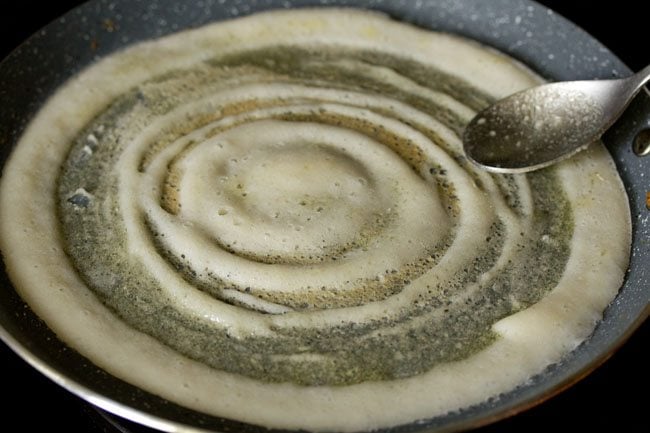
23. Keep cooking till you see the base becoming golden.
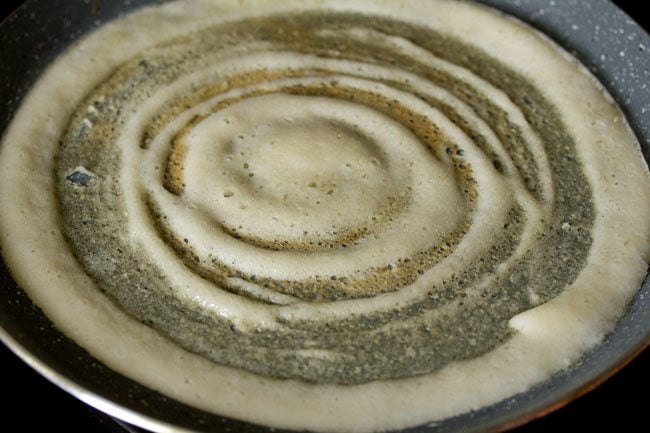
24. The more the base becomes golden, the crispier the dosa will be.
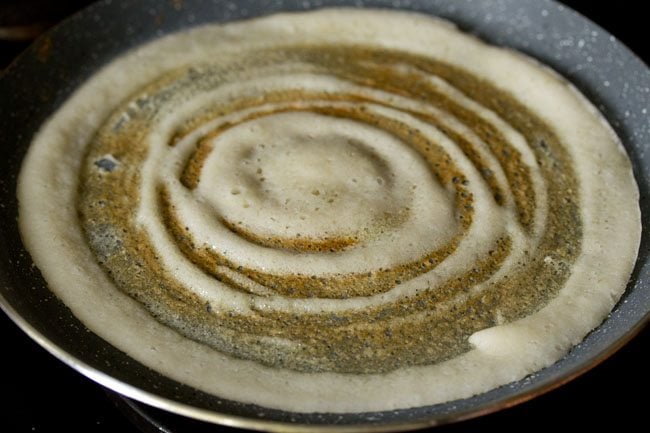
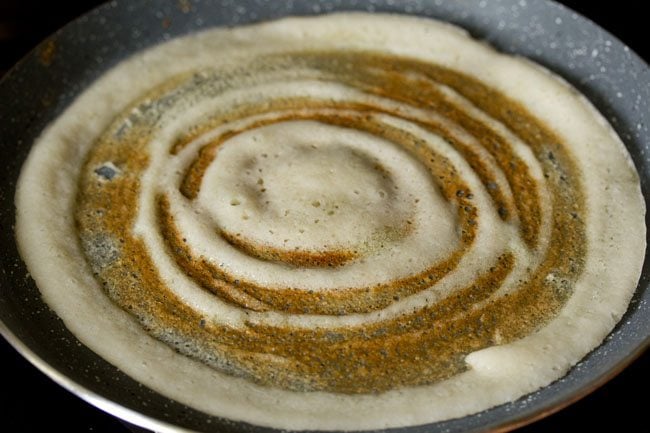
25. Here the Ghee Roast Dosa is ready to be folded.
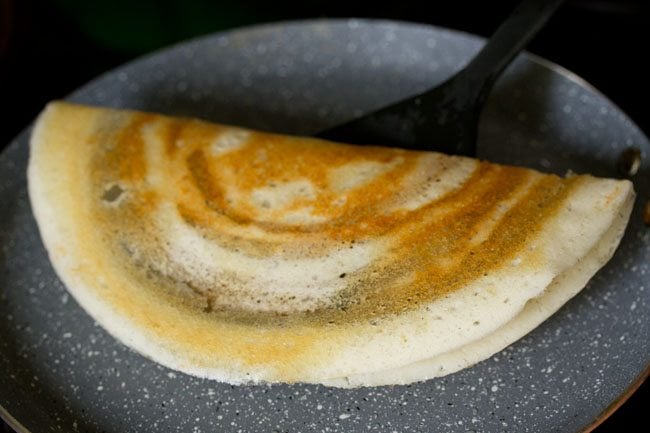
26. Before serving, fold the dosa.
27. Serve Ghee Roast Dosa with coconut chutney or a combination of coconut chutney and sambar.
Expert Tips
- The dosa batter has to be fermented well to get nicely golden and crisp dosas. You can make the batter at home or use a readymade store-bought one.
- The regular idli or dosa batter can also be used to make this Ghee Roast Dosa.
- Maintain the heat of the tawa to a medium, while roasting the dosas. If the tawa is very hot, you will not be able to spread the batter. If it is not hot, then the dosas will not be crisp.
- If you wish to make cone shaped Ghee Roast Dosa, then use a cast iron tawa to cook the dosas.
- You can also spread some Red Chutney used in the recipe of Mysore Masala Dosa on the crisp Ghee Roast Dosa before serving.
More Dosa Recipes To Try!
Breakfast Recipes
Breakfast Recipes
Snacks Recipes
Breakfast Recipes
Please be sure to rate the recipe in the recipe card or leave a comment below if you have made it. For more vegetarian inspirations, Sign Up for my emails or follow me on Instagram, Youtube, Facebook, Pinterest or Twitter.
Ghee Roast Dosa
Ingredients
- 1.5 cups idli rice or parboiled rice or 330 grams parboiled rice (ukda chawal or sela chawal)
- 125 grams urad dal or ½ cup urad dal (split and husked black gram)
- 1 tablespoon chana dal (split and husked bengal gram)
- 35 grams thick poha or ⅓ cup thick poha (flattened rice)
- 20 methi seeds (fenugreek seeds)
- 1 cup water for soaking urad dal
- 2 cups water for soaking rice
- ½ teaspoon rock salt (edible and food grade)
- 1 cup water for grinding rice. can also add ¾ cup water for grinding rice
- ½ cup water for grinding dal
- Ghee (clarified butter) as required
Instructions
soaking rice and lentils
- First take all the ingredients in bowls:
- –1.5 cups idli rice or parboiled rice in one bowl
- – 1/2 cup urad dal + 1 tablespoon chana dal + 20 methi seeds/fenugreek seeds in second bowl
- –1/3 cup thick poha in a third bowl.
- Rinse the lentils and methi seeds a couple of times. Then soak them in 1 cup water for 4 to 5 hours.
- Rinse the rice a couple of times and keep aside.
- Rinse poha once or twice and then add to the rice.
- Pour 2 cups water. Stir and soak both rice and poha together for 4 to 5 hours.
grinding dosa batter
- Before grinding, strain the water from the soaked lentils and keep it for grinding urad dal.
- Add the lentils in the grinder jar. Also add 1/2 cup of the soaked and strained water to the dal.
- Grind the urad dal, chana dal and methi seeds till you get a batter which is light and fluffy. The urad dal has to be ground really well, so that the batter ferments well.
- Remove the batter in a bowl or pan with a spatula.
- Strain the rice well. Then in the same grinder, add the soaked rice and 1 cup fresh water. You can grind rice in one batch or in two to three batches. This will depend on the size of the grinder jar. I ground in one batch and added 1 cup water for grinding. You can even add 3/4 cup water while grinding. Addition of water will depend on the quality of rice.
- Grind the rice till you get a fine grainy consistency in it. The rice batter should have a fine rawa like consistency.
- Now pour the batter in the same pan or bowl containing the urad dal batter.
- Add 1/2 teaspoon rock salt or add as per taste.
- Mix the salt very well with the batter. Also mix both the batters very well. Cover and keep aside to ferment for 8 to 9 hours. You can keep batter to ferment for less or more time and this will depend with the temperature conditions in your city.
- I kept for about 13 hours and 35 minutes as it is cold during monsoons here.
- Now lightly stir the batter, before you begin to make dosa. You will also see tiny air pockets in the batter.
making ghee roast dosa
- Now heat a thick bottomed cast iron griddle or non stick pan. The pan should be medium hot. You can keep the flame to a low or medium while making dosas. If using an iron pan, then spread ¼ to ½ tsp oil/ghee all over the pan. Use a silicon brush or spoon or kitchen towel or an onion halve to spread the oil/ghee. Do not spread oil/ghee on a non stick pan. Do keep the flame on low to low-medium flame, so that you are easily able to spread the batter. If the pan base is very thick, then keep the flame to medium. Pour a ladle of the batter in the center.
- With the ladle gently spread the batter to get a neat round shape and a thin dosa.
- If the pan is very hot, you won’t be able to spread the batter in a round circle. So for a nonstick pan, just lift the pan from the flame and keep outside for some seconds or half a minute. Then again place it on the fire. For a iron griddle, you can sprinkle some water on the pan. This reduces the temperature of the cast iron griddle. Please do not sprinkle water on non stick pan. The non stick coating can wear off.
- On a medium flame, cook the dosa.
- When the top looks cooked, sprinkle 1/2 to 1 teaspoon ghee at the sides and on the top of dosa. You can add less or more ghee as per your requirements.
- Now with the spoon spread the ghee all over.
- Keep cooking till you see the base becoming golden.
- The more the base becomes golden, the dosa becomes more crisp.
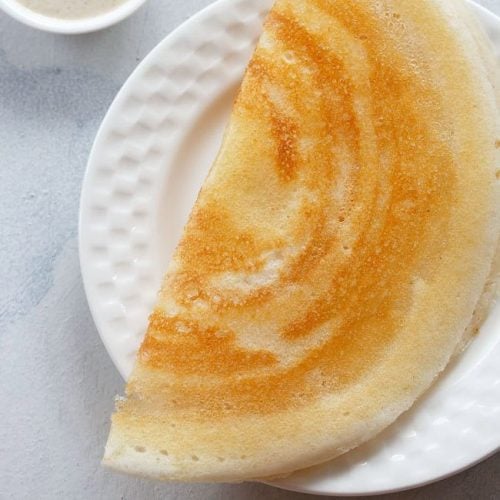
- Fold and serve ghee roast dosa hot.
- Ghee roast dosa can be served with coconut chutney or a combination of coconut chutney and sambar.
Notes
- Idli rice – idli rava.
- Chana dal – arhar dal (pigeon pea lentils).
- Ghee – butter or oil.
This Ghee Roast Dosa Recipe from the archives was first published in January 2016. It has been updated and republished in March 2024.
