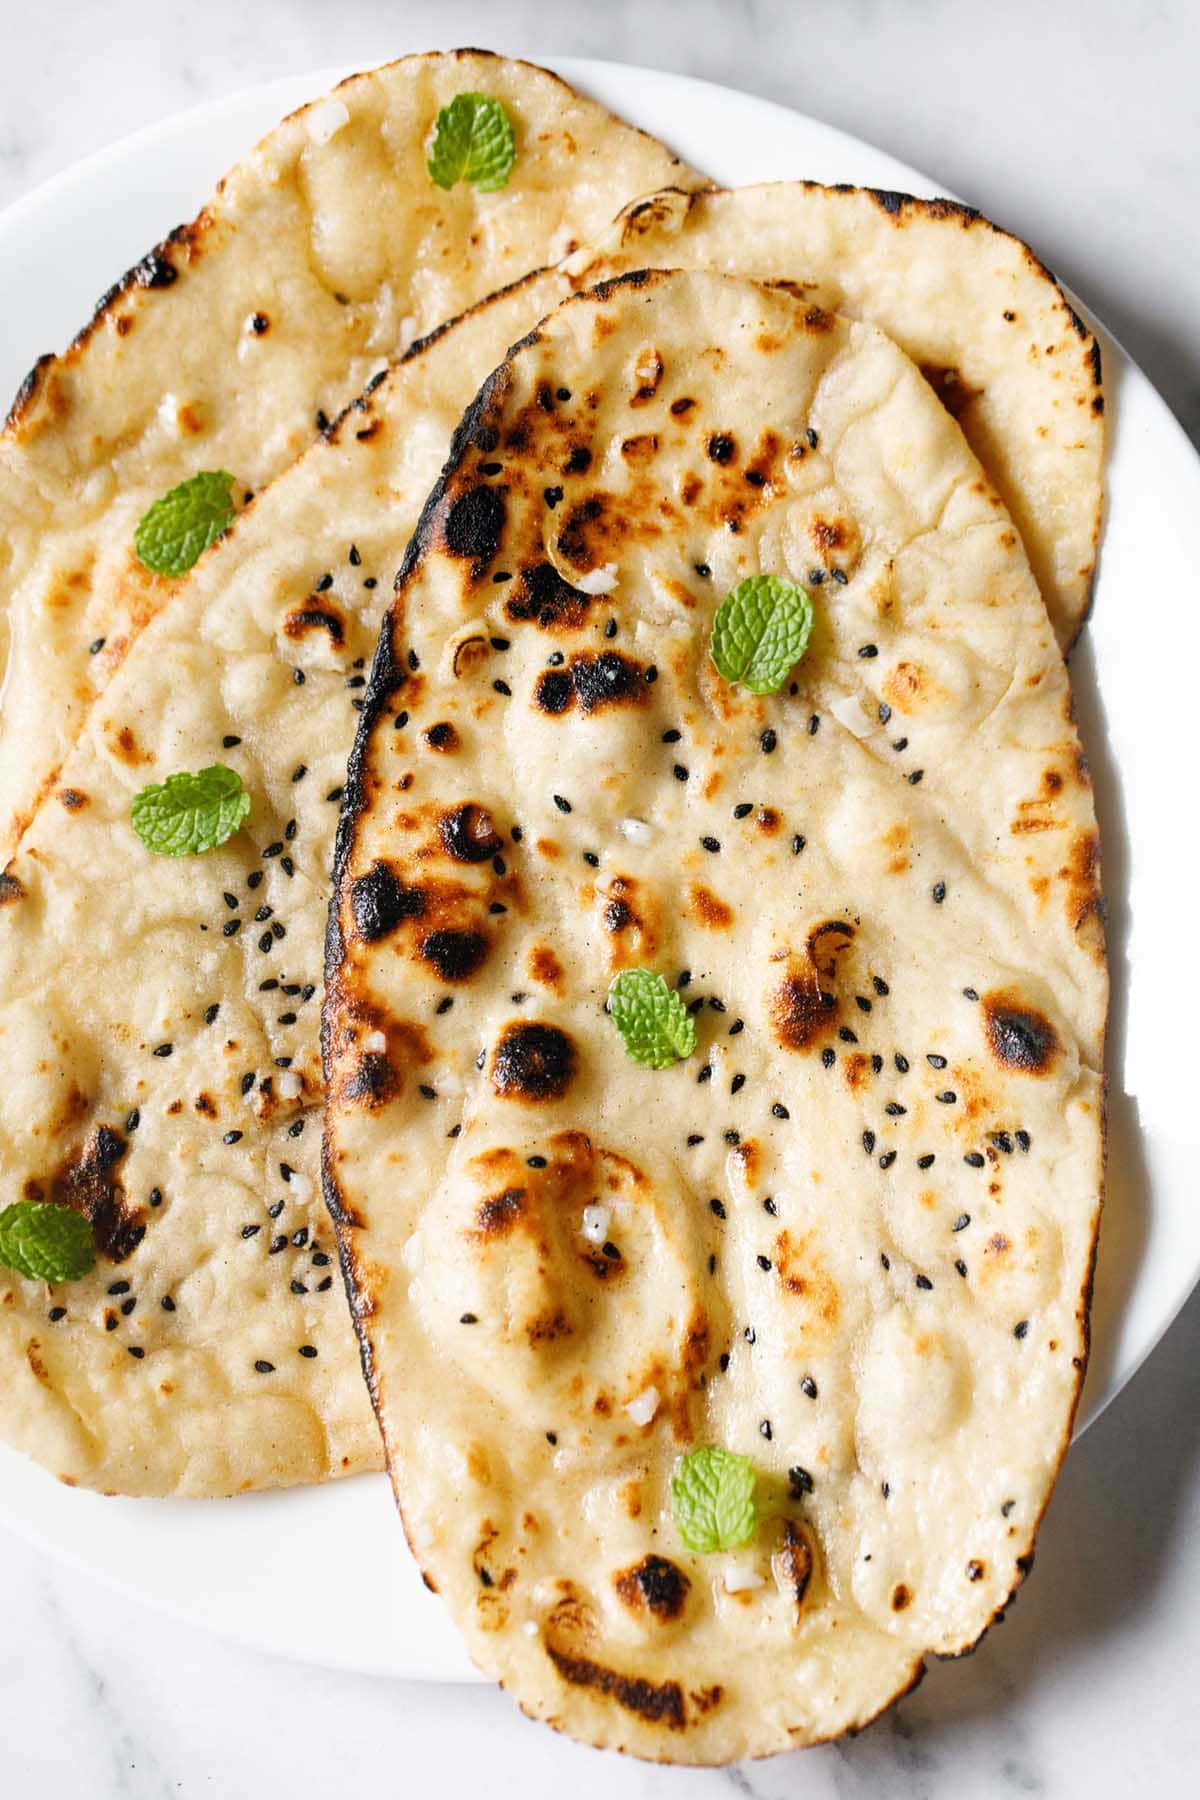
This Garlic Naan bread is light, soft, fresh, and filled with flavor! It is so good that you will be making it again and again. I show you how to make Garlic Naan on a skillet on a stovetop. In my recipe the dough is infused with fresh garlic making it extra delicious. Serve the Restaurant Style Garlic Naan Bread as a side for breakfast, lunch, or dinner.
About Garlic Naan
Garlic Naan bread is Indian leavened flatbread made with all-purpose flour and spiced with garlic. At restaurants, plain naan bread is usually brushed with garlic butter and served.
However, in my recipe, garlic is infused into the bread dough instead and I also top the naan bread with garlic butter. The result is double dose of garlic deliciousness!
Garlic is a great addition to the naan dough. It gives so much flavor and taste to the otherwise plain yeasted dough.
For this recipe, I used half a proportion of all-purpose flour and another half of whole wheat flour but, you can also use one or the other.
I also add oil to this naan, however you can use butter or ghee (clarified butter) instead. This garlic naan is similar to the way I make whole wheat naans.
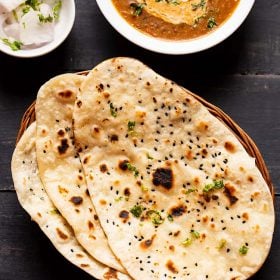
This garlic naan is truly delicious! It is exactly what naan should be – soft, tender and is not hard and chewy like in restaurants. If you char them more on the stovetop flame, they become crispy and best eaten hot.
I usually make naans with instant yeast. If you do not prefer working with yeast, try my another simple and classic Naan Recipe made without yeast.
Serve this fresh Garlic Naan bread with your favorite curries or gravies. In fact they taste good on their own too.
How to Make Garlic Naan
Make Garlic Dough
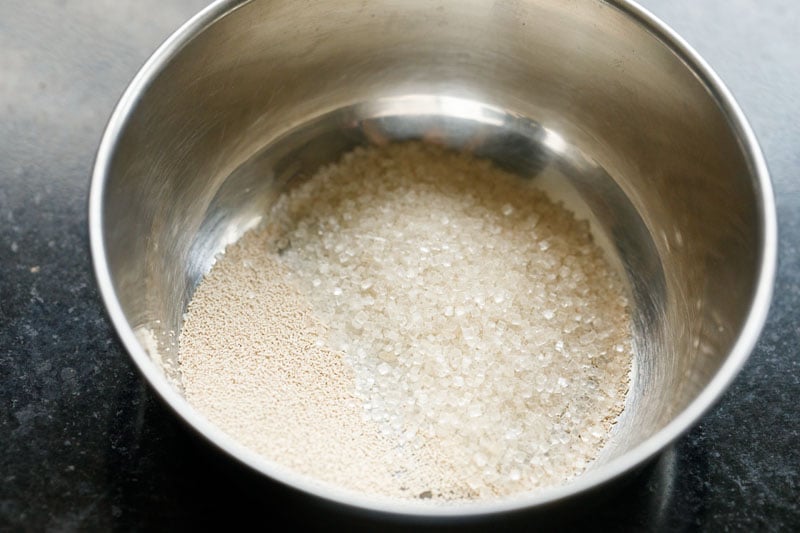
1. In a small bowl take ½ teaspoon instant yeast (rapid rise yeast) and 1 teaspoon sugar (raw sugar or white granulated).
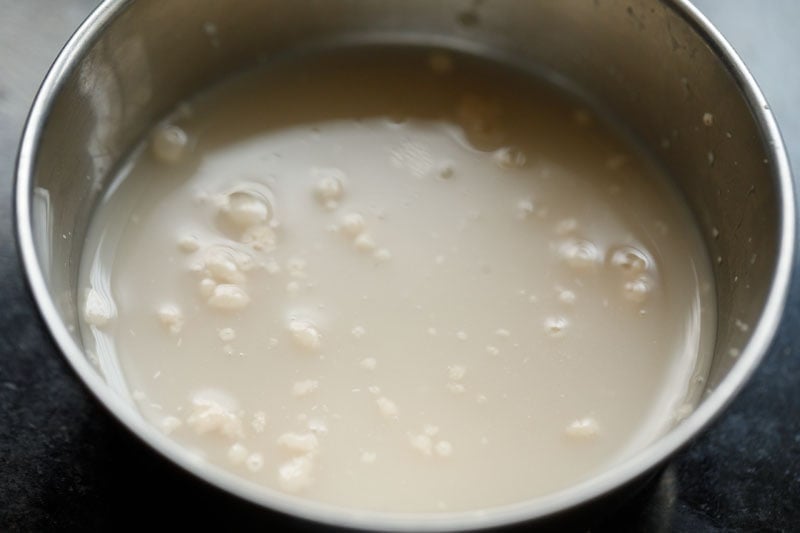
2. Add 3 tablespoons of water and mix well. Dissolve the instant yeast and sugar with water. Set aside.
I prefer to mix the instant yeast with water before adding it to the dough.
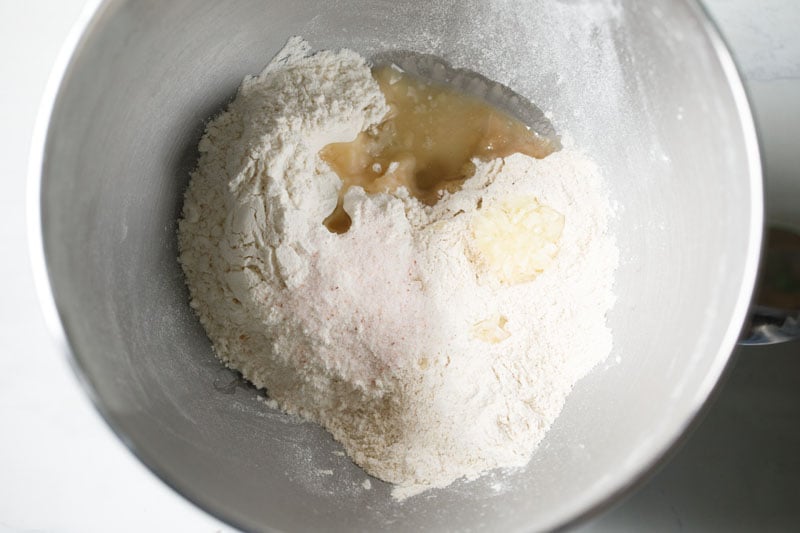
3. Remove your flours, prep garlic and other ingredients. Take the dough ingredients in a mixer bowl or a stand-mixer bowl.
- 1 cup whole wheat flour – 120 grams
- 1 cup all purpose flour – 125 grams
- 1 teaspoon finely chopped garlic or minced garlic
- 2 tablespoons oil, any neutral flavored oil
- ½ to 1 teaspoon salt or as needed
4. By the time you prep the other ingredients, the yeast mixture would be bubbly and frothy.
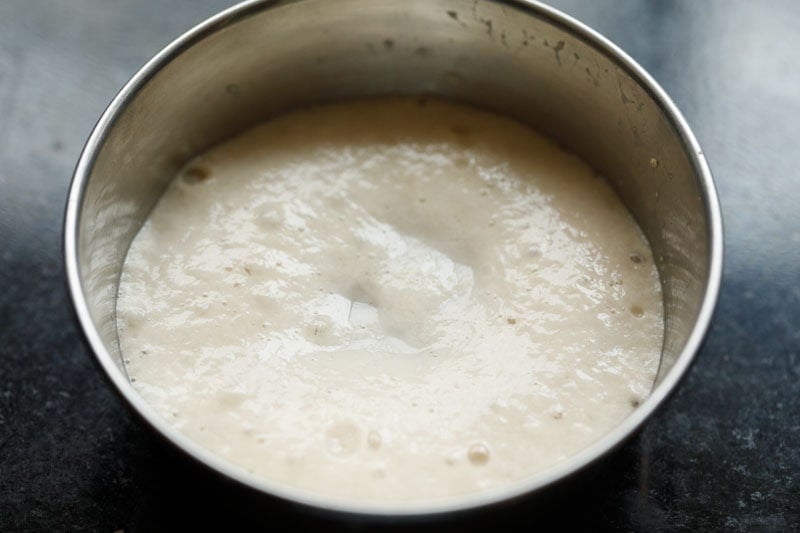
5. Add the frothy yeast mixture to the flour mix in the bowl.
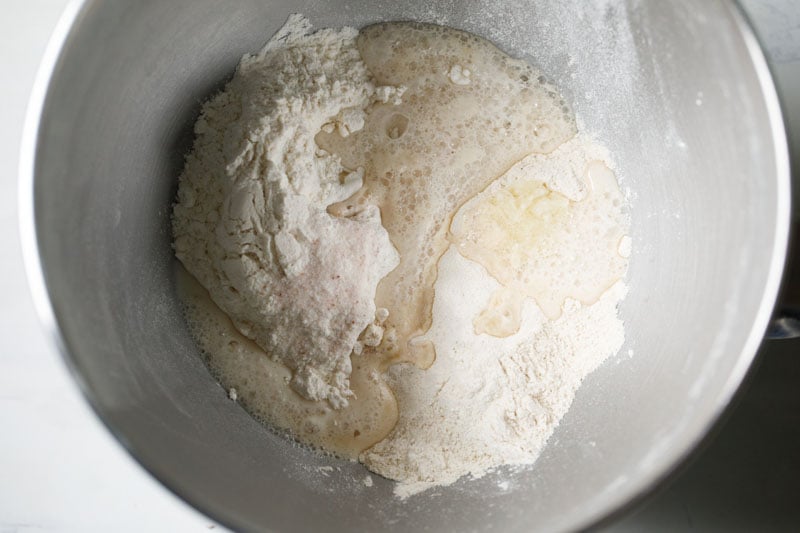
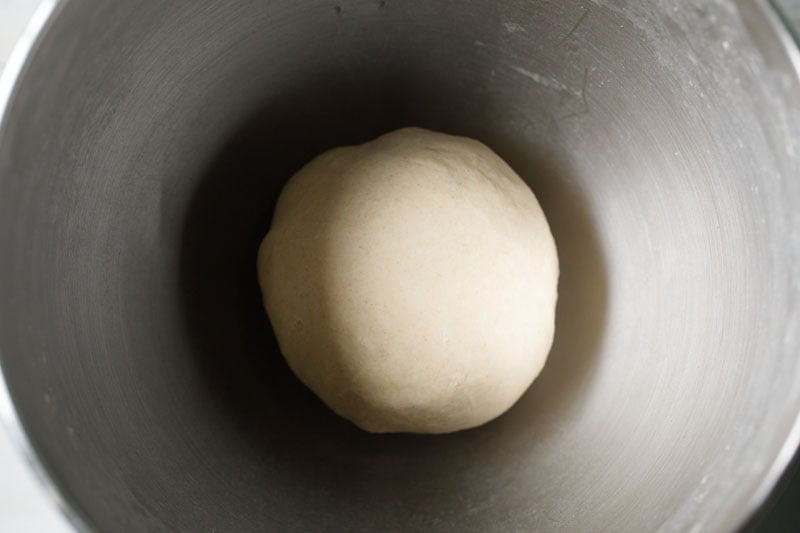
6. Knead the dough into a smooth, soft, supple dough with ½ cup water. Add water in portions when kneading the dough.
If the dough feels firm or tight, add 1 to 2 tablespoons water and knead again. Ensure that the dough is soft and pliable.
You could either knead with your hands or use a stand mixer fitted with a dough hook.
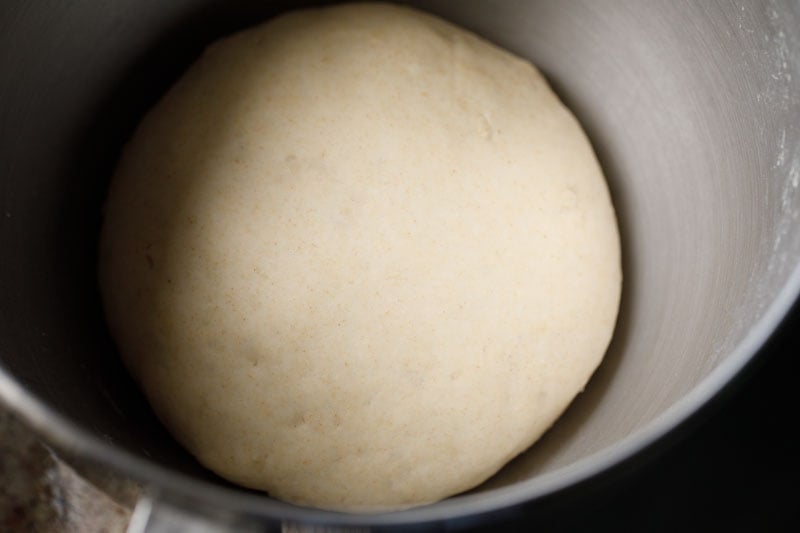
6. Cover the bowl with a kitchen napkin. Leaven dough for 45 minutes to 1 hour or until doubled. The time taken to leaven will depend on the room temperature.
7. The dough should look like the picture below after leavening. It will double up in volume, have lot of air-pockets and be stringy.
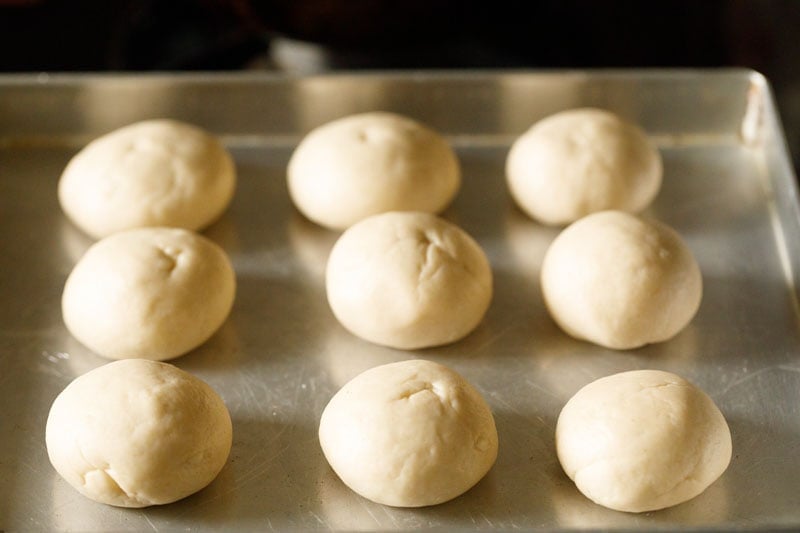
7. Portion dough in equal sized balls. Roll the portioned dough between your palms and make a neat ball. Flatten it lightly.
Place the balls on a tray with some space next to them. Cover with a kitchen towel and let rest for 10 to 15 minutes.
Make Garlic Butter
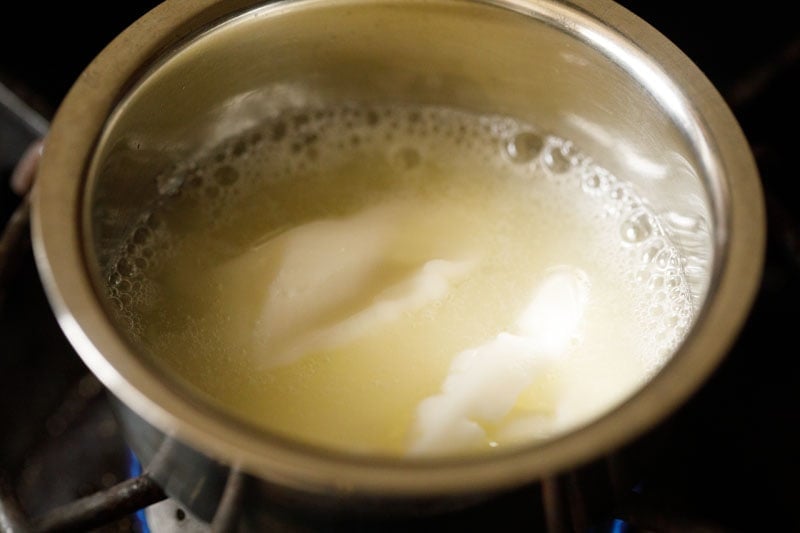
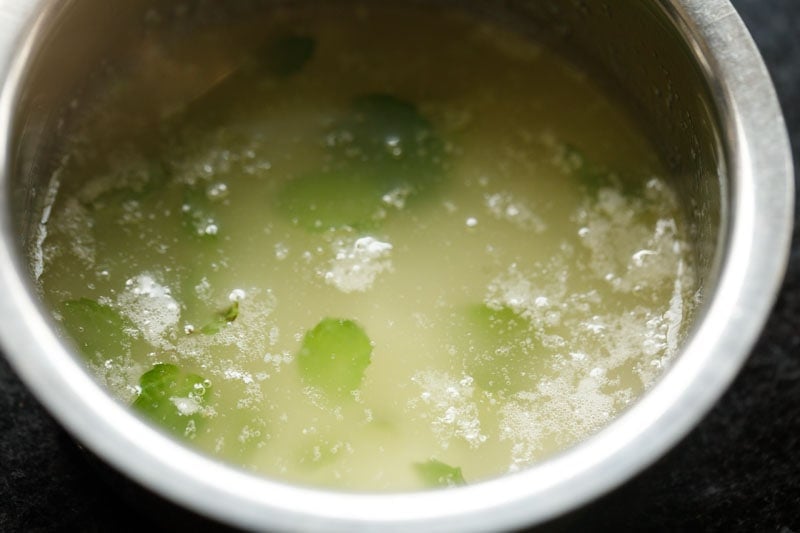
8. Melt 4 tablespoon butter in a small pan or skillet on low heat. You could use either salted or unsalted butter.
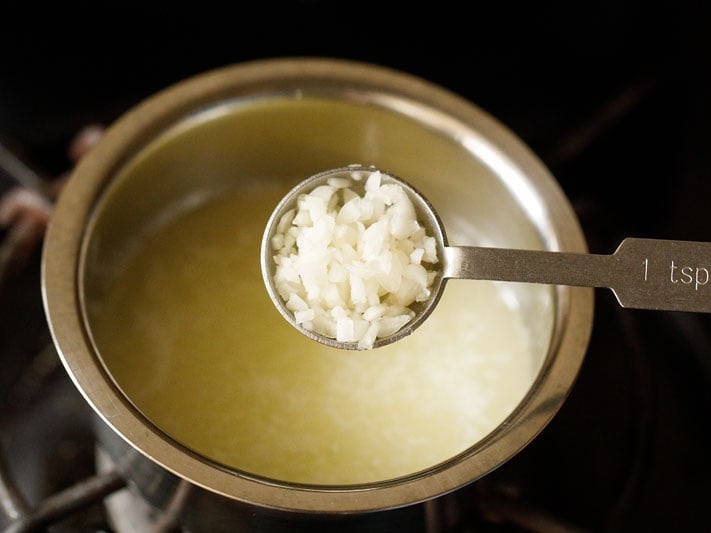
9. When all of the butter is melted, add 2 teaspoons finely chopped or minced garlic to the melted butter. Stir and switch off the heat.
The garlic will be cooked with the heat from the melted butter and you won’t get the raw pungent garlic flavor on your naans.
10. When this melted butter mixture become warm, add 2 tablespoons of chopped mint or coriander leaves (cilantro). Mix and set aside.
Assemble and Roll
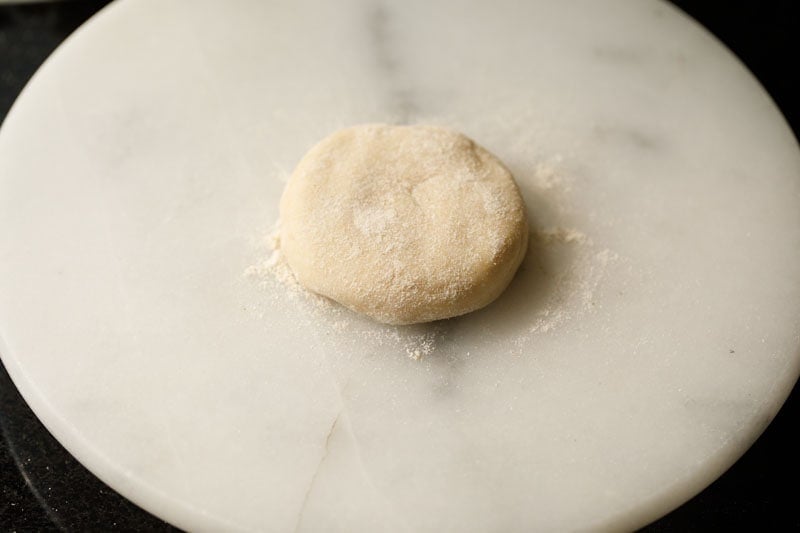
11. Place one dough ball on a lightly dusted rolling board. Sprinkle some whole wheat flour on the dough from the top.
Avoid adding too much of the flour when rolling. Use sparingly and as needed.
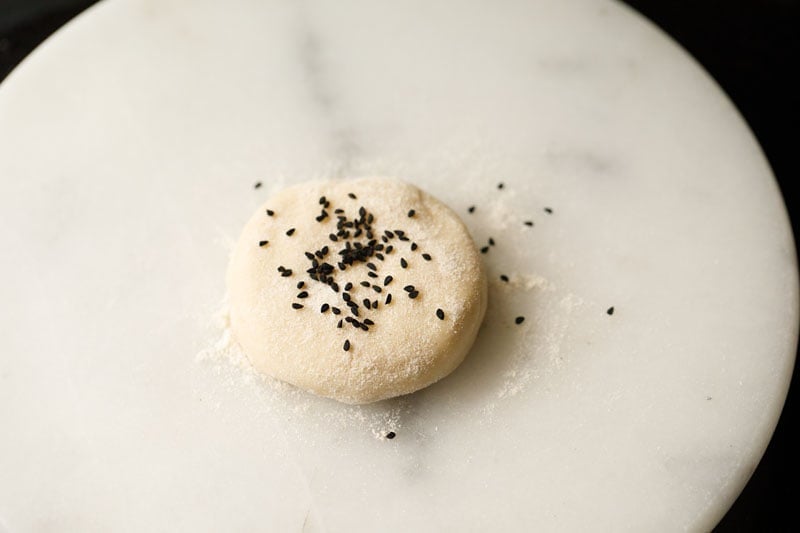
12. Sprinkle some nigella seeds on the dough. If you do not have nigella seeds, add white or black sesame seeds. Or else completely omit adding any of these seeds.
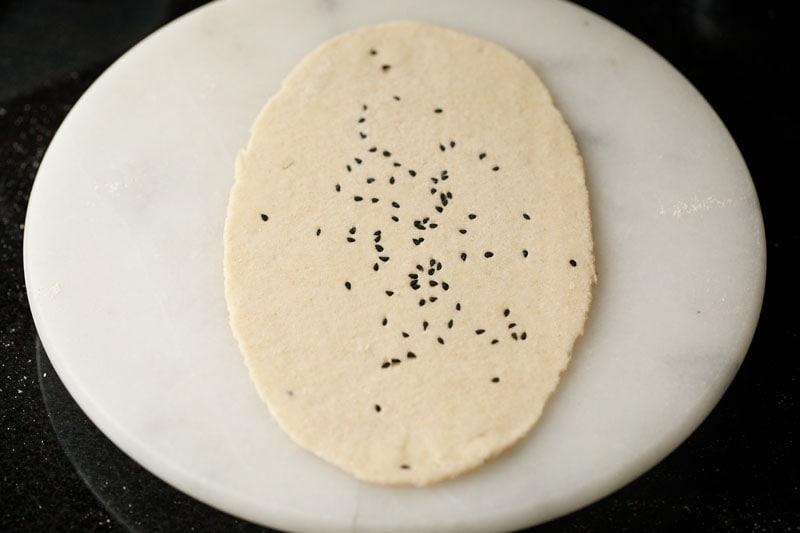
13. With a rolling pin make a round or oval shape dough of about 7 to 8 inches. You can pull the top part to make a slight tapering dough.
You can make round shaped or tear-shaped or oval garlic naans.
14. Turn over gently and let the side with the nigella seeds touch the rolling board. Brush the top side with water evenly all over.
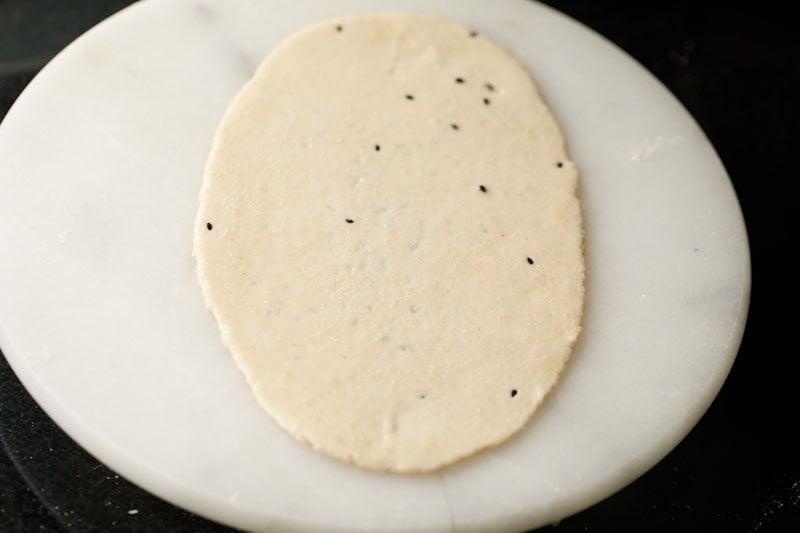
Make Garlic Naan Bread
15. Heat a tawa or flat skillet on medium-high to high heat. When the skillet becomes hot, place the watered side touching the hot skillet.
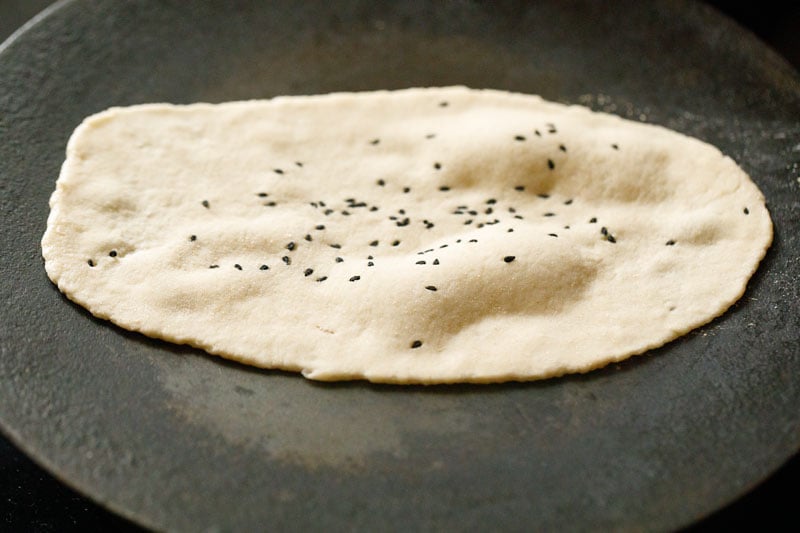
16. You will see the evaporating water forming large air bubbles on the garlic naan. On high to medium-high heat, cook for 1 to 2 minutes or until the bottom has blisters and is cooked completely,
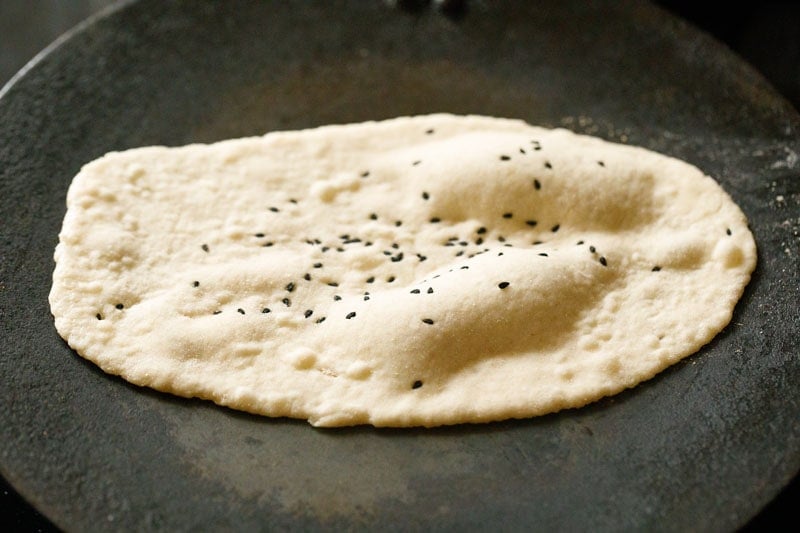
17. Separate the garlic naan from the pan with a spatula.
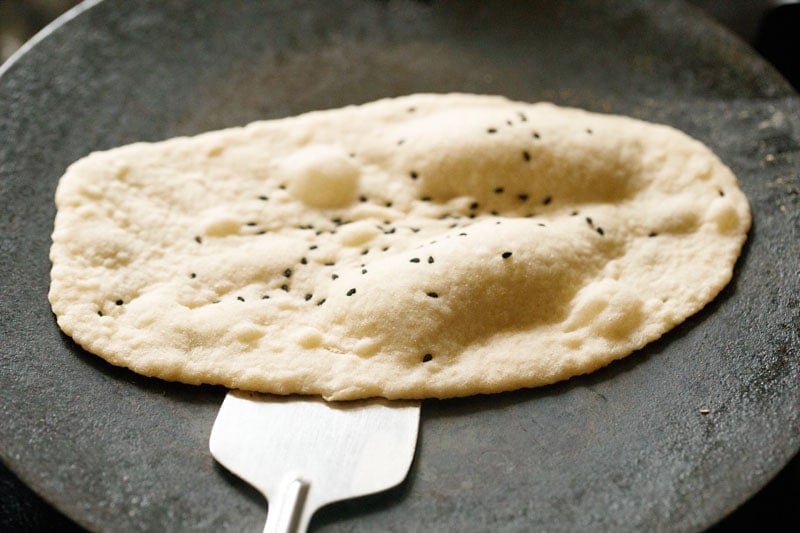
18. In the photo below, you can see the side where the water was brushed has blisters and is well cooked. It looks like the naan one gets in restaurants or has been cooked in a tandoor.
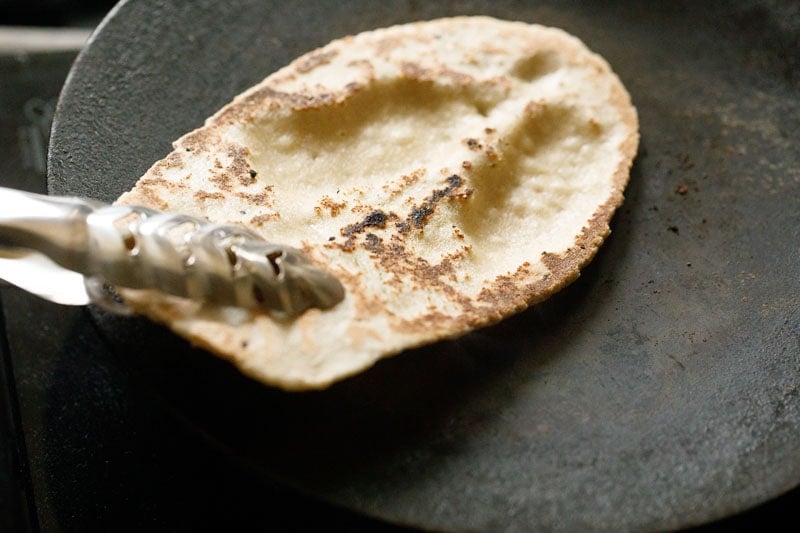
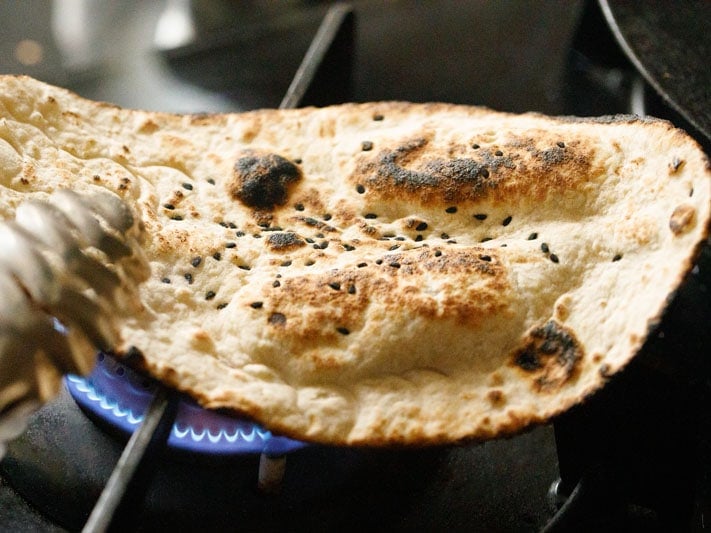
19. Lift the garlic naan with tongs from the pan and place the uncooked side with the nigella seeds on the stove-top flame.
If you have an electric stovetop, continue to roast the garlic naan on the pan or skillet, as you would for roti or any other flat bread.
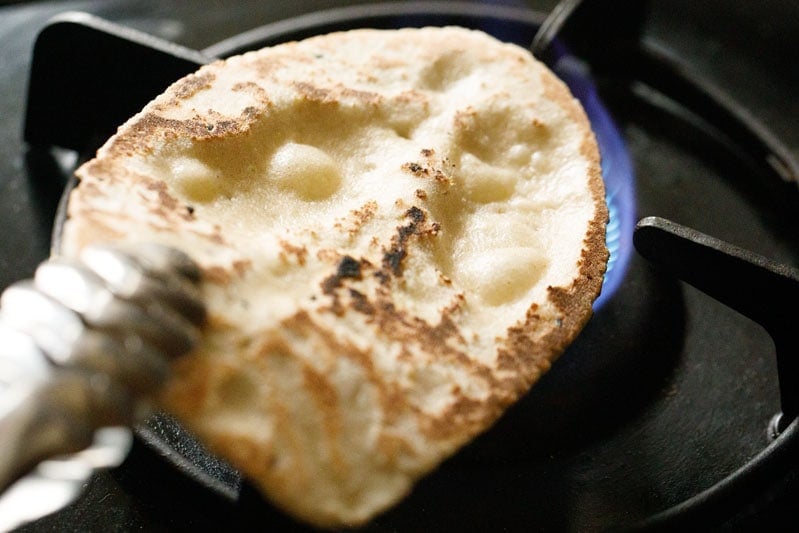
20. Move the naan all over the flame so that the sides are cooked well.
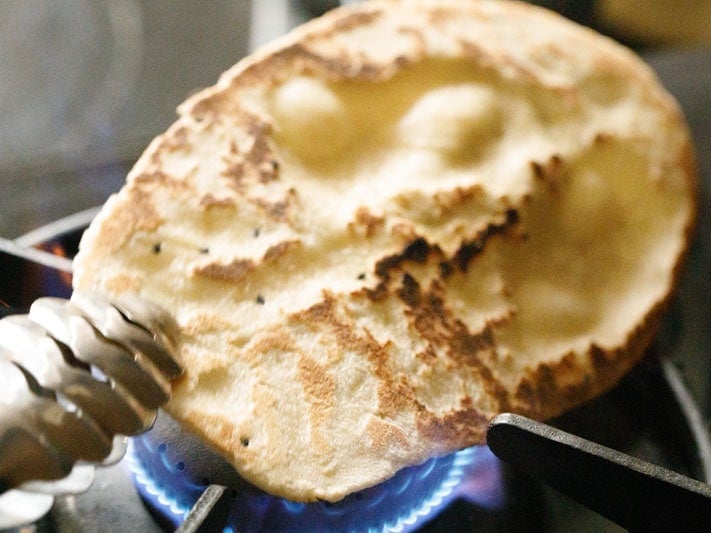
21. If you see that the side which was earlier roasted on the skillet looks undercooked, then place this side touching the flames.
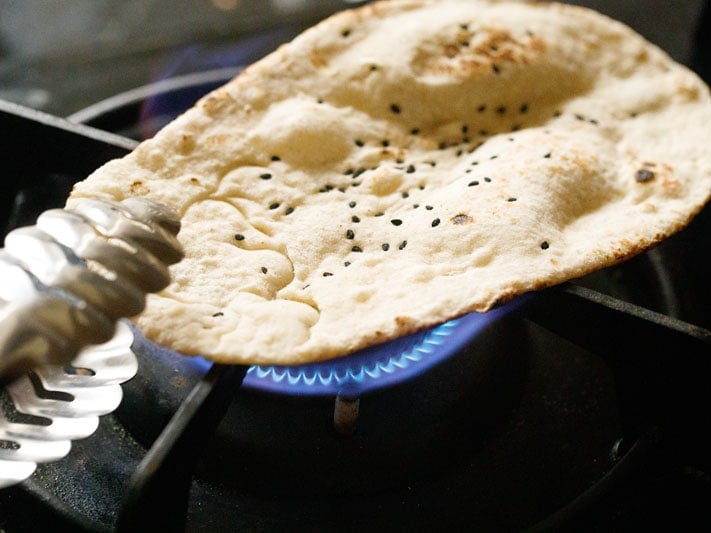
22. Like me if you prefer a bit more charred and crispy naans, cook them for some more seconds on the flame, so that they get slightly charred.
You can also add oil or ghee to the skillet when cooking the naans as we do for Paratha. Any ways you cook, the naans will taste delicious. I have tried all of these methods and they work.
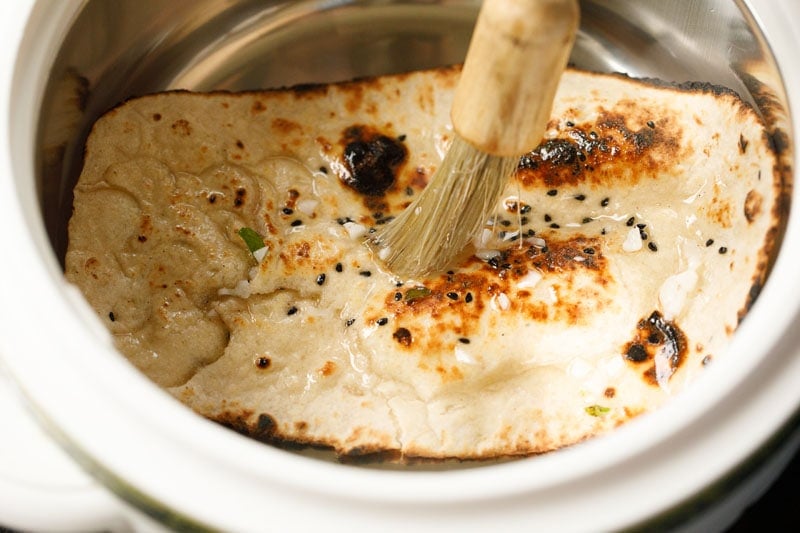
23. Place the garlic naan on a plate or in a roti basket. Brush the prepared garlic butter spreading some garlic and mint/cilantro (from the butter) all over on the naan.
Cook each garlic naan like this one by one. I make naans this way and place them in a roti basket.
You can also use a clean cotton kitchen towel to stack the naans. When placing them place the buttered side facing each other for two naans, so that the butter does not touch your kitchen towel.
Serving Suggestions
You can serve the garlic naan bread straight away or cover the naan with a napkin to keep them warm if you want to serve them later.
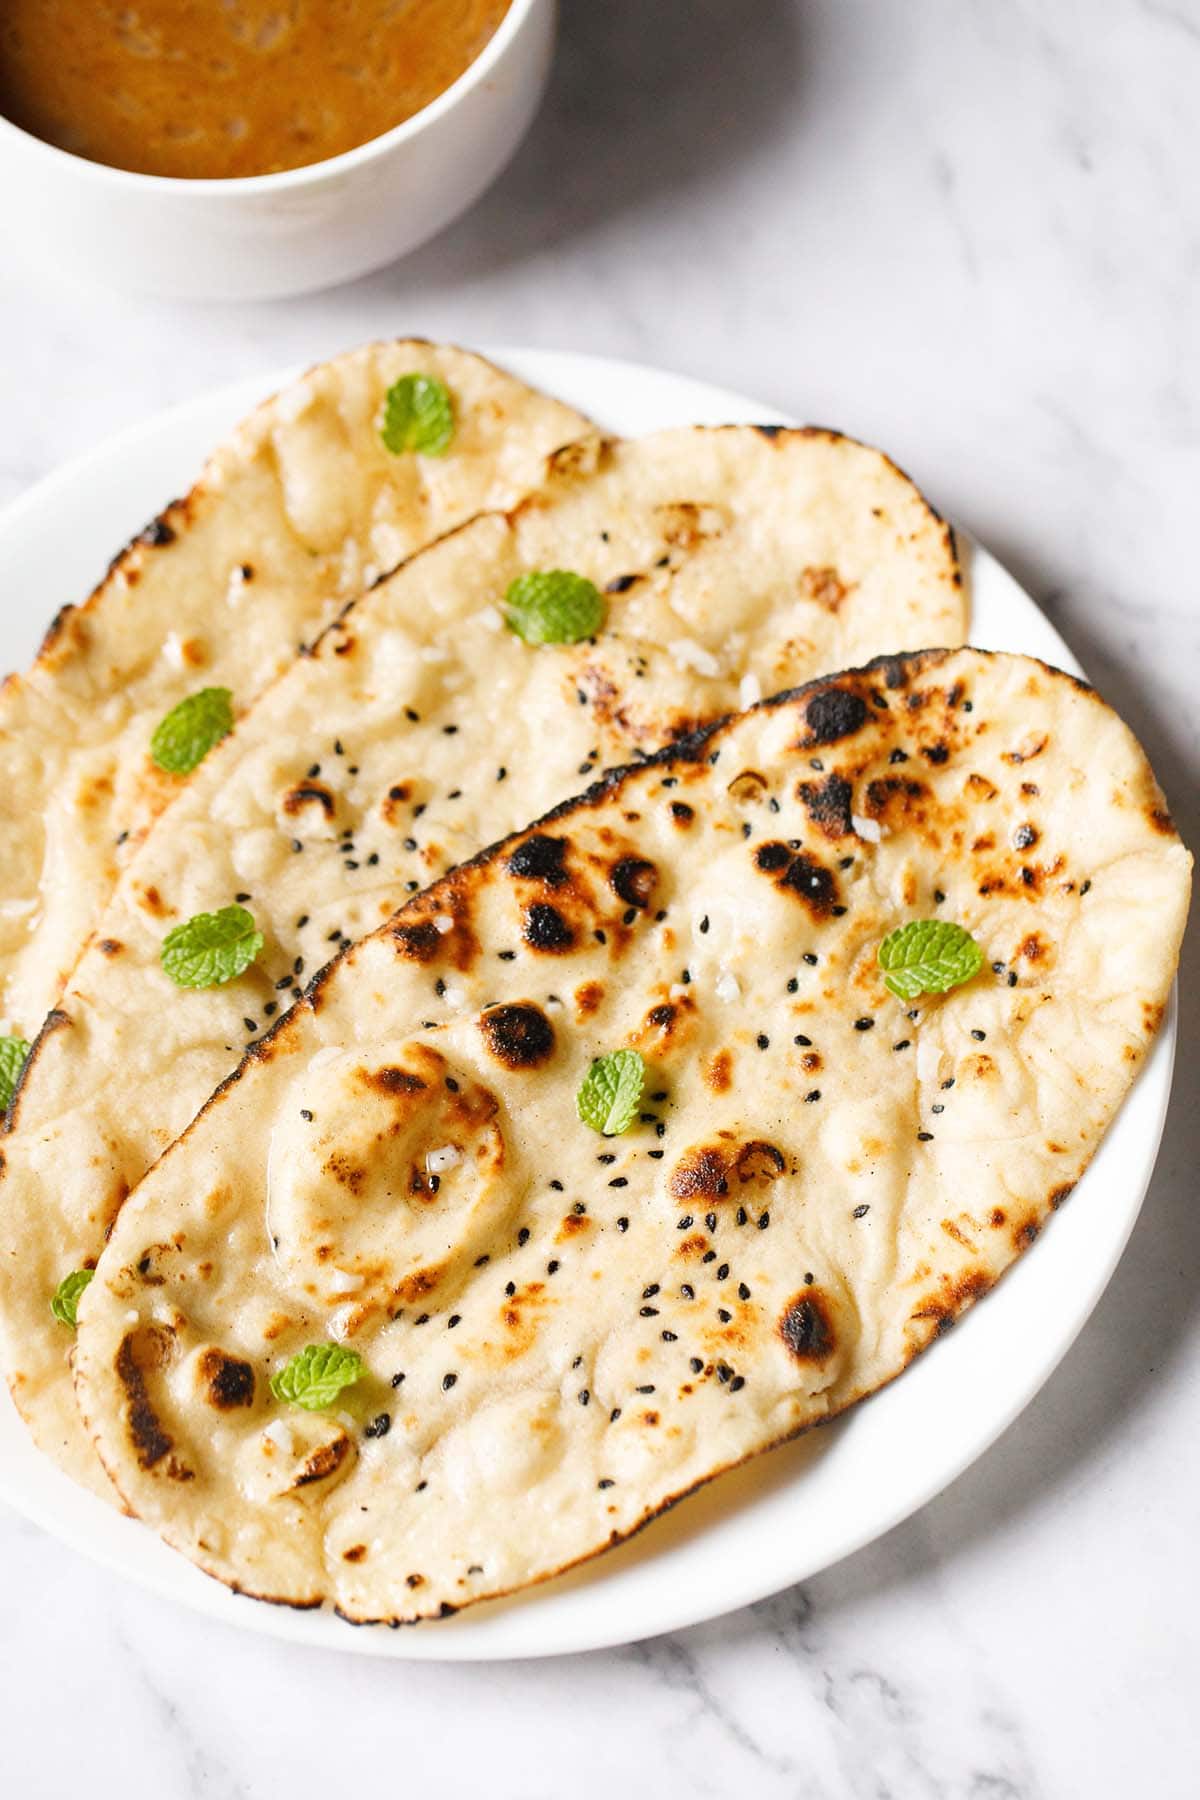
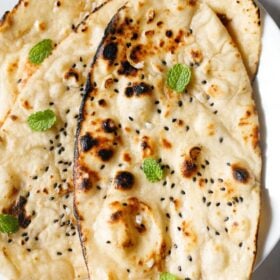
Garnish with some cilantro or mint if you like and serve garlic naan hot or warm. These garlic naans are soft, so they do not become chewy once they get cold.
Serve them with your favorite curries or lentils based dishes. We prefer to enjoy them with Indian lentil preparations like Dal Makhani and Chole Masala.
Even rich and creamy curries like Paneer Butter Masala, Palak Paneer and Matar Paneer pair nicely with naans.
One of our favorite ways is to pair Chinese style dishes with Garlic Naan Bread like – Veg Manchurian and Chilli Paneer. Try this way and I am sure you will like it.
Do keep a few sides of kachumber or Indian Onion Salad, lemon wedges and mango or lemon pickles with your naan meals.
Expert Tips
- Flour: For this recipe, I used half a proportion of all-purpose flour and another half of whole wheat flour. However, you can make the naan with all-purpose flour only or whole wheat flour.
- Dough Texture: Ensure that you knead the dough nicely. Add water as needed and form to a soft and pliable dough. You can knead the dough with your hands or use a stand mixer.
- Oil: I added oil to this naan dough, however you can use butter or ghee (clarified butter) instead.
- Cooking naan: I cooked one side of the garlic naan on a pan and I cooked the other side on the stovetop flame. You can also cook the garlic naan on the tava/flat skillet, as you would for roti or chapati or you can add oil or ghee to the skillet when cooking the naans like you would for paratha.
- Garlic Butter: Use either salted or unsalted butter. If you like more saltiness in your naan, add a few pinches of salt in the garlic butter. Together with garlic, you can also add finely chopped chives.
- Storage: You can store fresh garlic naan in an airtight container at room temperature for up to a few hours. The dough can be kept in the refrigerator for a day and for about a week in the freezer.
- Scaling: As is, this recipe makes for 8 garlic naan bread. But can be easily scaled to make for more naans.
More Breads To Try!
Indian Breads
North Indian Food Recipes
Indian Breads
Indian Breads
Please be sure to rate the recipe in the recipe card or leave a comment below if you have made it. For more vegetarian inspirations, Sign Up for my emails or follow me on Instagram, Youtube, Facebook, Pinterest or Twitter.
Garlic Naan | How to make Garlic Naan Bread
Ingredients
For yeast mixture
- ½ teaspoon instant yeast (rapid rise yeast)
- 3 tablespoons water
- 1 teaspoon sugar raw sugar or granulated, white sugar
Other ingredients for dough
- 1 cup whole wheat flour – 120 grams
- 1 cup all-purpose flour – 125 grams
- 1 teaspoon garlic – finely chopped or minced garlic
- 2 tablespoons oil
- ½ cup water
- ½ to 1 teaspoon salt
For garlic butter
- 4 tablespoon butter – salted or unsalted
- 2 teaspoons garlic – finely chopped
- 2 teaspoons mint leaves – chopped or cilantro (coriander leaves)
Instructions
Making dough
- First mix the instant yeast with sugar and water. Set aside.
- In a bowl or stand-mixer bowl, take both the flours, garlic, salt and oil.
- Add the yeast mixture. Add ½ cup water in parts and knead to a supple, soft and smooth dough.
- Cover with a clean kitchen towel cloth and keep the dough to leaven for 45 minutes to 1 hour until doubled. Note that the time taken to leaven will depend on the room temperature.
- Once the dough is leavened, portion it in equal sized balls. Roll the portioned dough between your palms and make a neat ball. Flatten it lightly.
- Place the balls on a tray with some space next to them. Cover with a kitchen towel and let rest for 10 to 15 minutes.
Making garlic butter
- Meanwhile melt butter completely in a small pan or skillet.
- Add garlic and turn off the heat. The garlic will be cooked with the heat from the melted butter and you won’t get the raw pungent garlic flavor in the naan bread.
- When this melted butter mixture become warm, add the chopped mint or coriander leaves. Set aside.
Assembling and Rolling
- Sprinkle flour on the dough and place it on a lightly dusted rolling board. Avoid adding too much of the flour when rolling. Use sparingly and as needed.
- Sprinkle nigella seeds or sesame seeds on the dough. With a rolling pin make a round or oval shape dough. You could pull the top part of the rolled dough with your fingers to make a tapering dough.
- Turn over gently the rolled dough and let the side with the nigella seeds touch the rolling board's surface. Spread water all over on the top side.
Making Garlic Naan
- Next heat a tawa or a flat skillet. Keep the heat to medium-high or high.
- Place the watered side touching the hot skillet or tawa.
- Cook for 1 to 2 minutes or until you see the base getting nicely browned and charred.
- Using a spatula separate the naan from the skillet.
- Lift the naan with tongs and place it on direct flame with the side that is not cooked touching the flame.
- Move the naan all over the flame to ensure the sides and the surfaces are well cooked with some chars. If you see that the side which was cooked earlier on the skillet, looks raw, then cook this side too on the flame.
- Place on a tray or plate and brush the garlic butter spreading some garlic and mint/cilantro (from the garlic butter) all over on the naan.
- You can either use a roti basket to store the naans or use a clean cotton kitchen towel to stack the naans. When placing them, place the buttered side facing each other for two naans, so that the butter does not touch your kitchen towel.
- Make the naans one by one this way.
- Serve Garlic Naan Bread hot or warm. Garnish with some cilantro or mint if you like.
Notes
- The dough can be kept in the refrigerator for a day or frozen for about a week.
- Scale the recipe easily to double the servings.
Nutrition Info (Approximate Values)
This Garlic Naan recipe from the blog archives, first published in November 2012 has been republished and updated on December 2022.


Hi dear,thank you for all the amazing recipes.I’ve been wanting to try the garlic Naan recipe and was wondering if I can freeze the dough right after making it and then thaw it and use it later.
simone, you can freeze the dough. naan dough freezes well. later you can thaw and make naans.
Hi dassana after keeping it for 2 hrs dough was too much soft is it should be the same way
dough is soft and it will become more soft as it gets leavened. after 2 hours, if not using the dough, then refrigerate it.
HI dassana can I refrigerate leftover dough and use it next morning for making pizza base. Bdw thank you so much for the recipe
you can do this way. welcome pratiksha.
Dear Dasanna!
Thanks for this recipe! I´ve made it a couple of times and it always turns out awesome! My boyfriend eats more than half the stack in a heartbeat everytime. And it´s made on an electric stovetop!
Love from sweden
Welcome Ulle. Glad to know this. Thanks for this positive feedback.
Hi Dassana, can i make this without yeast too? I have tried your other naan recipe without yeast so can i make this one also without the yeast- please advice. Thanks
yes you can pallavi. you can use the same no yeast naan recipe and just add garlic in the dough.
Super yumm recipe..turned out grt…u ‘ve taught me how to make naan at home…tnxxxxx a ton …love ur blog…
thanks divya and nice to know. happy cooking.
Hello Dassana, tried making garlic naan today…. The yeast I used didn’t froth well & hence the dough didn’t rise well too. Still the naans were appreciated by the kids…. Thanks a lot for sharing this recipe…Any particular brand of yeast you would suggest?
i use the gloripan/mauripan yeast. i still have a stock in the fridge. see if you can get online. i have used both their dry active yeast as well as instant yeast. both were good.
Dear Dassana,
I tried many of your recipes and love your blog a lot…cooking became a passion for me now a days and this is absolutely bcoz of you only …Thank you so much dear 🙂 and today i tried ur garlic naan and kadai paneer, though it take some time for me to prepare the garlic naan as it was my first try it was yummy…thanks once again 🙂
thank you jayanthi for your positive and encouraging words. you are always welcome.
This recipe came out perfectly. I have tried out so many of your recipes and go through your blog whenever I find myself running out of ideas on what to cook. Thank you for your detailed explanations and pictures and mostly for the sheer variety of recipes.
your appreciation means a lot to us thankyou so much for your kind and positive words. god bless you.
Hi Dasanna , I am one of the silent follower , reading through your blog taking inspiration in cooking ( as I love cooking )yesterday I made Garlic Naan with the help of this recipe and my husband was totally surprised – he couldn’t imagine how can naan be made on Stove top 🙂 . May daughter loved it too.I also made Beetroot rice with Mint Raita and everything was a hit.I wish I could attach pics 🙂 Thank you & you are absolutely wonderful in writing recipes , I just feel like I am talking to my mom when reading as its so detailed.
I wish good luck and look forward for trying more & more recipes from your blog.
so nice to read your comment renuka. thank you very much. i feel motivated and encouraged to share more recipes when i get to read comment like yours. wish you too good luck 🙂
I made them, they are just perfect! Thanks a lot for the recipe and the clear instructions.
pleased to know you liked them noelia 🙂 thankyou for your kind words and you are welcome.
Hi Dassana,
When you say whole wheat flour, is that the same as atta flour? (I believe the “whole wheat flour” in the US is different and I am not sure which to use.)
Thanks,
Michelle
welcome michelle. whole wheat flour is called ‘atta’ in india. but not sure about US variety. but i think it should work.
When my MIL came from India she found that the regular whole wheat flour we buy in American stores does not produce rotis and parathas that taste right. We make special trips to Indian grocery stores over an hour away to stock up on authentic atta and other items you can’t find in regular US grocery stores. If possible, use actual atta, but US whole wheat works in a pinch.
On a side note, Dassana, as an American of European descent married to an Indian, your website has been an amazing life saver. I came across it over a year ago trying to find eggless cake recipes, and I think I have been checking it weekly if not daily since then. I am trying your dishes all the time and I want to thank you for creating this site. I am now better able to make dishes for my husband that he grew up with. Thanks!
thanks for the info hay. its really helpful. in fact in india, we just get whole wheat flour labelled as atta and basically meant for making chapatis or rotis. i did read about the whole wheat flour in US being different and not suited to make chapatis. however, i really don’t have any experience on using the whole wheat flour available in the US. in all my whole wheat bakes also, i use atta, the indian one. thanks again for the info.
felt good to read your comment and thank you. i wish you all the best in your future.
Hi dassana! Have been reading your blog for almost a year now…am a student and my intetest in cooking is just perking up. I tried your garlic naan recipe…I halved the recipe, used whole wheat flour and cut down the oil to 2tsps…gave me 3 cute 5-6″ naans. The dough rose up beautifully. I was doubtful about the inner texture of the cooked naans, though. But one bite, and I was really pleased with the results! Perfect and spongy! I had them plain with ketchup 😉
You are doing an amazing job, love your site!
thanks fatima for your kind words and sharing positive feedback on garlic naan. glad to read your comment.
I googled the recipe for kadi pakoda and stumbled upon your website. I have been reading it for the last hour and a half. I absolutely love it. Everything seems so well laid out and thoroughly explained. I am an amateur when it comes to cooking and a soon-to-be mom. I am so looking forward to trying out a couple of your recipes. Much love!
thanks maria. glad to know that you liked the recipes presentation and the website. i wish you all the best.
Its very nice recipes
thanks sadanand