Craving for yum, crisp Garlic Bread at home, but don’t have an oven? No worries. This Garlic Bread recipe is made for making this favorite snack on a frying pan or skillet. It is super-duper easy, requires minimum efforts and will give you all the feels of one eating at a popular pizza joint.
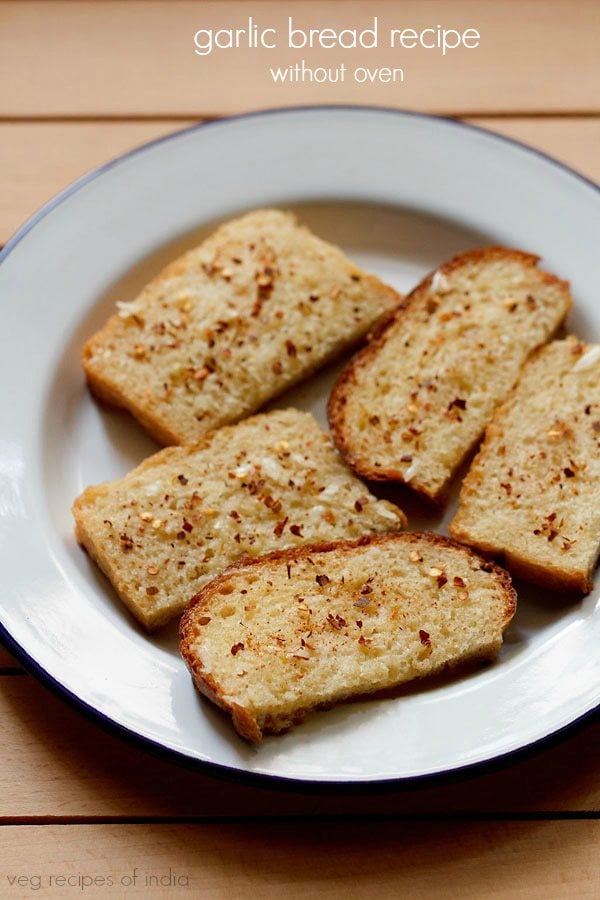
Table of Contents
Garlic Bread, A Favorite
Yes, I actually have a fascination for all things garlic, bread, and when put together as a Garlic Bread, it’s just another winner comfort dish for me.
Since the time Garlic Bread was popularized by the various pizza joints across the country, I had been wanting to try it at home too.
So, this Garlic Bread recipe of mine has become my go-to fix at home. Tastes just like the ones available outside.
Also, given my fixation with Garlic Bread Toast, apart from this version that doesn’t even require an oven, I have other recipes which you must give a try, if you can resist one either.
Make this Garlic Bread Toast in a pan/skillet on a stovetop, and then if you have an oven and want to use it, go for these other variations too: Garlic Cheese Bread (this can be done on the stovetop as well), cheesy Garlic Breadsticks or Garlic Rolls.
About Garlic Bread Recipe
I often get requests to post simple, easy and quick recipes, and those with less ingredients too. This Garlic Bread recipe checks all these pointers.
What’s best is that, if you have less time for cooking or live by yourself, this Garlic Bread Toast can be rustled instantly for a quick snack.
It is a no brainer that one of my most favorite bits of this Garlic Bread is the aroma of the garlic itself, which stands out in the recipe.
However, if you are sensitive or have an aversion to the strong garlicky smell, lightly sauté the crushed garlic and then mix in the butter.
Whenever I’m making Garlic Bread Toast at home, I pair it as an accompaniment to a soup or use it as a starter. But these are perfect for your evening tea or coffee sessions too.
For the garlic, the best flavors come from using the smaller sized garlic. They are packed with the pungent garlicky flavors. The larger sized garlic cloves are less pungent than the smaller ones. Having said that use the garlic variety that is easily available to you.
Using a homemade bread is always the best thing to do. But if you have a bakery or store-bought one, make sure to use a fresh, good quality bread. Whole wheat, brown, sandwich, multigrain, white – any/all breads are good for this recipe.
For the bread, fresh bread or a few days old bread also work well. Opt to use bread that you prefer or like. Apart from the regular breads, you can also opt to use soft dinner rolls, ciabatta, french bread or sourdough bread.
How to make Garlic Bread
Preparation
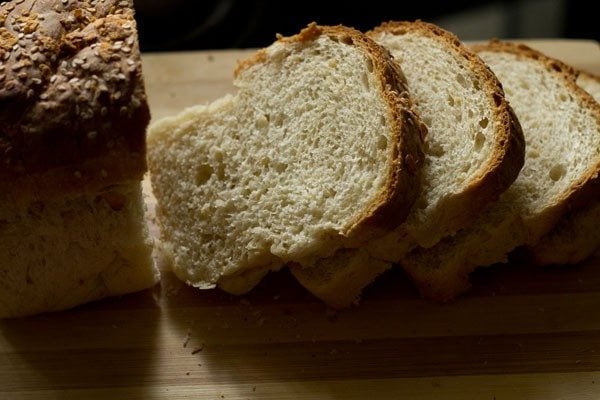
1. Cut 8 slices having 0.75 inches width from a loaf of bread. If you have bread with pre-cut slices, remove 8 slices.
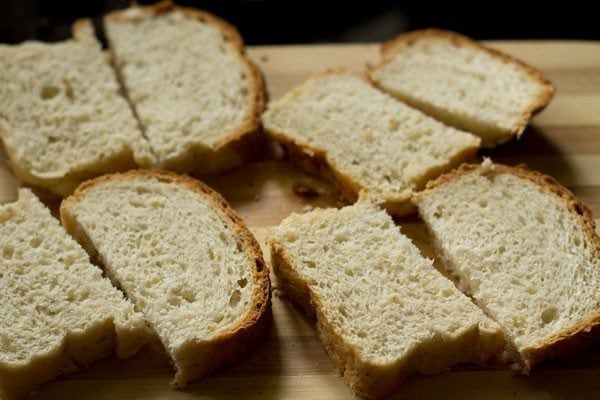
2. Cut each of the 8 slices into two rectangular halves. You can also cut them into two triangles.
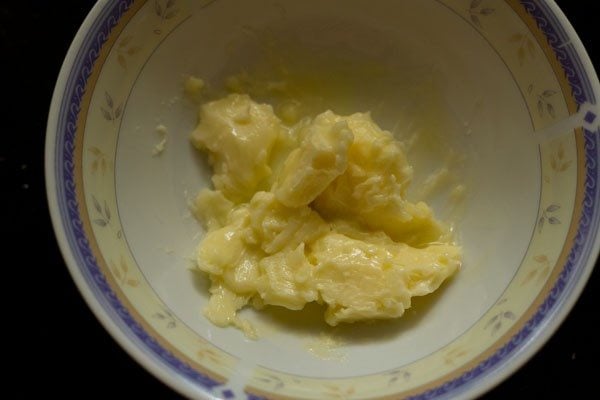
3. In a small mixing bowl, take 2 tablespoons softened butter. You can use either salted or unsalted butter.
Remember to add a few pinches of salt if using unsalted butter. I have used salted butter.
4. Add ½ teaspoon of minced or grated or crushed garlic cloves to the softened butter.
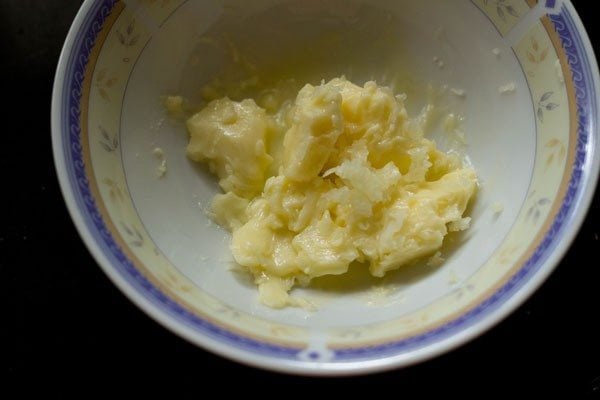
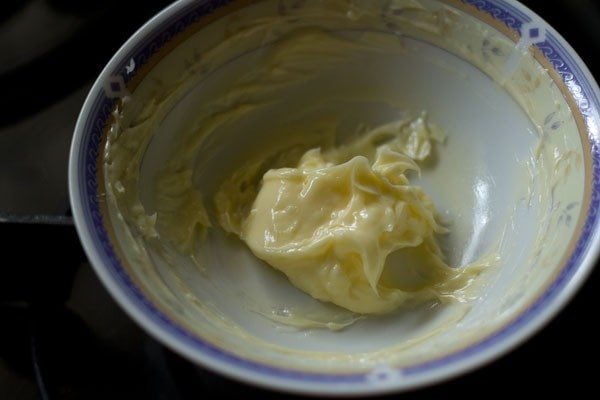
5. Using a spoon or wired whisk, combine the butter and garlic to an even mixture.
Make Garlic Bread
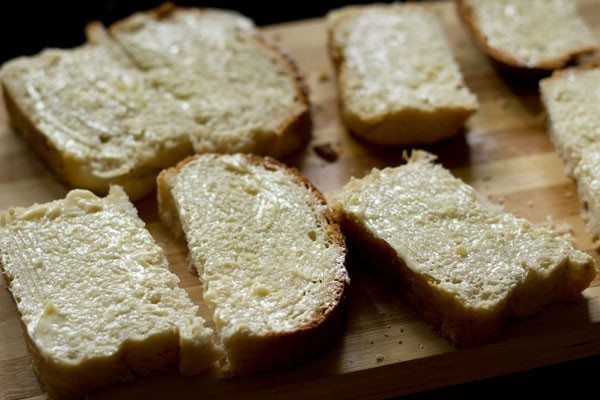
6. Place the bread slices on a plate or your chopping board. Evenly spread the prepared garlic butter on each of the bread.
You can be more generous with the butter if you prefer.
7. Heat a flat skillet or frying pan on a medium heat. When the skillet becomes hot, reduce the heat to a low or medium-low and place the bread slices on it.
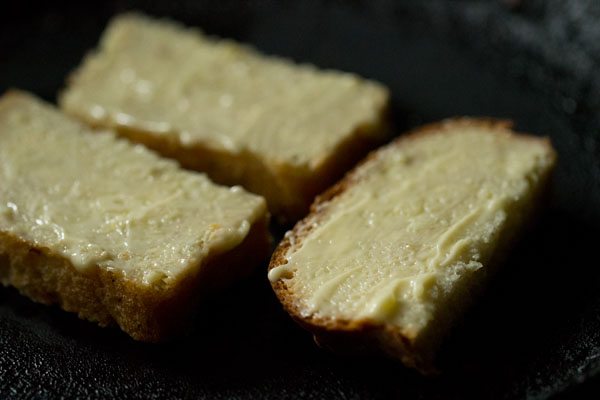
8. Cover with a lid.
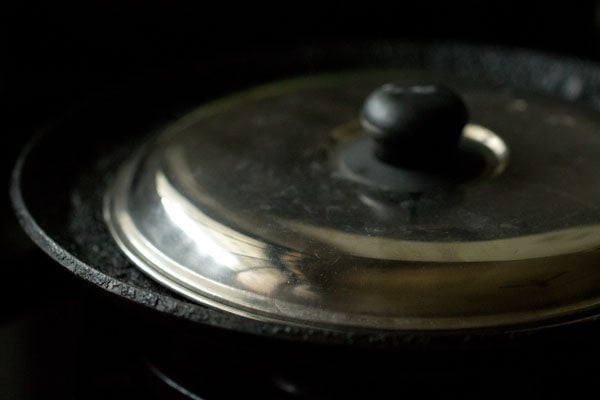
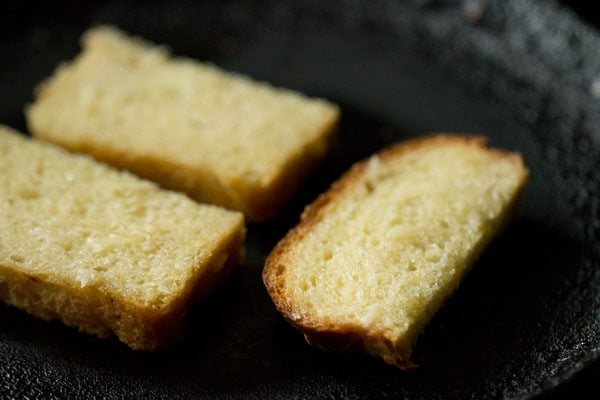
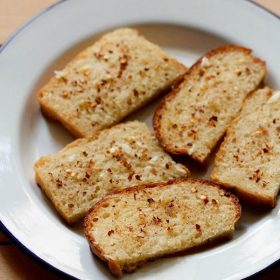
10. Roast the garlic bread till light golden and a bit toasted at the edges. If you want a more crisp toasted texture, then you can toast the garlic bread slices for some more minutes.
For baking in the oven – preheat oven for 200 degrees C/392 degrees F. Keep on the top rack and bake for 4 to 6 minutes. No need to brown or toast the bread.
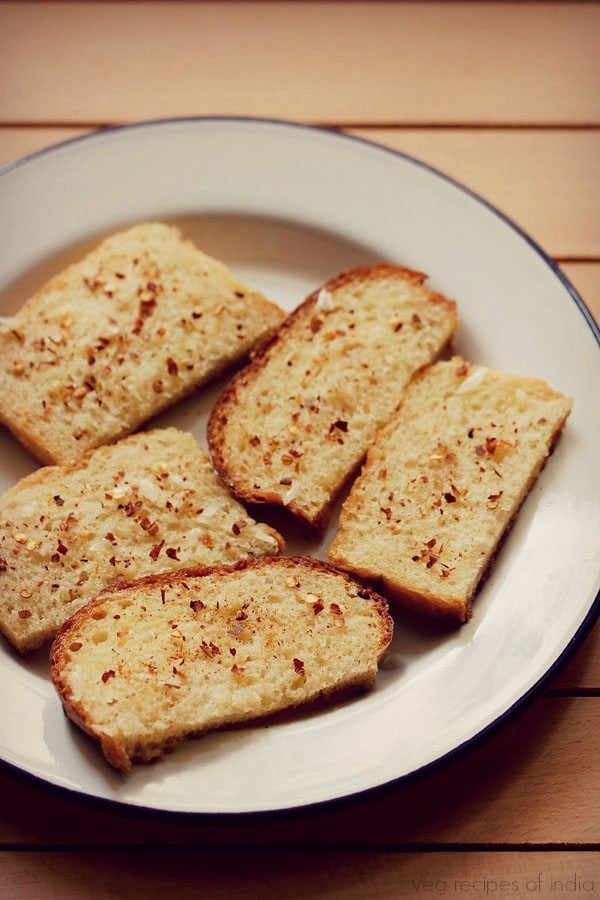
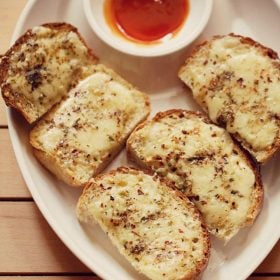
11. Serve hot or warm Garlic Bread Toast, sprinkled with your favorite herb or spice on top. Here, I have added red chili flakes and some dried oregano.
Expert Tips
- Which Bread? Breads you can use to make this recipe are: brown bread, whole wheat bread, multigrain bread, white bread, french bread, sandwich bread.
- Unsalted Butter: In case you are using unsalted butter, season it with a bit of salt. For a vegan version, use your preferred plant based butter.
- Garlic Chives: Using garlic chives instead of the regular garlic also gives a good flavor to the bread toasts.
- With Cheese: Make a cheesy version by using a single type or a combination of your favorite cheese (grated) on top of the bread slices, then covering and cooking till the cheese melts.
- Spices and Seasonings: Other than red chili flakes and dried oregano, you can also sprinkle other herbs/spices like thyme, basil, black pepper or Italian seasoning.
- Want to make in in the oven? Place the Garlic Bread Toast on the top rack and bake at 200 degrees Celsius/390 degrees F for 4 to 6 minutes or until the bread is lightly toasted. The oven has to be preheated at the same temperature for 10 minutes before you bake.
More Bread Snacks To Try!
World Recipes
Bread Snacks
World Recipes
Bread Snacks
Please be sure to rate the recipe in the recipe card or leave a comment below if you have made it. For more vegetarian inspirations, Sign Up for my emails or follow me on Instagram, Youtube, Facebook, Pinterest or Twitter.
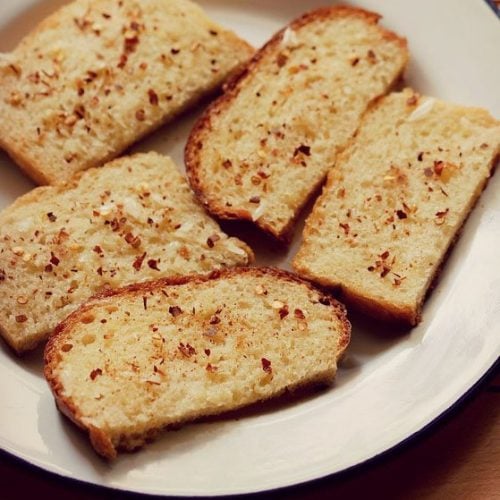
Garlic Bread Recipe
Ingredients
- 8 slices or a loaf of bread cut into 8 slices each of 0.75 inches. use any bread of your choice
- 2 tablespoons Butter – salted or unsalted
- ½ teaspoon garlic – minced or grated or 3 to 4 small to medium-sized garlic cloves, peeled and minced
- salt as required, to be added if using unsalted butter
- red chili flakes as required
- dry oregano as required or add your favorite herbs
- black pepper as required, optional
Instructions
Preparation
- Take the bread slices and cut each slice into equal halves or triangles.
- In a small mixing bowl take the softened salted butter and minced garlic. If using unsalted butter add a few pinches of salt to it.
- Thoroughly mix the softened butter and minced garlic to an even mixture.
- Next evenly spread the garlic butter on the bread slices. You can be more generous with the butter if you prefer.
Making garlic bread
- Heat a frying pan, flat skillet griddle on medium heat.
- When the pan or skillet becomes hot, reduce the heat to a low or medium-low. Place the bread slices on the skillet.
- Cover the bread slices with a lid.
- Keeping the slices covered, roast till light golden and a bit toasted at the edges.
- If you want a more crisp toasted texture, then you can toast the bread slices for some more minutes.
- Once the garlic bread has got lightly toasted from the edges, sprinkle your favorite herb or spice from top. I added red chili flakes and some dried oregano.
- If you have a small pan, you can toast the garlic bread batches.
- Serve Garlic Bread toast hot or warm.
Notes
- Instead of garlic, you can also use garlic chives.
- Feel free to sprinkle your preferred spices and herbs on the garlic bread.
- Make sure to use fresh butter. You can also use homemade butter.
- For the garlic, smaller sized garlic have more pungent and sharp flavors, then larger sized ones.
- For baking in the oven – preheat oven at 200 degrees C/390 degrees F. Place on the top rack. Bake at the same temperature for 4 to 6 minutes or until the bread is lightly toasted. No need to brown or toast the bread.
Nutrition Info (Approximate Values)
This Garlic Bread recipe from the archives first published in March 2016 has been republished and updated on January 2023.


This is really an easy and tasty recipe with few ingredients. Please share more quick recipes.
Thank you. I will try to add such recipes.
Easy recipe for beginner like me…plz share pink sauce pasta recipe…
thanks. will try to add and have taken note of your recipe request.
Awesomeness sweet food
This is really an easy and tasty recipe. It takes just few minutes with just 2-3 ingredients. I usually make this during tea time. No need of oven. My husband loves this dish. Please share more such tye of easy recipes
Thanks Payal for sharing your positive feedback. I will try to add some more easy and quick recipes.
Pls tell the healthy soups recipes for pregnant women
Leena, its better to check with the doctor. As every person has different requirements and different physical constitution. Its best to check with your nutritionist or physician.