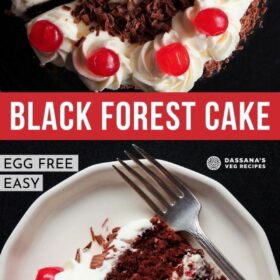
This easy recipe for Eggless Black Forest Cake is not only delicious, it is also made a little healthier by using whole wheat flour. Don’t worry though, this yummy eggless black forest cake recipe still boasts a fabulous taste and texture that’ll have your guests coming back for more.
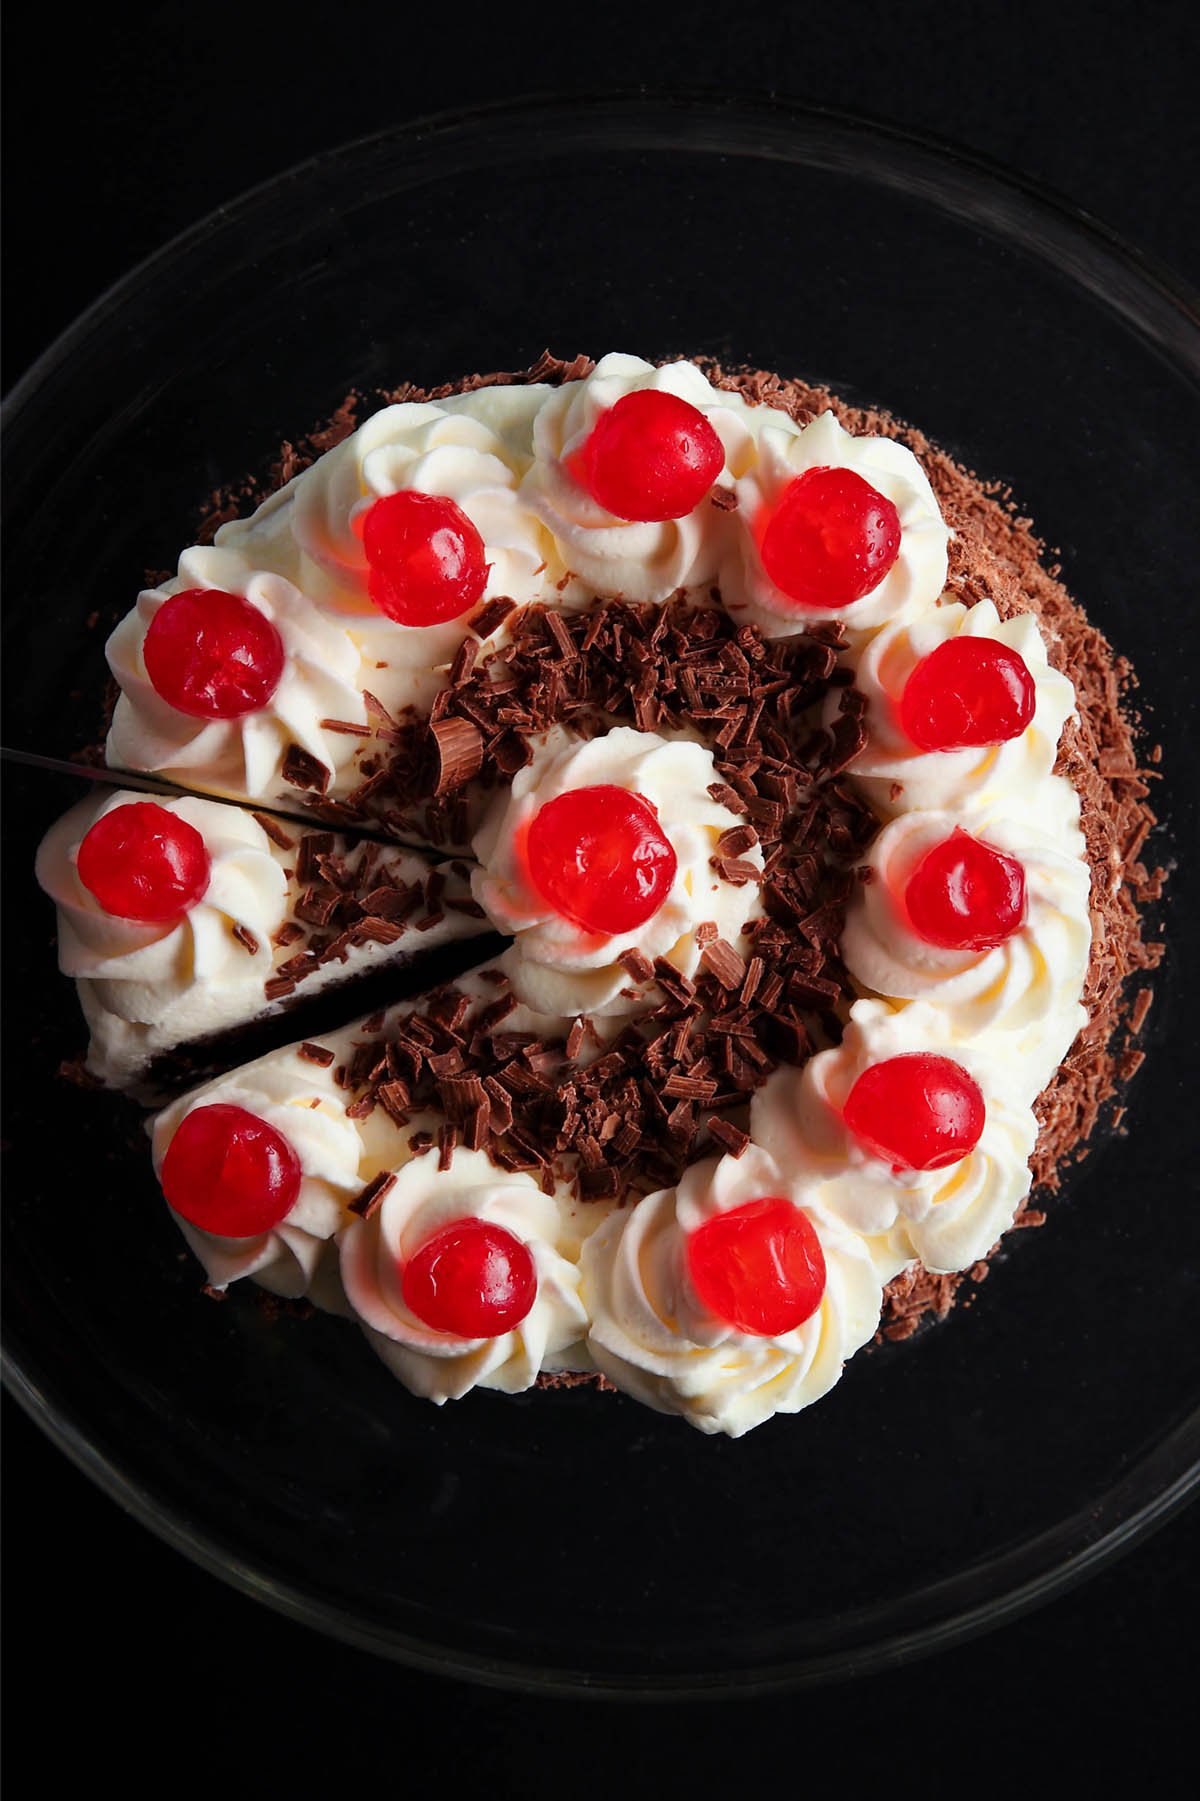
This beautiful chocolate sponge layer cake is easy enough for beginners, but is beautiful enough for even the fanciest of celebrations! Just look at this show-stopping creation: Isn’t it simply gorgeous?
Table of Contents
What is Black Forest Cake?
Black Forest Cake is a recipe that is based on a traditional German cake known as Schwarzwälder Kirschtorte, which can be roughly translated to mean “Black Forest Cherry Torte.”
I say the recipe is “based on” the German dessert, as German law actually decrees that for something to be called Schwarzwälder Kirschtorte a specific alcoholic liquor derived from sour cherries and known as kirschwasser must be used!
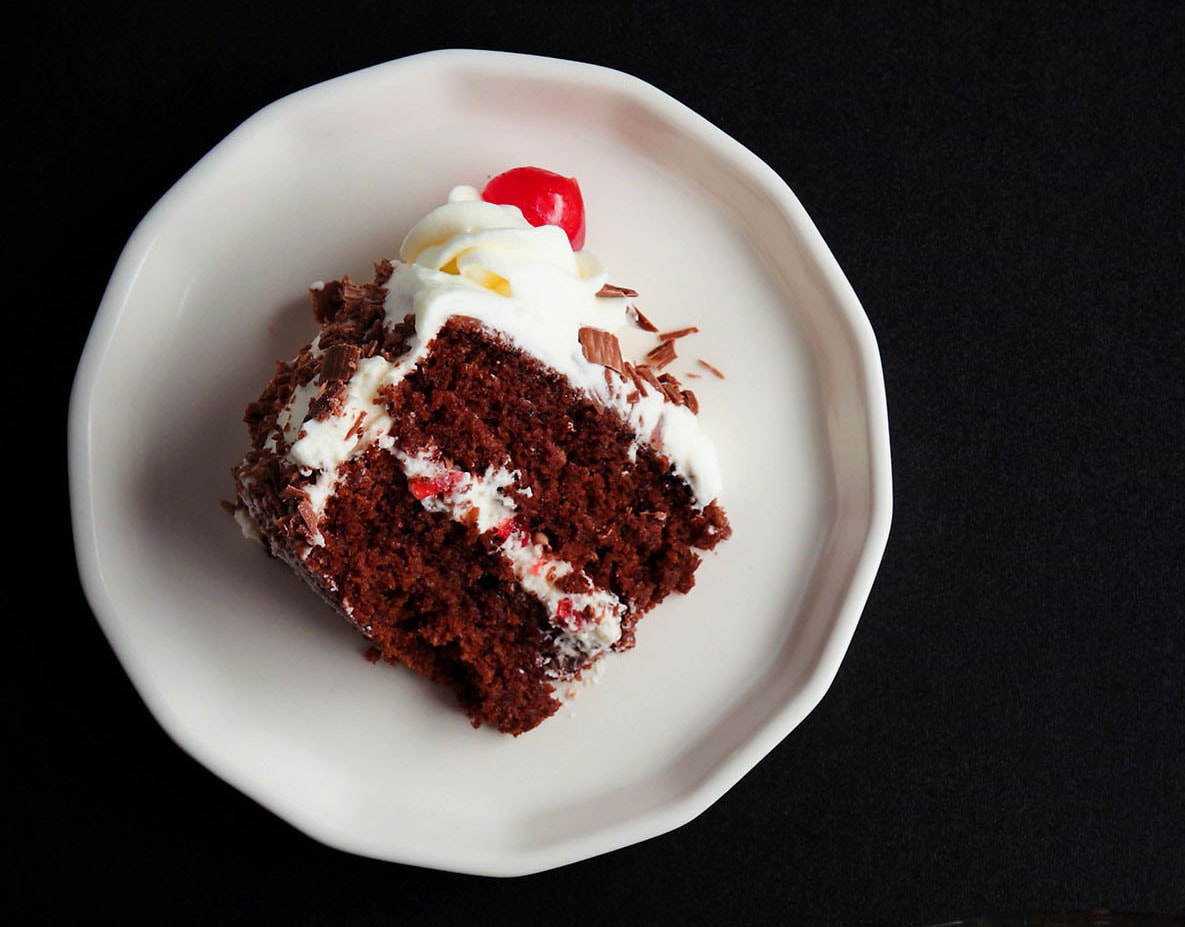
In the simplified, non-German recipe, you can expect layers of chocolate sponge cake, whipped cream and cherries to be present.
My version of this yummy treat is made a bit healthier, as I use exclusively whole wheat flour for my chocolate sponge, and opt to soak my cake layers with simple sugar syrup instead of alcohol.
Why This Eggless Recipe Works
Preparing beautiful layer Cakes at home is a creative and satisfying endeavor. And trust me when I say, the process is not difficult! It does take a bit of time and you will have some extra pans, bowls and accoutrement that needs to be cleaned, but the result is well worth it. 🙂
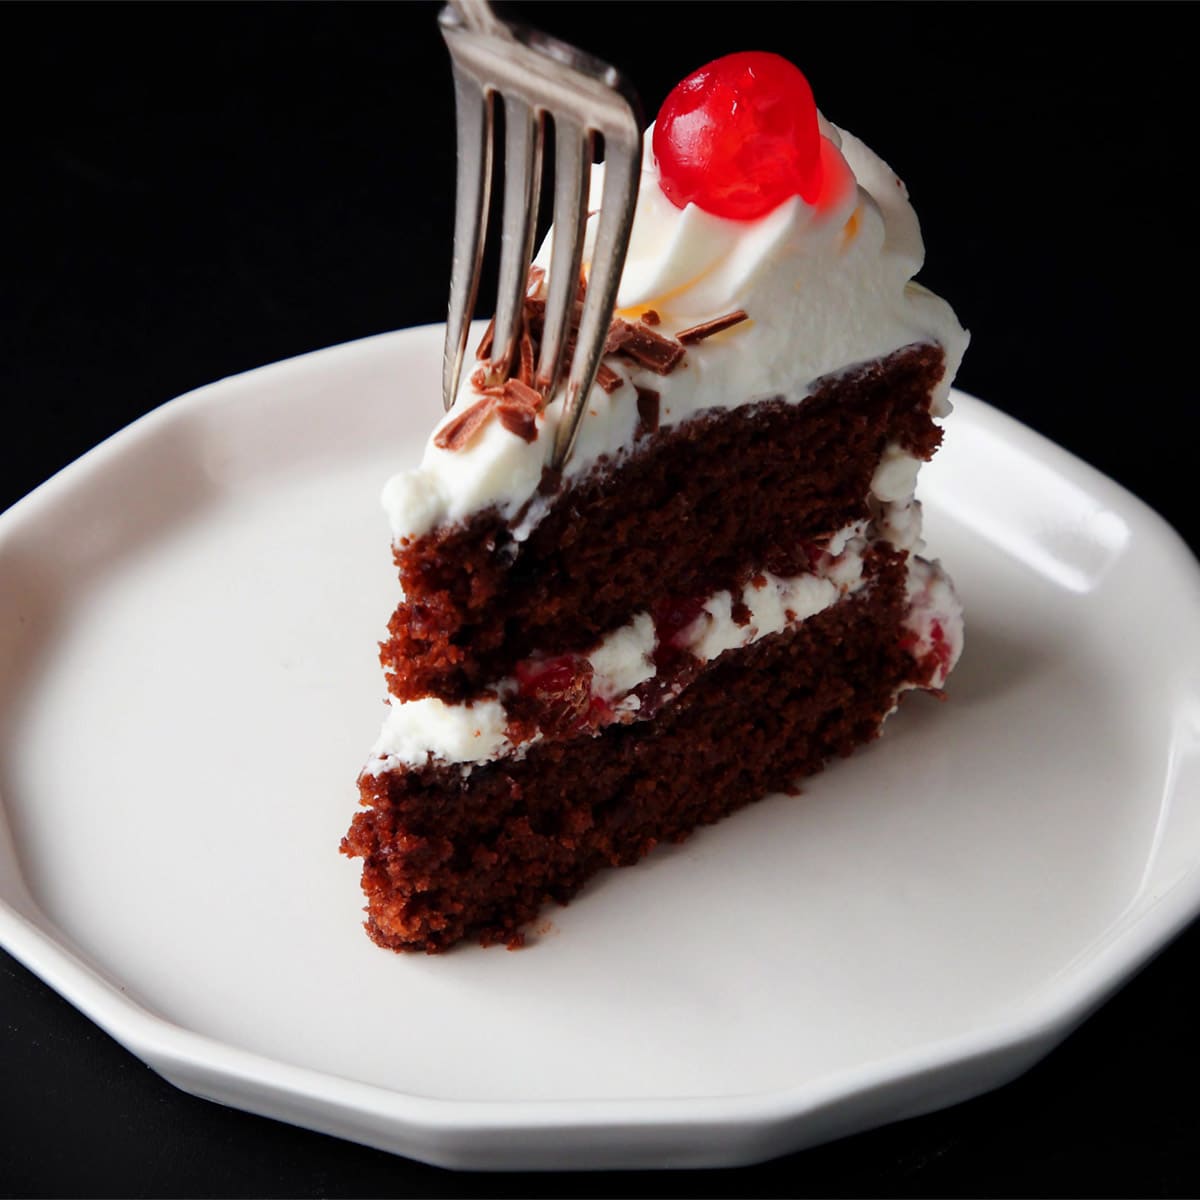
This picture perfect black forest gateau has a lovely, light consistency. While the sponge is made from whole wheat flour for a bit of extra nutrition, I can almost guarantee nobody will be able to guess it. And for all of you with an egg allergy, this recipe is completely egg free!
While I love the simplicity of this recipe, you can make life even easier on yourself by purchasing a Chocolate Cake from the store. Simply split it in half, make the whipped cream frosting and get to decorating!
Once you try the combination of chocolate sponge cake with lightly sweetened whipped cream and slightly tart cherries, I can almost guarantee you’ll be hooked. And even though the consistency is angelically light, the final cake weighed in at a total of 700 grams, so you just know that it is loaded with serious flavor.
This eggless black forest cake recipe is my go-to for any celebration, from anniversaries to birthdays, graduations to dinner parties.
How to Make Eggless Black Forest Cake
Sift Dry Ingredients & Mix Liquid Ingredients
1. Preheat your oven to 200 degrees Celsius/392 degrees Fahrenheit. Brush or grease a 7.5 inches pan or two 6 inches baking pans with oil. Instead of brushing the pans with oil, choose to line them with parchment paper.
2. Sift or sieve 1 cup whole wheat flour, 3 tablespoons cocoa powder, a pinch of salt, ½ teaspoon baking soda onto a plate. Be sure to use good quality cocoa powder.
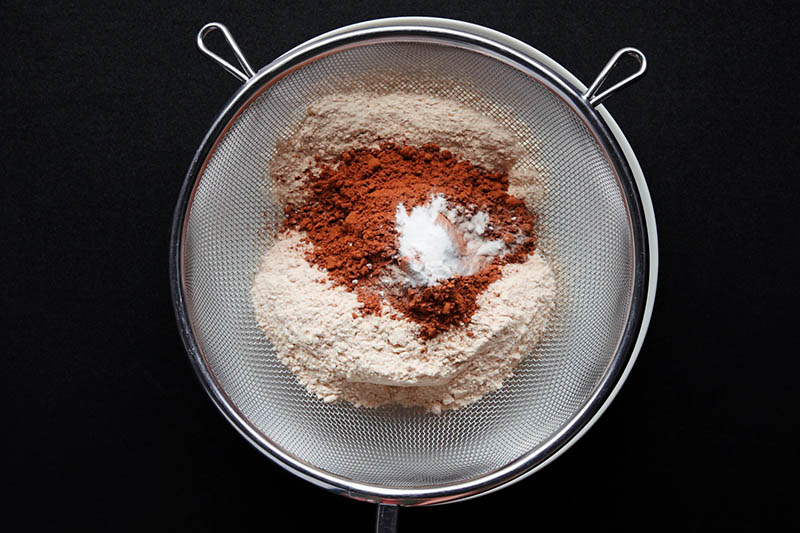
3. in another pan or bowl, take ¾ cup sugar and add 1 cup cold water.
Tip: Want your cake to be light and spongy? Note that the water has to be cold. Keep the water in the refrigerate for an hour or so to cool it. The cold water helps to give this sponge cake its light and delicate consistency.
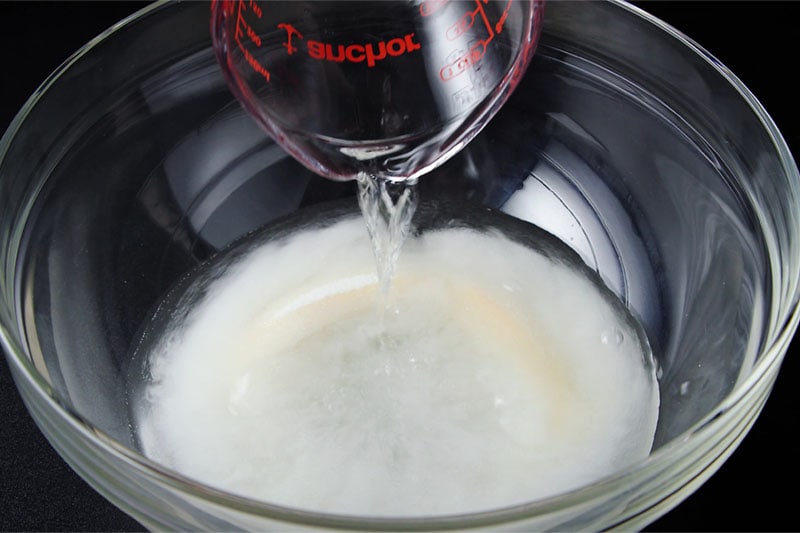
4. Stir so that the sugar dissolves.
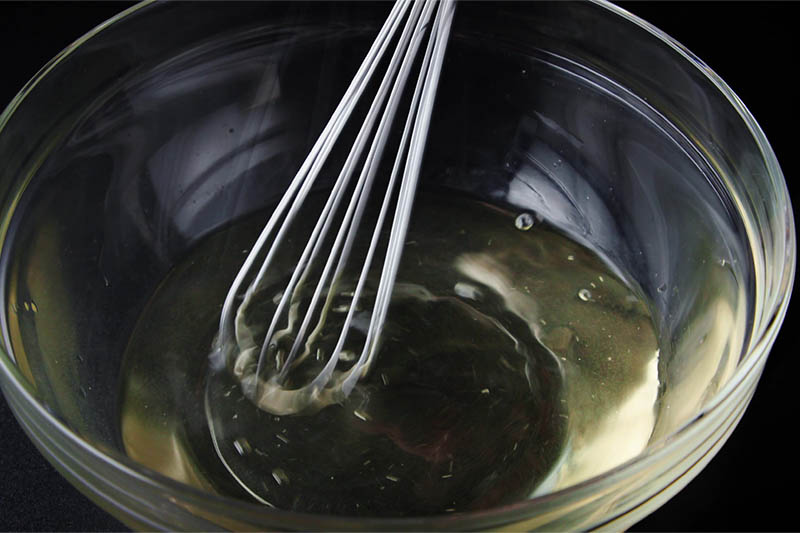
5. Add ¼ cup neutral tasting oil. I added sunflower oil, but vegetable oil, avocado oil or canola oil will all work.
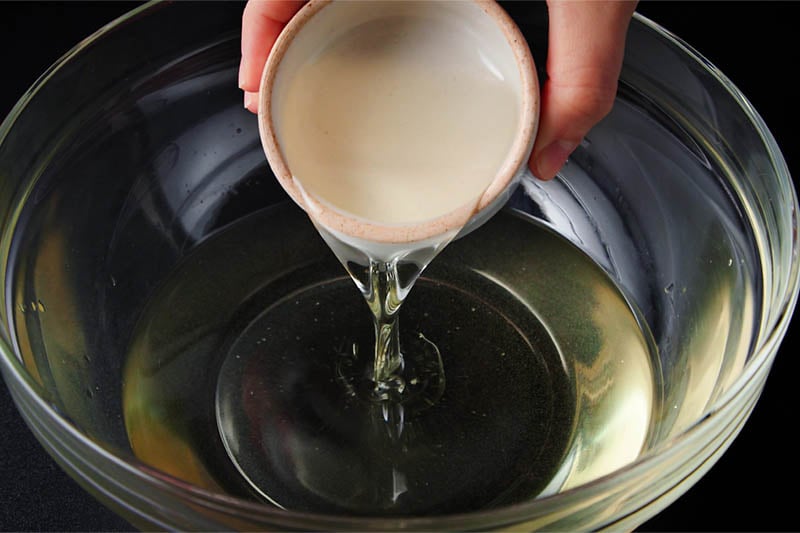
6. Stir briskly so that everything is mixed well.
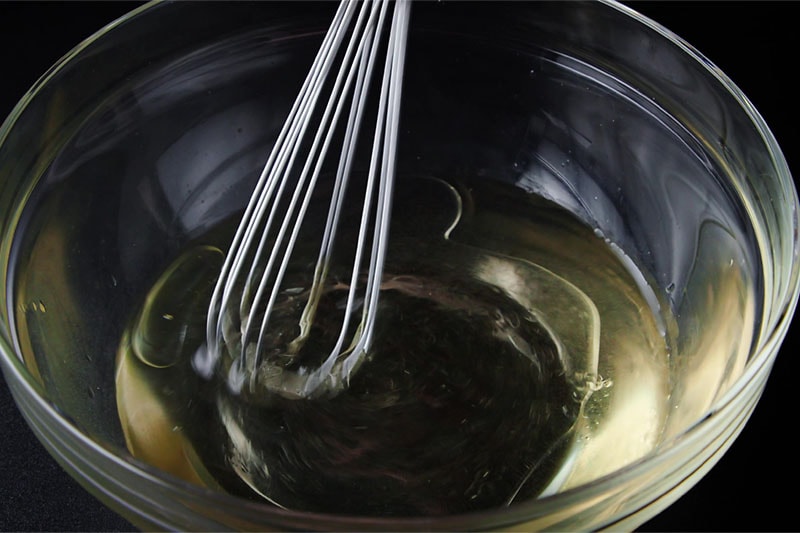
7. Add 1 tablespoon lemon juice. If you do not have lemon juice, use 1 tablespoon apple cider vinegar or white vinegar.
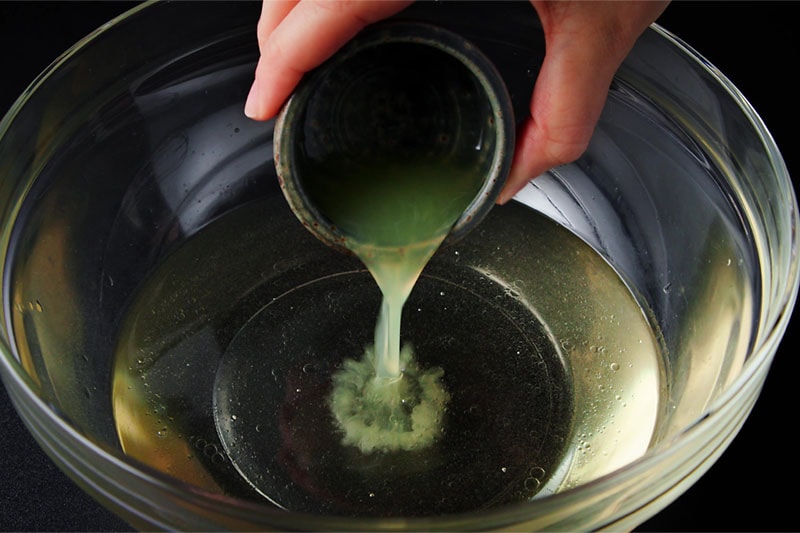
8. Now add ½ teaspoon vanilla extract.
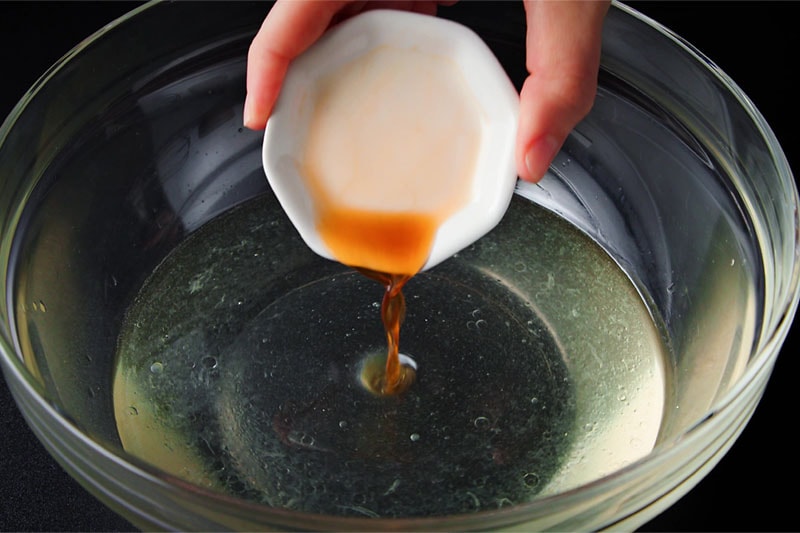
9. Stir and mix well briskly for 2 to 3 minutes to get an even emulsified mixture.
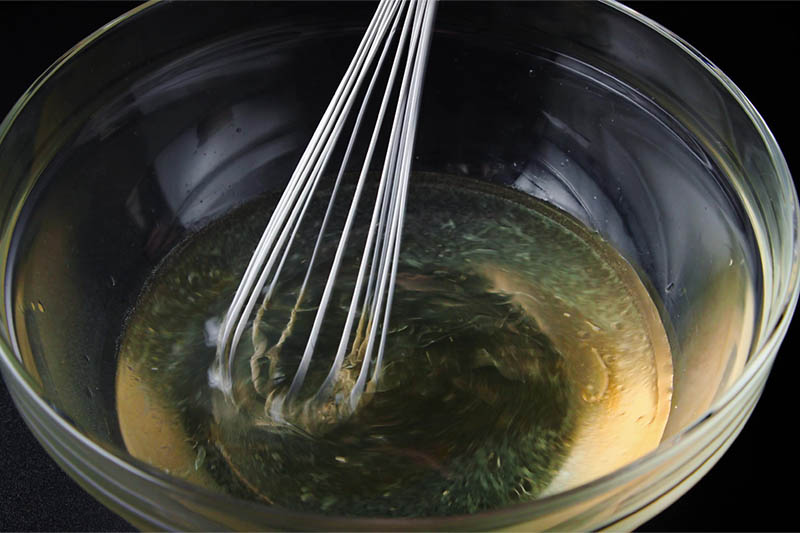
Make Cake Batter
10. Add the sieved dry ingredients to the wet mixture.
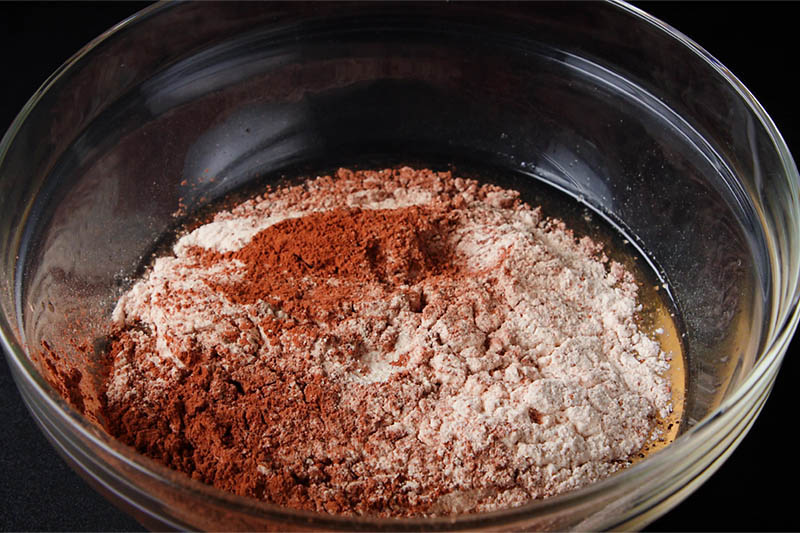
11. Using a wired whisk, mix everything well. There should be no lumps in the cake batter.
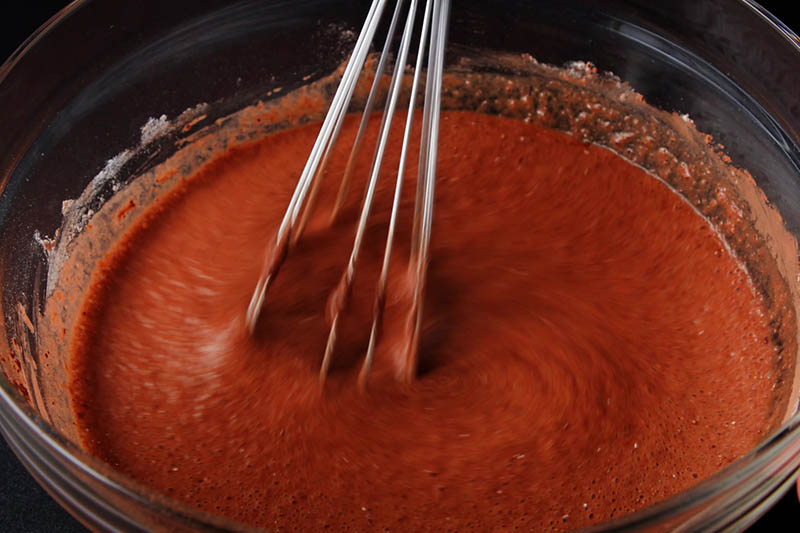
12. As you can see, the batter is not thick but medium thin.
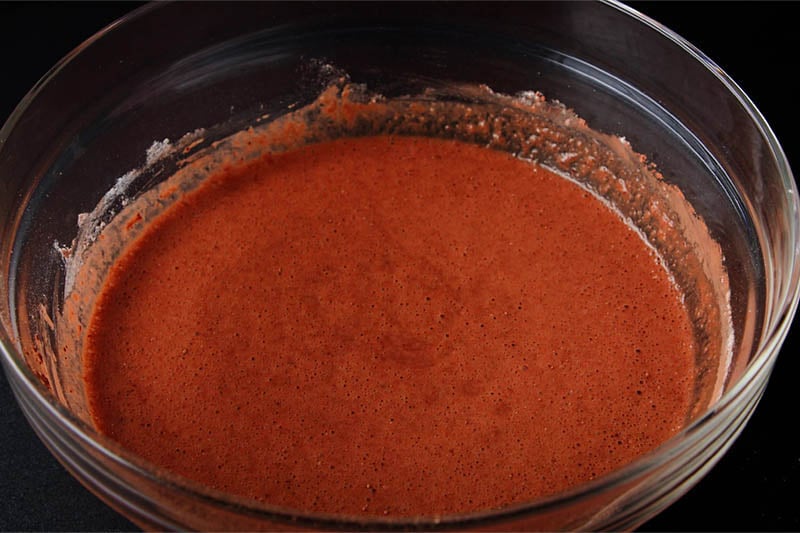
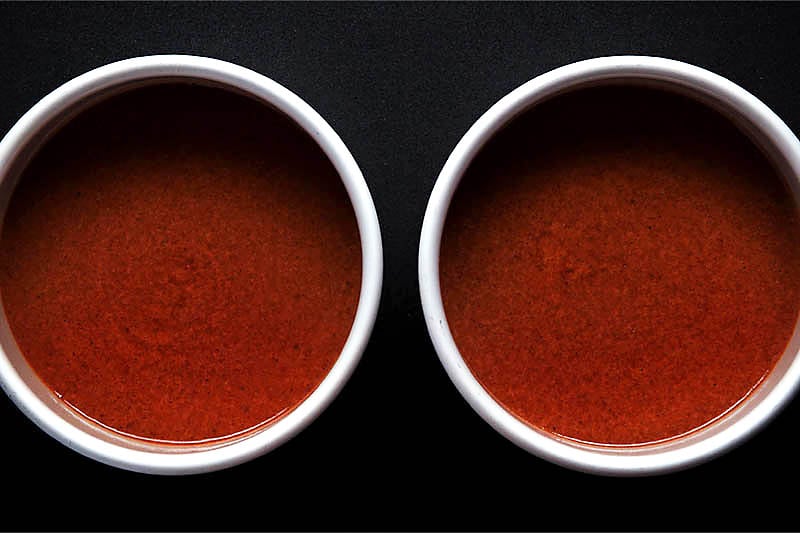
13. Pour the cake batter in a greased cake pan of 7.5 inches diameter x 2 inches height. Or use two round cake pans (6 inches diameter) and divide the batter equally between two pans as I have done.
Tap the pan on the countertop so that the extra air bubbles are let out.
Bake Chocolate Sponge
14. Place the pans in the center rack of your oven. Bake the cakes in a preheated oven for 200 degrees Celsius/392 Fahrenheit for 35 to 40 mins. Since temperatures vary from oven to oven, do keep an eye on your cakes.
For baking in a convection mode of microwave oven, preheat the oven at 180 degrees celsius for 15 minutes. Then bake the cake at 180 degrees celsius for 30 to 35 minutes.
For doneness, check the cake with a toothpick. The toothpick should come out clean. If the toothpick is sticky, then place the cake back in the oven and continue to bake for some more minutes.
Tip 1: Only open the oven door after ¾ of the cake is baked. If you keep opening the oven door many times, high chances are that your cake will sunk in the center.
Tip 2: Working ahead of schedule? Feel free to stop here and wrap/refrigerate your cakes overnight, or freeze for up to 1 month before assembling and frosting.
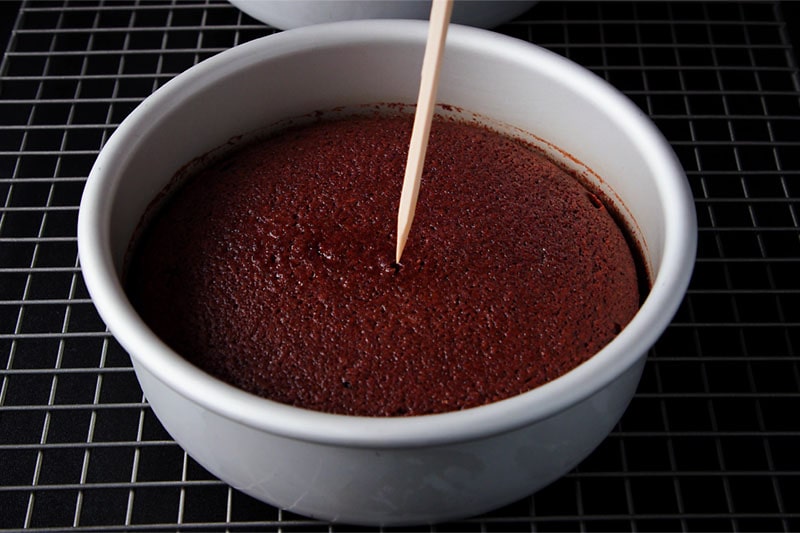
Whip Cream
Before frosting, let the cakes cool completely. Place the pans on a wired tray and let the cakes cool at room temperature. I make the cakes a day ahead and refrigerate them in a covered container.
15. In a bowl take 200 ml chilled whipping cream and 5 tablespoons icing sugar (a.k.a confectioner’s sugar or powdered sugar).
Note: If you live in India and do not have access to whipping cream, you can use the Amul brand of heavy whipping cream. But with Amul fresh cream, you will get soft peaks in the cream. You can also use heavy cream of any other brand.
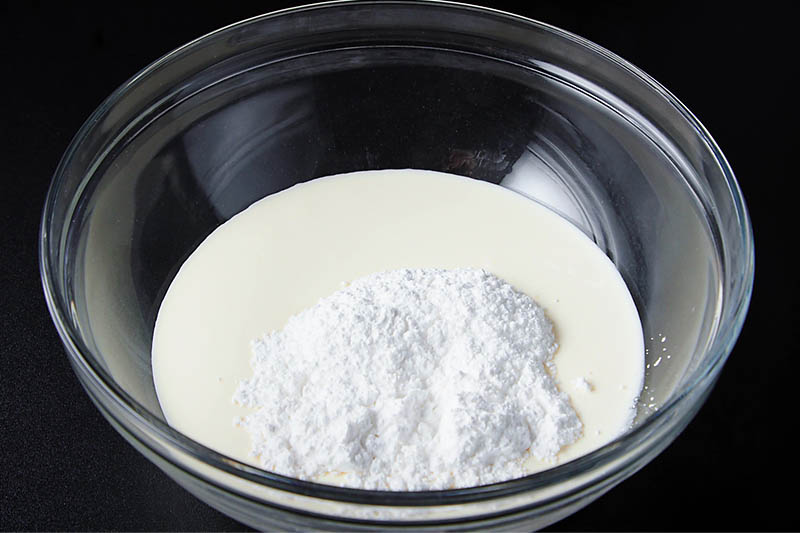
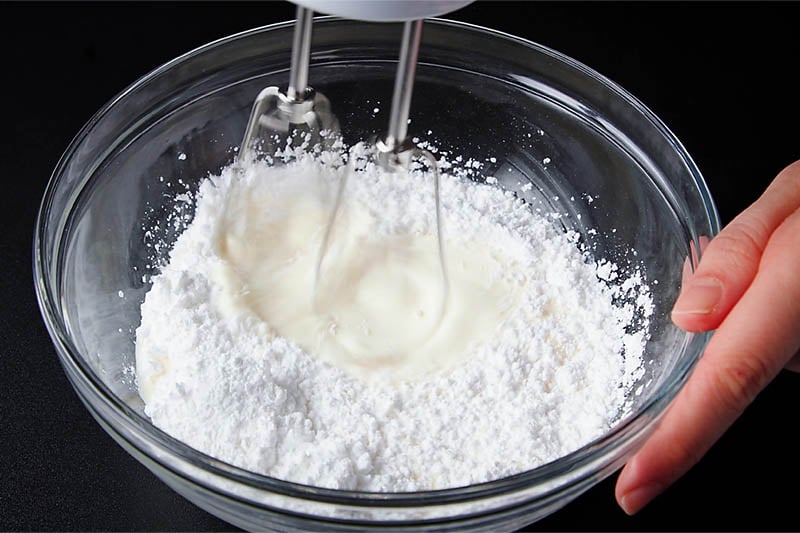
16. At the highest speed, whip until the cream becomes stiff. This process will vary depending on the power of your mixer and the fat content in the cream.
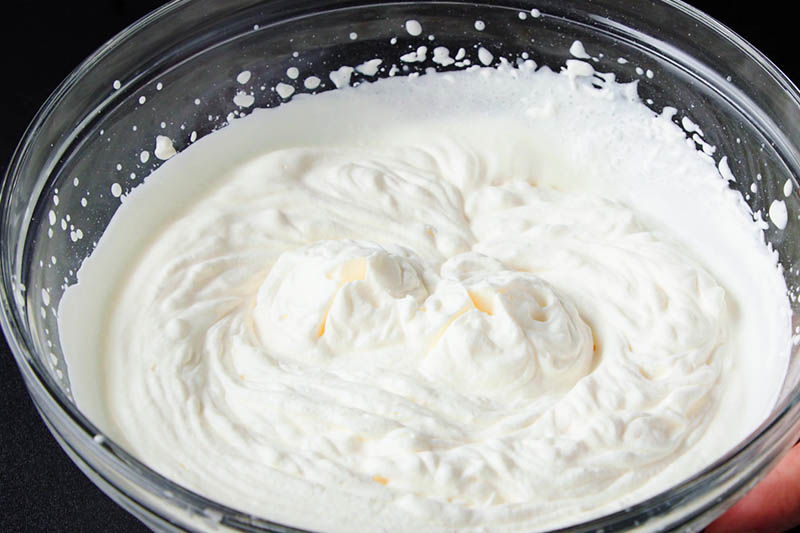
It may take 8 to 10 minutes if you use the Indian brand of Amul cream. To check, just invert the bowl. If the cream does not fall, the cream has stiff peaks.
Tip: Be sure not to over-whip your cream. While you can use a stand mixer for this process, I recommend using a hand mixer so you don’t walk away from your whipped cream and return to an accidental bowl of butter. When the cream reaches stiff peaks, STOP.
17. Here’s the consistency of the cream.
Assemble & Frost Sponge Layers
Note: If you have baked one cake, then slice the cake neatly from the center with a large knife or serrated knife. You can also use dental floss to slice the cake into two. If crumbs fall, collect them (they’re delicious!) and save them for when you decorate the cake.
18. Place one layer of the cake with the bottom side facing you. NOTE: If the top of your cake is domed, then slice the top domed portion evenly so it will lay flat.
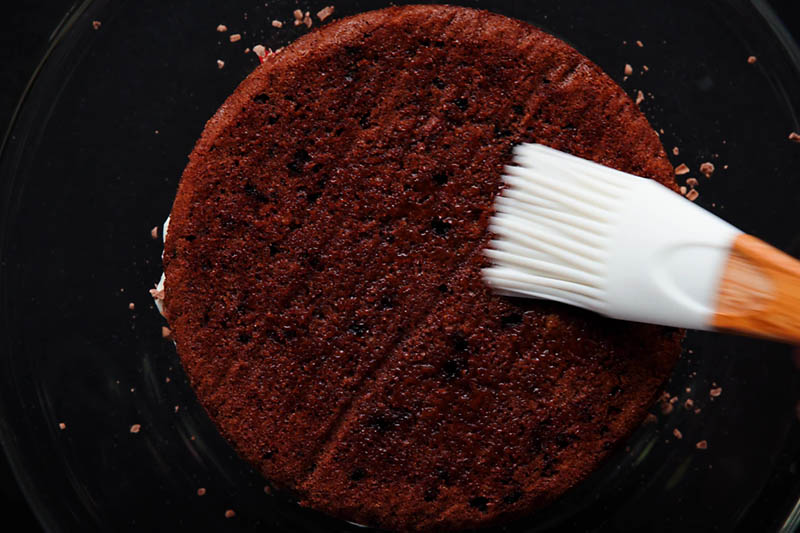
Brush the cake lightly and evenly with sugar syrup. To make sugar syrup, dissolve 1 tablespoon sugar with 3 tablespoon water. You can also use rum or wine instead of water.
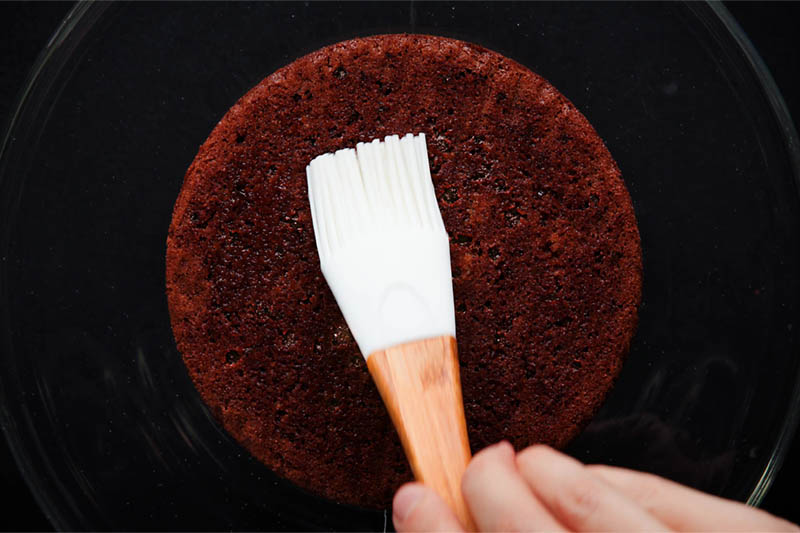
19. Now with a spatula spread about ¼ or ⅓ of the whipped cream on top of the cake.
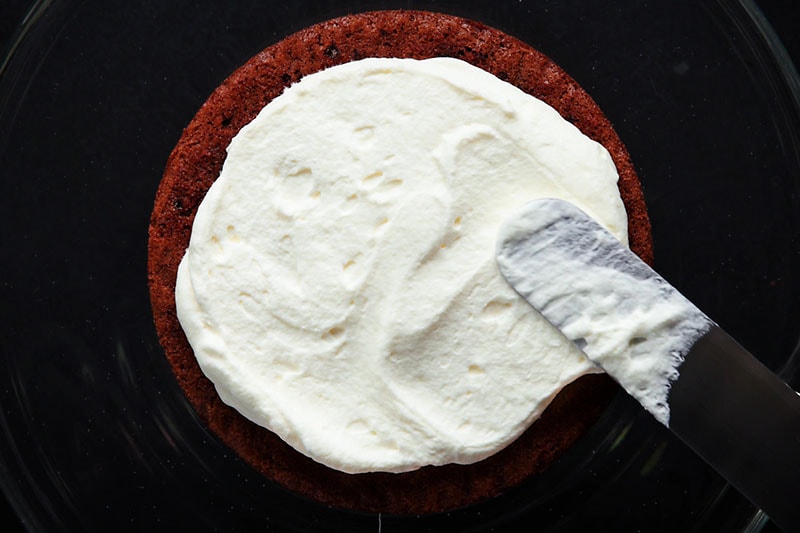
20. Then add a layer of finely chopped red cherries. You can use canned red cherries, glazed cherries or fresh sweet cherries.
Do not use canned maraschino cherries as they have a lot of preservatives added to them and smell awful according to me.
If you live in India, use glazed red cherries or you can use candied Karonda berries. You will find the Indian variety of candied karonda berries in most shops. They are also called karonda murabba in Hindi.
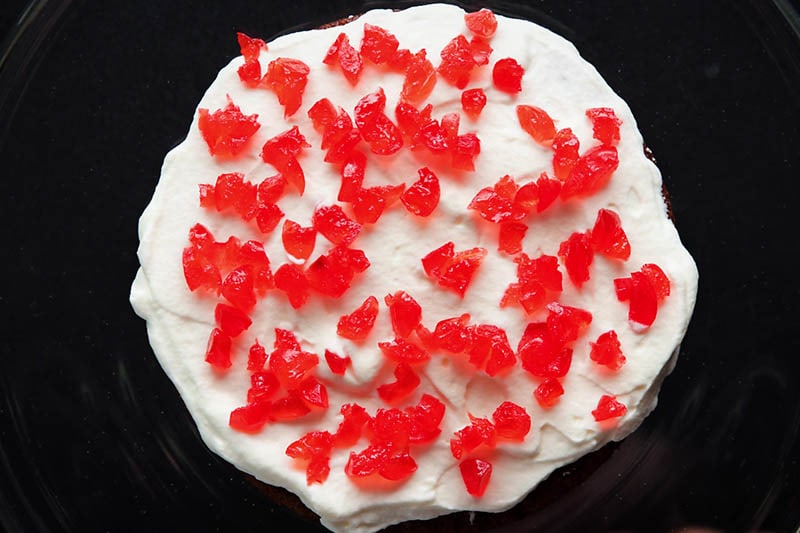
21. Sprinkle grated chocolate or chocolate shavings all over. I always grate or shave a bar of dark chocolate. Use any good quality semi-sweet, dark or bitter-sweet chocolate.
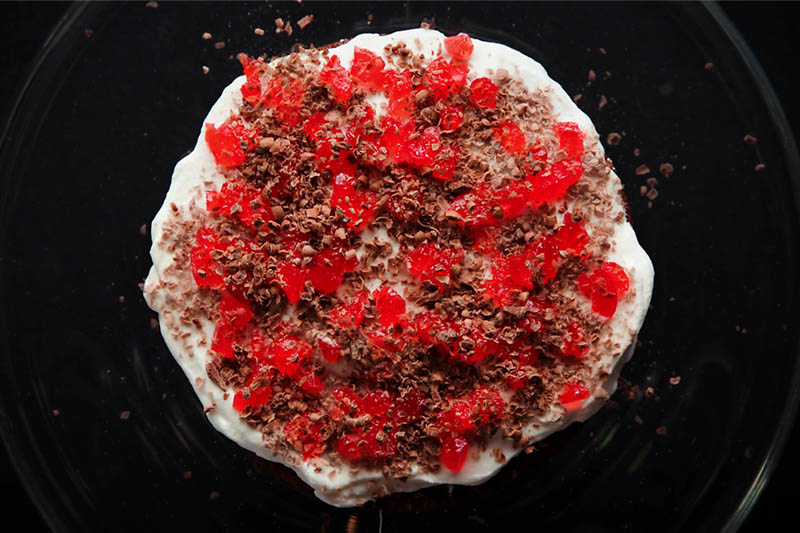
22. Cover with the second cake and brush the top with the sugar syrup.
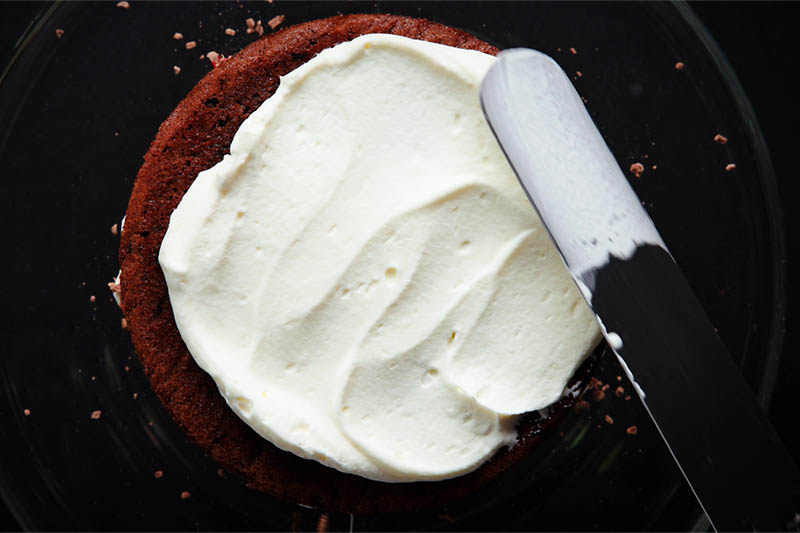
23. Spread again ⅓ part of the cream on the top evenly. Spread on the sides of the cake too. If you have a rotating cake stand, this will make frosting the cake much easier.
Tip: If you don’t have a cake stand, then use a small, flat plate covered with aluminum foil and place the cake on it before icing. The foil covered plate along with the cake is kept on a heavy board. This way you can easily rotate the foil covered plate while spreading icing on the sides.
Make Eggless Black Forest Cake
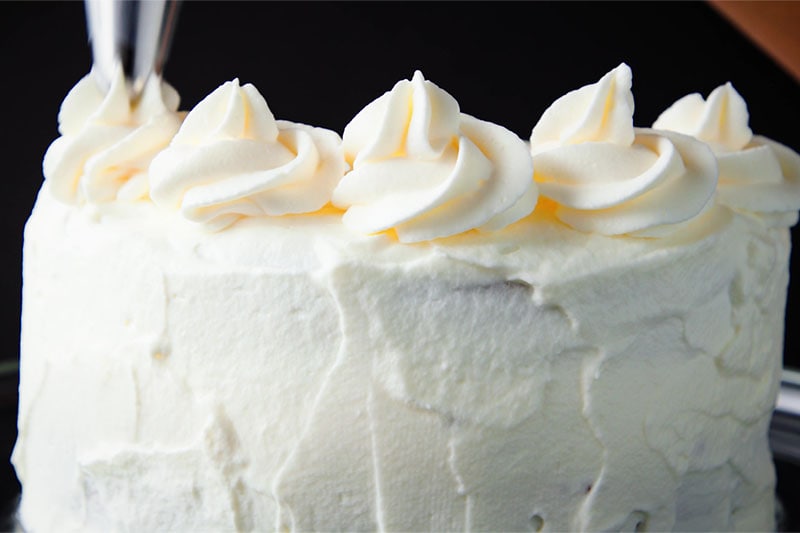
24. Add the remaining whipped cream in a piping bag and use any decorative nozzle. Decorate the cake however you like – I simply piped some rosettes around the top edge.
Don’t worry about design flaws as we will be adding more grated chocolate on the cakes, so any imperfections can be hidden!
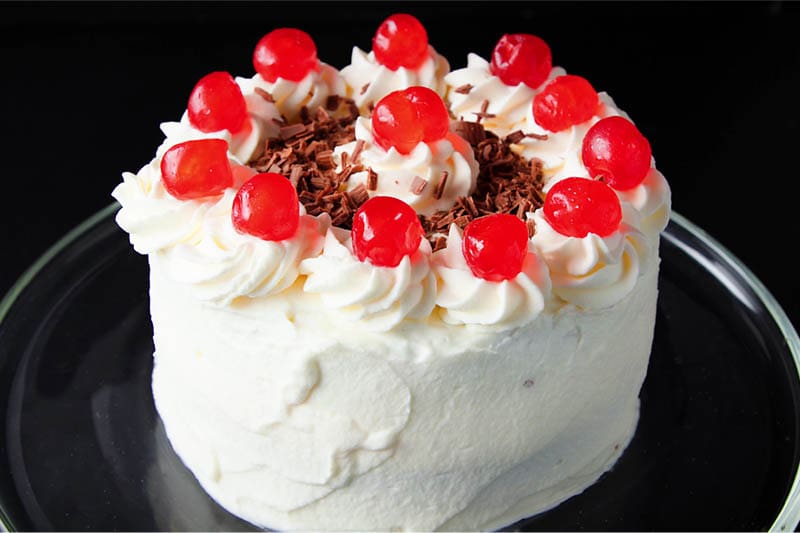
25. Place whole cherries on the cake. Top with some chocolate shavings or grated chocolate.
You can add the amount of cherries you want to make a neat looking eggless black forest cake. I suggest using one cherry per serving, as this will help you cut the cake evenly.
26. Now cover the sides of the cake with the chocolate shavings. Cup your fingers and take some chocolate shavings in them. Gently pat and press them on the cream layer with your fingers.
Turn the cake stand as you go on placing the chocolate shavings on the cream layer all over the sides. Some chocolate shavings will fall on the the cake stand. Collect these and use them for the decoration on the sides.
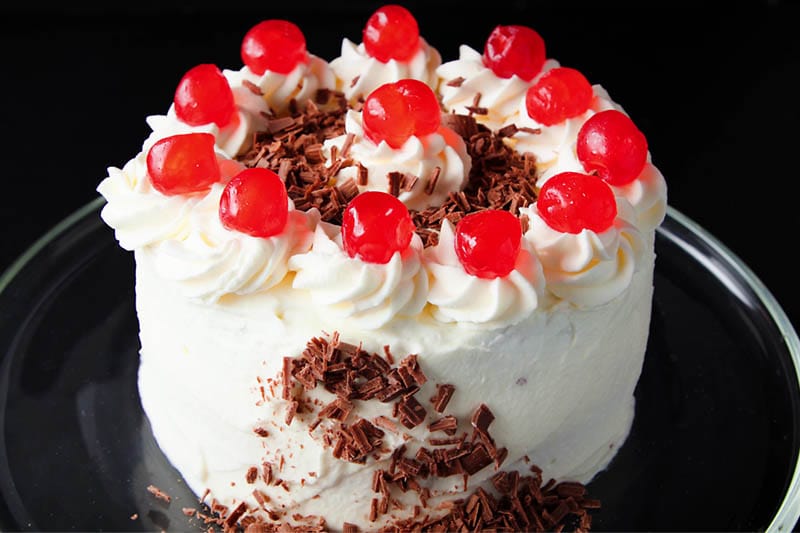
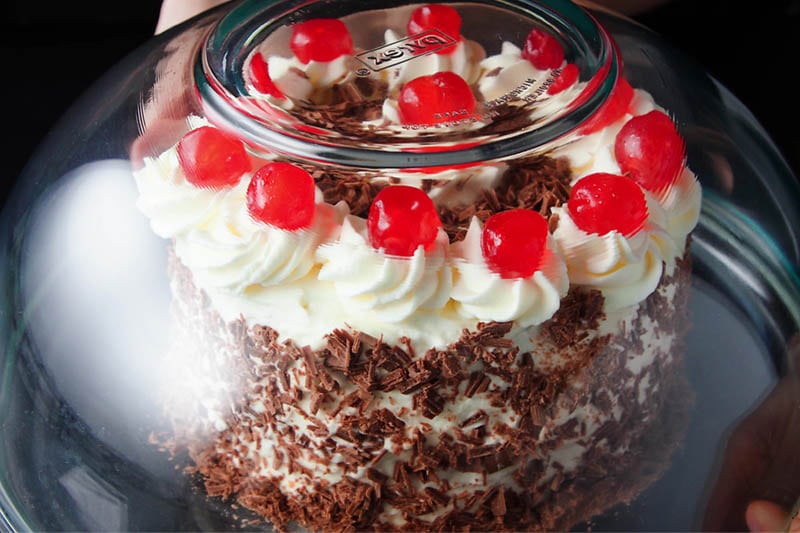
27. Cover the eggless black forest cake with a large bowl without it touching the sides and place in the fridge for the cream icing to set. Keep to set for 3 to 4 hours or overnight.
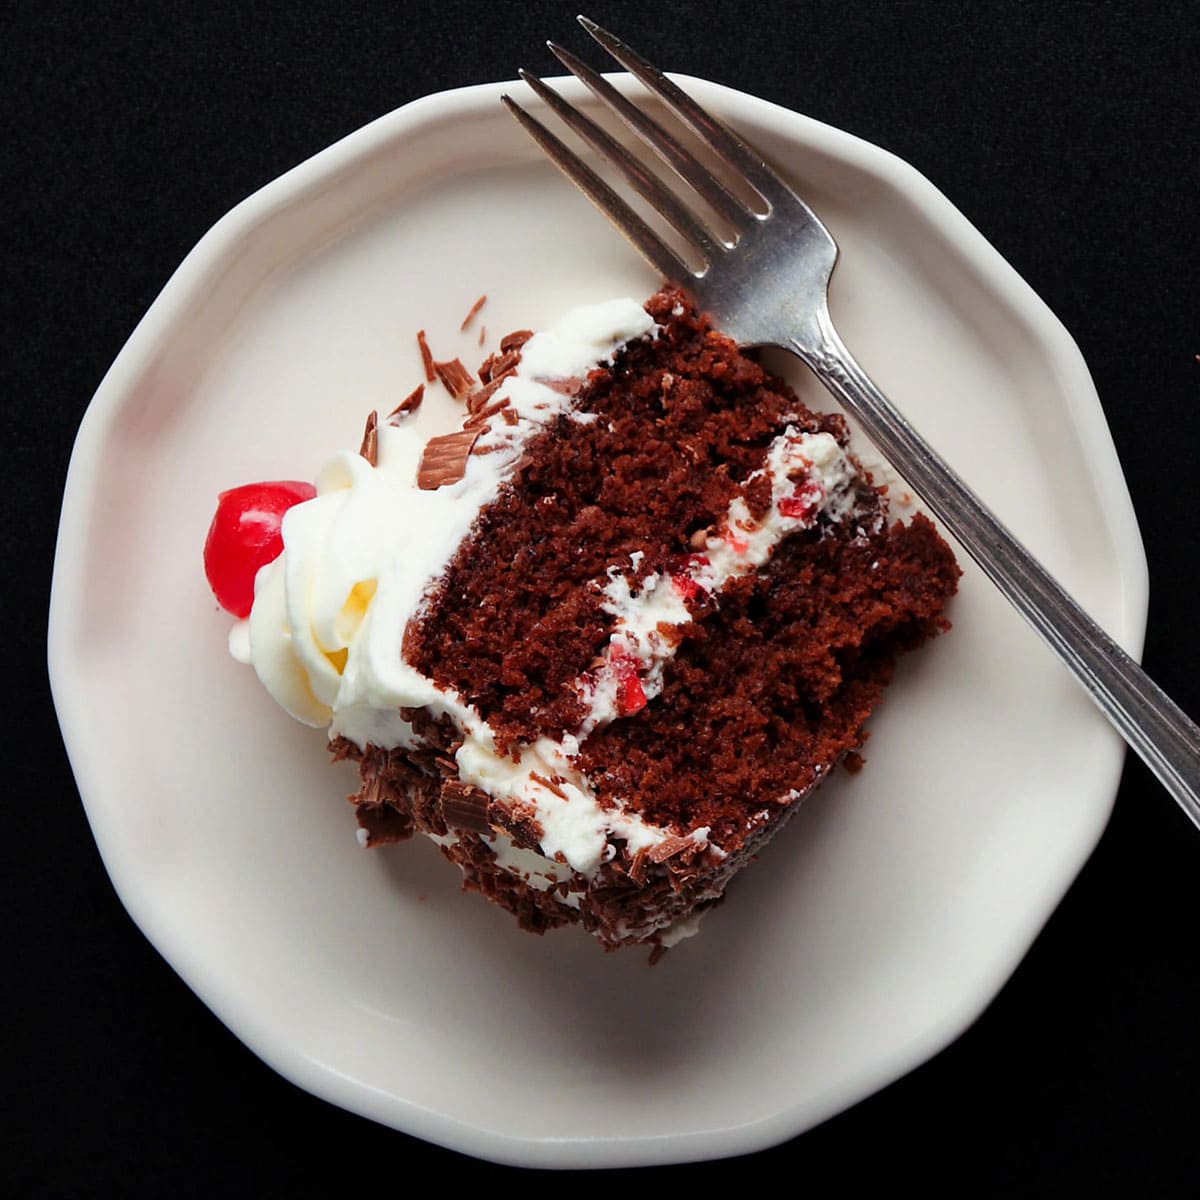
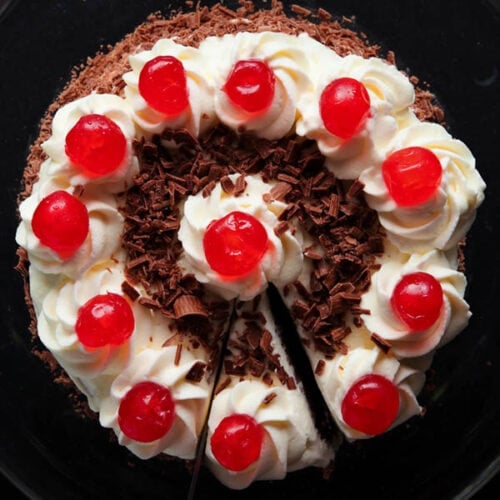
28. When the cream icing has set well, slice and serve eggless black forest cake. Enjoy the compliments of your impressed friends and family. Good work!
Serving Suggestions and Storage
Serve black forest cake as is or for a rich luxurious treat pair with a chocolate or vanilla ice cream. Enjoy as an after meal dessert or as a sweet snack anytime of the day.
For birthdays or any any other celebrations , if you plan to make a tall layer or a large cake, scale the recipe ingredients proportionately. Bake in two 7.5 inches pan or four 6 inches pans.
Do consider your oven size so that it accommodates all the pans easily. All the pans have to be kept in the center rack of the oven for even baking.
The eggless black forest cake stays well for about 2 to 3 days in the refrigerator. Keep the cake in a covered box or container when storing in the fridge.
Expert Tips and Tricks
- To make the work of building a beautiful layer cake seem less daunting, I suggest you split the tasks into two days. Bake the cake a day before (or up to one ahead of time if you have a freezer!) and do the frosting the next day. The cake can be refrigerated overnight (or frozen up to one month) and the frosting can be done the next day.
- If you don’t have a cake stand, then use a small flat plate covered with aluminum foil and place the cake on it before icing. The foil covered plate along with the cake is kept on a heavy board. This way you can easily rotate the foil covered plate while spreading icing on the sides.
- Use chilled cream and equipment for making whipped cream. You want to whip the cream in as little time as possible to prevent a grainy texture, and keeping your equipment cold helps the cream stay cold while you work. You need the cream to be cold so that it can emulsify properly and the fat can hold shape to keep the air in the cream.
- Want your cake to be light and spongy? Be sure to use cold water as the recipe indicates. Temperature is very important when it comes to the chemical reactions of baking, and cold water is important to creating a spongy consistency in this eggless sponge cake.
- Keep the serving platter clean from decorating by laying small strips of parchment down around the edges of the cake. When you’re done decorating, pull them out and your platter will look perfect!
- Whole wheat flour works nicely here, but if you are not a fan, feel free to include all-purpose flour or pastry flour.
FAQs
The easiest way I can answer this is with the old squares and rectangles analogy. You know how all squares are rectangles, but not all rectangles are squares? Well, in this case the black forest cake is the square and chocolate cake is the rectangle.
Black forest cake is made with chocolate sponge cake, but requires whipped cream, cherries and frosting to be “black forest” cake.
Chocolate cake, on the other hand, can encompass many recipes with many kinds of fillings and frostings. So – all black forest cakes are chocolate cakes, but the reverse is not true.
Since black forest cake recipe is made with a whipped cream frosting, it has a slightly shorter shelf life than other cakes. Once assembled, I recommend eating it within 2 to 3 days. Keep any leftovers in your fridge.
In my opinion, any cherries in syrup will do so long as they are not maraschino cherries. I know some may disagree with me on this point, but the artificial coloring and flavoring of maraschinos really puts me off.
Morello cherries, sour cherries, sweet canned cherries, glazed cherries or even the Indian glazed karonda berries are my personal preference.
More Eggless Cakes To Try!
Please be sure to rate the recipe in the recipe card or leave a comment below if you have made it. For more vegetarian inspirations, Sign Up for my emails or follow me on Instagram, Youtube, Facebook, Pinterest or Twitter.
Eggless Black Forest Cake Recipe (Whole Wheat)
Ingredients
For chocolate sponge
- 1 cup whole wheat flour (leveled) – 120 grams
- 3 tablespoons cocoa powder
- ½ teaspoon baking soda
- 1 pinch salt
- ¾ cup sugar – 150 grams, raw sugar or white sugar
- 1 cup cold water
- ¼ cup oil – any neutral oil
- 1 tablespoon lemon juice
- ½ teaspoon vanilla extract or vanilla essence
For sugar syrup
- 1 tablespoon sugar – raw or white sugar
- 3 tablespoon water
For cream frosting
- 200 ml whipping cream or heavy cream, cold or chilled
- 5 tablespoons icing sugar confectioner's sugar, castor sugar or powdered sugar
For layers
- ¼ cup chopped red cherries – glazed or canned cherries or fresh sweet cherries
- ½ cup chocolate shavings – bittersweet, dark or semi-sweet, add as needed
For top layer and sides
- 10 to 11 cherries – glazed, canned or fresh, add as needed
- ⅓ to ½ cup chocolate shavings – bittersweet, dark or semi-sweet, optional
Instructions
Prep
- First grease a round baking pan of 7.5 inches diameter with oil. You could also line the pan with a parchment paper. Or use two round cake pans (6 inches diameter) and divide the batter equally between two pans.
- Preheat your oven to 200 degrees Celsius/392 degrees Fahrenheit.
- Sift whole wheat flour, cocoa powder, salt, baking soda on a plate. Use good quality cocoa powder.
- In another pan or bowl, take sugar.
- Add cold water. Stir and mix until all the sugar dissolves.
- Add oil. Stir briskly for 2 to 3 minutes so that everything is mixed well and emulsifies. Use any neutral oil.
- Add lemon juice and vanilla extract. Stir and mix again.
- If you do not have lemon juice, use 1 tablespoon apple cider vinegar or white vinegar.
- Add the sieved dry ingredients to the wet mixture. Using a wired whisk, mix everything well until you get a smooth batter.
- Ensure that there are no lumps in the cake batter. The batter has a medium thin consistency.
- Pour the cake batter in the prepared cake pan or pans.
- Tap the pan/pans on the countertop, so that the extra air bubbles are let out.
Baking chocolate sponge
- Placing the pans in the center rack of your oven, bake the cakes in the preheated oven at 200 degrees Celsius/392 Fahrenheit for 35 to 40 mins. Since temperatures vary from oven to oven, do keep a check.
- For baking in a convection mode of microwave oven, preheat the oven at 180 degrees Celsius/356 Fahrenheit degrees for 15 minutes. Then bake the cake at 180 degrees Celsius/356 degrees Fahrenheit for the 30 to 35 minutes.
- For doneness check the sponge cake with a tooth pick. The tooth pick should come out clean.
- If the tooth pick is sticky, then place the cake back in the oven and continue to bake for some more minutes.
- Place the pans on a wired tray and let the cakes cool at room temperature.
- Note that before frosting let the cake cool completely at room temperature or wrap the cake with a cling film and refrigerate for a couple of hours. You can keep the cake in a covered box and refrigerate.
Whipping cream
- In a stand mixer take the the cold whipping cream and icing sugar/confectioner's sugar/powdered sugar.
- At the highest speed, whip until the cream becomes stiff. This process will vary depending on the power of your mixer.
- To check, just invert the bowl. If the cream does not fall, the cream has stiff peaks. Be sure not to over-whip your cream.
- Remember to chill the cream in the refrigerator at least for a day or two before you use it.
- If you have used the Indian brand of Amul cream it may take 8 to 10 minutes to whip.
Assembling
- If you have baked one cake, then slice the cake neatly from the center with a large knife or serrated knife. You can also use dental floss to slice the cake into two.
- Place one layer of the cake with the bottom side facing you. If the top of your cake is domed, then slice the top domed portion evenly so it will lay flat.
- Make a sugar syrup dissolving 1 tablespoon sugar in 3 tablespoon water.
- Brush the cake lightly and evenly with this sugar syrup. You can also use rum or wine instead of sugar syrup.
Frosting the sponge layers
- Then add a layer of finely chopped glazed red cherries. You can use canned red cherries, glazed cherries or fresh sweet cherries.
- Sprinkle grated chocolate or chocolate shavings all over.
- Cover with the second cake and brush the top with the sugar syrup.
- Spread again ⅓ part of the cream on the top evenly. Spread on the sides of the cake too. If you have a rotating cake stand, this will make frosting the cake much easier.
- TIP: If you don’t have a cake stand, then use a small, flat plate covered with aluminum foil and place the cake on it before icing. The foil covered plate along with the cake is kept on a heavy board. This way you can easily rotate the foil covered plate while spreading icing on the sides.
Making Black Forest Cake
- Add the remaining whipped cream in a piping bag and use any decorative nozzle. Decorate the cake however you like.
- Place whole cherries on top of the cake. Top with some chocolate shavings or grated chocolate.
- Now cover the sides of the cake with the chocolate shavings. Take some chocolate shavings in your fingers. Gently pat and press them on the cream layer with your fingers.
- Turn the cake stand as you go on placing the chocolate shavings on the cream layer all over the sides. Some chocolate shavings will fall on the the cake stand. Collect these and use them for the decoration on the sides.
- Cover the cake with a large bowl without it touching the sides and place in the fridge for the cream icing to set. Keep to set for 3 to 4 hours or overnight.
- When the cream icing has set well, slice and serve eggless black forest cake.
Serving Suggestions and Storage
- Serve black forest cake as is or for a rich luxurious treat pair with a chocolate or vanilla ice cream. Enjoy as an after meal dessert or as a sweet snack anytime of the day.
- The cake stays well for about 2 to 3 days in the refrigerator. Keep the cake in a covered box or container when storing in the fridge.
Video
Notes
- Prep Ahead: To make the work of building a beautiful layer cake seem less daunting, I suggest you split the tasks into two days. Bake the cake a day before (or up to one ahead of time if you have a freezer!) and do the frosting the next day. The cake can be refrigerated overnight (or frozen up to one month) and the frosting can be done the next day.
- No cake stand? Not a problem: If you don’t have a cake stand, then use a small flat plate covered with aluminum foil and place the cake on it before icing. The foil covered plate along with the cake is kept on a heavy board. This way you can easily rotate the foil covered plate while spreading icing on the sides.
- Cold cream: Use chilled cream and equipment for making whipped cream. You want to whip the cream in as little time as possible to prevent a grainy texture, and keeping your equipment cold helps the cream stay cold while you work. You need the cream to be cold so that it can emulsify properly and the fat can hold shape to keep the air in the cream.
- For light and spongy cake: Be sure to use cold water as the recipe indicates. Temperature is very important when it comes to the chemical reactions of baking, and cold water is important to creating a spongy consistency in this eggless sponge cake.
- Parchment tip: Keep the serving platter clean from decorating by laying small strips of parchment down around the edges of the cake. When you’re done decorating, pull them out and your platter will look perfect.
- Cherries: In my opinion, any cherries in syrup will do so long as they are not maraschino cherries. I know some may disagree with me on this point, but the artificial coloring and flavoring of maraschinos really puts me off. Morello cherries, sour cherries, sweet canned cherries, glazed cherries or even the Indian karonda berries are my personal preference.
- Flour: Whole wheat flour works nicely here, but if you are not a fan, feel free to include all-purpose flour or pastry flour.
- Making cake for birthdays: If you wish to make a tall layer or a large cake, scale the recipe ingredients proportionately. Bake in two 7.5 inches pan or four 6 inches pans. Do consider your oven size so that it accommodates all the pans easily. All the pans have to be kept in the center rack of the oven for even baking.
Nutrition Info (Approximate Values)
This Black Forest Cake recipe from the archives (December 2014) has been republished and updated on 22 May 2021.
