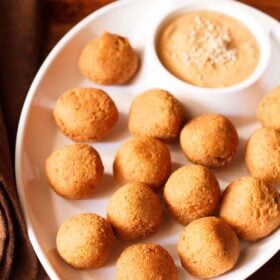
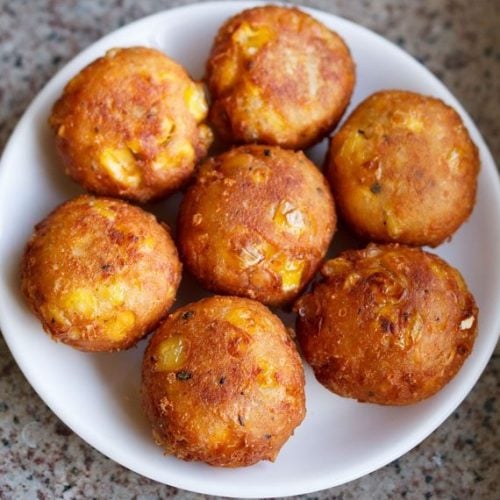
The best cheese and corn balls are crispy on the outside, tender and cheesy on the inside. They are a delicious snack that can be baked or fried, and are perfect to serve with zesty sauces and sides. Here you’ll find my easy (no-fail!) Cheese Corn Balls recipe with step-by-step photos.
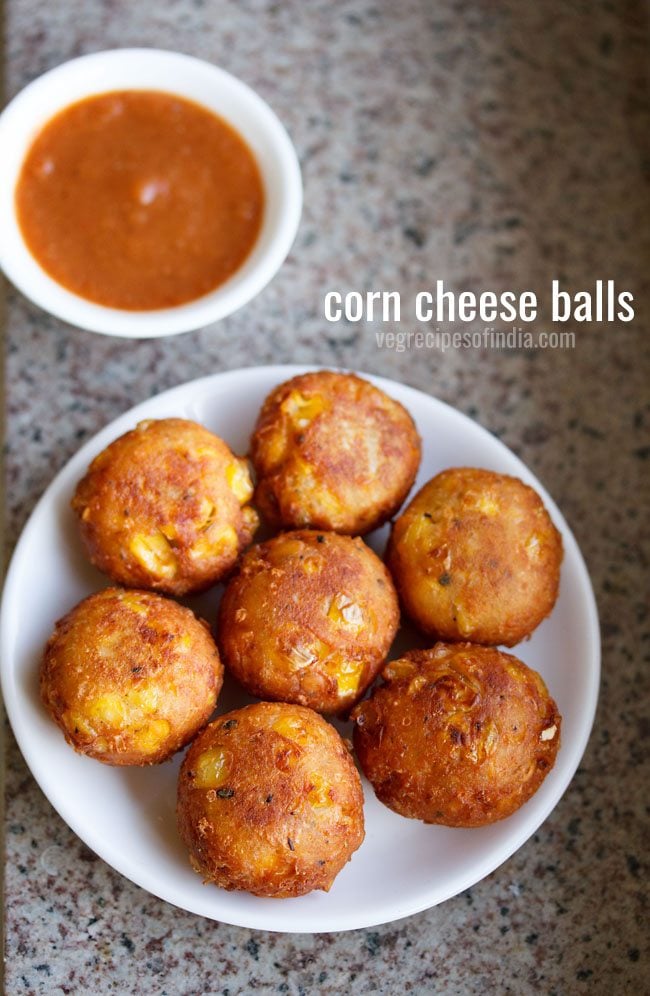
Table of Contents
About Cheese Corn Balls
Cheese Corn Balls are a classic snack that we enjoy often in India. Here we prepare them similar to the European/French style of fried cheese and corn balls or puffs, known as gougeres. They are crunchy and crispy with a sweet and cheesy inside, and pair great with bright and tangy condiments.
We usually eat cheese and corn balls at restaurants, and thought it was time I developed an easy recipe to make at home.
I tried a variety of cheese, corn, and flour proportions, subbed ingredients and tested all kinds of frying methods. And after many trials I finally perfected this foolproof cheese corn balls recipe!
The secret for making the best cheese and corn balls is – not surprising – to use the right cheese and corn.
In India we have Amul, which is a processed cheese that is quite different in taste and texture than American processed cheese. Typically I buy Amul as a large, semi-hard block and grate it by hand for the best taste.
You can use shredded American-style cheese if Amul is not available. However, it won’t have same lovely rich and complex flavor that you get with Amul.
I use fresh corn kernels that are steamed and left whole. You can also use canned corn or frozen corn that’s thawed. Also, I prefer sweet corn for this recipe. But feel free to use unsweet corn for a more savory snack.
For more corn recipes, check out – 21 Sweet Corn Recipes.
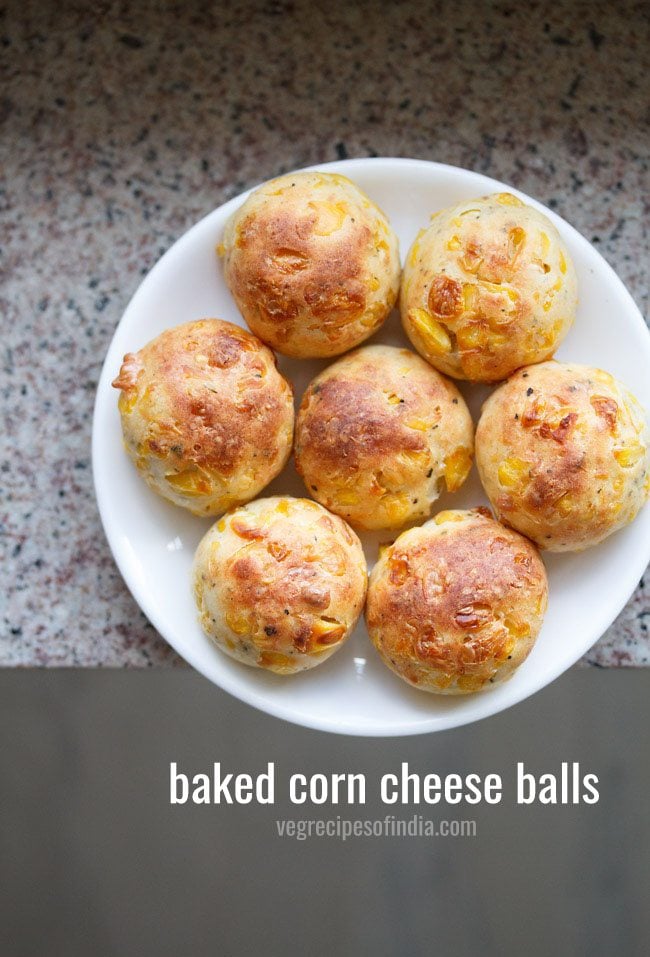
The corn cheese balls can be fried on the stovetop, or easily baked in the oven for a slightly healthier version.
The oven baked ones won’t be crispy like the fried cheese and corn balls. Instead they have a nice soft texture that is just as delicious. Either method you try is sure to make a tasty dish you’ll love!
How to make Cheese Corn Balls
Cook Corn and Potatoes
1. First steam (or boil) 1 medium to large corn cob and 1 large or 2 medium-sized potatoes (150 grams). You can steam them in a pressure cooker, electric rice cooker, or a steamer.
In a stovetop pressure cooker, cook them for 3 to 4 whistles with 1.5 cups water. Let the pressure fall naturally in the cooker. Then only open the lid.
In an instant pot, steam on high pressure for 15 to 20 whistles with 2 cups water, placing them on a trivet directly or in a steamer basket placed on a trivet. Give a quick pressure release after 5 minutes and open the lid.
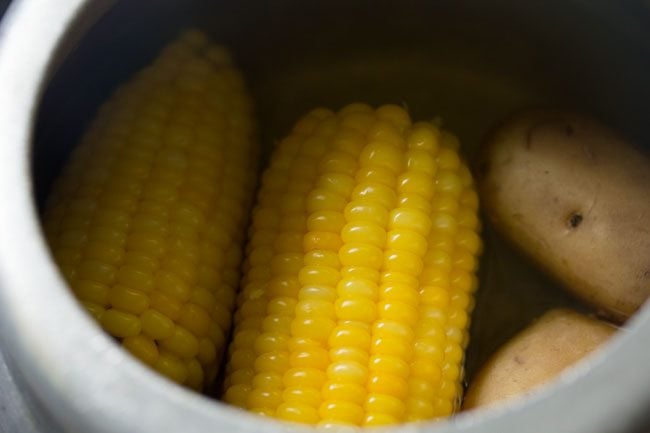
2. Once tender remove them carefully with tongs in a strainer. Drain all the water. Let the corn cob and the potatoes cool completely at room temperature.
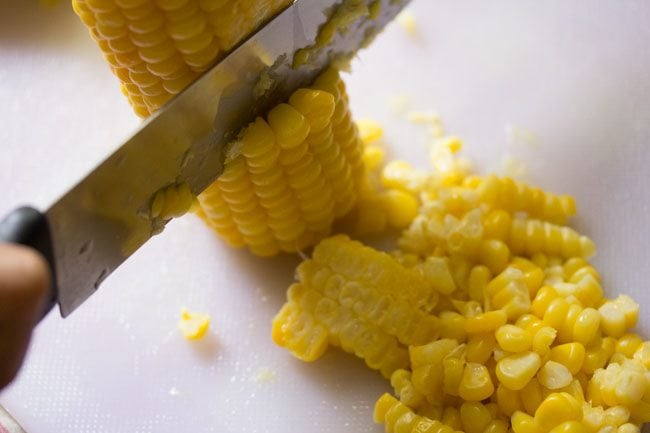
There should be no water or moisture when you start mixing the corn and the potatoes. Carefully remove the corn kernels from the cooked cob with a sharp knife.
Make Corn Cheese Mixture
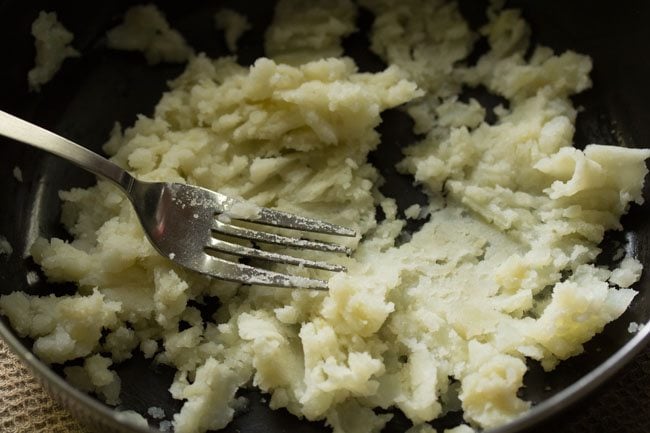
3. In a pan or bowl, mash the potatoes very well. There should be no lumps. You can choose to first grate and then mash the boiled potatoes.
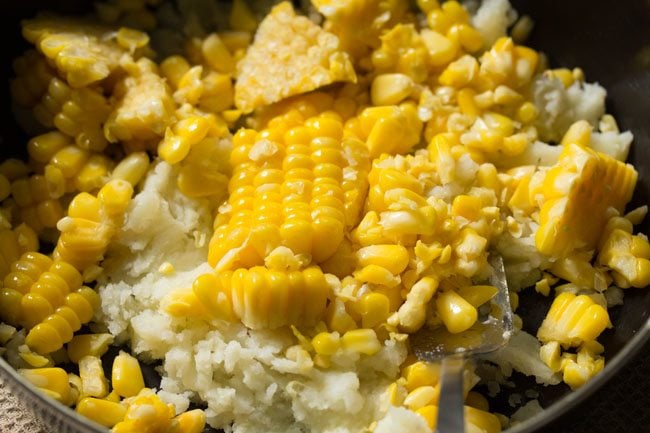
4. Add the scraped corn kernels.
5. Grate 50 grams, roughly ½ cup, of processed cheese. Set aside.
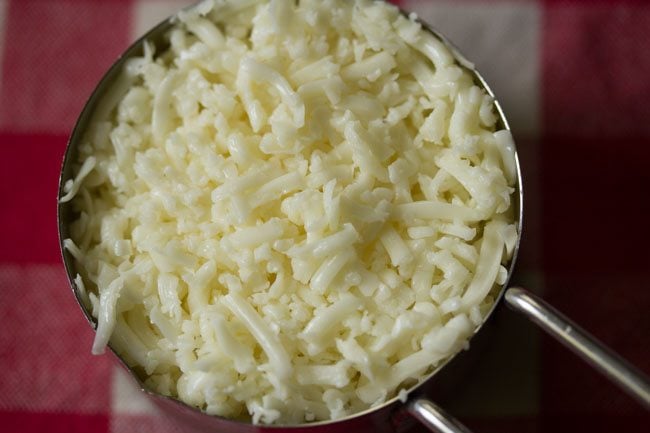
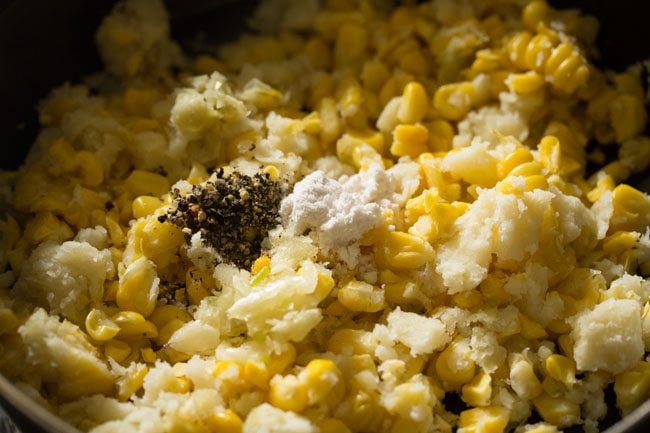
6. Now add the seasonings – ½ teaspoon of garlic paste or minced garlic, ½ teaspoon of crushed black pepper (or pepper powder) and salt to taste.
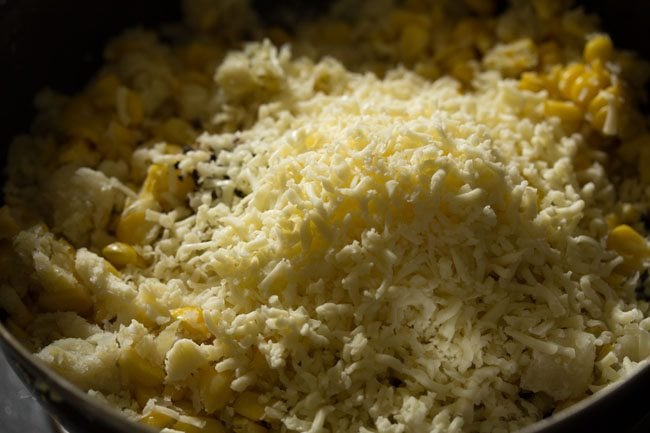
7. Add the grated cheese to the corn and mashed potatoes mixture.
8. Then add ½ teaspoon of dried basil, ½ teaspoon of dried oregano and 4 tablespoons of all-purpose flour. Feel free to use fresh herbs if you have them.
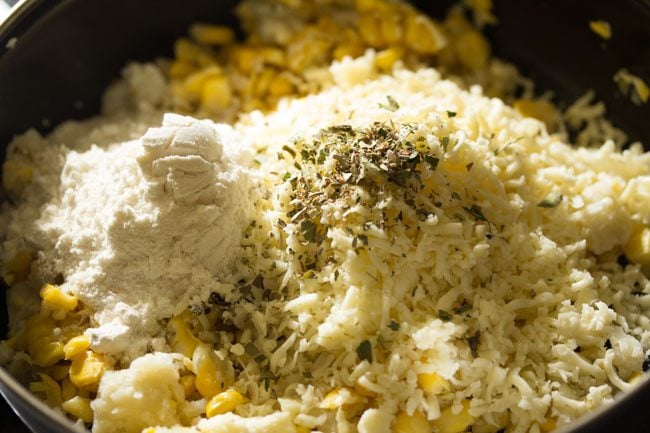
9. Mix very well. Check the taste and add some more pepper or salt if required.
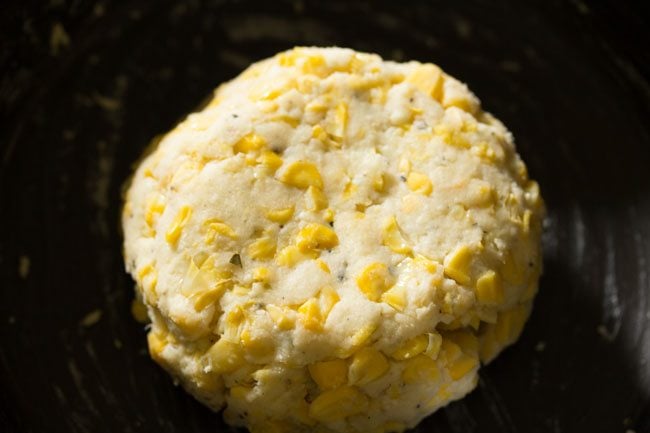
10. Use your hands to form the mixture into small to medium sized balls. They should be roughly the size of a large golf ball or slightly smaller.
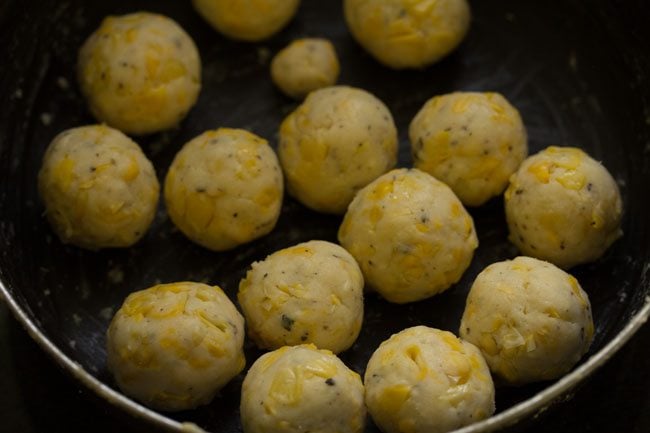
Fry Cheese Corn Balls
11. Heat oil on medium heat in a deep pan or wok (kadai). Check the temperature of the oil by adding a tiny ball made from the mixture.
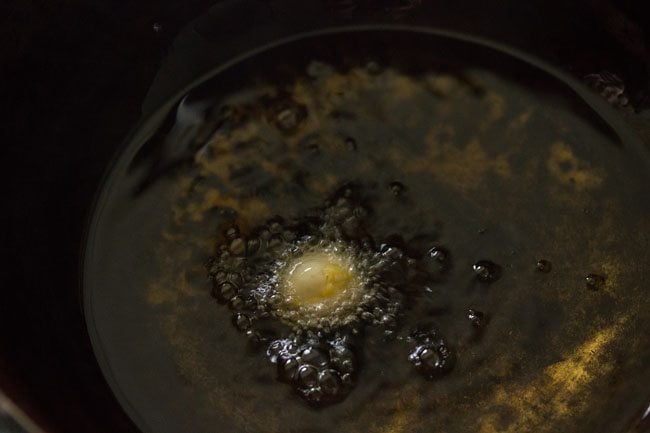
12. The ball should rise to the surface steadily and gradually. If the ball comes up slowly, then the oil is not hot enough. If it comes up too quickly, the oil is very hot, so reduce the heat.
Also check to see if the corn cheese ball breaks apart in the hot oil. If it does, then add 1 to 2 tablespoons more of the all-purpose flour or as needed to the corn-cheese mixture and mix again.
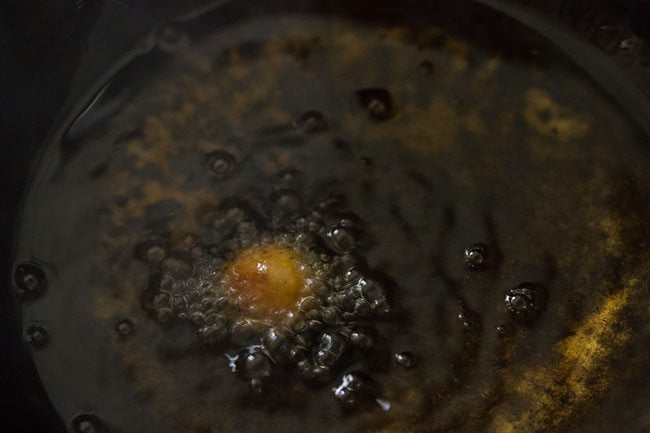
13. When the temperature is right, carefully slide a few of the cheese corn balls gently into the hot oil.
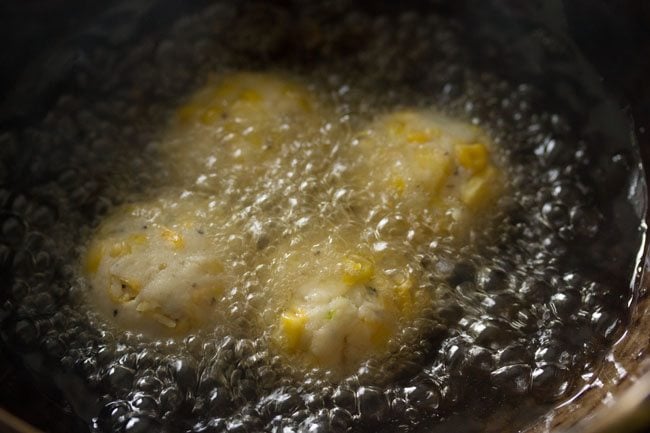
14. Fry for a few minutes.
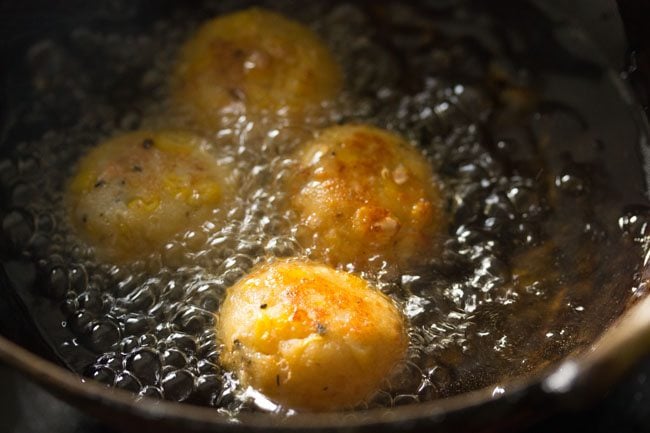
15. When one side turns golden, use a slotted spoon to turn them over. But don’t rush them!
If you poke them too much before they are ready the cheese balls are likely to break in the oil.
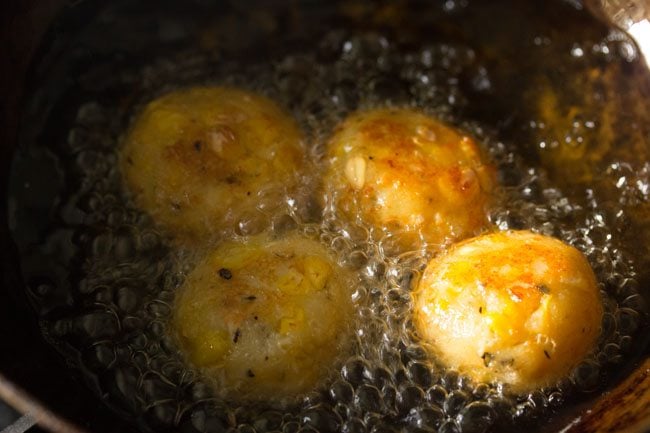
16. Turn again a couple of times to get an even golden color, and to ensure that they have cooked completely.
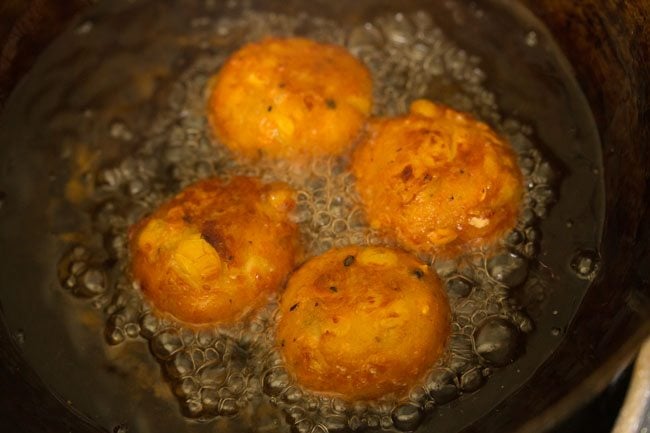
17. Transfer them with the slotted spoon to paper towels. This will help to absorb any excess oil and make them nice and crispy. Fry the remaining cheese and corn balls using the same steps.
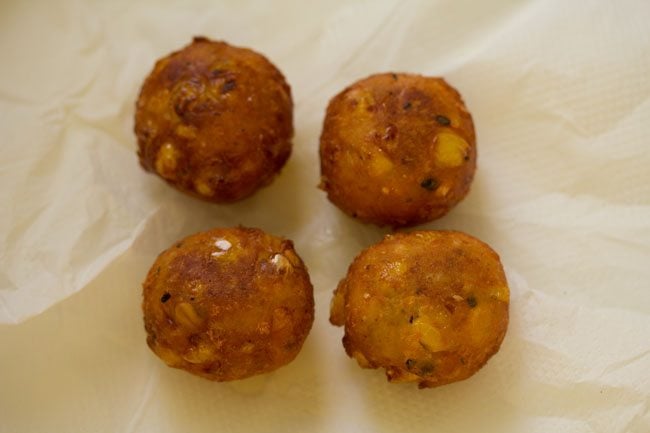
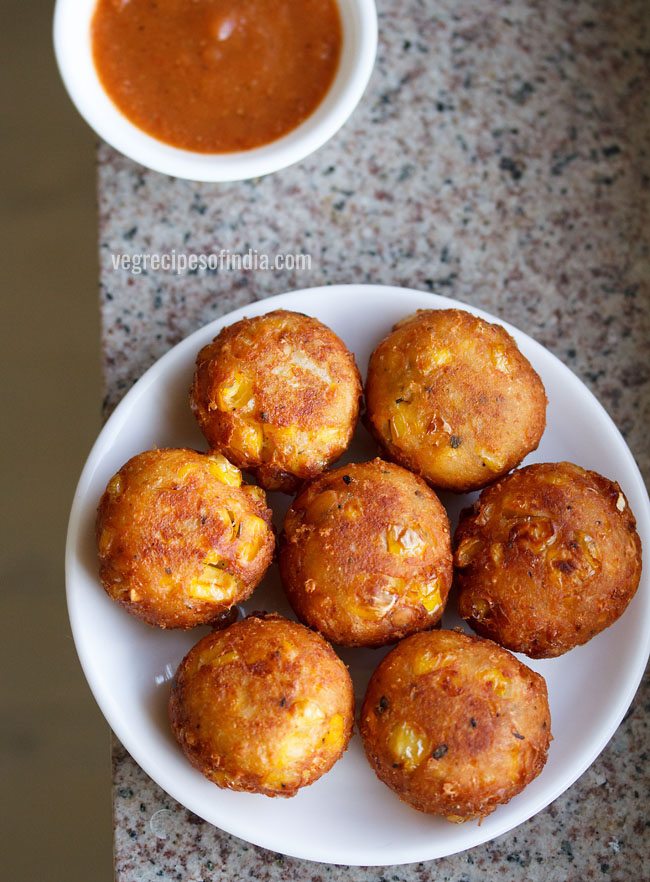
18. Serve cheese corn balls hot or warm with your preferred dipping sauce.
FAQs
Prepare and shape the cheese balls per the recipe. Place them on a greased baking tray. Then bake in a 200 degrees celsius (392 degrees Fahrenheit) pre-heated oven for 15 to 20 minutes, until golden on top.
I use whole kernel corn for this recipe, and do not recommend that you puree them. I did try preparing corn cheese balls with pureed and creamed corn and the results were not good.
If using canned corn, make sure to use cooked corn and not raw corn. Do not use either frozen or fresh raw corn kernels as these will explode or burst in the oil. Always make sure to cook the corn kernels thoroughly by steaming or boiling before using in the recipe.
Serve them with Tomato Ketchup, Mint Chutney or Coriander Chutney. These bright and acidic condiments go really well with the fried cheesy goodness of the corn balls.
These snacks really are best when enjoyed warm from the oven or fryer. However, leftovers can be kept for up to 1 day but they will loose their crispy texture.
Once they cool completely, transfer the cheese corn balls to an airtight container and store in the refrigerator.
More Snack Recipes To Try!
Mediterranean Cuisine
Snacks Recipes
Snacks Recipes
World Recipes
Please be sure to rate the recipe in the recipe card or leave a comment below if you have made it. For more vegetarian inspirations, Sign Up for my emails or follow me on Instagram, Youtube, Facebook, Pinterest or Twitter.
Cheese Corn Balls
Ingredients
- 150 grams potato or 1 large potato
- 1 medium to large corn cob or ¾ to 1 cup corn kernels
- 50 grams processed cheese or ½ cup grated cheese
- ½ teaspoon crushed black pepper or black pepper powder
- ½ teaspoon dried basil – can also use ½ tablespoon of fresh basil leaves
- ½ teaspoon dried oregano
- ½ teaspoon garlic paste or 2 to 3 small to medium garlic crushed in a mortar-pestle
- 4 tablespoon all-purpose flour (maida)
- salt as required
- oil as required, for deep frying
Instructions
Boiling corn and potatoes
- First steam or boil 1 medium to large corn cob and 1 large potato.
- You can steam in a pressure cooker or electric rice cooker or the Instant Pot or a steamer.
- In a stovetop pressure cooker, cook both the corn cob and potato for 3 to 4 whistles on medium heat with 1.5 cups water. Let the pressure fall naturally in the cooker. Then only open the lid.In an instant pot, steam on high pressure for 15 to 20 whistles with 2 cups water. First add 2 cups water in the steel insert of the Instant Pot. Place a trivet on it. Keep the potato and the corn cob in a steamer basket or pan placed on the trivet . Give a quick pressure release after 5 minutes and open the lid.
- Remove the cooked corn cob and potato with the help of tongs. Let the corn cob and the potatoes cool down completely. Do drain them very well after they are cooked. There should be no water or moisture when you start mixing both the corn and the potatoes.
- Once cooled, carefully with a knife remove the corn kernels.
Preparing cheese corn mixture
- In a pan or bowl, mash the potatoes with a fork. You can choose to grate the potatoes first and later mash them.
- Add the scraped corn kernels, grated processed cheese, garlic paste, crushed black pepper or pepper powder and salt as per taste. Remember to add less salt as cheese also has salt.
- Then add dried basil, dried oregano and all-purpose flour.
- Mix very well. Check the taste and add some more pepper or salt if required.
- Make small to medium-sized balls. You can even flatten them a bit if you prefer.
Frying cheese corn balls
- Heat oil and check the temperature of the oil by adding a tiny ball made from the corn-cheese mixture. The ball should rise on the surface steadily and gradually.
- If the ball comes up slowly, then the oil is not hot enough. If it comes too quickly, the oil is very hot, so reduce the flame.
- Slid the corn cheese balls gently into the hot oil. Fry on a medium heat.
- When one side turns golden, then turn over with a slotted spoon.
- Turn again and a couple of times more to get an even golden color and to ensure that they have fried well.
- Remove them on kitchen paper towels to remove excess oil.
- Fry the remaining cheese balls in the same way.
- If baking, then bake at 200 degrees C/392 degrees F in a pre-heated oven for 15 to 20 minutes till golden on top. Bake in a greased tray.
- Serve Cheese Corn balls with tomato ketchup or coriander chutney or any chutney or dip of your choice.
Notes
Nutrition Info (Approximate Values)
This Cheese Corn Balls recipe post from blog archives first published on November 2016 has been republished and updated on 24 June 2022.
