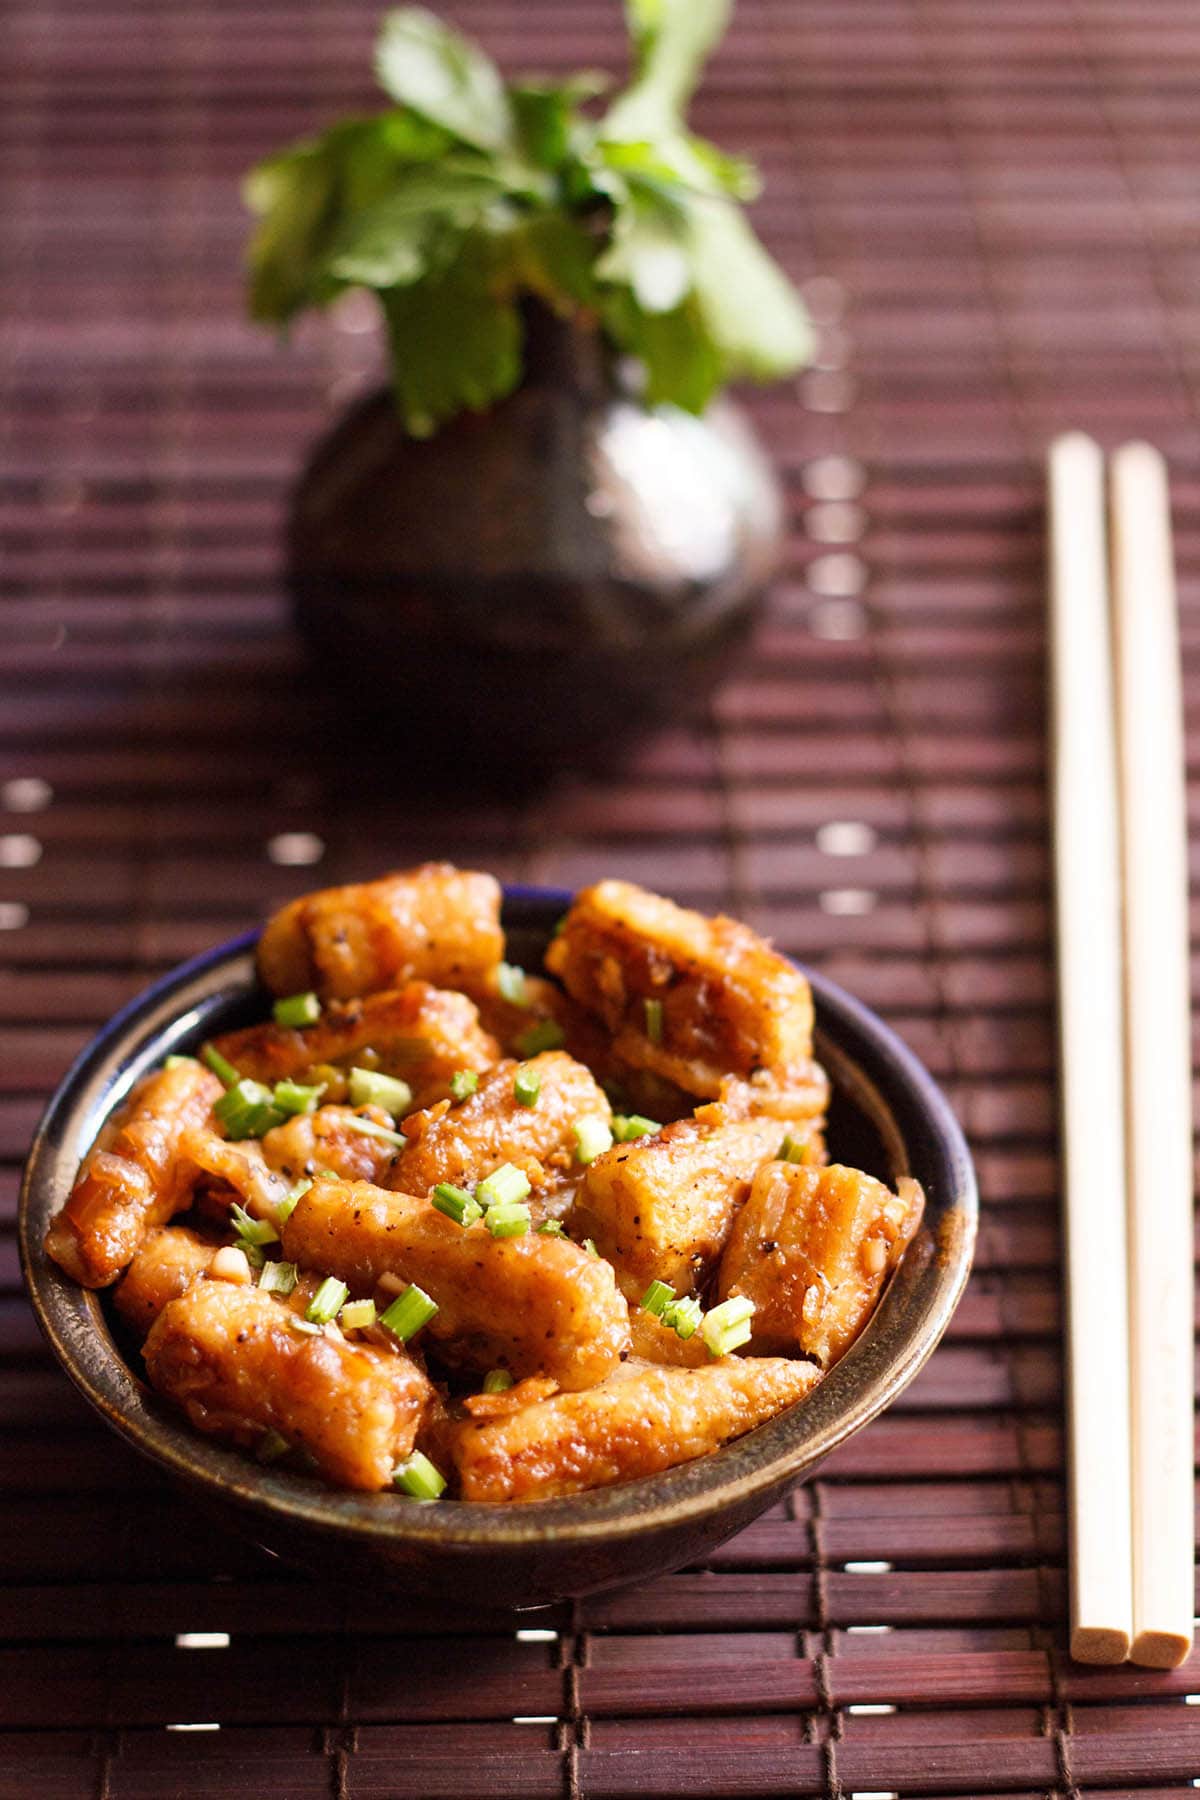
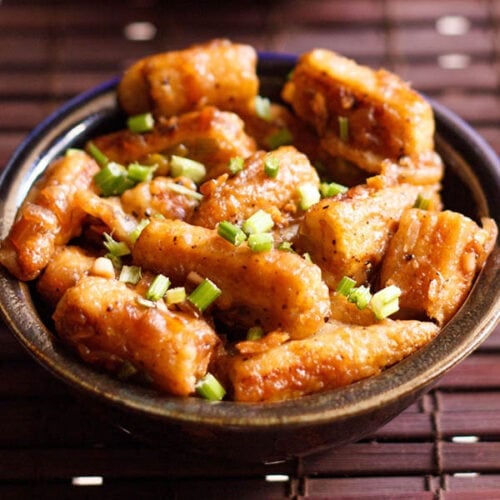
Crunchy, crispy, and wonderfully flavorful Chilli baby corn is a delicious vegetarian snack or appetizer, everyone will love. Fried pieces of baby corn are combined with a spicy, sweet, umami sauce for a bright and bold dish you’ll want to make again and again! Follow our easy steps with photos and video to make this classic fried chilli baby corn recipe tonight.
About Chilli Baby Corn
Fried chilli baby corn is a common Indo Chinese fusion side and snack. It features sweet and tender pieces of baby corn, battered and fried to crispy perfection.
The corn is then tossed in a sweet and spicy sauce for a delightfully flavorful, crunchy, and saucy veggie dish.
The sauce for this recipe is so good. You’ll seriously want to eat this bold, sweet and spicy chilli baby corn with nearly everything!
The texture and taste of this chilli baby corn is similar to a Tso’s tofu you might find in some Chinese restaurant menu.
This is one more vegan and vegetarian friendly snack, with an even spicier and bright flavor, like this Chilli Mushroom recipe.
Below you’ll find my step-by-step photos and instructions for preparing the best chilli baby corn from scratch. I shallow fry the corn here; however, you are welcome to deep fry the battered corn pieces if you prefer.
Make a batch as an appetizer, side dish with Veg Fried Rice, Noodles or just as a hearty snack. However you choose to fry and serve, I am sure you will love this satisfying chilli baby corn!
How to make Chilli Baby Corn
Preparation
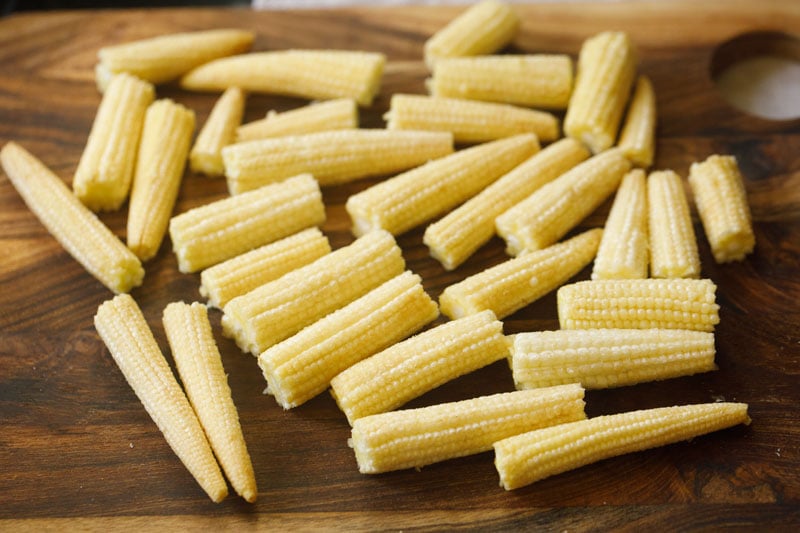
1. First, rinse the 18 to 20 baby corn or 200 grams (about 1 cup) in water. Then drain and pat them dry. If they are long pieces of baby corn, cut them in half.
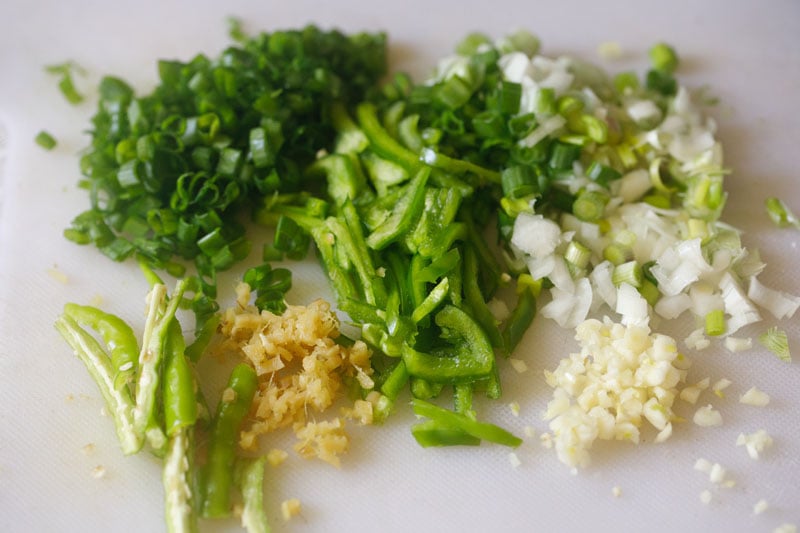
2. I recommend that you next prepare all of the ingredients for making the fried chilli baby corn sauce:
- Finely chop 5 to 6 medium sized garlic cloves
- Peel and chop 1.5 inches of ginger
- Seed and thinly slice 1 small capsicum (green bell pepper)
- Slice or slit 2 to 3 green chillies
- Chop ½ cup of spring onion whites (scallion whites)
Making Batter
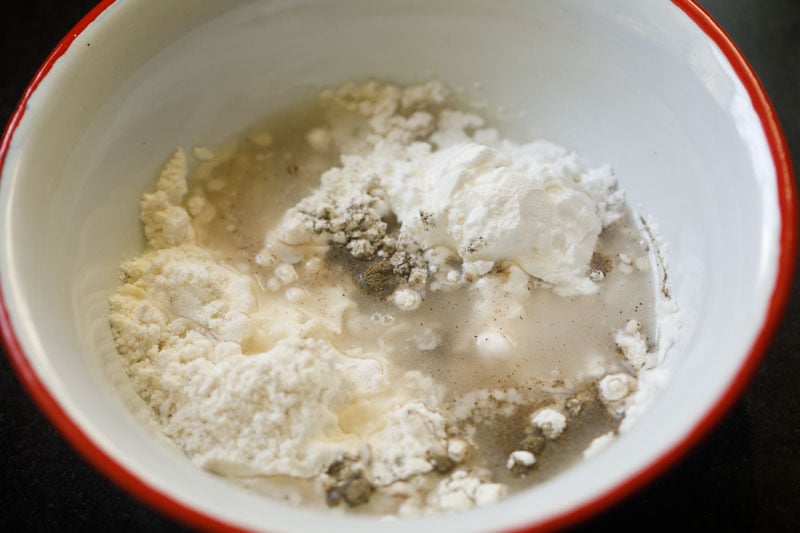
3. In a medium-sized mixing bowl combine 4 tablespoons of all purpose flour, 4 tablespoons of cornstarch (cornflour), ¼ teaspoon of black pepper, ¼ to ⅓ teaspoon of salt or add as per taste, and 4 tablespoons of water.
4. Mix well to form a smooth, medium-thick batter.
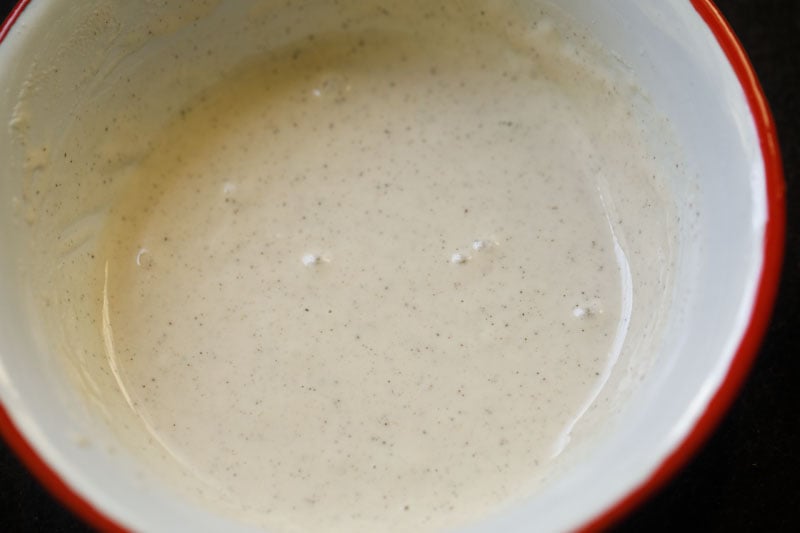
Batter Coating and Frying Baby Corn
5. Now add 6 tablespoons of frying oil in a wok or deep, large pan over medium heat. Work one at a time to dip each baby corn piece into the batter to thoroughly coat.
Slide the batter-coated baby corn around the edges of the bowl so that excess batter drips back into the bowl.
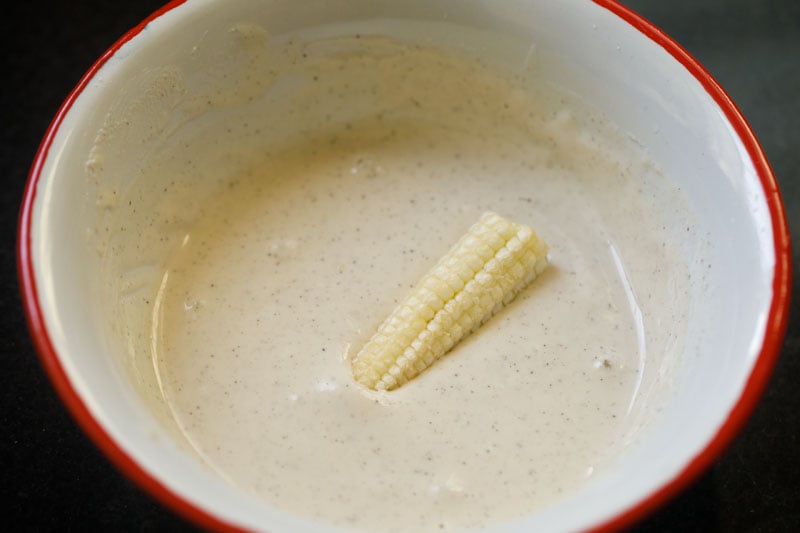
6. Gently place the batter-coated baby corn pieces in the hot oil. Be careful during this step as the oil can splatter.
Note that in the video I have pan fried the baby corn in less oil. You can either pan fry, shallow fry or deep fry.
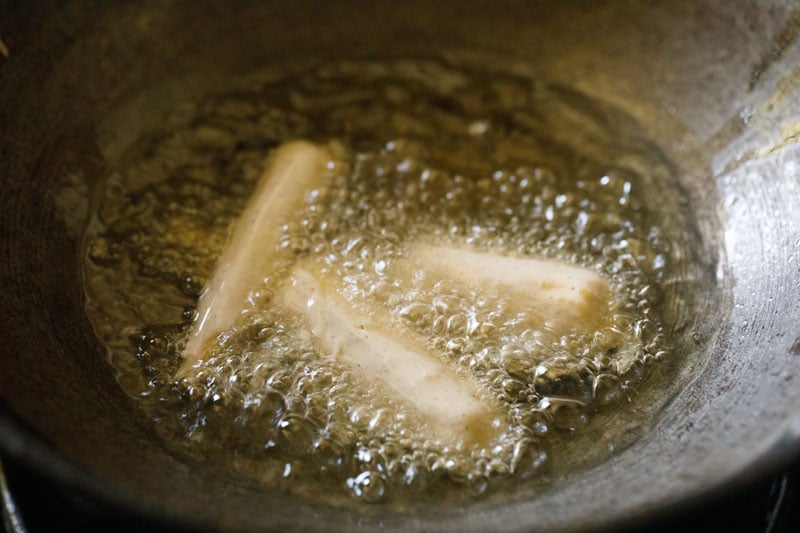
7. Use a slotted fry spoon to gently turn the pieces over when they become golden.
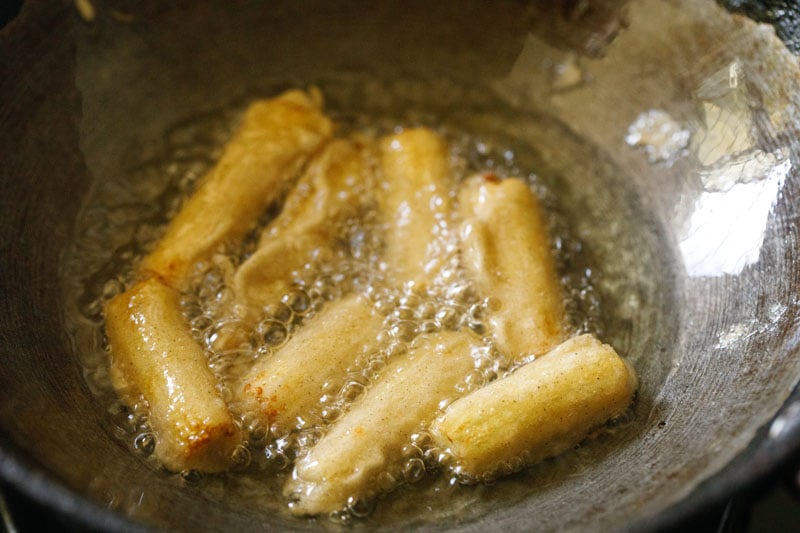
8. Continue to turn back and forth as needed, until the baby corn pieces are brown on all sides.
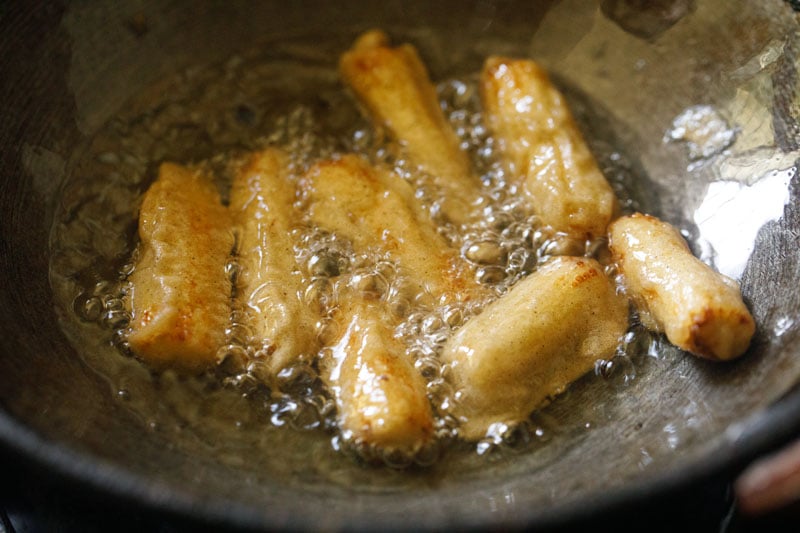
9. Remove with the slotted spoon, allowing the excess oil to drain.
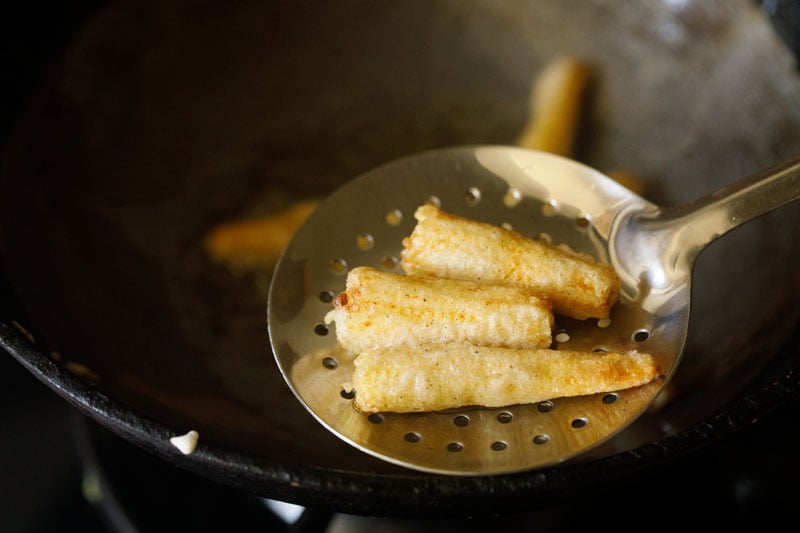
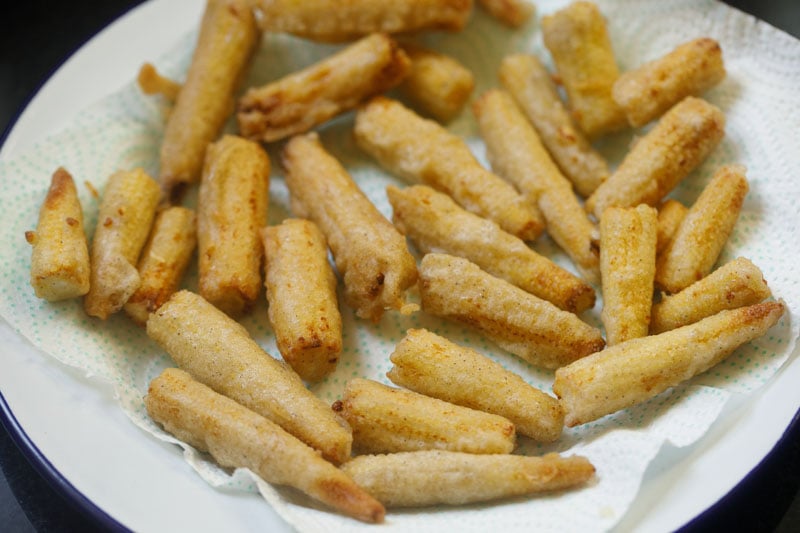
10. Set the fried corn on kitchen paper towels. Repeat the frying process with the remaining baby corn pieces.
Stir Frying Aromatics
11. You can use the same oil from frying the baby corn to now fry the aromatics. With a spoon remove extra oil from the pan keeping only 1 tablespoon oil inside the pan.
Or, if you prefer, pour in 1 new tablespoon of oil in a new pan. Set the stovetop temperature to medium heat.
Once the oil is hot, add the garlic, ginger, green chiles, and the white parts of the sliced spring green onion.
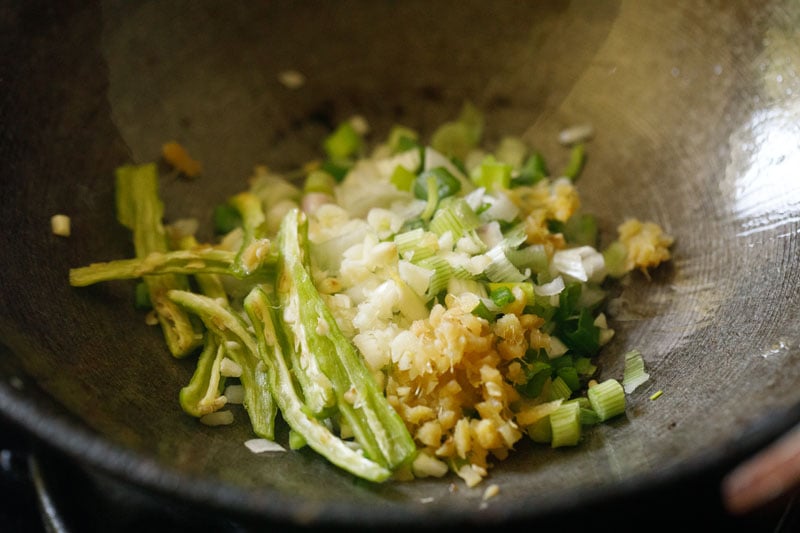
12. Increase the heat to medium-high, and stir fry for 1 to 2 minutes.
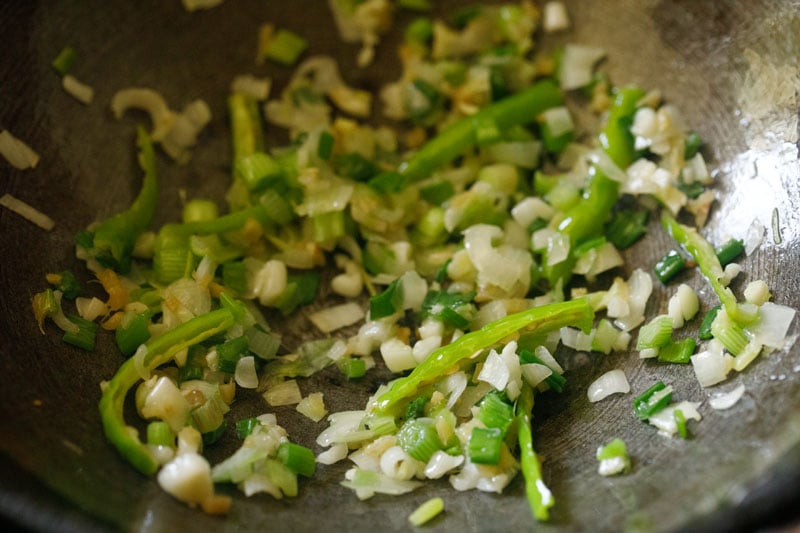
13. Now add the sliced capsicum (green bell pepper). If you don’t like or have capsicum, feel free to skip.
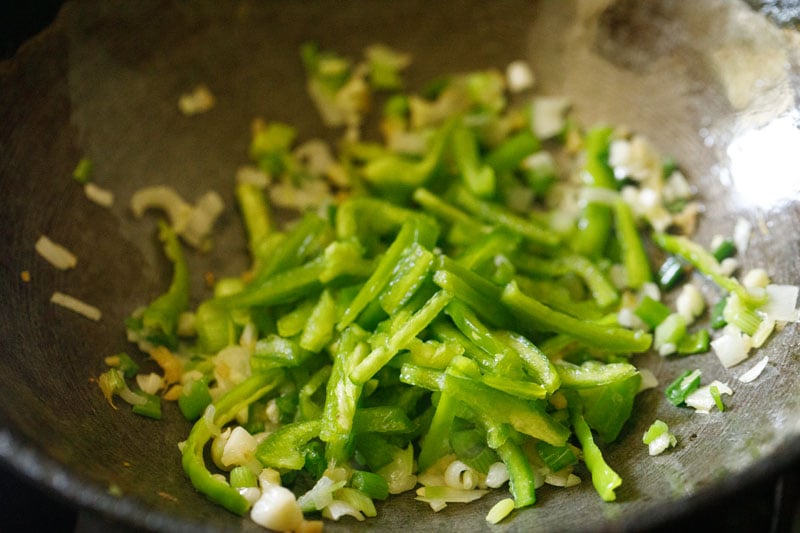
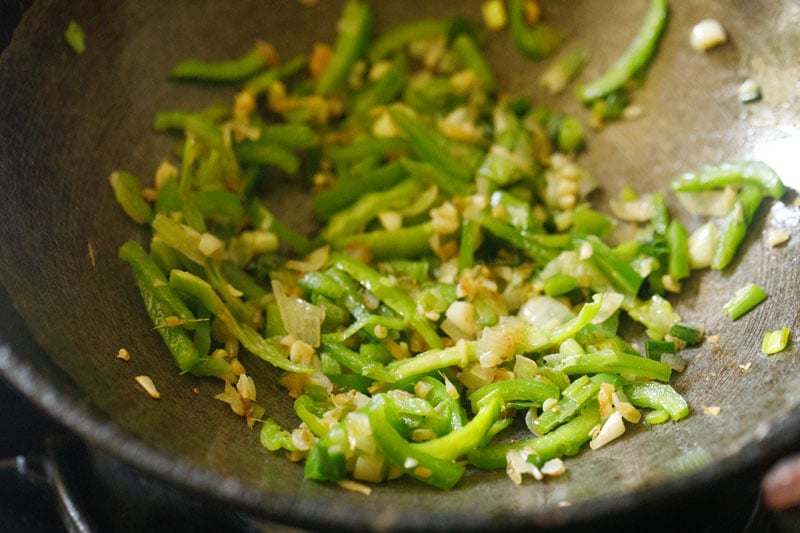
14. Mix and continue to stir fry for 3 to 4 minutes on medium-high heat, until the capsicum is half cooked but still crunchy.
Adding Sauces & Seasonings
15. Now reduce the heat back to medium and add 2 teaspoons of soy sauce and 1 teaspoon of either sweet green chili sauce or sweet red chilli sauce. You can add more chilli sauce for a spicier version.
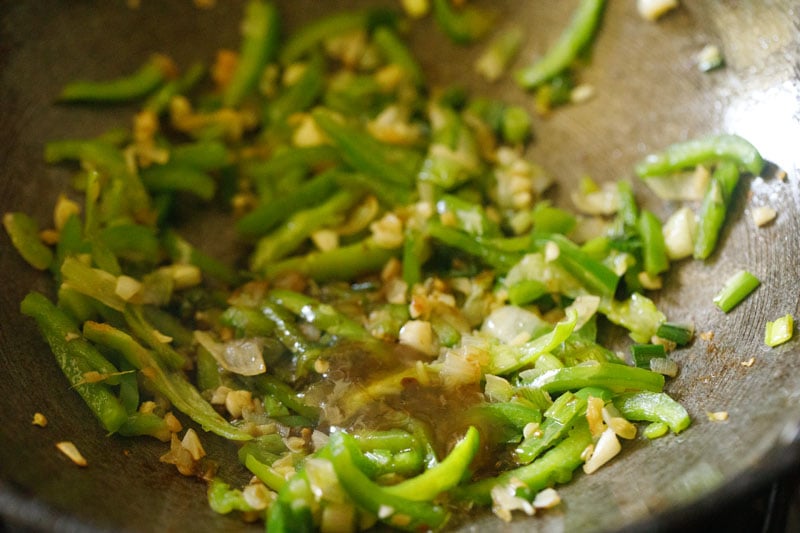
16. Mix well.
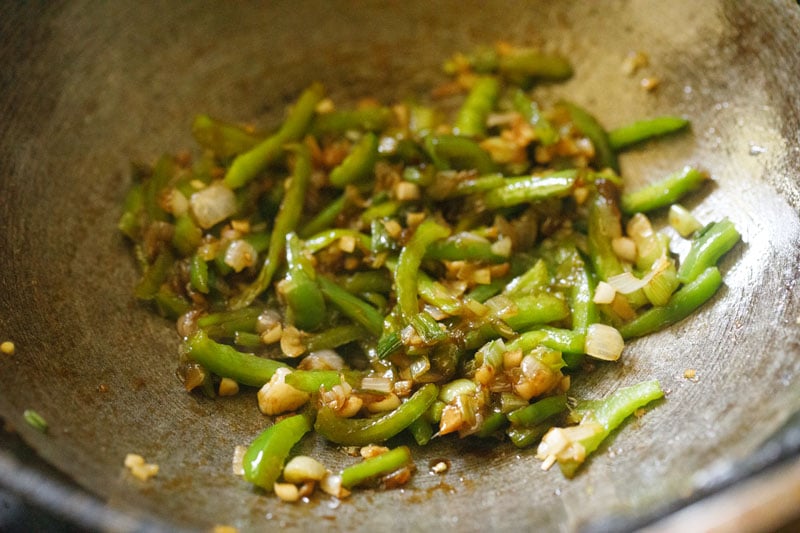
17. Taste, and then add ¼ teaspoon of black pepper, ½ to 1 teaspoon of sugar (more or less to taste), and salt as needed.
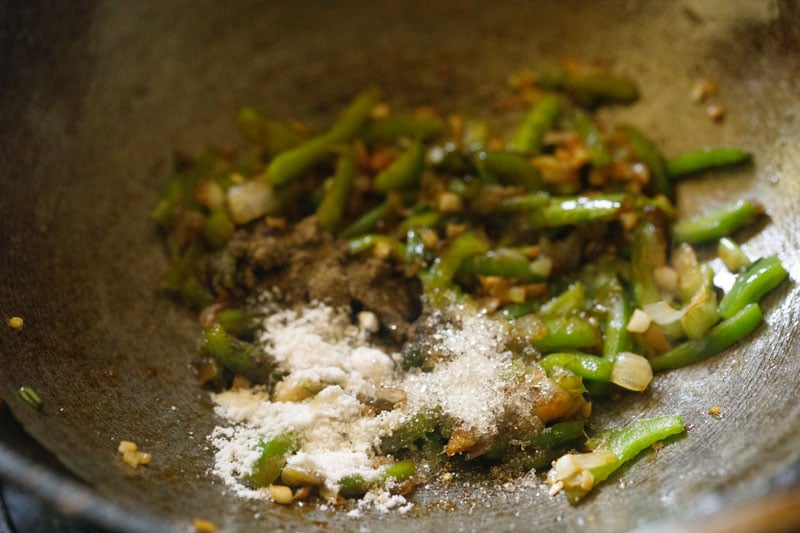
18. Mix again.
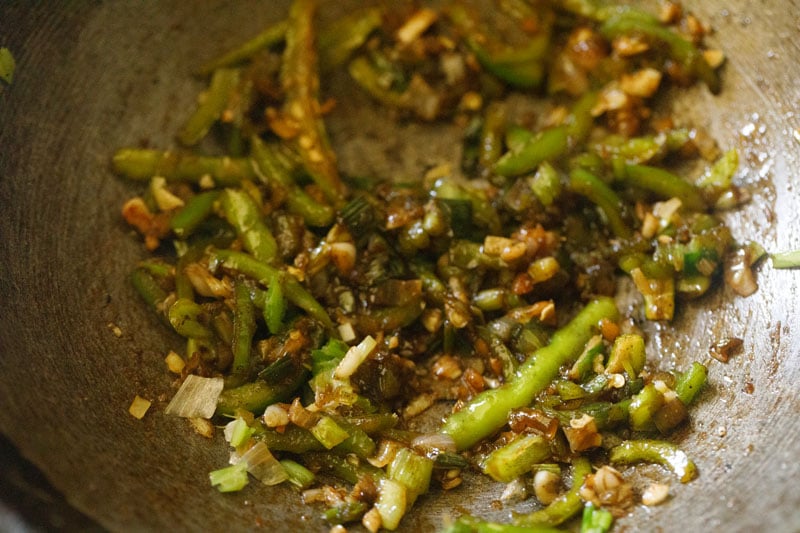
Making Chilli Baby Corn
19. Now add the fried baby corn to the pan.
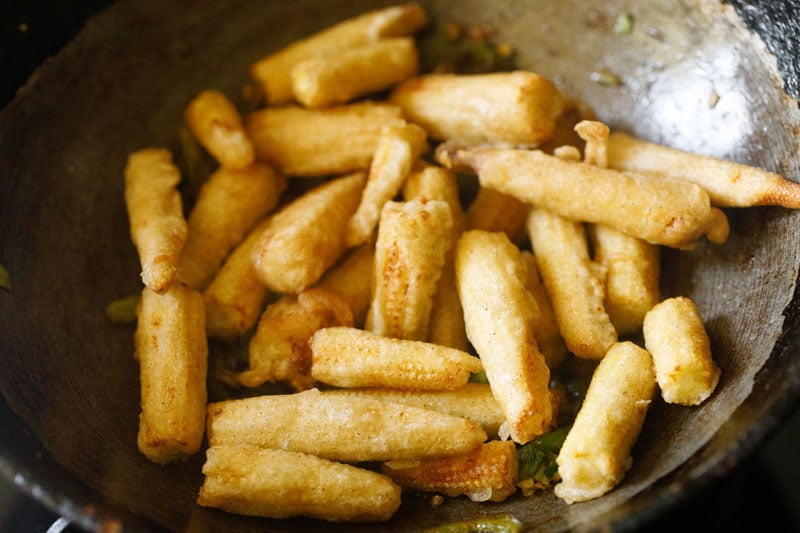
20. Gently mix together, being careful to not scrape the batter from the fried baby corn.
Note that you could stop here if you prefer a highly crispy and crunchy baby corn texture. But if you want a smooth glazed sauce coating on the baby corn then proceed to the following steps.
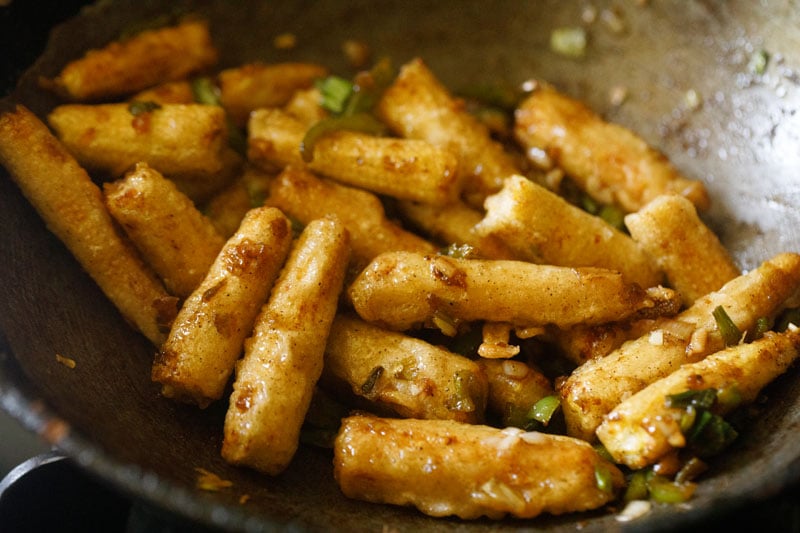
21. Now add 2 to 3 tablespoons of water and mix again.
22. Then sprinkle on 1 teaspoon of cornstarch (cornflour). This gives a lovely, smooth glaze to the dish – just like at your favorite Indo Chinese restaurants.
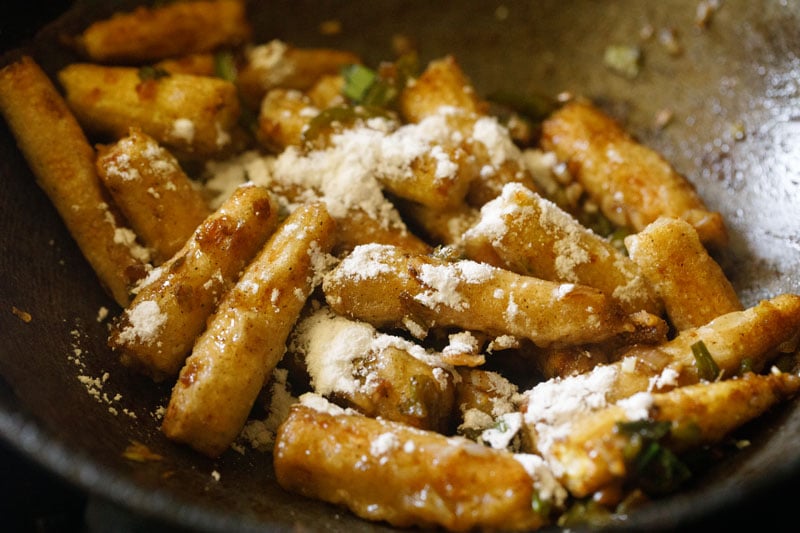
23. Mix well and cook for 1 to 2 minutes, or just until the cornstarch (cornflour) has cooked and is no longer visible.
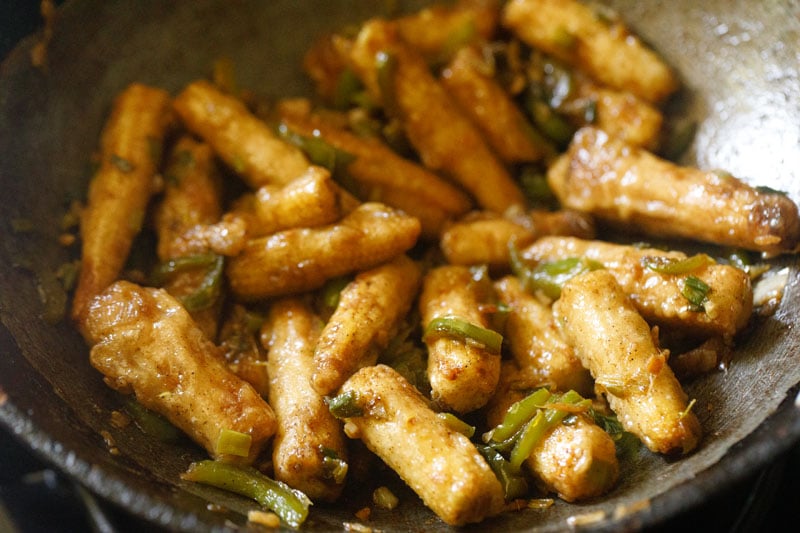
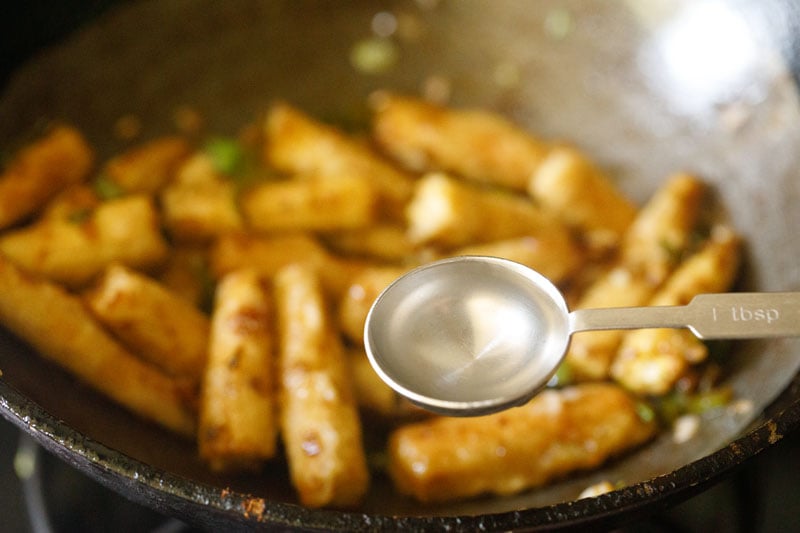
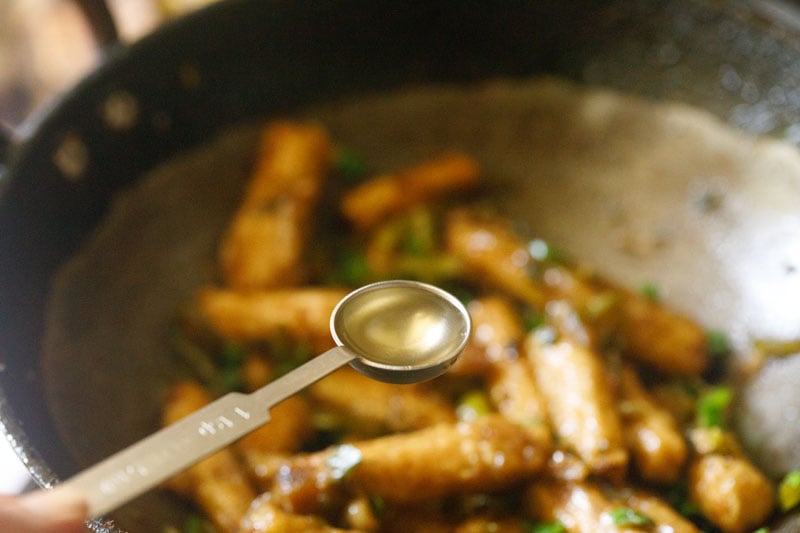
24. Mix in ½ a teaspoon of rice vinegar for a slightly tangy flavor that brings the whole chilli baby corn recipe together. You can also use apple cider vinegar in place of rice vinegar. If you are not a fan of the tangy vinegar taste then skip it.
25. Lastly, add the sliced green onion tops, and stir again.
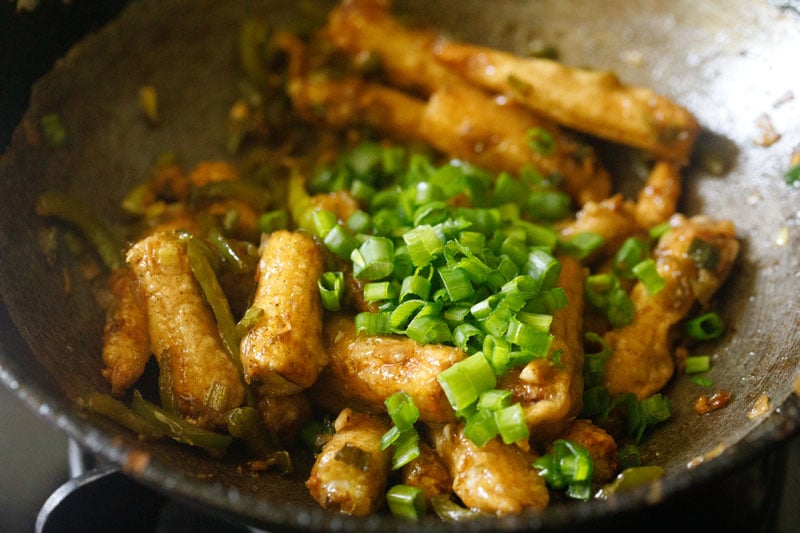
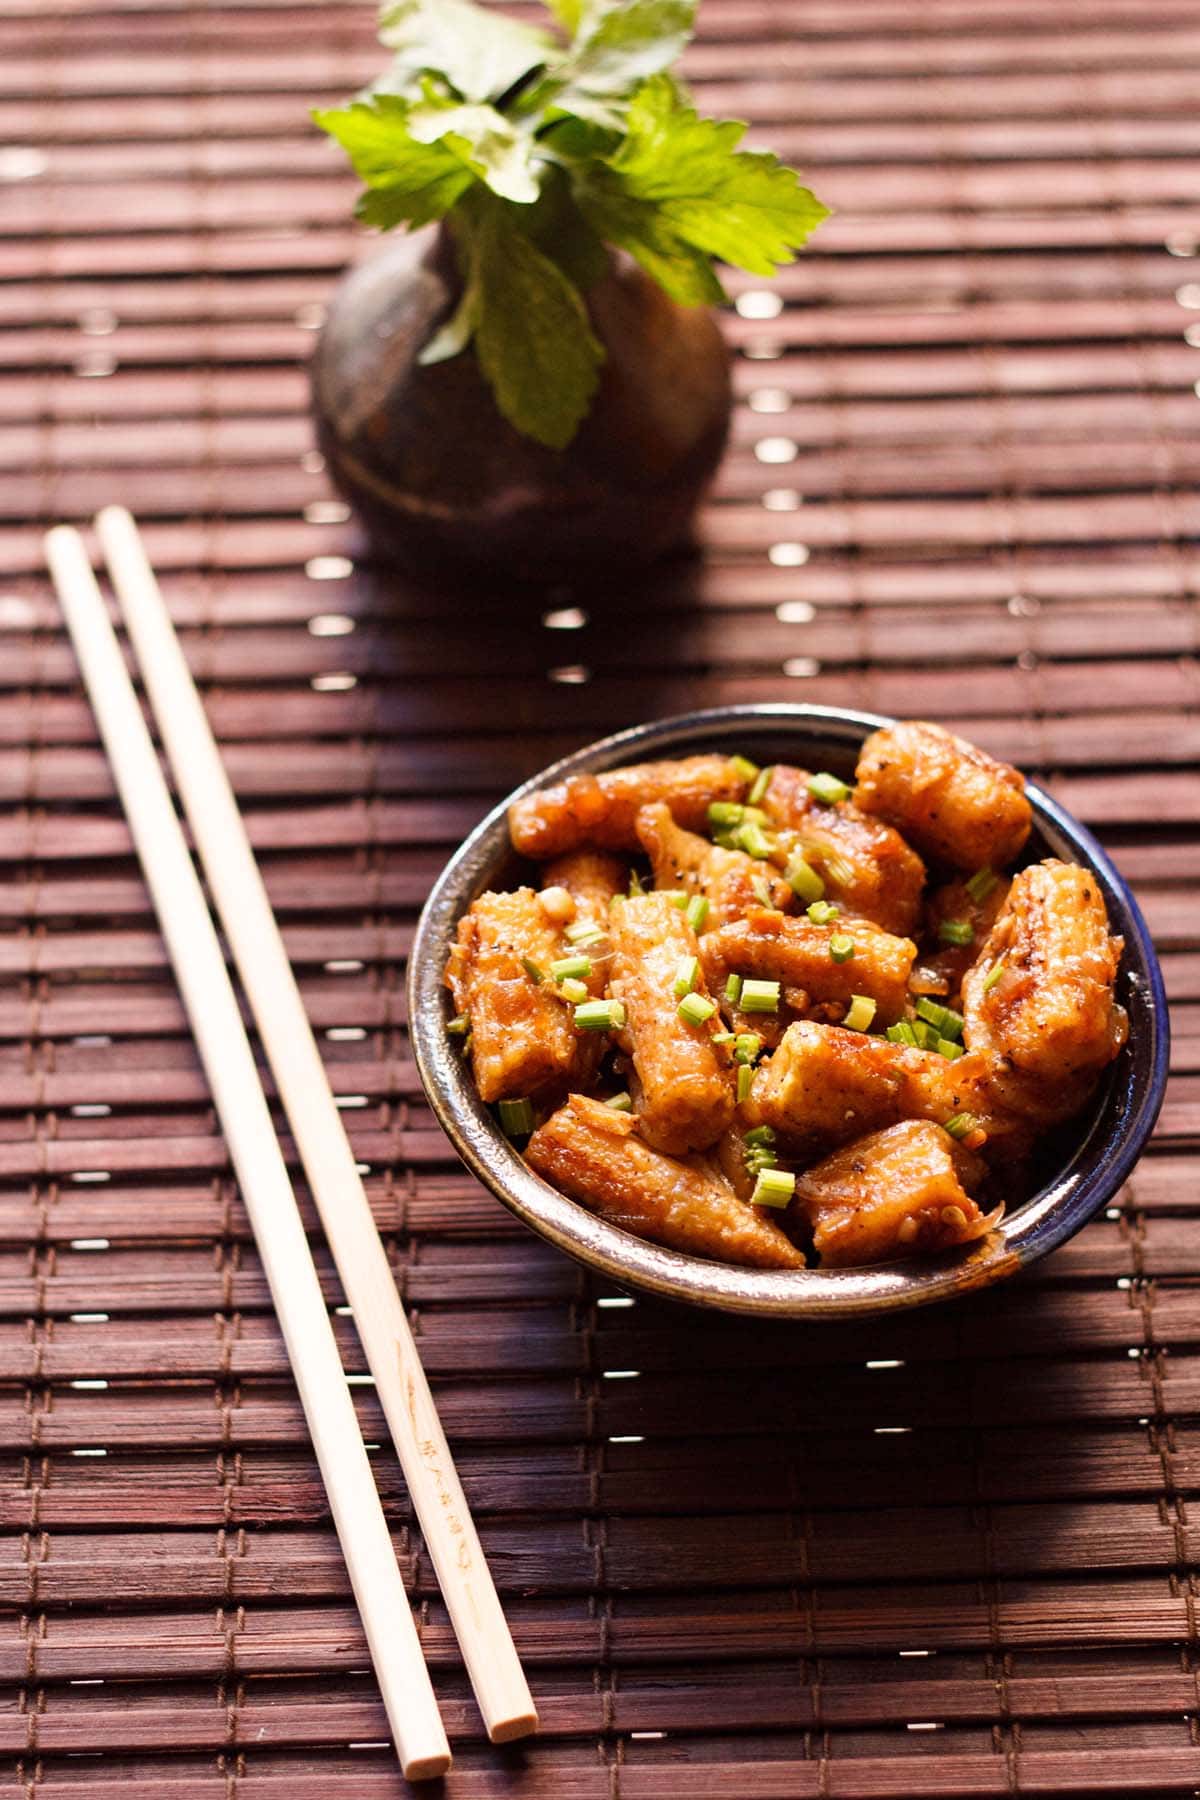
26. Serve hot as an appetizer or a side with your favorite Chinese main dishes. You can eat chilli baby corn as it is or with a spicy dipping sauce like chilli-garlic sauce, schezwan sauce, sriracha sauce and even a plain simple tomato ketchup.
Garnish with an extra sprinkle of the sliced green onions.
Few more snacks recipes for you!
Please be sure to rate the recipe in the recipe card or leave a comment below if you have made it. For more vegetarian inspirations, Sign Up for my emails or follow me on Instagram, Youtube, Facebook, Pinterest or Twitter.
Chilli Baby Corn Recipe (Spicy & Crispy)
Ingredients
For Frying
- 4 tablespoons all purpose flour
- 4 tablespoons cornstarch (cornflour)
- ¼ teaspoon black pepper powder
- ¼ to ⅓ teaspoon salt or add as per taste
- 4 tablespoons water
- 18 to 20 baby corn – 200 grams
- 6 tablespoons oil – for frying
For Sauce
- 1 tablespoon oil
- ½ cup chopped spring onion whites (scallion whites)
- 2 teaspoons finely chopped garlic or 5 to 6 medium sized garlic
- 2 teaspoons finely chopped ginger or 1 to 1.5 inches ginger
- 2 to 3 green chilies – slit or sliced
- ⅓ cup thinly sliced or finely chopped capsicum
- 2 teaspoons soy sauce – naturally brewed
- 1 teaspoon sweet green chili sauce or sweet red chilli sauce, add as per taste
- ¼ teaspoon black pepper powder
- ½ to 1 teaspoon sugar or add as required
- salt as required
- 2 to 3 tablespoons water – optional
- 1 teaspoon cornstarch (cornflour) – optional
For Garnish
- 1 to 2 tablespoons finely chopped spring onion greens (scallion greens)
- 1 to 2 tablespoons spring onion greens
Instructions
Making batter
- Rinse and dry the baby corn with kitchen towel. Chop the baby corn in halves if they are larger in size or keep them whole if they are smaller.
- Prep the spring onions, garlic, green chillies, ginger, capsicum and set aside.
- Make a smooth and medium thick batter with the cornstarch (cornflour), all purpose flour, salt, pepper and water.
- Heat the oil in a wok or frying pan.
- Dip each baby corn piece in the batter and coat it well with the batter.
- Gently place the batter coated baby corn pieces in the hot oil.
- When one side firms up and is crispy, light golden, turn over and fry the second side.
- Fry the baby corn till the edges and sides are golden brown turning over a couple of times with a slotted spoon
- Place the fried baby corn on kitchen paper towels.
Making sauce
- In another pan or frying pan or wok, heat about 1 tablespoon oil. Or you could use the same pan that was used for frying the baby corn – keeping 1 tablespoon oil in it, remove the remaining oil with a spoon.
- Add chopped spring onions, ginger, garlic and slit green chilies.
- Stir fry on a medium-high heat for 1 to 2 minutes.
- Now add the sliced capsicum (green bell pepper). If you do not have capsicum, you can skip it
- Stir-fry on medium-high heat for 3 to 4 minutes until the capsicum is half cooked. It should have some crunch.
- Lower the heat to medium and add the soy sauce, sweet green chilli sauce or sweet red chilli sauce. Mix well.
- Now sprinkle black pepper powder, salt and sugar. Mix again.
Making Chilli Baby Corn
- Add the fried baby corn. Gently mix with the rest of the ingredients. You could stop here if you prefer a highly crispy and crunchy baby corn texture. But if you want a smooth glazed sauce coating on the baby corn then proceed to the following steps.
- Add 2 to 3 tablespoons water and mix again.
- To give a glaze and smoothness in the dish, sprinkle about 1 teaspoon of cornstarch (cornflour).
- Mix well and cook for 1 to 2 minutes or more till the cornstarch has cooked.
- Add the apple cider vinegar or rice vinegar and stir again.
- Lastly add the chopped green springs greens and give a mix.
- Check the taste and add salt, pepper or soy sauce if required.
- Serve the baby corn garnished with some spring onion greens or chopped celery.
- You can serve chilli baby corn as a starter snack or with bread or as a side with stir fried noodles or fried rice.
Video
Nutrition Info (Approximate Values)
This Chilli Baby Corn recipe post from the archives was first published on May 2013. It has been updated on December 2024.




Hi Dassana,
I tried this yesterday along with two other recipes from your blog ( mushroom biryani and oats dosa). All of these turned out to be yummy .. Dosa was super hit. I’m a big fan of Rawa dosa, but never dared to attempt at home. Your post inspired me to give a try and it was really good.
Sincere thanks for all your recipes, for inspiration they provide
thank you nagamani for the positive reviews on all the recipes you have tried. so glad to read them. thanks again.
p.s. you have such a nice name.
Can we bake the babycorn instead of panfrying? Also same query for Manchurian balls… Thanks.
Am a huge fan of your website..hv religiously followed ur recipes since I started cooking.. My go to blog for everything!
yes you can bake both babycorn and manchurian balls. thanks jyotsna for this lovely feedback. happy cooking.
How to make mutton chukka can u share it please…
we do not share non vegetarian recipes. vegrecipesofindia is a vegetarian site and hence we do not make nor share non veg recipes.
Excellent cooks ma’m
I love cooking the dishes u made
Awesome!
Thanks Arjun
By 2-3 garlic u mean the small pieces right?
yes 2 to 3 garlic cloves or pieces.
Thanks for this recipe ..
It turned out very well and my guests were very impressed
pleased to know this thanks for your positive feedback 🙂
can t see any video just 2pics r there when I click on the play button
brinelle, i just checked the whole video and the entire video is seen. did you browse from the web or from the app. let me know.
I tried this recipe and it came out really well. My kid just loved it.
thankyou Meetika 🙂
Awesomee tips
easy recipe n delicious too..thanks
thankyou rafat 🙂
I love this dish…… Its really delicious…. Thanks fr d recipr…its easy
welcome sayani
Your recipes are awesome and very perfect !!! Thank you so much for sharing such mouth watering recipes. 🙂 🙂
welcome ashna
thanks for the recipe. its very clear and good. if possible add the step by step pictures like the other recipes which you have posted in this site.
welcome sahiti. will try to add step by step photos.
Exactly… Even I was looking out for step by step pictures.. Anyways I’m going to give it a shot.. Thanks for such great b easy recipes ??
thankyou pratiksha and you are welcome 🙂
hi ma’am i m 16 yrs old n i love cooking n ur recipes r amazing , i m enjoying the praises 🙂 thank u ma’am
welcome snigdha. glad to know this.
I always follow u r recipes n r really gives me best result . I want to ask u that I have ready made samosa patti from market but I had a problem that while making or folding all r braking . How I do it perfect ly without breaking. ?
pradnya, i have also made samosa with store bought patti. but never had any problem. may be quality is not good. you can check the samosa recipe posted in the blog.
Great recipe ! But kindly specify the utensils
thanks raghav. use a wok or kadai or a frying pan.
It’s amazzzzing yaar. Easy to cook receipe
thanks trupti
I really like all your recipes. They are excellent, easy to make, and your instructions are very clear and comprehensive. Good job!
I am an avid cook myself. Your recipes have been very inspiring and helped me out on many a weekend, when my kids are craving for something different. Thank you very much.
welcome seetha. thanks for your kind feedback and appreciation. glad to read a positive feedback from fellow home chef.
amazing!!!!
Its ws awesm..i have tried a lot of recipes of Dassana. they are always very delicious.
Thanks:-)
welcome preeti. thanks for sharing positive feedback on recipes.
I tried ….it was really tasty. thanx for your recipe’s.
welcome shubham
yumm..wil try it today..hope it turns to b tasty n yummyy… 🙂
Capsicum in hindi is shimla mirch.
Mirch in English is chilli.
That might explain why dishes with green capsisum came to be called chilli this or that.
thanks for sharing your views.
Lovely and simple method
thanks garima
it is so tempting,and by seeing this video today only i have tried and itis so tasty thanks for sharing this video
welcome simran
Yummm….got to try it soon. Can I make it a day ahead for a party?
parul, you can make it but the crispiness won’t be there.
I love ur site completely…its so helpful for minor doubts also…wen i visit ur site oll my problems are aolved easily….keep on helping us…thank u…
welcome priyanka. good to know that the blog is helping you in cooking. happy cooking.
Good recipe. With little modification came out very well.
Pan frying baby corn is a wonderful idea!!
Looks so tempting.. love it with fried rice
Hi,
Looks so tempting will surely try today…your videos are helpful, keep up the good work. Thanks for sharing your recipes.
Rujuta
thanks rujuta
Baby corn is one food where i need to explore a lot !~ Good pictures!
thanks aparna
wow yumm so delicious food right???I love to have it anytime its my all time fav.