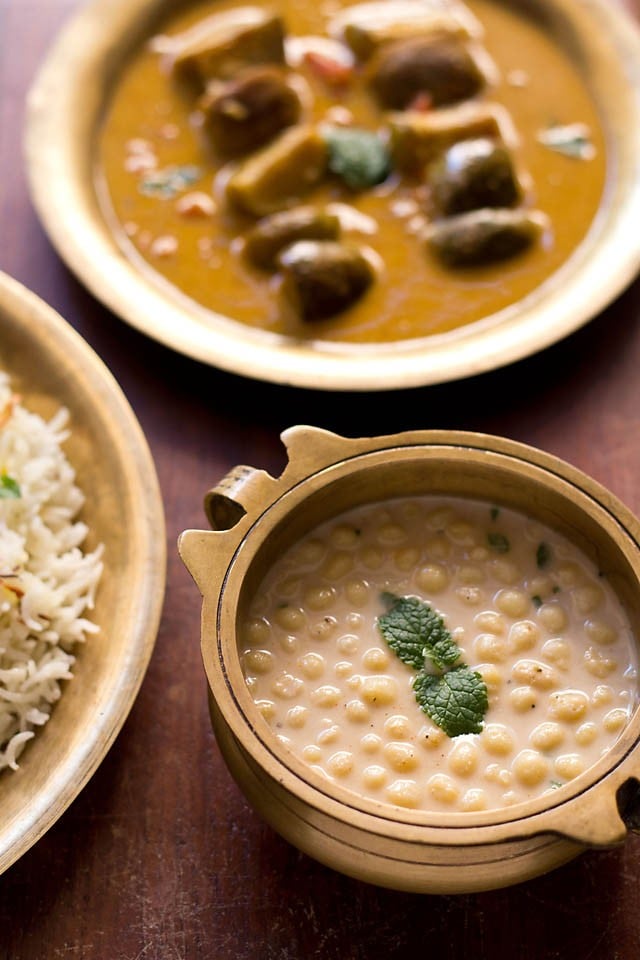
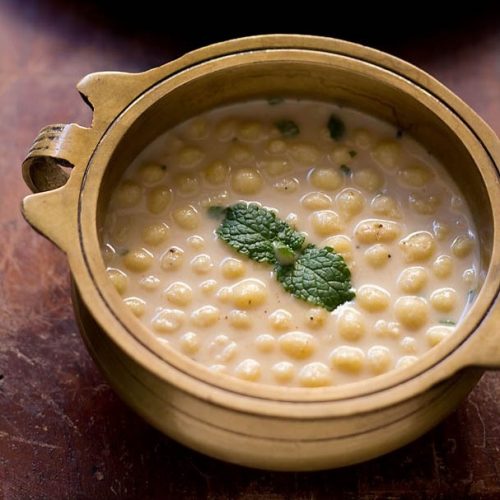
Boondi raita is a North Indian raita variety made with curd (yogurt) and melt-in-the-mouth boondi (fried gram flour balls) together with a few ground spices and herbs. Making this raita is a breeze. Serve boondi ka raita with your favorite Indian mains as a tangy and delicious side.
About Boondi Raita
Boondi is the hero ingredient in this raita variant. Wondering what is boondi?
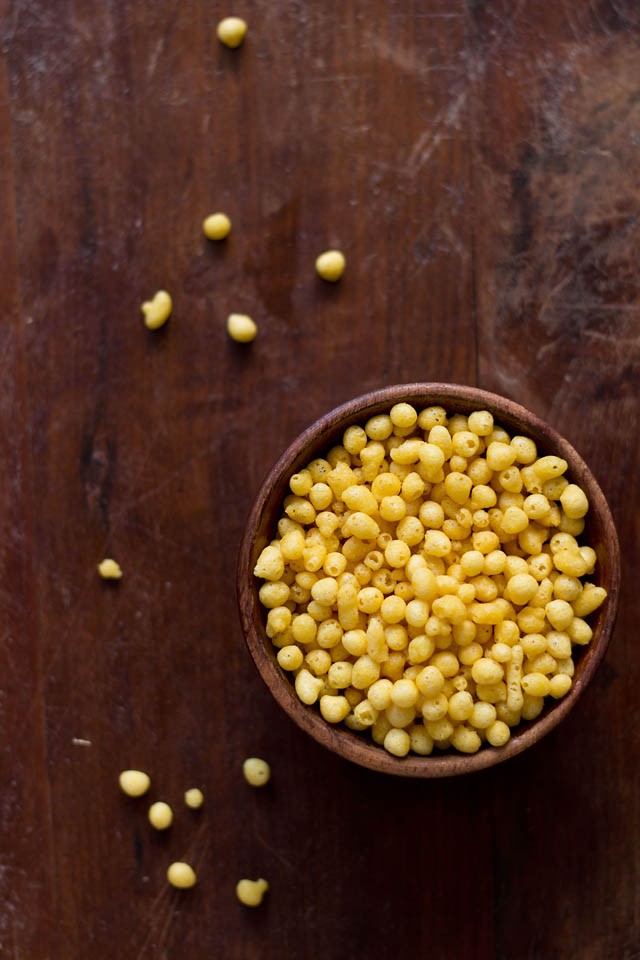
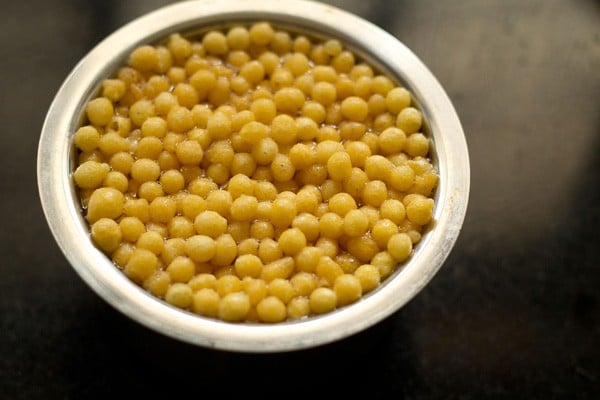
Boondi are tiny fried gram flour balls. They are round, spherical and hence the name boondi – derived from the Hindi word “boond”which means water droplets.
Making homemade boondi is easy or otherwise they are available in most grocery or sweets shops in India. They are crunchy, crispy and are generally sold in 2 variants:
- Salted Boondi or Plain Boondi
- Masala Boondi
Table of Contents
Boondi raita is made with salted boondi or plain boondi. If you live outside India you can buy boondi from Indian grocery stores or online.
Boondi are often served with chaat recipes like Dahi Bhalla or Dahi Vada or added in Jal Jeera or mixed in the pani (spicy water) of the Pani Puri.
The unsalted boondi goes in the making of Boondi Ladoo or Motichoor Ladoo Recipe. They are also used in making fried snacks like Kara Boondi and Mixture Recipe.
In the below photo you see the fried and crispy boondi.
To make this side dish the boondi is not directly added to the yogurt. These crisp tiny balls (boondi) are first soaked in warm water.
As a result, they swell a little in size and become so soft. Their entire crispiness is lost. They are squeezed off the excess water and then added to the spiced yogurt. So you have a spiced yogurt with the soft boondi melting in your mouth.
Cucumber raita, Onion raita and spiced boondi raita are three of the most sought after raitas in the Indian cuisine.
If you like to pair your meals with raita then do check this collection of many Raita Recipes on the blog. I make raita almost every day in summers and I have shared many of them on the blog.
Boondi raita is very easy to make. You can serve it with any North Indian dish. But mostly this raita goes very well with rice dishes like biryani or pulao and they actually pep them more.
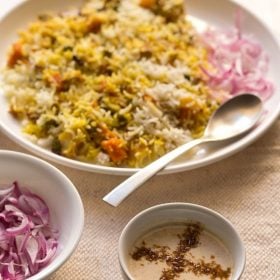
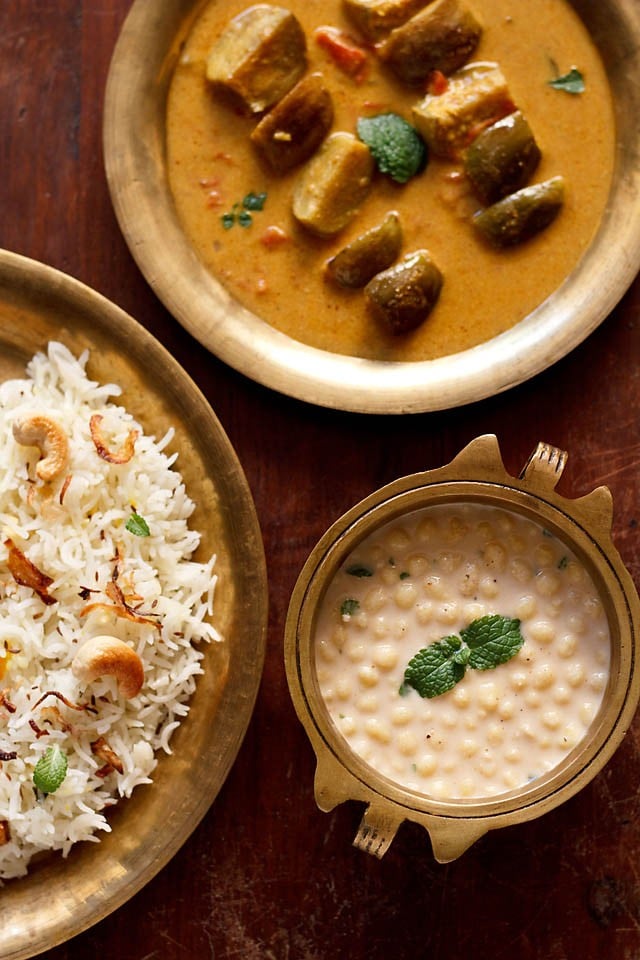
I served this spiced boondi raita with biryani rice along with an aubergine/brinjal curry. When hard pressed for time, you can just have the raita with some steamed basmati rice along with a side veg salad.
To make this raita you can use dairy curd or a plant based yogurt like cashew yogurt or almond yogurt.
How to make Boondi Raita
Prep Boondi and Curd
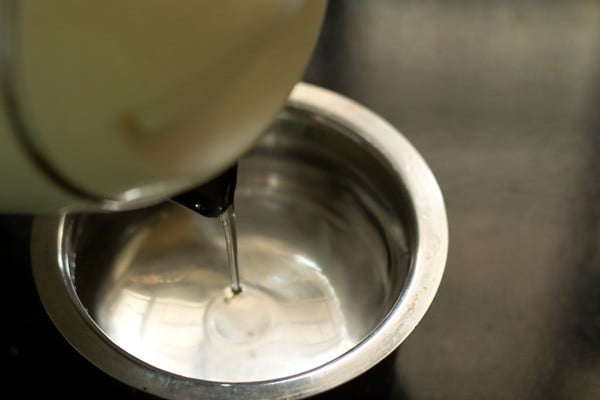
1. First warm 1.5 cups of water in a pan on stovetop or in the microwave or in an electric heater. Take the warm water in a bowl.
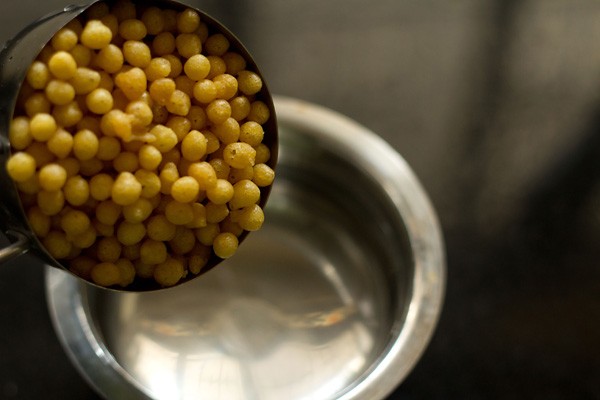
2. Then add the boondi to the warm water.
3. Allow them to get soaked for 9 to 12 minutes. Cover the bowl with a lid. Make sure not to soak them for a longer time or else they become pasty and mushy.
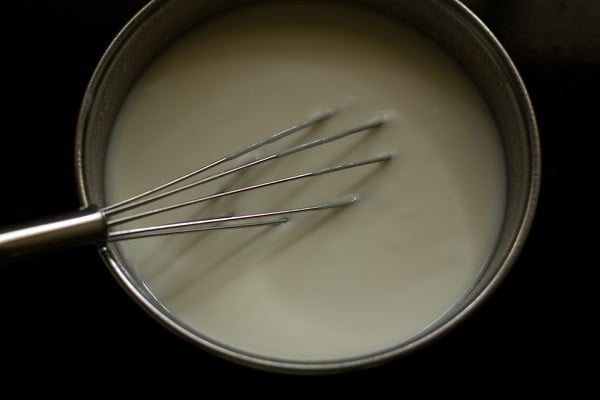
4. Meanwhile, whisk the curd (yogurt) in a bowl till smooth. Preferably use fresh homemade curd and ensure that the curd is not sour. The curd can be cold or at room temperature.
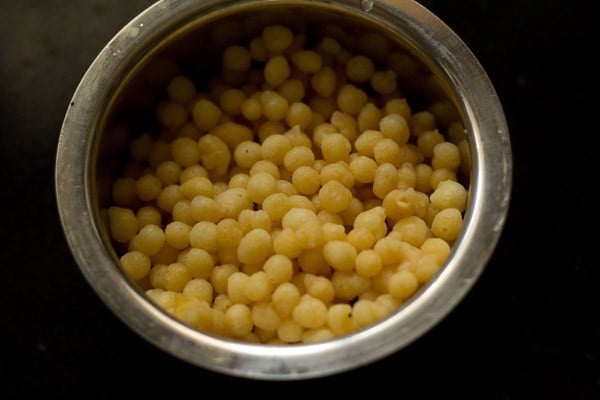
5. Drain all the water from the soaked boondi.
Make Boondi Raita
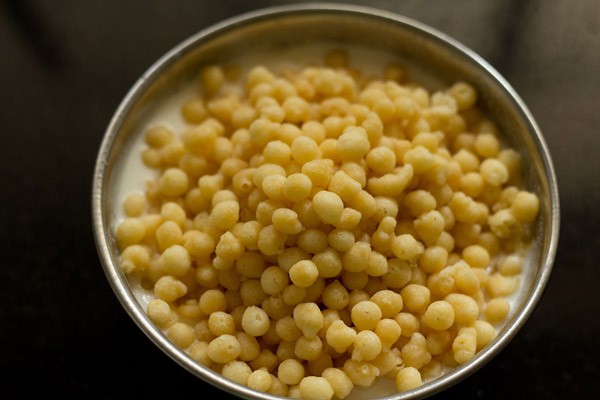
6. Lightly press the boondi in your palms, to squeeze the excess water from them. However, don’t mash them up. Add the boondi to the whisked curd and mix gently with a spoon.
7. Add the following dry spice powders and seasonings mentioned below:
- ¼ to ½ teaspoon chaat masala powder
- ½ teaspoon roasted cumin powder
- ¼ teaspoon red chili powder or cayenne pepper
- ¼ teaspoon black pepper powder – optional
- ½ teaspoon fennel powder – optional
- black salt or regular salt or edible rock salt as required
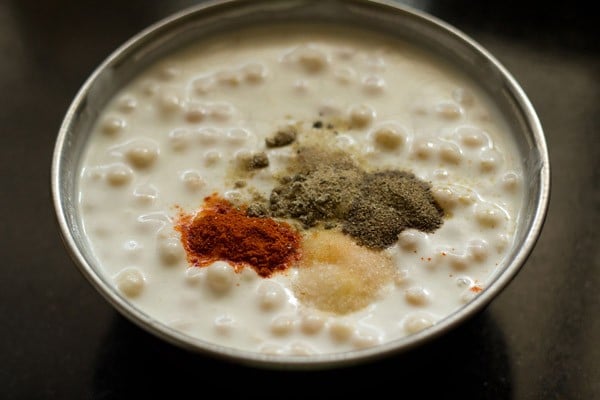
8. Stir and mix the ground spices evenly. Do a taste test and add more of the ground spices or salt according to your preferences.
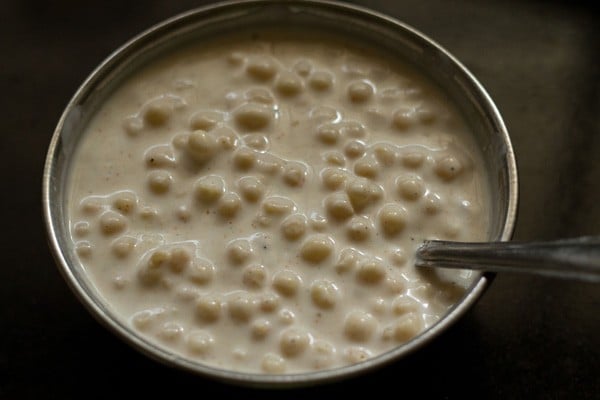
9. Lastly mix chopped coriander leaves or mint leaves. You can add about 1 to 2 tablespoons of chopped coriander leaves or 1 tablespoon of chopped mint leaves.
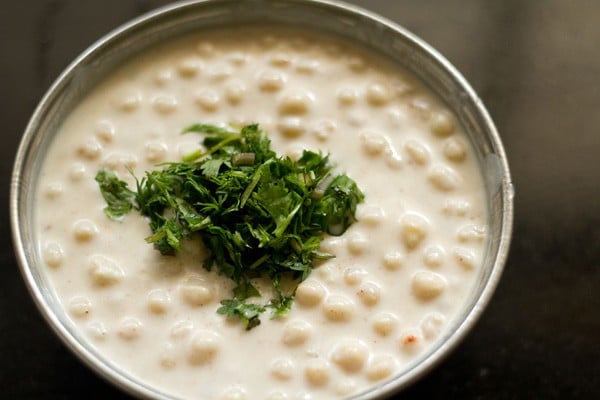
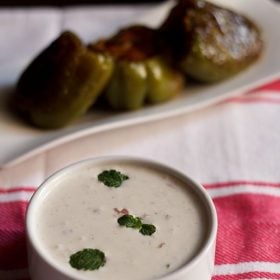
10. The boondi raita can be served cold or at room temperature. You can also garnish the raita with sprigs of mint or coriander leaves. It also goes well with biryani or pulao or any rice based dishes like jeera rice or saffron rice or biryani rice.
You can also choose to serve boondi raita with stuffed paratha varieties like aloo paratha, gobi paratha or mooli paratha.
Expert Tips
- Curd: Use fresh homemade curd or yogurt. Make sure that the yogurt is not sour. If using packaged curd, check the expiry date.
- Consistency: If the curd is thick or if using greek yogurt, then add some water to thin the consistency.
- Soaking boondi: For a soft, melt-in-the-mouth boondi, always soak them in warm water. Soaking fried boondi in water also pulls out some of the oil from them in the water. If you add the crispy boondi directly to the yogurt, they won’t soften completely and you will get to taste their crunchy bits when eating. But if you like crispy boondi in the raita, then do not soak them.
- Spices: You can skip or alter the ground spices according to your taste preferences. Try to use roasted cumin powder as it gives a nice earthy, nutty aroma and taste to the raita.
- Boondi: Preferably use plain or salted boondi to make this raita. For a slightly spicy raita, add some finely chopped green chillies or increase the red chilli powder by a bit. You can also choose to add both green chilies and red chilli powder.
Please be sure to rate the recipe in the recipe card or leave a comment below if you have made it. For more vegetarian inspirations, Sign Up for my emails or follow me on Instagram, Youtube, Facebook, Pinterest or Twitter.
Boondi Raita Recipe (Classic)
Ingredients
- ½ cup boondi – plain or salted
- 1 cup Curd (yogurt) – dairy or plant based
- ¼ to ½ teaspoon chaat masala
- ½ teaspoon saunf powder (fennel powder) – optional
- ½ teaspoon roasted cumin powder
- ¼ teaspoon red chili powder or cayenne pepper
- ¼ teaspoon black pepper powder – optional
- 1 to 2 tablespoon chopped coriander leaves (cilantro) or 1 tablespoon chopped mint leaves
- a few coriander leaves or mint leaves for garnish
- black salt or edible rock salt or regular salt as required
Instructions
Preparation
- First warm water in a pan on stovetop or electric heater or in the microwave.
- Take the warm water in a bowl. Add the boondi in the warm water. Cover the bowl with a lid. Let them get soaked for 9 to 12 minutes.
- Drain all the water and lightly press the boondi in your palms, to squeeze the water from them. Don't mash them up.
Making boondi raita
- Whisk the curd in a bowl.
- Add the boondi and mix gently.
- Add all the dry spice powders, chopped mint leaves or coriander leaves, including salt as required. Mix and stir the raita well.
- Check the taste and add more salt or ground spice powders if needed.
- Garnish the raita with mint leaves or coriander leaves.
- The boondi raita can be served cold or at room temperature. They go well with biryani or pulao or any rice based dishes like cumin rice.
- You can also serve boondi raita with stuffed paratha variants like gobi paratha, aloo paratha, paneer paratha or mooli paratha.
- Refrigerate the raita if not serving immediatedly. I would recommend to eat the raita in the same day or at the most you can store for 1 day in the fridge.
- If in case after refrigeration the raita has become thick then add a few teaspoons of water to thin the consistency slightly.
Notes
- If the yogurt is thick, then whisk with some water to make a slightly thin consistency.
- The spice powders can be adjusted as per your taste.
- You can also add finely chopped green chilies and a bit of finely chopped ginger to get some spice and pungency.
- Make sure to use fresh curd which has not become sour. I would suggest to use homemade curd.
- You can also temper the raita by frying cumin seeds, green chilies or dry red chilies (seeds removed) and a pinch of asafoetida (hing) in a bit of oil.
- Use salted or plain boondi to make this raita. If you live outside India you can buy them from Indian grocery store or online.
Nutrition Info (Approximate Values)
Boondi Raita recipe from the archives was first published on April 2013.
