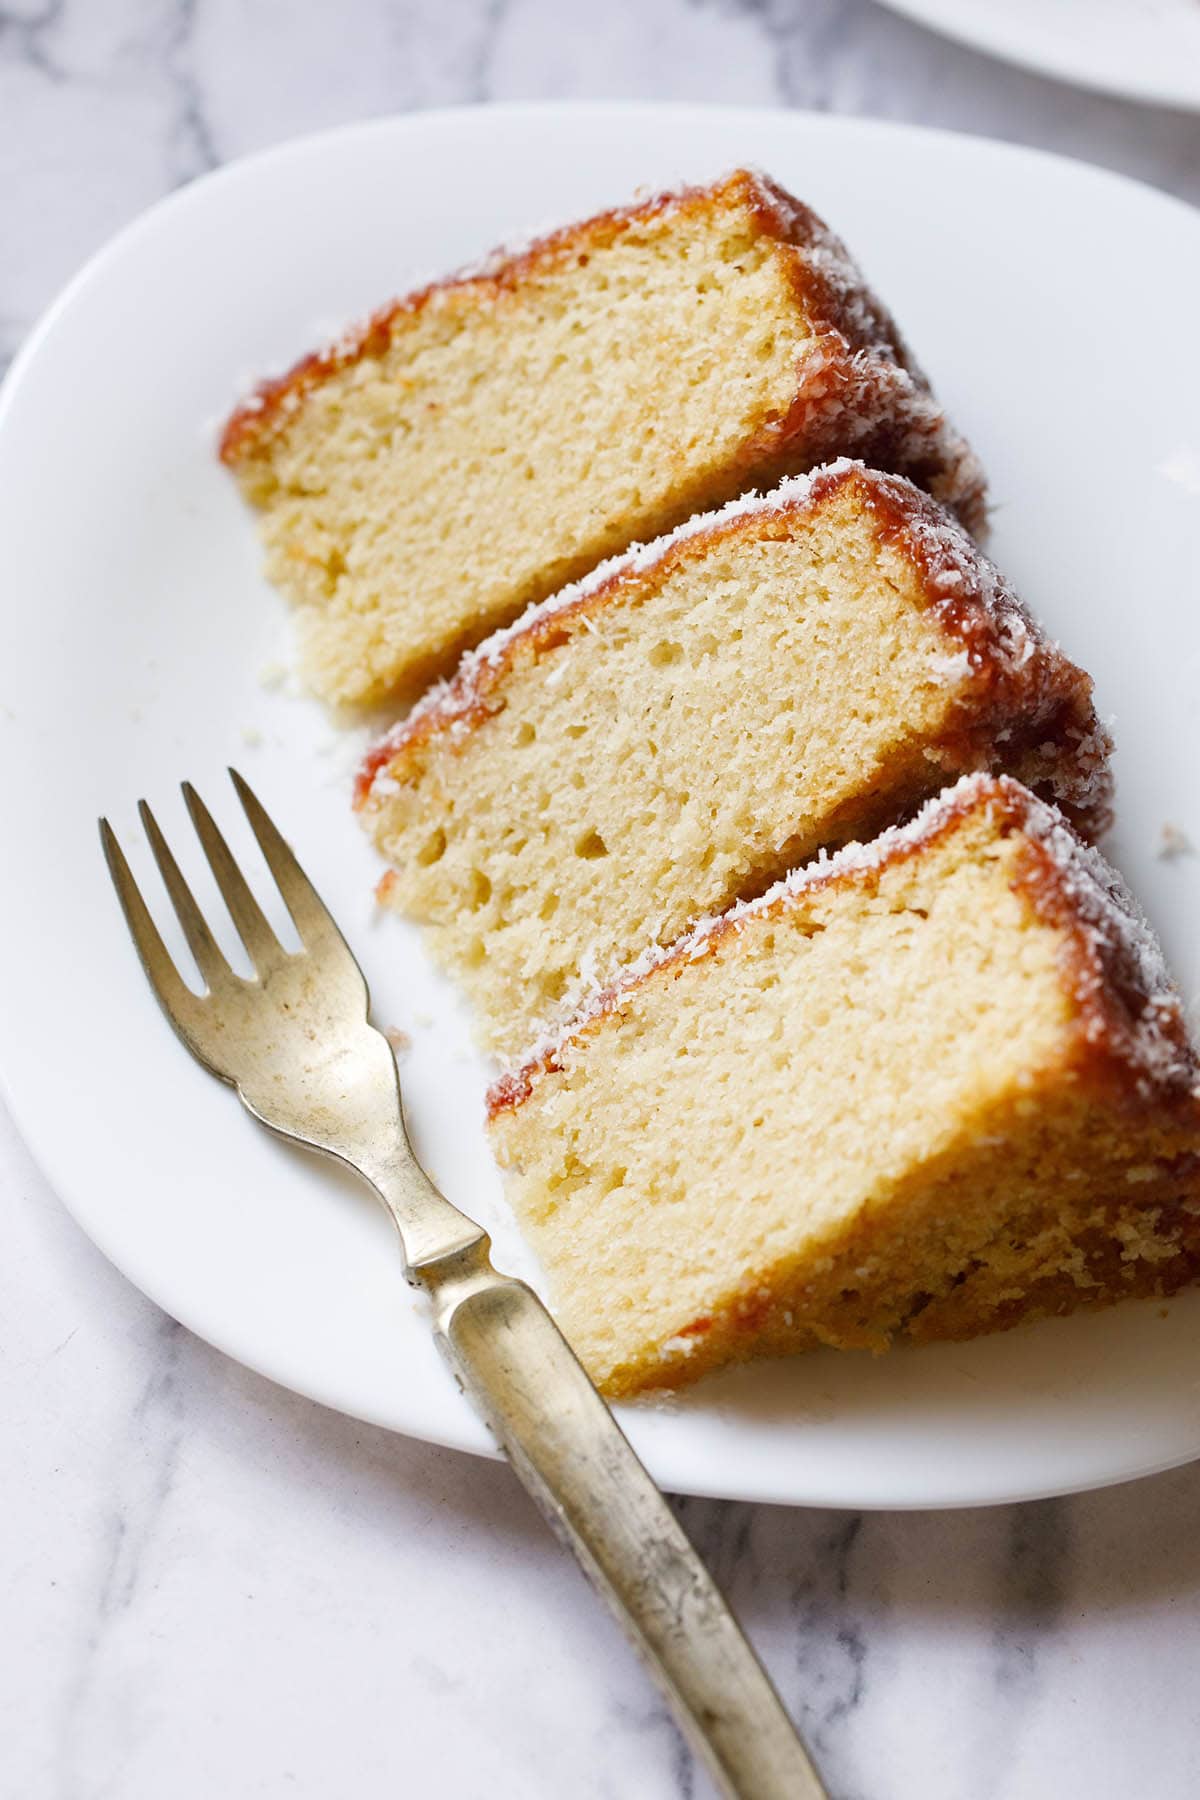
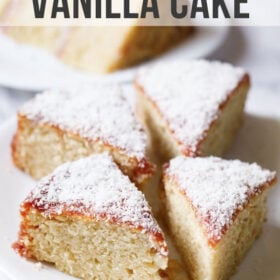
This easy Eggless vanilla cake recipe makes a perfectly moist and flavorful sponge every time. It’s delicious to enjoy with a homemade strawberry glaze, or use as a base for many cream cakes and gateau. Here you’ll find my step-by-step instructions, video with photos, plus expert tips for making a no-fail vanilla cake for your next celebration.
About Eggless Vanilla Cake Recipe
Vanilla cake is a classic cake that most people love. While there are many ways this cake can be made, my recipe is egg-free and gives a soft and moist crumb.
Most of the times when I make Eggless Cakes, I use the mixture of vinegar + baking soda. The reaction of vinegar with baking soda releases carbon dioxide and this aerates the batter which helps in leavening the cake.
This vanilla cake made without eggs uses the same reaction principle. It is a perfect no-fail recipe that works every time. Along with vinegar and baking soda, I also use yogurt and melted butter to make the cake fluffy and tender.
Table of Contents
Yogurt gives a lovely soft crumb to the eggless vanilla cake, and butter makes each bite terrifically rich. I use this cake as a base to make various frosted cakes like Strawberry Cake and Eggless Pineapple Cake. But you can enjoy it as a simple tea cake.
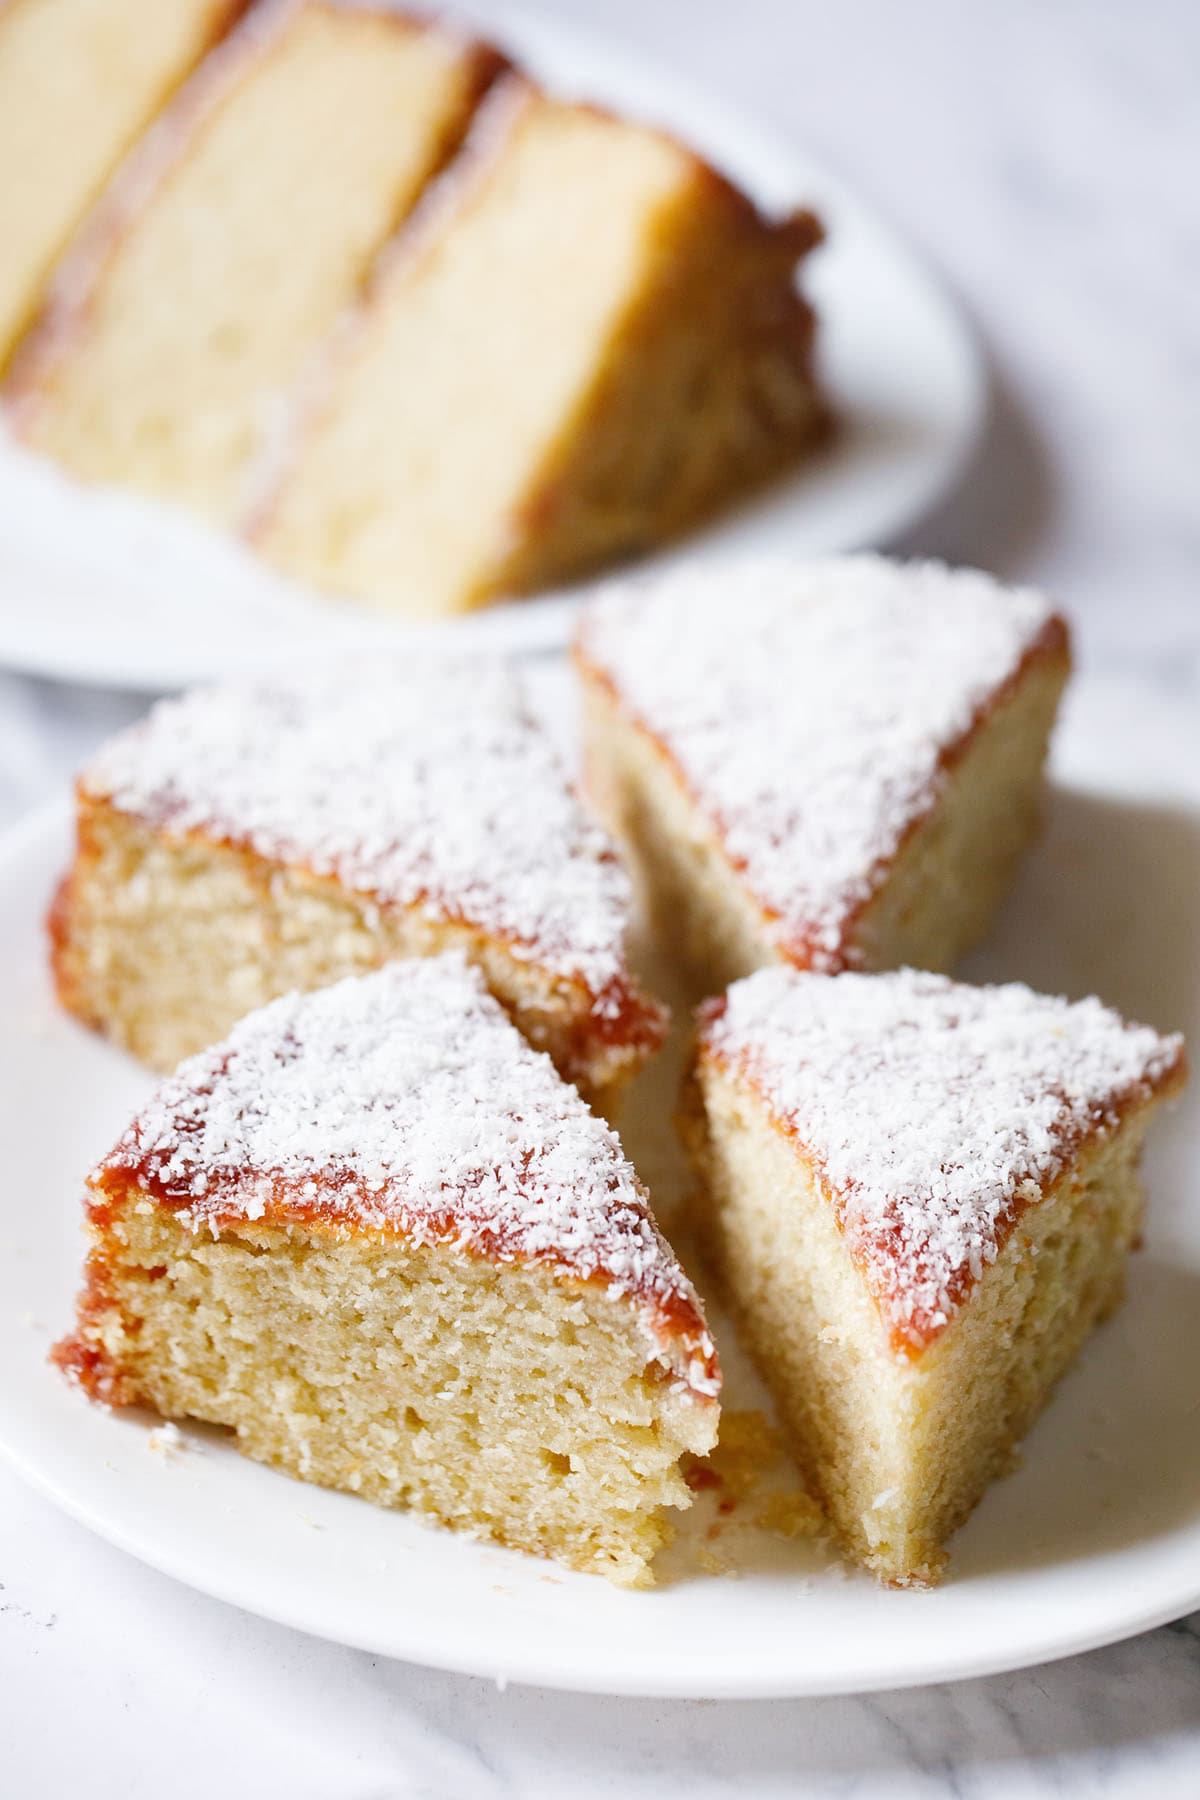
I have also shared an easy recipe for homemade strawberry jam glaze in this post. In a word, the sweet strawberry glaze makes the cake awesome. It is always a hit whenever I serve this vanilla cake for dessert or at gatherings!
How to make Eggless Vanilla Cake
Preparation
Before you make the eggless vanilla cake recipe, get all your ingredients ready.
Make sure all of them are at room temperature, except the butter that can be cold or straightaway removed from the refrigerator.
1. First add 1.5 cups of all purpose flour with 1 tsp of baking powder and a pinch of salt into a sieve placed over a mixing bowl.
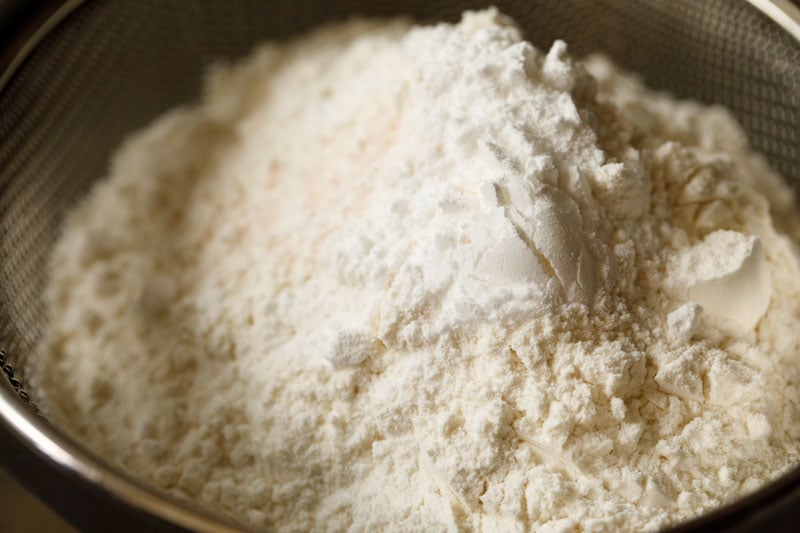
2. Sift the dry ingredients once or twice. Set aside.
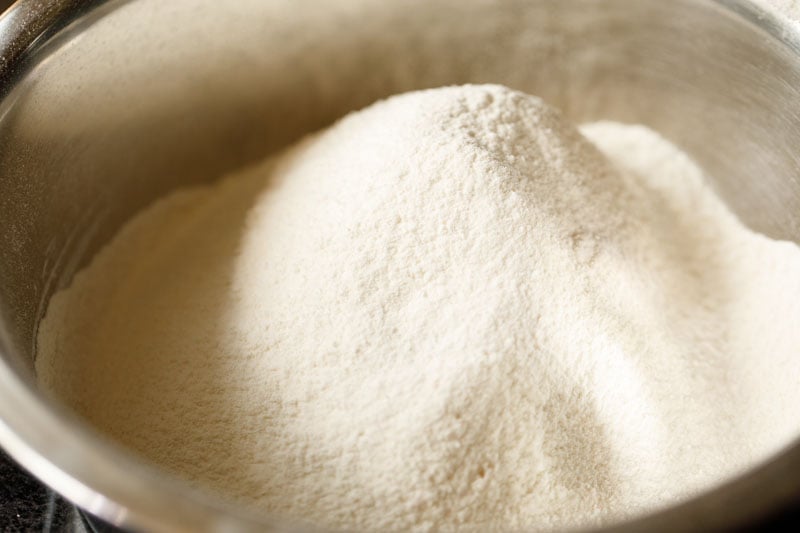
3. Grease a 7.5 or 8 inches round pan with some butter. You can line the pan with parchment if you prefer.
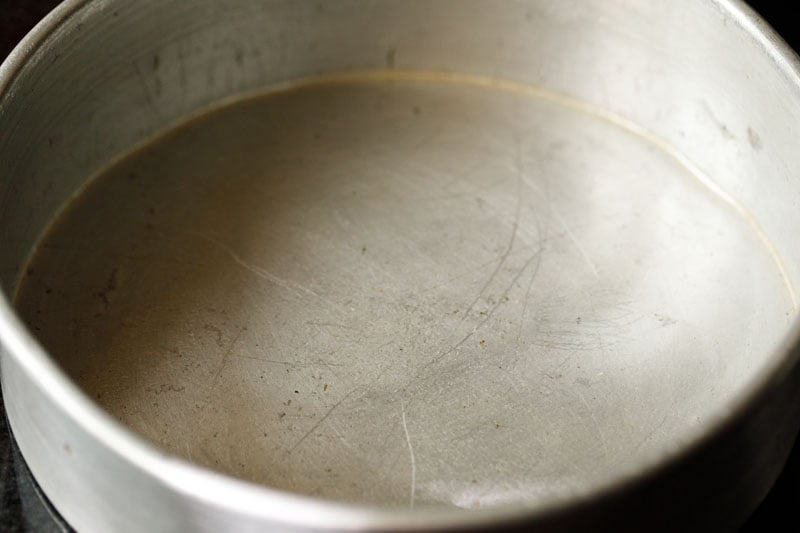
One of my ancient (but really sturdy and well-seasoned) baking pan in the photo below.
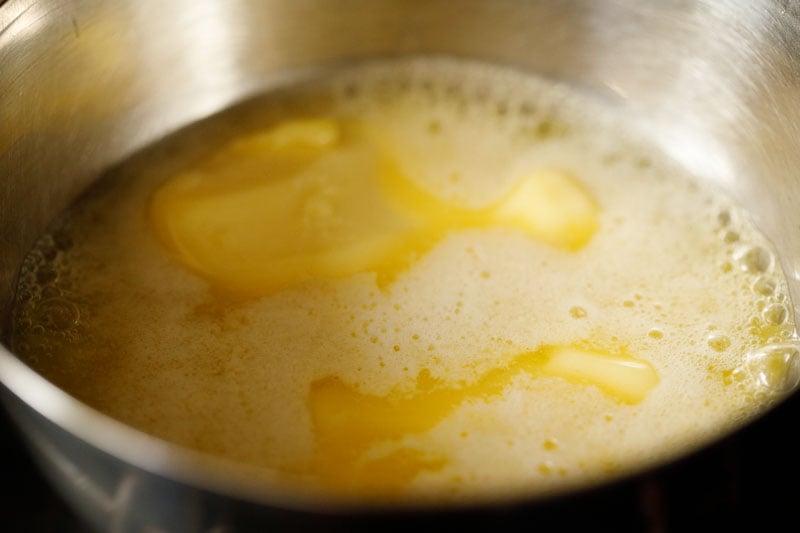
4. Heat slightly more than ½ cup of butter in a small pan or bowl on medium-low heat until it just melts.
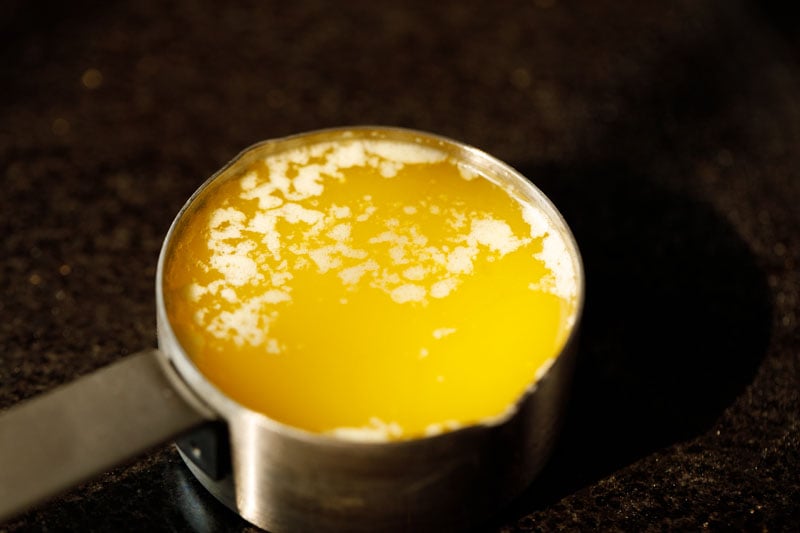
5. Measure the melted butter in a ½ cup measuring cup. Set aside. Preheat your oven to 190 degrees Celsius (375 degrees Fahrenheit) for 15 to 20 minutes before baking.
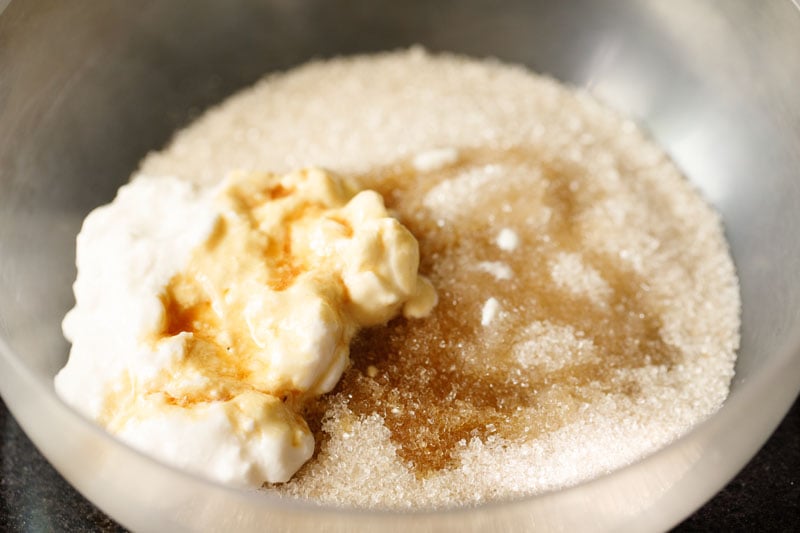
6. In another bowl add ¾ cup of raw sugar (or white sugar), 1 teaspoon of vanilla extract, ¼ cup of curd (yogurt) and 1 tablespoon of apple cider vinegar.
Note: Beat the curd separately in a bowl and then add. Also use fresh curd and not sour curd.
Tip: Swap with white vinegar or lemon juice if you do not have apple cider vinegar.
7. Add ½ cup of water.
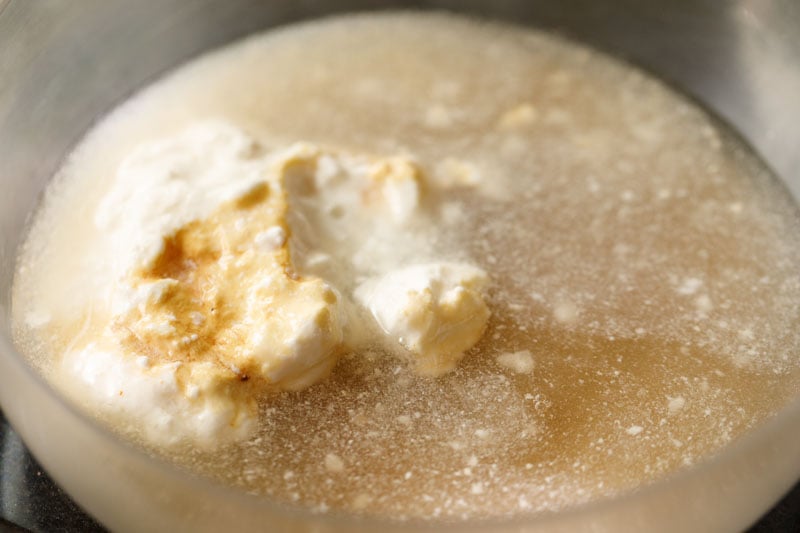
8. Whisk briskly until all of the sugar is dissolved and the curd gets evenly mixed. It should be like buttermilk, slightly off-color and foamy.
It is important that you beat the curd before adding as mentioned above so that you don’t have tiny lumps of curd in this liquid mixture.
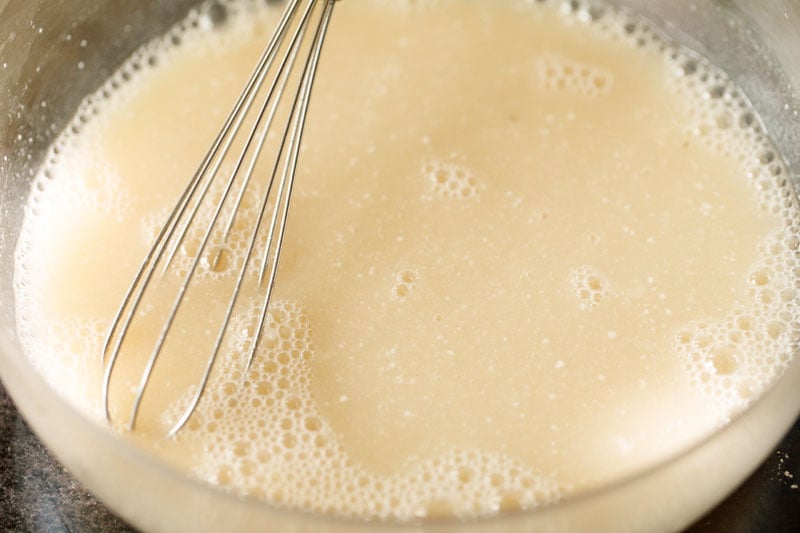
9. Now add ½ teaspoon of baking soda to the wet mixture.
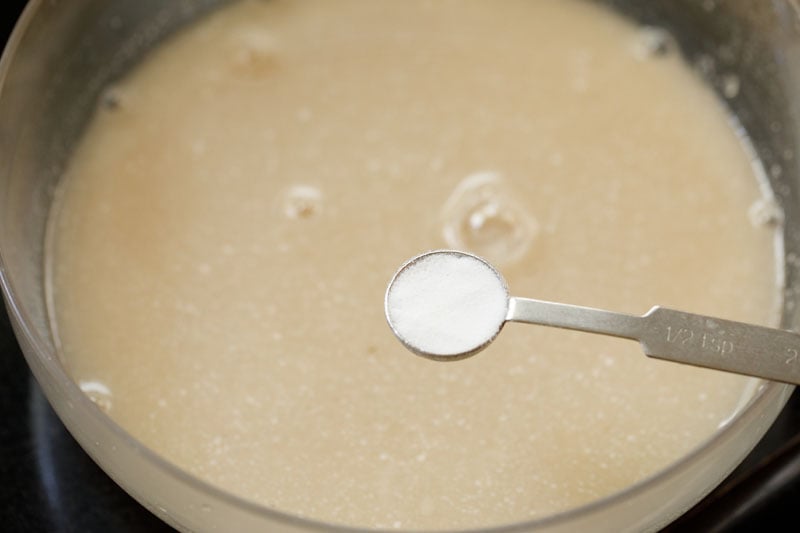
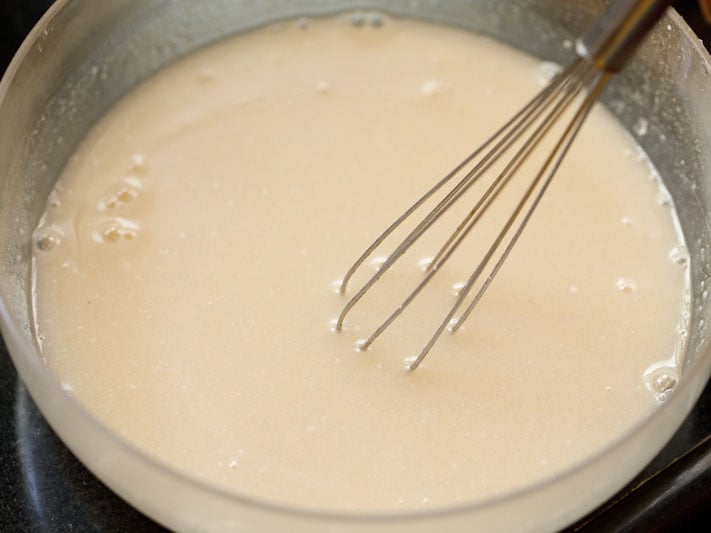
10. Stir until the baking soda is mixed evenly. The baking soda will cause some bubbling in this wet liquid mixture.
Make Cake Batter
11. Add the liquid mixture and melted butter to the dry sifted ingredients.
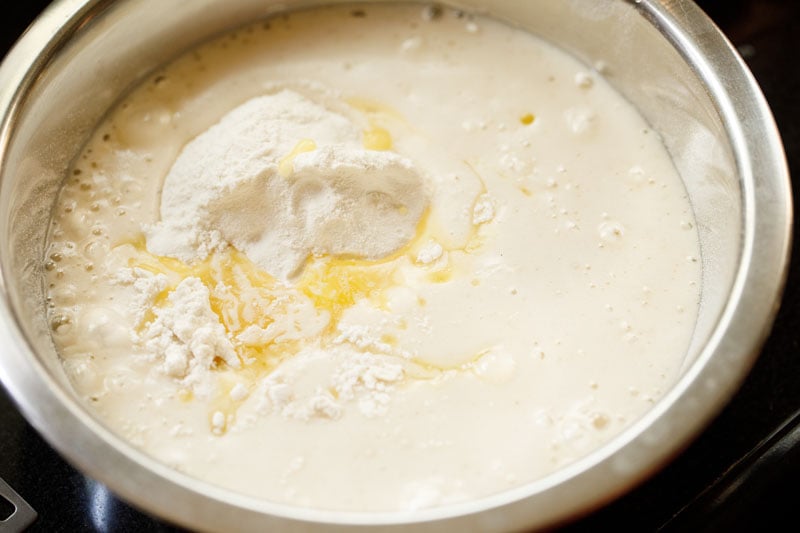
12. Mix very well with a wired whisk. Break apart any lumps by tapping them with the whisk. Be careful not to over-mix the batter.
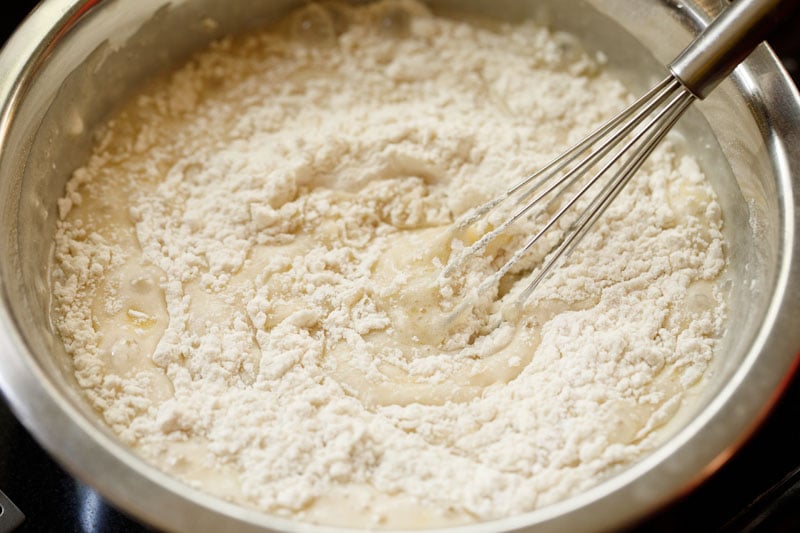
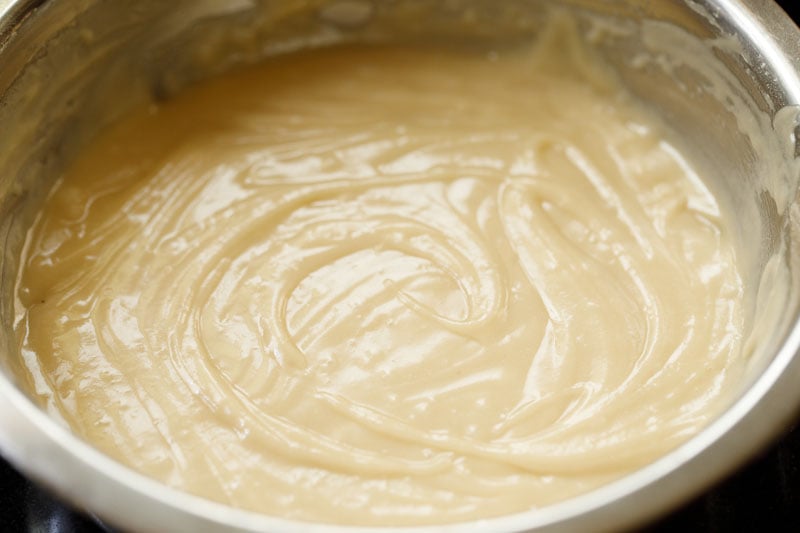
13. It should be a smooth batter like in the photo below.
Tip: If the batter becomes too thick or look dry, add some more milk or water (at room temperature) to get it to the desired consistency. Depending on the flour texture and quality, you will need to add more or less water.
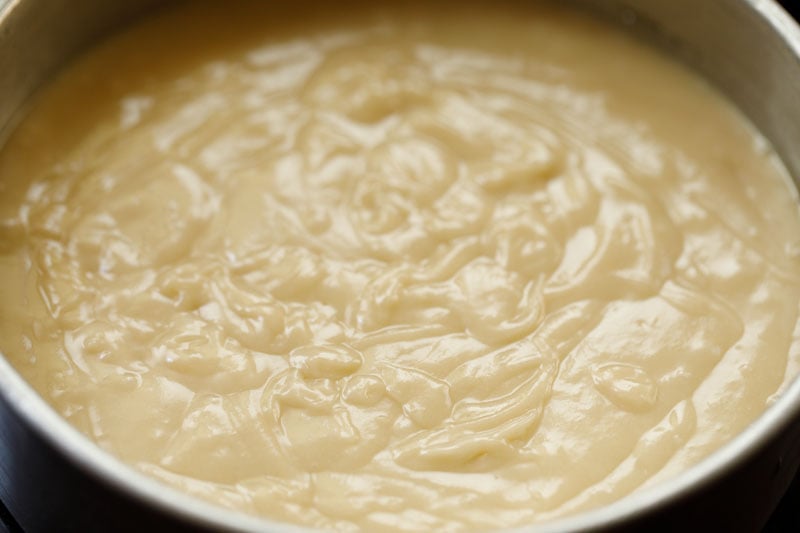
14. Pour the batter into the greased pan. Tap the pan on the countertop a few times so that any extra air bubbles are released and the batter spreads itself evenly in the pan.
You do not need to even the batter with a spatula. The batter spreads on its own.
Bake Cake
15. Place the cake pan in the preheated oven on the middle rack. If using an OTG or a regular oven, heat both the top and bottom heating elements.
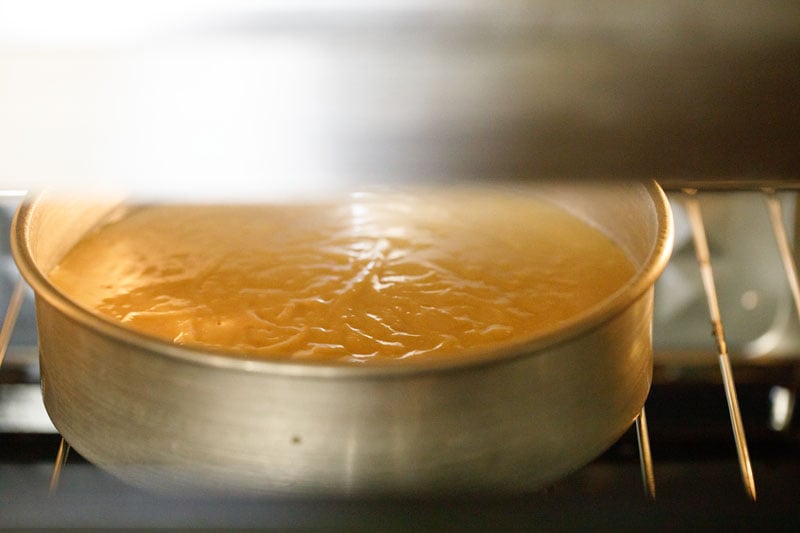
16. Bake at 180 degrees Celsius (375 degrees Fahrenheit) for 30 to 35 minutes, or until the top crust is golden.
Tip 1: The baking time varies with various oven type and the temperatures are not the same. Thus this eggless vanilla cake recipe can take less or more time to bake in your oven. Keep an eye on the cake as it bakes so that it does not brown too much.
Tip 2: Remember not to open the oven door until ¾ of the cake is baked. Opening and closing the oven door many times can make your cake sink or collapse.
Tip 3: When the cake begins to get golden and you see that is browning very quickly, then cover the top with an aluminium foil or butter paper and continue to bake.
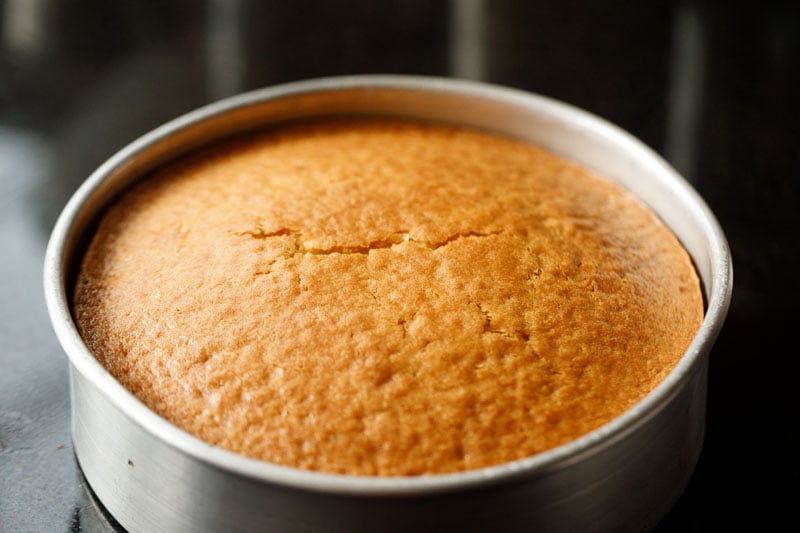
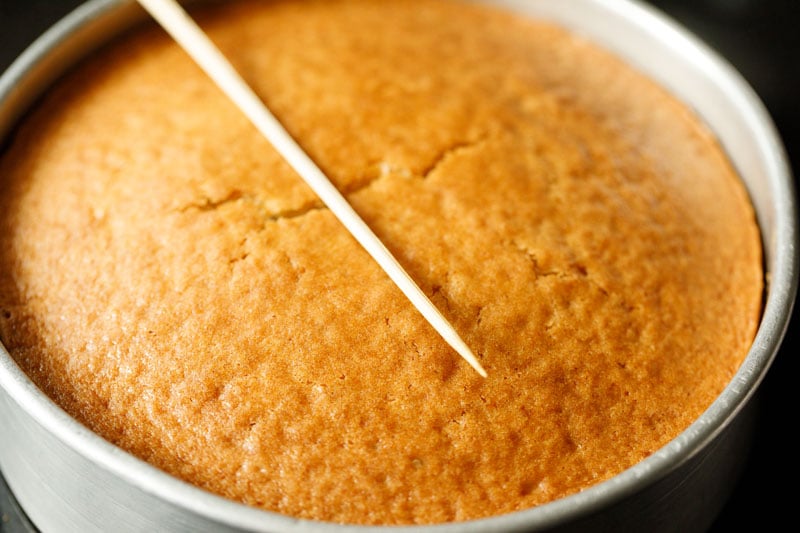
17. Check the doneness of the eggless vanilla cake with a bamboo skewer. It should be clean with no sticky batter on it.
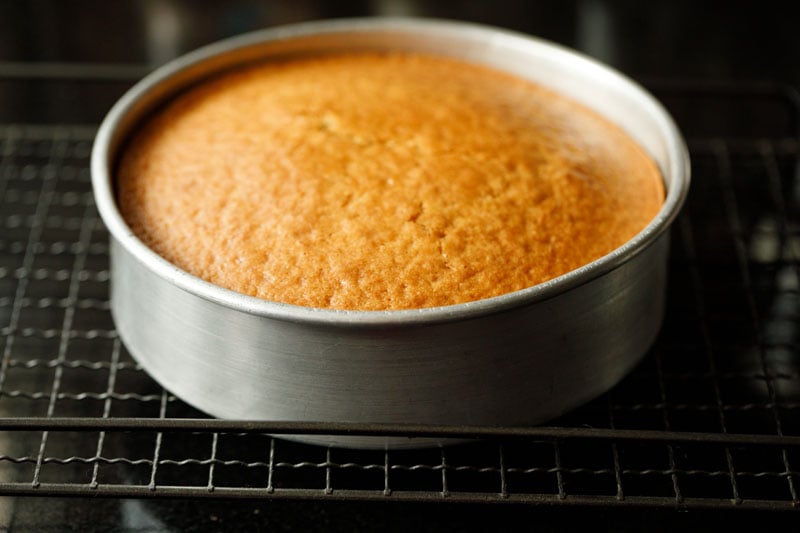
18. Place the pan on a wired tray or rack and let the cake cool to room temperature. Let the cake cool completely before you spread the jam glaze on it.
Make Jam Glaze Icing
This eggless vanilla cake is delicious as-is, no toppings needed. However, a fresh fruit jam, buttercream icing or rich chocolate ganache are yummy options to make the cake an extra special sweet treat.
Before you frost the cake, make sure it is cool and not at all hot.
To make an easy jam glaze,
1. First add ½ cup of any sweet fruit jam of your choice in a small skillet or pan. I have used Homemade Strawberry Jam to make this recipe for topping the cake.
2. Now add 1 tablespoon of tapioca starch or arrowroot flour or cornstarch, plus 3 tablespoons of water (or more if needed) and 1 tablespoon butter.
You can use any type of starch-based edible thickener that is available to you. All the three starches that I have listed above thicken the glaze nicely.
So include any one of them for thickening the glaze. In the below photo, the white colored flour is tapioca starch.
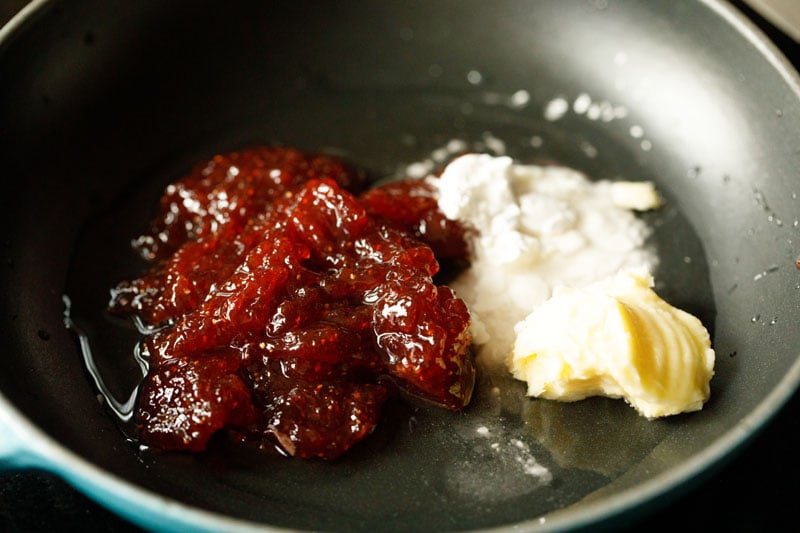
3. Place the pan on low heat and begin to mix.
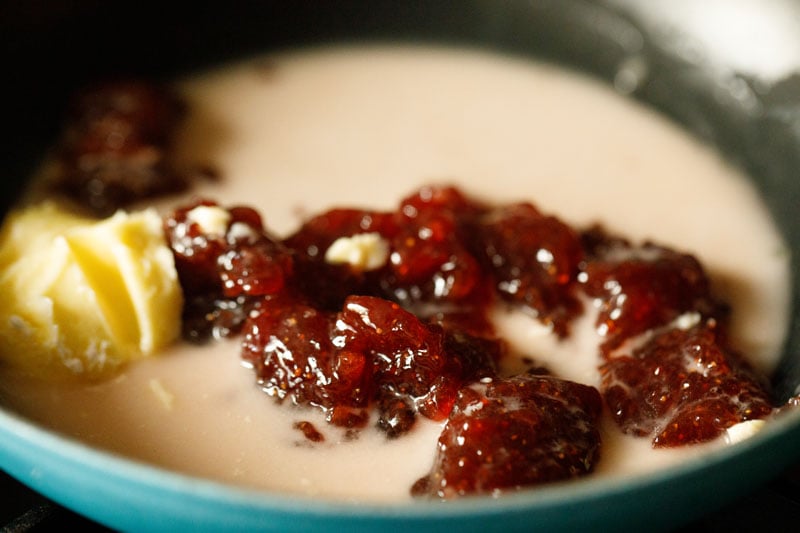
4. Keep stirring until all of the ingredients have melted together and evenly combined.
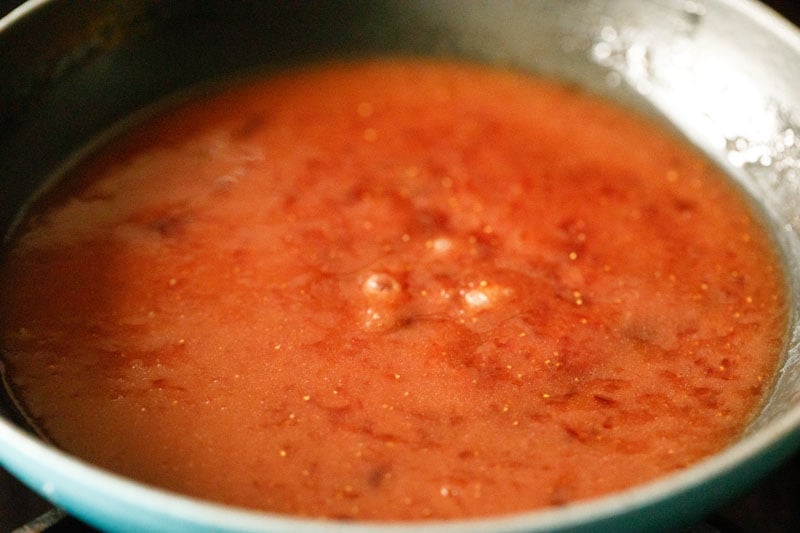
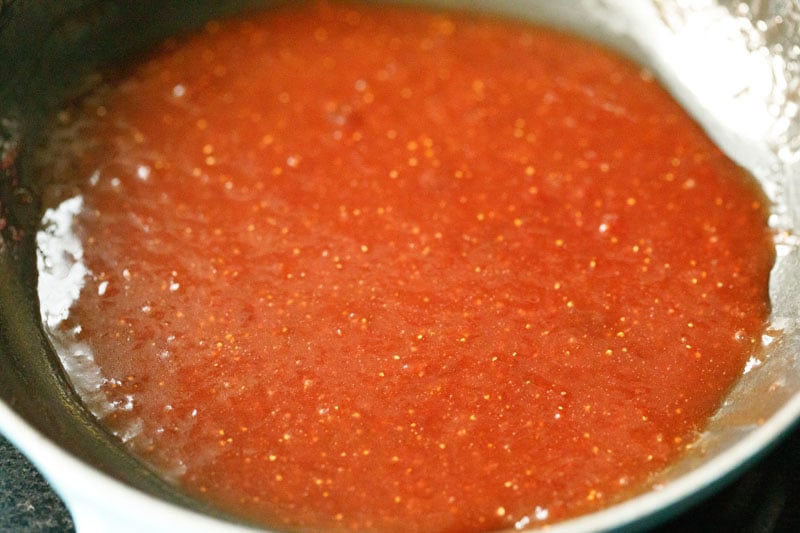
5. Simmer on low heat for 3 to 4 minutes until the glaze thickens, stirring often. Do not boil or cook the mixture down too much.
Set aside and allow the jam glaze to cool slightly, so that it is warm and not hot.
Frost Cake
1. When the eggless vanilla cake cools, remove it gently from the pan. Place it on a board, tray or plate or a cake stand. A rotating cake stand makes applying the glaze easiest.
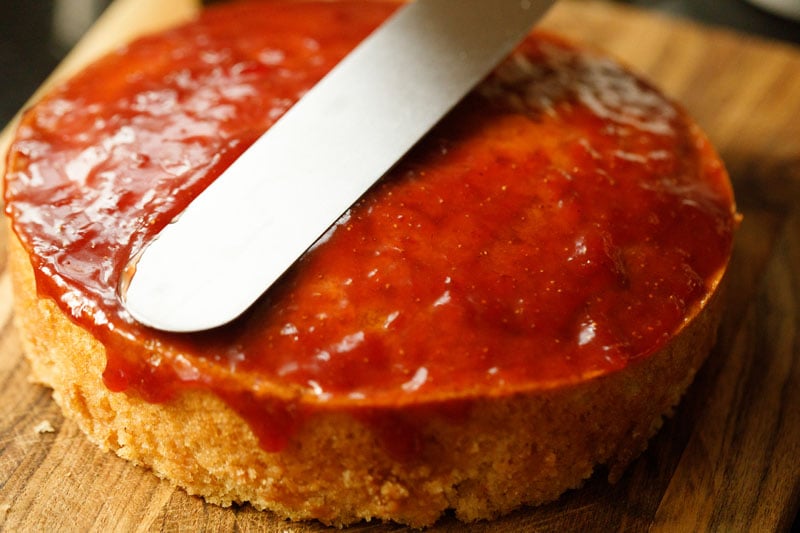
Place some of the jam icing on top and use a spatula to spread the glaze evenly on top and sides of the cake.
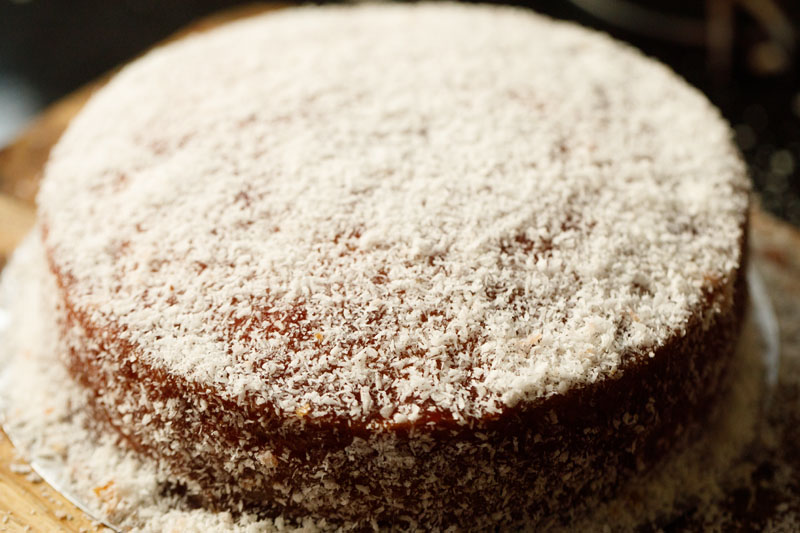
2. Sprinkle some unsweetened desiccated coconut on top. You can even spread it at the sides.
Coconut is optional and you can skip it, if you are not a fan of coconut.
3. Cover with a large steel bowl, taking care that the coconut and icing do not touch the bowl. Let the glaze cool completely and set.
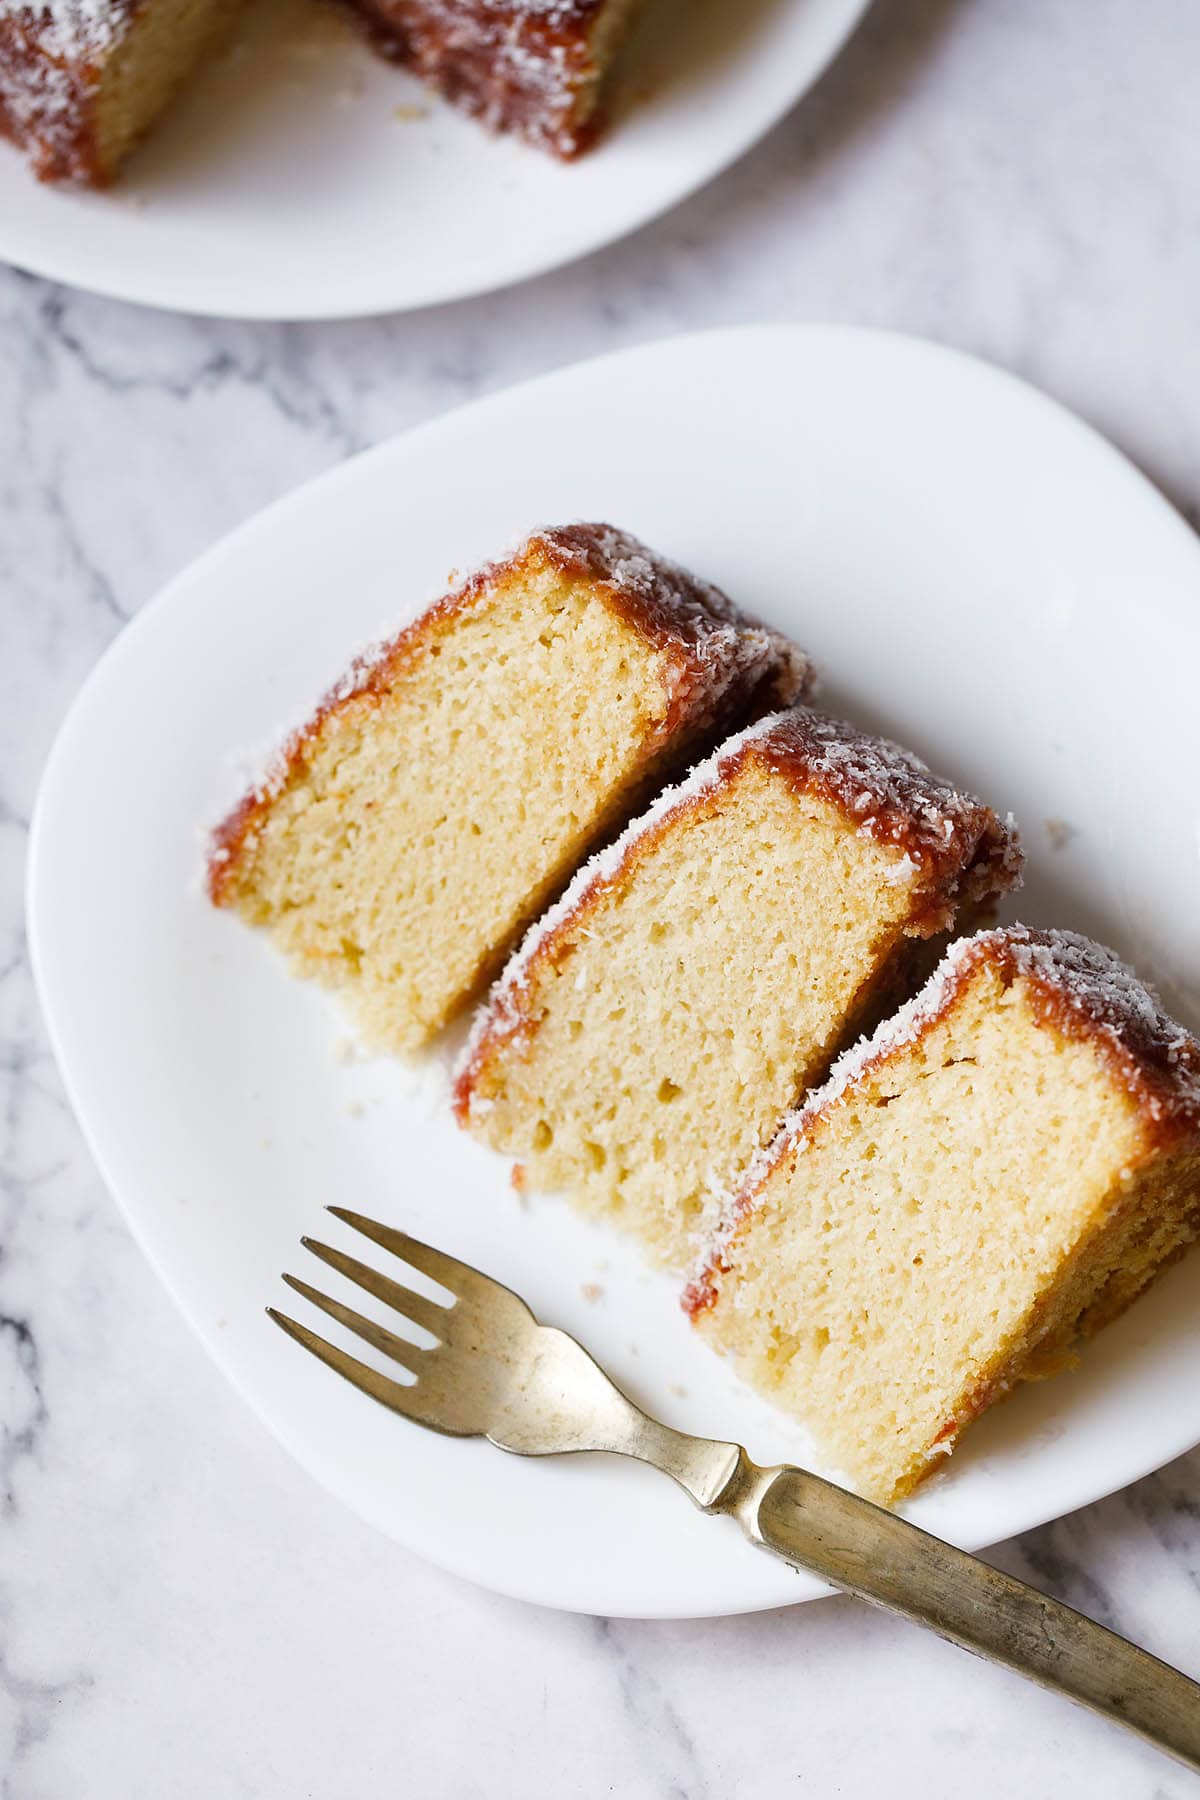
Later slice and serve. You can also keep in the refrigerate for 1 to 2 hours and then serve.
Note that the butter solidifies when cooled in the refrigerator. This make the texture of the cake slightly dense.
So let the cake come to room temperature before serving. Or you can warm it lightly in your oven at 90 degrees celsius (195 degrees Fahrenheit) for some minutes.
Ingredient Notes & Variations
- Flour: I recommend that you use unbleached and/or organic flour. This recipe works well with both all-purpose flour as well as unbleached pastry flour.
- Butter: You can use a neutral oil in place of butter. For butter, use unsalted butter. In a pinch you can opt for salted butter, but omit adding that pinch of salt in the recipe.
- Jam: Any sweet jam works well for the glaze in this eggless vanilla cake recipe. My favorites are orange jam, mango jam, pineapple jam and of course strawberry jam.
- Vinegar: If you do not have apple cider vinegar, use white vinegar or swap vinegar with lemon juice.
- Sweeteners: To make the eggless vanilla cake less sweet, you can add ½ cup of sugar. In place of sugar, you can also use jaggery, coconut sugar or palm sugar. But the color of the cake will change and become dark. The taste with these sugars will also make the cake taste different.
- Leavening ingredients: My recipe includes both baking powder and baking soda. They are not replaceable with each other. To get the best results, I suggest to follow the proportions mentioned in the recipe. Do make sure that both baking powder and baking soda are fresh and within their shelf-life.
Baking and Storage Tips
- Baking time: The baking time varies with oven types, temperatures inside the oven etc. So it can take less or more time for the cake to bake in your oven. Keep an eye on the cake as it bakes so that it does not brown too much.
- Storage and reheating. Leftovers can be stored in the fridge for up to 4 days, in a sealed container or box. When you refrigerate this cake, the butter in it solidifies and the cake becomes slightly dense. While serving, lightly warm the cake in your oven at 90 degrees celsius (195 degrees Fahrenheit) for some minutes.
My Popular Eggless Cakes Recipes!
Cake Recipes
Cake Recipes
Cake Recipes
Cake Recipes
Please be sure to rate the recipe in the recipe card or leave a comment below if you have made it. For more vegetarian inspirations, Sign Up for my emails or follow me on Instagram, Youtube, Facebook, Pinterest or Twitter.
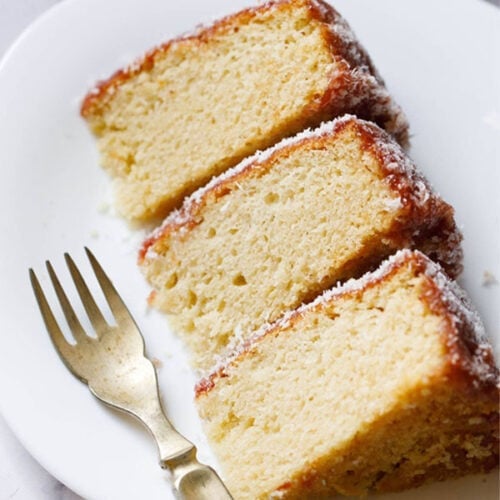
Eggless Vanilla Cake Recipe (Moist & Flavorful Sponge)
Ingredients
Dry ingredients
- 1.5 cups all-purpose flour or pastry flour – 180 grams
- 1 teaspoon baking powder
- 1 pinch salt
Wet ingredients
- ½ cup melted butter – unsalted
- ¼ cup Curd (yogurt) – 62 grams
- ½ cup water
- ¾ cup raw sugar or white sugar – 150 grams
- 1 teaspoon vanilla extract or ½ teaspoon vanilla essence
- 1 tablespoon apple cider vinegar or lemon juice or white vinegar
- ½ teaspoon baking soda
Jam Glaze Icing
- ½ cup strawberry jam or any sweet fruit jam
- 1 tablespoon tapioca starch or arrowroot flour or cornstarch
- 3 tablespoons water or add as required
- 1 tablespoon Butter – unsalted
Instructions
Sifting dry ingredient
- First sift the all-purpose flour with the baking powder and salt in a mixing bowl or pan.
- Keep everything ready as you have to be quick enough to mix the batter.
- Preheat the oven to 180 degrees Celsius (375 degrees Fahrenheit) for 15 to 20 minutes.
- Grease a 7.5 to 8 inches round pan with butter or a neutral tasting oil.
- You can also choose to line the baking pan with parchment and then grease it with oil or butter.
Measuring butter
- Take slightly more than a ½ cup of butter and melt it in a small pan on stovetop or microwave it in a bowl. Simply melt the butter. No need to heat it.
- You need to get about ½ cup of melted butter. So measure the melted butter in a ½ cup measuring cup. Set aside.
Mixing wet ingredients
- In another bowl take sugar, curd (whisked), apple cider vinegar and vanilla extract. Add water.
- First beat the curd separately in a bowl and then add to the other wet ingredients as this helps it to mix evenly without having any tiny lumps.
- Whisk briskly till all of the sugar is dissolved and the curd gets evenly mixed.
- Add the baking soda to this wet liquid mixture
- Stir until the baking soda is mixed evenly. The baking soda will cause some bubbling in this wet liquid mixture.
Making vanilla cake batter
- Add the liquid mixture and melted butter to the dry sifted ingredients.
- Mix very well with a wired whisk. Break apart any lumps by tapping on them with the whisk, but be carefully to not over-mix the batter.
- You should get flowing batter with medium to medium-thick consistency. If the batter looks dry or thick to you, then add some milk or water as needed to thin it.
- Pour the batter in the greased baking pan.
- Tap the pan on the countertop a few times so that extra air bubbles are released. You do not need to even the batter with a spatula. The batter spreads on its own.
Baking eggless vanilla cake
- Place the cake pan in the preheated oven on the middle rack.
- Keep the heating in both the bottom and top elements of the oven on if you are using an OTG or regular oven.
- Bake the cake at 180 degrees Celsius (375 degrees Fahrenheit) for 30 to 35 minutes or until the top crust is golden. Check the doneness of the cake with a bamboo skewer. It should be clean with no sticky batter.
- While baking, If the vanilla cake browns too quickly on the top, then cover the top with an aluminium foil or butter paper.
- Place the pan on a wired tray or rack and let the cake cool to room temperature.
- Once the eggless vanilla cake cools, you can serve it as it is or use the cake to make pastries or gateau.
Making jam glaze icing
- Take ½ cup of any jam of your choice in a small skillet or pan. I have used homemade Strawberry Jam. Add tapioca starch or arrowroot flour or cornstarch, water and butter.
- Place the pan on low heat and begin to mix the glaze ingredients.
- Keep stirring until all of the ingredients have evenly combined.
- Simmer on low heat until the glaze thickens, stirring often. Do not boil or cook the mixture too much. Set aside and allow the jam glaze to cool slightly, so that it is warm and not hot.
Frosting vanilla cake
- When the eggless vanilla cake cools, remove it gently from the pan.
- Place it on a board, tray or plate or a cake stand.
- Place some of the jam icing on top and use a spatula to spread the glaze evenly on top and sides of the cake.
- Sprinkle some unsweetened desiccated coconut on top. You can even spread it at the sides. Omit coconut, if you are not a fan of it.
- Cover with a large steel bowl, taking care that the coconut and jam icing do not touch the bowl. Let the glaze cool completely and set. Later slice and serve. You can also keep in the refrigerate for 1 to 2 hours and then serve.
- Note that the butter solidifies when cooled in the refrigerator. This make the texture of the cake slightly dense. So let the cake come to room temperature before serving. Or you can warm it lightly in your oven at 90 degrees celsius (195 degrees Fahrenheit) for some minutes.
Video
Notes
Ingredient Notes
- Flour: I recommend that you use unbleached and/or organic flour. This recipe works well with both all-purpose flour as well as unbleached pastry flour.
- Butter: Use a neutral oil in place of butter. For butter, use unsalted butter. In a pinch you can opt for salted butter, but omit adding that one pinch of salt in the recipe.
- Jam: Any sweet jam works well for the glaze. My favorites are orange jam, mango jam, pineapple jam and of course strawberry jam.
- Vinegar: If you do not have apple cider vinegar, use white vinegar or swap vinegar with lemon juice.
- Leavening ingredients: My recipe includes both baking powder and baking soda. They are not replaceable with each other. To get the best results, use the proportions mentioned in the recipe and make sure that they are fresh and within their shelf-life.
- Sweetness: To make the vanilla cake less sweet, you can add ½ cup of sugar. You can also use jaggery, coconut sugar or palm sugar.
Baking and Storage Notes
- Storage and reheating. Leftovers can be stored in the fridge for up to 4 days in a sealed container. When you refrigerate this cake, the butter in it solidifies and the cake becomes slightly dense. While serving, lightly warm the cake in your oven at 90 degrees celsius (195 degrees Fahrenheit) for some minutes.
- Baking time: The baking time varies with oven types, temperatures inside the oven etc. So it can take less or more time for the cake to bake in your oven. Keep an eye on the cake as it bakes so that it does not brown too much.
Nutrition Info (Approximate Values)
This Eggless Vanilla Cake recipe from the blog archives was first published on November 2013. It has been updated and republished on January 2022.


Hi Dasanna i tried ur recipe today cake taste was really good,but cake was too dense when eating that we felt like rubber kind of texture don’t know where i went wrong,can i use cake flour instead of all purpose flour,and can i use electric beater to mix the batter pls help out so that i can bake it again for our apartment ladies get to gether.
anamika, denseness is due to too much of mixing the batter. most of the times a rubber like texture is due to over mixing or too much folding. too much mixing will give an atta like consistency to the batter, due to the formation of gluten strands. this results in a dense cake texture. avoid using electric beater unless the recipe mentions. just mix or fold lightly. the batter should hold volume and not fall flat.
Hi Dasana,
Thanks a lot for the recipe. This is my first cake. Tasted good. But the last layer got sticked to the aluminum tray. I tried to remove if after 7-8 minutes even though it didn’t cool off completely. Was this my mistake? Also I have one more question. I have a Hamilton beach oven and am confused when to use bake mode and convention mode. For this cake I tried in convention mode. Is this ok?
swetha, firstly the cake pan has to be greased well with butter or oil. you can also layer the pan with a butter paper and then spread some butter or oil on the butter paper. and also always remove the cake, when it cools down completely. when its hot, it can break while removing it. yes convection mode is fine. i guess in your oven bake mode is without the fan. convection mode includes the fan working in the oven. in fact both will work. hope these answers help.
Thanks a lot. ?
Hi amit i have been following ur recipes recently ..thy really come out very well, thanks a ton for guiding so many people….wanted to ask u wts d difference between baking soda and baking powder as you have mentioned both in ur cake recipe and i wanna try dis also..plz help..thanks
welcome rashmi. both are different. baking powder is a mix of baking soda + an acidifying agent like cream of tartar + corn starch. whereas baking soda is pure sodium bicarbonate. hope this helps. baking soda is 3 times more powerful than baking powder.
Thanks Amit for such a wonderful receipe..I made this basic vanilla cake with pineapple cream… This was my first home made cake…It was big hit… Thanku so much?
very pleased to know this sirisha, glad your folks liked the eggless vanilla cake 🙂 you are welcome always and thankyou for your kind words.
hi…can we use the icing sugar instead of granulated sugar here
sirisha, yes you can use icing sugar for the icing but not for the cake.
Hi! Thanks for such a nice and detailed writeup. I followed Your Recipe n the cake rose quitewell. But though it was spongy from the inside ,it turned out to be quite rubbery on the sides.
looks like the cake has got baked too much at the sides. the time varies from oven to oven and some ovens bake faster than others. did you keep the batter for some time outside before baking?
Hi
I followed your recipe, cake came out to be quite fine but the sides were little hard and from inside it was soft but a little more than expected 🙂
Only ingredient I did not use was baking soda.
Can you tell me why sides got harder.
baking soda is needed in the recipe as with just baking powder, the cake won’t get a lighter texture. i presume sides got harder as the pan got heated too much from the sides. something to do with the oven temperatures. there is no even baking happening.
Hi,
Can you tell me why my cake has not risen. I followed measurements but cake did not rise.
since the recipe uses only baking soda, the baking soda should be fresh and in its shelf life. if not fresh, then it won’t aid in making the cake batter leaven. meaning the cake won’t rise and be soft. another reason could be over folding or mixing the batter.
can we use whole wheat flour instead of maida?
i am not sure how whole wheat flour will work in this recipe.
Hi dear,
Made a cake the way you described, turned out great. Wanted your expert advice regarding two queries-
1.Why does the top of the cake turn brown and crispy unlike the rest of it instead of being the same color and consistency as the bottom?
2.Why did the cake turn sticky after overnight refrigeration?
thanks garima.
1. if there is too much heat coming from the top in the oven, then the cake will get brown and crispy. usually when i bake cakes, i place them in the center rack of the oven, with both the top and bottom heating elements on. this ensures even baking from all sides including top and bottom. in a microwave oven using convection mode, the cake tends to get more browned or crisp as the heating element is usually placed on the top.
2. usually cakes become sticky due to the sugar in it and condensation. usually after baking the cake, let it cool at room temperature and then place in a covered box or bowl. also if the atmosphere is too humid, then stickiness can occur. hope this helps.
I plan to make this tomorrow.. but I only have a loaf pan… which I use to make banana bread.. will that work?? Please reply.. love your work
yes pre that should be fine. hope this help’s you.
Hi, I’ve been trying several recipes of yours and all of them turn out to be amazing. Thank you for posting these yummy recipes.
welcome always sushmita 🙂 and thankyou.
I tried. The caked tasted perfect but it did not came out of the baking tray clean….the cake broke. I tried borosil tray in the convection mode of the microwave. What could went wrong..?
while baking in glass pans or bowls, the texture does change as glass is not a good conductor of heat. due to this you have to bake the cake for a long time, if the recipe has used a conventional metal baking tray or pan. any baking that you do in a glass pan, just add some more minutes, than what is mentioned in the recipe.
hi, the cake came out very tasty,soft and moist…my son was raving about it at school..saying its healthy ,made from yogurt and tasty…thanks a lot
welcome deepti pleased to know your son liked the eggless cake 🙂 thankyou so much.
Can we use milkmaid. If yes how much. When do we mix it and with what.
with milkmaid, the recipe will change. if you want to use milkmaid, then you can check this eggless pound cake where condensed milk has been added – https://www.vegrecipesofindia.com/eggless-pound-cake-recipe/