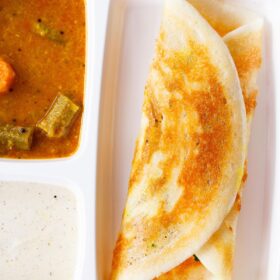
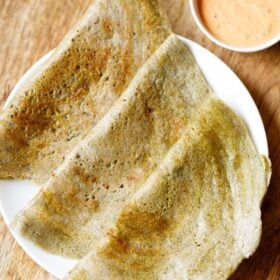
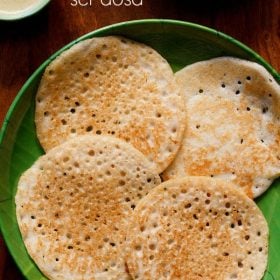
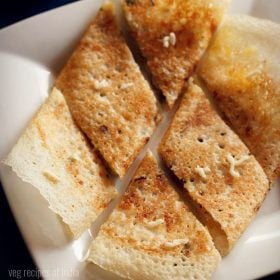
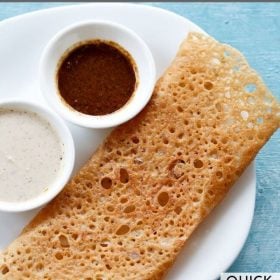
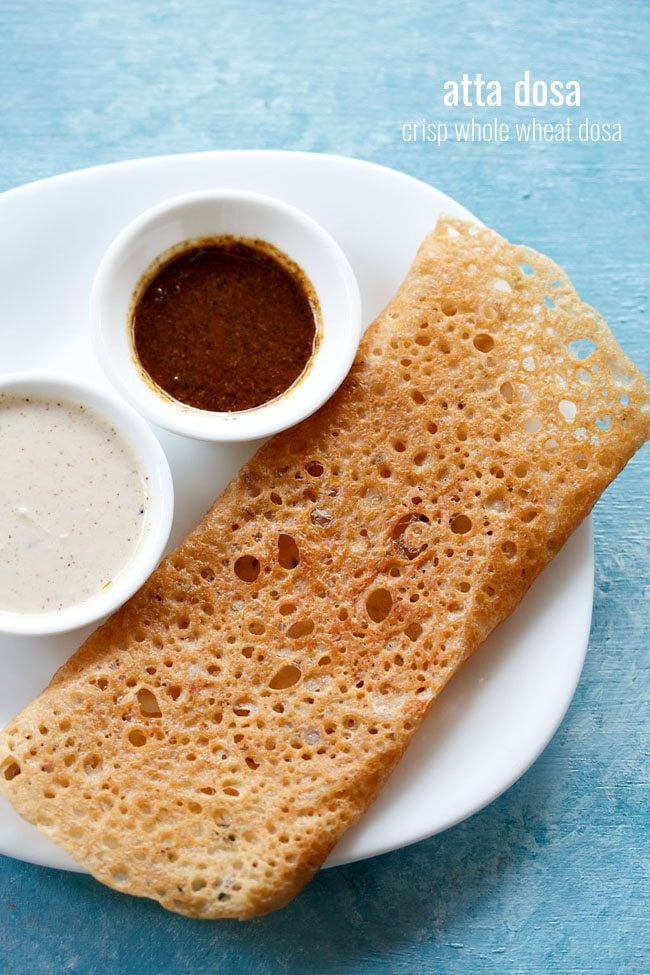
Wheat dosa is a quick and easy dosa variety made with whole wheat flour, rice flour, onions or shallots, herbs and spices. It is also called as Godhuma Dosa or Atta Dosa. There are many variations of making this wheat flour dosa. My recipe makes for a crispy dosa and the texture is similar to Rava Dosa which is made from semolina. Make this wheat dosa when you are craving a quick and healthy snack or breakfast.
About Wheat Dosa Recipe
Being fans of fermented dosa, there are some quick dosa varieties too that we like e.g. Ragi Dosa, Oats Dosa etc. This wheat dosa is also a favorite.
The simplest variant of this recipe is made with wheat flour (or atta), water or buttermilk and salt.
But in this recipe I make it more flavorful by adding shallots, curry leaves, ginger and some spices. The recipe is also vegan as I have not used buttermilk or curd.
The wheat flour batter is prepared with water. To get a slightly tangy taste, I have added lemon juice.
To make a vegetarian version, you can add buttermilk instead of water to make the batter.
Table of Contents
This dish is very easy to prepare. You simply need to mix all the ingredients and let the batter sit or rest for 30 minutes.
Later you can make the dosas on a hot skillet or seasoned tawa. There is absolutely no need to ferment the batter. This is best part of this recipe.
When the wheat dosa batter is resting, you can prepare Coconut Chutney or any chutney of your choice.
You can also make ahead the batter overnight and refrigerate so that in the morning you can quickly prepare breakfast.
The ease of this recipe makes it a good option for breakfast or even for brunch or a quick snack.
Godhuma Dosa can be made both soft or crisp. It can be thick or thin. The recipe, I am sharing is to make a crispy version of Godhuma dosa.
We are not so fond of the soft version, as they taste more like chapati. But the crisp version flavored with shallots and spices does not taste like chapati. However, you do get the taste of wheat flour in the dosa.
Always add the herbs and spices in the batter. This way the godhuma dosa tastes better than the plain ones.
These dosa have to be served hot. You can serve wheat dosa with Idli Podi or with coconut chutney. The leftover batter can be refrigerated for a day.
How to make Wheat Dosa
Prepare Batter
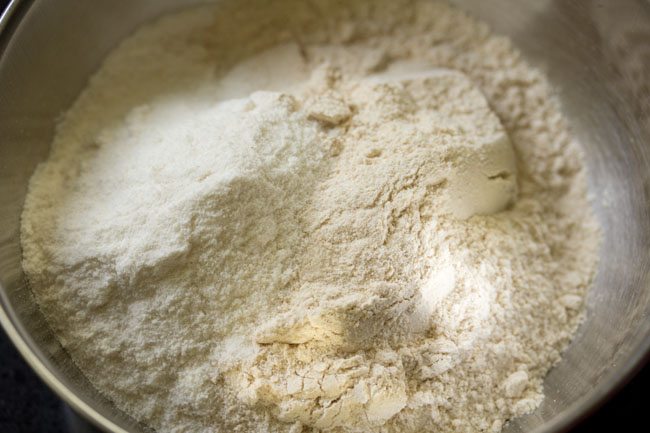
1. Take 1 cup whole wheat flour (atta) and ¼ cup rice flour in a mixing bowl.
If you have coarser wheat flour or your flour has a lot of bran then do sift it once or twice. The rice flour helps to give a crispy texture.
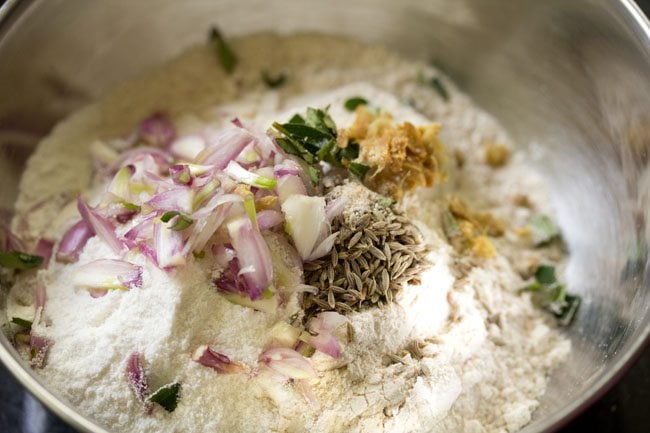
2. Add the following ingredients:
- ¼ cup sliced shallots or ¼ cup chopped onions
- 1 teaspoon chopped curry leaves
- ½ teaspoon of finely chopped ginger
- ½ teaspoon cumin seeds
- pinch of hing (asafoetida)
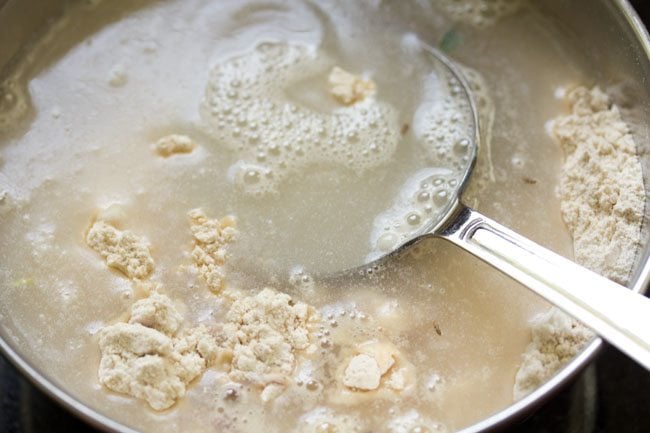
3. Add 2.5 cups water or as required. Depending on the quality of atta, you can add less or more water.
The batter has to be flowing and thin. If the batter looks thick or has a medium consistency, then add more water.
If the batter looks very thin and runny, then add some rice flour.
4. Mix very well. There can be fine lumps of the atta like wet sand types, so break these while mixing.
You can use your hands also to mix the batter. Even a wired whisk can be used.
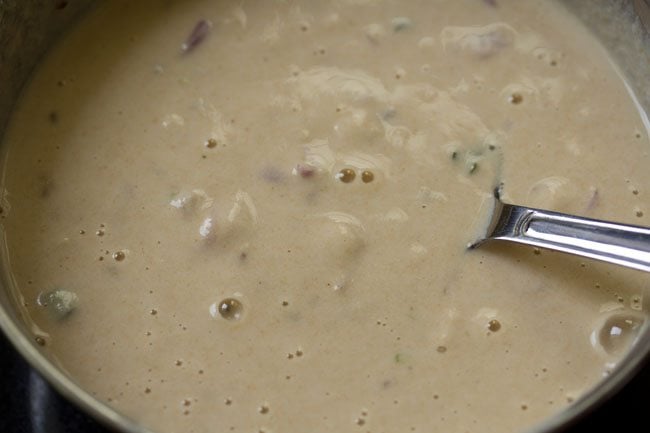
5. Now add 1 teaspoon lemon juice for some tang.
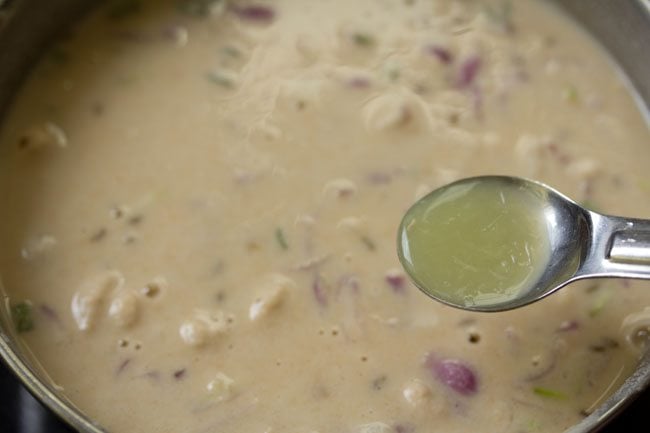
6. Season with salt as per taste. Mix again.
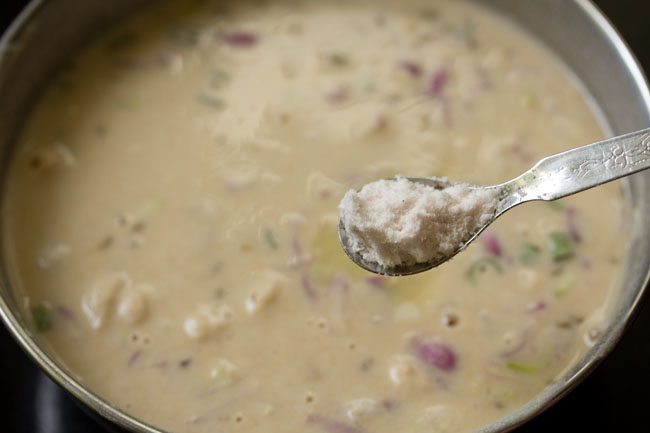
7. Here is a photo showing the consistency. Cover the bowl and let the batter rest for about 30 minutes.
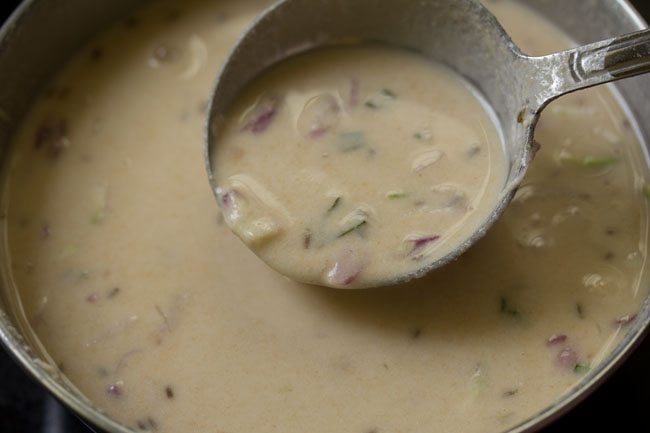
8. After 30 minutes, you will see water floating on top and the flours will settle at the bottom.
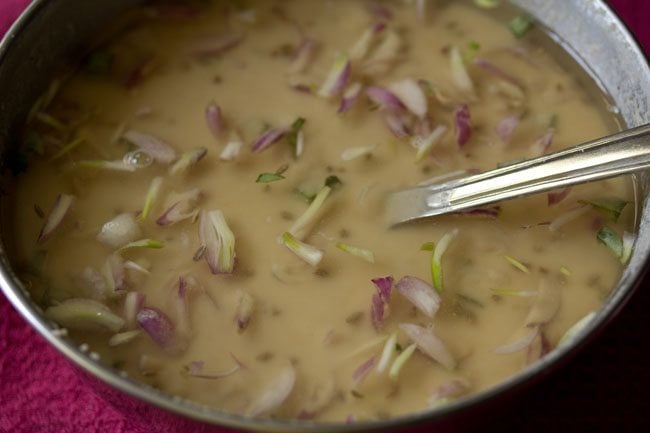
9. Mix the batter thoroughly again, before you start to cook the wheat dosa.
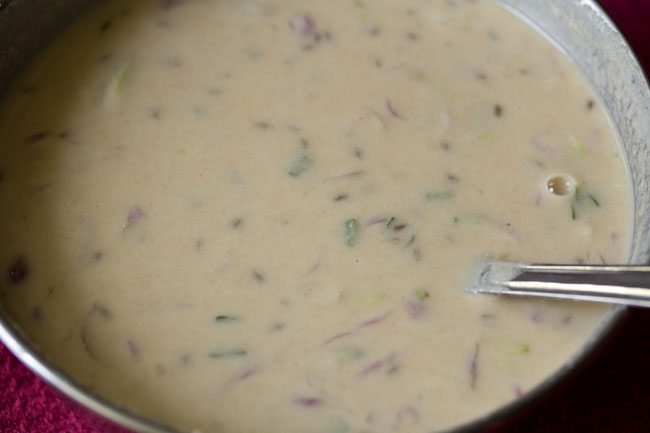
Make Crispy Wheat Dosa
10. Heat the tava or non-stick pan or a skillet. Let the tawa or skillet become hot.
Grease the pan using a small piece of cotton fabric or paper napkin or half of a sliced onion, either of which has been dipped in oil.
Keep in mind to use a well-seasoned cast-iron tawa or pan or skillet so that the wheat dosa does not stick while cooking.
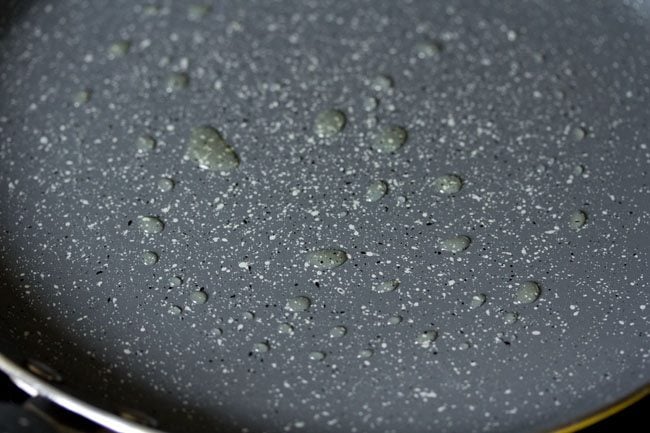
11. With a ladle pour the batter. Start from the edges and move towards the center.
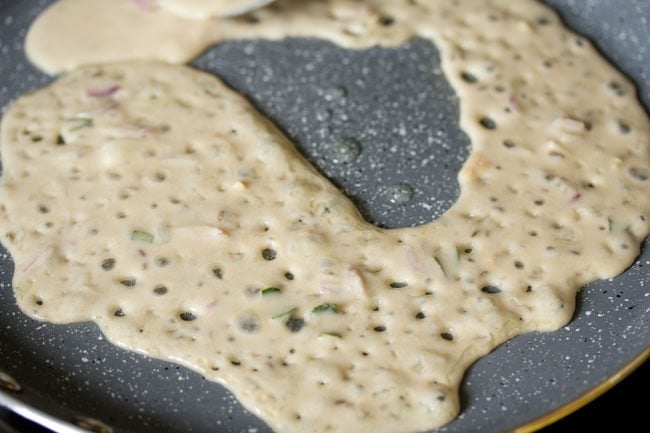
12. If there are big or small gaps, then fill them lightly with the batter.
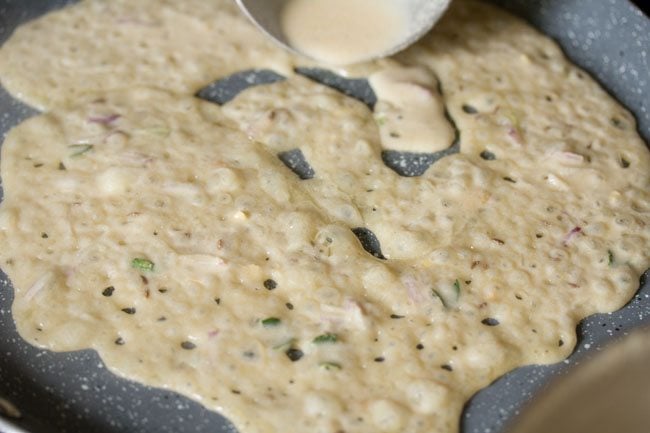
13. On low to medium heat, cook the godhuma dosa.
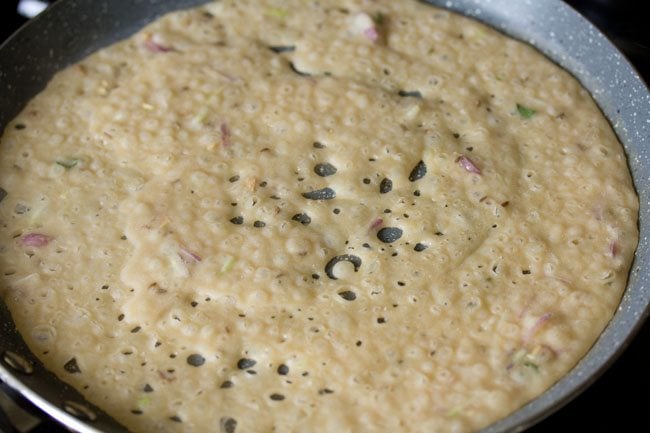
14. When the top side looks cooked, then sprinkle ½ to 1 teaspoon oil from the top and spread it all over the atta dosa with a spoon.
You can also use ghee or butter instead of oil if you like. Use any neutral flavored oil or coconut oil.
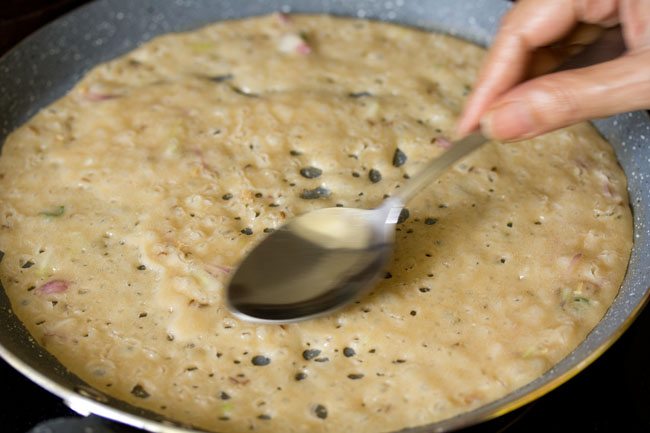
15. Wheat flour dosa takes a little longer time to cook than the regular Dosa. so cook till the base is golden and crisp.
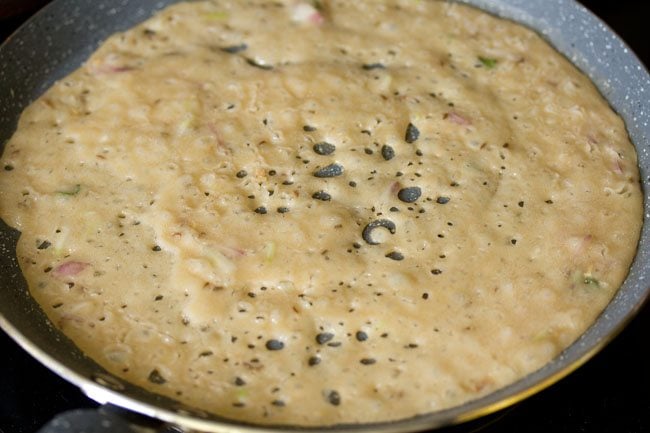
16. Once the base becomes golden or crisp, then flip and cook the other side of godhuma dosa.
Usually, I cook both sides. But you can just cook the base and when the top is also cooked, fold the atta dosa and serve.
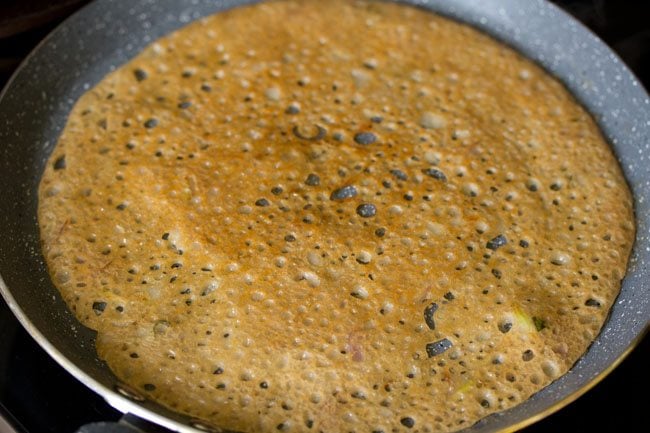
17. Cook the second side also till crisp and with some golden spots.
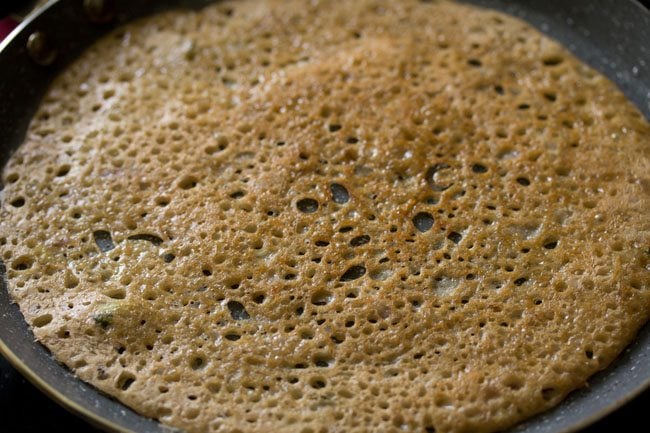
18. Then flip it.
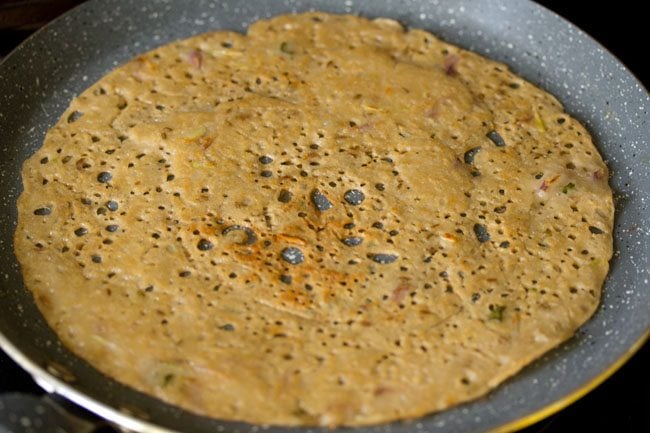
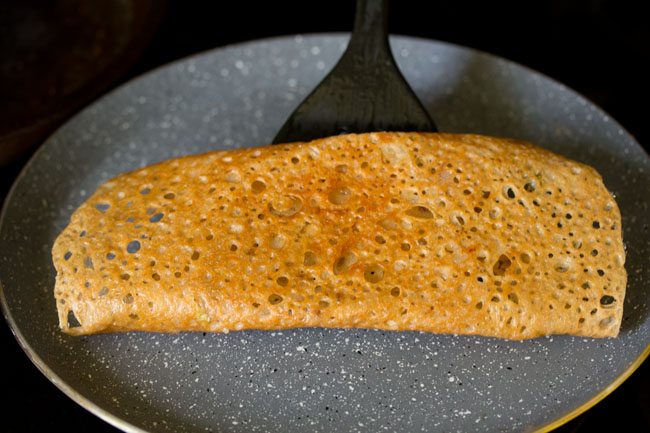
19. And fold.
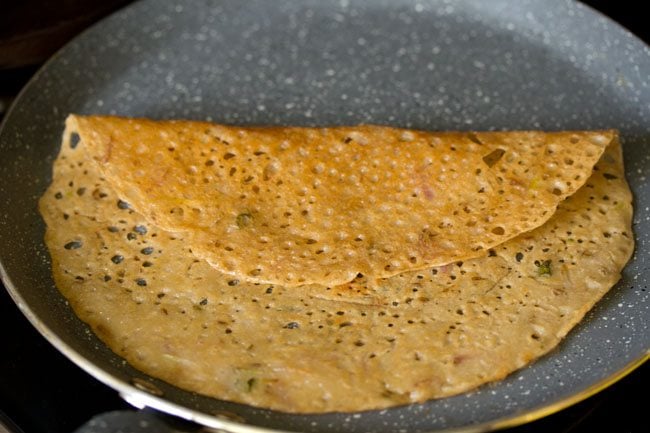
20. Serve wheat dosa immediately. Prepare all atta dosa this way in batches and remember to serve them hot for the best taste and texture.
The flours settle down at the bottom of the bowl. So you have to stir and mix the batter very well every time you make wheat flour dosa.
In case the batter becomes thick after making a few dosa, then add some water and stir again.
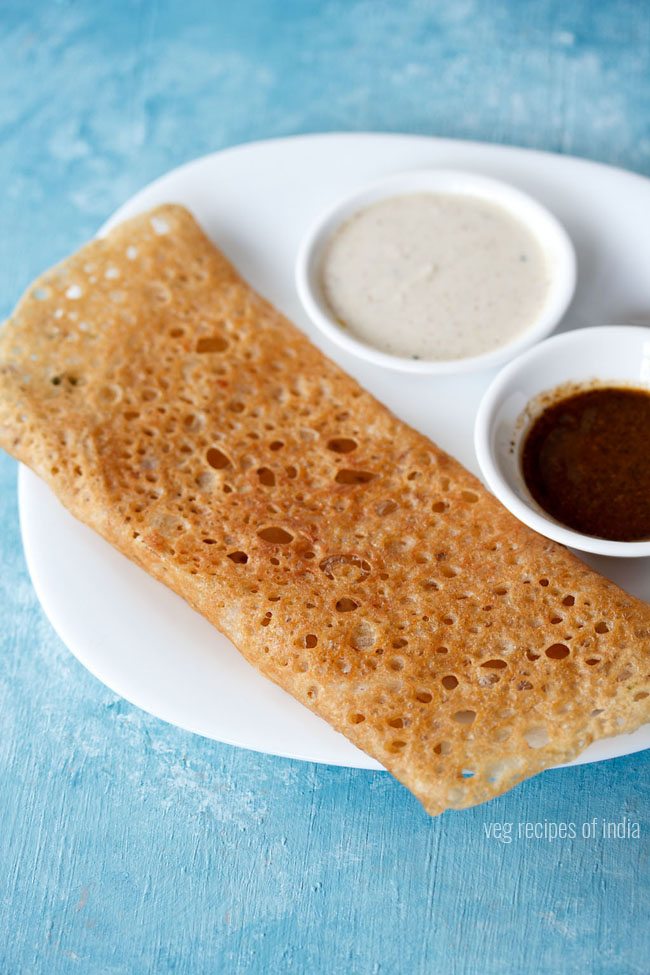
21. Serve wheat dosa with coconut chutney or dosa podi or any of your favorite Chutney Recipe like Onion Chutney, Peanut Chutney, Tomato Chutney etc.
Expert Tips
- The tawa or skillet has to be hot before you pour the batter or else you won’t get the net effect.
- Pour the batter a little from a height, so that you get the net effect.
- Whole wheat dosa takes a longer time to cook. So only when the base is crisp and golden, then only flip it.
- Use a well-seasoned iron/cast iron pan to make these dosas or use a thick bottomed non-stick pan. Or else the dosa will stick to the pan.
- The batter has to be of thin flowing consistency and not have medium or thick consistency. Do make a note about this. If the consistency is medium to thick then your atta dosa will not be crisp but soft. The amount of water added to the batter makes a big difference to the texture of the wheat dosa.
More Dosa Varieties For You!
Breakfast Recipes
Breakfast Recipes
Breakfast Recipes
Breakfast Recipes
Please be sure to rate the recipe in the recipe card or leave a comment below if you have made it. For more vegetarian inspirations, Sign Up for my emails or follow me on Instagram, Youtube, Facebook, Pinterest or Twitter.
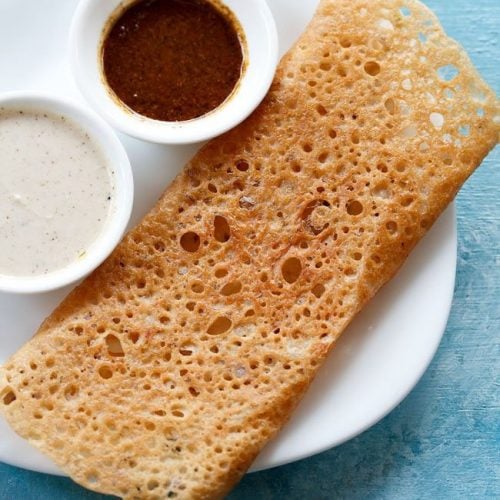
Wheat Dosa Recipe (Crispy Godhuma Dosa)
Ingredients
- 1 cup whole wheat flour or 120 grams whole wheat flour
- ¼ cup Rice Flour
- 2.5 cups water or add as required
- 1 teaspoon chopped curry leaves or 5 to 6 chopped curry leaves
- 4 to 5 shallots – sliced or 1 small onion, chopped or ¼ cup sliced shallots or chopped onions
- ½ teaspoon finely chopped ginger – you can also add 1 teaspoon ginger if you want
- 1 pinch asafoetida (hing)
- ½ teaspoon jeera
- 1 teaspoon lemon juice
- salt as required
Instructions
Making batter
- Take whole wheat flour and rice flour in a mixing bowl.
- Add onions and all the following herbs+spices including lemon juice and salt.
- Then add 2.5 cups water or as required. Depending on the quality of atta, you can add less or more water. The batter has to be flowing and thin. If the batter looks thick or has a medium consistency, then add more water. If the batter looks very thin and runny, then add some rice flour.
- Mix very well. There can be fine lumps of the atta like wet sand types, so break these while mixing. You can use your hands also to mix the batter. Even a wired whisk can be used.
- Cover the bowl and let the batter rest for 30 to 40 minutes.
- After 30 minutes, you will see water floating on top and the flours will settle down.
- Mix the batter very well again, before you begin to prepare the dosas.
Spreading batter
- Heat the tava or a non-stick pan. Let the tawa become hot. Grease the pan using a small piece of cotton fabric or paper napkin or half of a sliced onion, either of which has been dipped in oil.
- Remember to use a well seasoned cast iron skillet or tawa.
- With a ladle pour the batter. Start from the edges and move towards the center.
- If there are big or small gaps, then fill them lightly with the batter.
Cooking wheat dosa
- On a low to medium heat, cook the dosa.
- When the top side looks cooked, then sprinkle ½ to 1 teaspoon oil from the top and spread it all over the wheat dosa with a spoon. Instead of oil you can also use ghee or butter.
- This wheat flour dosa takes a little longer time to cook than the regular dosa. So cook till the base is golden and crisp.
- Once the base becomes golden or crisp, then flip and cook the other side. Usually I cook both the sides. But you can just cook the base and when the top is also cooked, fold the wheat dosa and serve.
- Cook the second side also till crisp and with some golden spots.
- Then flip and fold.
- Serve wheat dosa immediately. Prepare all the dosa this way. The flours settle down at the bottom of the bowl. So you have to stir and mix the batter very well every time you make dosa.
- In case the batter becomes thick after making a few dosa, then add some water and stir again.
- Serve wheat dosa hot with coconut chutney or dosa podi or any chutney of your choice like tomato chutney, peanut chutney, onion chutney etc.
Notes
- You can also use butter milk instead of water to make the wheat dosa batter.
- If you don’t have rice flour then opt to add gram flour (besan) or chickpea flour.
- Instead of shallots, you can use onions.
- You can also add some grated coconut and chopped coriander leaves to the batter.
- Remember that the consistency of the batter is thin and not thick or medium. If the consistency is medium to thick then your atta dosa will not be crisp but soft. The amount of water added to the batter makes a big difference to the texture of the wheat dosa.
- The recipe can be scaled to make a smaller serving or a larger serving.
Nutrition Info (Approximate Values)
Wheat Dosa recipe from the blog archives was first published on August 2016.
