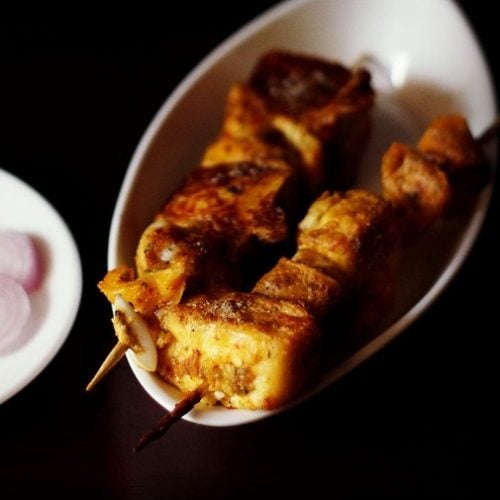
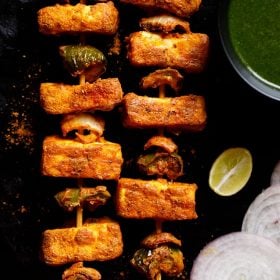
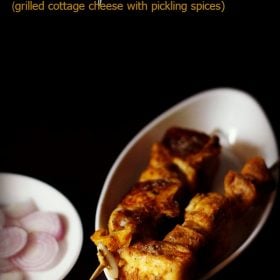
Achari paneer tikka is a popular and delicious starter dish served in restaurants. It is a robust variation of the classic Paneer Tikka where the cottage cheese cubes are flavored with marination of thick curd, pickling spices and seasonings. If you enjoy biting into a pickle and relishing the tangy taste of pickled lemon or mango cubes then you will definitely like this recipe. I share both the stovetop and oven cooking methods for this recipe.
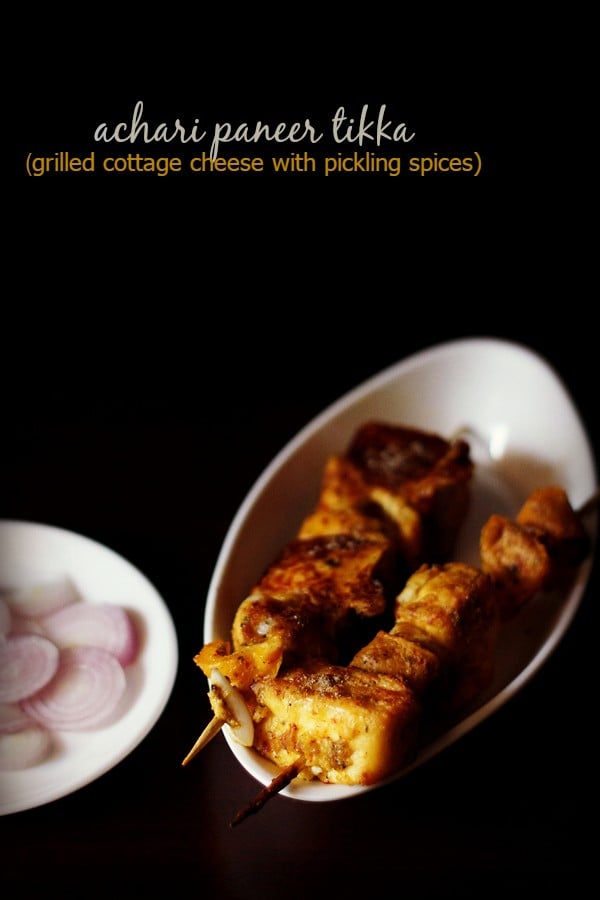
Achar or pickle is a condiment that often accompanies Indian food. The spices which are used to make the achar masala is more or less the same everywhere in India. Mustard, fenugreek (methi seeds), red chili, turmeric and asafoetida (hing) are the common spices used in many pickles.
These spices flavor this achari paneer tikka too. I have also added fennel seeds, nigella seeds (kalonji) and mustard oil. You can skip kalonji if you don’t get them. Any other neutral flavored oil can also be added instead of mustard oil.
My recipe gives you a flavorful, robust and super tasty Achari Paneer Tikka and it pairs fabulously with mint chutney or coriander chutney.
Since I get a lot of queries for making tikka on stovetop, in this post I have mentioned Both stovetop and oven methods for cooking the achari paneer tikka.
You can also grill the tikka in an electric grill or barbecue grill. Even a tandoor will work.
If you like dishes made with pickling spices then I also have this delicious recipe of Achari Paneer gravy.
How to make Achari Paneer Tikka
Making Achari Marinade
1. First take the following spices in a in a dry grinder or coffee grinder or blender:
- 2 teaspoon mustard seeds (i used split mustard seeds also called as rai ka kuria)
- ¼ teaspoon fenugreek seeds
- 2 teaspoon fennel seeds
- ½ teaspoon nigella seeds
- 2 to 3 dry red chilies – deseeded and broken into small pieces
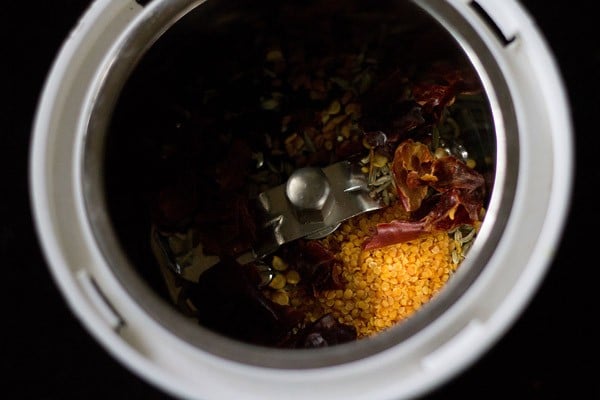
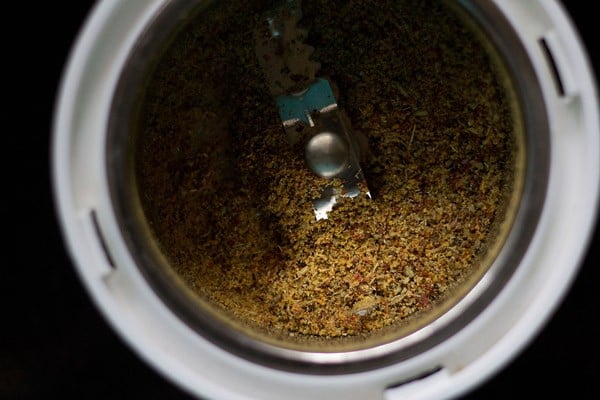
2. Grind all these spices to a fine powder. A slight semi-fine texture is also ok. This is the dry achari masala.
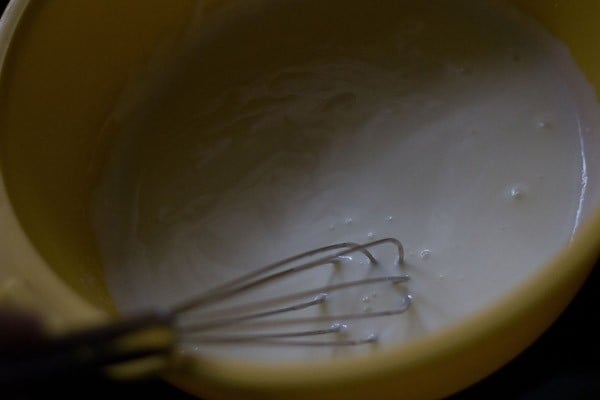
3. In a bowl take 7 tablespoons of hung yogurt or thick yogurt and whisk till smooth.
To make hung yogurt, place about 1 cup curd/yogurt in a muslin cloth or a cotton napkin. Tie tightly and place on a strainer, which is kept over a bowl. Keep in the fridge till all the whey gets collected in the bowl. Here I used thick yogurt.
You can also use greek yogurt.
4. Then add the following ingredients:
- Powdered achari masala
- ½ teaspoon red chili powder or cayenne pepper
- 2 tablespoons of besan (gram flour) or cornstarch (corn flour)
- 1.5 teaspoon ginger-garlic paste
- 1 pinch asafoetida (hing) – optional
- ¼ teaspoon turmeric powder (ground turmeric)
- ½ teaspoon coriander powder (ground coriander) – optional
- ½ teaspoon dry mango powder or lime juice or – add as required for more tang if preferred
- ½ teaspoon crushed dry fenugreek leaves (kasuri methi)
- salt as required
- 1 teaspoon mustard oil, preferred or any vegetable oil
You can also use ready-made achar masala or pickle masala instead of grinding the spices. Add about 2 tablespoons of dry achar masala in the marinade.
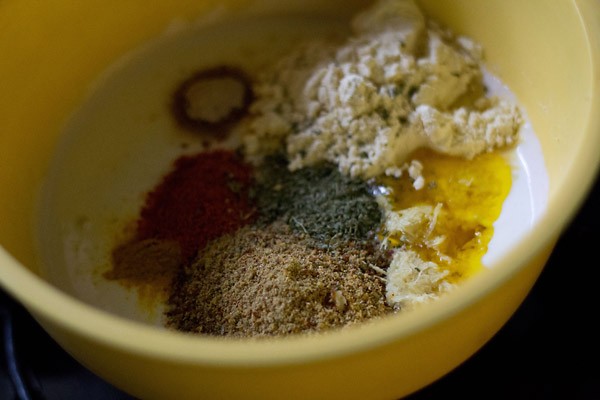
5. Mix everything into the beaten curd. Check the taste and add more salt or other seasoning if required.
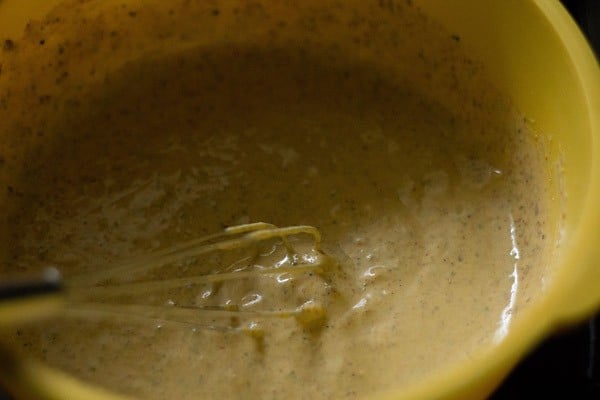
6. Then add the following ingredients:
- 1 medium-sized diced bell peppers (red or green or yellow)
- 1 medium-sized onion (halved and the layers separated)
- 250 to 300 grams of paneer cubes. Best to use soft and tender homemade paneer
- 1 medium tomato – diced (optional)
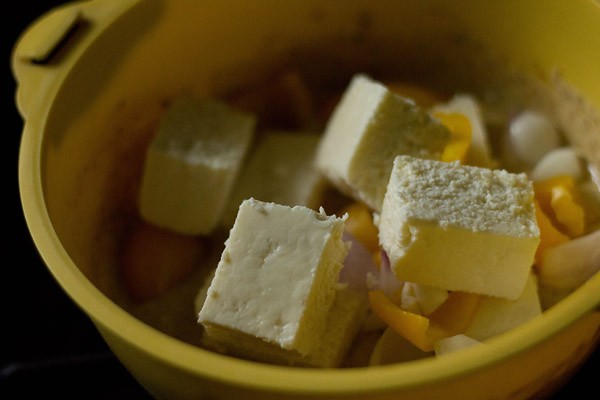
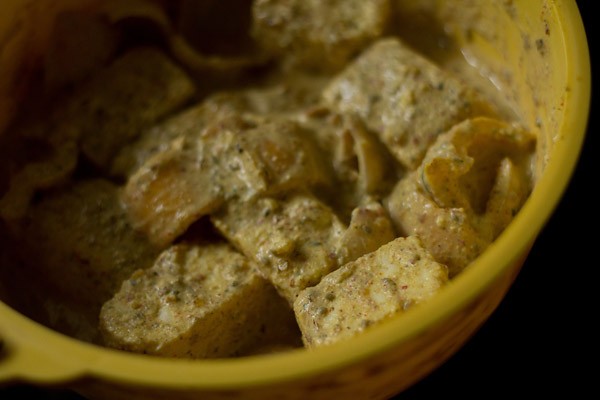
7. Gently mix the paneer cubes and veggies till they are evenly coated with the achari marinade. Cover and refrigerate for about 1 hour or overnight. You can also keep for any number of hours. I kept overnight.
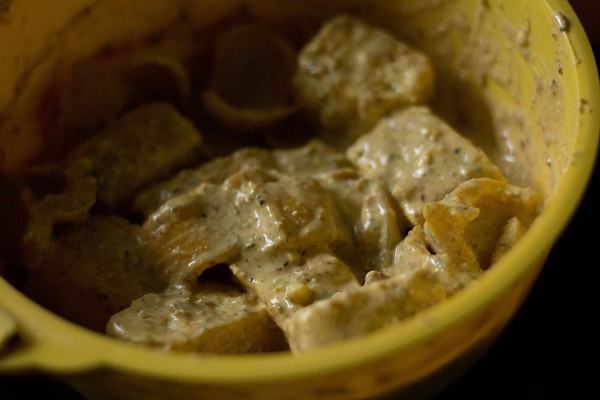
8. The marinated cottage cheese cubes and veggies the next day. Gently mix again.
Grilling or Baking Method
9. Thread the veggies and paneer cubes on a bamboo skewer or metal skewer. You can also use toothpicks.
Preheat your regular oven to 200 degrees celsius/390 degrees fahrenheit, for atleast 10 minutes before you grill the tikkas.
For a regular oven, heat both the top and bottom elements and keep the pan in the center or top rack.
For a microwave oven use the convection mode and preheat at 180 degrees celsius/350 degrees fahrenheit. Cover a baking tray with an aluminum foil. Avoid butter paper like I have done as the paneer sticks to the butter paper, when grilled. I did not have aluminum foil and hence used butter paper.
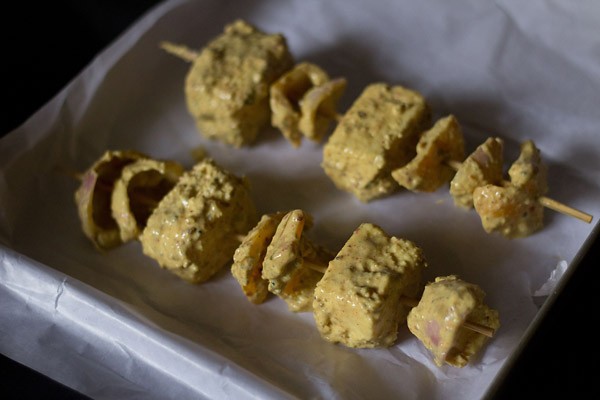
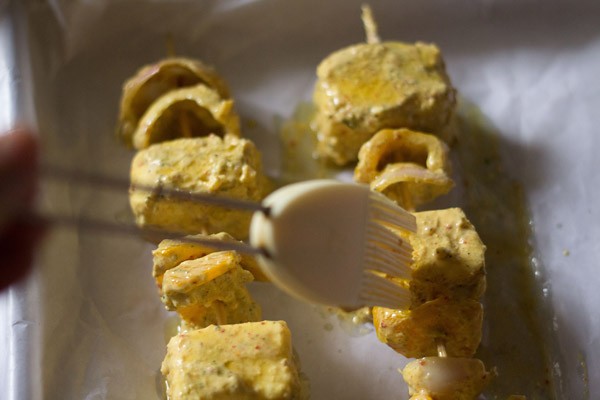
10. Brush the marinated paneer with 1/2 to 1 tsp of mustard oil or any other oil.
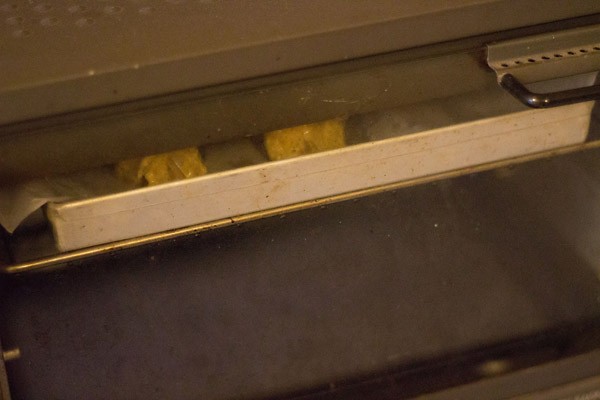
11. Place the tray in the top rack or middle rack of a preheated oven. Keep both the top and bottom heating elements on. Grill at 200 degrees celsius for 15 to 20 minutes (depending on the oven temperatures).
I have a slow oven, so it took 25 minutes for the paneer cubes to be grilled and browned at the edges. Just keep an eye when the paneer is getting grilled in the oven.
For a microwave oven in the convection mode, use 180 degrees celsius for grilling the achari paneer tikka.
Pan-Frying Method to make Achari Paneer Tikka
12. Heat about 2 to 3 teaspoon oil in a non stick pan. You can add more oil if you prefer.
Place the threaded paneer cubes with the skewers on the pan. You can also fry the marinated paneer cubes and veggies without the skewers.
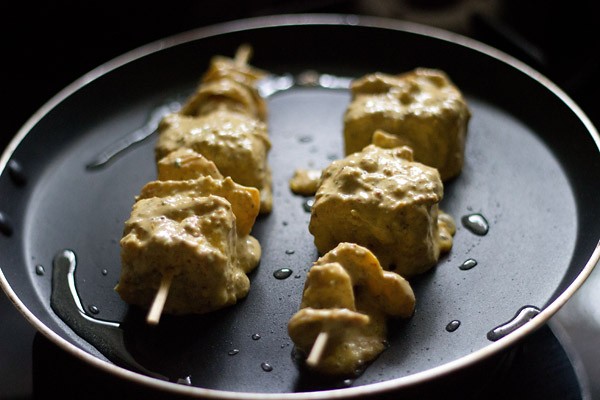
13. Gently rotate the skewers, when one side is crisp and browned. Keep on rotating till all the sides are browned. Add more oil if required, while frying.
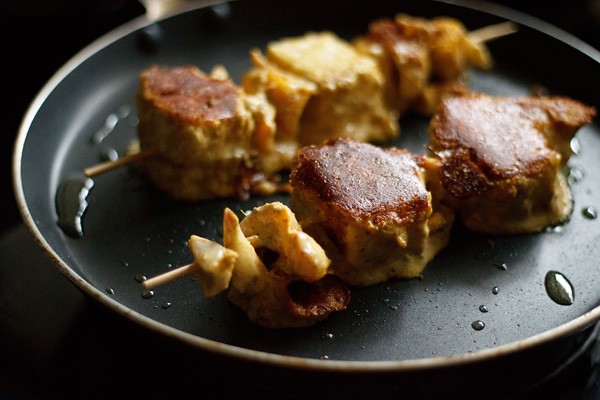
14. Fry till all the sides are golden. Pan-fry on a low flame as the marinade gets browned quickly. Keep the fried achari paneer tikka aside.
Remember not to overcook the paneer as they can become hard or dense.
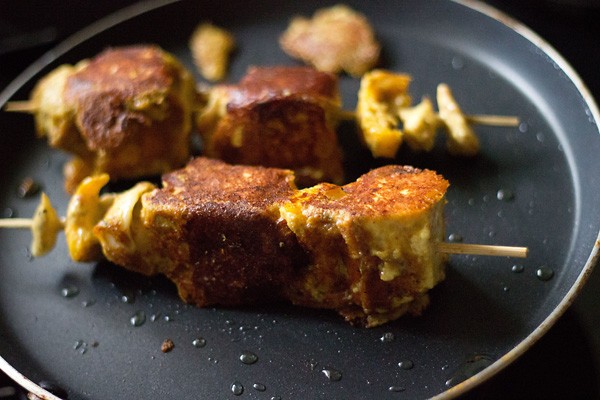
15. Serve with onion slices, lemon wedges and mint chutney. Sprinkle chaat masala and lemon juice on the achari paneer tikka while serving.
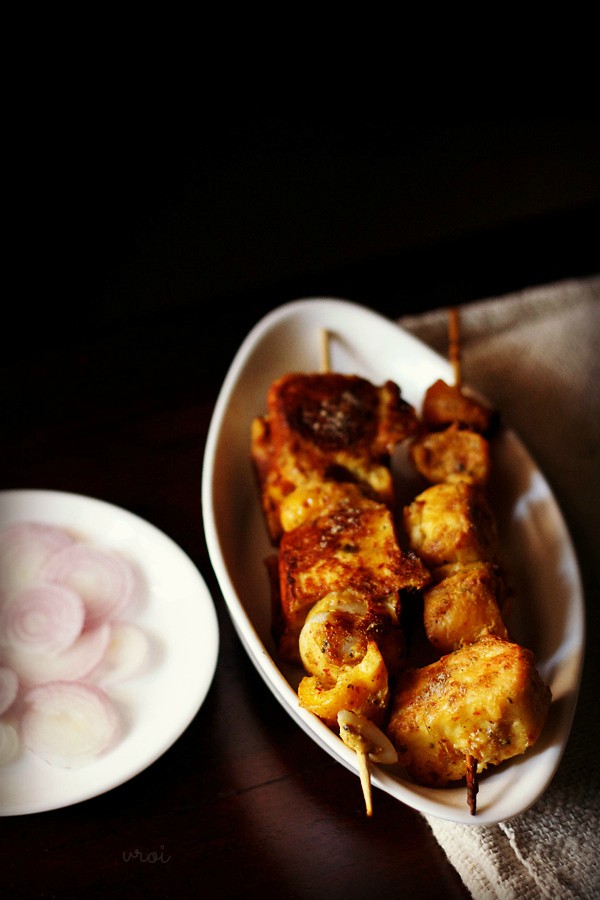
You can also garnish with chopped coriander or mint leaves. In the below photo, the achari paneer tikka on the left side is pan-fried and the one on the right side is grilled.
For best taste and flavor eat them hot or warm. On reheating the paneer cubes can become chewy or dense.
More Paneer recipes
Please be sure to rate the recipe in the recipe card or leave a comment below if you have made it. For more vegetarian inspirations, Sign Up for my emails or follow me on Instagram, Youtube, Facebook, Pinterest or Twitter.
Achari Paneer Tikka
Ingredients
For the pickle masala or achari masala
- 2 teaspoon split yellow mustard (rai ka kuria) or 1.5 teaspoon whole mustard seeds
- 2 teaspoon fennel seeds
- ½ teaspoon nigella seeds (kalonji)
- ¼ teaspoon fenugreek seeds (methi dana)
- 2 to 3 dry red chilies – deseeded and broken into small pieces
- as substitute for above you can also add 2 tablespoon of ready made dry achar masala or pickle mix
Other ingredients
- 250 to 300 grams Paneer (Indian cottage cheese) – sliced into cubes or squares
- 1 medium capsicum (bell pepper – red or green or yellow) – diced
- 1 medium onion – halved and the layers separated
- 1 medium tomato – diced (optional)
- 7 tablespoons Hung Curd (hung yogurt ) or thick curd (yogurt) or greek yogurt
- 2 tablespoons besan (gram flour or chickpea flour) or corn starch (corn flour)
- 4 to 5 medium garlic cloves + 1 inch ginger – about 1.5 teaspoon ginger garlic paste
- ½ teaspoon dry mango powder (amchur powder) or lime juice – add as required for more tang if preferred
- ¼ teaspoon turmeric powder (ground turmeric)
- ½ teaspoon Coriander Powder (ground coriander) – optional
- ½ teaspoon red chili powder or cayenne pepper
- ½ teaspoon crushed dry fenugreek leaves (kasuri methi)
- 1 pinch asafoetida (hing) – optional
- 1 teaspoon mustard oil, preferred or any vegetable oil
- salt as required
For garnish
- 1 small to medium onion – sliced thinly or sliced thinly into roundels
- 1 small lime or 1 lemon – sliced or quartered
- a few pinches of chaat masala powder
- 1 tablespoon chopped coriander leaves or mint leaves (optional)
Instructions
Preparing the achari masala or pickle mix
- First take all the spices namely – mustard seeds (i used split mustard seeds), fenugreek seeds, fennel seeds, nigella seeds and dry red chilies in a dry grinder or coffee grinder or blender.
- Grind all these spices to a fine powder. A slight semi fine texture is also ok. This is the dry achari masala. Keep aside.
Making Marination
- In a bowl take hung yogurt or thick yogurt and whisk till smooth. To make hung yogurt, place the yogurt in a muslin cloth or a cotton napkin. Tie tightly and place on a strainer, which is kept over a bowl. Keep in the fridge till all the whey gets collected in the bowl. This takes about 4 to 5 hours. You can also keep overnight. Here I used thick yogurt.
- Add the powdered achari masala, red chili powder, gram flour/corn starch, ginger-garlic paste, asafoetida, coriander powder, red chili powder, dry mango powder or lime juice, crushed dry fenugreek leaves (kasuri methi), salt and mustard oil. You can also use ready made achar masala or pickle masala. Add about 2 tbsp of dry achar masala in the marinade.
- Mix everything into the beaten curd. Check the taste and add more salt or other seasoning if required.
- Add the bell peppers, onions and paneer cubes.
- Gently mix the paneer cubes and veggies till they are evenly coated with the achari marinade.
- Cover and refrigerate for about 1 hour or overnight. You can also keep for any number of hours.
- Once you remove from the the marinated cottage cheese cubes and veggies from the fridge, then gently mix again.
Grilling method for making achari paneer tikka
- Preheat your oven to 200 degrees celsius/390 degrees fahrenheit for at least 10 minutes before you grill the tikkas.
- For a regular oven, keep both the top and bottom elements on and keep the pan in the center or top rack. For a microwave oven use the convection mode and preheat at 180 degrees celsius/350 degrees fahrenheit.
- Thread the veggies and paneer cubes on a bamboo skewer or metal skewer. You can also
- Use toothpicks.
- Cover a baking tray with an aluminium foil. Avoid butter paper like I have done as the paneer sticks to the butter paper once grilled.
- Brush the marinated paneer with ½ to 1 teaspoon of mustard oil or any other oil.
- Place the tray in a the top rack or middle rack of a preheated oven. Keep both the top and bottom heating elements on. Grill at 200 degrees celsius for 15 to 20 minutes (depending on the oven temperatures). I have a slow oven, so it took 25 mins for the paneer cubes to be grilled and browned at the edges.
- Just keep an eye when the paneer is getting grilled in the oven. For a microwave oven in the convection mode, use 180 degrees celsius/350 degrees fahrenheit for grilling the tikka.
Pan frying or stove top method
- Heat about 2 to 3 teaspoon oil in a non stick pan. You can add more oil if you want.
- Place the threaded paneer tikka with the skewers on the pan. You can also fry the marinated paneer cubes and veggies without the skewers.
- Gently rotate the skewers, when one side is crisp and browned. Keep on rotating till all the sides are browned. Add more oil if required, while frying.
- Fry till all the sides are golden. Pan fry on a low flame as the marinade gets browned quickly. Keep the fried achari paneer tikka aside. Remember not to overcook the paneer cubes as then they can become hard or chewy.
- Serve with onion slices, lemon wedges and mint yogurt chutney. Sprinkle chaat masala and lemon juice on the achari paneer tikka while serving. You can also garnish with chopped coriander or mint leaves.
Notes
- The recipe cannot be scaled due to the complex nature of the spices in it. If you want to increase the proportion then use the method of approximation, eyeballing the ingredients while adding them.
- Use soft and tender paneer. Homemade paneer is the best.
- Try to use all the spices as listed in the recipe. Don’t reduce or increase any of the spice as it can offset the flavor balance in the dish.
- You can marinate for a minimum of 30 minutes at room temperature. If you plan to marinate for a couple of hours then keep the marination ingredients covered in a bowl in the refrigerator.
Nutrition Info (Approximate Values)
This Achari Paneer Tikka recipe post from the blog archives (first published in October 2014) has been updated and republished on 27 June 2021.


I love paneer tikka a lot. Good that i discovered how to make it at home with simple pretty simple recipe, thank you so much
Welcome and thanks.
Please give a tip to keep the marinate sticking on paneer/potato ongrilling/panfrying
increase the amount of besan, than what is mentioned in the recipe. you can also add corn starch.
Hi Dassana and Amit,
I absolutely love your recipes and your healthy approach to food. Some days back I saw some recipes on this blog from other people which took me to their websites, it had diabetic friendly recipes.
Somehow, I’m not able to locate it now. Please help.
Appreciate your response.
Warm Regards,
Archana
thanks archana. i think you are talking about the recipes from dr anupama nagarajkumar. on her website she has diabetic friendly recipes. here is the link – http://easybitesonline.com/
Thanks for the receipe. The taste is amazing and my guest loved this. I hope to pick up few more receipes from here.
Regards,
Bharathi.
welcome bharathi. yes do try some more recipes.
Wow…. it looks Yummm. I am going to try this weekend. Thank you so much.
welcome and happy cooking.
should we add paneer directly to the prepared mixture or should we fry the paneer then add to it plz clarify I am bit confused this same confusion is for other dishes also. At the same time BIG THANK U for bringing out such an excellent website
add paneer directly to the marinade mixture. no need to fry. as we will be frying or grilling the paneer cubes later. thanks priyanka.
Hi Dassana!
discovered your website while googling for a recipe sometime back. Ever since loving your website. Your website inspires me to cook things that I have never ventured into in my 12 years of cooking journey. Being a south Indian it was difficult for me to get a perfect north Indian taste in the north Indian dishes I would occasionally prepare. But now with the help of your website I feeling I am slowing getting in there. I have tried making roti, Punjabi samosa,rajma,mixed veg korma and kheer from your website in the past few days everything came out perfect and my family was happy to eat them. So now your website became like a go to stop for me everyday. Thank you for all the wonderful recipes pictures and inspiring write-ups. I request you to please post north Indian style mixed vegetable achaar recipe for me.I live in a place where sunshine is a luxury at this time of the year and I hate those vinegar dominated store bought north indian pickles.so please post a easy to make quick no /less vinegar northindian style mixed veg pickle please…..
feeling good to read your comment, madhavi. my pleasure 🙂 the mixed achar recipe that we make in the winters – gobi, shalgam and gajar achar also has vinegar 🙂 but they taste good and the vinegar does not dominate the pickle flavors, but yes its presence is felt. i have not yet posted the recipe. still waiting for some fresh winter red carrots and shalgam to appear in the market. i hope i am able to post this achaar recipe this time. for last two years, i have not been able too make this pickle in the winters.
Oh my God Dassana why do you do this to me? It’s breakfast time, I’m starving and then I see this 🙂
I have tried making tikkas before but my paneer became hard and dry when I removed it from the oven. Do you know why that could have happened? I did not use skewers because I’ve heard they can catch fire in the oven. So I’m scared of that.
after a long time preeti. hope you had a great diwali. smiling at your first sentence.
till date the skewers i used, have not caught fire 🙂 i have read that dipping the skewers in a glass or mug of water for a few hours, makes them safe and they do not catch fire. paneer became hard due to over baking. it also depends on the quality of paneer.
Oh that immersing skewers in water thing makes total sense. I will have to try that now.
I had a great Diwali but was having tons of guests at home so didn’t check the blog. But now I’m back 🙂 Hope you had fun too!
we had a nice diwali. relatives and guests were here before diwali. even we were busy and hence infrequent posting on the blog.
Hi,
looks so yummy….thanks for sharing. Really love your work. Keep up the good work.
Thanks
welcome rujuta. thanks for your positive words.
Hi,
Thanks for sharing your recipes. Really love your work. Keep up the good work.
Thanks
welcome rujuta
This looks amazing ! I just wanted to know like which camera u use for taking pics as i wanna buy a really good one for blogging too ! Great pics you click!
thanks tapaswini. i am sorry, i could not reply to your previous comment. we get a lot of comments and your comment would have been answered today. i use canon 600 D. i suggest buy the camera without the lens. as it will be cheaper and better. buy the camera lens separately. the lens which comes with the kit is not good. you can check in google which lens are good for food photography.
Hi Dassana,
Wondeful recipe as always! Can you please post the recipe of Aloo Achari sometime? That’d be great.
I love your blog!
welcome minnie. i have noted down this recipe name in requested recipe list.
I don’t eat cow dairies but I would totally try this recipes with tofu and soy yogurt instead 😀 Seems sooooooo yummy!
you can easily try this recipe with tofu and a vegan yogurt. i would not suggest soy yogurt, as it gives the typical soy flavor and taste. almond yogurt or cashew yogurt is a better substitute.