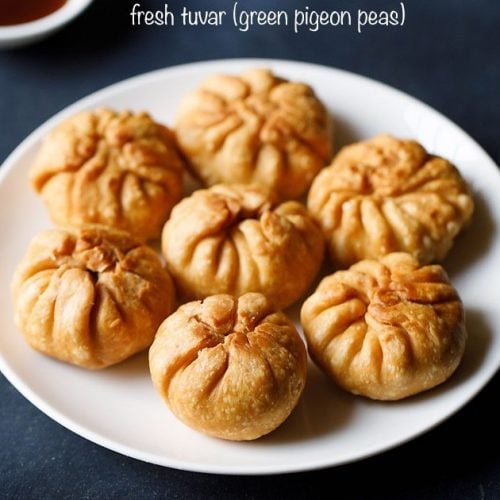
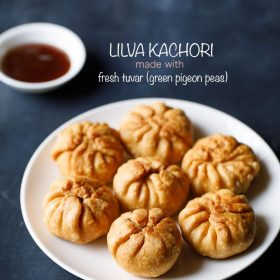
Lilva kachori recipe with step by step pics. Lilva ni kachori is a delicious winter snack made with fresh tuvar (green pigeon peas). These fresh tuvar beans are called as lilva in the Gujarati language and hence the name lilva kachori. This lilva kachori recipe gives you one of the best kachori with a flaky crisp crust and a soft, lightly spicy, sweet and tangy filling.
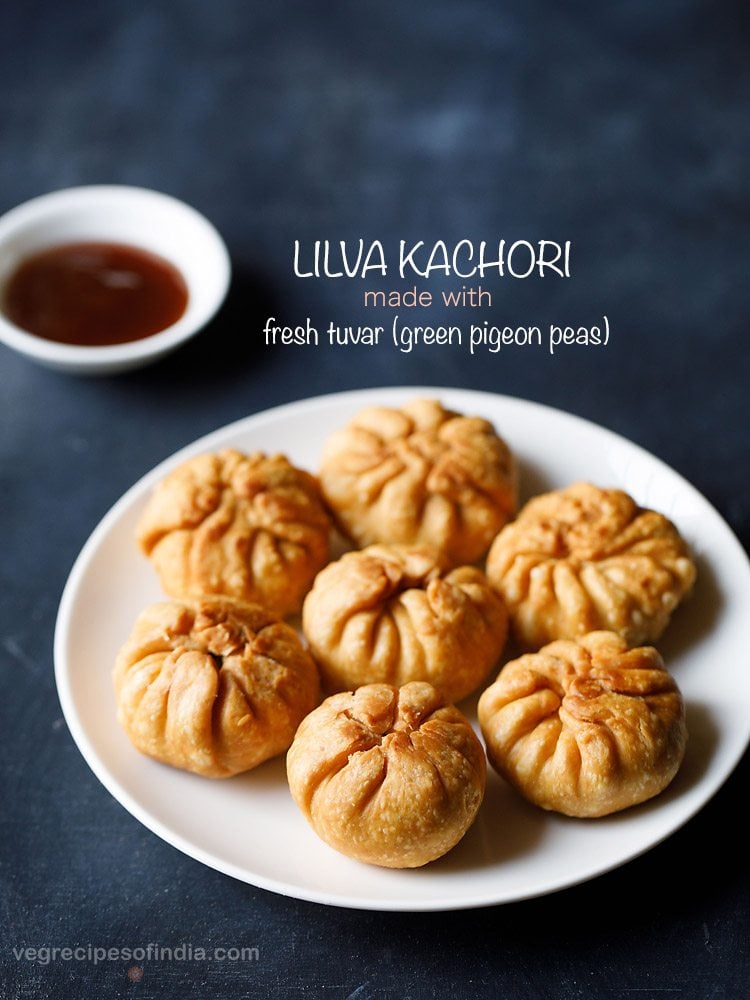
About Lilva Kachori
This winter, make sure you try this Lilva Kachori that’ll also be a much-needed change and an equally delish one, over your regular Samosa. Fresh tuvar beans or green pigeon peas are called as ‘lilva’ in Gujarati language. Hence, the name Lilva Kachori, since the stuffing is made with this fresh produce that the winter season brings along.
Closer to Gujarat or if you are in a Gujarati household, this snack is actually called as Lilva Ni Kachori, which simply means kachori with lilva or fresh tuvar.
There’s some amount of efforts and time that is required to prepare these kachoris. But be assured that with this recipe, you will have one of the best kachoris to snack on.
The 3 major elements of this Lilva Kachori recipe are the all-purpose flour (maida) dough, a green chili-ginger-garlic paste and the kachori stuffing.
For the stuffing mixture, the coarsely ground lilva or tuvar beans are cooked with cumin seeds, the prepared paste and ground spices like cumin powder, garam masala powder and coriander powder (optional).
Fresh tuvar is available during winters. You can make a simple shaak (sabzi), stuffed parathas with them or add them pulaos or rice. Fresh tuvar is also added in the traditional Undhiyu recipe. Lilva kachori is a winter delicacy and popular in Gujarat.
There are many variations in making the stuffing e.g like the addition of fresh green peas or potatoes. Whatever the variations, the stuffing has to be sweet, tangy and slightly spicy. The flavors and the taste of the fresh pigeon peas are felt in these kachoris.
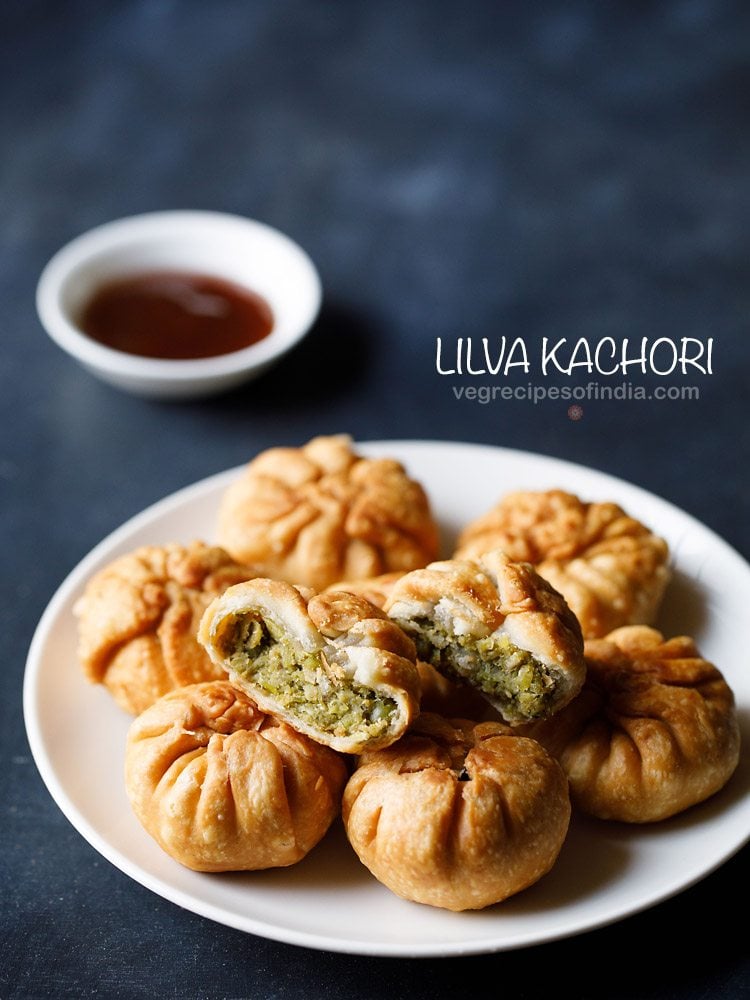
Making any kachori in the traditional way takes time. So do plan accordingly and make these tasty kachori.
Serve lilva kachori hot or warm with green chutney or saunth chutney or mint chutney.
How to make Lilva Kachori
A) making kachori dough:
1. Take 1.5 cups of all purpose flour (maida) and ½ teaspoon salt or add as required. Instead of taking only maida, you can also take half-half portion of both atta (whole wheat flour) and maida.
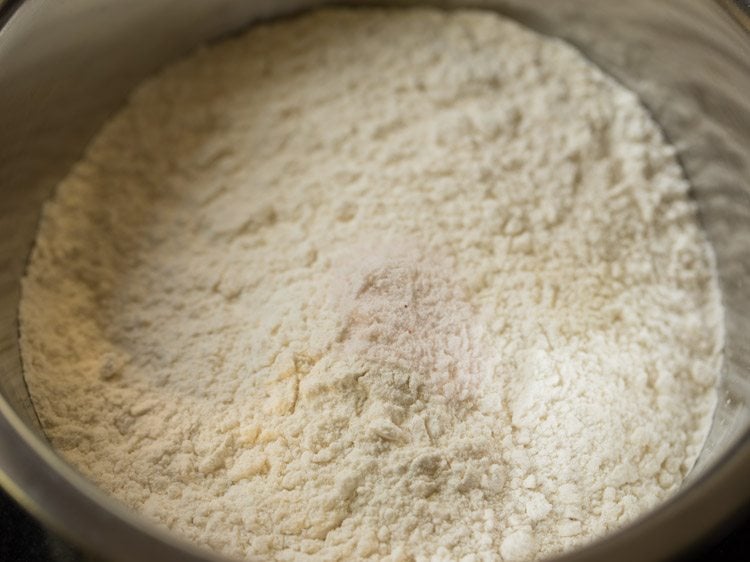
2. Add 3 tablespoons of oil.
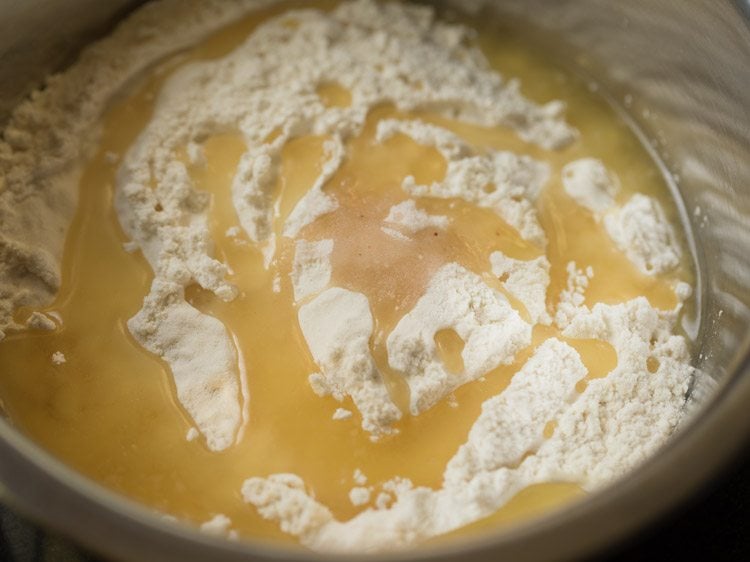
3. With your fingertips mix the oil with the flour for a few minutes till you get a breadcrumb like texture in the flour.
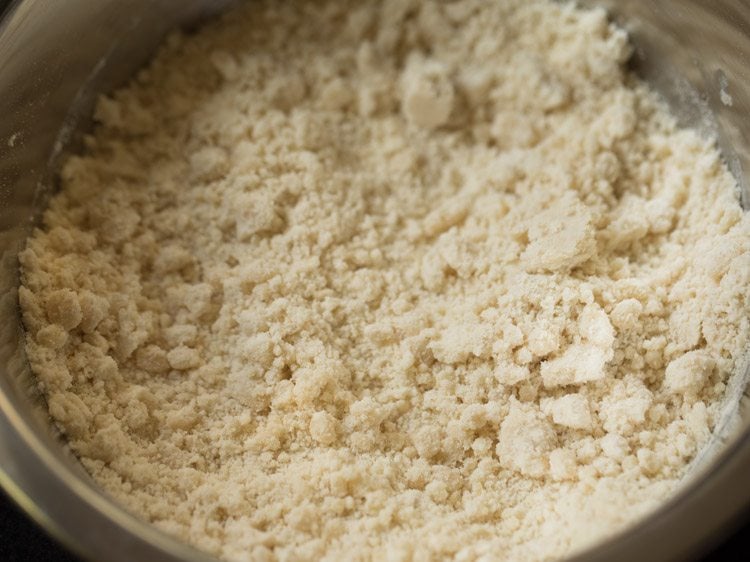
4. When this mixture is pressed, it should not break.
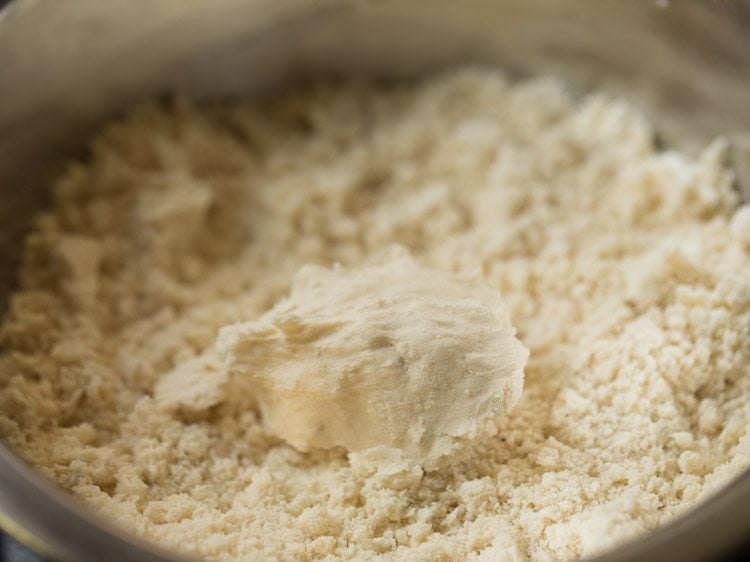
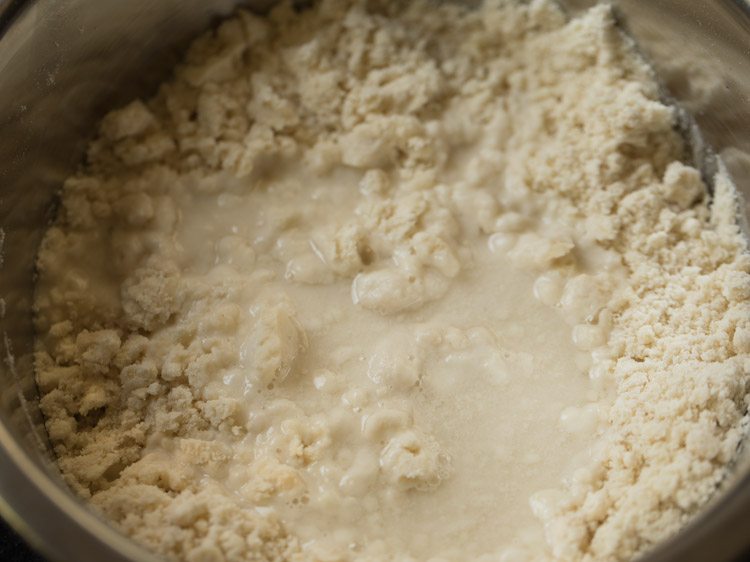
5. Add 6 tablespoons of water in parts. Mix and begin to knead the dough. Knead very well. Initially the dough might look sticky but continue to knead and all the water will be absorbed.
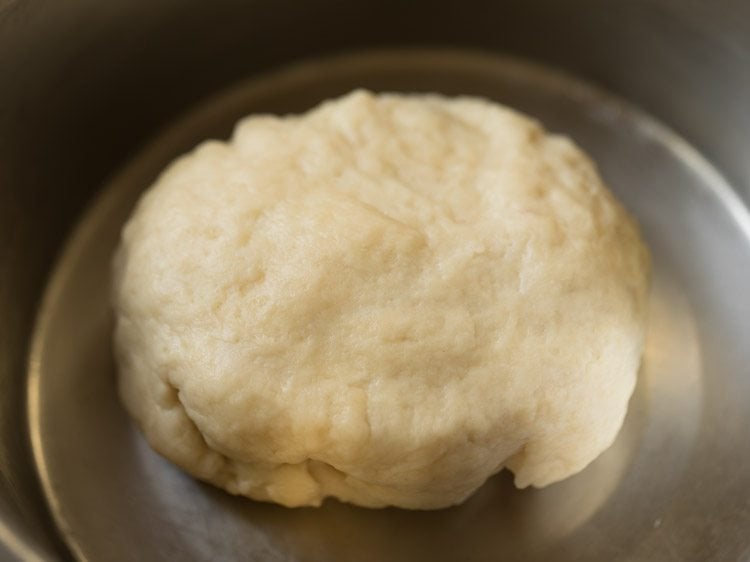
6. Knead to a a semi soft dough. The dough should not be soft like a chapati dough but slightly hard and slightly soft. Cover the dough and let it rest for 30 minutes.
B) grinding lilva beans
7. Rinse 1 and ⅓ cup lilva beans in water. I have removed them from their pods a couple of days before and had freezed them.
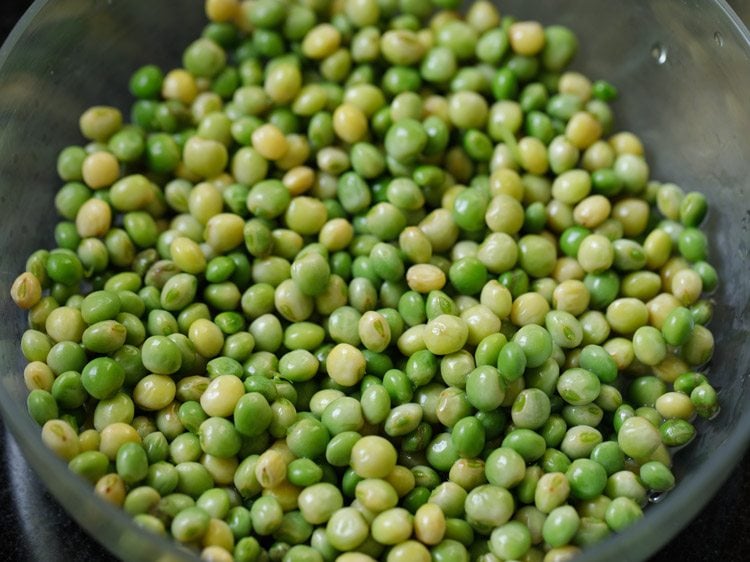
8. Add the lilva beans in a grinder jar or food processor.
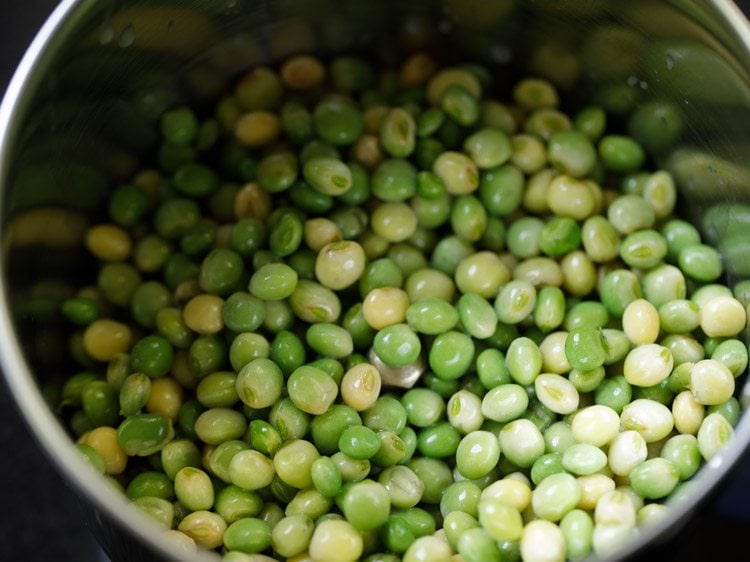
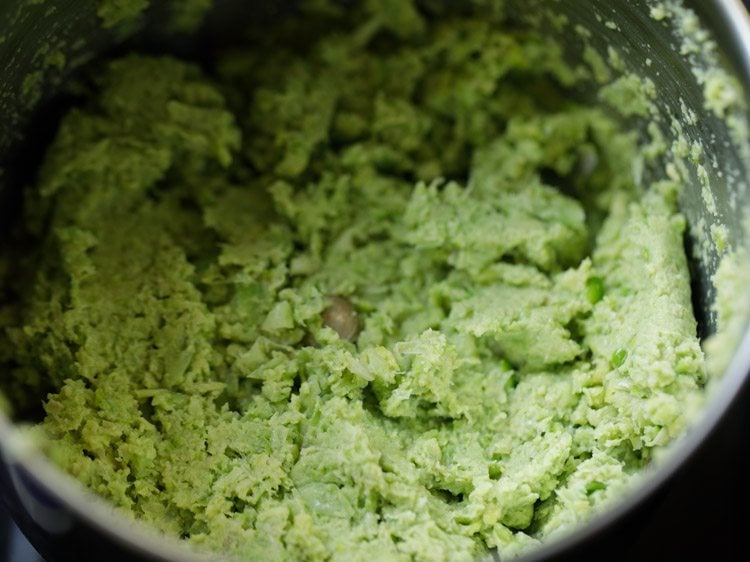
9. Without adding any water grind to a semi coarse paste. Do not make a fine paste. While grinding, you can use the pulse option in your mixer-grinder.
Grind in short intervals of some seconds. Stop mixie, scrape the sides and then grind again.
C) making green chili+ginger+garlic paste
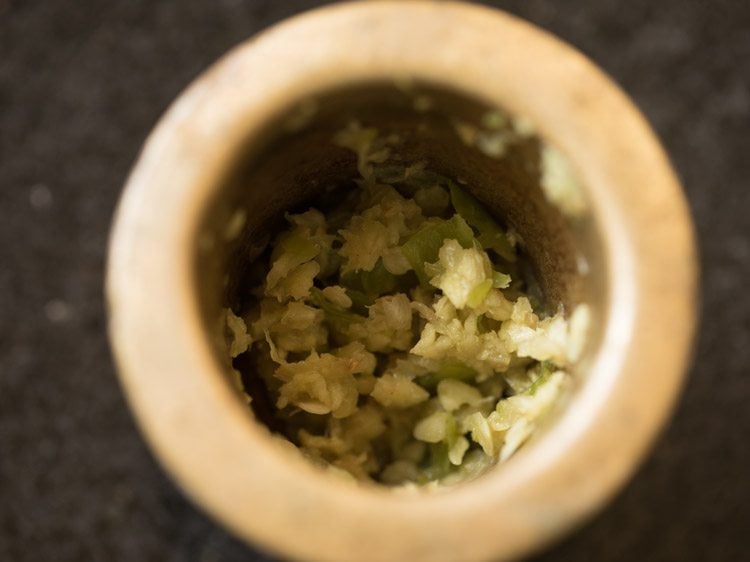
10. In a mortar-pestle take 1 or 2 green chilies (chopped), 1 inch ginger (chopped) and 2 medium garlic cloves (chopped).
Note that garlic can be skipped. Instead of garlic, you can also use green garlic chives.
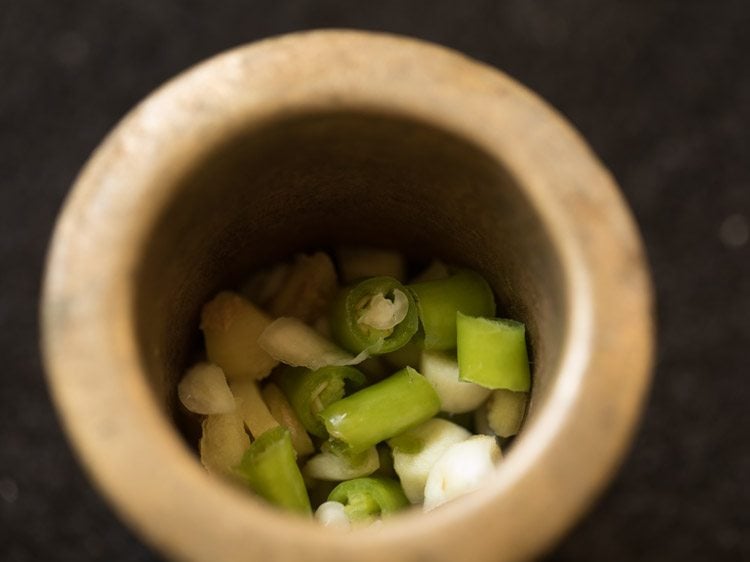
11. Crush to a paste. Keep aside. The paste can also be made in a small chutney grinder with the addition of 1 to 2 tablespoons of water.
Making stuffing for lilva kachori
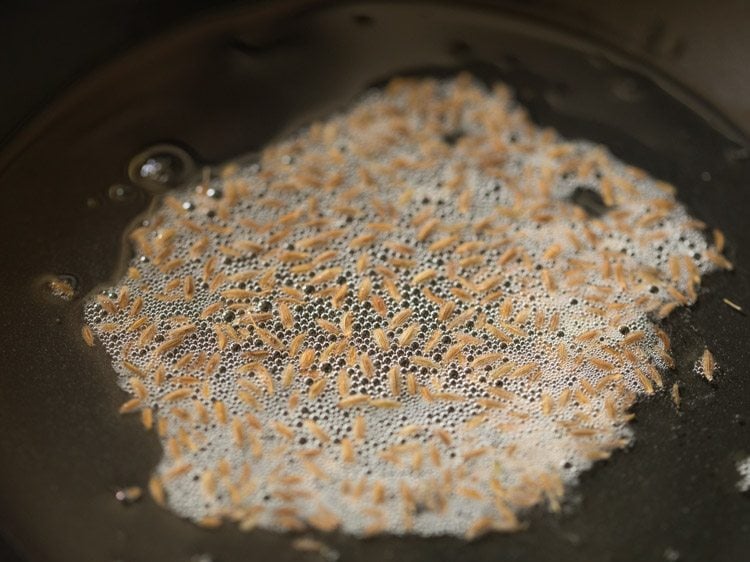
12. Heat 1 tablespoon of oil in a frying pan. Add ½ teaspoon of cumin seeds.
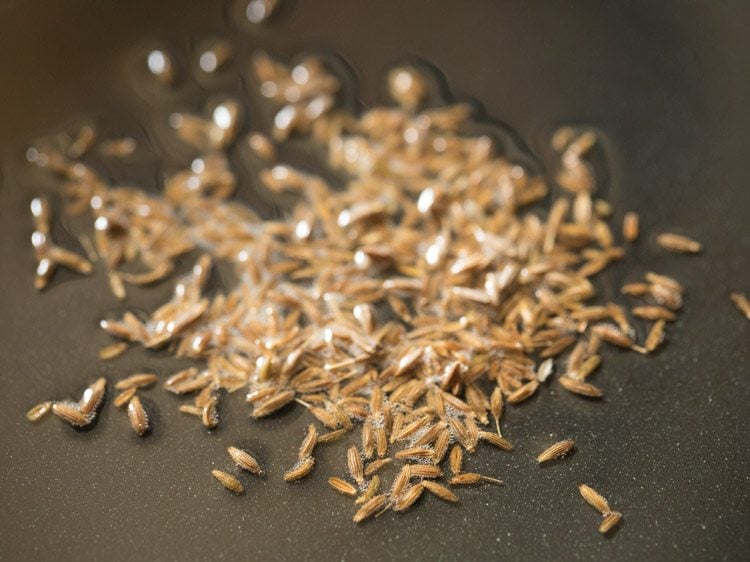
13. Let the cumin seeds sizzle and splutter. Keep the heat to a low.
14. Now add the crushed green chili+ginger+garlic paste and 1 pinch asafoetida (hing).
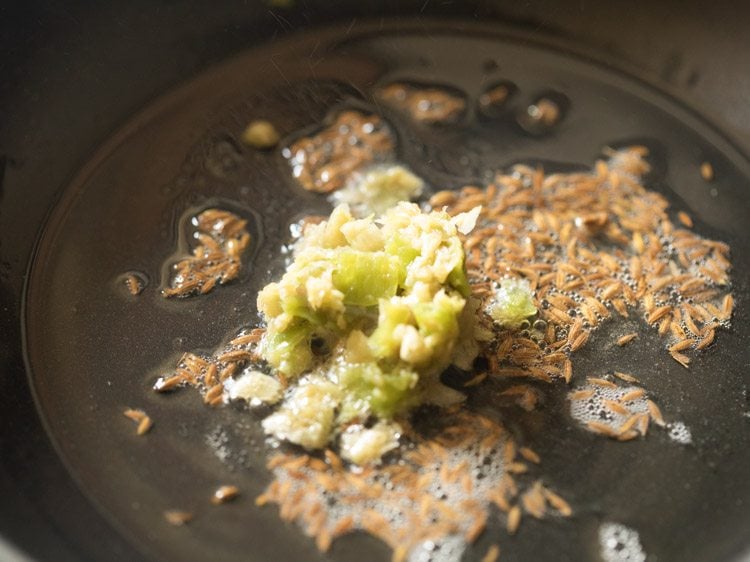
15. Sauté on a low flame for some seconds till the raw aroma of garlic and ginger goes away.
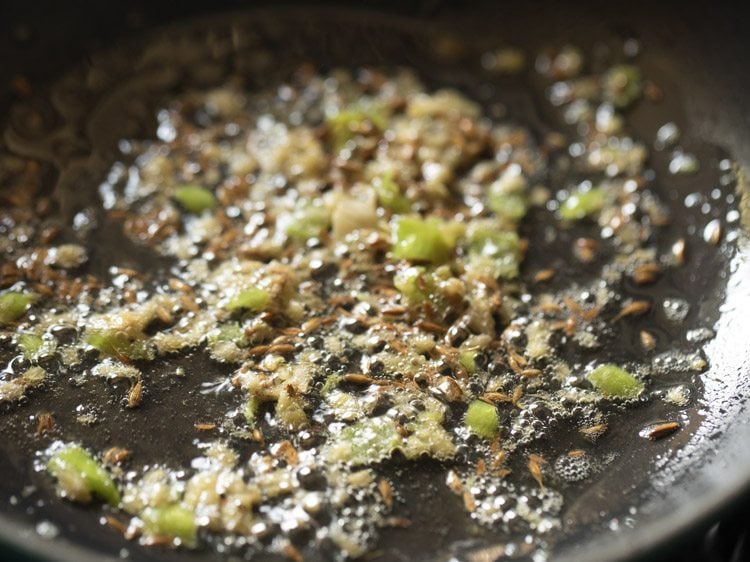
16. Add the coarsely ground lilva beans.
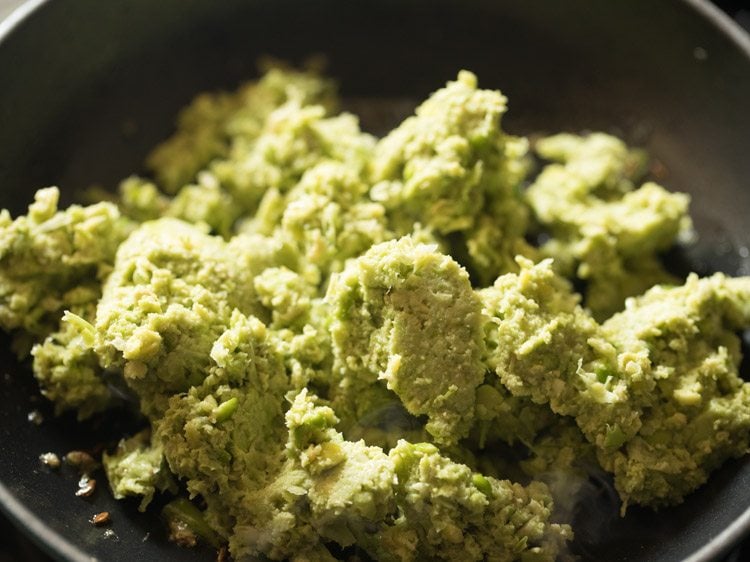
17. Mix well. Sauté for 3 minutes on a low flame.
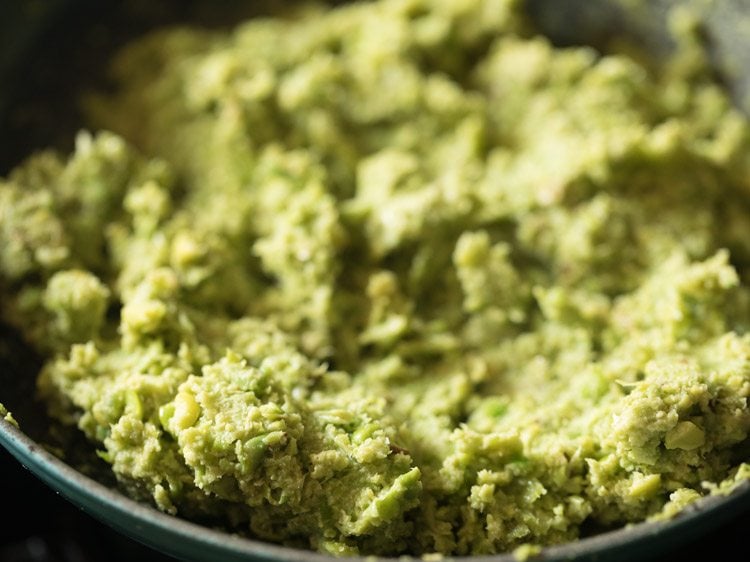
18. Now add ½ teaspoon cumin powder, ½ teaspoon coriander powder (optional), ½ teaspoon garam masala powder and salt as per taste.
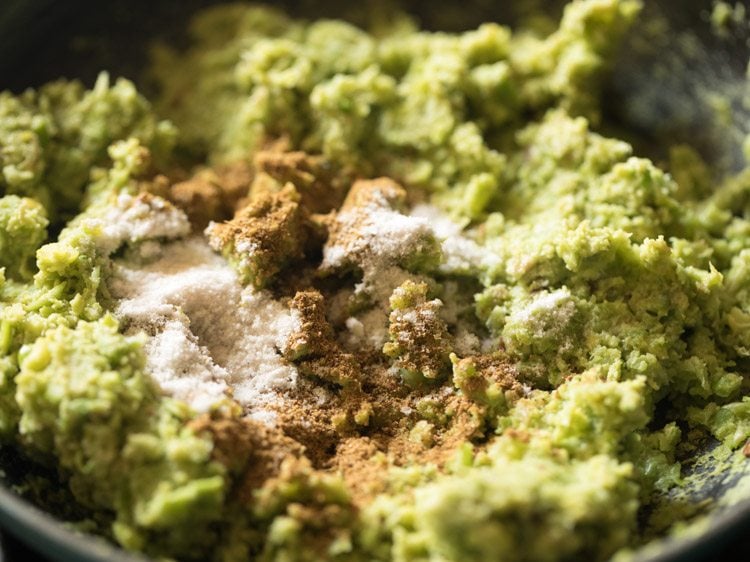
19. Mix very well and continue to sauté for 2 to 3 minutes. Stir often so that the mixture does not stick to the pan.
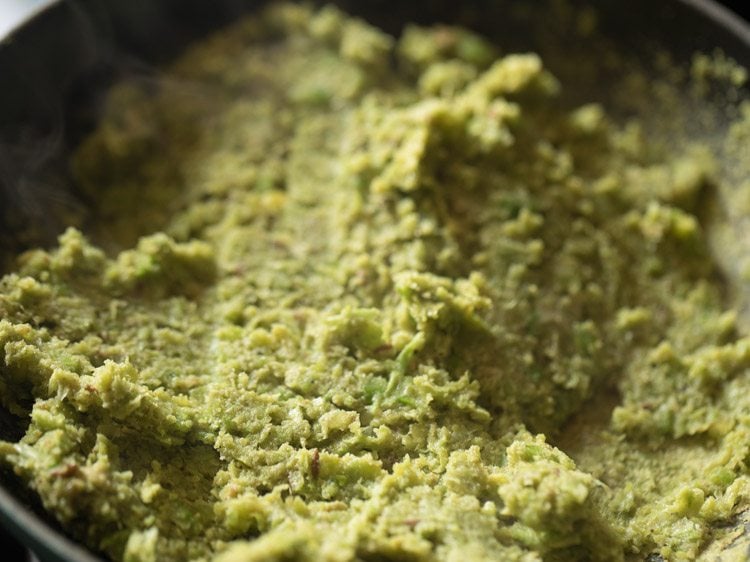
20. Switch off the flame and add 2 tablespoons chopped cashews, ½ tablespoons chopped raisins and 2 teaspoons sugar or add as per taste.
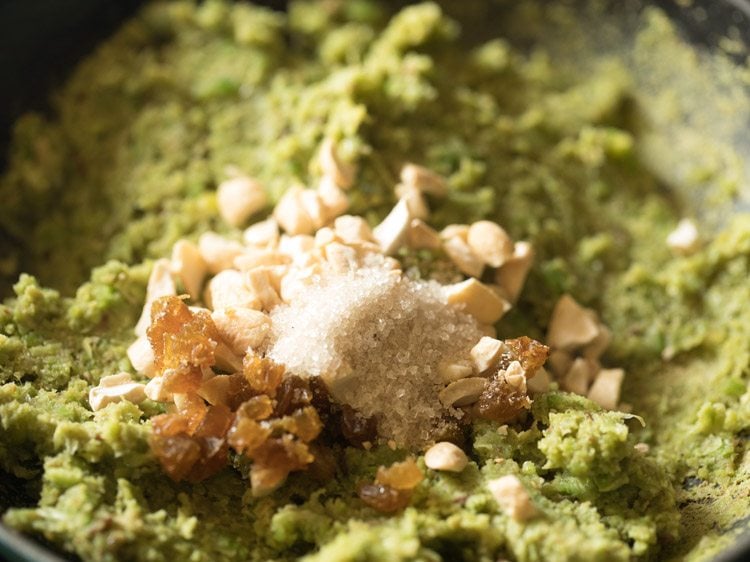
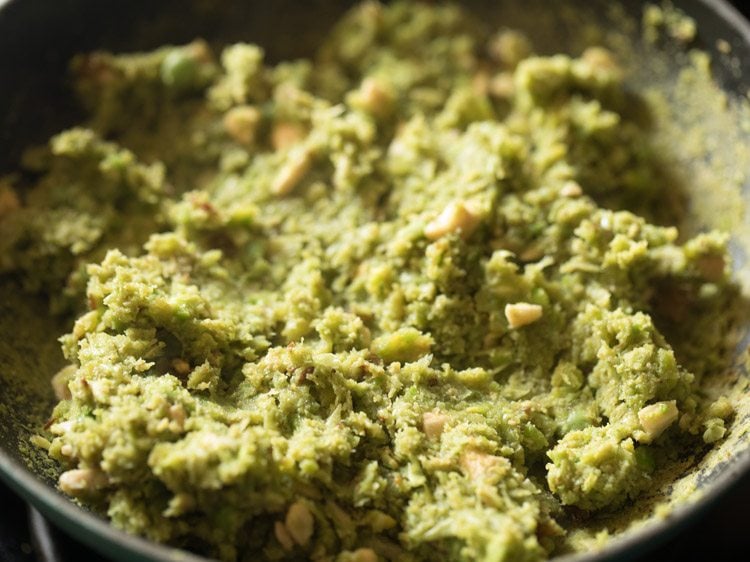
21. Stir and mix everything very well.
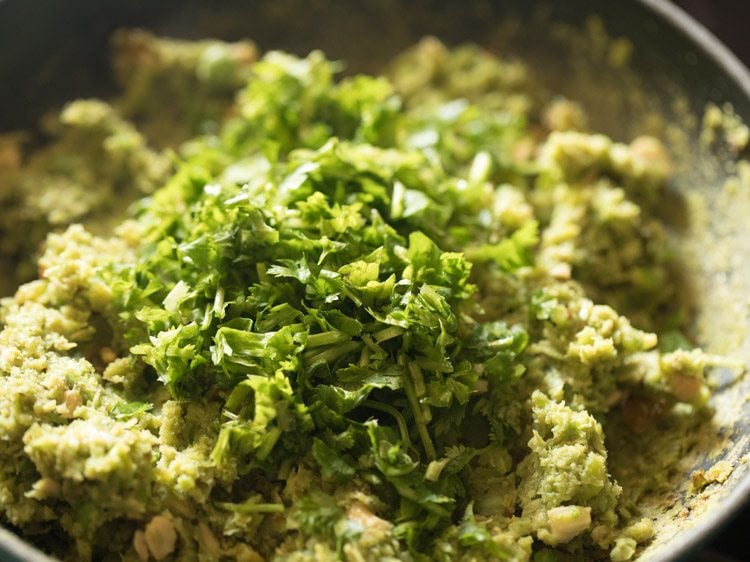
22. Add ¼ cup chopped coriander leaves. Some steamed and crushed green peas and mashed potatoes can be also added in the stuffing. Grated coconut or crushed roasted peanuts can also be added.
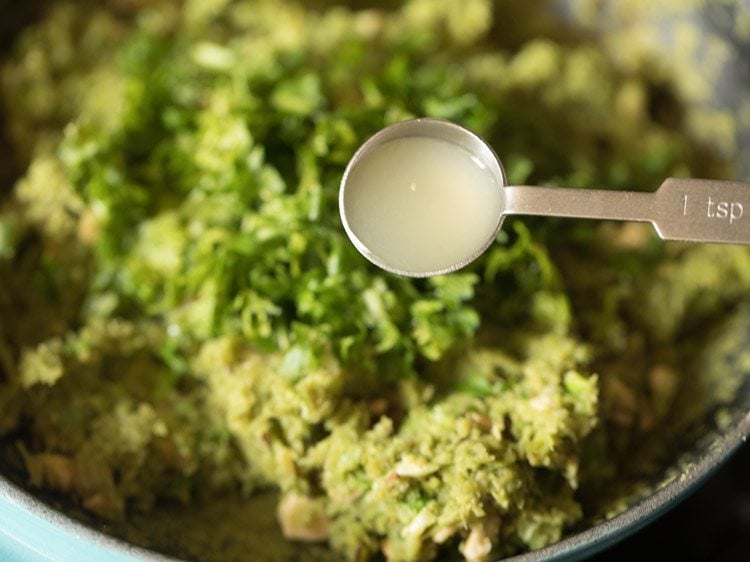
23. Next add 3 teaspoons lemon juice or add as required. Mix very well. Check the taste and add more salt, sugar or lemon juice if required. Let this mixture cool completely. Do note that both sugar and lemon juice can be added less or more as per your taste preferences.
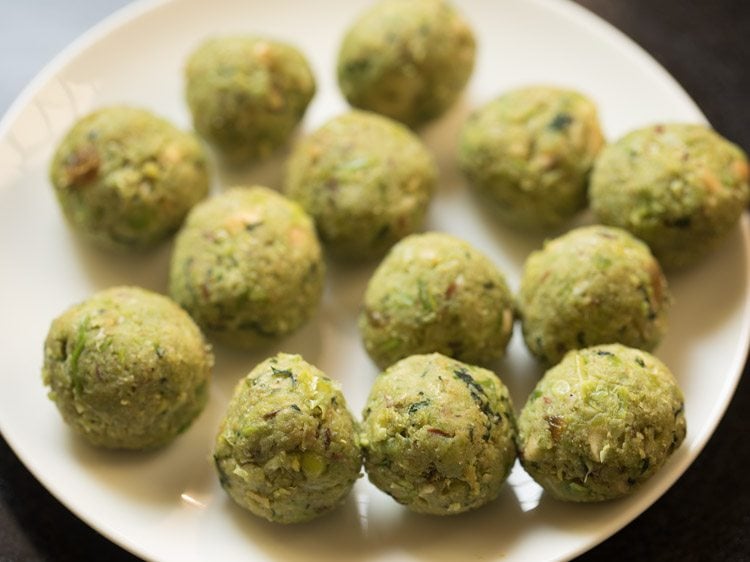
24. Then make small balls from the mixture. You will get 12 to 13 balls. Cover and keep aside.
Shaping and making lilva kachori
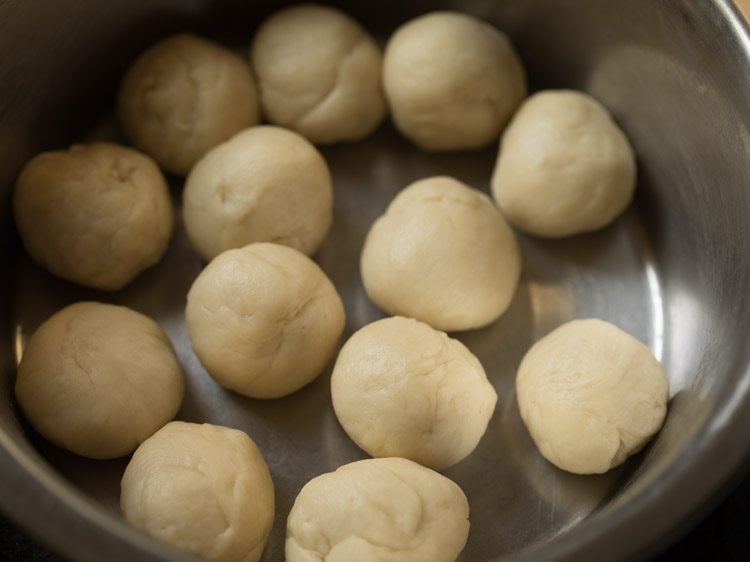
25. Knead the dough again and pinch 12 to 13 balls. With your palms roll in neat balls and keep covered aside.
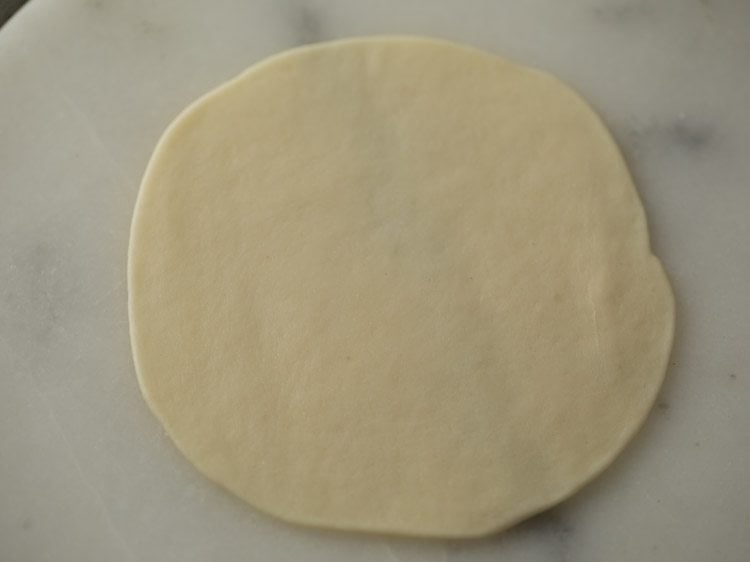
26. Take each dough ball and roll in to a circle having 5 to 6 inches diameter. Keep the edges thin while rolling.
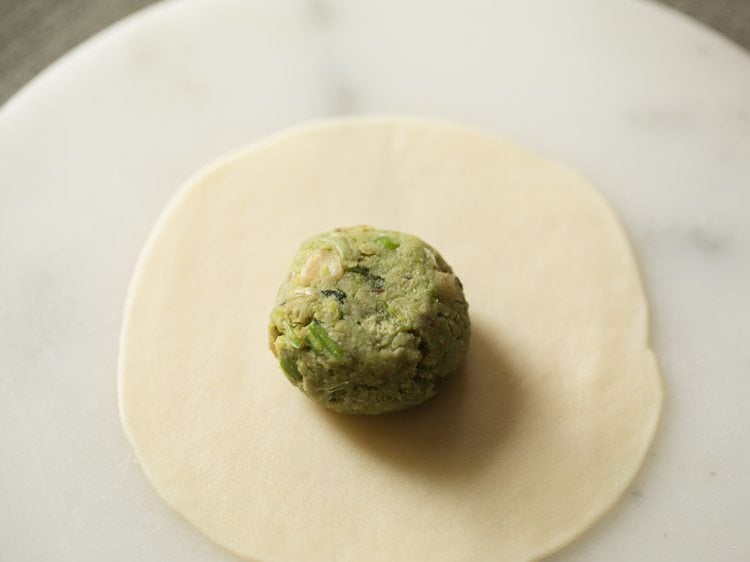
27. Place the stuffing ball in the center of the rolled dough and lightly flatten it.
28. Take the edges of the dough and begin pleating it as you do for stuffed parathas.
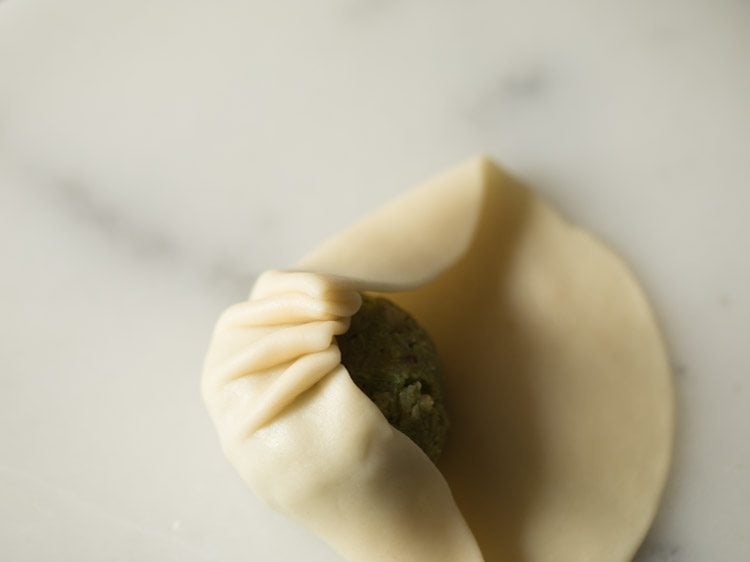
29. Pleat all the way through and bring the pleated edges on top at the center.
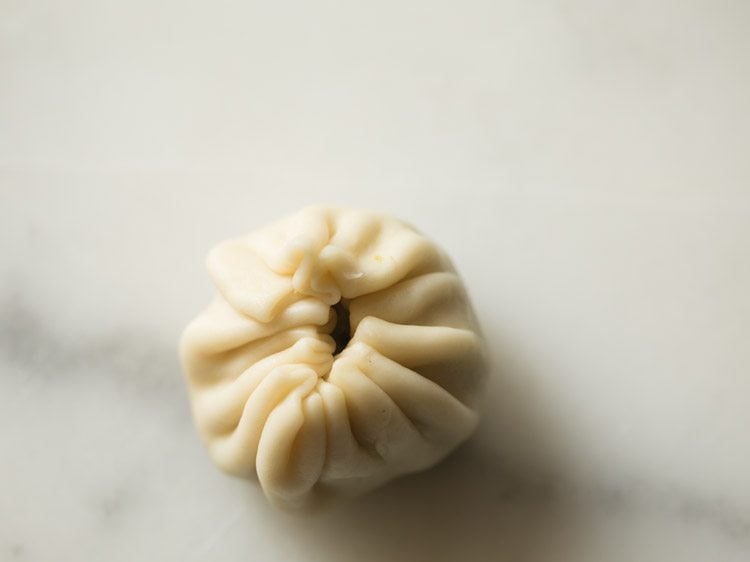
30. Join and press all the pleated edges.
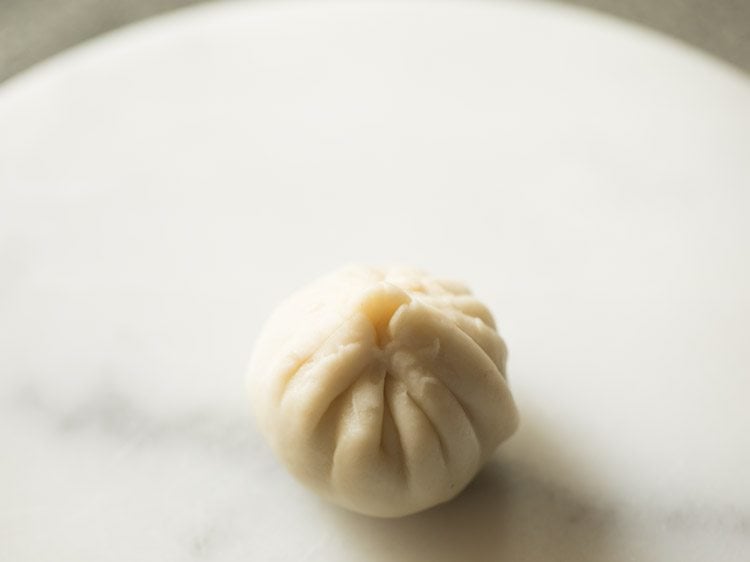
31. Now gently flatten the pressed part. Flattening the top part makes it easier while frying. If you want you can just press the edges on top and remove excess dough without flattening the top.
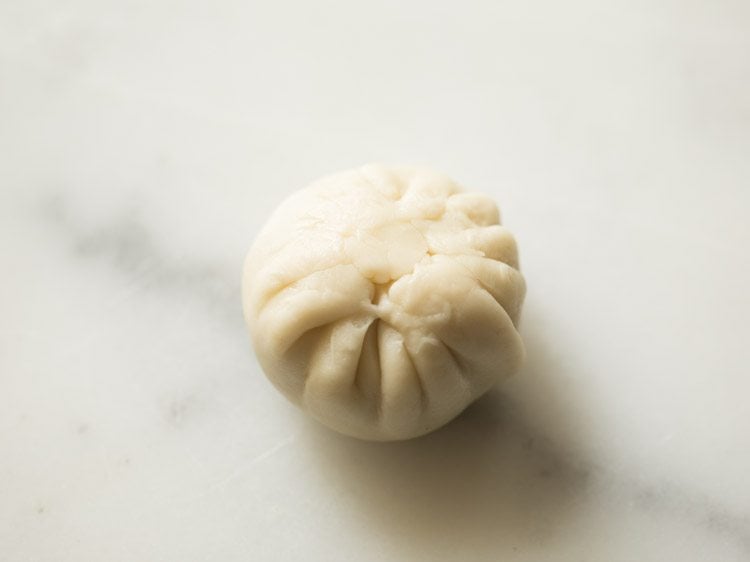
32. Make all kachori this way. Cover them with a cotton napkin or kitchen towel.
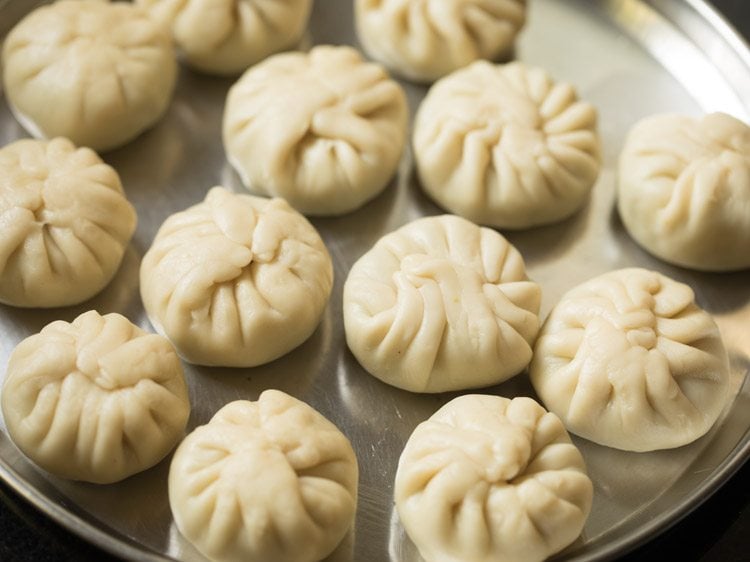
Frying lilva kachori
33. Heat oil for deep frying in a kadai. Keep the heat to a medium-low.
To check the temperature while frying, add a small piece of dough to the oil. If it comes slowly and steadily to the surface, then the kachoris are ready to be fried. Gently slid the kachori in the hot oil.
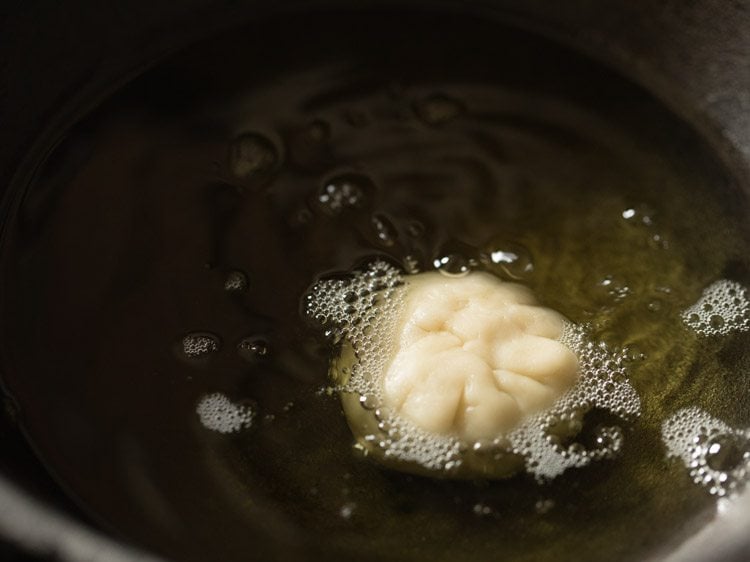
34. Fry 4 to 5 kachori or more depending on the size of the kadai. Fry on medium-low heat.
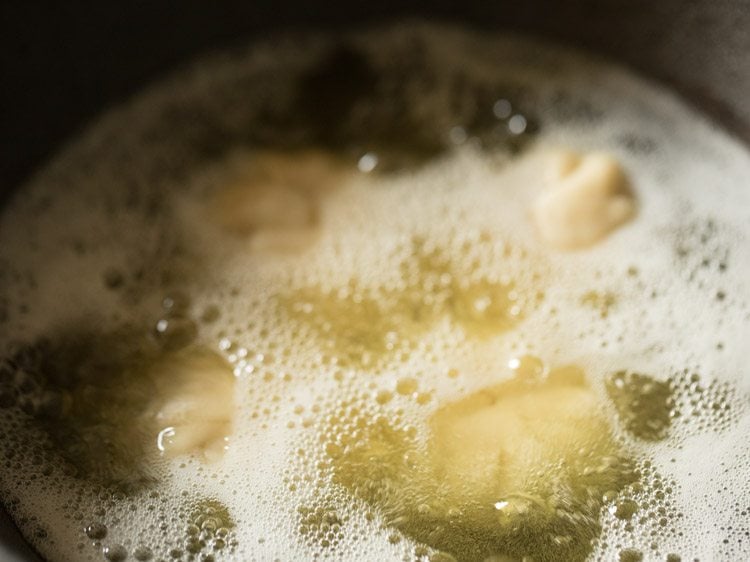
35. When one side is light golden, turn over the lilva kachori with a slotted spoon.
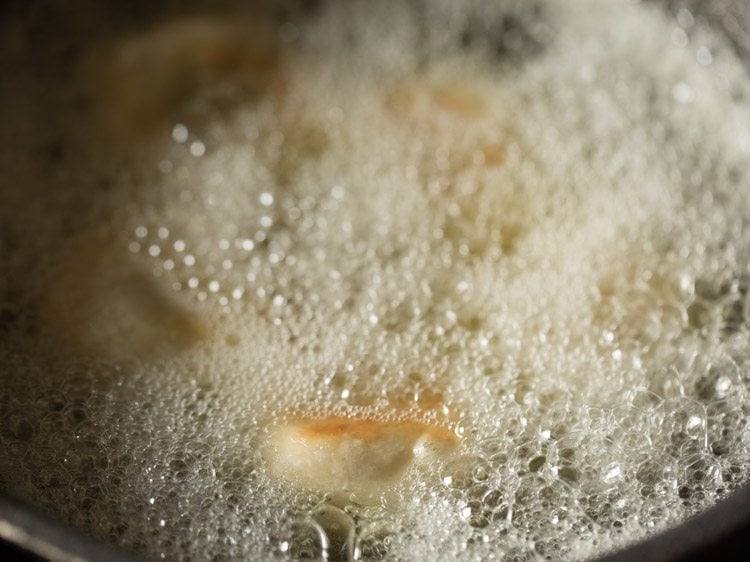
36. Turn again and continue to fry. While frying turn them often to get an even color.
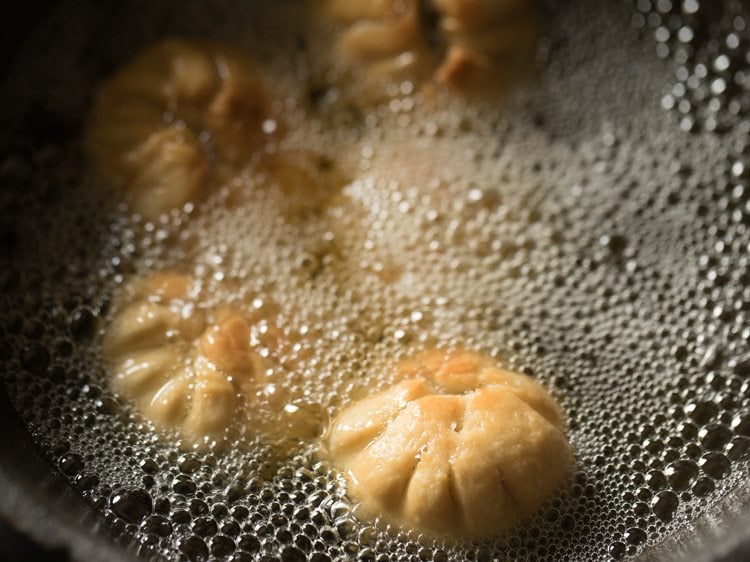
37. Fry till the crust is crisp and golden.
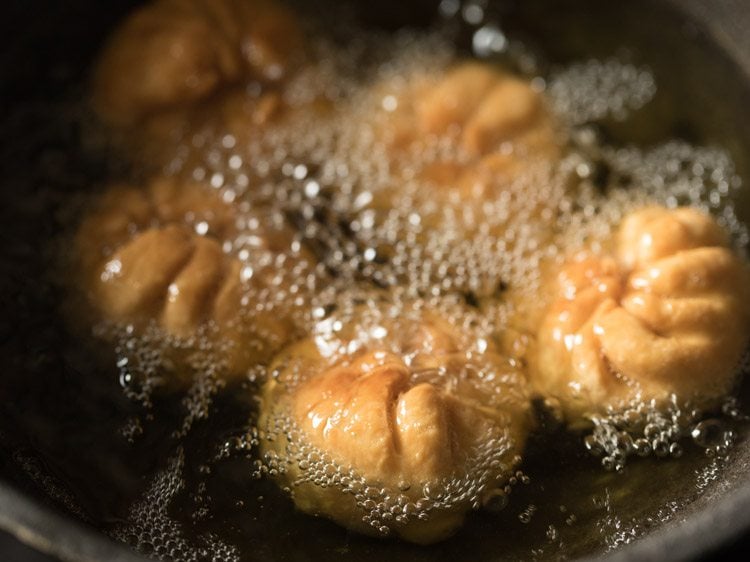
38. Remove crispy fried kachori with a slotted spoon draining extra oil in the kadai itself.
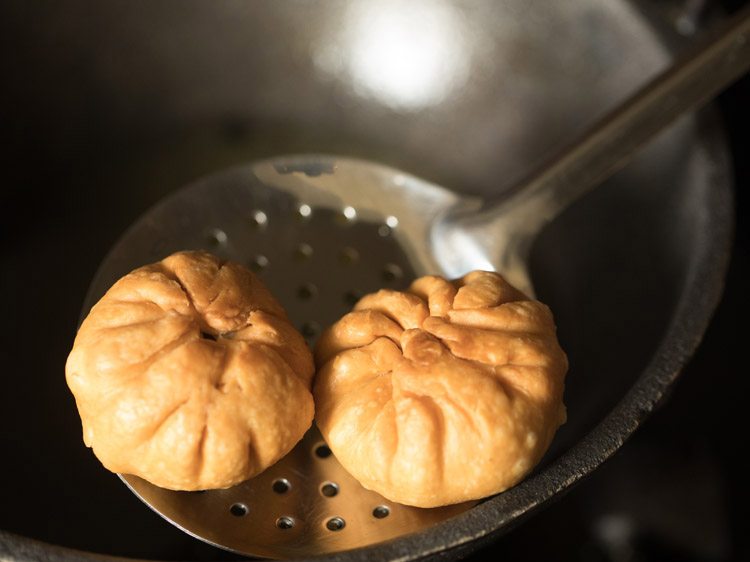
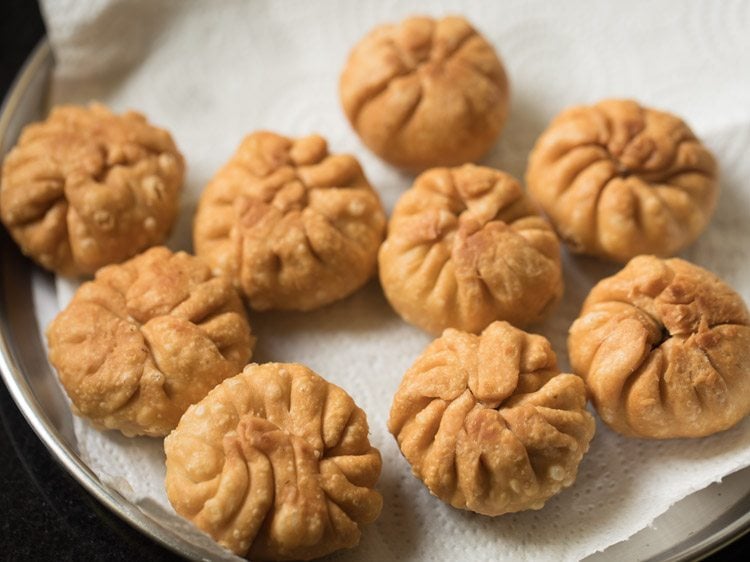
39. Keep on kitchen paper towels for extra oil to be absorbed. This way fry all lilva ni kachori in batches on a medium-low heat.
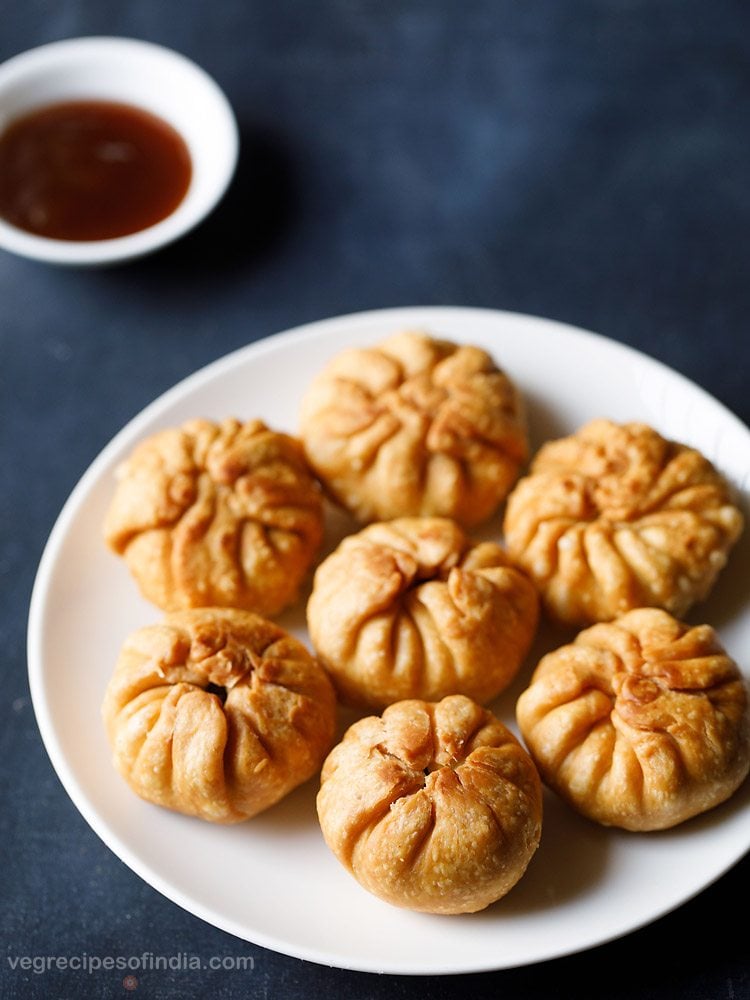
40. Serve lilva ni kachori hot or warm with green chutney or coriander chutney or tamarind chutney or pudina chutney.
If you love kachori then there are few more similar recipes in regional Indian cuisine like:
Please be sure to rate the recipe in the recipe card or leave a comment below if you have made it. For more vegetarian inspirations, Sign Up for my emails or follow me on Instagram, Youtube, Facebook, Pinterest or Twitter.
Lilva kachori
Ingredients
for kachori dough
- 1.5 cups all purpose flour (maida)
- ½ teaspoon salt or add as required
- 3 tablespoons oil
- 6 tablespoons water
for green chili+ginger+garlic paste
- 1 or 2 green chilies – chopped
- 1 inch ginger or 1 teaspoon chopped ginger
- 2 medium garlic cloves – chopped
for lilva kachori stuffing
- 1.33 cup lilva (fresh pigeon peas, fresh tuvar beans) – 215 grams
- 1 tablespoon oil
- ½ teaspoon cumin seeds (jeera)
- 1 pinch asafoetida (hing)
- ½ teaspoon cumin powder
- ½ teaspoon Coriander Powder – optional
- ½ teaspoon Garam Masala
- 2 tablespoons chopped cashews
- ½ tablespoons chopped raisins
- ¼ cup chopped coriander leaves
- 2 teaspoons sugar or add as required
- 3 teaspoons lemon juice or add as required
- salt as required
other ingredients
- oil for deep frying, as required
Instructions
making dough for lilva kachori
- Take 1.5 cup all purpose flour (maida) and ½ teaspoon salt or add as required. Instead of taking only maida, you can also take half-half portion of both atta (whole wheat flour) and maida.
- Add 3 tablespoons oil.
- With your fingertips mix the oil with the flour for a few minutes till you get a breadcrumb like texture in the flour.
- When this mixture is pressed, it should not break.
- Add 6 tablespoons water in parts. Mix and begin to knead the dough.
- Knead to a a semi soft dough. The dough should not be soft like a chapati dough but slightly hard and slightly soft. Cover the dough and let it rest for 30 minutes.
grinding lilva beans
- Rinse 1.33 cup lilva beans in water.
- Add the lilva beans in a grinder jar or food processor.
- Without adding any water grind to a semi coarse paste.
- Do not make a fine paste. While grinding, you can use the pulse option in your mixer-grinder. Grind in short intervals of some seconds. Stop mixie, scrape the sides and then grind again.
making green chili+ginger+garlic paste:
- In a mortar-pestle take 1 or 2 green chilies (chopped), 1 inch ginger (chopped) and 2 medium garlic cloves (chopped). Note that garlic can be skipped. Instead of garlic, you can also use green garlic chives.
- Crush to a paste. Keep aside. The paste can also be made in a small chutney grinder with the addition of 1 to 2 tablespoons water.
making stuffing for lilva kachori
- Heat 1 tablespoon oil in a frying pan. Add ½ teaspoon cumin seeds.
- Let the cumin seeds sizzle and splutter. Keep the flame to a low.
- Now add the crushed green chili+ginger+garlic paste and 1 pinch asafoetida.
- Sauté on a low flame for some seconds till the raw aroma of garlic and ginger goes away.
- Add the coarsely ground lilva beans. Mix well. Sauté for 3 minutes on a low flame.
- Now add ½ teaspoon cumin powder, ½ teaspoon coriander powder (optional), ½ teaspoon garam masala powder and salt as per taste.
- Mix very well and continue to sauté for 2 to 3 minutes. Stir often so that the mixture does not stick to the pan.
- Switch off the flame and add 2 tablespoons chopped cashews, ½ tablespoons chopped raisins and 2 teaspoons sugar or add as per taste.
- Stir and mix everything very well.
- Add ¼ cup chopped coriander leaves. Some steamed and crushed green peas and mashed potatoes can be also added in the stuffing. Grated coconut or crushed roasted peanuts can also be added.
- Next add 3 teaspoons lemon juice or add as required. Mix very well.
- Check the taste and add more salt, sugar or lemon juice if required. Let this mixture cool completely. Do note that both sugar and lemon juice can be added less or more as per your taste preferences.
- Then make small balls from the mixture. You will get 12 to 13 balls. Cover and keep aside.
shaping and making lilva kachori
- Knead the dough again and pinch 12 to 13 balls. With your palms roll in neat balls and keep covered aside.
- Take each dough ball and roll in to a circle having 5 to 6 inches diameter. Keep the edges thin while rolling.
- Place the stuffing ball in the center of the rolled dough and lightly flatten it.
- Take the edges of the dough and begin pleating it as you do for stuffed parathas.
- Pleat all the way through and bring the pleated edges on top at the center. press all the pleated edges.
- Now gently flatten the pressed part. Flattening the top part makes it easier while frying. If you want you can just press the edges on top and remove excess dough without flattening the top.
- Make all kachori this way. Cover them with a cotton napkin or kitchen towel.
frying lilva kachori
- Heat oil for deep frying in a kadai. Keep the flame to a medium-low.
- To check the temperature while frying, add a small piece of dough to the oil. If it comes slowly and steadily to the surface, then the kachoris are ready to be fried. Gently slid the kachori in the hot oil.
- Fry 4 to 5 kachori or more depending on the size of the kadai. Fry on medium-low flame.
- When one side is light golden, turn over the kachori with a slotted spoon.
- Turn again and continue to fry. While frying turn them often to get an even color.
- Fry till the crust is crisp and golden.
- Remove crispy fried lilva kachori with a slotted spoon.
- Keep on kitchen paper towels for extra oil to be absorbed. This way fry all lilva kachori on a medium-low flame.
- Serve lilva ni kachori hot or warm with green chutney or coriander chutney or tamarind dates chutney.
Notes
Nutrition Info (Approximate Values)
This Lilva Kachori post from the archives first published in January 2018 has been republished and updated on January 2023.



Hi Dassana Amit I love all your reciepes and this one too.. I wanted to know if we can bake these kachoris? If yes, on what temperature and for how long?
thanks dimple. you can bake the kachoris at 180 degrees celsius till the outer crust is golden and crisp. for baking, add 4 tablespoon oil (1/4th cup in the dough mixture). also brush the outside of the kachori lightly with some oil before baking. bake in an oven which has been preheated for 15 minutes at 180 degrees celsius.
HARE KRISHNA
Your recipes are awsome.earlier everything was available on the app.but now it is not working.it will relaunch again or not??? Because it was easy.
HARE KRISHNA. We could not maintain the app well because of technical issues. So we had to delete it.
Wow. This reminds me of my childhood days, tempted to make for my kids
Thanks Trupti
Hi dassana
Am a big fan of ur recipes . ur passion for cooking is incredible. I religiously follow ur website. I want to tell u that , the layout of ur website is different this time. If we miss seeing ur website for a couple of days then we miss those recipes. It dosent display on ur site after 3-4 days. This issue was not there before ( some 7-8 months back it was gud the web layout was different).
Kindly see to it.
Thanks Chandana for your kind words and appreciation. I will change the layout to show latest 5 recipes instead of current 2 posts. Hope this helps.