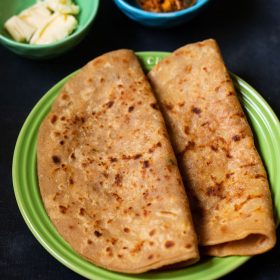
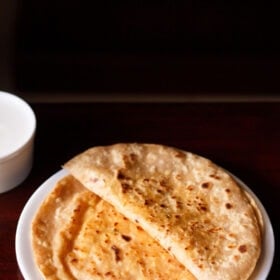
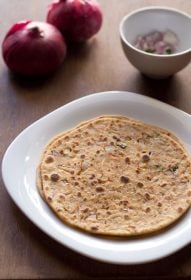
Onion Paratha are delicious whole wheat flatbreads stuffed with piquant onions, spicy green chillies and savory spices. Also known as pyaz paratha, this is a crispy paratha variant made in many Punjabi homes for breakfast. Here I share my family recipe for making these delish stuffed onion flatbread.
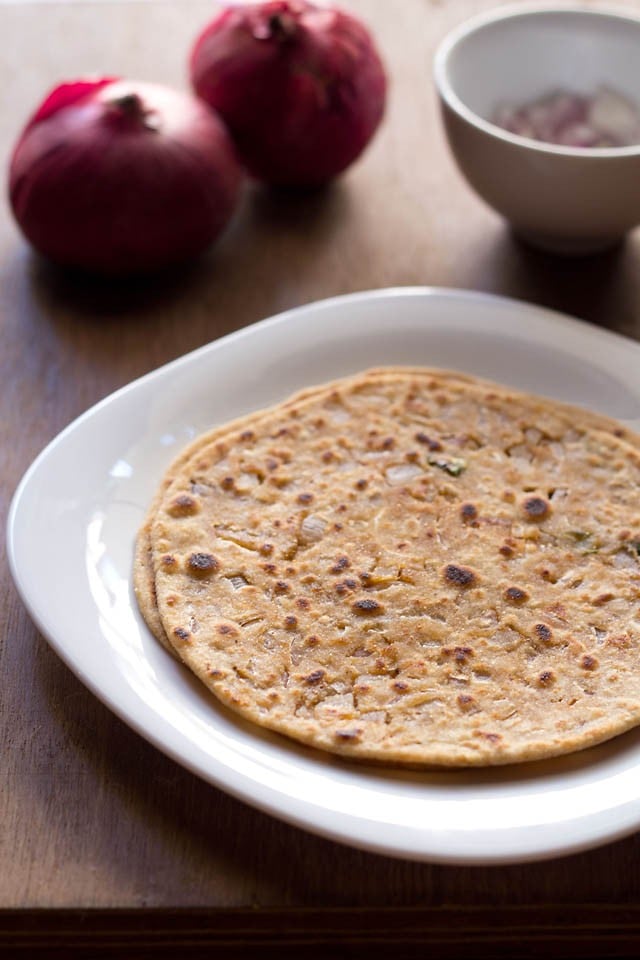
Table of Contents
Why This Recipe Works
A stuffed onion paratha tastes more flavorful than a paratha which is made with onions mixed in the dough. And it is this stuffed method that makes all the difference in this recipe.
A mixture of raw onions with spices is the stuffing. Do not worry as the raw onions get cooked and softened when roasting the paratha. So you enjoy the crispy layer of paratha filled with softened onions with a few hints of heat from the green chillies.
The onions are the star in the dish as they add plenty of flavor and punch to these parathas. Onion paratha recipe is simple enough to make. Onions are easily available in any kitchen and more so in an Indian kitchen.
Married in a Punjabi family, a variety of parathas are a top choice for breakfast always. I have shared almost all the various kinds of paratha recipes on the blog.
I not only make stuffed parathas for breakfast but also for quick lunch or dinner as they are versatile enough to be eaten any time. Don’t you agree? When you pair them with a side vegetable dish or raita it makes for a complete meal.
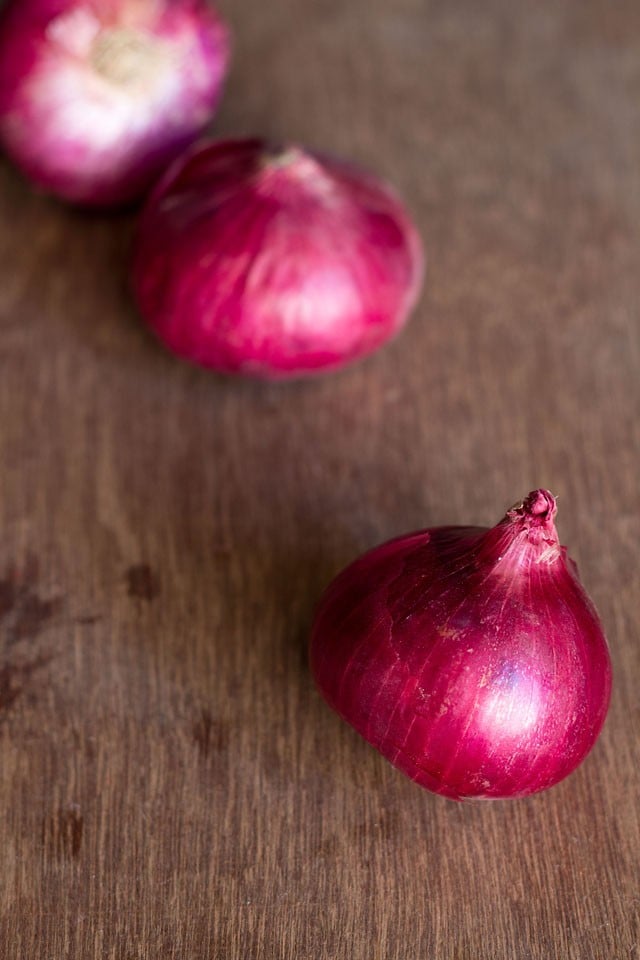
You could make these tasty parathas with any kind of onions you have – be it red, white or yellow. Shallots or pearl onions are some more options to consider.
For all onion lovers, these parathas are a must to have. Easy to prepare and they also make a good tiffin box snack or lunch. If you have the leftover whole wheat dough, then you can make these parathas in a shorter time.
How to make Onion Paratha
Before you begin the recipe, you need to make unleavened whole wheat dough. If you have whole wheat dough, that is waiting to be used, move over to step 2.
Make Dough
1. Take 2 cups of whole wheat flour, 1 to 2 teaspoons of oil and salt as required in a mixing bowl. If you prefer, omit including oil in the dough.
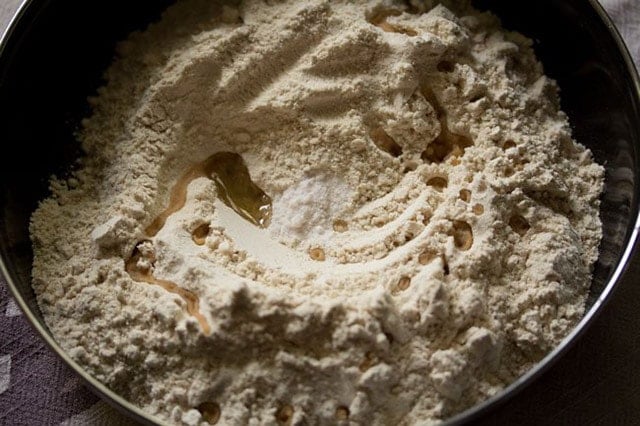
2. Add ⅓ to ½ cup of water in portions.
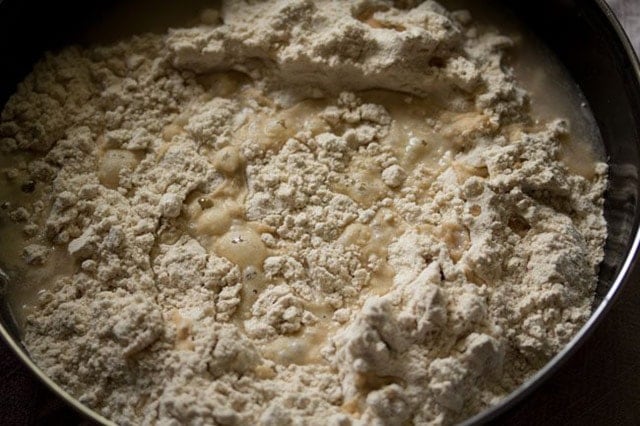
3. Mix and then begin to knead the dough adding water bit by bit as needed.
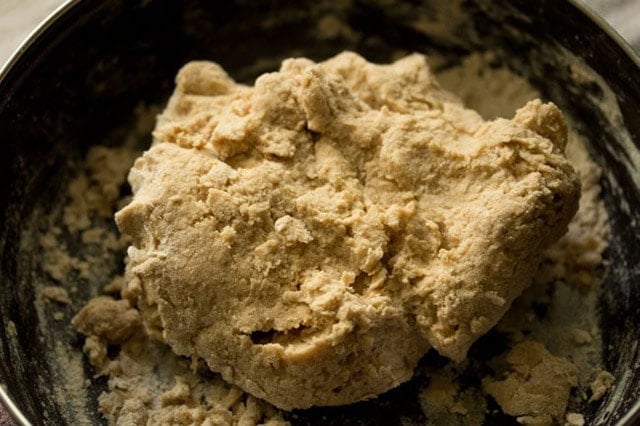
4. Knead a soft, smooth dough. The amount of water needed will depend upon the quality of the flour.
Place the dough in a covered container and let it rest for 20 to 30 minutes. Meanwhile finely chop 1 large onion and 1 to 2 green chilies.
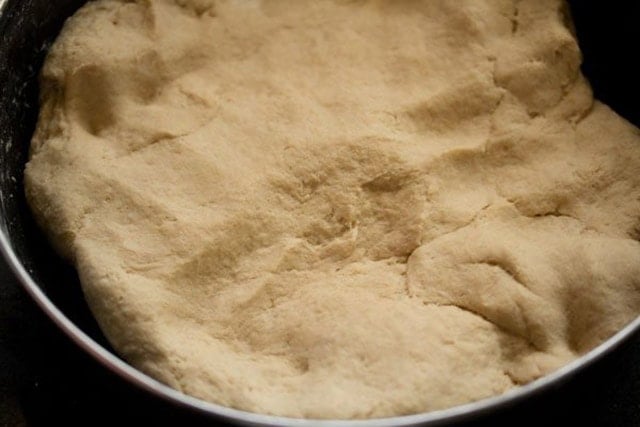
5. Later pinch a medium-sized ball from the dough. Roll it between your palms to a smooth dough ball. Place it on a flour-dusted board or work surface and roll to a 3 to 4 inches round circle.
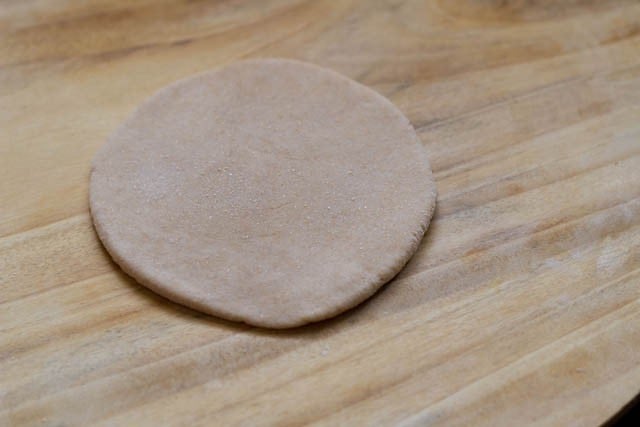
Fill with Onions, Herbs, Spices
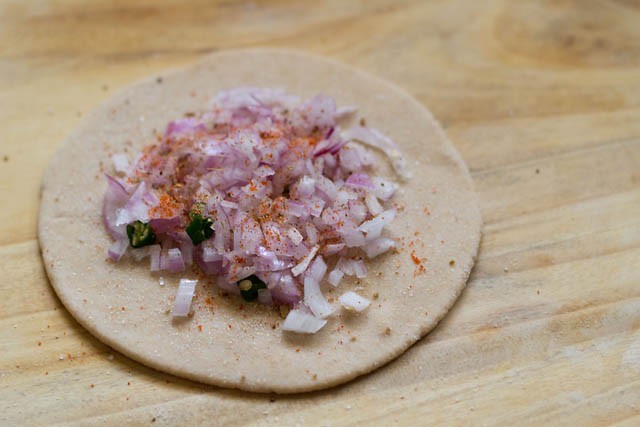
6. Place the mixture of finely chopped onions & green chilies. If the onions are not finely chopped then they will pop out of the paratha while rolling or roasting. So it is a crucial step to finely chop the onions and green chillies.
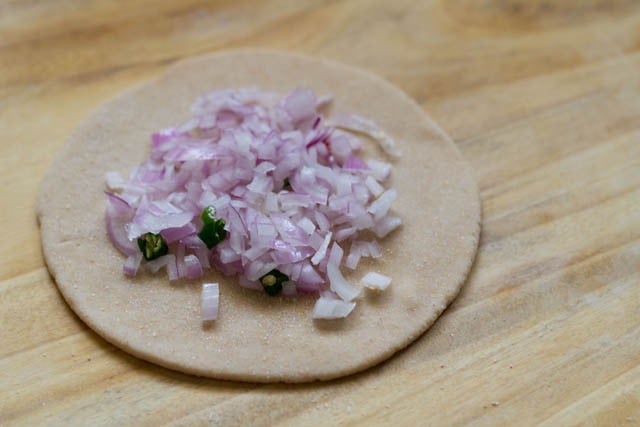
7. Sprinkle with 1 to 2 pinches each of red chili powder, garam masala powder and salt. You can sprinkle some dry whole wheat flour on top of the onions. This absorbs the moisture from the stuffing and helps to roll the parathas easily.
I generally don’t sprinkle flour on the filling as I am pretty good at making parathas. But for beginners, you can try this tip.
8. Bring the edges of the dough together and join them in the center.
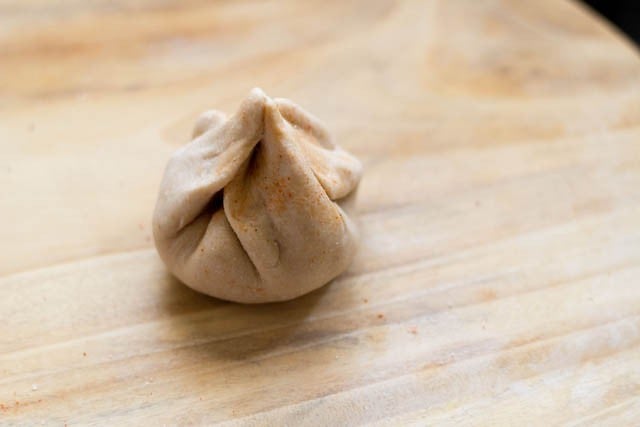
9. Press and flatten the joined edges & sprinkle some flour so that you can roll it easily in the next step.
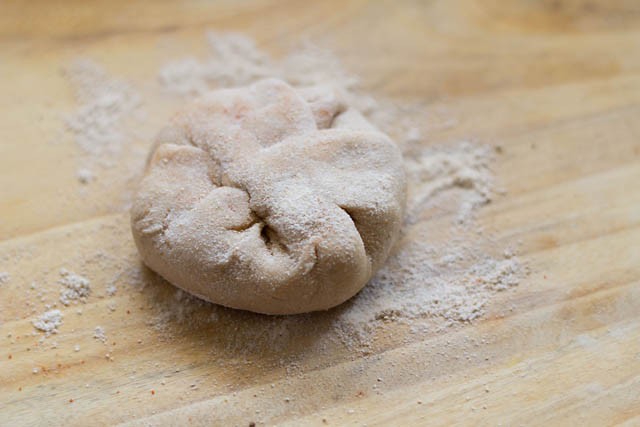
Roll Onion Paratha
10. Roll gently into a paratha about 7 to 8 inches diameter. Tearing may happen in a few places, but that’s alright. As the onions release moisture due to the presence of salt. Care has to be taken that a lot of dough does not tear off.
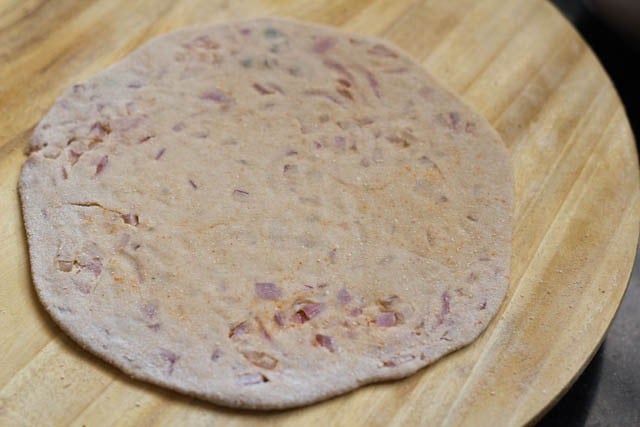
Roast
11. Heat a tawa or griddle or skillet before you start rolling the paratha. Keep the flame to medium-high or high.
Once the skillet becomes hot then place the rolled onion paratha on it. When the base has become ¼ cooked then flip with a spatula and cook the second side.
You will some a few pale golden spots or blisters on this side. Spread some oil or ghee on the cooked side (about 1 to 2 teaspoons or more as you like)
Note: For roasting use sunflower oil, peanut oil, any neutral oil or ghee (clarified butter). Though ghee gives a better flavor to the paratha.
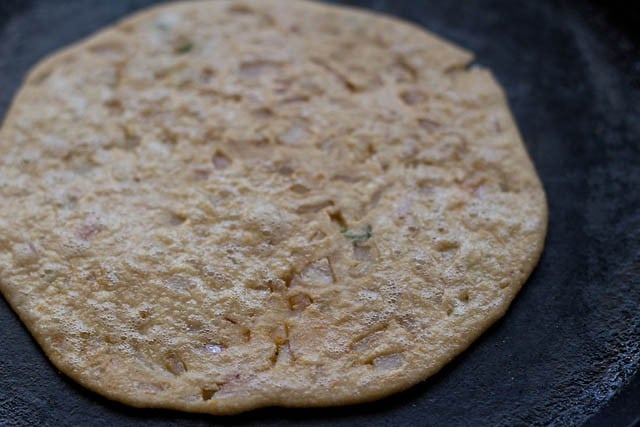
12. Once the second side is half cooked then flip again. Spread some oil or ghee (about 1 to 2 teaspoons or as required) on this side. Flip for a couple of times till evenly cooked.
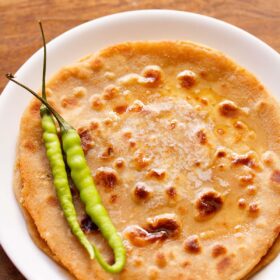
You will see brown spots or blisters will begin to appear and the outer layer of the onion paratha will become crisp at some places and golden.
Do remember to press the edges with a spatula so that they are also cooked properly. Sometimes the parathas can remain undercooked.
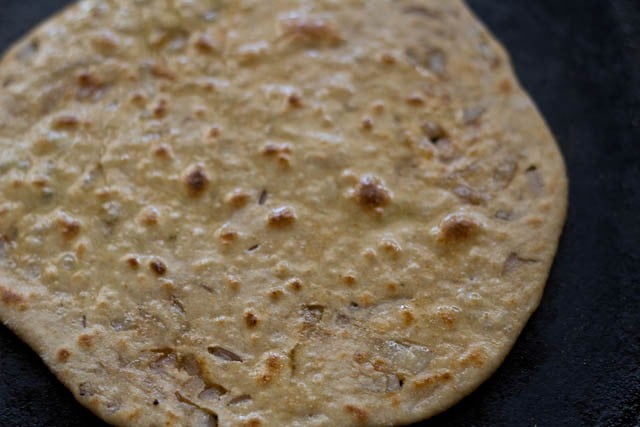
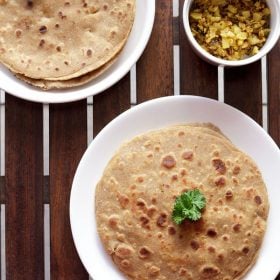
13. Remove and serve onion paratha hot or stack the parathas in a roti basket and then serve them.
Serving Suggestions and Storage
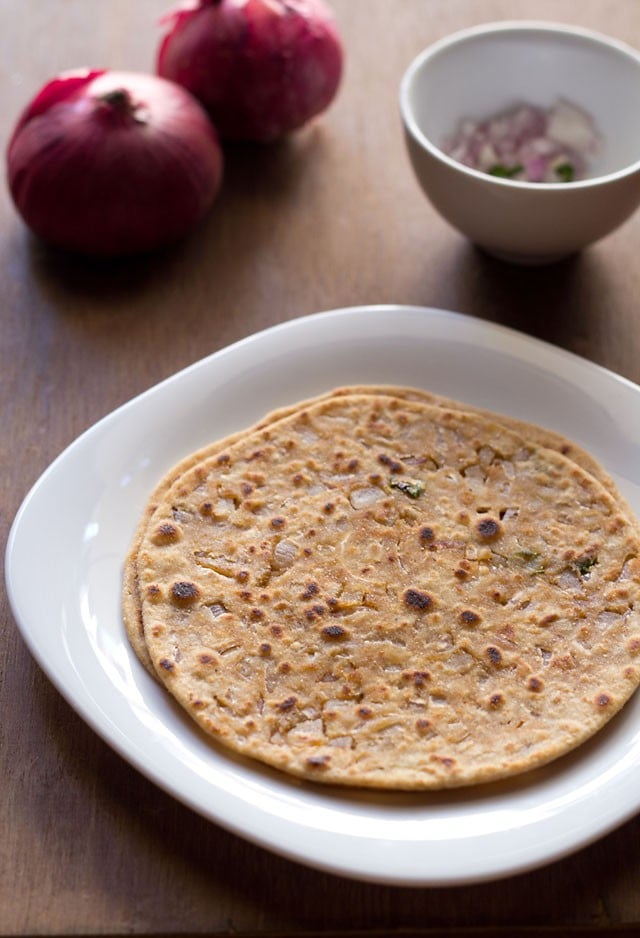
Enjoy onion paratha or pyaz paratha with your favorite sabzi or Mango Pickle or Raita or plain Curd or yogurt or unsalted white or yellow Butter or just have plain with Chai.
They can also be packed for a tiffin box or had as breakfast or lunch.
Store leftover parathas stacked in an air-tight container or roti basket at room temperature for 1 to 2 hours. Try to eat them in a couple of hours.
Expert Tips
- Onions: Include any variety of onions like white, red or yellow. My preference is always for red onions as I feel they give the best taste to the paratha. You could also use shallots or pearl onions. Keep in mind that the onions have to be finely chopped. If not, then you won’t be able to roll the paratha easily as it will tear while rolling.
- Variations: As a variation you can add some chopped coriander (cilantro leaves) or mint leaves to the stuffing. Mix the herbs with onions and set aside before filling in paratha. Another variation which changes the flavor completely is adding carom seeds (ajwain). Sometimes I add this fragrant spice in the filling. Just sprinkle a pinch or two on top of the onions while sprinkling the garam masala etc.
- Spicing: If you cannot tolerate spicy food, than reduce or omit the green chillies and red chilli powder. If making pyaz paratha for small kids, skip the green chilies and all the ground spice powders.
- Tanginess: For a tangy taste in your onion paratha recipe, lightly sprinkle some amchur powder (dry mango powder) or chaat masala on the onions.
- Dough: Make sure to knead the dough until soft, supple and smooth. If the dough is not soft, it will make your parathas dense and chewy. If the dough is very loose or sticky, it will be difficult to stuff and roll the paratha.
- Roasting: Roast the paratha on a hot skillet. The heat can be from medium-high to high. If the skillet is cold, it will make the parathas hard or chewy. If the skillet becomes too hot, the paratha will burn or get cooked quickly, leaving the inside stuffing raw or undercooked.
More Stuffed Paratha Recipes To Try!
North Indian Food Recipes
Breakfast Recipes
Breakfast Recipes
Breakfast Recipes
Please be sure to rate the recipe in the recipe card or leave a comment below if you have made it. For more vegetarian inspirations, Sign Up for my emails or follow me on Instagram, Youtube, Facebook, Pinterest or Twitter.
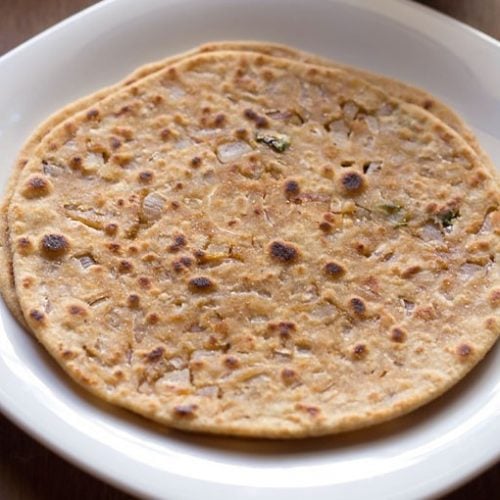
Onion Paratha
Ingredients
For dough
- 2 cups whole wheat flour
- ½ teaspoon salt
- 1 to 2 teaspoons oil or ghee, (optional)
- ⅓ to ½ cup water or as required
For onion stuffing
- 1 large onion – finely chopped
- 1 to 2 green chillies – finely chopped or minced (optional)
- Garam Masala – as required
- red chili powder or cayenne pepper or paprika, as required
- salt as required
- oil or ghee (clarified butter), as required for roasting
Instructions
Kneading dough
- Mix the flour with the salt. Add the oil or ghee and a bit of water.
- Begin to knead the dough adding water as needed. Knead to a smooth and soft dough.
- Cover and keep aside the dough for 20 to 30 minutes.
Making onion filling
- As the dough is resting we prepare the filling.
- Finely chop the onions & green chilies. If the onions and green chillies are not finely chopped then they will pop out of the paratha while rolling or roasting. So do remember to finely chop them.
- Mix them together and set aside.
Making onion paratha
- Make medium sized balls from the dough.
- Take a ball and roll into 3 to 4 inch diameter disc on a dusted board.
- Add the finely chopped onions-chilies mixture in the center.
- Sprinkle one or two pinch of garam masala powder, red chili powder and salt.
- Bring together all the edges of the dough.
- Join them in the center and press downwards.
- Sprinkle some more flour and roll into a paratha of about 6 to 8 inches in diameter.
- Heat a tawa or griddle or skillet before you start rolling the paratha. Keep the flame to medium-high or high. Once the tawa becomes hot then place the rolled onion paratha on it.
- Fry the paratha on a hot tava drizzling about 1 or 2 teaspoons of ghee or oil (or as required) on both sides till the paratha is evenly cooked and browned. Make sure that the paratha edges are also cooked well. You can press the edges with a spatula for even cooking.
- Serve onion paratha hot with some mango pickle, yogurt (dairy or vegan) or a side vegetable dish.
- These parathas taste so good that they can be had as is with Indian chai. They can also be packed in a tiffin box.
Notes
- The onions and green chillies have to be finely chopped. If not, then you won’t be able to roll the parathas.
- As a variation some chopped coriander (cilantro leaves) can also be added to the stuffing.
- Another variation which changes the flavor completely is adding carom seeds (ajwain). Sometimes I add these to the parathas. Just sprinkle a pinch or two on top of the onions whilst sprinkling the garam masala etc.
- If making onion paratha for kids, then skip the green chilies and the spice powders.
- For a tangy taste, sprinkle some amchur powder (dry mango powder) or chaat masala on the onions.
- Knead the dough very well. It has to be soft, smooth and pliable. The paratha will become hard or dense if the dough is not soft. If the dough becomes very loose or sticky, it will not be easy to stuff and roll the paratha.
- Roast the paratha on a hot skillet. The heat can be from medium-high to high. If the skillet is cold, it will make the parathas hard. If the skillet becomes too hot, the paratha will burn or get cooked quickly, leaving the inside stuffing raw or undercooked.
Nutrition Info (Approximate Values)
This onion paratha recipe post from the blog archives (January 2013) has been republished and updated on 26 May 2021.


Tried this today, so good ! Quick & easy, tastes great w/ achar & vegan dahi 🥶
Will be making this often, in rotation w/ your gobi parantha & mooli parantha recipes. (On a side note, I fully agree w/ what you say about not pre-cooking the gobi for gobi paranthas. Tastes so much better like that.)
I’m slowly getting prepared to make dosa & sambar from the recipe on your site, that is next big project hehe
Thx so much ! 😍
Thanks again Radha. Yes right, they taste so much better when not precooked. Making dosa and sambar is not difficult but needs prep work and some more time. Once you get the dosa right, you will always make it homemade. Just take care of the fermentation and grind the urad dal batter really well. Most welcome.
Thats a quick recipe.
Being new in the cooking your recipes are like blessing for me.. your recipes are very healthy and very easy to make.. I always go through your recipes… thank you
thanks a lot rupa. felt nice to read your comment. wish you all the best and happy cooking.
One thing I love is u always try to add more and more healthy options to the recipes… I have tried most of your recipes and they are awesome…. Thanks for the wonderful recipes
thanks vaishali. i do try to add healthier options wherever possible, but sometimes in a few recipes, it is just not possible. thanks for the feedback on the recipes you have tried. welcome and happy cooking.
Hi I always go through your receipies and since you post it with step by step photos it become more interesting and simple to learn. Thanks for all the receipies.
Welcome Suchismita. Glad to know this.
Such a easy recipe n tastes heavenly with some mitha achar…..wow….
Thanks Pallavi
Oww Dassana onion paratha looks so great, I didn’t know such a paratha exist☺. Went back to bangladesh and had been visiting my family for a month so no cooking required?..but now back again to Malaysia with hubby(sigh!).Back home I saw one of my aunt making paratha with garlic and kalonji. That is she just added minced garlic and little bit kalonji to the dough then rolled and layered with oil and fried like you would fry paratha..it was sooo good with a piping hot cup of tea in our cold winter morning. Btw.. i have already booked several of your recipes to make soon..inshallah will let u know how they turn out. With lots of love, kimia
kimia, after a long time. looks like you had a great stay. thats kalonji paratha which your aunt prepares. i know parathas are so good during winter mornings. sure, do let me know how the recipes turn out for you. happy cooking 🙂
the amount shown how many parathas will it make?
about 12 parathas.
Hi…instead of whole wheat flour can we use plain white flour please?
you can use plain white flour. but just add less water while kneading as whole wheat flour requires more water.
Thanks loads. I prepared last nite n it was really yummy
thanks for the review narvada.
You are a blessing !! These came out so well ..thank you 🙂
thanks a lot harsu.
It was so yummy…
I made these paranthas and they turned out well. However while rolling them the filling was really soggy and hence they were difficult to roll out. Can you please tell me what could be the reason?
thanks smruti. the onions have to be finely chopped and the parathas have to be rolled quickly. there will be some moisture releasing from the onions, which would make it difficult to roll. you can even sprinkle some dry atta on the top of onions, before sealing the dough. the atta absorbs the excess moisture.
Thank you very much for this tip. That will help a lot… Need to give you credit as my husband says that he doesnt want to eat out tht much as he appreciates my interest in cooking and serving him dishes tht I thought were difficult for me. Thanks again.
welcome always smruti 🙂 and thankyou wish you all the best in your cooking adventure.
Very good recipe
Love the recipe
thanks jeena
I learned how to prepare sabudhana pakora, it was awesome.
thanks vidya