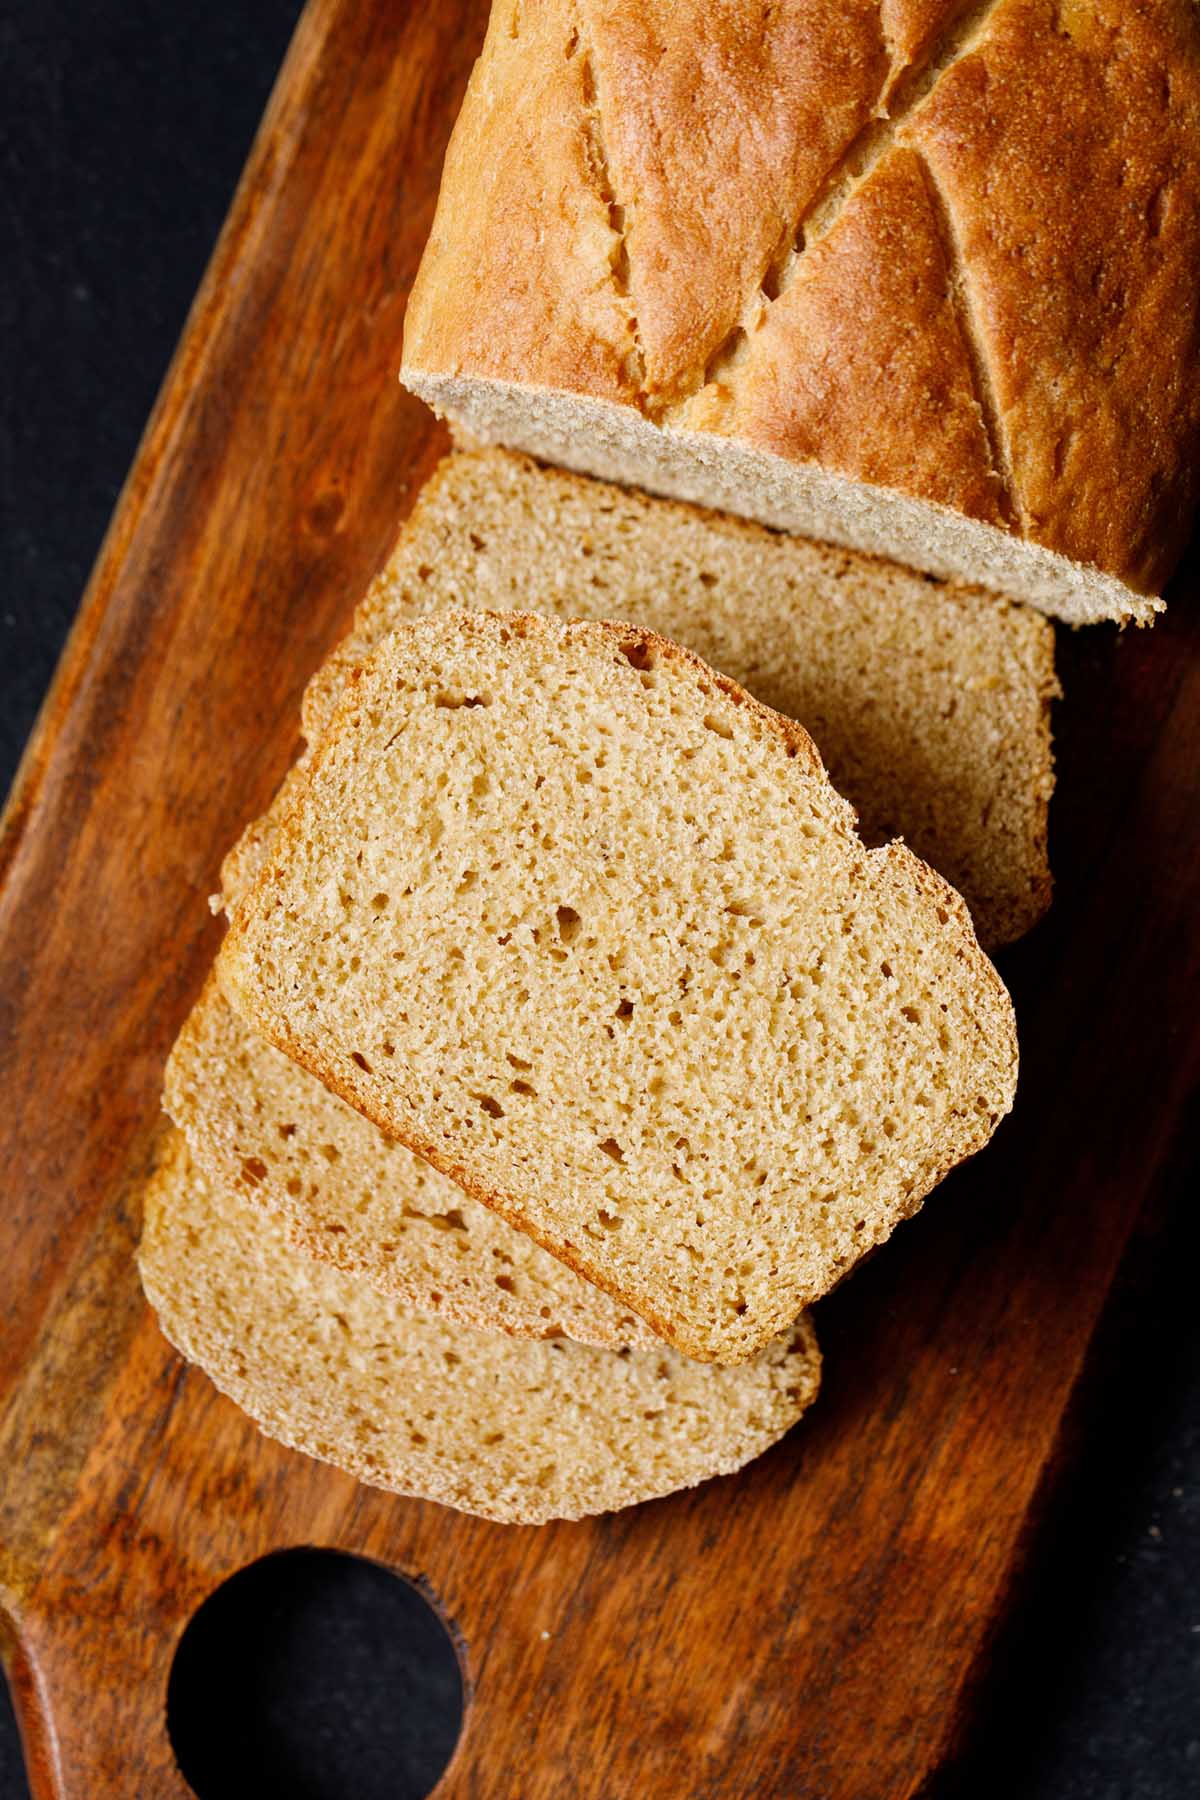
A foolproof recipe for the softest, most tender and delicious Whole Wheat Bread that’s easy to make with my step-by-step photos and secret (but super simple!) ingredient. I am sure you will love this homemade Wholemeal Bread (or Atta Bread) made with the usual bread baking staples.
About Whole Wheat Bread Recipe
This soft and tender whole wheat bread has a similar fluffy consistency as your favorite White Bread,, but with the yummy flavor and health benefits of whole wheat.
How is it possible to make such a magical loaf? After much trial and error I finally stumbled across the secret ingredient that’s key for the softest crumb.
Similar to Naan and Bhatura, my wholemeal bread recipe includes yogurt (or curd). The creamy, slightly acidic consistency of the yogurt creates a delightful texture every time! Plus, yogurt is rather mild in flavor, so you get that full earthy taste of wheat you love.
And YES, this recipe can be made vegan-friendly! The acidity of yogurt is what creates the great rise for a super soft crumb, but this can be easily replicated. Simply swap with vegan almond yogurt or cashew yogurt, or even just lemon juice or vinegar.
I have tried making the bread with cashew yogurt, lemon juice, apple cider vinegar, white vinegar and they all work well.
Below are my step-by-step photos and instructions for making the best whole wheat bread from scratch. I use my hands to knead the bread, but feel free to use a standing mixer with a dough hook instead.
This Wholemeal Bread recipe works wonderfully with any kind of baker’s yeast. Be it instant yeast (or rapid rising yeast), dry active yeast or fresh yeast.
Remember to proof dry active yeast or fresh yeast in lukewarm water. And also note that the leavening time or the time taken for the dough to rise will be more when using these two types of yeast.
Note: To make this wholemeal bread, I have used instant yeast (rapid rising yeast). In the recipe card below I have mentioned proportions if using dry active yeast or fresh yeast.
How to make Whole Wheat Bread
Proof Yeast
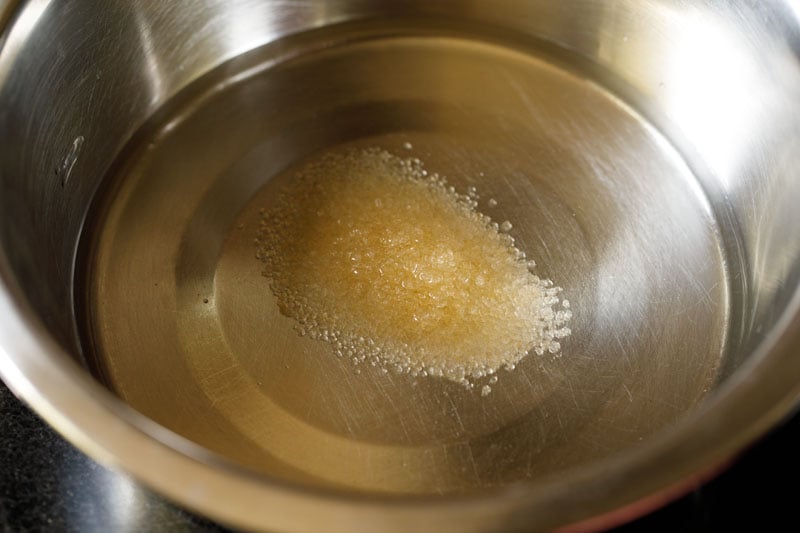
1. In a large bowl or in the bowl of a standing mixer, add ½ cup of water and 1 tablespoon of raw sugar. The water can be room temperature or lukewarm.
However, if using active dry yeast or fresh yeast, then be sure to use lukewarm water.
Wondering which yeast to choose? The leavening and rising time of instant yeast is faster compared to dry active yeast. You also don’t need to proof the instant yeast like the dry active yeast, but I still show you the full proofing method to help if you are using dry active yeast.
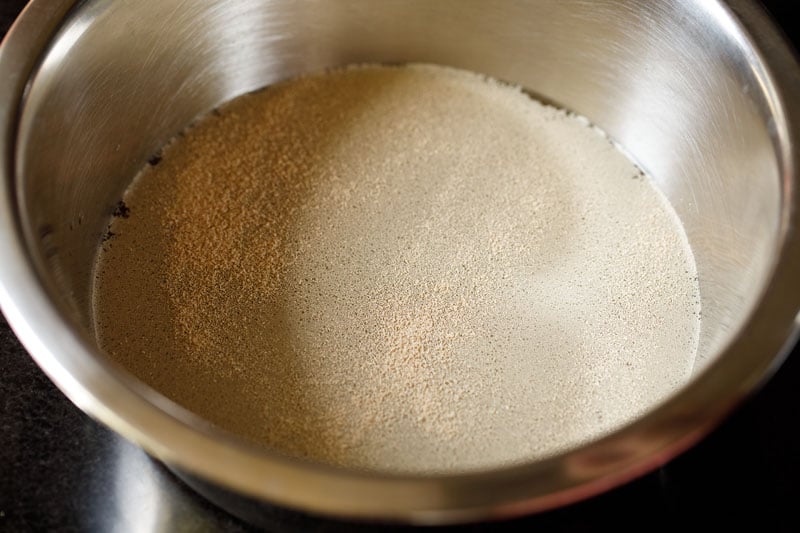
2. To the bowl add 1 teaspoon of instant yeast (rapid rise yeast).
If using dry active yeast, add 1.5 teaspoons. Swirl the bowl around or stir with a spoon to help the yeast dissolve in the water.
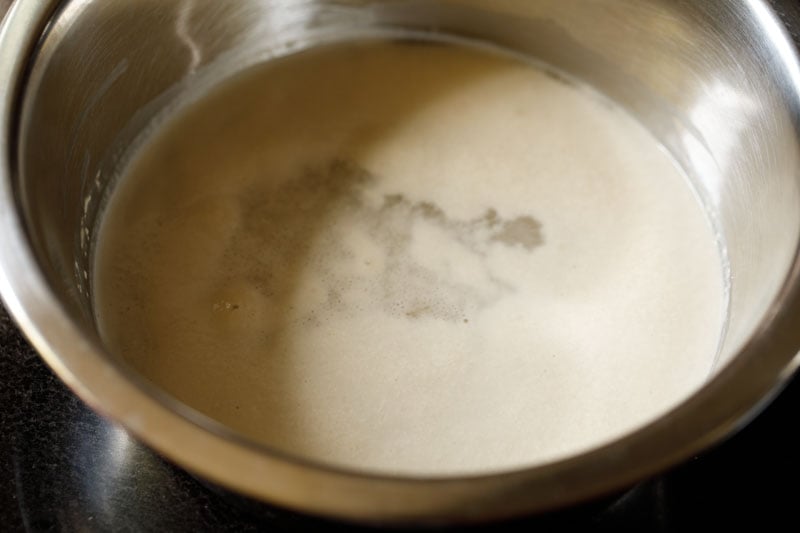
3. Mix well and let the yeast proof for 10 to 15 minutes.
Make Wholemeal Bread Dough
4. Now to the frothy yeast water mixture, add 3 cups of whole wheat flour (360 grams), 1 teaspoon of salt, 2 tablespoons of your favorite neutral flavored oil (or butter or ghee) and 2 tablespoons of yogurt (curd).
For a vegan-friendly loaf: Use either 1 tablespoon of lemon juice or apple cider vinegar, or 2 tablespoons of almond or cashew yogurt in place of dairy yogurt.
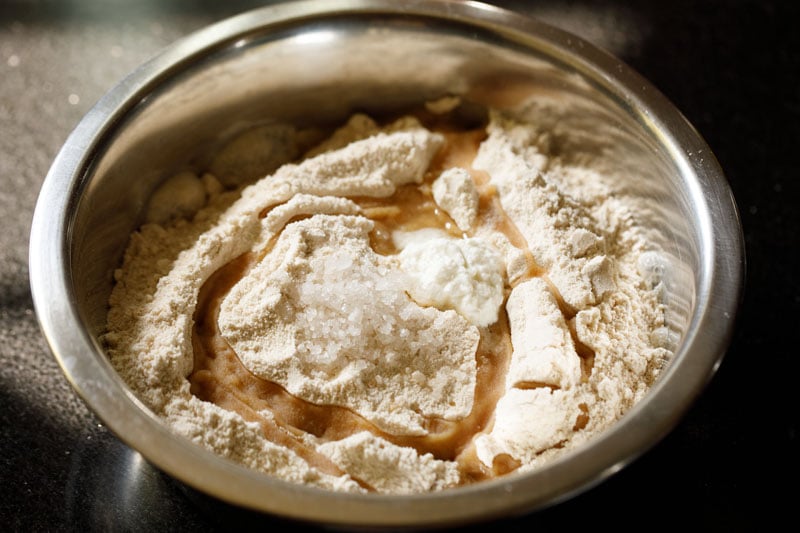
5. Mix well with a spoon.
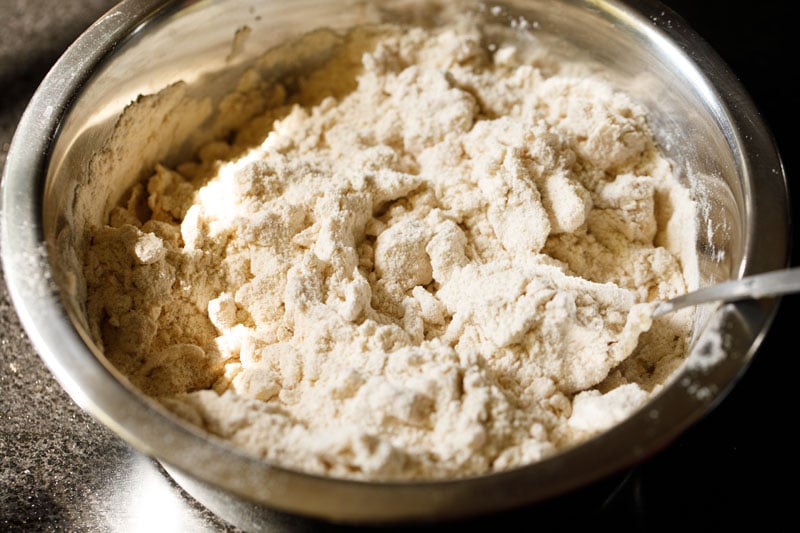
6. Add ½ cup of water in parts as you mix.
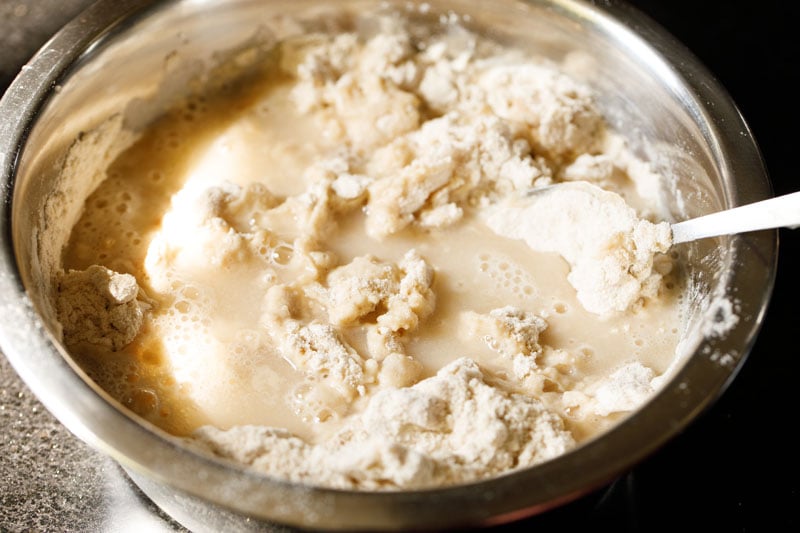
7. Now begin to knead the mixture into a soft dough, adding water at intervals as needed.
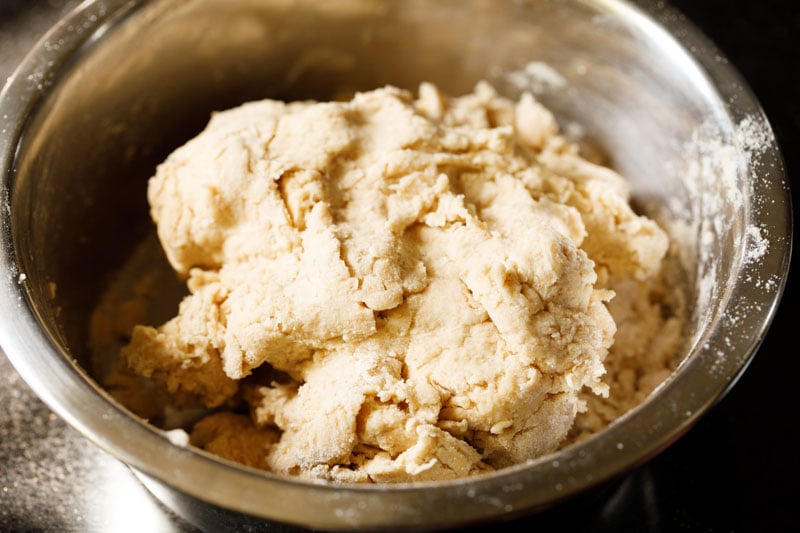
8. The dough will be slightly sticky at first, but it will be fine after the initial rise. If the dough looks dry, however, you can add some more water.
Work in 1 tablespoon at a time. If the dough looks too sticky (is actively sticking to your hands), then sprinkle in a bit of flour.
Knead very well for a total of 8 to 10 minutes to get a supple, pliable and soft dough. A slightly sticky dough is fine.
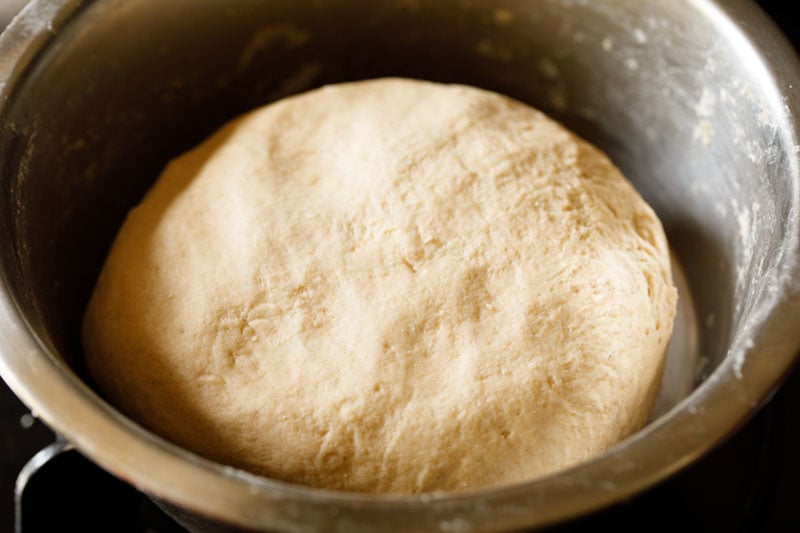
Proof Dough (First Rise)
9. Flatten the dough to fill the bottom of the bowl. Lightly brush the top of the dough with water.
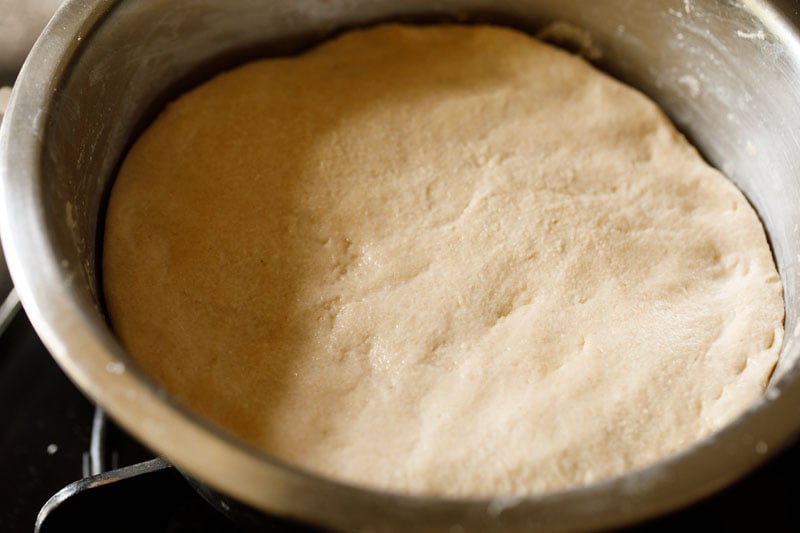
10. Place a towel over the bowl, and proof the dough for 30 to 35 minutes if you have used instant yeast.
For dry active yeast, give a time of about 1.5 to 2 hours for the dough to double in size.

11. After the initial rise, the dough should be nearly double in size like in the photo below.
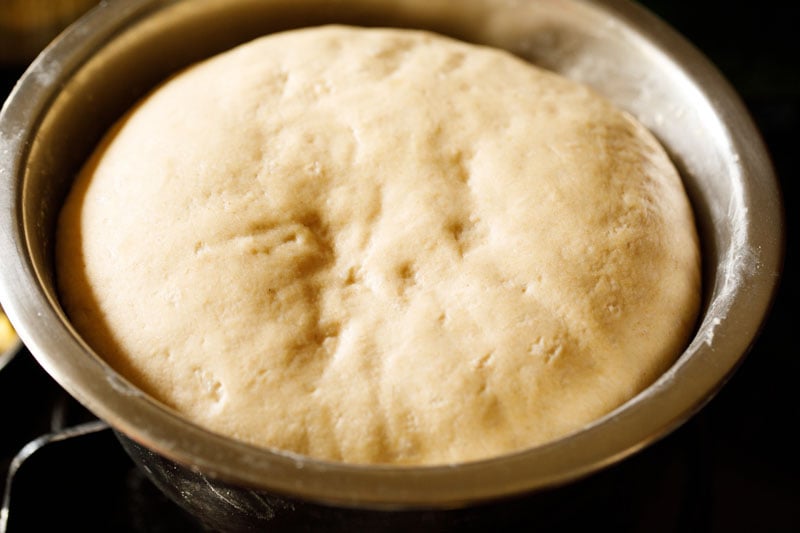
12. Use your fist to punch the dough lightly into the bowl, and knead again lightly.
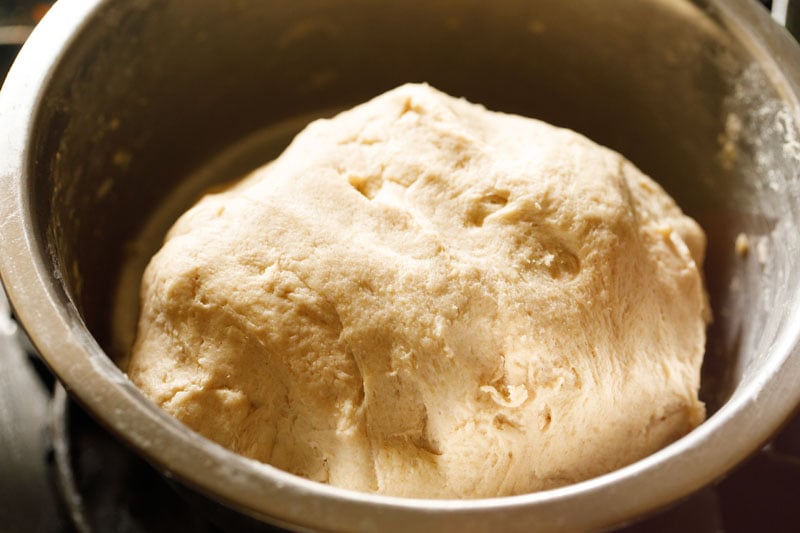
Shape to a Loaf and Proof Loaf (Second Rise)
13. Work the wholemeal bread dough out of the bowl and onto a clean work surface. Roll into a ball.
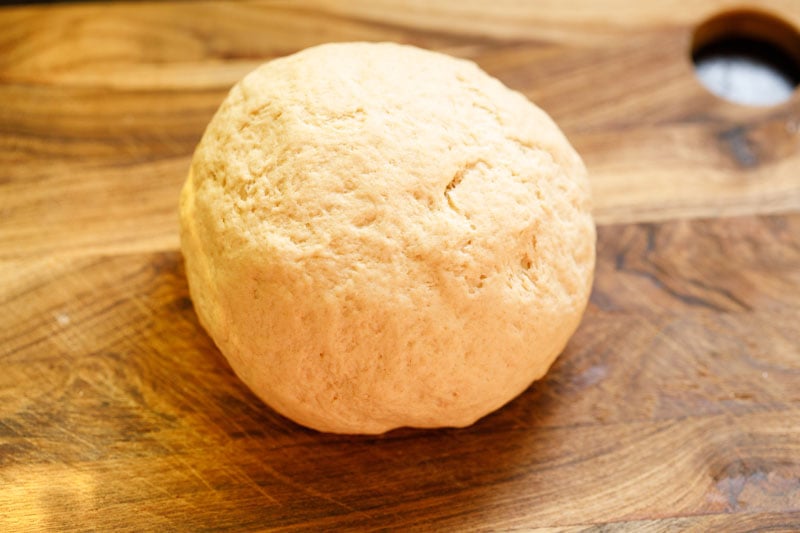
14. Now form the dough into a log, and gently pinch the edges into a seam.
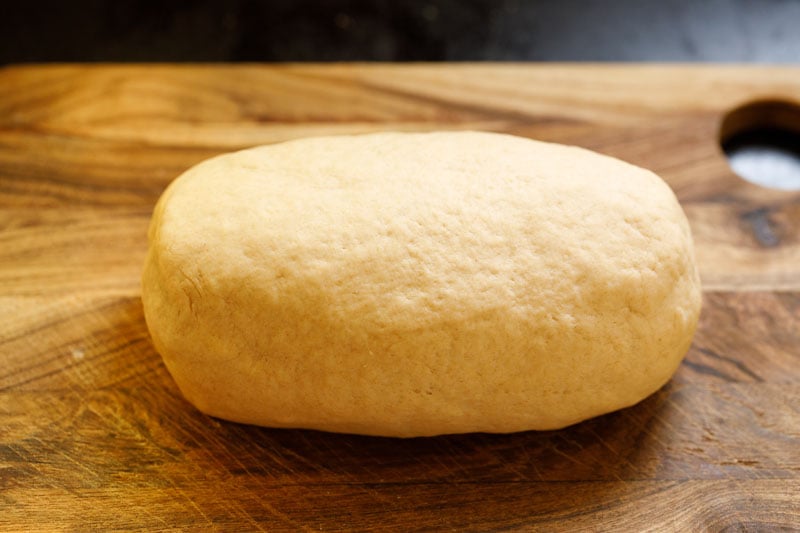
15. Place the dough log into a greased 9×5 inch loaf pan. Cover again with a kitchen towel and let rise.
- If you have used instant yeast – leaven for 20 to 30 minutes.
- For dry active yeast or fresh yeast – set aside for 45 minutes to 1 hour or more depending on the temperature conditions.
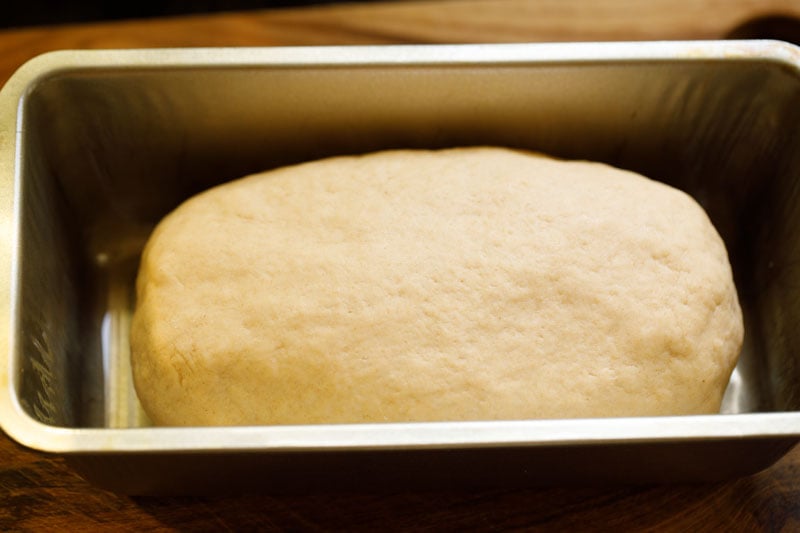
16. While the dough leavens, preheat the oven for 20 minutes at 220 degrees celsius (425 degrees Fahrenheit).
If using a convection oven or oven with a fan, then preheat at 200 or 205 degrees celsius (400 degrees Fahrenheit) for 20 minutes.
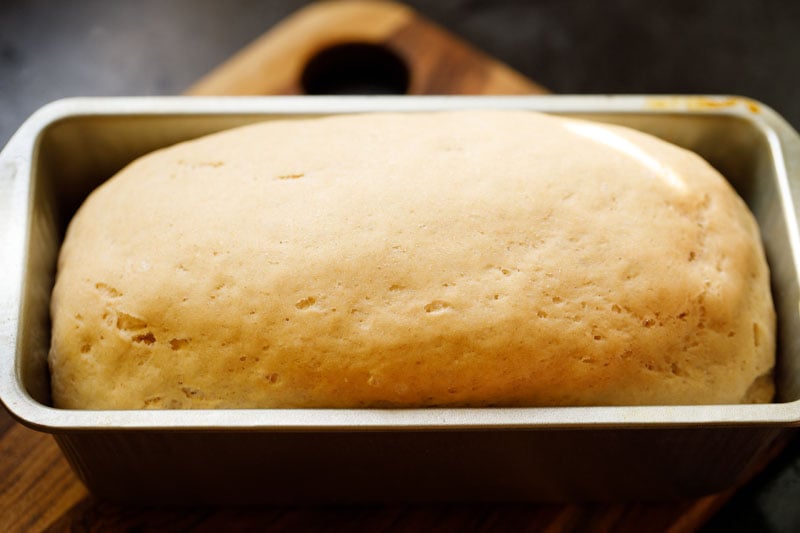
Score and Bake Whole Wheat Bread
17. Make a ¼ inch cross or slits on the bread. This helps the steam escape as the bread bakes, and creates a tender and soft loaf.
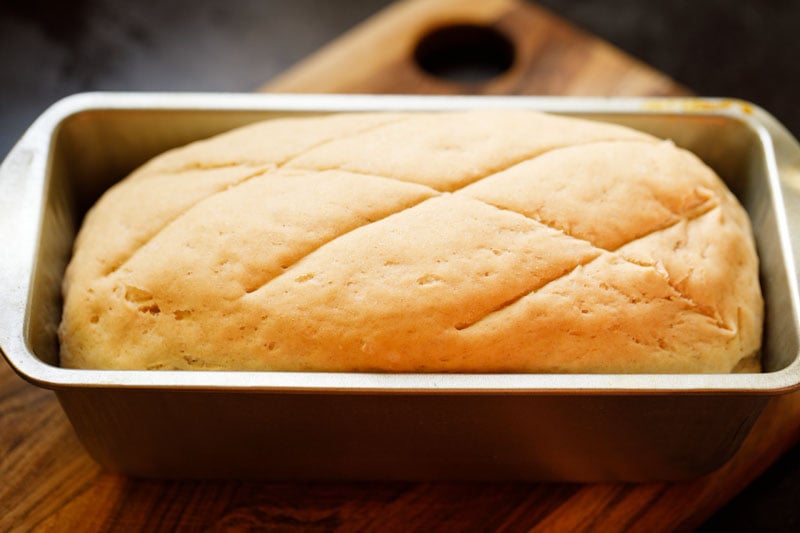
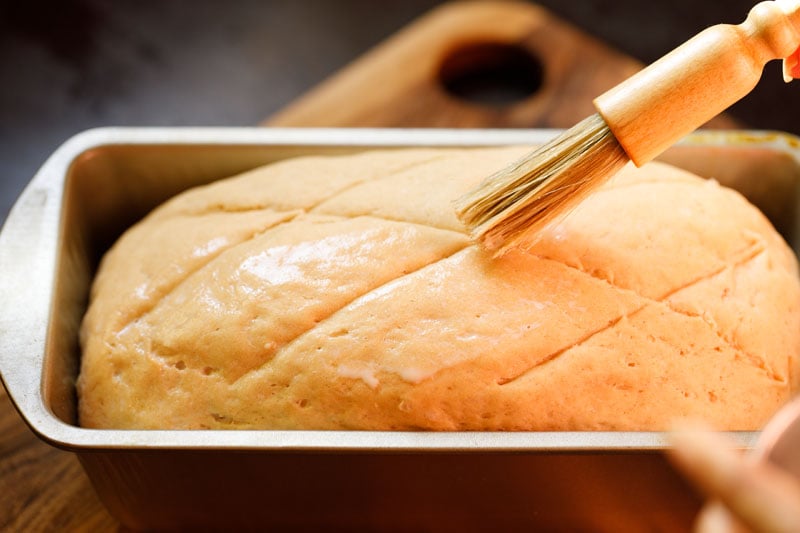
18. Lightly brush the top of the loaf with milk (dairy or vegan). You can even brush with some oil or butter or ghee.
This is an optional step but it definitely gives a lovely golden color and also a perfectly chewy crust and moistest crumb.
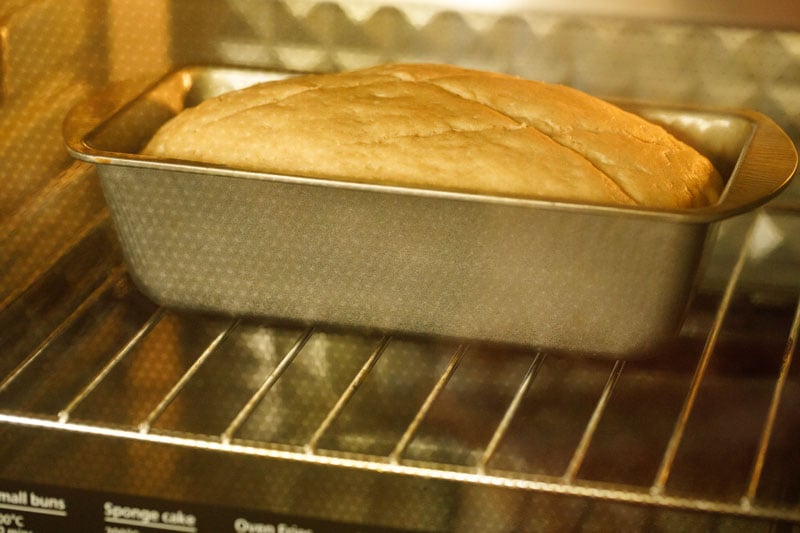
19. Bake in the preheated oven for 22 to 25 mins. If using a convection oven, shorten bake time by a few minutes.
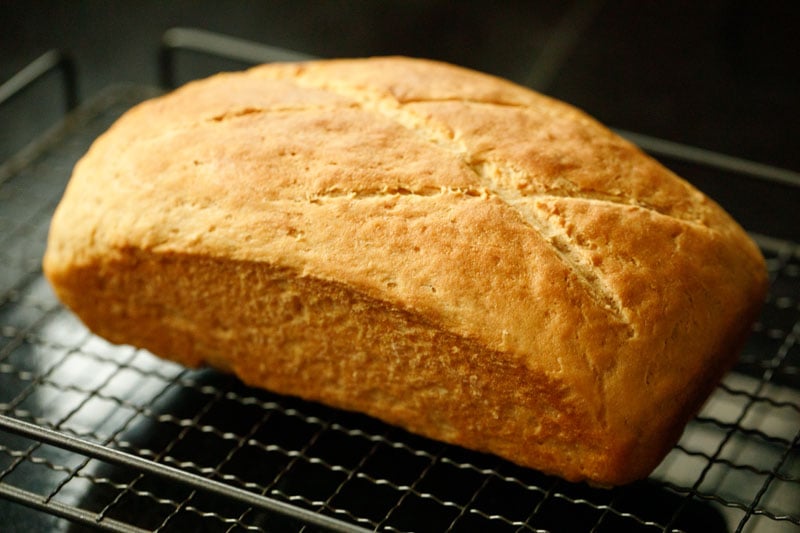
20. Bake the whole wheat bread dough until the top crust is golden.
Remove the bread from the oven and let it sit for a few minutes to cool. Then gently tap on top of the loaf: if baked properly, the bread should should hollow.
If the bread does not sound hollow, put it back in the oven to bake for a few more minutes.
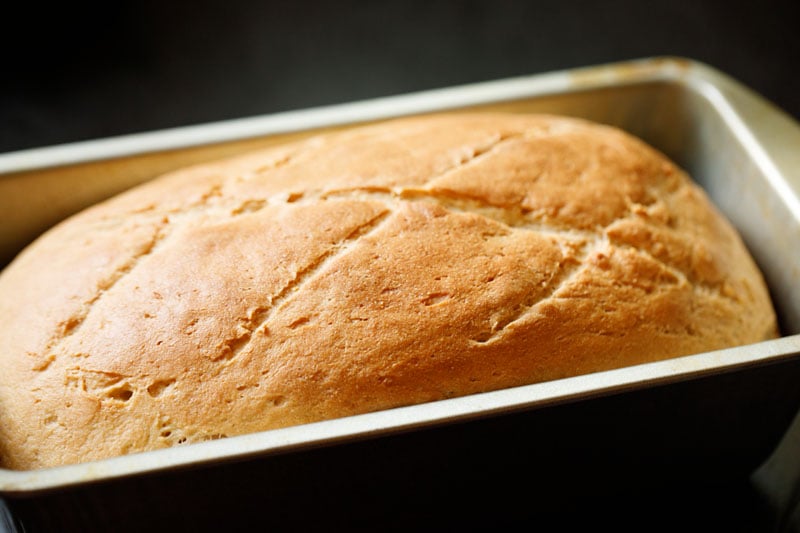
21. While the wheat bread is still hot, carefully remove it from the pan (using oven mittens/gloves) and place it on a wire rack to cool.
The bottom of your loaf will get soggy if you leave it in the pan for too long!
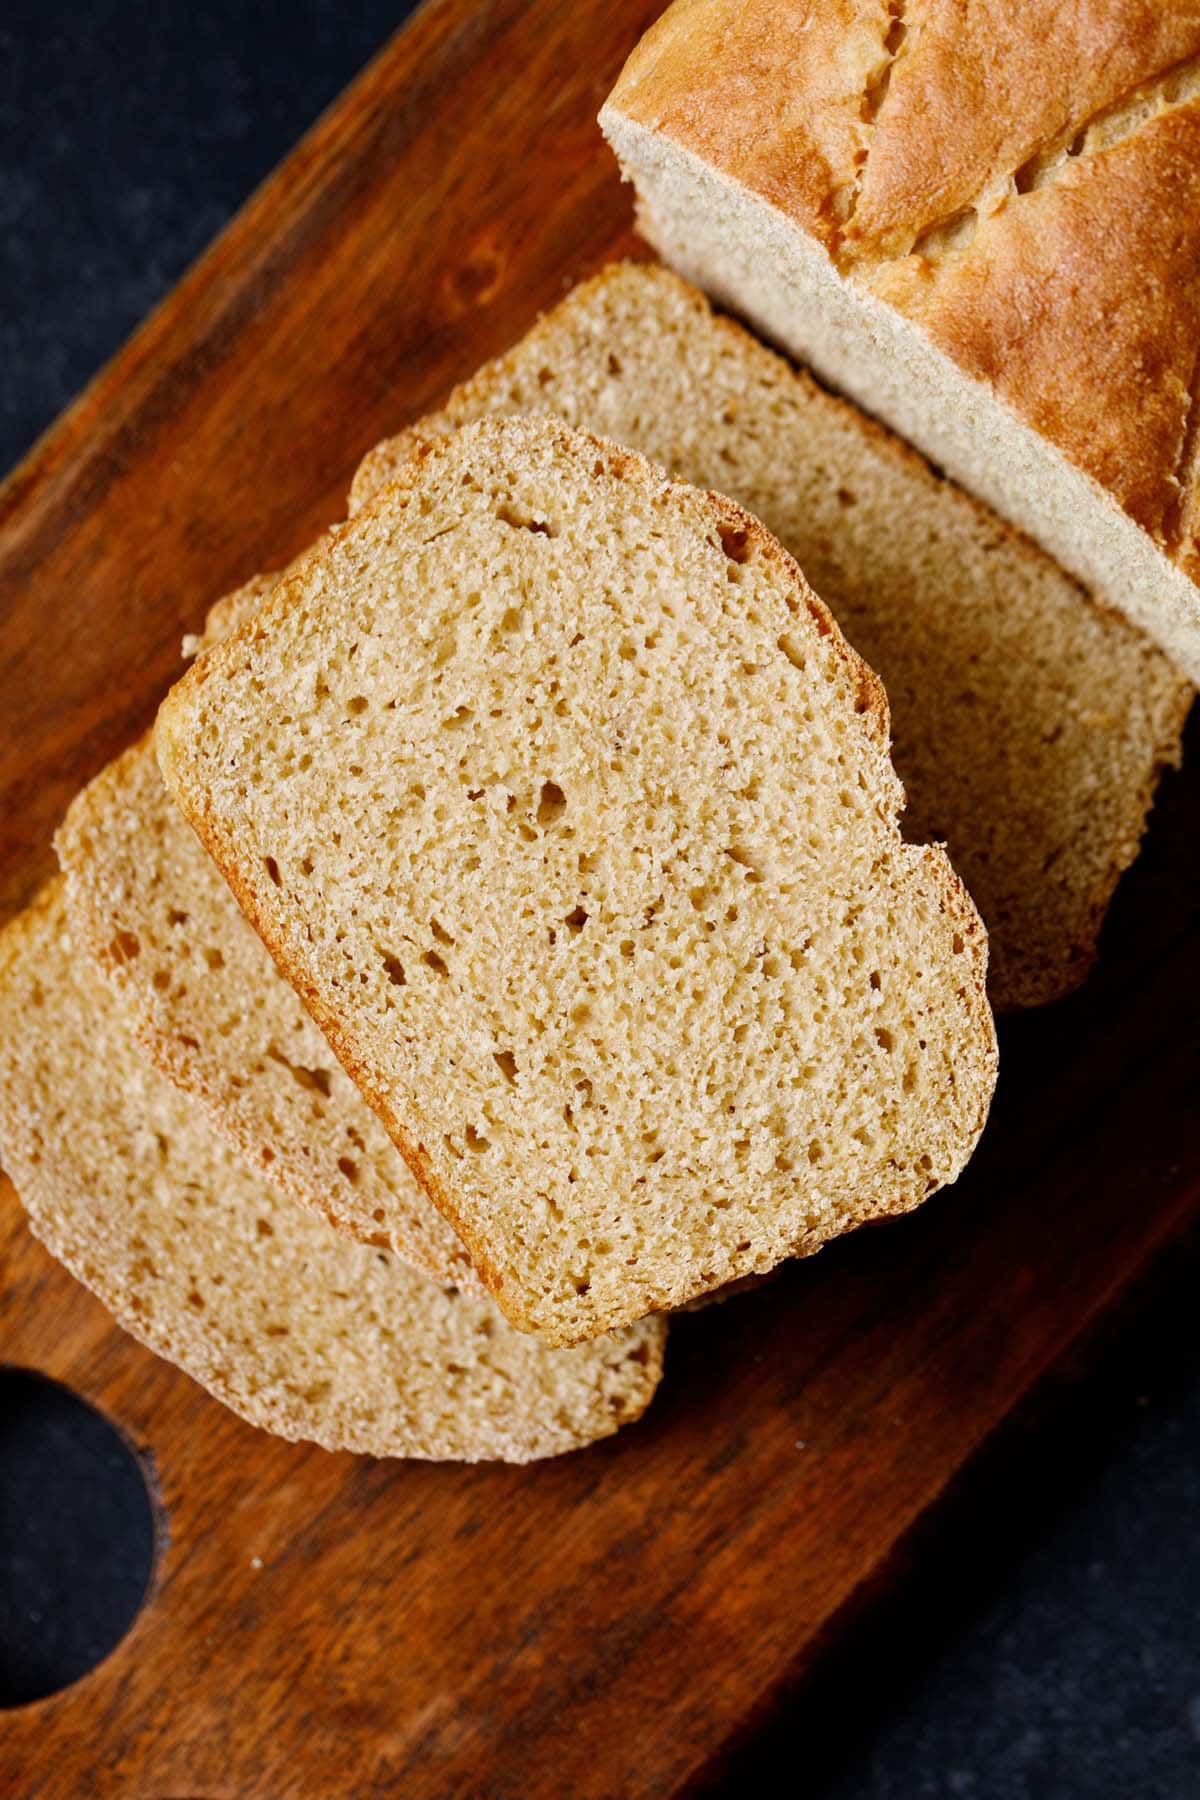
Let the Atta Bread cool completely before slicing with a serrated knife.
Serving Suggestions
Enjoy homemade whole wheat bread sliced with butter, ghee, jams, peanut butter, or any of your favorite spreads.
You can also use this wholemeal bread or atta bread to make various recipes like sandwiches, Bread Pakora, Bread Roll etc.
I love to make Veg Sandwich, Paneer Sandwich, and Cheese Sandwich with this atta bread.
Storage
Once cooled, wrap in a cling film or keep in a bread box at room temperature for up to one week. If you live in a warm or hot place, refrigerate the wheat loaf.
To freeze, place the whole wheat loaf in an airtight bag after wrapping in cling film, and keep in the freezer for up to 1 month.
More Bread Recipes To Try!
Bread Recipes
Bread Recipes
Bread Recipes
Bread Recipes
Please be sure to rate the recipe in the recipe card or leave a comment below if you have made it. For more vegetarian inspirations, Sign Up for my emails or follow me on Instagram, Youtube, Facebook, Pinterest or Twitter.
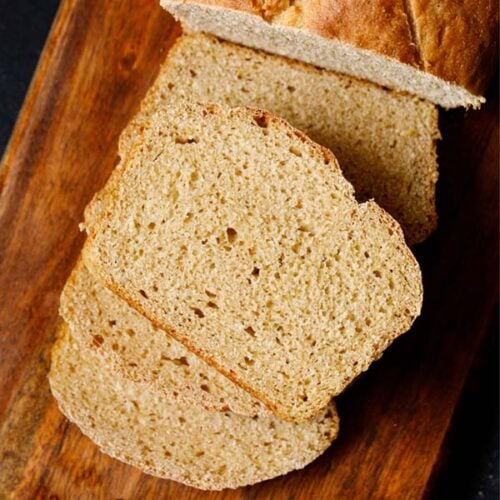
Whole Wheat Bread | Wholemeal Bread (Atta Bread)
Ingredients
- 3 cups whole wheat flour (regular whole wheat flour or chapati atta) – 360 grams
- 1 cup water divided, depending on quality of flour, can add upto 1.25 cups water
- 1 teaspoon instant yeast or 1.5 teaspoons dry active yeast or 1 tablespoon fresh yeast
- 1 teaspoon salt or edible rock salt or pink salt
- 1 tablespoon raw sugar or white granulated sugar
- 2 tablespoons oil or softened butter or ghee (clarified butter)
- 2 tablespoons yogurt (dairy or vegan) or 1 to 1.5 tablespoon vinegar or 1 tablespoon lemon juice
- 2 to 3 teaspoons milk (dairy or vegan), for brushing the top of the bread, optional
Instructions
Proofing yeast
- In a large bowl or in the bowl of a standing mixer, add ½ cup of water and 1 tablespoon of raw sugar. The water can be room temperature or lukewarm.But, if using active dry yeast or fresh yeast, then make sure to use lukewarm water.
- To the bowl add 1 teaspoon of instant yeast (rapid rising yeast).If using dry active yeast – add 1.5 teaspoons of it. Swirl the bowl around or stir with a spoon to help the yeast dissolve in the water.
- Let this mixture sit for 10 to 12 minutes until the yeast activates.
Forming Whole Wheat Dough
- Next to the frothy yeast water mixture, add the whole wheat flour, salt, preferred neutral flavored oil (or butter or ghee) and yogurt.
- Mix with a spoon.
- Next add ½ cup of water bit by bit and begin to knead for 8 to 10 minutes or as needed.
- Knead to a soft, supple and smooth dough. A well kneaded dough which when stretched should not tear.
- Add more water if required while kneading. The dough can be slightly sticky.
- Brush some water all over the dough and keep in a deep wide bowl covered with a lid or kitchen towel for 30 to 35 minutes if you have used instant yeast.If dry active yeast or fresh yeast has been used – keep in the covered bowl to leaven for 1.5 to 2 hours or more until the dough doubles.
- After the initial rise, the dough will be double in size. Remove and then lightly punch and knead the dough again.
- On a clean work surface roll the dough into a neat ball.
- Make a log of the dough and gently pinch the edges into a seam – meaning tuck in the edges at the corners.
- Place the prepared dough log in a greased 9×5 inches loaf pan with tucked edges facing downwards. Cover with kitchen towel again.
- Cover and let it rise the second time for 20 to 30 minutes if you have used instant yeast.For dry active yeast or fresh yeast – set aside for 45 minutes to 1 hour or more depending on the temperature conditions in your city or town.
Baking wheat bread
- Preheat the oven at 220 degrees C/425 degrees F for at-least 20 minutes.
- Once the bread has risen in the loaf pan, make a ¼ inch cross or slits on the bread. This helps the steam escape as the bread bakes, and creates a tender and soft loaf.
- Keep the loaf pan in the oven and bake at 220 degrees C/425 degrees F for 22 to 25 minutes or until the bread sounds hollow when tapped.
- While baking, if the wheat bread begins to brown too much from the top, then cover with parchment paper or aluminium foil.
- Remove the bread from the oven and let it sit for a few minutes to cool. Then gently tap on top of the loaf: if baked properly, the bread should should hollow.If the bread does not sound hollow, put it back in the oven to bake for a few more minutes.
- When the bread is still hot, remove it from the loaf pan using oven mittens/gloves and keep it on a wired tray to cool.
- Let the Wholemeal Bread loaf cool completely before slicing it with a serrated knife.
- Enjoy homemade Whole Wheat Bread sliced with butter, ghee, jams, peanut butter, or any of your favorite spreads. Or use the Atta Bread to make your favorite sandwiches or snacks from bread.
- Store bread in the fridge for about a week or the freezer for about a month.
Video
Nutrition Info (Approximate Values)
This Whole Wheat Bread recipe from the archives first published in December 2013 has been updated and republished on December 2022.



In my microwave the highest temp is 200 degrees. So for how long I need to bake?
Can u pls reply?
replied swetha.
Thanks a lot
welcome swetha and thankyou 🙂
you can bake for 30 to 35 minutes.
Hi… I tried this twice…and both times it was perfect like the photos till the second rise.
It rose to an inch above the pan.
But when i started baking at 420F, both times the crust was very hard… The first time i kept it for 25mins, so the second time i set it for 20 mins… But crust was brown only in about 10-12mins and when i tapped it sounded hollow… I immediately took it out, and got it out of the mold the bottom of the loaf was very soft and in about 30seconds it sank in. I cut a piece.. It wasnt cooked so i put it back into the oven for another 8-9 mins… But the crust got harder and the inside didn’t cook properly. I am new to baking… Can you please help me make the necessary corrections pls!
perhaps your oven temperature has a higher range than 420F. meaning the temperature is more than 420F inside the oven. you can try baking at 392F. due to the high temp, the crust is getting done but the inside dough is not getting baked. i think this should help.
How long will this bread last ??
Thnks
about a week in the refrigerator.
I have been looking for a simplistic recipe like this for a while now so thank you. I have a couple of questions though i.e.
1. do we need to add sugar?
2. what do you mean by seam the edges?
3. is there any specific proportion of other grains we can safely add without the risk of making a mess out of it? i.e. multi-grain
4. how many grams of atta in a cup?
5. can i make this in a otg?
thanks in advance
Brijesh
thanks, your queries answered below:
1. the yeast feed on sugar.
2. seam meaning joining the edges.
3. keep at least 75% of whole wheat flour in the recipe. so that the bread turns out soft.
4. 1 cup of atta is 120 grams.
5. yes you can make in an OTG.
hope the answers help you.
thank you so much
Hi,
I am going to try this for the first time, so please bear with ym questions. As much as I love to cook, I am not a baker yet 😀
I have a convection microwave with Silicone bread pans. How should I work with this combination?
Also, where can I find baking supplies in Bangalore?
Thanks!
no problem. silicon pans can be used only in the convection mode of microwave oven. do not use it in the microwave mode. with silicon pans the bread will take a longer time to bake and you will have less browning in the crust. for baking supplies in bangalore you can check adams company at richard’s square.
hi , i made this bread and for first time the taste was good but the shape was not great n also i cut that immediately n it was all totally a big mess as i was a first time baker. today i prepared this n this is my third batch and its ready to go into the oven. the second batch was totally amazing n i gave one to my friend. thank you so much for this recipe n all your good work.my husband is in all praise of me n thanks goes to you alone. i live in the uk and though i had good oven i never tried baking at all n after seeing ur blog it just impressed me n now i am into new cooking. thanks a lot.
welcome sony and thank you. in baking usually there are initial mishaps. but as they say practice makes a man or woman perfect, so it is with baking. the more you bake the more better you will get in baking. you can bake easily artisan breads, variety of cakes and cookies. baking is therapeutic too.
Hi.I made this bread with 2 cups of wheat flour and 1 teaspoon of gloripan instant yeast.My bread is having a very bad yeast smell and flavour.Its a new pack of yeast.Is 1 teaspoon instant yeast too much for 2 cups of wheat flour.What will be the right quantity?
1 tsp of instant yeast is too much for 2 cups of flour. you could have added 1/3 to 1/2 tsp of instant yeast. generally for 3 to 3.5 cups 1 tsp of instant yeast is fine.
Alright.I”ll try with 1/2 teaspoon yeast next time.Thanks for the reply
welcome and thankyou meenakshi 🙂
Hi,
I tried making this bread yesterday with my homemade yeast…the dough rises well in the first rise and in the loaf pan too…but when i baked it the bread was not cooked evenly…and the top also became very hard…can u tell where i went wrong?and i baked it for 30 mins with 200 degree C…
Thanks in advance
when you leaven breads with homemade yeast, you have to leaven it for a longer period of time like 3 to 5 hours (depending on the temperature conditions). this could be the reason that there is unevenness in the cooking. the top also has become hard due to this reason. next time you can keep for a few more hours. the dough should feel light. if the dough feels heavy, this means that the leavening has not happened well.
Hi,
What is the shelf life of this bread? Will it stay for 2 days? Am gonna try it soon.
yes kavya if you refrigerate should last upto 3-4 days. surely try and let us know how it was?
This is THE BEST 100% whole wheat bread recipe I’ve tried. I like it better than King Arthur Flour’s recipe for wheat bread.
This one is easy and the butter and yogurt make it light and crumbly.
Thank you for sharing it !
very pleased to know this thankyou kellyn for your kind and positive words. glad you liked the whole wheat bread recipe.
Hey there,
I tried your white bread recipe, followed the instructions properly. The overall result was good except i felt it had not risen very well, where do u think i went wrong?
Thanks in advance
M
could be the quality of yeast or the proofing has not been done well. so could be either of the reason.
Hii.. My family have many diabetics so can i substitute sugar with sugar free , if not den what would be the best way to reduce sugar.. Thanks for the recipe its very nice..
skip sugar. don’t add any sugar. i would suggest you to try your hands on whole grain breads like buck wheat flour, rye, millet flours like jowar/bajra/ragi etc. brown rice flour can also be included. you can also try whole grain sour dough breads.
Hi… Thanks for detailed instruction, I did try this recipe, though i was happy with the output, i found my bread was not a bit harder to my liking… i baked for 25 mins at 200 degrees (max for my oven)…not sure where i was wrong…
can you let me know how can i get softer output – thanks in advance
softness in the texture can be due to the yeast proofing and proper leavening of the dough. i feel the baking time is fine. the yeast has to be of good quality and in its shelf life. also the dough should double up. in winter season, it takes more time, so you can keep the dough for a couple of hours more for the first rise.
Hi Dasanna, I am willing to prepare bread but without yeast, what could be the best substitute of yeast readily available in india. Pls do help by letting me about it.
there is no substitute of yeast. some recipe use baking soda also. but when i tried such a recipe it was a thick loaf with no lightness and softness. there is a way to make bread using natural yeast starter. this is similar to the way naan or bhaturas are traditionally. one reader kaur harsmirat had tried making bread this way. you can check these comment threads, where i have mentioned the method. any issue you can always comment back.
1. https://www.vegrecipesofindia.com/white-bread-easy-white-bread/#comment-459799
2. https://www.vegrecipesofindia.com/100-whole-wheat-bread-atta-bread/#comment-460475
Hi, I am always impressed with all your recipes, and from now on want to try my hand on your whole wheat breads.
Kindly suggest me , the container that i should buy, there are so many on websites, some black non stick, some straight ones. I am really confused.
I need Market size bread, which can be cut and used in sandwich makers .
if possible please send a picture, size and brand name(if any).
Regards-
Poonam
thanks poonam. i have a metal loaf pan and i had purchased it locally from a shop. avoid non stick ones. just buy a proper metal based baking pan. the baking pan is what you see in the pics.
hi
it is so difficult to get a bread loaf pan in my market in Delhi, really sad, but baking is so uncommon that the shopkeepers dont keep bread moulds, all i could see were circular and square cake pans, out of 10 shops, not even one had a loaf pan… kindly advise me- length, breadth and height in cms., so that i can order online. I am really desperate to try a bread recipe of yours. Please help
i always thought that delhi must be having loaf pans easily available. the dimensions are 8 x 4 x 2.5 inches for 3 to 4 cups flour used. i checked online and they are very expensive. you can buy here from this link, below. on this link the prices are reasonable. there is an aluminum loaf pan also. they have their shop in delhi – https://ccdsshop.com/index.php?route=product/search&search=loaf%20pan
don’t go for non stick pans. buy aluminium ones.