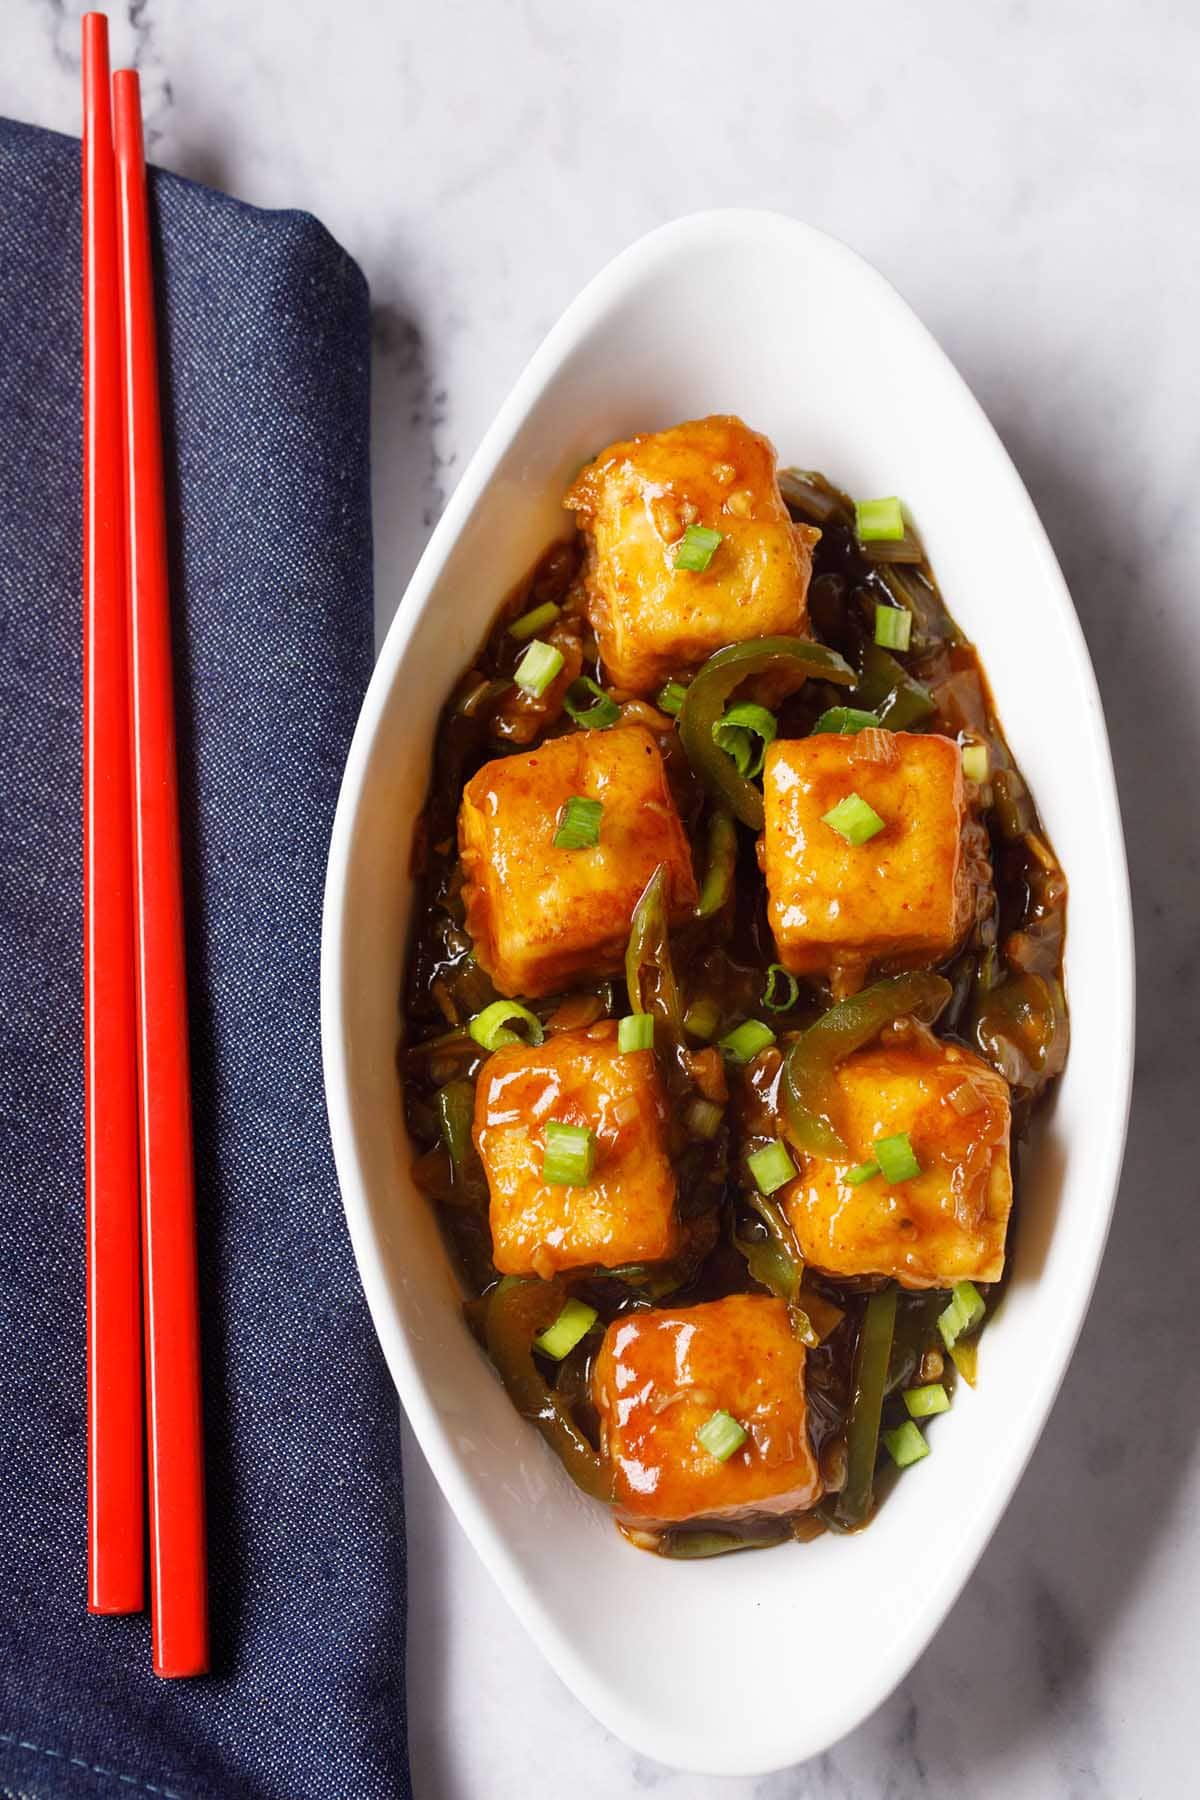
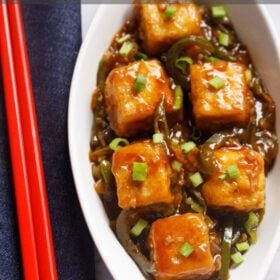
Chilli Paneer is one of the most popular recipes in Indo-Chinese cuisine. It is simply flour or batter coated fried paneer cubes tossed in a spicy, salty, tangy and sweet sauce made with green bell peppers, garlic, ginger, green chillies, soy sauce and more seasonings. There are three primary ways of making it, including dry, semi dry or gravy versions. In this post I am sharing the semi dry gravy (restaurant style) version alongside step-by-step photos and video.
About Chilli Paneer Paneer
Chilli Paneer is a vegetarian version of Chilli Chicken and has become one of the most sought after dishes in Indo-Chinese cuisine. I have been told that it tastes similar to General Tso’s recipe, though it is made with Indian cottage cheese instead of tofu.
In a typical Chilli Paneer recipe, the paneer cubes are coated with either a thin dusting of flour or are batter coated prior to being fried.
The fried cheese cubes are then tossed in a sweet, sour and spicy sauce that is, as the Americans say, “finger-licking good.”
Chilli Paneer can be served in one of three ways:
- The dry version of chilli paneer is served as a starter.
- The gravy version is usually served with steamed rice or noodles.
- The semi dry gravy version can be enjoyed as either an appetizer or entrée, and in my opinion is the most authentic restaurant-style taste and flavor of the three.
This chilli paneer recipe is awesome for serving with noodles or fried rice, naan or roti.
How to Make Chilli Paneer
Prep and Fry Paneer
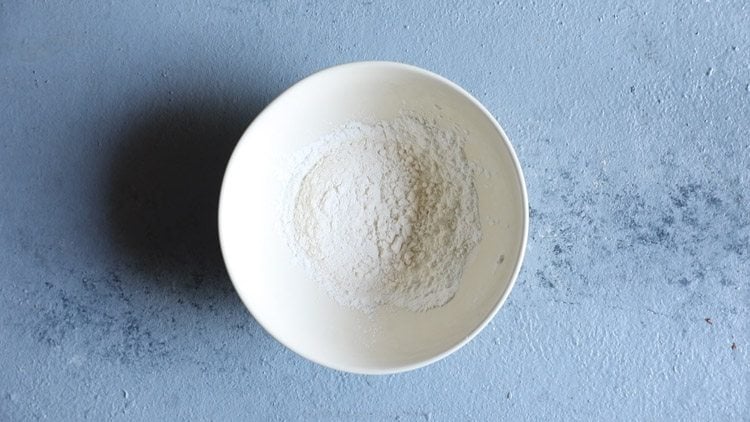
1. In a bowl take 2 tablespoons cornstarch and 3 tablespoons all-purpose flour (maida).
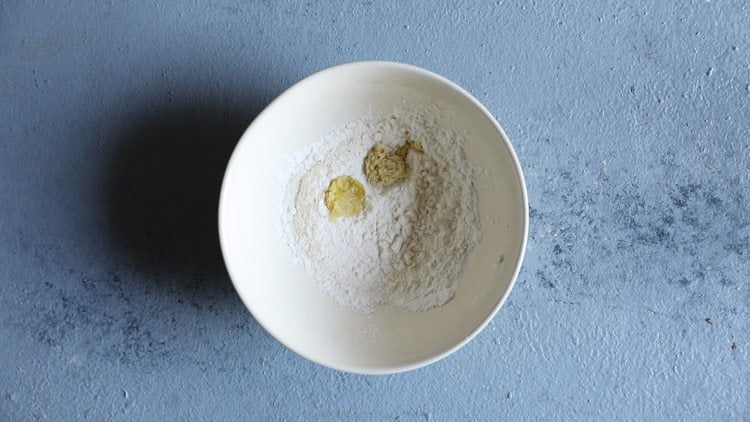
2. Next add ½ teaspoon ginger paste and ½ teaspoon garlic paste.
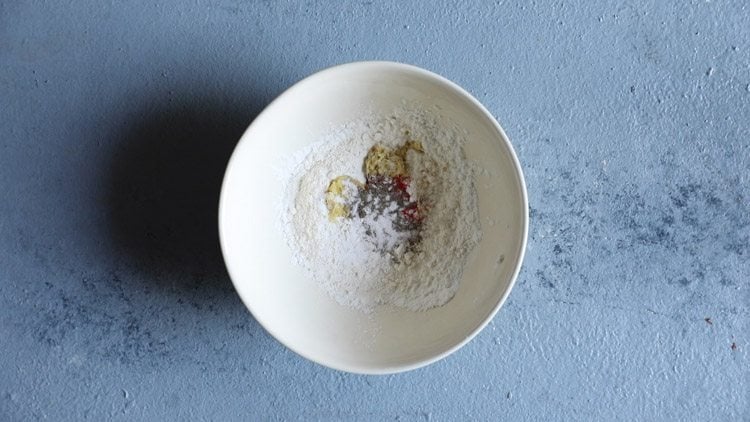
3. Add ¼ teaspoon crushed black pepper or black pepper powder and ¼ teaspoon Kashmiri red chilli powder. Season with salt to taste.
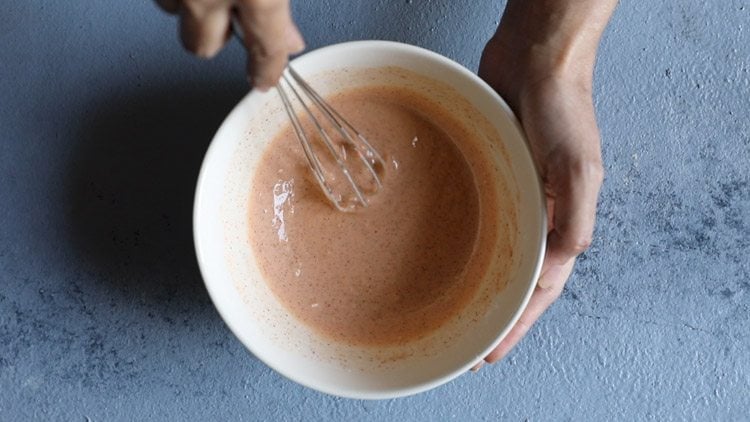
4. Next add ¼ cup water or add as required. With a wired whisk or a spoon mix very well to get a smooth batter without any lumps. The batter is of medium consistency.
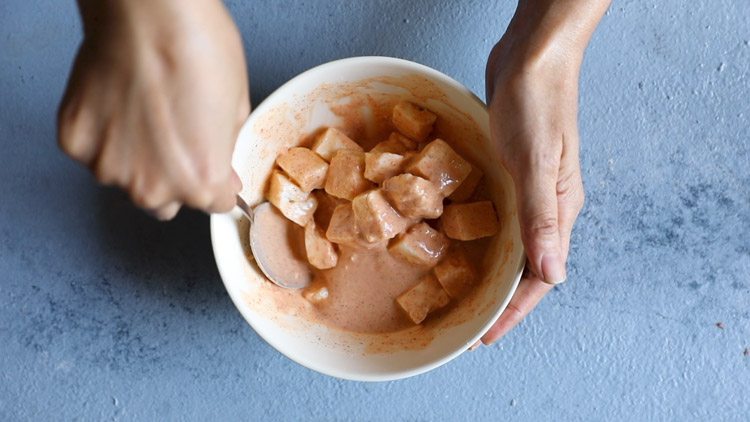
5. Add paneer cubes in the batter. With a spoon, gently coat the paneer cubes with the batter.
1. Heat 3 tablespoons oil in a heavy frying pan or skillet. I have pan fried the paneer cubes. You can also deep fry them.
Let the oil become hot and then place the batter coated paneer cubes in the oil. Fry on medium-heat.
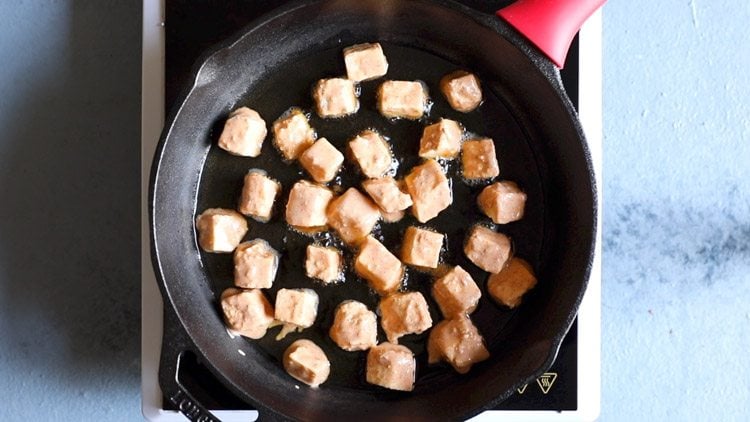
2. Once one side is done, flip it and fry the other side. Flip a couple of times and fry till the paneer cubes are crisp and golden.
Be sure not to overcook them as the paneer cubes can become chewy.
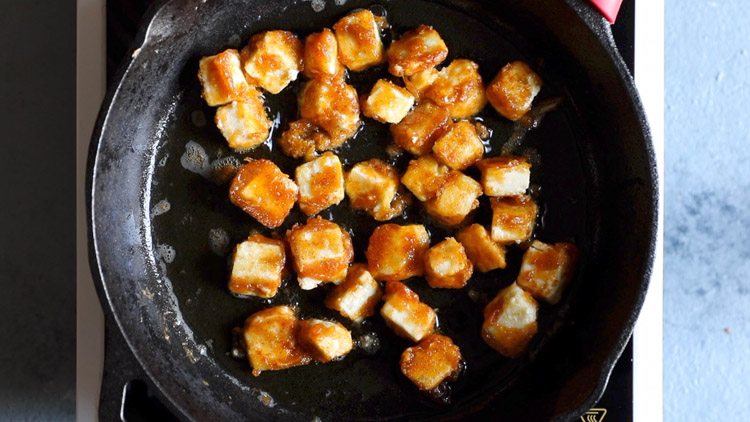
3. Remove the fried paneer cubes and place them on kitchen paper towels for the extra oil to be absorbed.
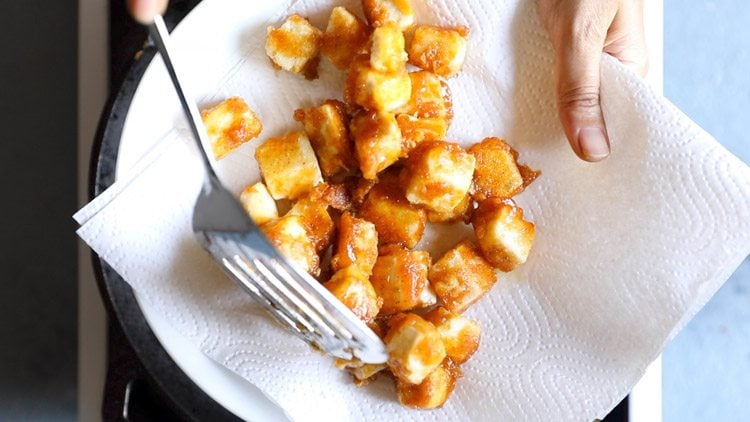
Make Chilli Sauce
1. In the same pan, there will be some oil left, so there is no need to add any extra oil.
Add 2 teaspoons finely chopped ginger, 2 teaspoons finely chopped garlic and 2 to 3 green chillies (slit or sliced).
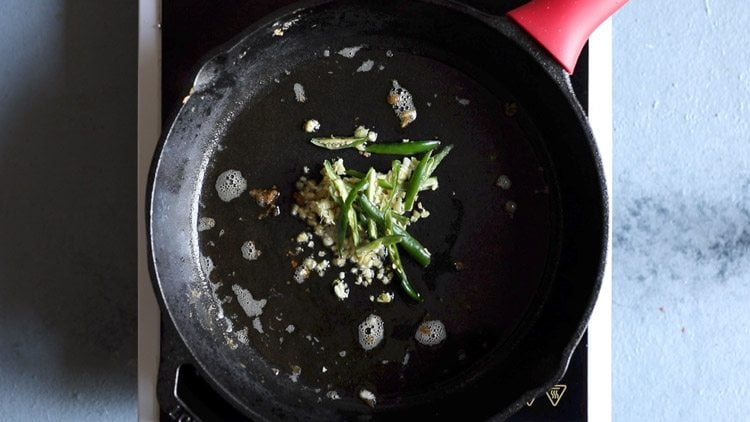
2. Stir fry on medium to high heat for about 30 seconds or until fragrant.
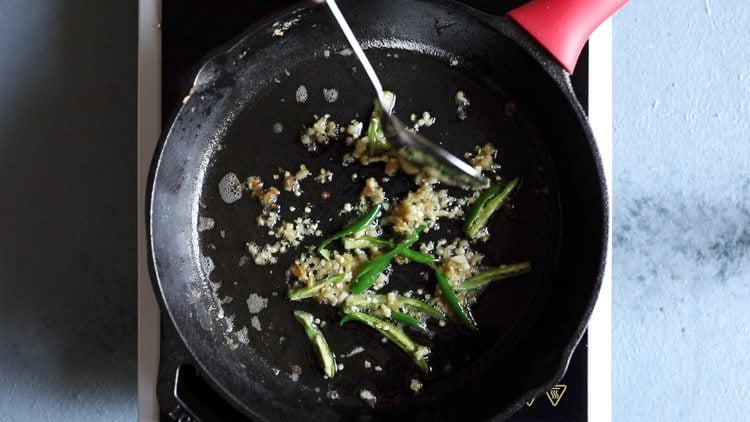
3. Then add ⅓ cup chopped spring onions (scallions). Stir fry spring onions for 1 to 2 minutes on medium to high heat.
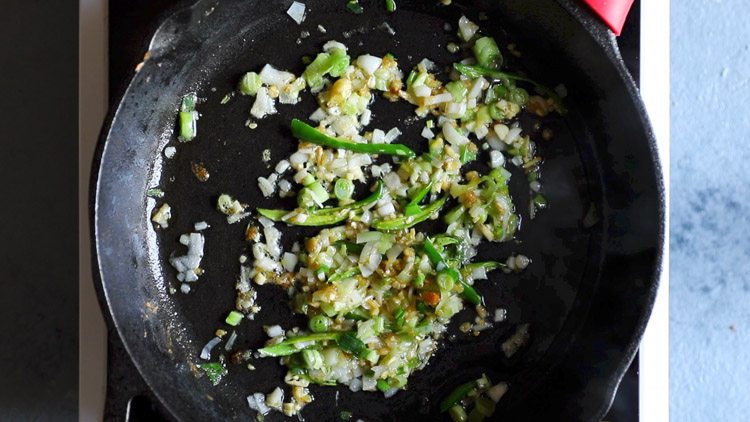
4. Next add ½ cup sliced capsicum.
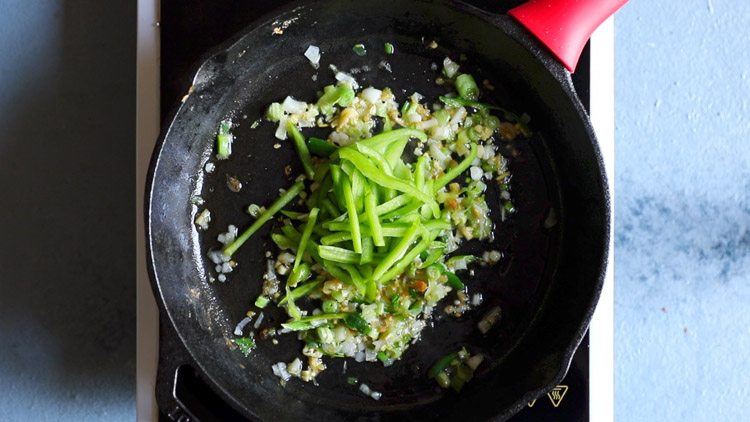
6. Stir fry on medium to high heat for 3 to 4 minutes. The capsicum only needs to slightly cooked.
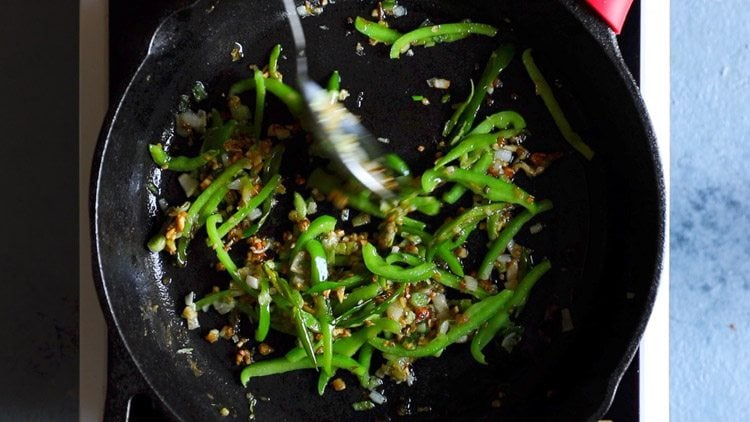
7. Lower the heat and then add ½ teaspoon Kashmiri red chilli powder or sweet paprika.
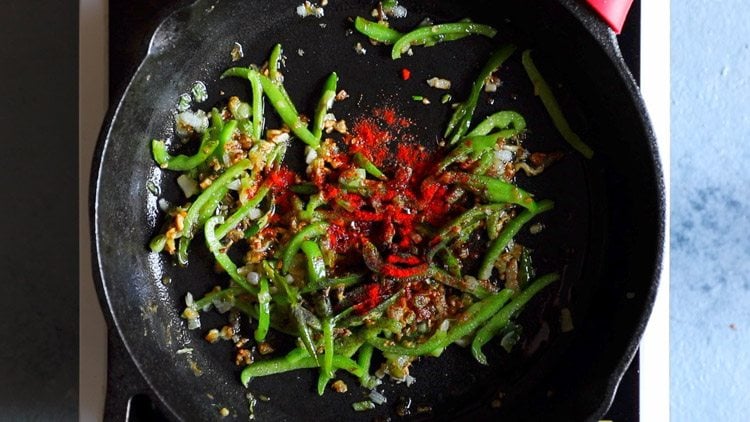
8. Then add 2 teaspoons soy sauce.
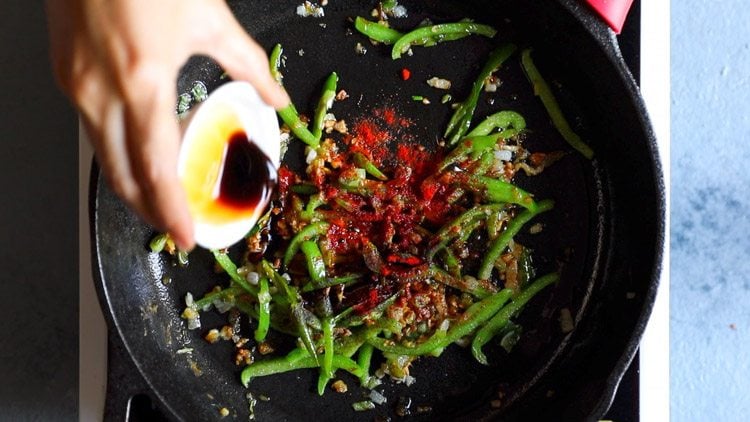
9. Next add 1 teaspoon red chilli sauce. The red chilli sauce has to be spicy.
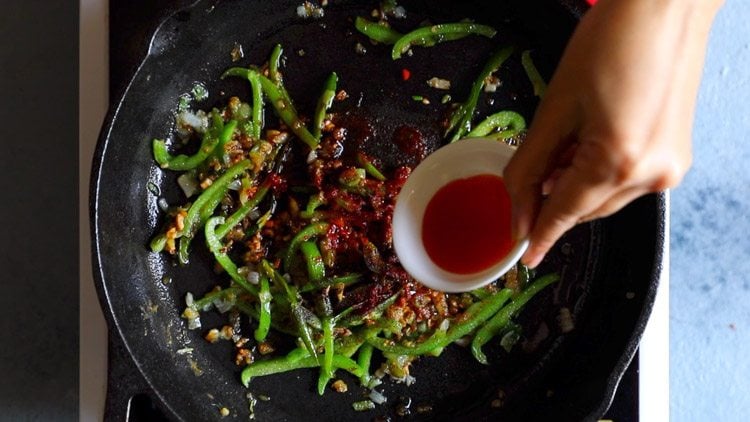
10. Stir and mix the sauces and red chilli powder with the remaining stir fried ingredients.
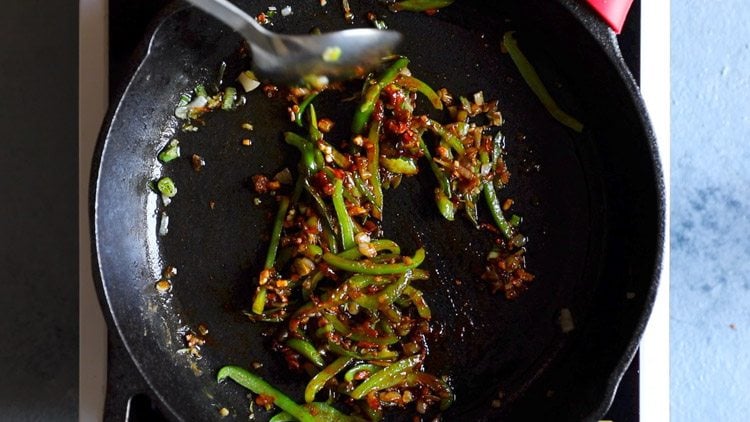
11. Add ½ to ⅔ cup water.
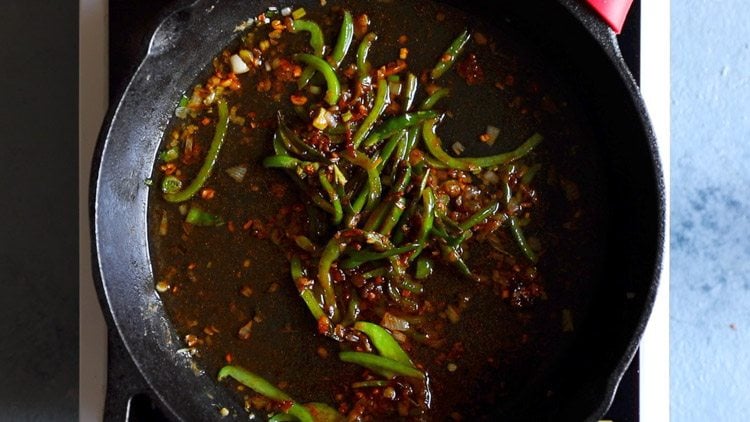
12. Mix well.
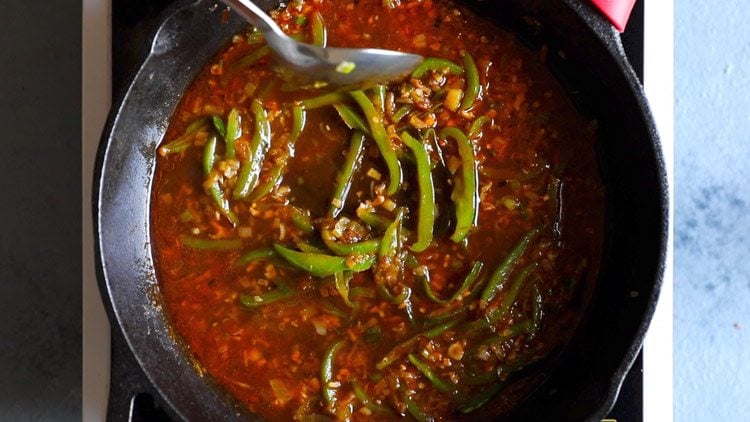
13. Let the chilli sauce mixture come to a simmer on medium to medium-high heat.
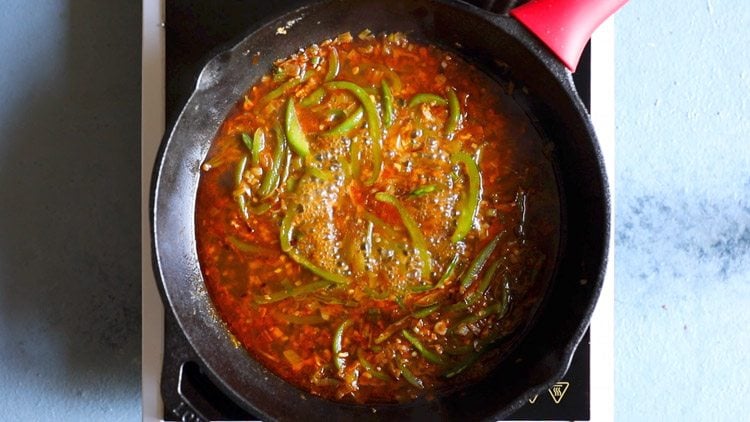
Make Chilli Paneer
14. Take 1 tablespoon cornstarch in a small bowl.
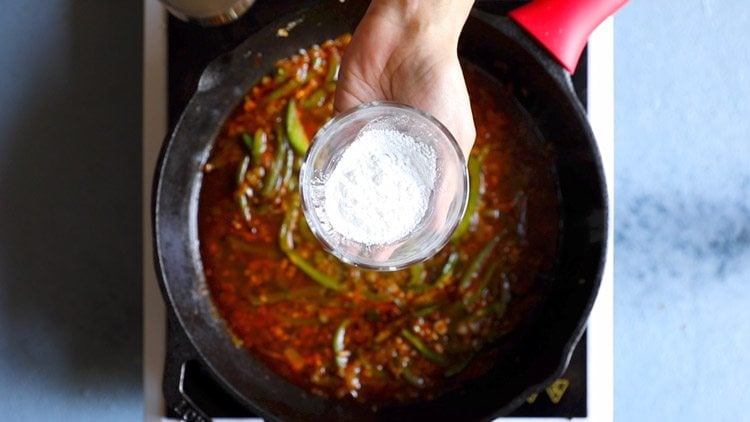
15. Add 2 to 3 tablespoons water for dissolving corn starch into a slurry or paste. (Cornstarch is known as cornflour in India.)
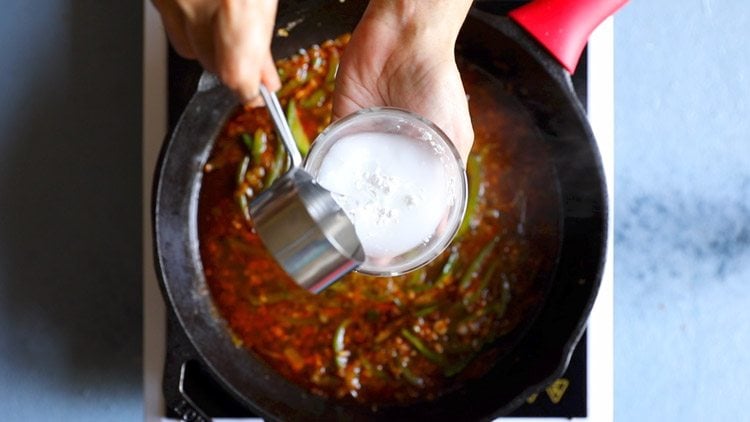
16. Mix very well to get a fine and smooth paste without any small lumps.
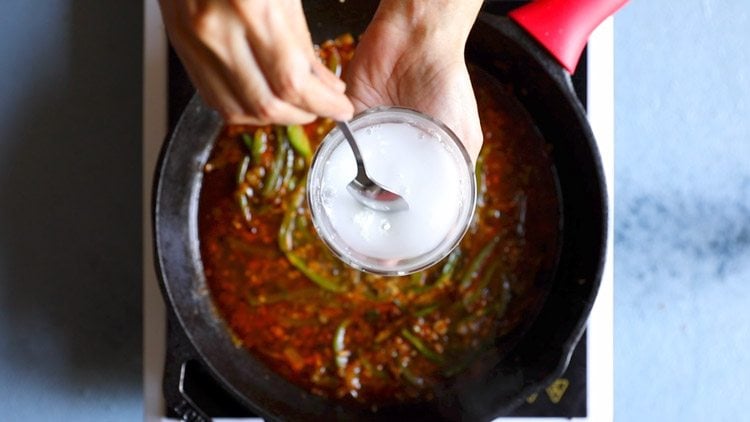
17. Lower the heat and then add the slurry or paste to the sauce.
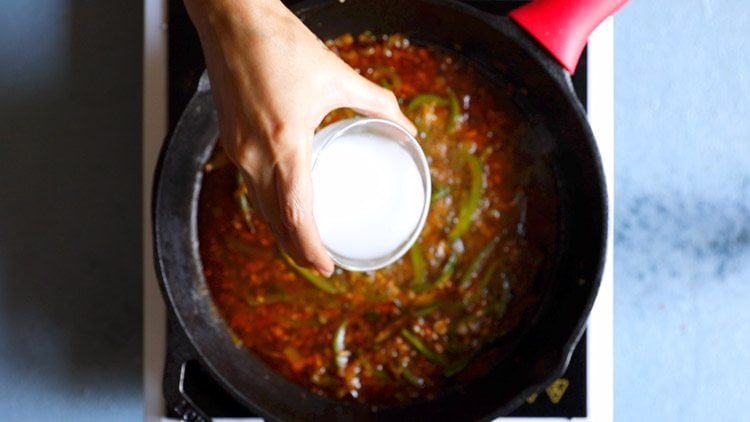
18. As soon as you add, mix the pan ingredients very well so that no lumps are formed.
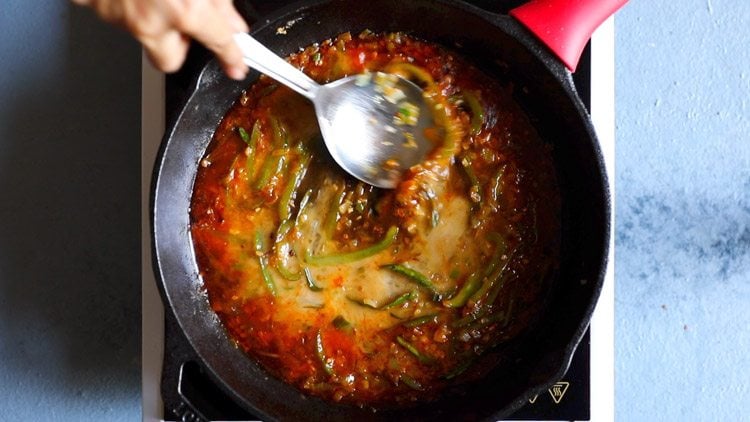
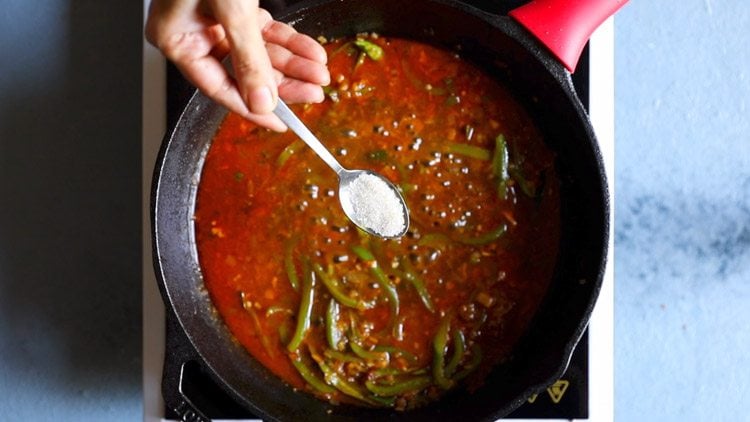
19. Add ½ to 1 teaspoon sugar to taste.
20. Season with salt to taste. Be sure to taste the sauce first as soy sauce and red chilli sauce already have salt in them.
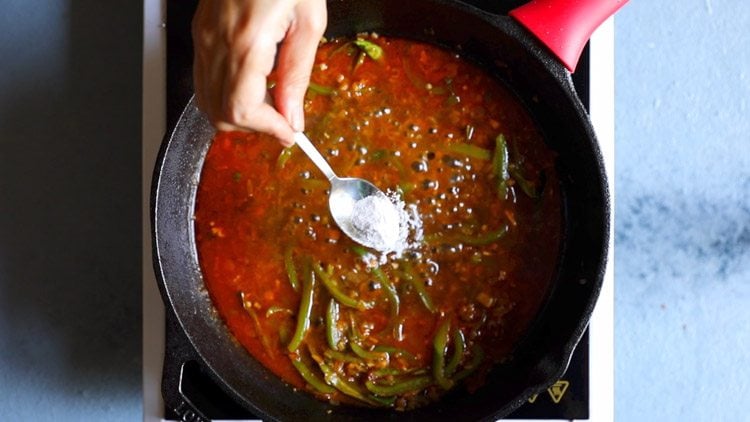
21. Mix very well and simmer till the sauce has slightly thickened and the cornstarch has cooked.
You can check the taste and you should not feel any raw floury taste coming from the cornstarch.
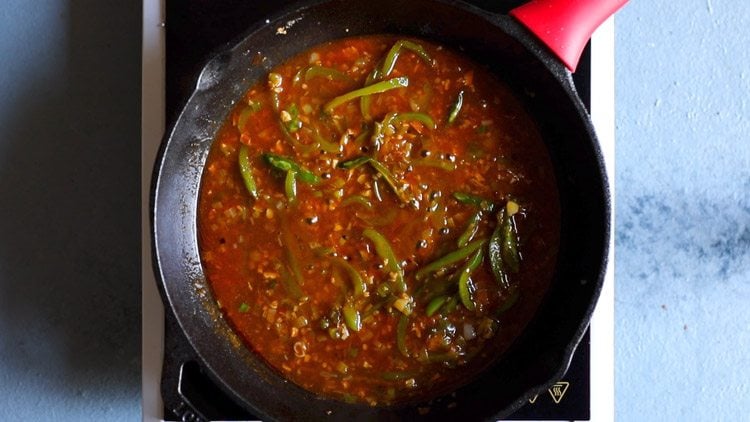
22. Add the fried paneer cubes.
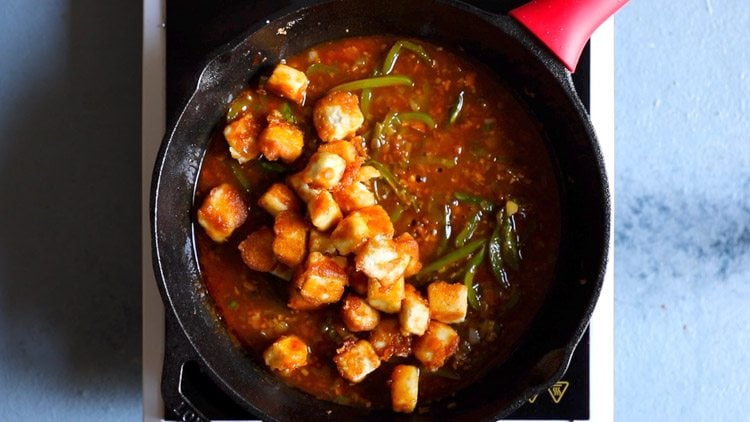
23. Mix paneer cubes very well with the gravy.
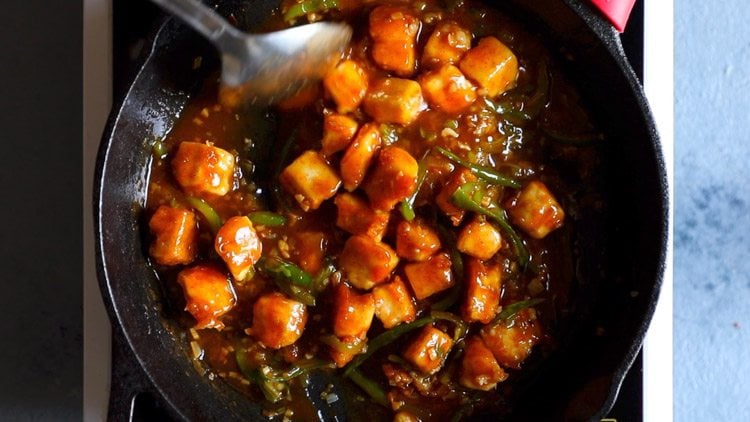
24. Turn off the heat and then add ¼ to ½ teaspoon rice vinegar or white vinegar. You can skip vinegar if you want, but the slight bit of tang really makes the dish taste nice.
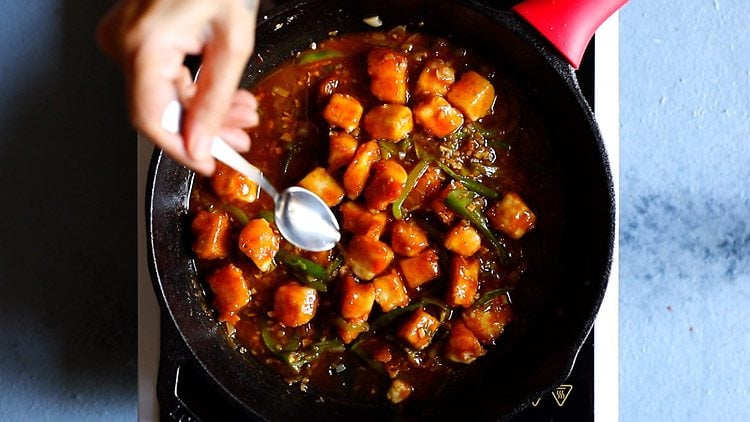
25. Then add about 2 to 3 tablespoons of chopped spring onions greens. Mix very well.
Check the taste and if you want, you can add more soy sauce, chilli sauce, salt, black pepper or sugar.
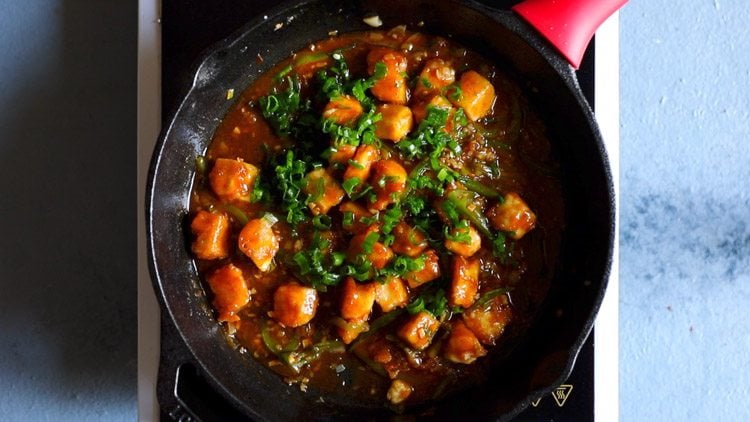
26. Serve restaurant style Chilli Paneer garnished with some spring onions. You can serve it with any Chinese style stir fried rice or noodles recipe.
Serving Suggestions
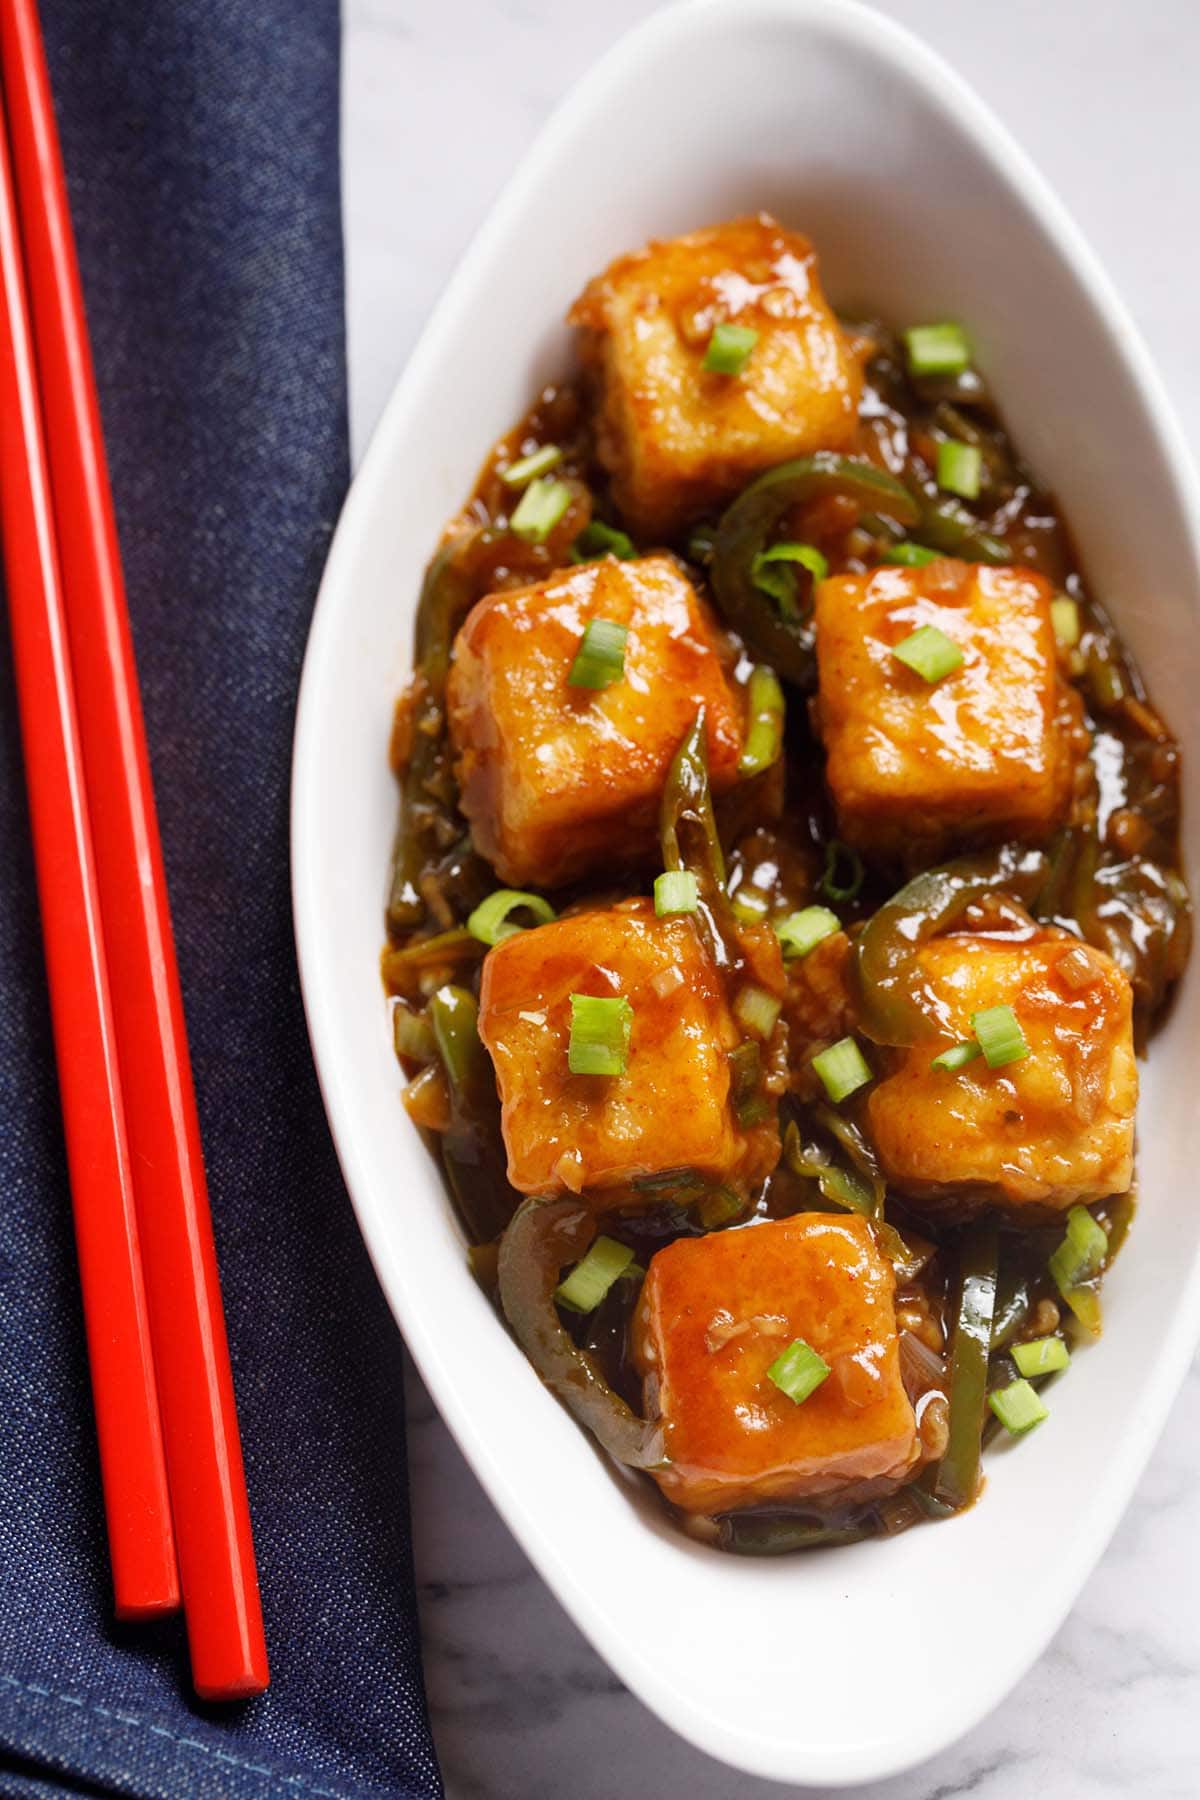
Chilli Paneer goes well as a side dish with rice varieties like Fried Rice, Szechuan Fried Rice or Burnt Garlic Fried Rice and noodles like Hakka Noodles and Vegetable Noodles.
It also pairs well as a side dish with veg pulao, jeera Rice or ghee Rice. You can also have it with tandoori roti, naan, paratha, chapati or roomali roti.
You can even have it as an appetizer snack with any sweet, salty and spicy dipping sauce.
Expert Tips
- Paneer: Use Homemade Paneer for best results. If using frozen paneer, then soak it in hot water for a few minutes prior to cooking. Drain the water and pat dry the paneer before mixing with the batter.
- Soy Sauce: If possible, use naturally fermented soy sauce. If you are gluten free, swap in tamari or coconut aminos. Bragg’s liquid aminos are also an acceptable substitute.
- Spring Onions: If you do not have spring onions (also known as scallions), you can use shallots or regular onions.
- Flours: Normally in restaurants, both cornflour and all-purpose flour are used to make the batter for frying paneer. You can opt to use whole wheat flour or rice flour instead of the all purpose flour. In place of cornstarch, you can use potato starch, tapioca starch or arrowroot flour.
- Spicing: You can add the amount of soy sauce, red chilli sauce, green chillies, black pepper, sugar and vinegar to your liking. I think the ratio in the Chilli Paneer recipe is ideal, but that’s just me. 🙂
- Consistency: In this recipe, you can make the gravy slightly thick as indicated in the recipe, or thin it out a touch. Just add slightly more water (about ¼ to ⅓ cup), but do not add too much or you’ll risk diluting the flavors. You can always check the seasonings and add more if required.
- Frying: You can deep fry, shallow fry or pan fry the paneer cubes. Just be sure to not fry the paneer too much as it can become chewy and tough.
- Vegan Option: To make this a vegan recipe, simply swap firm or extra-firm tofu cubes for the paneer. Just be sure to press the tofu ahead of time to remove any excess moisture prior to frying.
FAQs
Absolutely! Simply swap in some pressed firm or extra firm tofu for the paneer.
Since the paneer is lightly battered before frying, it is best to serve the final dish straightaway. If you happen to have leftovers, they will keep in the refrigerator for up to 1 to 2 days. Just note that the paneer will not be crispy upon reheating.
Street style paneer can be eaten alone, or wrapped up in a roti for a lovely handheld snack.
If corn is not part of your diet, feel free to swap in potato starch, tapioca starch or arrowroot flour.
More Popular Paneer Dishes To Try!
Paneer Recipes
Snacks Recipes
Paneer Recipes
Paneer Recipes
Please be sure to rate the recipe in the recipe card or leave a comment below if you have made it. For more vegetarian inspirations, Sign Up for my emails or follow me on Instagram, Youtube, Facebook, Pinterest or Twitter.
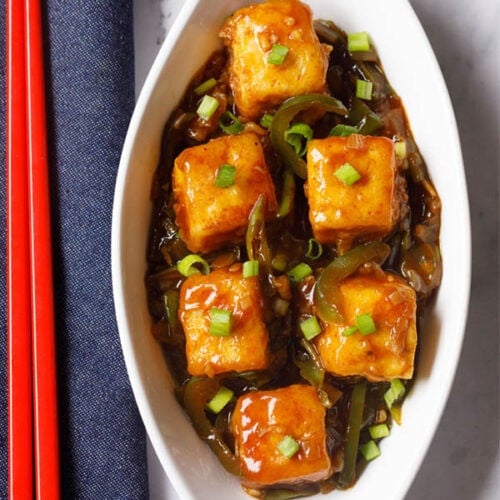
Chilli Paneer Recipe (Restaurant Style Semi Dry Gravy)
Ingredients
For batter
- 2 tablespoons cornstarch (also known as cornflour in India)
- 3 tablespoons all-purpose flour
- ½ teaspoon ginger paste
- ½ teaspoon garlic paste
- ¼ teaspoon crushed black pepper or black pepper powder
- ¼ teaspoon kashmiri red chilli powder or sweet paprika
- salt as required
- ¼ cup water or add as required
For frying paneer
- 3 tablespoons oil
- 200 to 250 grams Paneer – cut in cubes
For chilli paneer gravy or sauce
- ⅓ cup spring onions – chopped or 2 small sized spring onions (scallions)
- 2 to 3 green chillies – slit or sliced
- 2 teaspoons ginger – finely chopped
- 2 teaspoons garlic – finely chopped
- ½ cup capsicum – sliced or 1 small green bell pepper
- 2 teaspoons soy sauce – naturally brewed
- 1 teaspoon red chilli sauce – spicy tasting
- ¼ teaspoon black pepper powder
- ½ teaspoon kashmiri red chilli powder or sweet paprika
- ½ to 1 teaspoon sugar or add as required
- salt as required
- ½ to ⅔ cup water or add as required
- 1 tablespoon cornstarch (also known as cornflour in india)
- 2 to 3 tablespoons water for dissolving cornstarch
- ¼ to ½ teaspoon rice vinegar or white vinegar – optional
- 2 to 3 tablespoons spring onion greens – chopped, to be added later
Instructions
Making batter
- In a bowl take 2 tablespoons cornstarch and 3 tablespoons all-purpose flour.
- Next add 2 teaspoons finely chopped ginger, 2 teaspoons finely chopped garlic, ¼ teaspoon crushed black pepper or black pepper powder and ¼ teaspoon kashmiri red chilli powder. Also season with salt as required.
- Add ¼ cup water or add as required.
- With a wired whisk or a spoon mix very well to get a smooth batter without any lumps.
- Now add paneer cubes in the batter.
- With a spoon gently coat the paneer cubes with the batter.
Frying paneer
- Heat 3 tablespoons oil in a frying pan. Let the oil become medium hot.
- Carefully and gently place the batter coated paneer cubes in the moderately hot oil. Fry the paneer cubes on medium heat.
- When one side looks crispy and golden, flip each paneer cubes and fry the second side.
- Flip a couple of times and fry till the paneer cubes are crisp and golden. Also do not over do the frying as then the paneer cubes can become chewy.
- Remove the fried paneer cubes and place them on kitchen paper towels for the extra oil to be absorbed.
Making chilli paneer
- In the same pan, there will be some oil left. So no need to add any extra oil. Add 2 teaspoons finely chopped ginger, 2 teaspoons finely chopped garlic and 2 to 3 green chillies (slit or sliced).
- Stir fry on medium to high heat for some seconds.
- Then add ⅓ cup chopped spring onions.
- Stir fry spring onions for 1 to 2 minutes on medium to high heat.
- Next add ½ cup sliced capsicum.
- Stir fry on medium to high heat for 3 to 4 minutes. The capsicum only needs to be slightly cooked.
- Lower the heat and then add ½ teaspoon kashmiri red chilli powder.
- Then add 2 teaspoons soy sauce and 1 teaspoon red chilli sauce.
- Stir and mix the sauces and red chilli powder with the remaining stir fried ingredients in the pan.
- Add ½ to ⅔ cup water and mix well.
- Let the mixture come to a simmer on medium to medium-high heat.
- Meanwhile take 1 tablespoon cornstarch in a small bowl.
- Add 2 to 3 tablespoons water for dissolving cornstarch.
- Mix very well to get a smooth and fine slurry or paste.
- Lower the heat and then add this cornstarch slurry or paste to the prepared sauce in the pan.
- As soon as you add cornflour slurry to the sauce, mix it very well so that no lumps are formed.
- Add ½ to 1 teaspoon sugar or as required.
- Season with salt as per taste. Do keep a check on salt as soy sauce and red chilli sauce already have salt in them.
- Mix very well and simmer till the sauce has slightly thickened and the corn starch has cooked. You can check the taste and you should not feel any raw taste coming from the cornstarch in the sauce.
- Add the fried paneer cubes.
- Mix paneer cubes very well with the sauce.
- Turn off the heat and then add ¼ to ½ teaspoon rice vinegar or white vinegar. You can skip vinegar if you prefer.
- Then add about 2 to 3 tablespoons of chopped spring onions greens.
- Mix very well. Check the taste of gravy and if you want, you can add more soy sauce, chilli sauce, salt, black pepper or sugar.
- Serve restaurant-style Chilli Paneer garnished with some spring onions.
Video
Notes
- Paneer: It is better to use homemade paneer in this recipe. When using frozen paneer, then soak them in hot water for some minutes. Drain the water very well and pat dry the paneer cubes thoroughly before mixing them in the batter.
- Frying Paneer: Paneer can be pan fried, shallow fried or deep fried. While frying, do not fry the paneer too much as then they become dense and loose their softness.
- Soy Sauce: If possible use naturally brewed soy sauce. You can even use tamari or bragg amino liquid instead.
- Spring Onions: If you do not have spring onions (scallions), you can use shallots or regular onions.
- Flours: Normally in restaurants, both cornflour and all-purpose flour are used to make the batter. You can even use whole wheat flour or rice flour instead of all-purpose flour. In place of cornstarch, you can use potato starch, tapioca starch or arrowroot flour.
- Spicing: Add less or more of the spices or sauces as per your taste buds.
- Consistency: In this recipe, you can make the gravy slightly thick or having medium consistency. Just add slightly more water (about ¼ to ⅓) but do not add too much as then the flavors get diluted in the water. You can always check the seasonings and add more if needed.
- Vegan Option: Replace extra firm tofu with paneer.
- Serving Suggestions: Serve chilli paneer with veg fried rice or schezwan fried rice or burnt garlic fried rice. It also goes well as a side dish with pulao or jeera rice or ghee rice. You can also have it with tandoori roti or naan or chapati or paratha. You can even have it as an appetizer snack with any preferred dipping sauce.
Nutrition Info (Approximate Values)
This Chilli Paneer recipe from the archives first published in April 2017. It has been updated on November 2024.




Best way to explain each and every step.
Thanks.
Loved this recipe and will be making it again. The flavors are perfectly balanced in your recipe and everyone liked the dish. Thanks for sharing.
Great and thanks for this lovely feedback. Nice to know.
Thanks for the good recipes. Made a lot seeing your recipe and very delicious.
Thank you for this feedback and the rating as well. Most welcome.
Great recipe… followed the steps and it turned out to be awesome.
Thanks for the rating and the feedback. Glad to know.
Hi .. I have tried this recipe and it didn’t really come out as expected. I think the reason was because I forgot to add water before adding the cornflour water in. Now every time I stir the mixture, it goes really slimy like but looks nice and glossy still.
Is it really compulsory to add the water before the cornstarch water or is it okay? Are there any recommendations or advice you can give to help me overcome this problem please. Thanks!
The water has to be added before and later the corn starch paste has to be added. Corn starch is a thickener so obviously to loosen it more water will be needed. One can always change the consistency of the sauce/gravy by adding less or more water. So even if the sauce becomes thick, then you can always add some more water to reduce the thickness. I hope this helps.
Hi
I have tried the recipe but paneer became hard.plz tell the solution fo r that.
And secondly can we prepare this recipe 3 to 4 hours earlier than serving?
if the paneer gets fried for more time, it will become hard. a solution for this is – soak the fried paneer in hot water for 15 minutes. they will get some softness. then add in the gravy. do not cook further after adding in the gravy. yes you can make this chilli paneer recipe 3 to 4 hours before serving.
Hey !!!
Tried the recipe
It came out to be very good
But one question can we add rice flour instead of corn flour?
thanks aditi for the postive review and rating. yes, you can add rice flour.
This is One of the best Chilli Paneer recipe that I found Online. Spicy and delicious. Glad to have discovered your website. I will be trying more recipes from your website.
thanks chirag and do try the other recipes as well. happy cooking.
Very tasty recipe. Made it for friends and they simply loved it. Thanks.
thanks charu.
Which brand red chilli sauce do you use? Thanks for posting such great recipes.. you are always my go to!
i am using thai heritage brand.
This is fantastic. The first into-chinese recipe that I have tried. Btw – I love you website. Sometimes I mix and match recipes and they turn out so well. You always have a reasonable logic behind each step which is great to know while cooking. Thank you for putting in this effort and making this website user friendly. All the recipes are amazingly yummy 🙂
Welcome Nancy. Glad to read your positive feedback and appreciation.
Hi Amit
Tried your recipe and the dish came out to be really good. Everyone in my family liked it especially my daughter. Just one small thing that the gravy seemed to be less. Any suggestions for that
Welcome Anagha. You can add some more water.